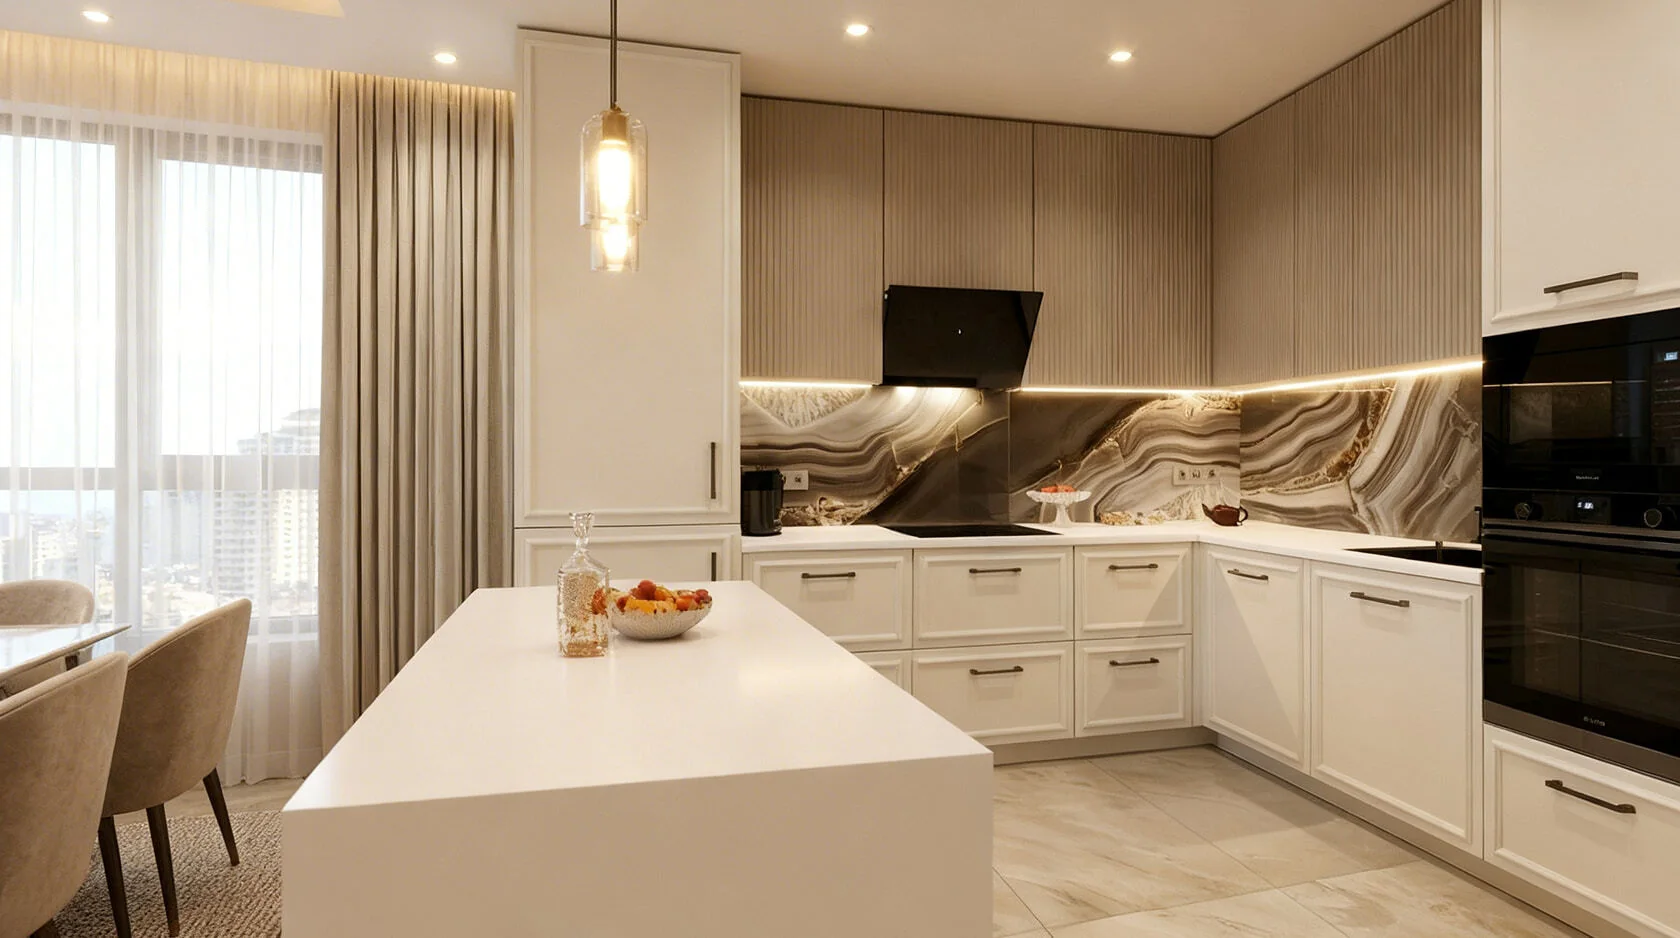

Short answer
Caring for fronts comes down to three rules: soft microfiber, warm water with a mild detergent, and no abrasives. The main enemies of the finish are water on the edges, steam and old grease. We paint and edge our fronts in our own workshop in Almaty and give a 24-month warranty on the item under the contract.
Everyday care for fronts without damaging the finish
Most scratches, stains and dull patches on furniture appear not from age but from improper cleaning. Here is the basic routine, the products to avoid and a sensible wiping frequency.
Basic cleaning routine
At our workshop we describe proper front care in three steps: first dry microfiber, then damp with a mild product, and finally dry again. A dry cloth picks up dust and crumbs that, under a wet rag, act like sandpaper and leave a web of fine scratches on gloss. A damp cloth is moistened with warm water and a drop of dish soap or liquid soap and wrung out almost dry so water does not run down to the edges. Wipe along the grain of the veneer or along the long side of the part, not in circles. The last step is a dry soft cloth: it removes moisture and streaks and keeps water from seeping into the joints. This routine suits almost all the finishes we make. Keep a separate microfiber just for furniture and do not use the one you cleaned the stove with — it holds grease and abrasive particles.
Products that damage the finish
- Melamine sponge: it acts as a fine abrasive and wears away the top layer of enamel, lacquer and gloss, leaving a matte patch.
- Soda and powders: hard particles scratch the surface, and on dark matte finishes they leave whitish marks that will not wash off.
- Solvents and acetone: they cloud acrylic and plastic, dissolve lacquer and can lift the film off the board along the edge of a part.
- Chlorine and bathroom cleaners: harsh chemicals for scale on sinks and tiles bleach enamel and break down the protective lacquer.
- Stiff brushes and metal sponges: even on durable plastic they leave scratches where dirt then collects.
- Test application: always try any new product first on the inside of a door or the bottom edge, where a mark will not show.
How often to wipe fronts
We recommend a light dry wipe every few days and a damp cleaning once a week, and kitchen doors by the stove after every serious cooking session. Fresh grease splashes come off with a damp cloth in seconds, but after a week they dry into a sticky film and need a degreaser and rubbing that harms the finish. The area around handles gets dirty fastest: hands leave grease and cream marks, especially on light and matte surfaces. Upper cabinet doors and top compartments can be wiped less often, once a month, since mostly dust settles on them. Glass inserts and mirrors are wiped last, once the dust from neighbouring surfaces has been removed. Wardrobes in the bedroom and hallway need less attention than the kitchen, but mirrors and glass in sliding doors are convenient to wipe along with the weekly cleaning. Regular light wiping replaces deep cleaning and saves you from harsh products you would otherwise need to rescue a neglected surface.
How finishes differ and what harms them
Proper cleaning starts with understanding which finish is in front of you: enamel, film, plastic or veneer each react differently to water, heat and chemicals.
How to tell which finish your furniture has
The easiest way is to check the contract and specification: there we list the material of each part — painted MDF, film-faced MDF, HPL laminate, laminated chipboard with edge banding, or veneer. If there are no documents, the edge of the door, visible when the leaf is open, will help. On painted MDF the edge is painted in the colour of the front and has no seam; on film-faced MDF you can see the film that wraps around the edge and ends on the back. On laminated chipboard and HPL laminate there is a separate edge band on the end, while on veneer the front shows a real wood grain that differs on every door. Gloss comes in enamel, acrylic and film alike, so the finish cannot be identified by shine. We source carcass boards and some door parts from Egger and Kronospan, and each decor has its own article number. If in doubt, photograph the edge and ask the furniture manufacturer before trying a new product.
Finishes and care rules
| Finish | What to wipe with | What to avoid |
|---|---|---|
| Painted MDF, matt | mild product, microfibre | rubbing, melamine sponge |
| Painted MDF, gloss | warm water, dry cloth | abrasives, rough cloths |
| Film-faced MDF | soapy solution | heat, solvents |
| HPL laminate | plastic cleaner | metal sponges |
| Acrylic gloss | acrylic polish | alcohol, acetone |
| Laminated chipboard with edge banding | damp cloth | water on the edges |
| Veneer under lacquer | furniture polish | excess water |
| Glass and mirror | glass cleaner | spray on the profile |
Why one cloth for all fronts does not work
Each finish gets damaged in its own way, and a product that is safe for HPL laminate can ruin veneer or matt enamel. HPL laminate withstands intensive rubbing and moderate household chemicals, while the thin lacquer on veneer turns cloudy and wears off under the same treatment. Matt enamel absorbs grease more deeply, so it must not be rubbed with pressure, whereas gloss, on the contrary, does not absorb, but any rubbing with a grain of sand leaves a visible scratch on it. Film handles water on the front calmly but fears it at the joint with the edge band and fears heat. Glass and mirror need a streak-free product that must not get onto the aluminium profile and seal. Even water differs: hard tap water leaves white spots on dark gloss if not wiped off at once. Keep two or three cloths of different colours for different finishes, and the confusion over products will disappear by itself.
Painted MDF, film and veneer in everyday cleaning
These three finishes sit on an MDF or chipboard board, and each has its own vulnerability: enamel fears rubbing, film fears heat, veneer fears water and dry air.
Painted MDF under enamel
Caring for enamel-painted MDF fronts comes down to a mild product and almost no rubbing. We paint these parts in our own workshop: the enamel goes onto primed MDF, and the top layer protects it from water and everyday stains. The weak point is exactly that top layer: abrasives, baking soda and melamine sponges wear it away, and where you rubbed, a matte spot or, conversely, a shiny one is left behind. Matte enamel feels pleasant to the touch, but grease and hand cream show up on it more, so the handle area is wiped more often. Glossy enamel is easier to wash, but it shows every drop and fingerprint. Chips on the corners of a painted door are touched up in the matching color, and the sooner a chip is sealed, the less moisture will get into the MDF. Ordinary water is not a problem for enamel if you wipe it dry right away. If a stain does not come off the first time, do not rub harder — apply the product, wait a minute for it to soften the dirt, and remove it with a cloth.
Film fronts and heat
A film front is MDF wrapped in PVC film under vacuum, and the main enemy of this coating is not dirt but temperature. The film is held on by glue, and hot air from an open oven, steam from a pot or a heated toaster nearby gradually soften the adhesive layer. First a barely noticeable bubble appears at the edge, then the film lifts from the end and starts to ripple. That is why a heat-protective strip is installed next to the oven, and the oven door is not left open next to the neighboring cabinet after cooking. The face side of the film handles water and mild detergents fine, but solvents and alcohol make it cloudy. If the film does come loose, do not glue it back with household glue: it leaves stains and gets in the way of re-gluing the film neatly later. A small lift along the edge can be repaired, and it is best to show the door to the manufacturer right away.
Veneer and solid wood
- Dry cleaning: we recommend wiping veneered doors with a dry or slightly damp cloth; excess water raises the grain and damages the lacquer.
- Product: for wooden furniture, use dedicated products and polishes, and it is better to leave all-purpose kitchen sprays for plastic.
- Direction: wipe along the wood grain, so marks are less noticeable and the pores of the open texture do not get clogged.
- Humidity: wood reacts to the dry air from radiators, so in winter a humidifier helps in the room, otherwise gaps appear at the joints.
- Sun: in direct light, veneer darkens or fades over time, so vases and frames on it are sometimes moved around.
- Oil and wax: an oil finish is refreshed from time to time, while a lacquered one is not touched with abrasives even when heavily soiled.
Gloss, plastic and acrylic without streaks or scratches
Shiny and smooth surfaces show every drop, fingerprint and scratch. Here is how to get them clean without streaks, what to do about scuffs and how to care for plastic.
How to remove streaks from gloss
We keep glossy front care down to two microfiber cloths: one damp, the second dry, used to polish right after. Streaks come not from dirt but from dried water and leftover detergent, so you use very little product — a drop in a bowl of warm water. On dark gloss even mineral spots from tap water show, and a dry cloth removes them within a minute after washing. A glass cleaner without alcohol or ammonia suits most glossy finishes, but test it first on an inconspicuous area. White gloss forgives more than black or dark blue, on which both dust and the slightest streak show. It is best to wipe gloss in side light, so you can see where a stripe remains. Fingerprints around handles come off with a single dry microfiber, no water. Do not wipe gloss with a paper towel: it leaves lint, and dry paper with a grain of sand works like sandpaper.
Scratches on acrylic and gloss
Small scratches on acrylic gloss can often be removed by polishing, because acrylic is uniform through the full thickness of the top layer. Special acrylic polishes and pastes are sold, and they are worked in with a soft cloth without pressure, in small areas. Polishing is also possible on glossy enamel, but with strong rubbing it is easy to wear the top layer down to a matte patch, so deep scratches are best shown to a specialist. Film gloss is not polished at all — the film is thin, and the paste will take off the shine along with the pattern. The main source of scratches in the kitchen is rings, bracelets, belt buckles and shopping bags that catch the lower doors. Fabric organizers for small items and a hook for bags at the kitchen entrance reduce the number of such scratches more noticeably than any product. Prevention is simple: take off jewelry before cleaning, since a stone in a ring scratches gloss harder than a sponge.
HPL laminate and yellowing
- Product: on the question of what to clean plastic fronts with, we have a simple answer — mild detergents and plastic cleaners without abrasives.
- Durability: HPL laminate withstands rubbing and hot dishes better than other finishes, but a metal sponge leaves a mesh of scratches on it.
- Yellowing: light-colored plastic can yellow over time from sun and kitchen grease, so grease is removed from it right away, not letting it set in.
- Edge: on plastic doors the end is closed with a separate edge band, and water at the joint is wiped dry so the board underneath does not swell.
- Solvents: acetone and alcohol mixes cloud the surface of plastic, so marker stains are removed with a special plastic cleaner.
- Check: a questionable product is tried on the end or the inner side of the door before applying it to the whole front.
Grease, steam and water in the kitchen
The kitchen is the hardest place in the home for furniture: here grease, steam, hot air and water by the sink act on the finish every day, not just occasionally.
How to wash off grease above the stove
In short, here is how to wash kitchen fronts above the hob — with a warm solution of dishwashing liquid, which we consider the safest degreaser for most finishes. Apply the solution to a cloth, not to the door, let the grease soften for a minute or two, and wipe it off with a soft microfiber cloth without pressing hard. Remove old buildup in several passes rather than with one vigorous scrub, otherwise a shiny spot will be left on matte enamel. Oven and grill cleaners with alkali are not suitable for furniture: they dissolve grease along with the lacquer and discolor the enamel. A steam cleaner is not needed either — hot steam penetrates the joints and under the edge banding. It is easier to remove the handles with a screwdriver and wash them separately in warm soapy water, which also makes the area around them easier to clean. A good extractor hood switched on at the start of cooking reduces the amount of grease on the upper cabinets more than any chemical product.
Steam, the kettle and the dishwasher
Steam damages furniture invisibly: it condenses on the edge banding and end faces, penetrates the joints and gradually lifts the film and the edge-banding material. That is why when designing a kitchen we try not to place the kettle and the multicooker under a wall cabinet, and instead leave them a spot by an open section of wall. Do not open the dishwasher immediately after the program ends: hot, humid air hits the countertop and the neighboring doors from below. It is better to wait until the dishes cool down, or open the dishwasher door fully rather than leaving it ajar. It is also better to cover a boiling pot next to a tall pantry unit with a lid. A metal protective strip on the end of the countertop above the dishwasher takes the steam upon itself. If roughness appears on the edge banding near the hob or the dishwasher, this is the first sign of swelling, and it is worth showing it to a technician before the board under the edge banding comes apart.
Water on edge banding and around the sink
- Edge banding: the end face of the door is covered with edge banding, but the joint with the board remains a vulnerable spot, and water in it gradually leads to swelling.
- Sink: wipe up splashes on the lower doors by the sink right away, and do not hang a wet towel on the cabinet door under the sink.
- Leaks: a dripping siphon under the sink quickly damages the bottom and sides of the module, so the cabinet under the sink should be inspected from the inside from time to time.
- Floor cleaning: when washing the floor, do not pour water on the plinth and lower end faces, and wring the mop out well before cleaning near the furniture.
- Cabinet bottom: place a moisture-resistant mat or tray under the sink; it protects the bottom board from drips and household chemicals.
- Drying: after wet cleaning, wipe the end faces and joints with a dry cloth; this is the simplest protection against swelling.
When caring for the fronts is no longer enough
Some problems are not dirt but adjustment, damage or wear. Let us break down what you can fix yourself, when to call the manufacturer, and in which cases it is easier to replace the door entirely.
Misalignment and gaps after installation
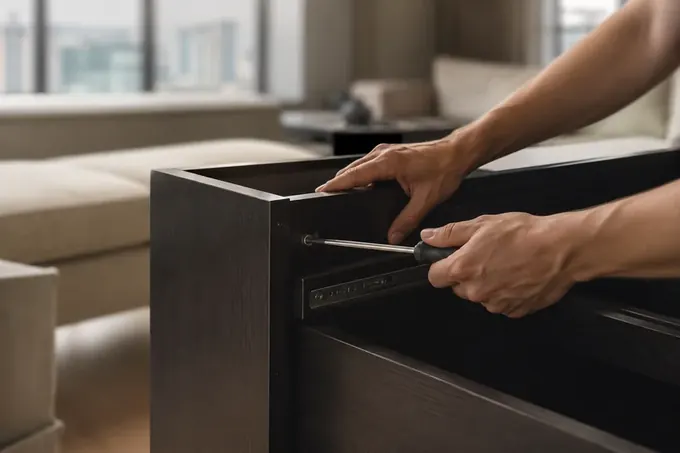
A door that catches the one next to it or doesn't close tightly usually doesn't need washing or replacing — it needs adjusting. We fit hinges from Blum, Hettich and Boyard, and all of them are adjusted with screws: you can even out the gap between the doors, raise a sagging leaf and pull it tighter against the carcass. In the first months after installation, furniture "settles" — a new home shrinks, the floor and walls shift slightly, and the gaps can drift. This is a normal part of servicing, not a defect, and adjustment takes minutes. Our items carry a 24-month warranty under the contract, and Blum gives a 25-year manufacturer's warranty on its hardware. If a door rubs against the finish of the one next to it, don't wait for a worn strip to appear on the edge. Tighten the hinge a quarter turn with a screwdriver or call a technician, and don't force the door open.
Damage and what to do about it
| Sign | Cause | What to do |
|---|---|---|
| Bubble in the film at the edge | heat or steam | show it to the manufacturer |
| Swollen edge | water on the end | dry it, call a technician |
| Whitish spot on matte | abrasive or sponge | don't rub, assess on site |
| Fine scratch on acrylic | friction with a grain of sand | acrylic polish |
| Chipped enamel on a corner | impact | touch-up paint in the colour |
| Door catches the one next to it | loose hinge | adjust with a screw |
| Yellowing of light plastic | sun and grease | regular cleaning |
When it's easier to replace the front
Replacing a door makes more sense than repairing it if the board under the finish has already swollen from water, the film has peeled off over a large area, or the enamel is worn down to the primer in a visible spot. Swollen MDF or laminated chipboard doesn't return to its original shape even after drying, and the door will stay warped. We make fronts in our own workshop in Almaty, so we can produce a single door to the size of the old one, and for painted MDF we can match the shade from a sample. Film and plastic are matched by the decor code, and the sooner the original decor is found, the closer the match. Usually it's enough to replace only the damaged doors by the sink or dishwasher rather than the whole kitchen set, especially since the new part fits on the same hinges. If you're unsure whether to repair or replace, photograph the end and the front in daylight and send the photos before the technician's visit.
Summary: how to care for fronts without damaging the finish
A short summary of all the sections of this article — for those who want to keep their furniture looking fresh for years and avoid damaging the finish with too strong a product or a bad habit.
- Cleaning order: a dry microfibre cloth, a damp wipe with a mild product and a dry cloth again suit almost any finish.
- The forbidden list: melamine sponges, baking soda, powders, solvents, chlorine and metal sponges damage enamel, lacquer, film and plastic.
- The finish decides: enamel fears friction, film fears heat, veneer fears excess water, and gloss and acrylic fear grains of sand under the cloth.
- Kitchen: wipe grease off right after cooking, keep steam from the kettle and dishwasher away from the doors, and dry the ends by the sink.
- Repair in time: fix misalignment by adjusting the hinges, and don't wash a swollen board — replace the whole door.
Article updated 6 October 2026Calculate kitchen price All blog articles