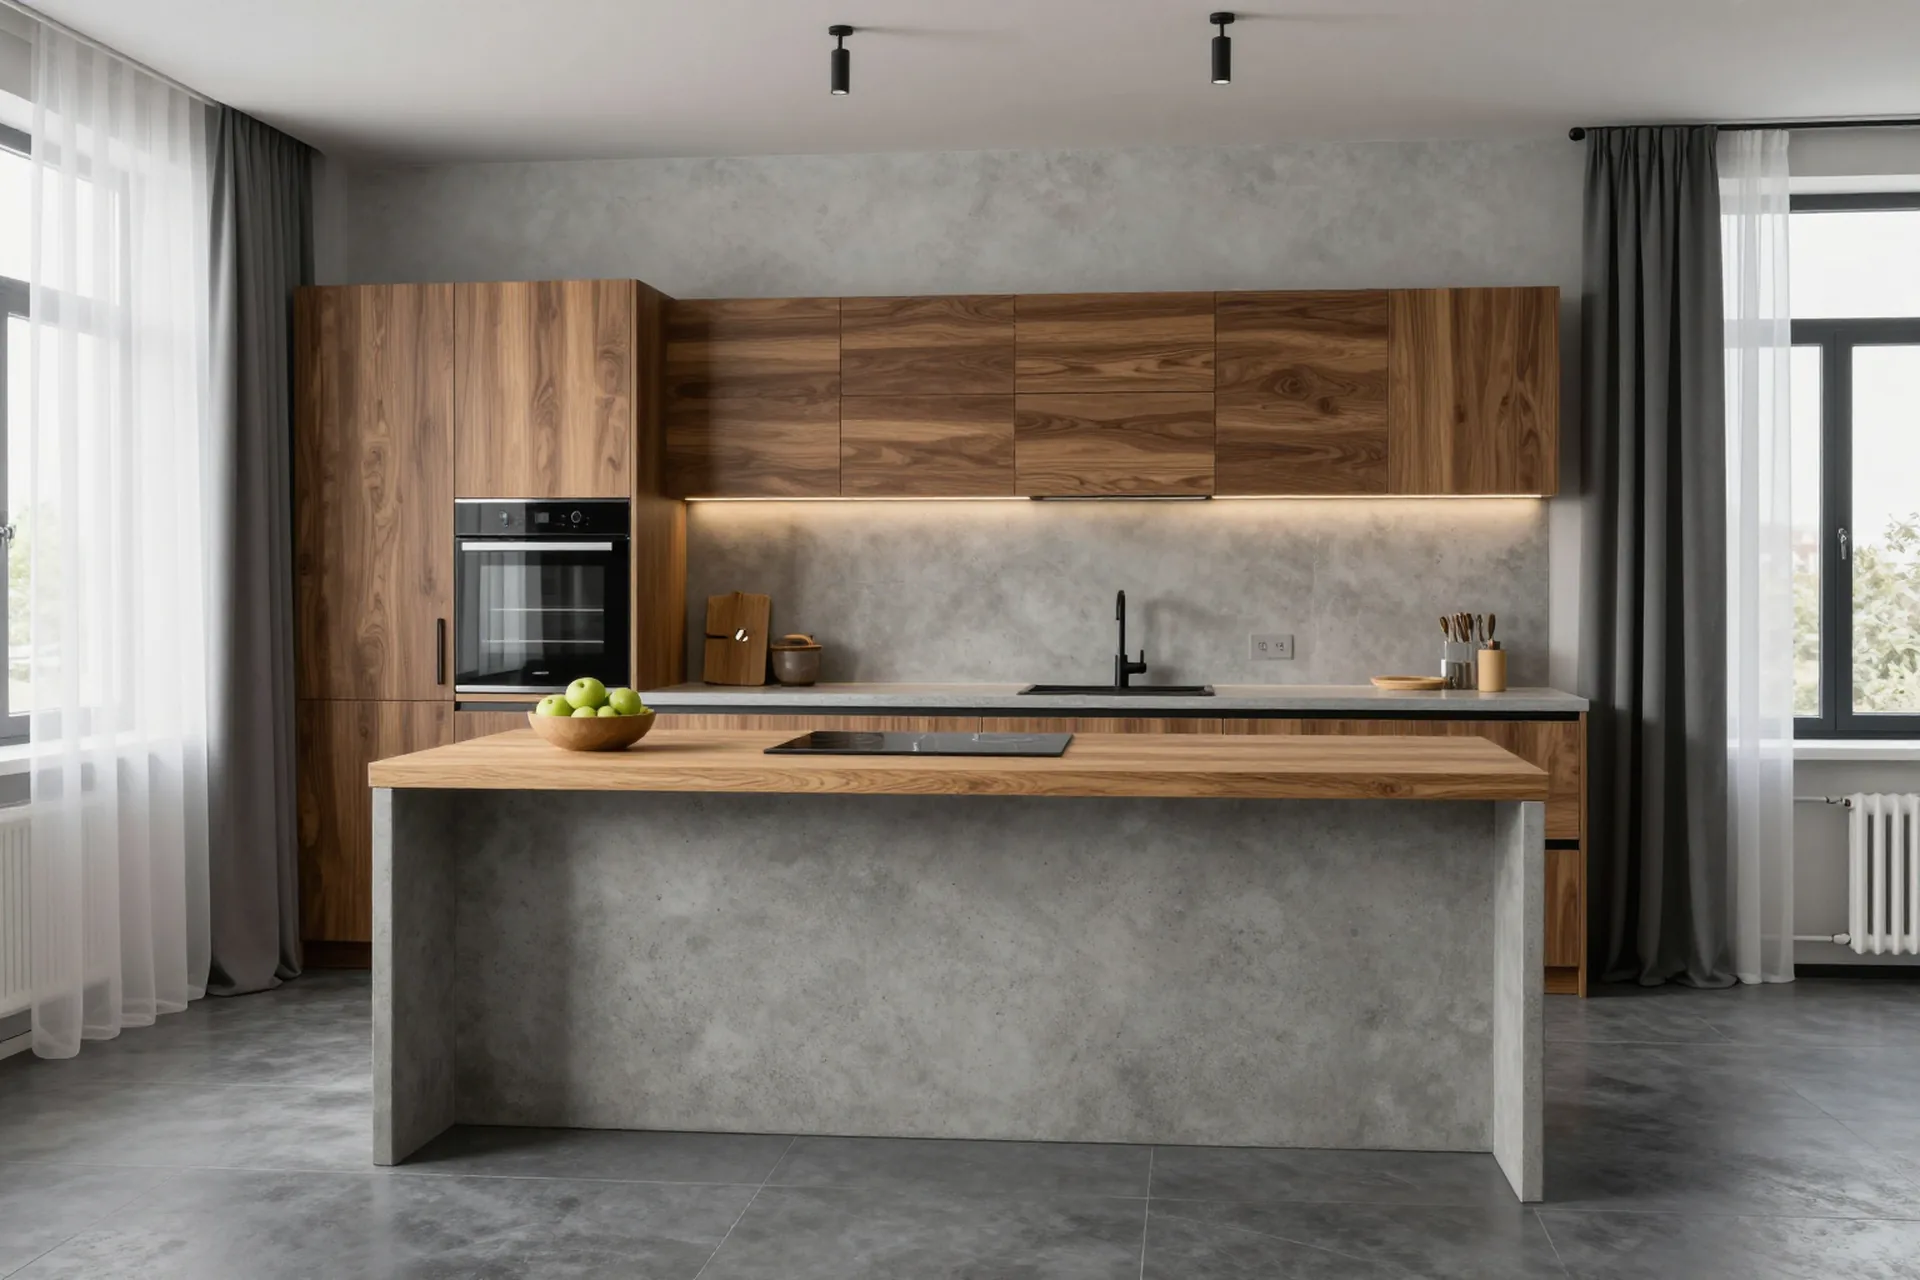
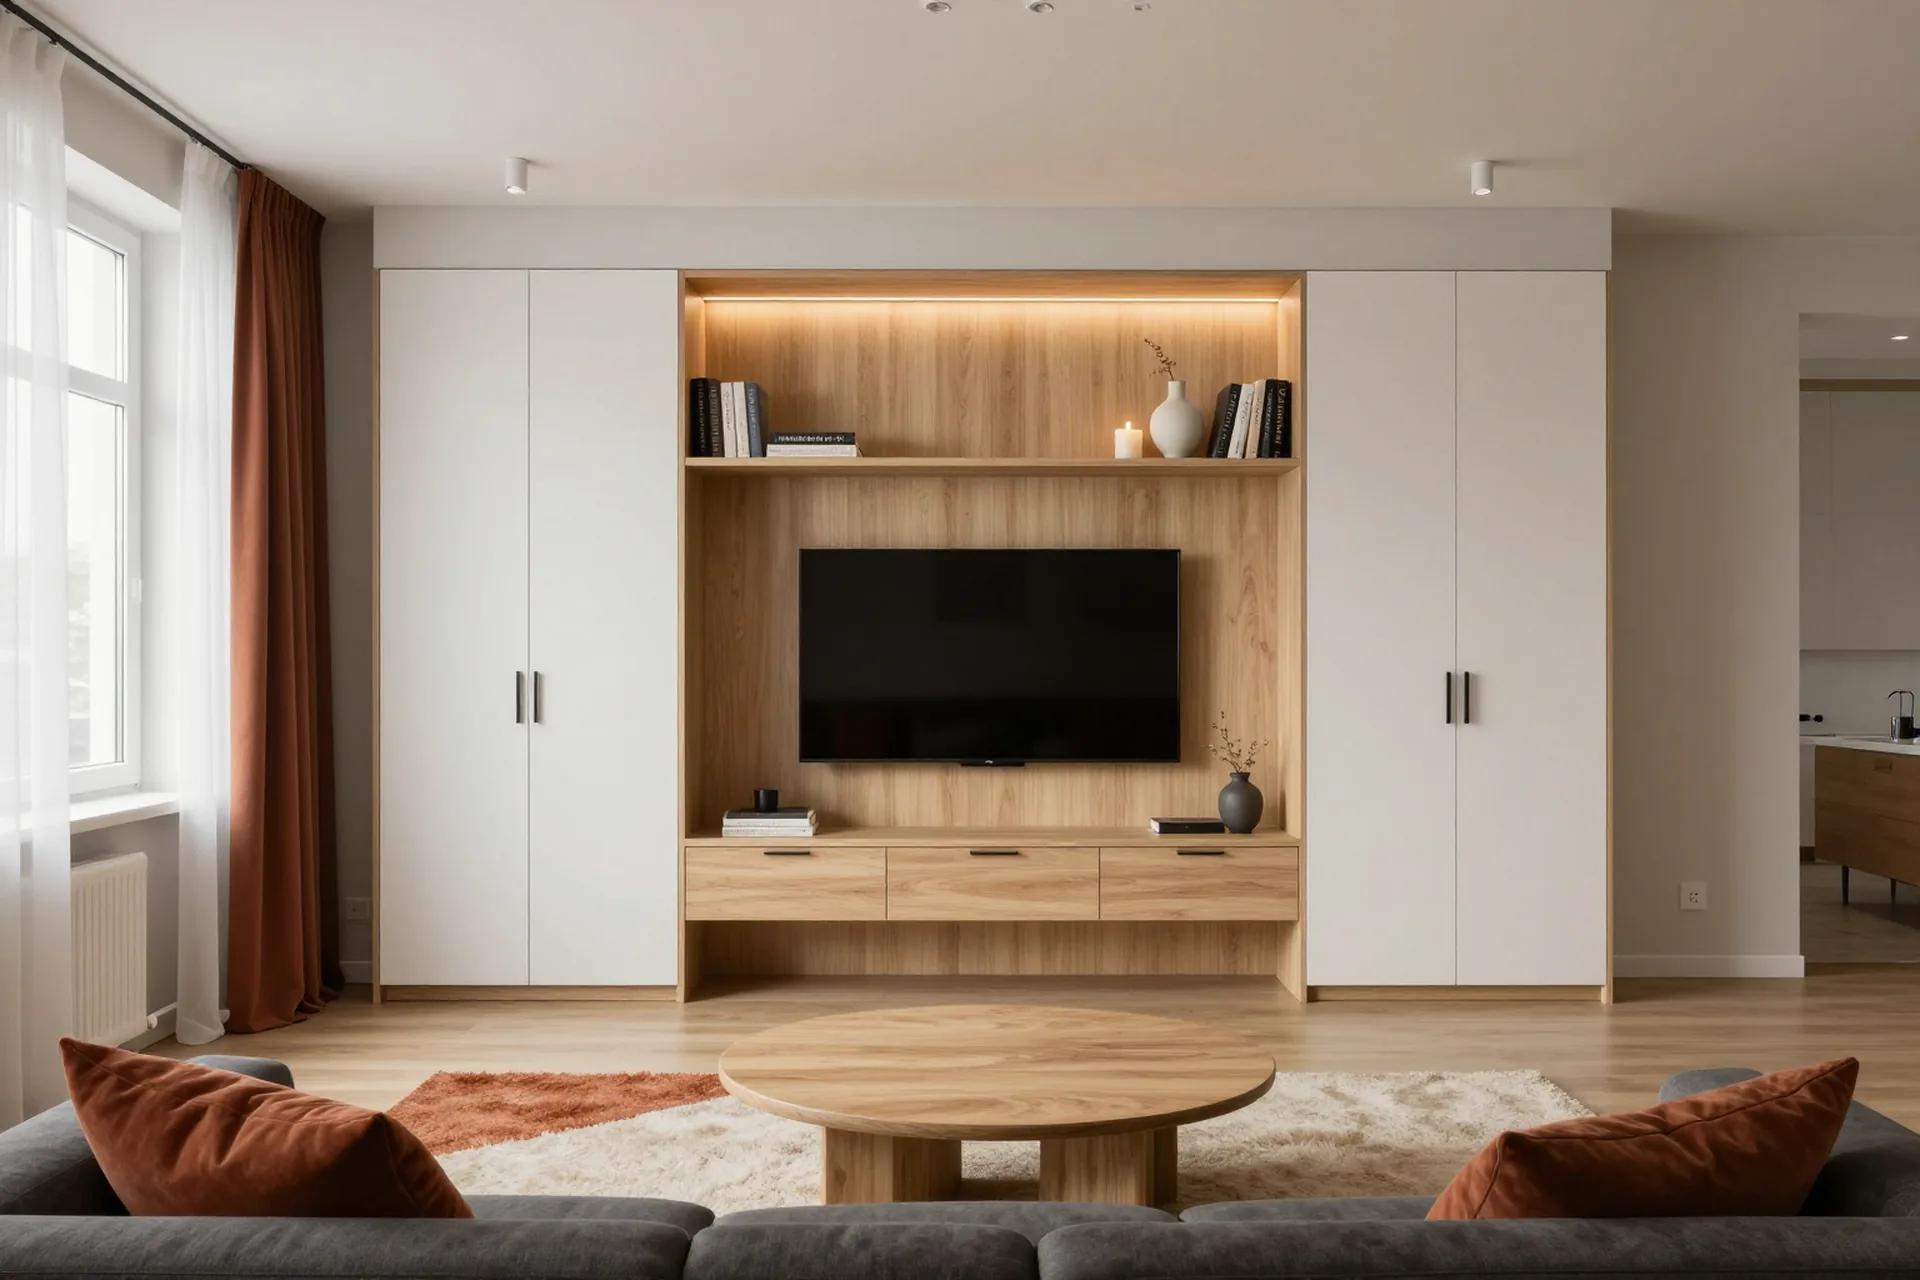
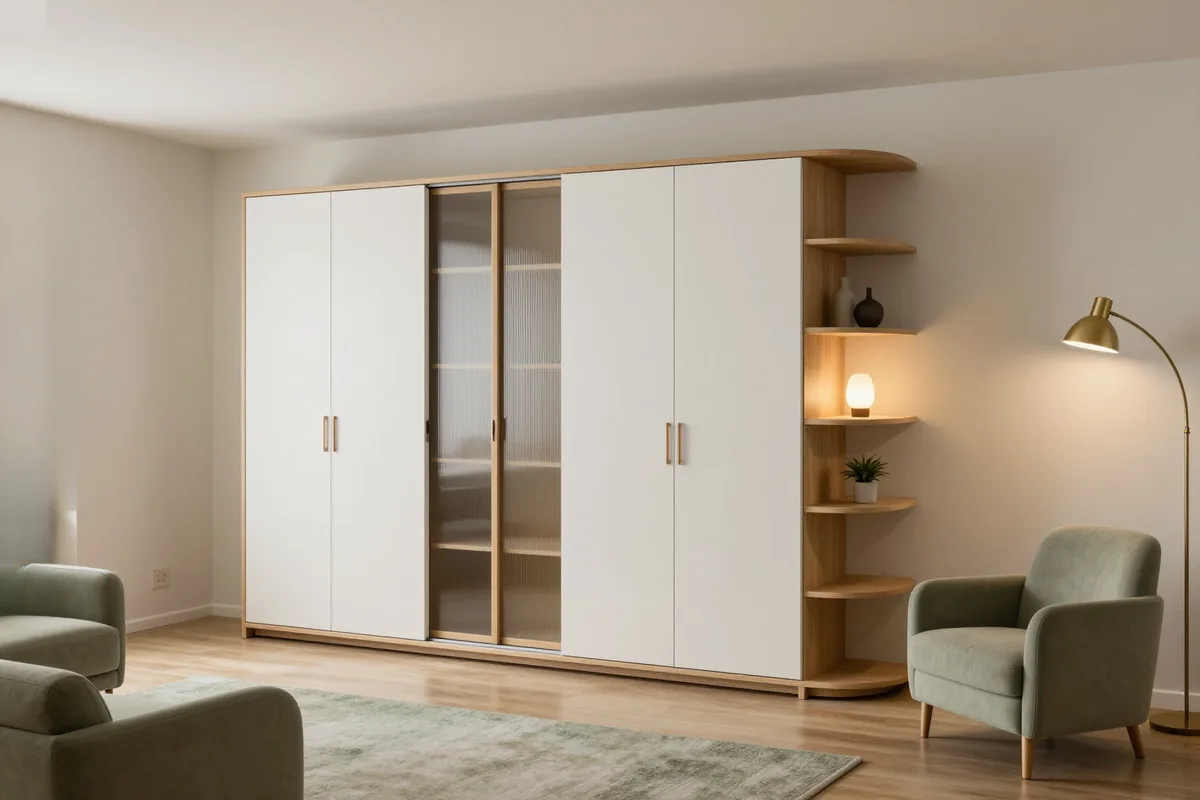
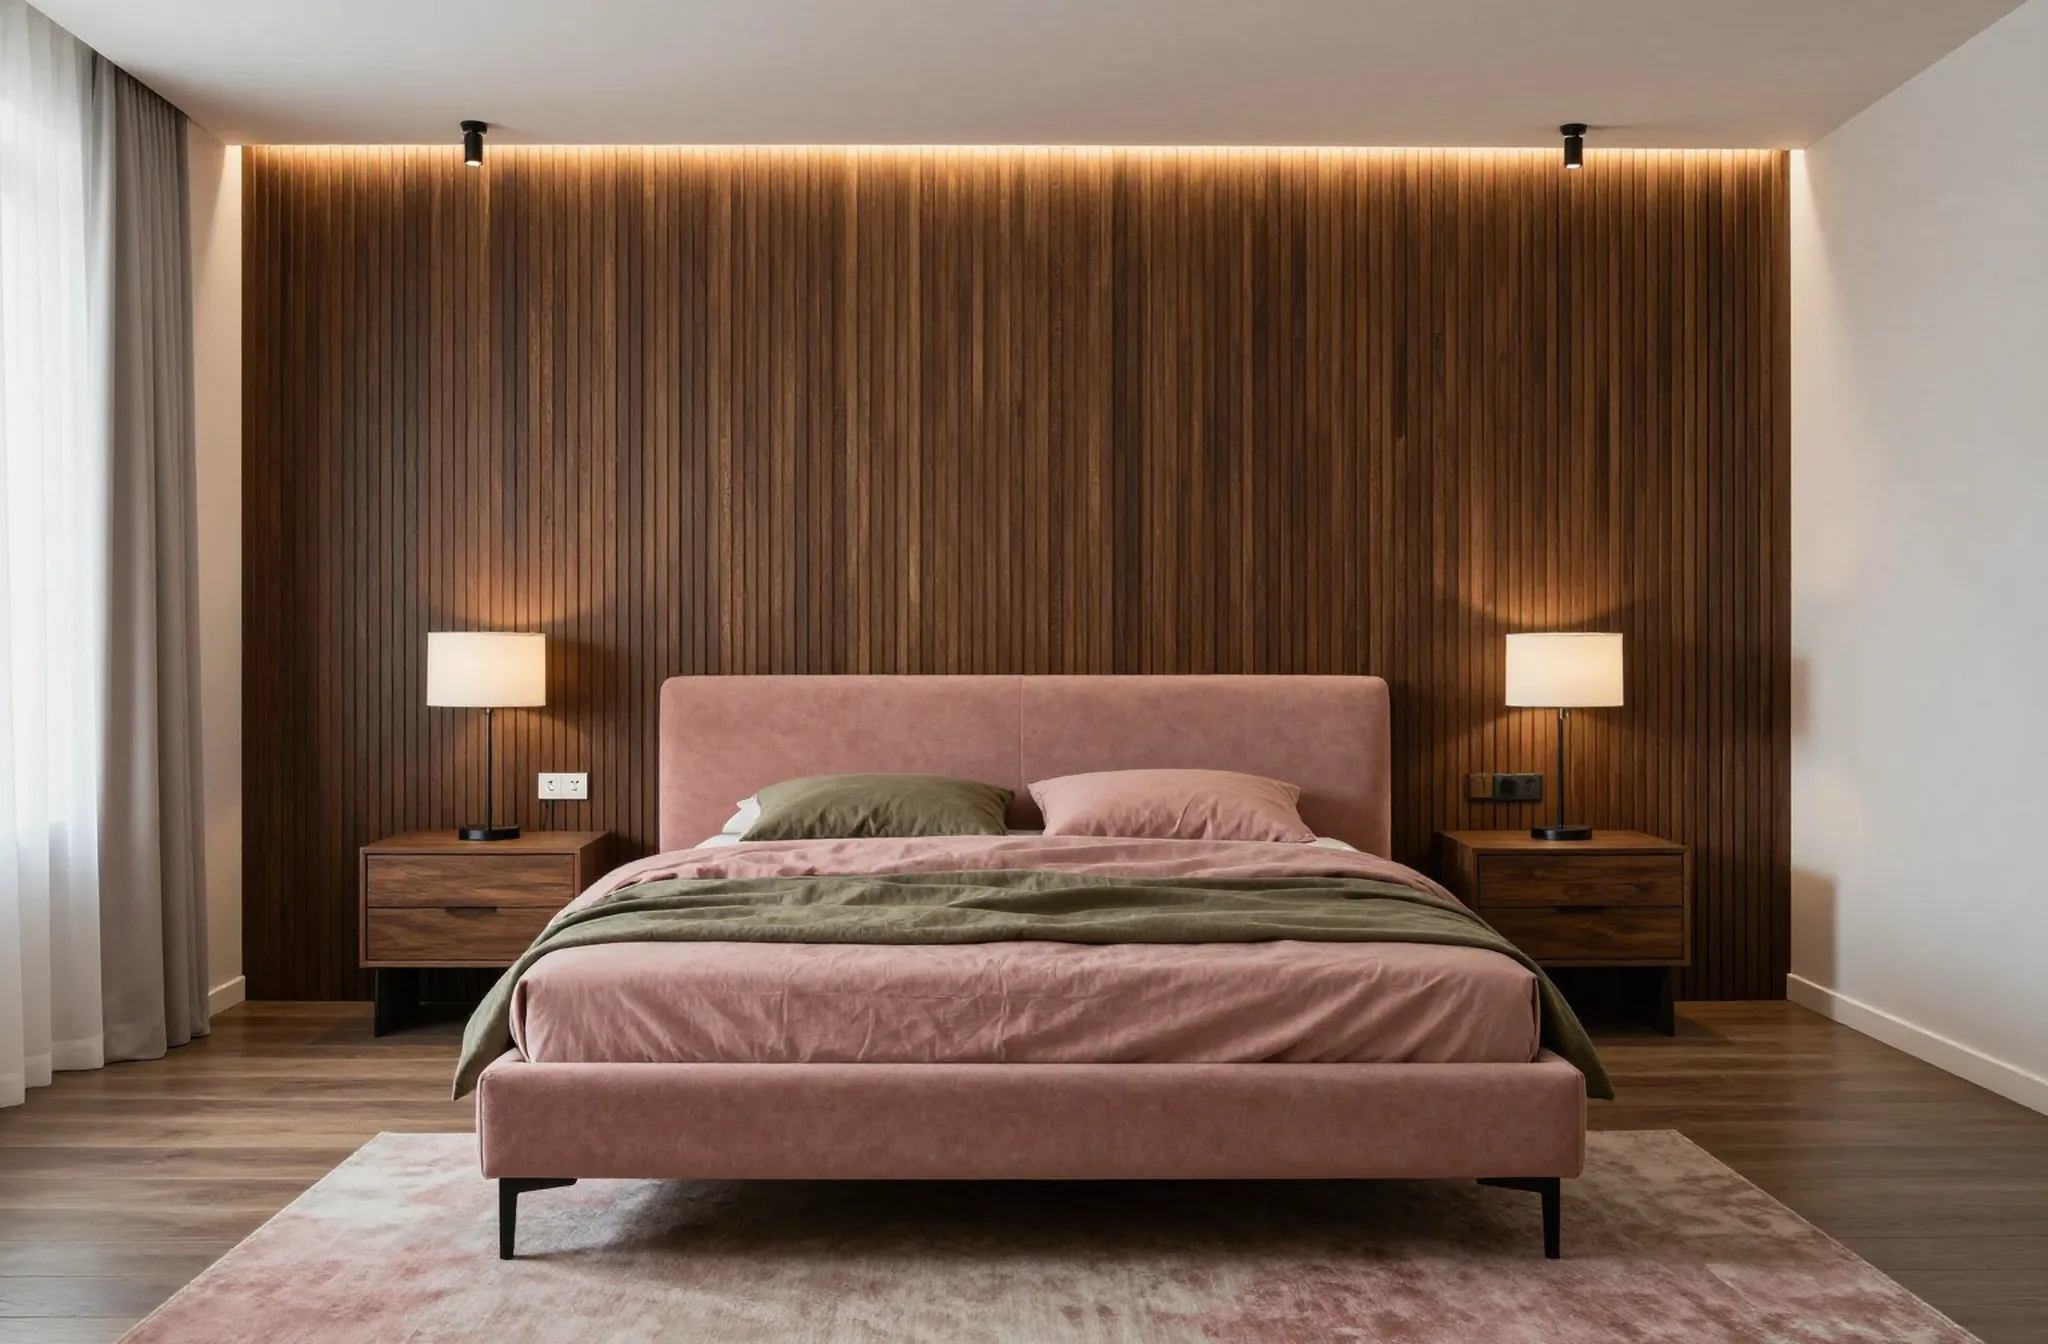
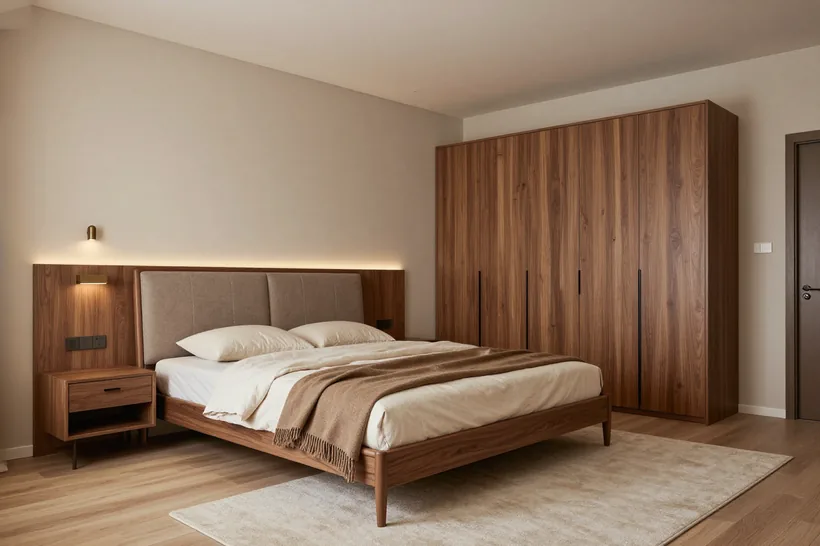
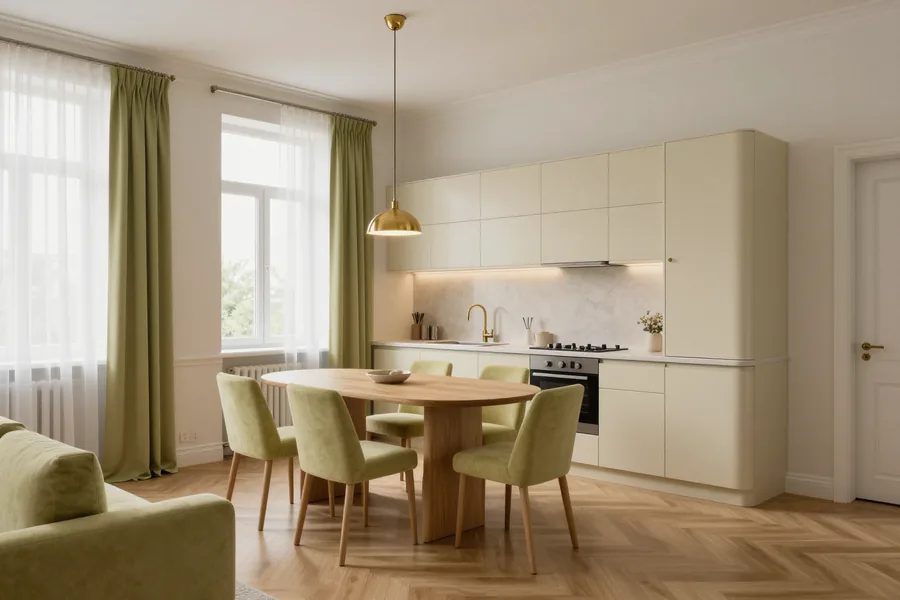
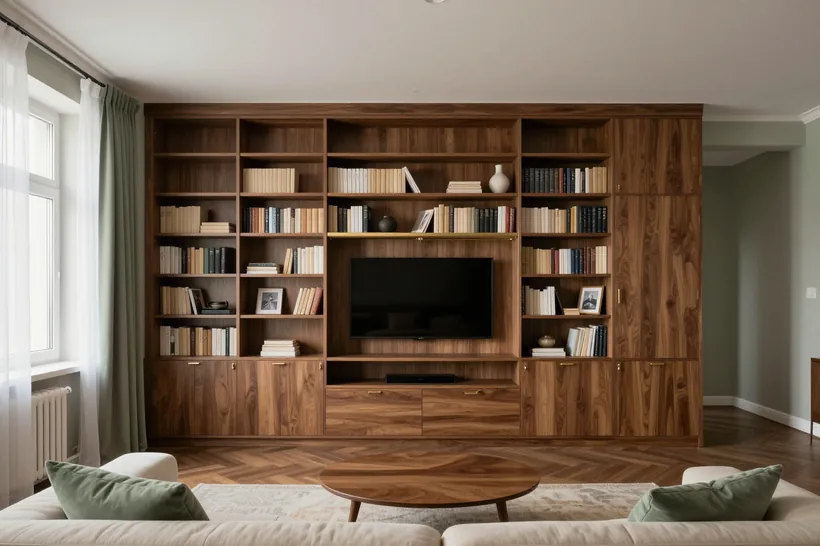
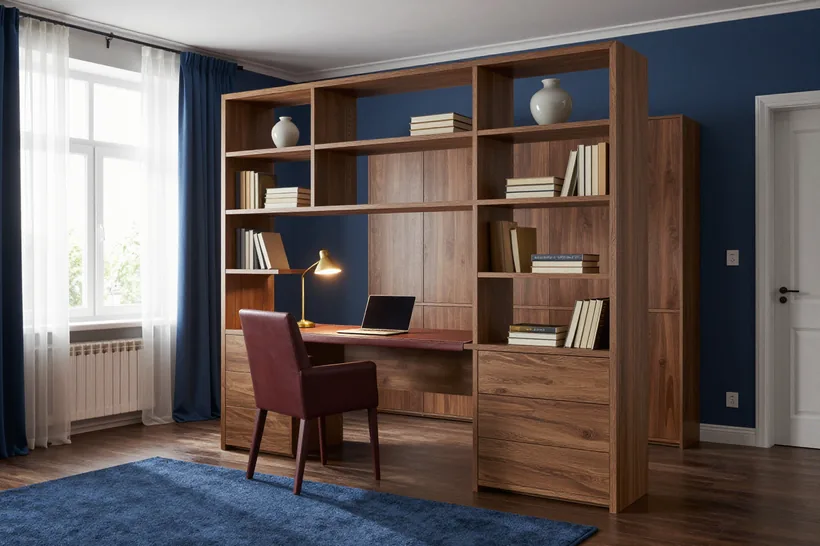
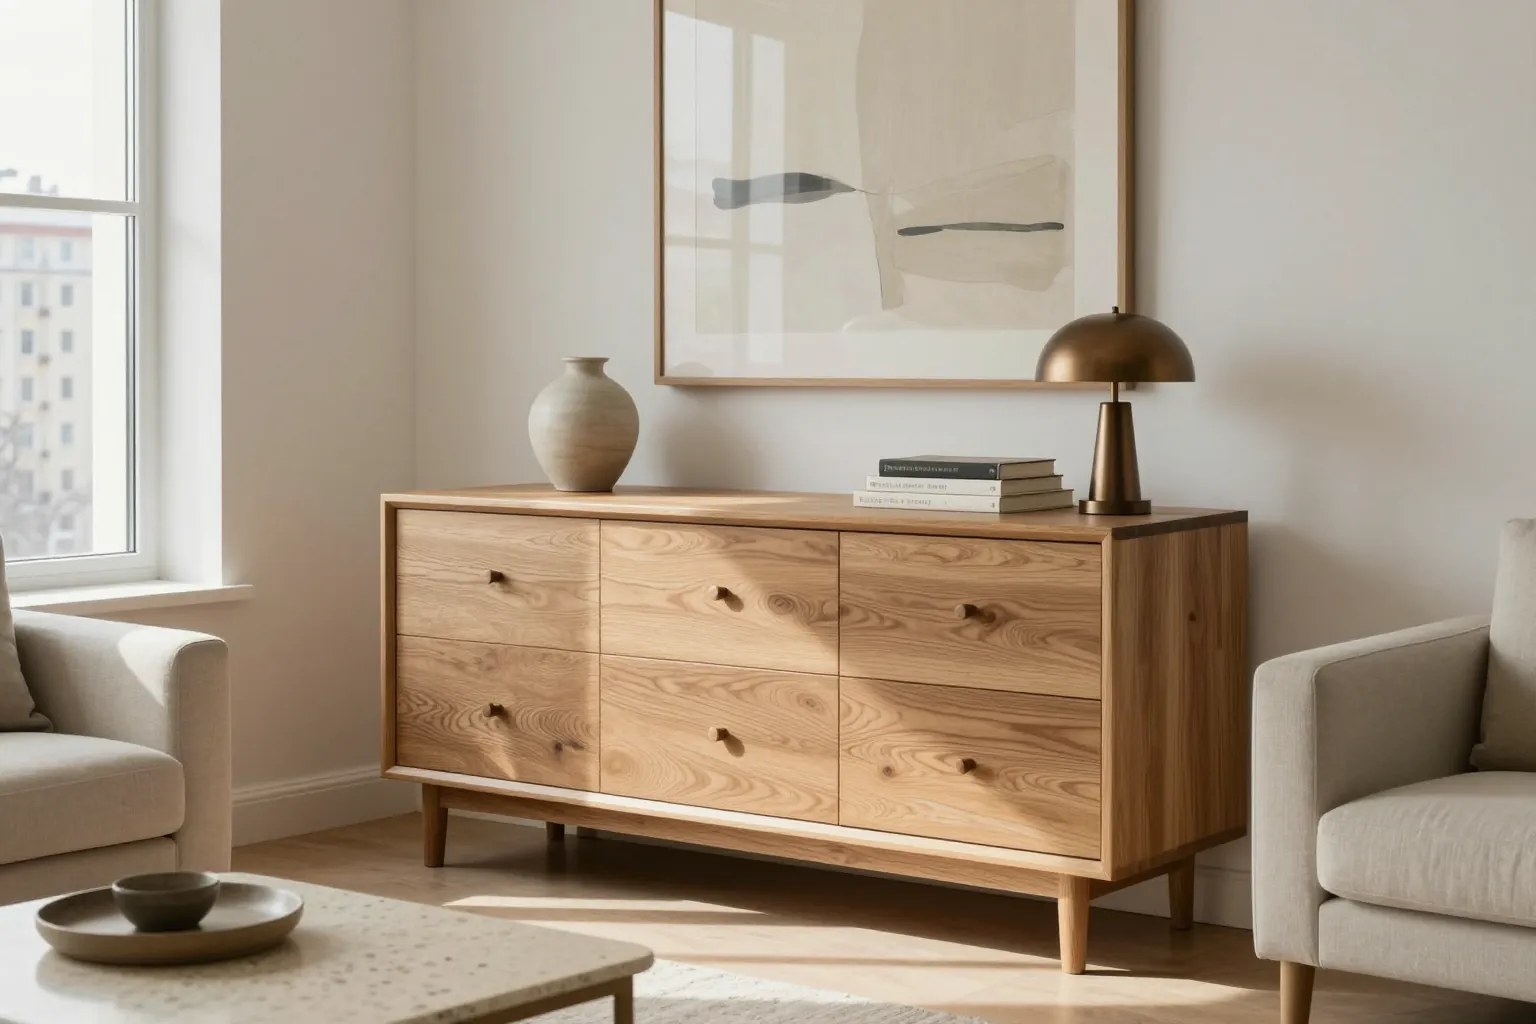
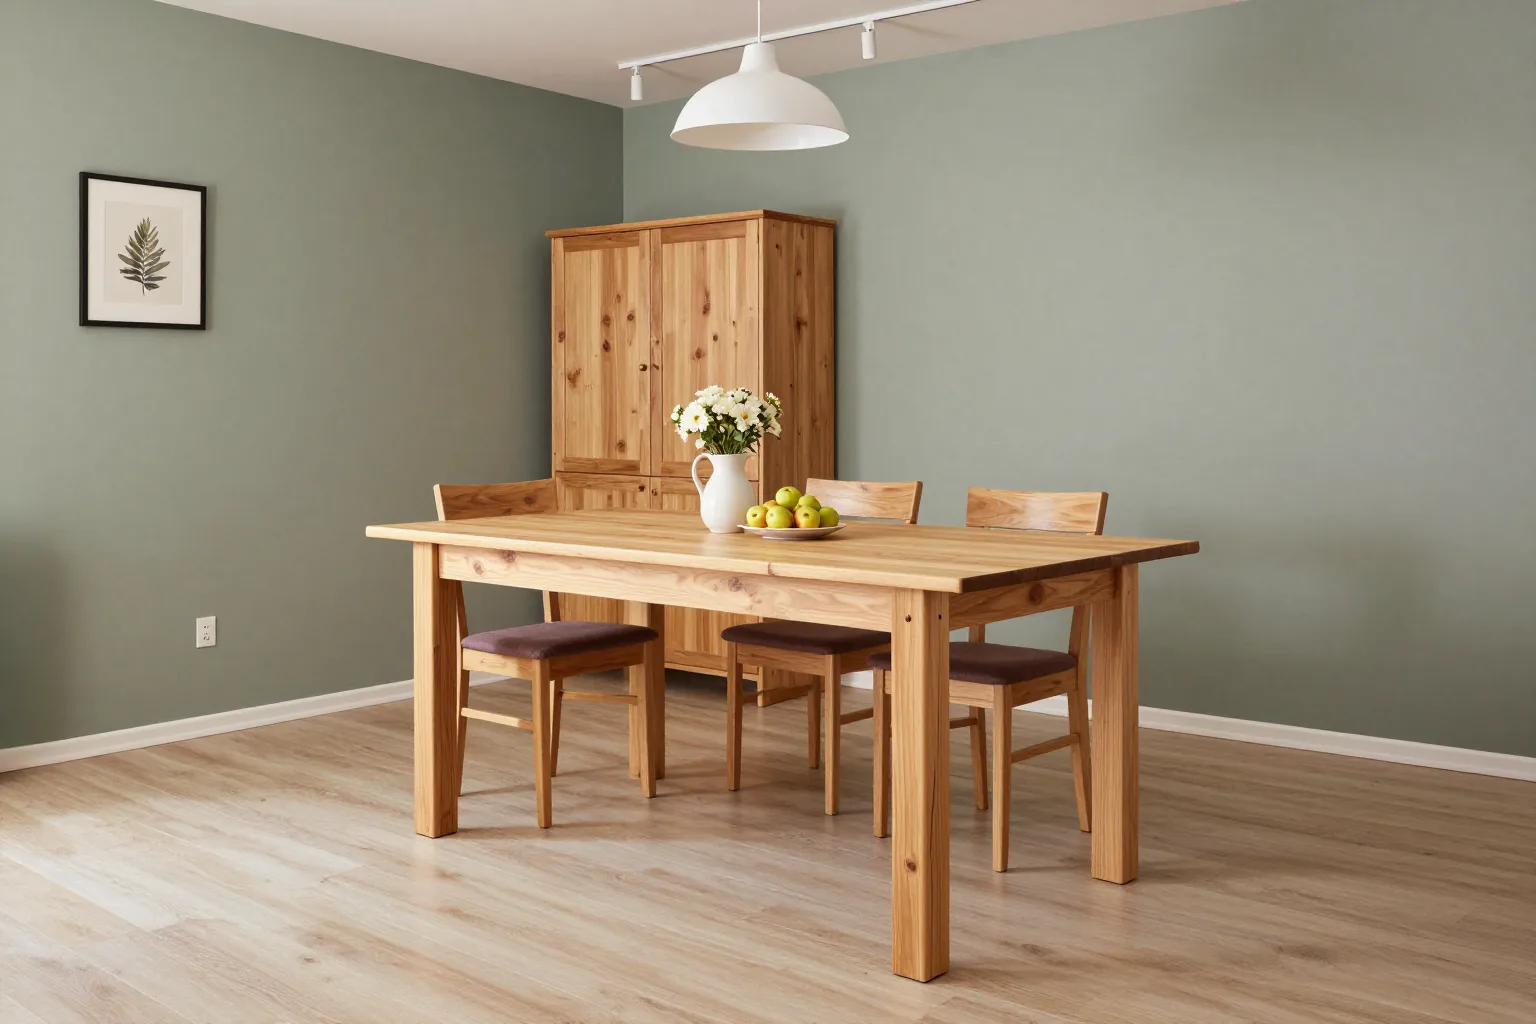
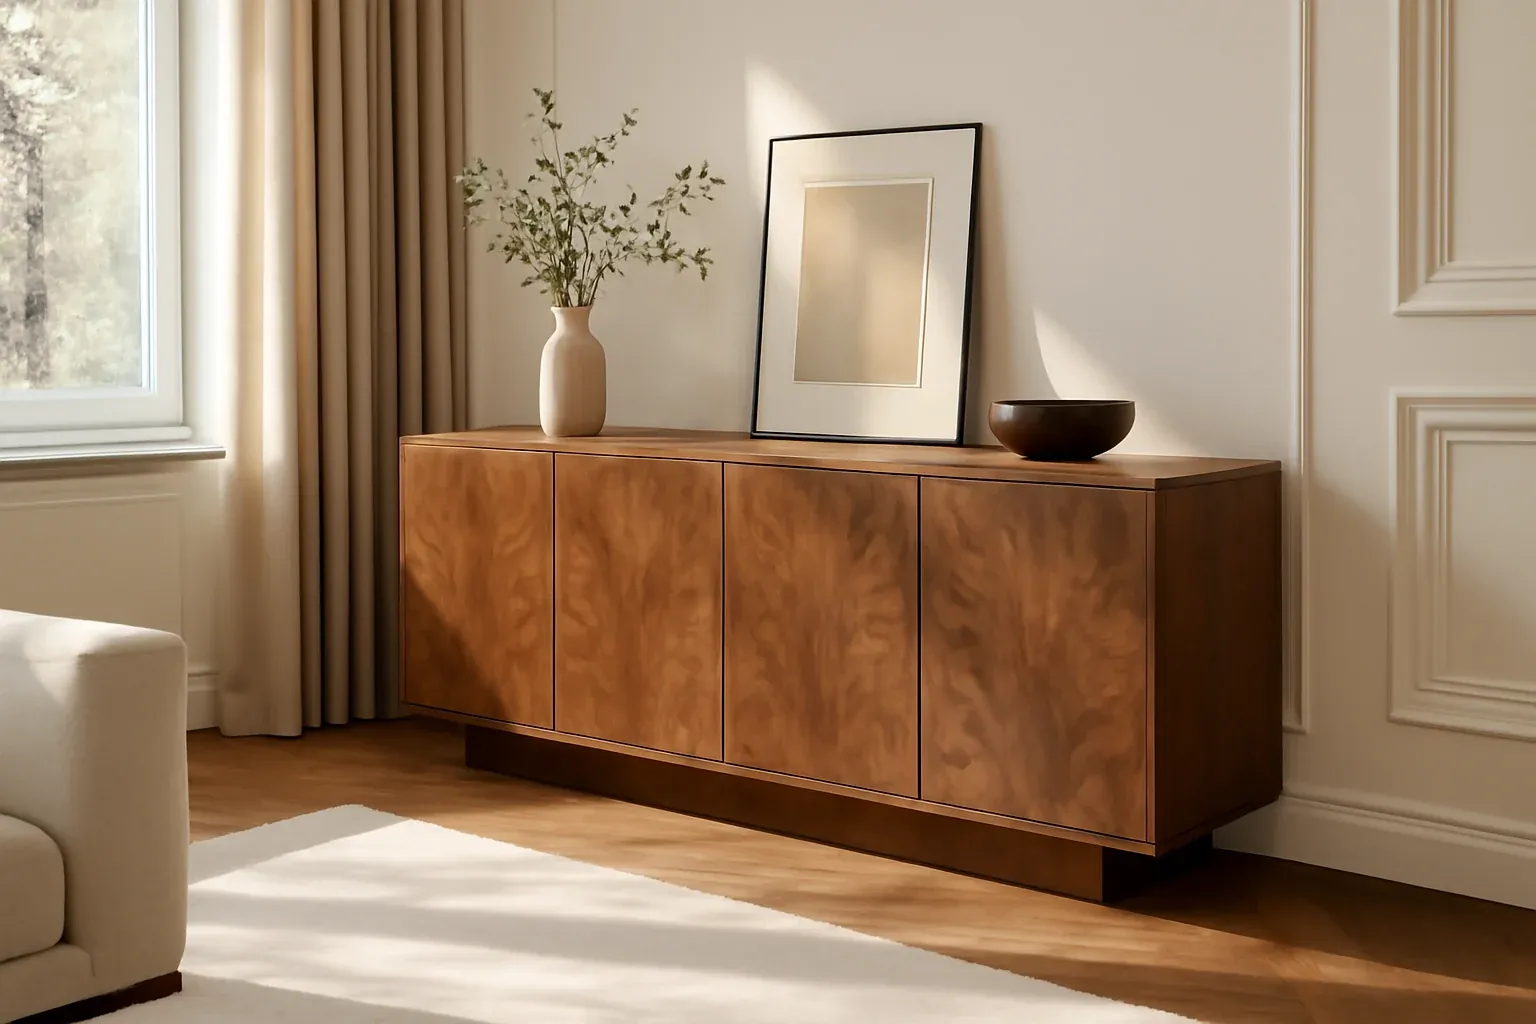
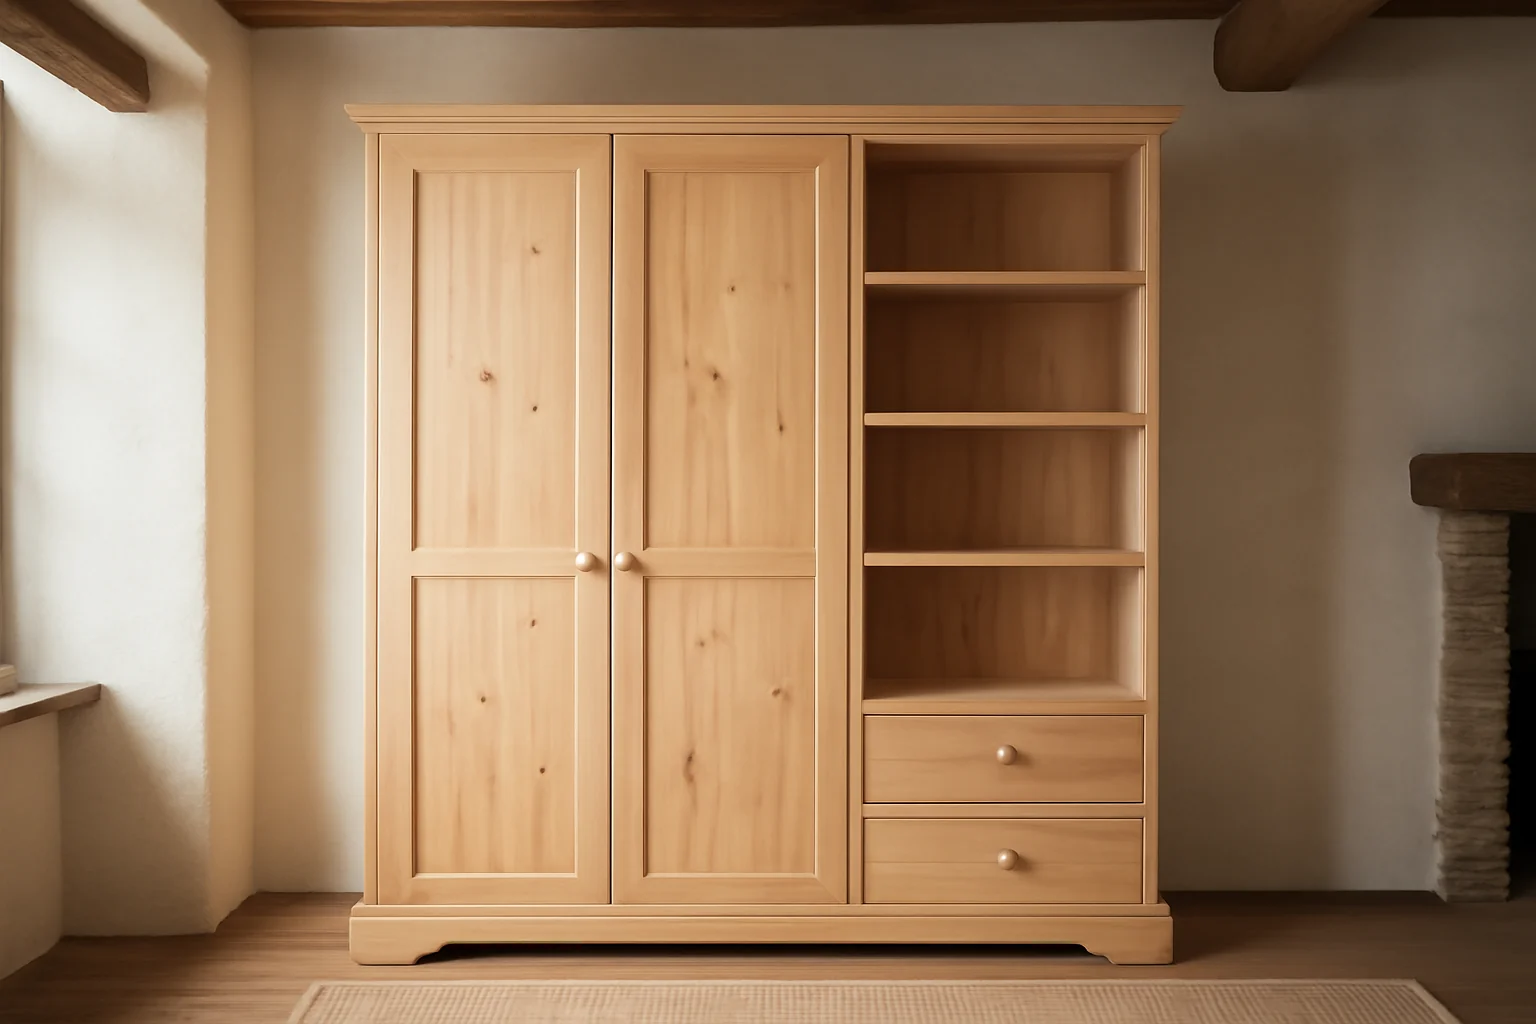
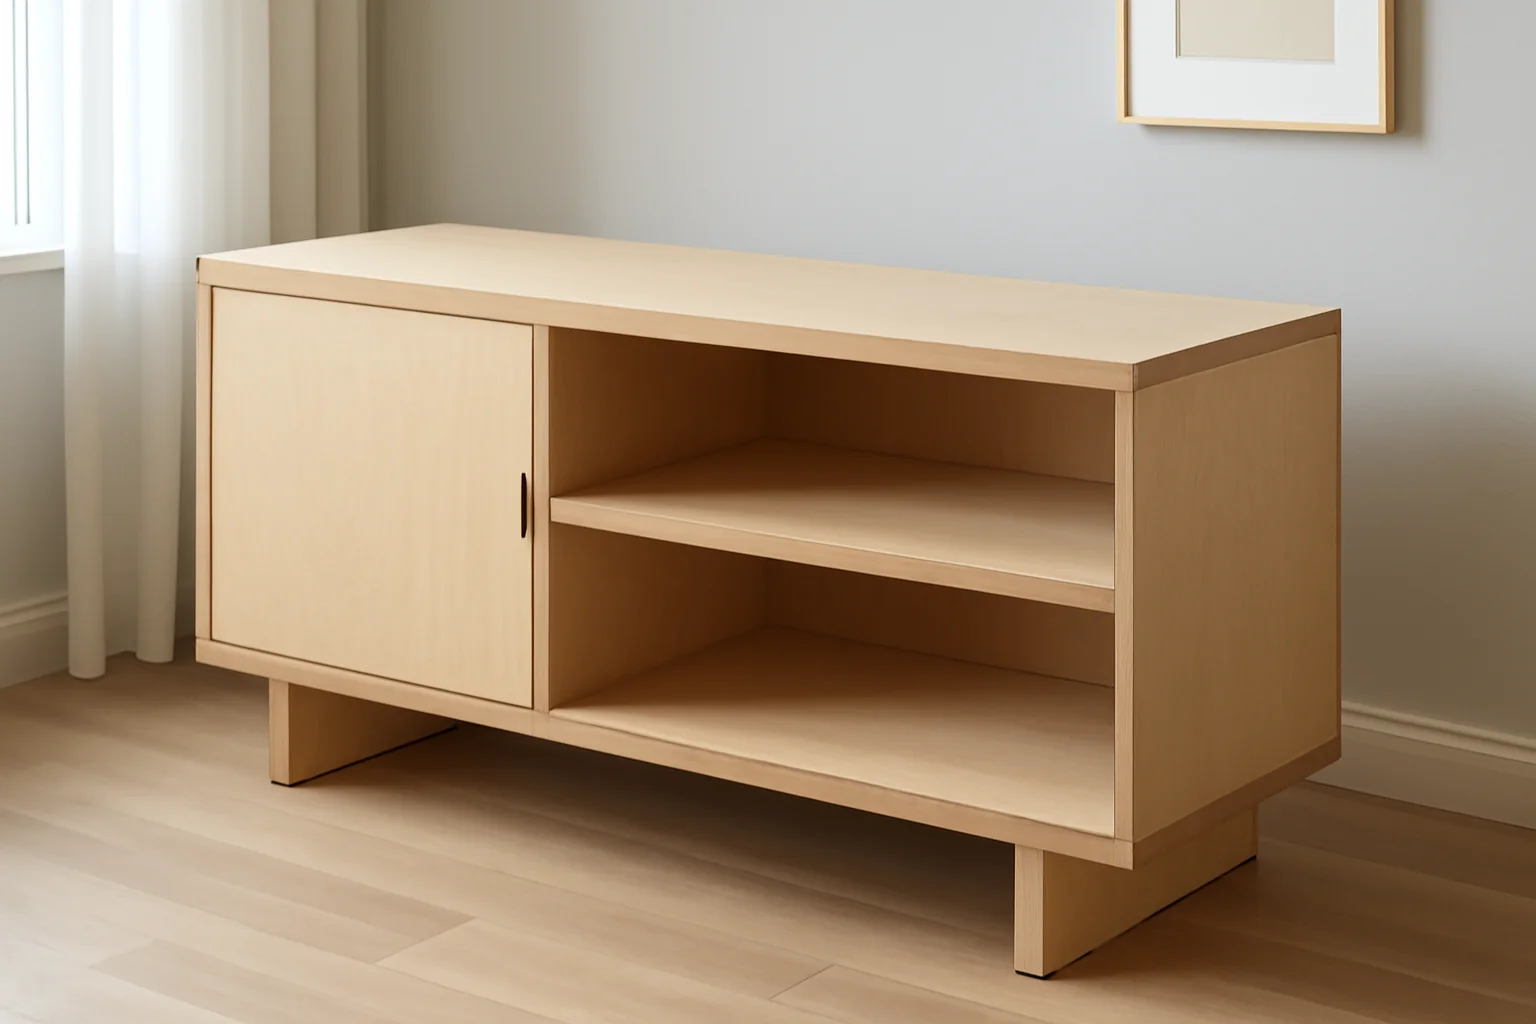
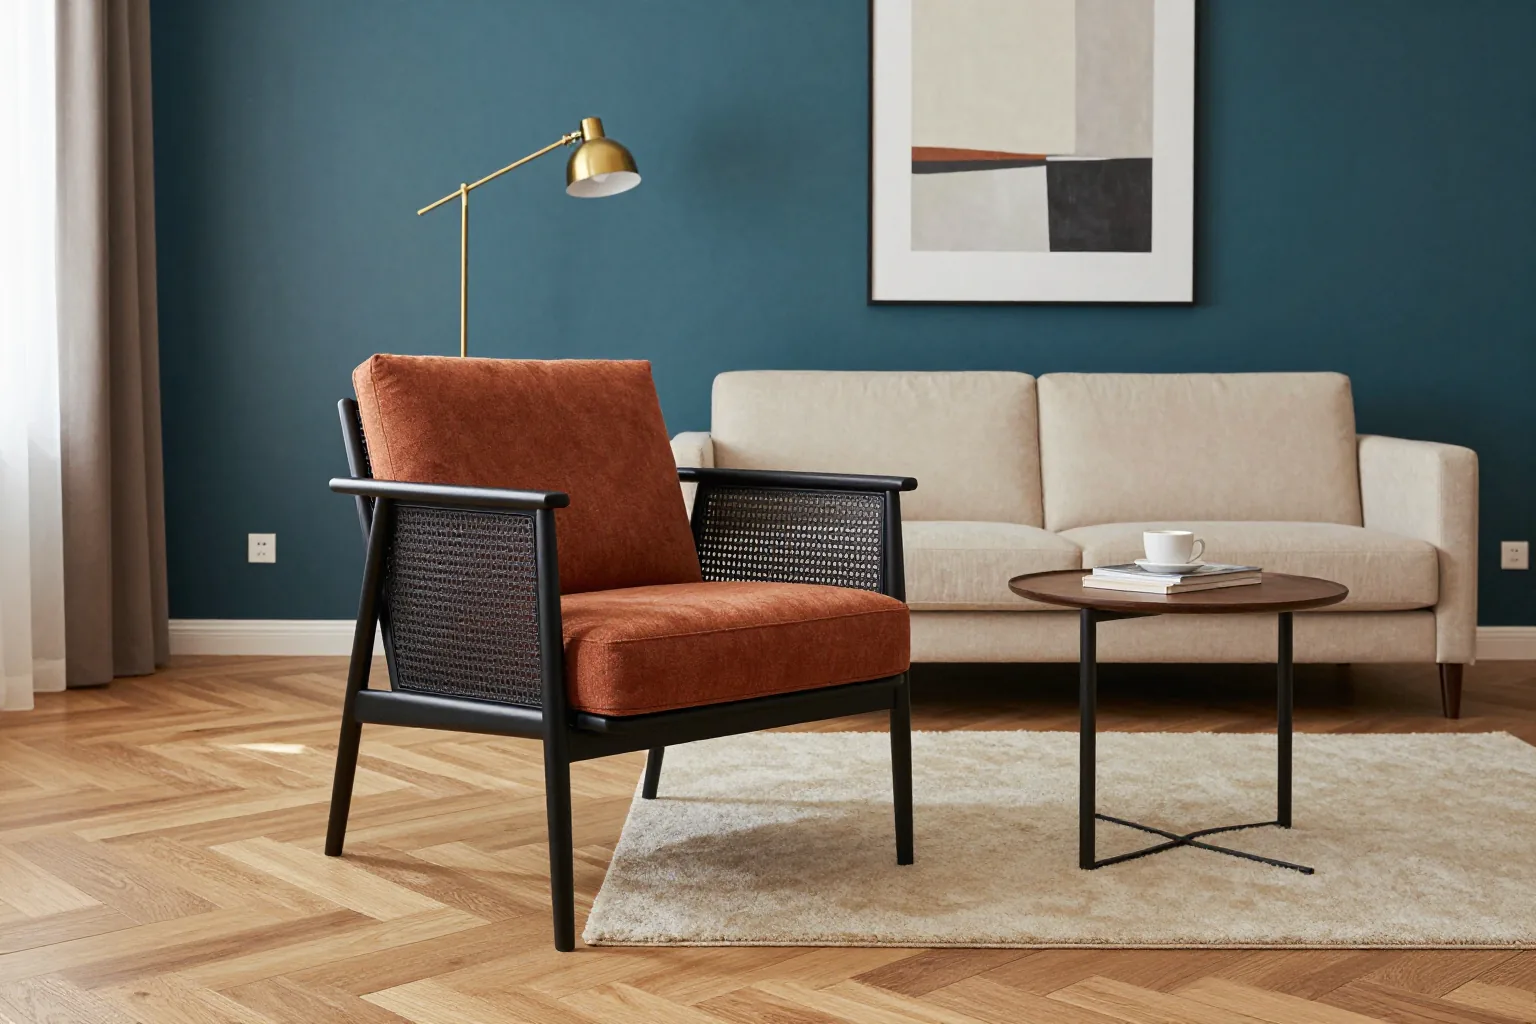
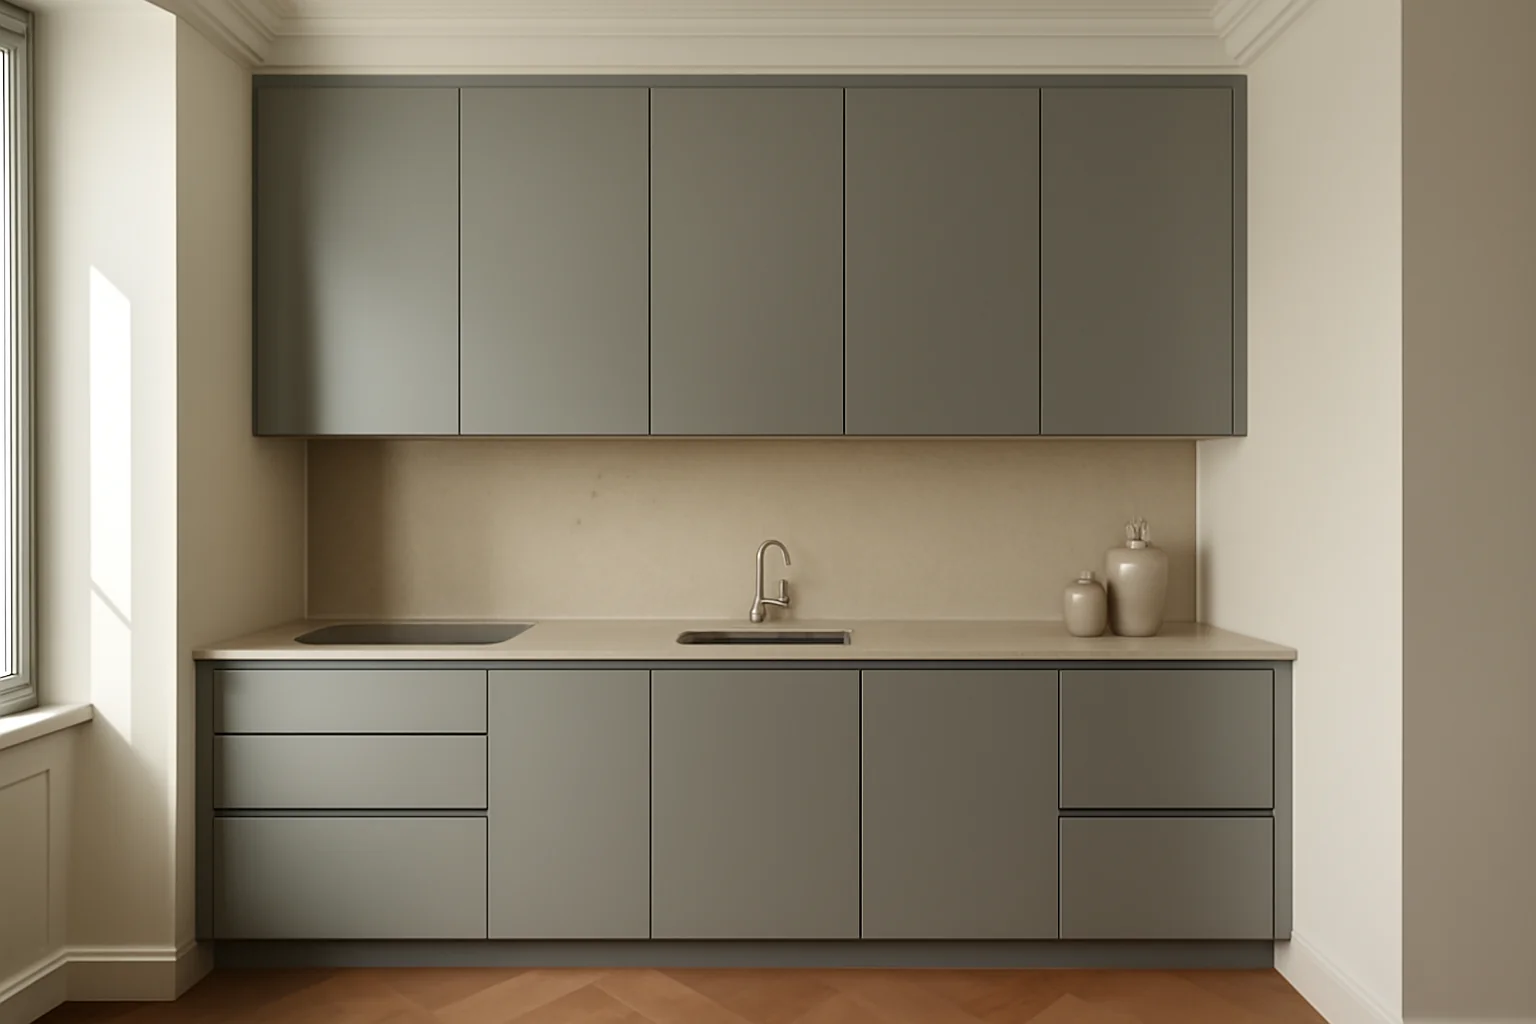
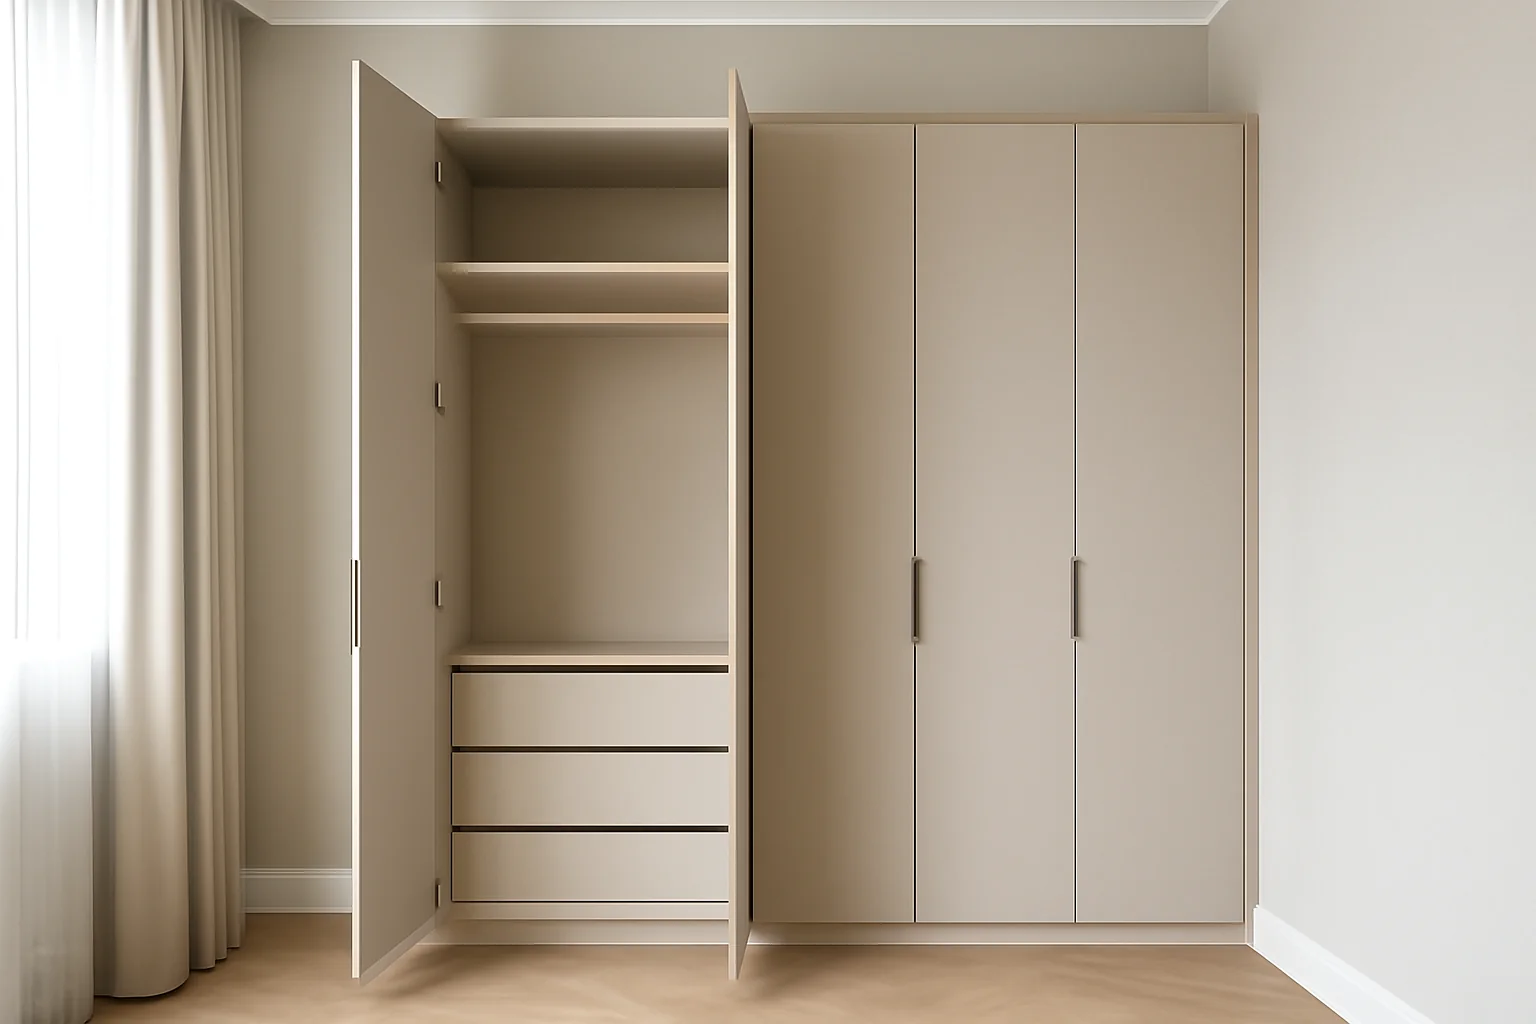
Custom designer furniture is the core focus of MEBLIX, a furniture manufacturer in Almaty. We create items from the client's sketch or a ready interior design project: our own workshop, free measurement, 3D design, manufacturing and installation by our own crews. Warranty on the item is 24 months under the contract.
The difference is not in decorative overlays but in the input data and the chain: sketch, working drawing, materials, radius parts, hardware. We break down point by point how items made to an individual project differ from a standard cabinet module from a catalog.
What makes furniture designer rather than just "custom"
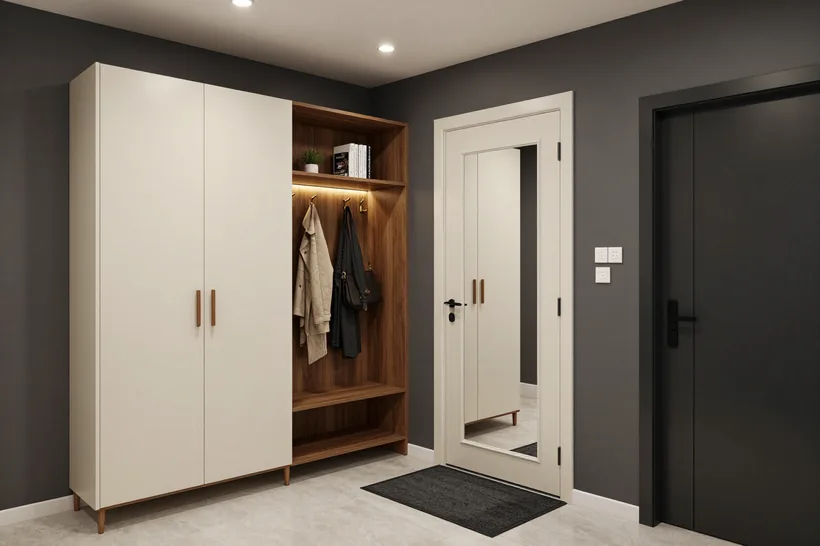
What sets designer furniture apart is not the decor but the input data — a sketch or an interior designer's project used to build working drawings, rather than a standard module from a catalog. The designer takes the client's sketch or a ready design project as the basis and turns it into working drawings with every part tied to the wall, floor and neighboring module. Radius fronts, bevels and non-standard junctions are calculated at the drawing stage, not adjusted during installation. If there is no sketch, its role is played by a 3D visualization approved before cutting — it is what fixes the geometry, radii and junctions. Our practice is simple: the more detailed the original sketch, the fewer revisions after cutting, because disputed joints are resolved on screen, not on a finished front.
How a direct workshop differs from an intermediary and an aggregator
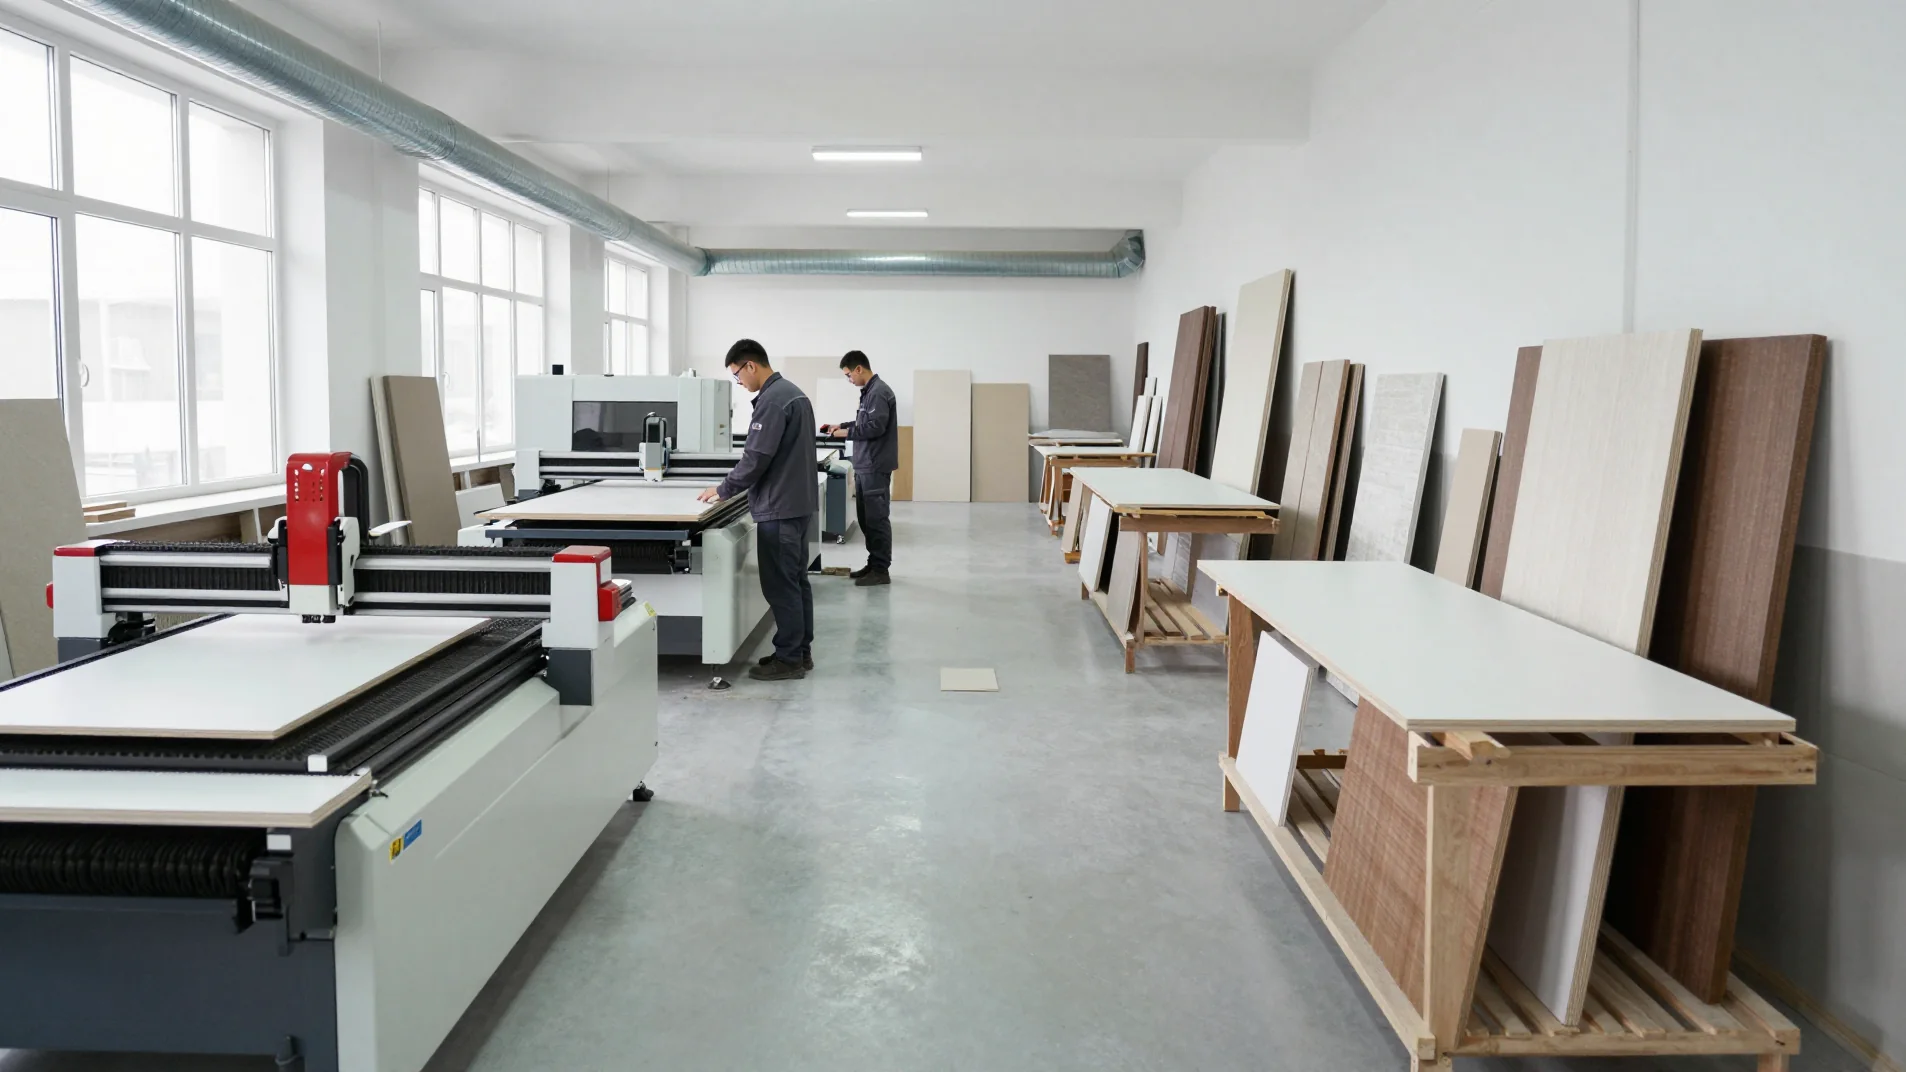
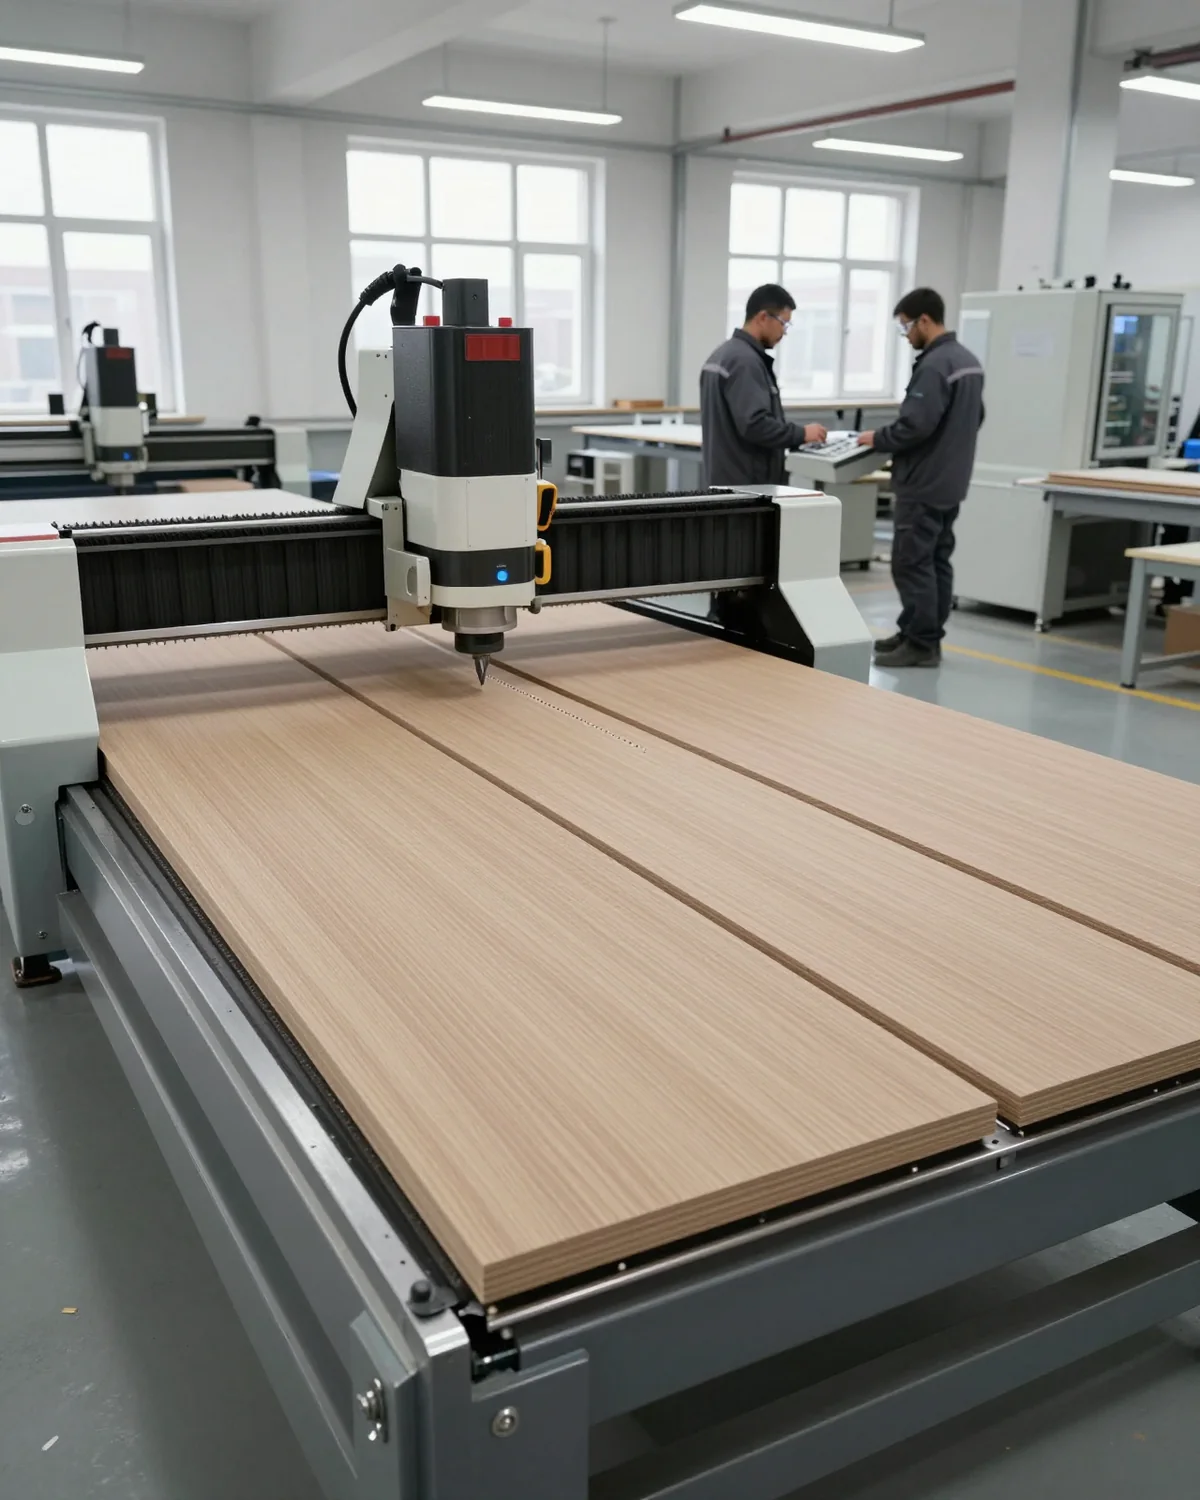
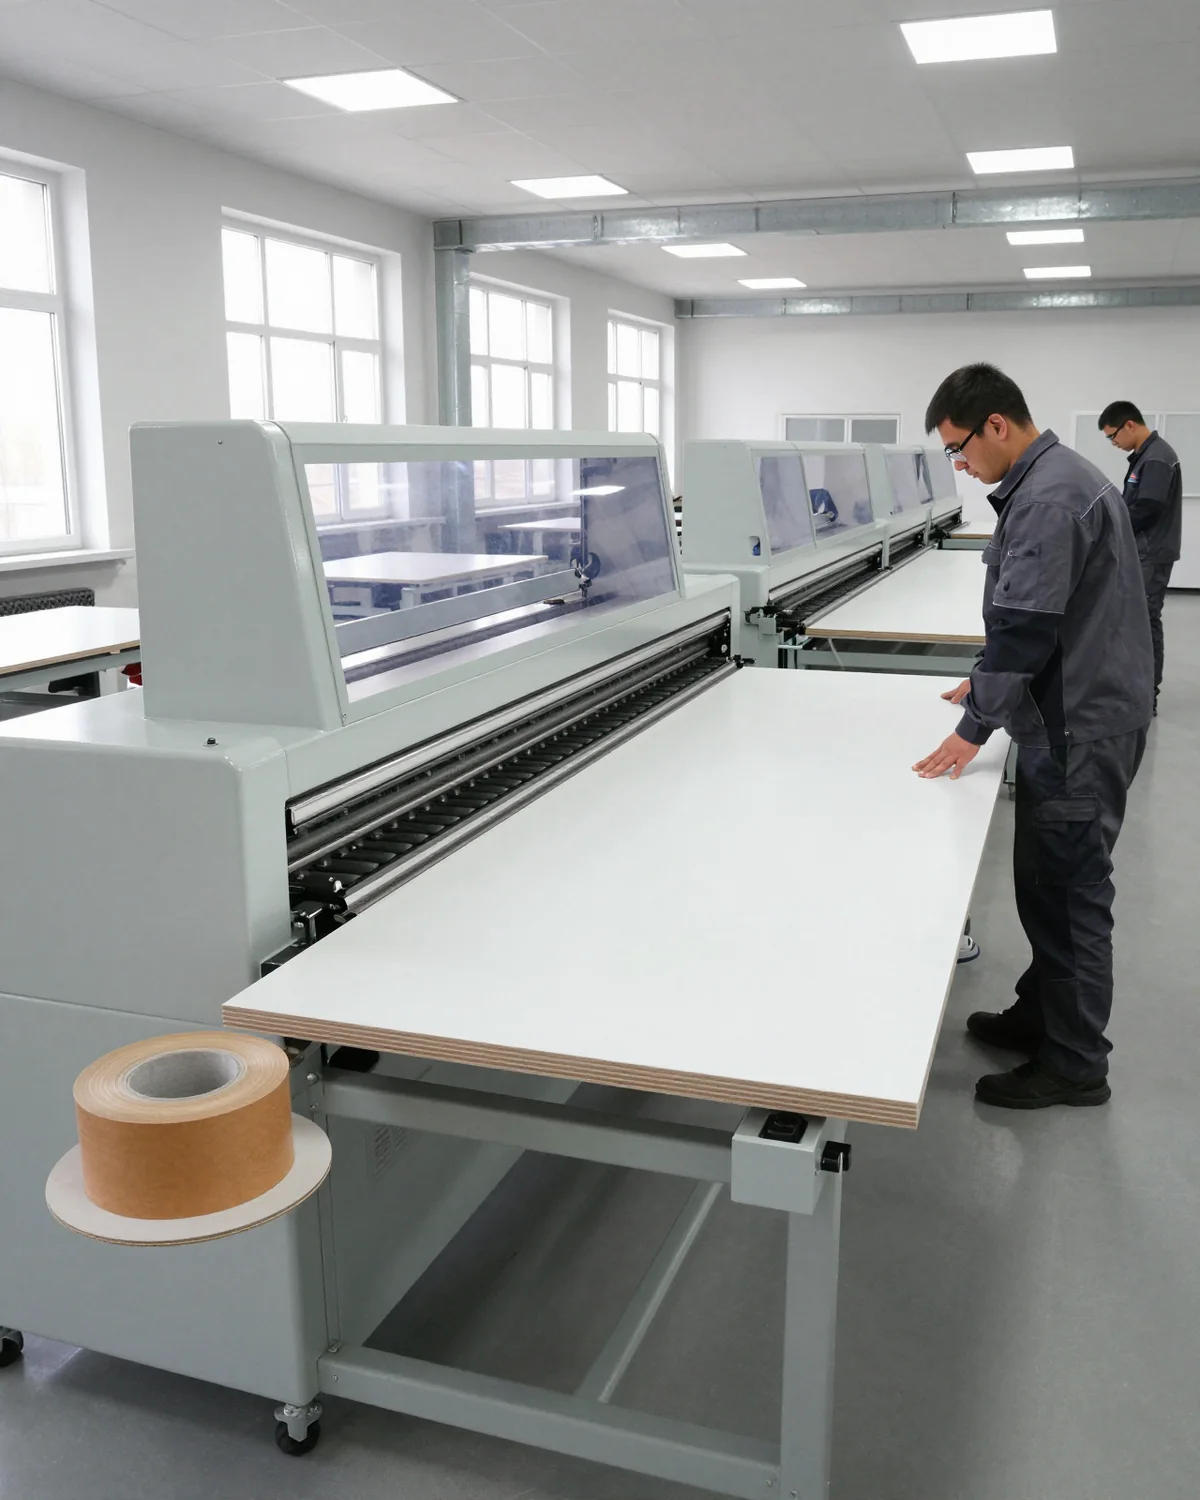
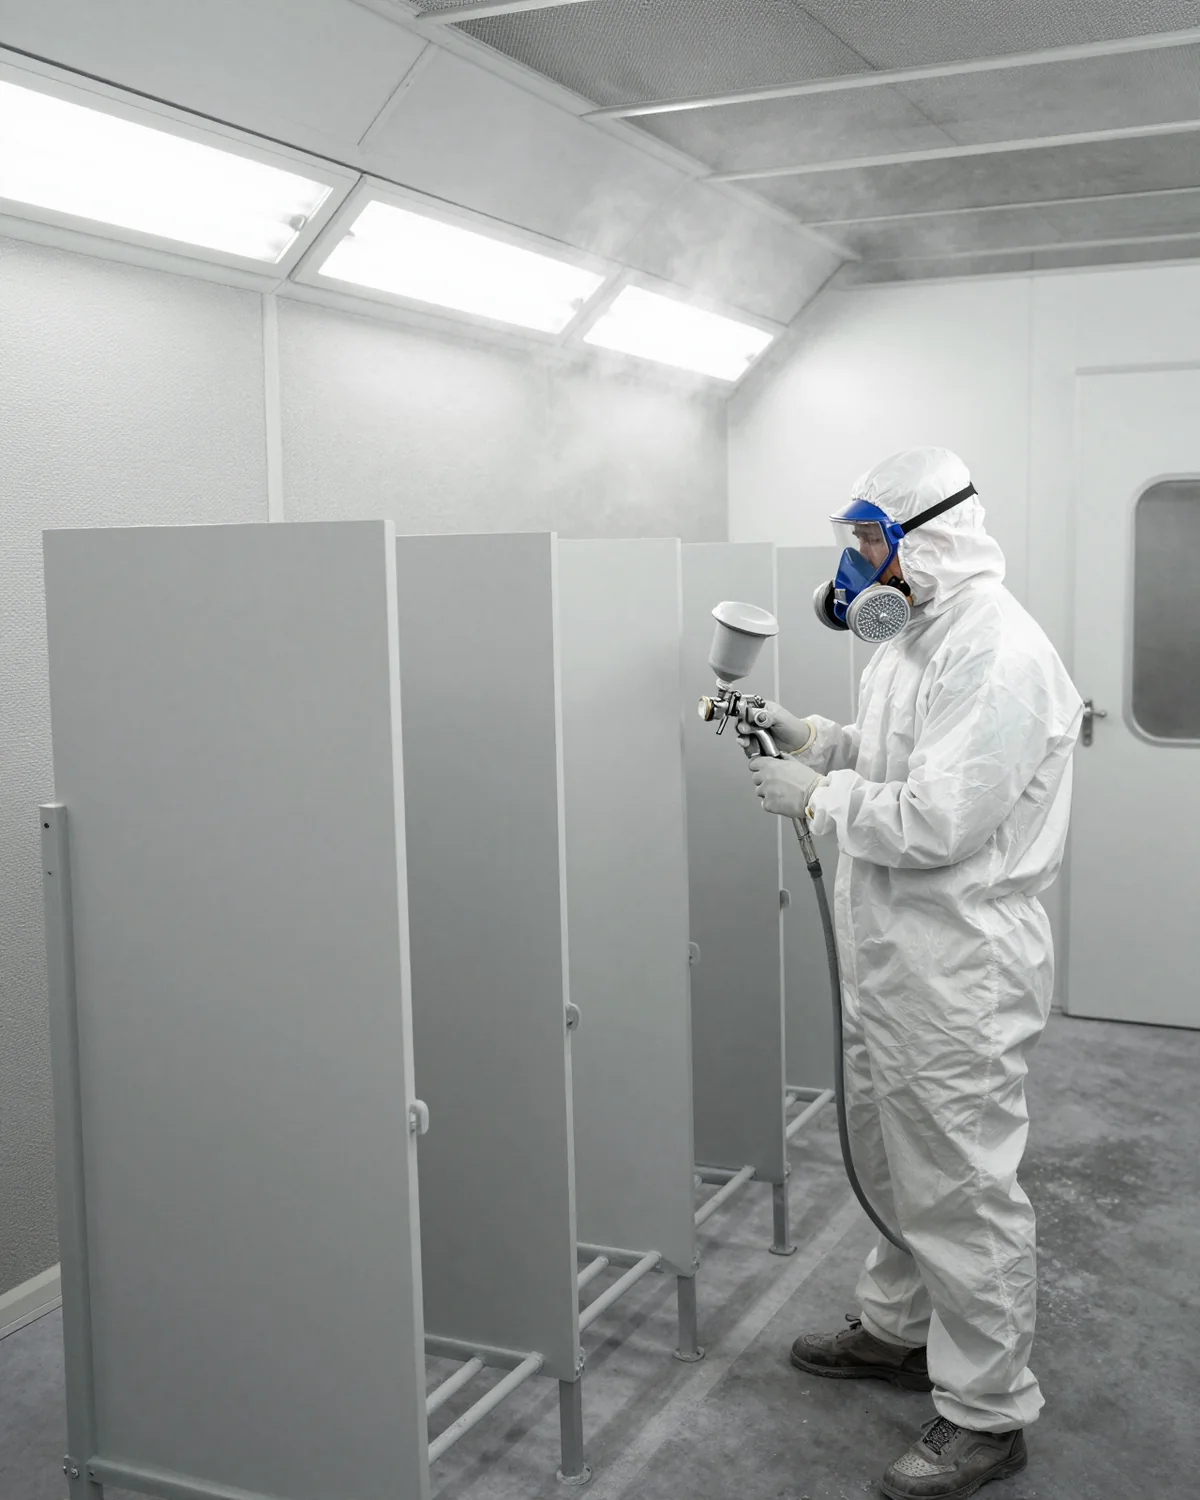
We are a direct manufacturer: measurement, design, production in our own 600 m² workshop and installation by our own crews, with no reselling of ready-made items and no chain of intermediaries. The workshop has CNC cutting, milling and bending of radius MDF parts, veneering, an enamel spray booth and a solid wood joinery section — so a part does not go elsewhere between operations. The designer and the workshop craftsmen work in one loop: a change to the drawing is visible immediately, without correspondence between contractors. When an order goes through an intermediary, any change in geometry or material goes through extra approval. Hence the practical takeaway: ask who exactly does the cutting and painting — if the answer is vague, changes in geometry will be more expensive and slower.
Which layouts and tasks suit furniture made to an individual design
- Non-standard room geometry: bevels, bay windows, niches, columns, sloped ceilings — a standard module does not fit here without gaps.
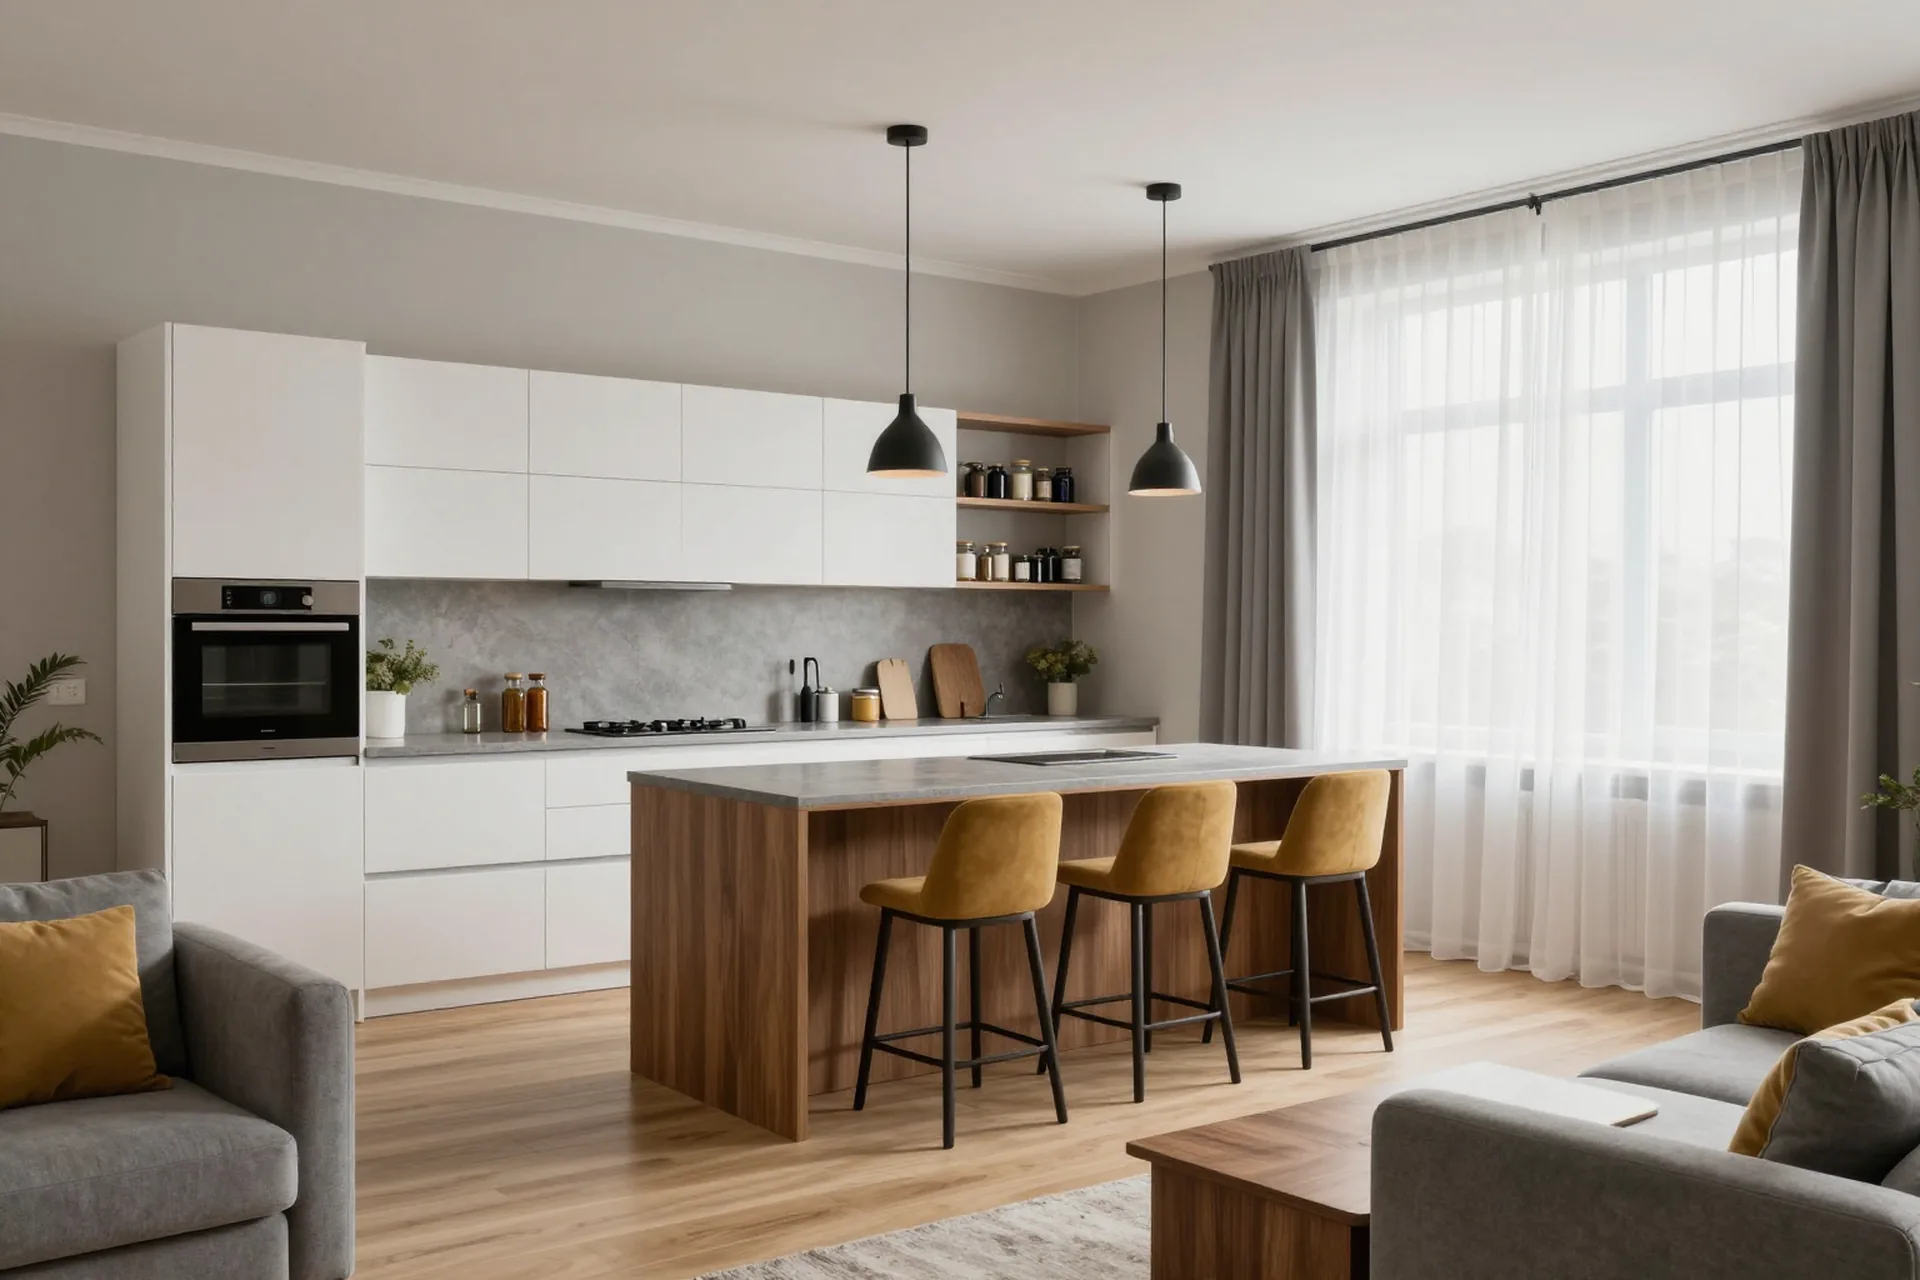
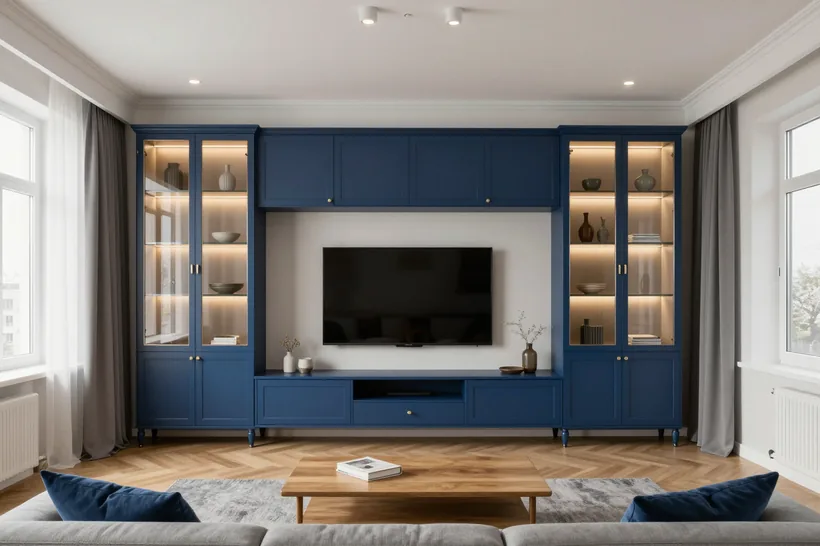
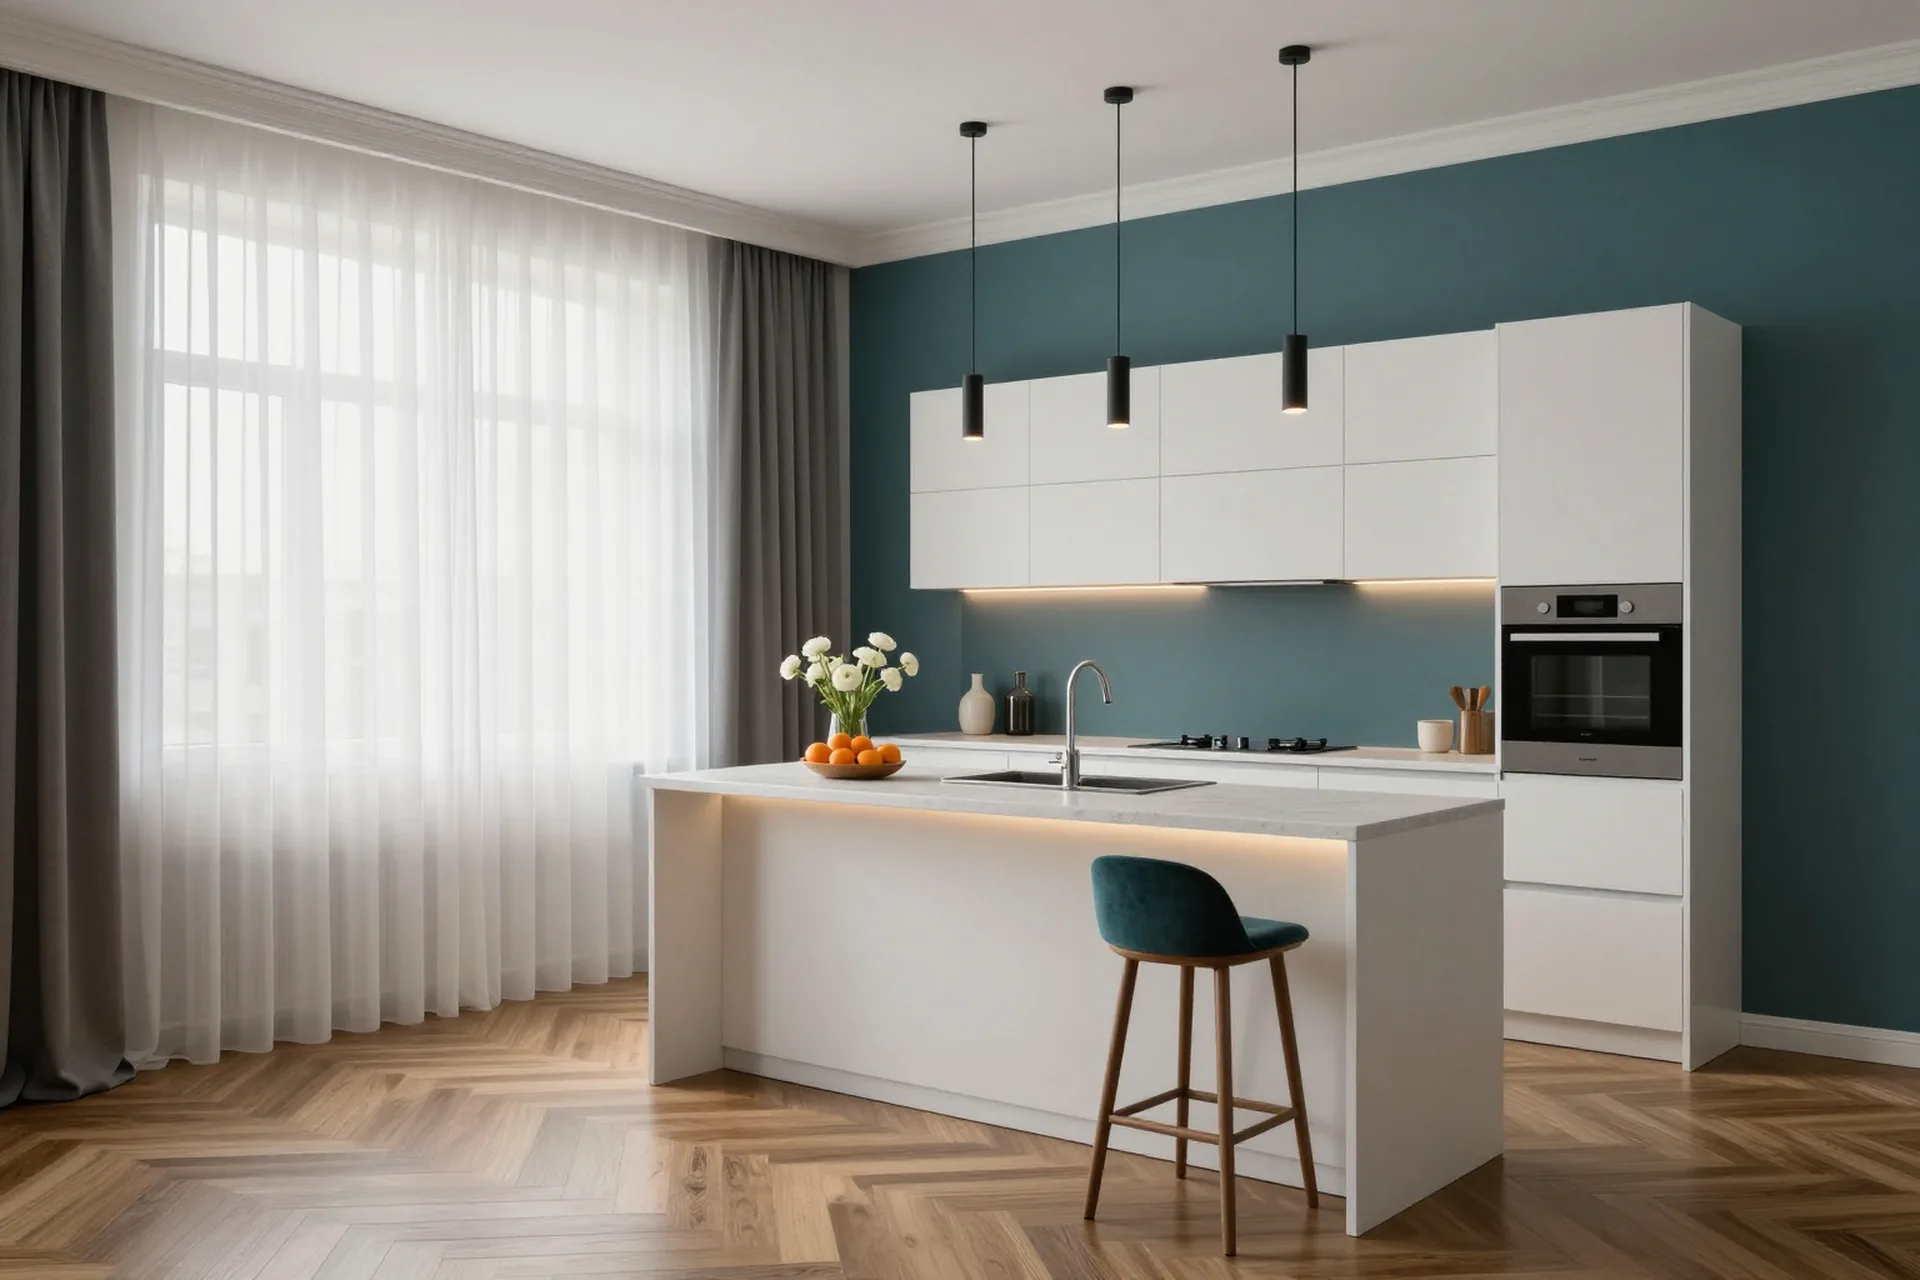
- A single line of fronts: kitchen, wardrobe and TV area in one material and color so the room reads as a whole.
- Radius elements: curved fronts and rounded MDF shapes made for a specific opening, not a standard radius.
- Built-in solutions: walk-in closets and wardrobes fitted into a niche to the millimeter along the wall and floor.
- An interior designer's project: when the whole room is already drawn and you need a maker who will follow the drawings strictly.
- Measurement with deviations: we record not only the dimensions but also uneven walls and floors — they most often break a standard concept.
How to order furniture made to an individual design from a sketch or someone else's project
An order starts from one of two entry points: your own sketch or a ready interior designer's project. Below we show what happens to each of them in our workshop.
If you have a client's sketch
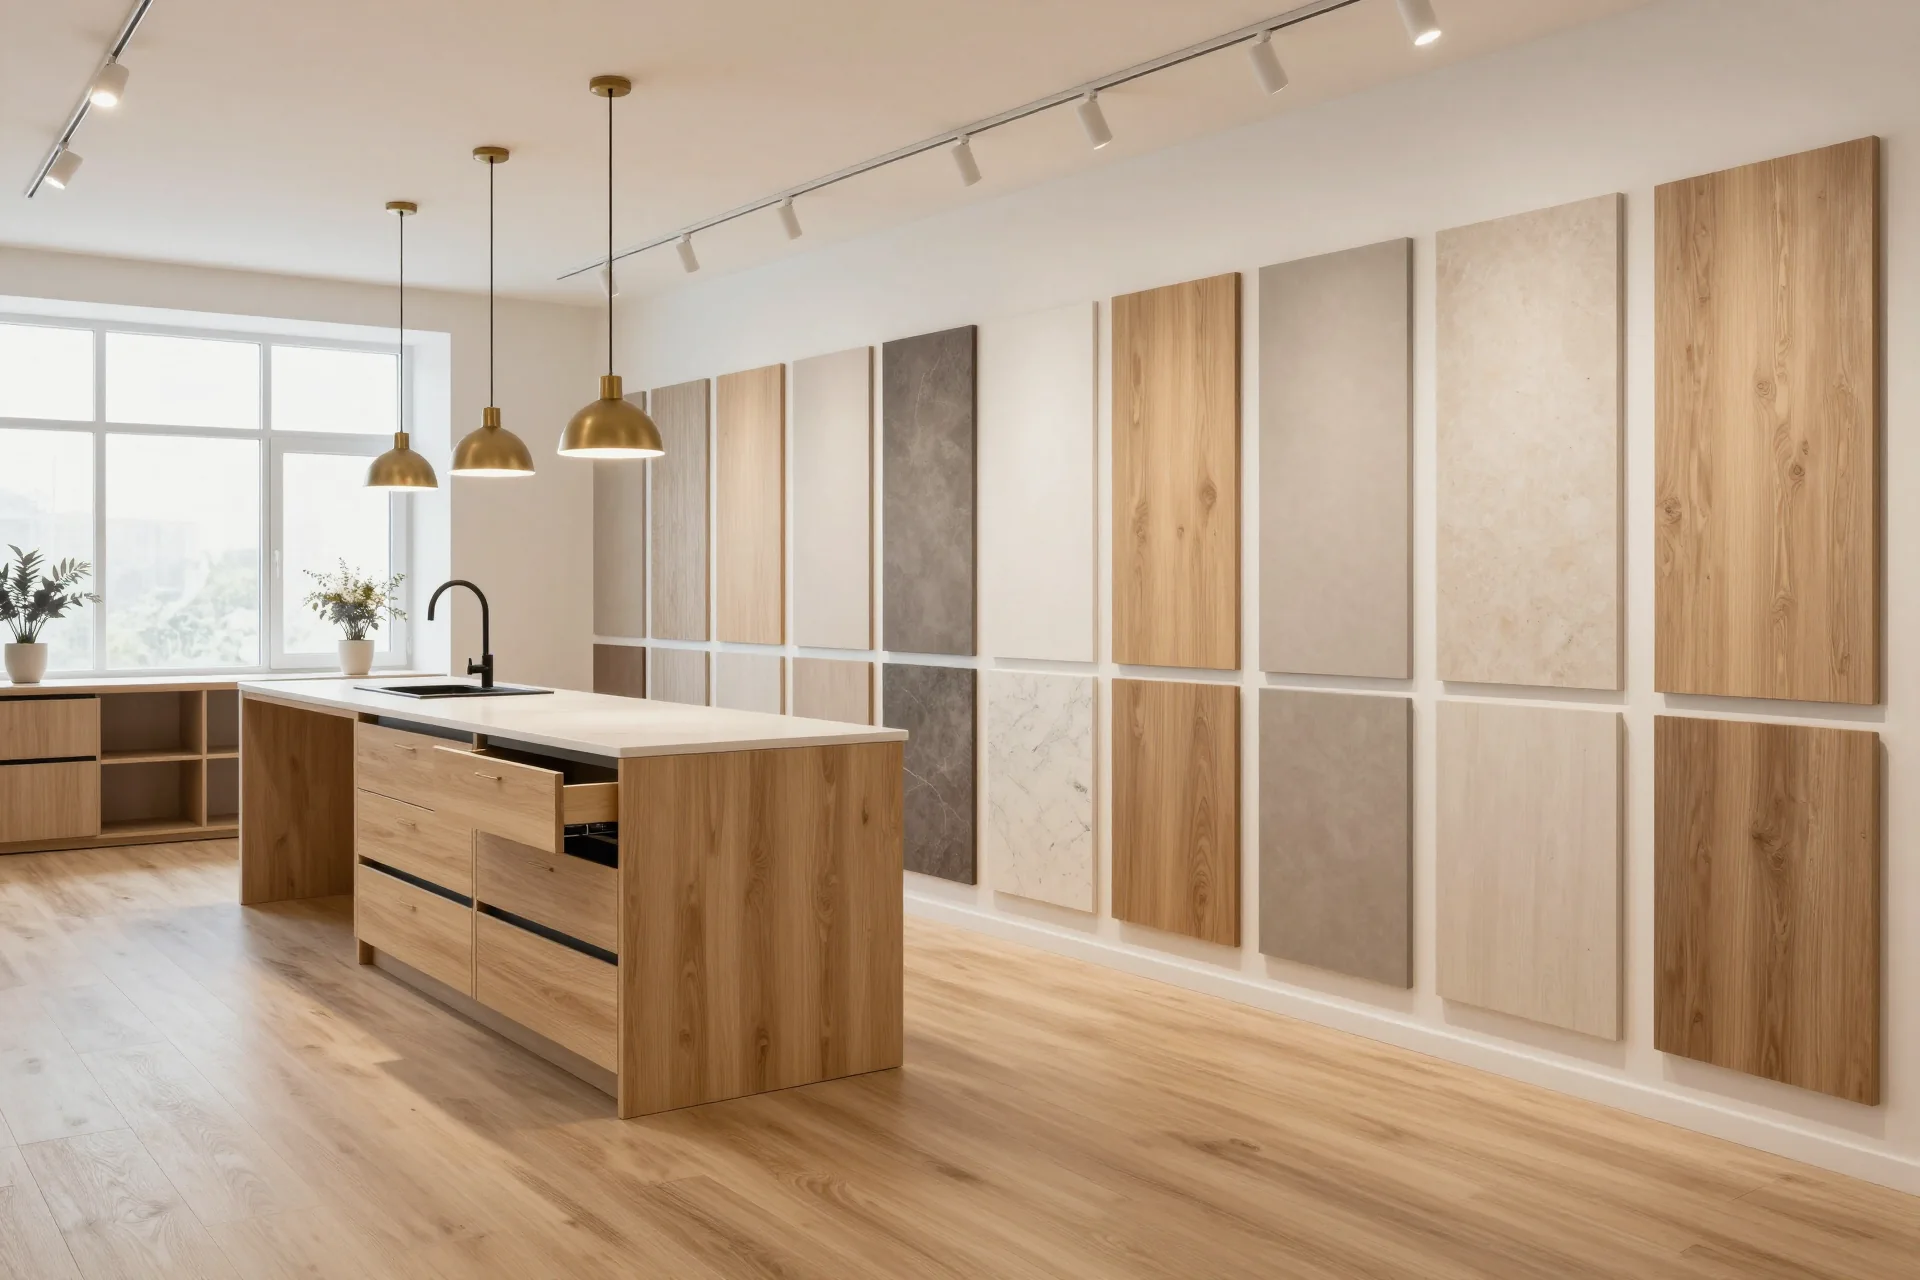
We work from the customer's sketch: our design engineer clarifies the dimensions and joints, we build a 3D visualisation and approve it before cutting. A hand-drawn sketch is an idea, not a drawing, so the engineer works out the junctions with the walls, the panel thicknesses and the door opening direction, and then turns the sketch into working drawings for CNC cutting. We come to the measurement with samples of enamel, veneer and stone, so the front texture is chosen from a real sample rather than a picture. In our experience, the earlier the visualisation is approved, the fewer corrections there are during installation — gaps and mismatches that were not in the sketch show up right there. Our engineer first clarifies what will be stored inside and only then draws the sections: the wardrobe depth and the drawer layout depend on it.
If you already have a design project from an interior designer
We accept a ready project from an interior designer: our engineer turns it into working drawings for our cutting, and we approve the 3D visualisation before cutting. Such work is often drawn in finished dimensions, without allowances for Blum hardware and edge thickness, so we work out these joints separately — otherwise the fronts catch on each other when opening. We do not redraw the author's concept but bring it in line with the technology: we check radiused MDF parts for bendability, select hinges and runners for the weight of the leaf, and clarify the fixing to the walls and floor. If the sketch calls for a material that is not in our range, we say so honestly before the contract is signed, not after work has started. We send the working drawings to the designer for review — so the author of the project sees that their idea reached the workshop without distortion.
What custom furniture making includes, step by step
- Measurement: free, we bring samples of enamel, veneer and stone to choose the texture.
- 3D project: we prepare it in 1–2 days and approve it with you before work starts.
- Working drawings: the engineer turns the concept into documentation for machining and hardware.
- Workshop: CNC cutting, milling of radiused parts, veneering and enamel painting.
- Control assembly: we assemble the item in the workshop before sending it to the site.
- Installation and acceptance report: our teams install the furniture on site, and we sign the acceptance report after installation.
Materials and hardware for custom furniture
The front material sets both the look and the feel, and how the item behaves over the years. Below is what we actually use and how the options differ.
Front materials and their character
comparison of front materials by purpose| Front material | What it gives | Where it fits |
|---|
| MDF in enamel to RAL and NCS | even colour, matte or gloss | radiused fronts, a single line |
|---|
| Natural oak and walnut veneer | a living grain pattern | fronts with character, classics |
|---|
| Kiln-dried solid oak and ash | weight, repairability | joinery elements, tables |
|---|
| Egger and Kronospan laminated chipboard | an even carcass surface | carcass, internal shelves |
|---|
Hardware and what it holds
We install Blum, Hettich and Boyard hardware; Blum hinges, lift mechanisms and drawer runners carry a 25-year manufacturer's warranty. This manufacturer does not make table extension mechanisms — we build such units from other components, and we discuss this at the project stage. Hardware is what the customer touches every day: soft-close, smooth drawer movement, no play after several years. For custom designer furniture, hardware selection goes hand in hand with the project: it determines how the fronts and drawers will perform in daily use. On radiused and heavy fronts the load is higher, so we select lift mechanisms and hinges by leaf weight, not by habit. Before cutting, we check the calculated load of each leaf against the mechanism's datasheet — it is cheaper to recalculate on the drawing than to change hinges on an assembled unit.
Countertops, glass and metal in one piece
In a single piece we combine countertops made of quartz agglomerate and solid surface, glass and mirror, and powder-coated metal parts. Quartz agglomerate withstands hot dishes and is not afraid of moisture, while solid surface allows concealed joints and a radiused edge. We use glass and mirror in fronts and inserts, metal in supports, handles and frames. In our workshop we mill and bend radiused MDF parts, veneer and paint with enamel in a spray booth — so complex shapes are not outsourced. Stone and metal require precise joining with the carcass: we work out these units at the drawing stage, otherwise gaps appear during installation that can no longer be closed. We sand the agglomerate edge to the chosen radius and drill the holes for the sink and hob according to the drawing before cutting — this way the joint with the carcass stays even along the entire length.
How measurement, 3D design and approval proceed before cutting
Before cutting, the order goes through two approvals — measurement and 3D visualization. We break down each stage and what documents you receive before production starts.
What happens during the free measurement
A measurement specialist arrives for the free measurement and brings samples of enamel, veneer and stone — you can see and touch the material on site. The specialist takes the room's geometry, checks niches, utility outlets and fixing points, while you choose the front texture from physical samples rather than a screen. The measurement records not only dimensions but also wall and floor deviations — these are what most often force a revision of the front geometry before drawings. This approach is especially important when custom designer furniture is being designed: non-standard room geometry is checked on site, not from memory. After the visit, we keep a dimensioned plan with marks, which the designer uses for further work. If a wall is off by a couple of centimeters, that is not a problem — the problem is finding out after cutting. That is why we measure deviations along the entire abutment length, not at a single point.
3D design in 1–2 days and what it shows
We prepare the 3D project in 1–2 days: the visualization shows the geometry, radii, junctions and front layout, not just a “color picture.” You see how the radius fronts will behave by the window, how the countertop meets the windowsill, where the veneer line runs and how the drawers open — all on the model, not in your imagination. Custom furniture is different because a non-standard unit is first checked in the project and only then transferred to material. It is worth approving the 3D before cutting — after that, any change in geometry means redoing parts, not editing on screen. We show the visualization together with the plan and sign off the approved version so that you and the workshop have the same picture.
How the project becomes working drawings
The designer turns the approved project into working drawings for our cutting — with thicknesses, edge banding, hardware units and wall references. Each part gets a number, material and grain direction, and the hardware gets a specific item from the Blum, Hettich or Boyard range with fixing points. Then the drawing goes to CNC cutting, where the layout of parts on the sheet is calculated automatically — less waste and more accurate repeatability. Separately, the designer draws the junctions to walls, floor and ceiling: compensation strip, angle trimming, projection beyond the front plane. Drawings are the language of the workshop; if a unit is not drawn, the craftsman will build it his own way, so we resolve disputed junctions on paper, not during installation. In our experience, an hour spent drawing a complex unit saves a day of rework.
Production in our own workshop, installation, payment and warranty
Approved drawings go to the workshop, and the order returns to the site as installation. We show the progress of work in the workshop and how the deal is closed.
What the 600 m² workshop does and why the test assembly matters
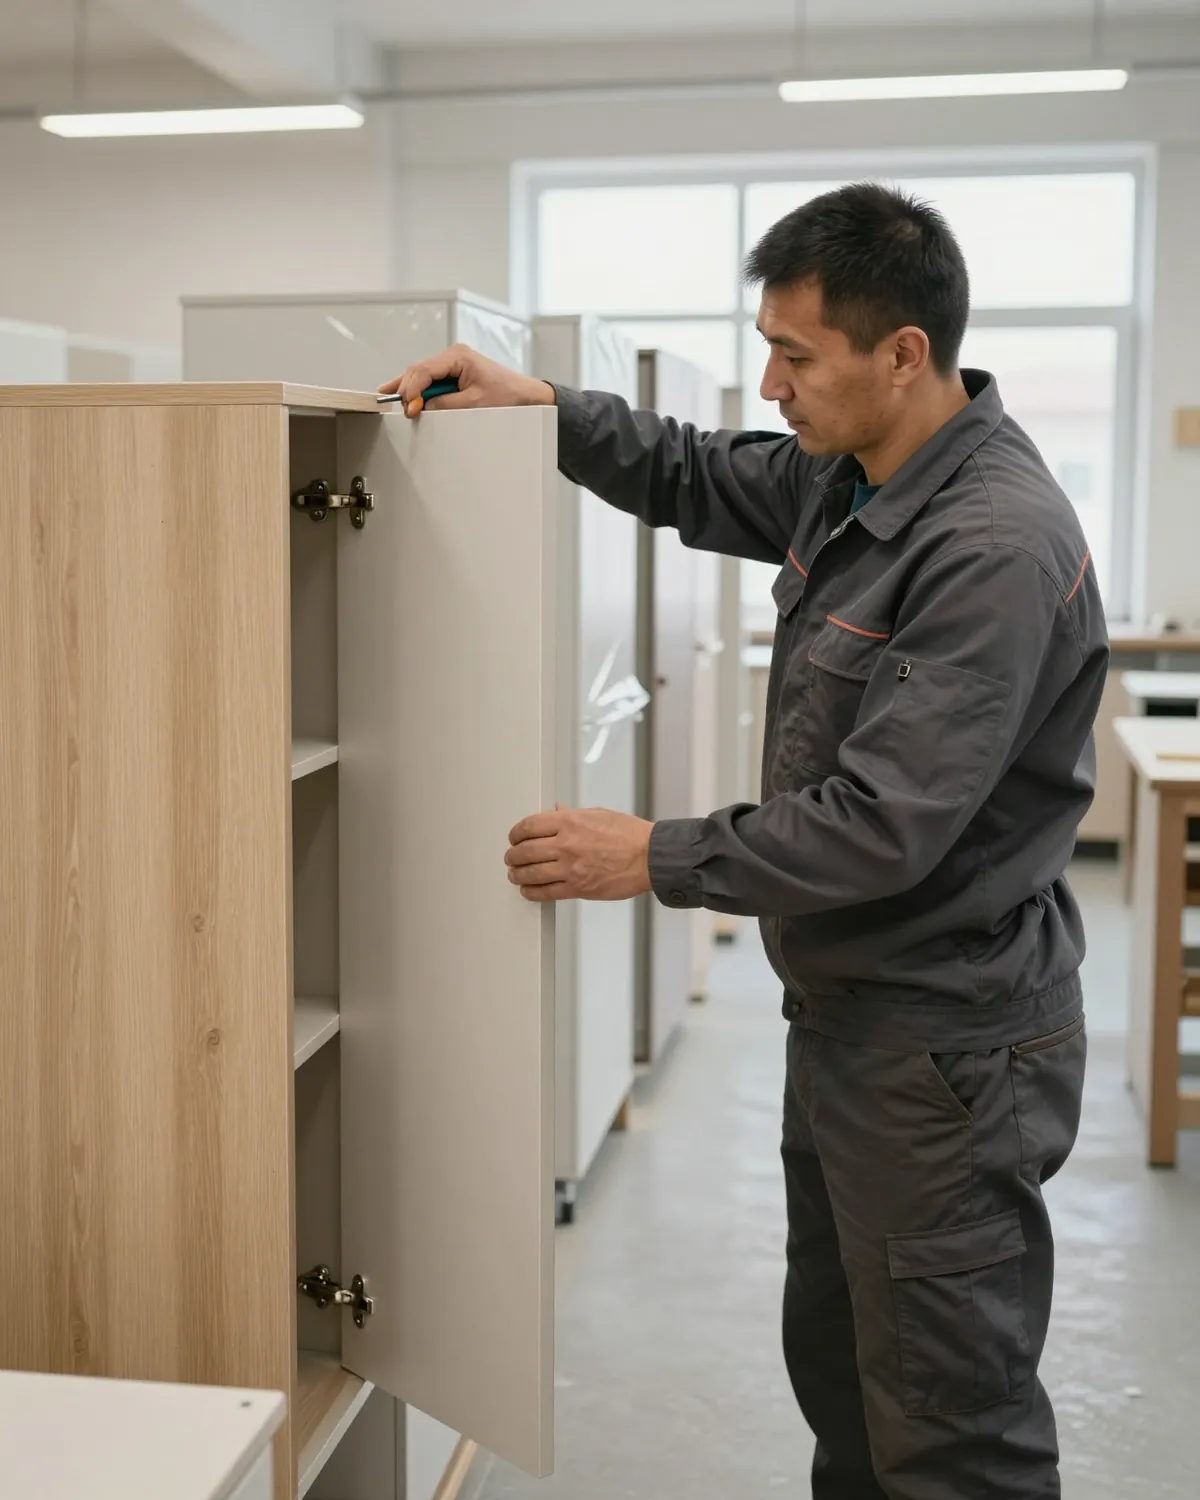
In our own 600 m² workshop we cut parts on CNC, mill and bend radius MDF parts, veneer with oak and walnut, paint with enamel in the spray booth and process solid wood in the joinery area. The joinery area works with kiln-dried oak and ash, and the spray booth works with RAL and NCS enamels in matte and gloss finishes. We keep designer furniture production on one site: cutting, milling, bending of radius parts and painting run on the same schedule, without transport between contractors. Before dispatch, the item undergoes a test assembly in the workshop — this way mismatches are visible on the workbench, not on site where they can no longer be fixed without dismantling.
Installation by our own crews and acceptance certificate
Our crews install, and we sign the acceptance certificate after installation — when the item is in place and tested in use. The crew assembles the carcass, hangs the fronts, sets the gaps and connects Blum hardware: hinges, lift mechanisms and drawer runners. On site we check what is not visible on the workbench — junctions to walls and columns, operation of radius fronts, movement of doors and drawers under load. We also check how the quartz agglomerate and artificial stone countertops sit after on-site fitting. Acceptance in assembled form, rather than by individual parts, matters specifically for designer furniture: radii and junctions can only be assessed in the finished structure. If the room geometry requires fitting, the crew does it on site — without returning the item to the workshop.
Payment, delivery, warranty and urgent orders
- Payment: 50 % deposit, the balance after signing the acceptance certificate, we work by bank transfer.
- Delivery: free across Almaty and up to 30 km for a large order, beyond 30 km — for an additional fee.
- Item warranty: 24 months under the contract, valid from the moment the certificate is signed.
- Hardware warranty: Blum — 25 years from the manufacturer, on hinges, lift mechanisms and runners.
- Rush order: possible, but acceleration comes at the expense of the workshop queue, and the lead times for each option are in the price list on this page.
The bottom line on designer furniture
We have gathered the essentials that determine the result when working on custom furniture — from the first sketch to the signed acceptance certificate on site.
- The brief decides: the customer's sketch or the interior designer's project is turned into working drawings before cutting — so the geometry and joints are fixed in advance.
- Material for the job: enamel in RAL and NCS, oak and walnut veneer, kiln-dried solid wood — each has its own place in the item.
- Hardware is daily contact: hinges, lift mechanisms and runners are chosen by the weight and load of the front, not by appearance.
- Control before the site: a test assembly in the workshop reveals mismatches before the parts go to installation.
- The finale is the acceptance certificate: the item is checked fully assembled, not by individual parts.