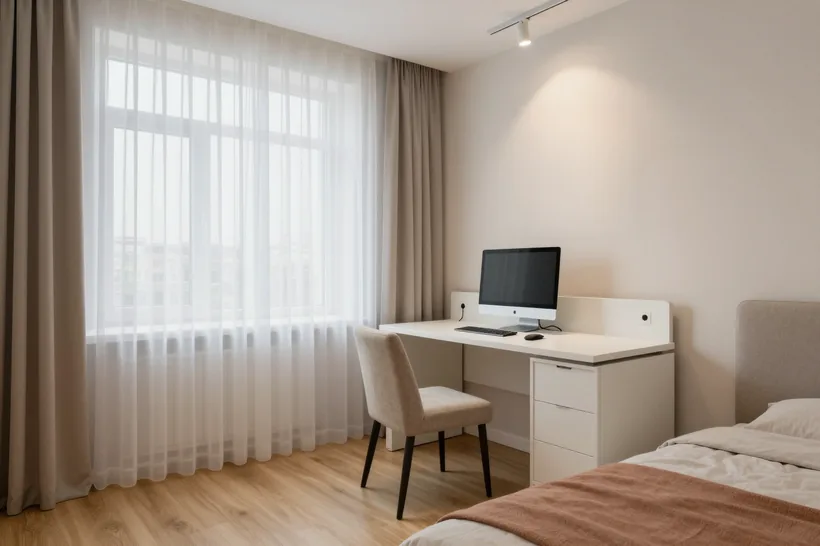
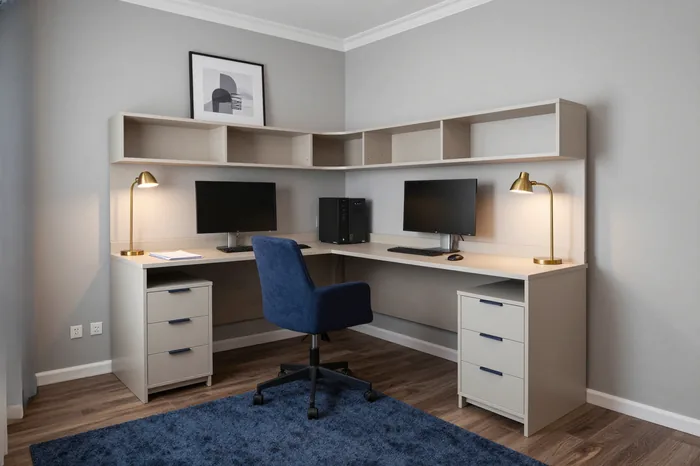
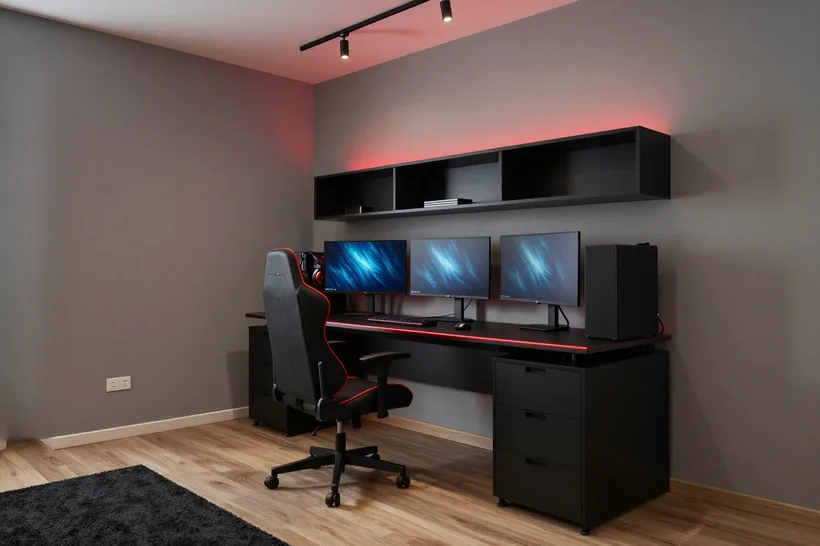
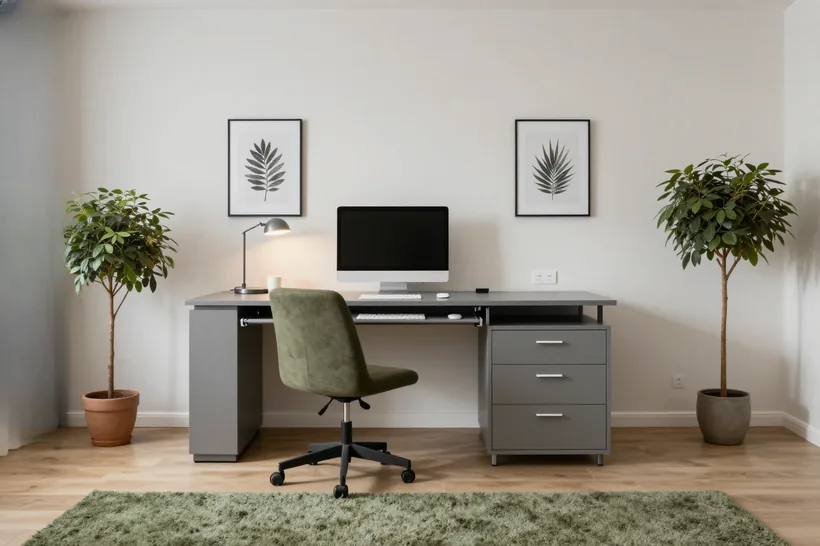
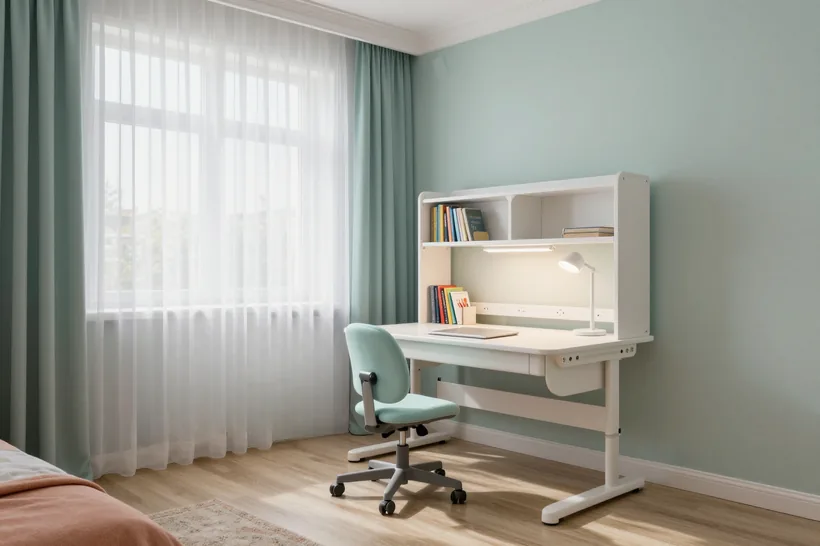
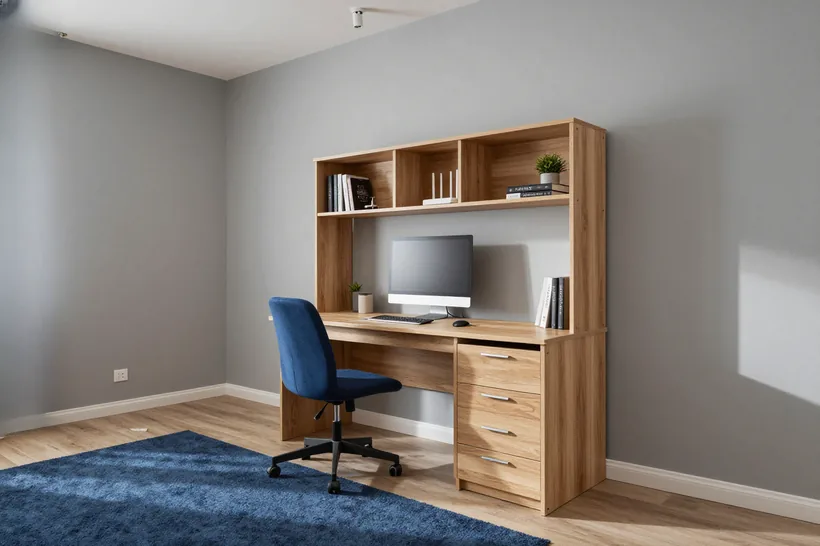
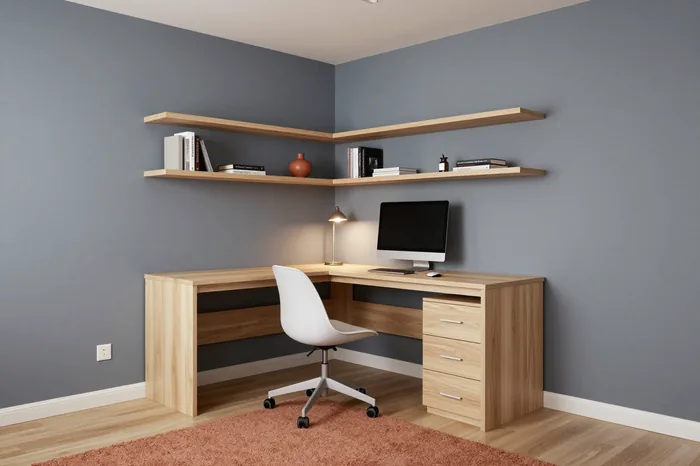
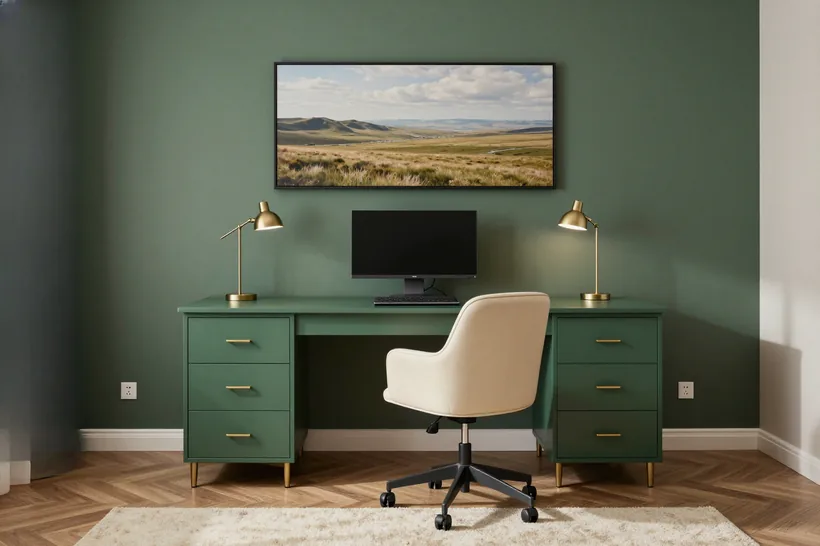
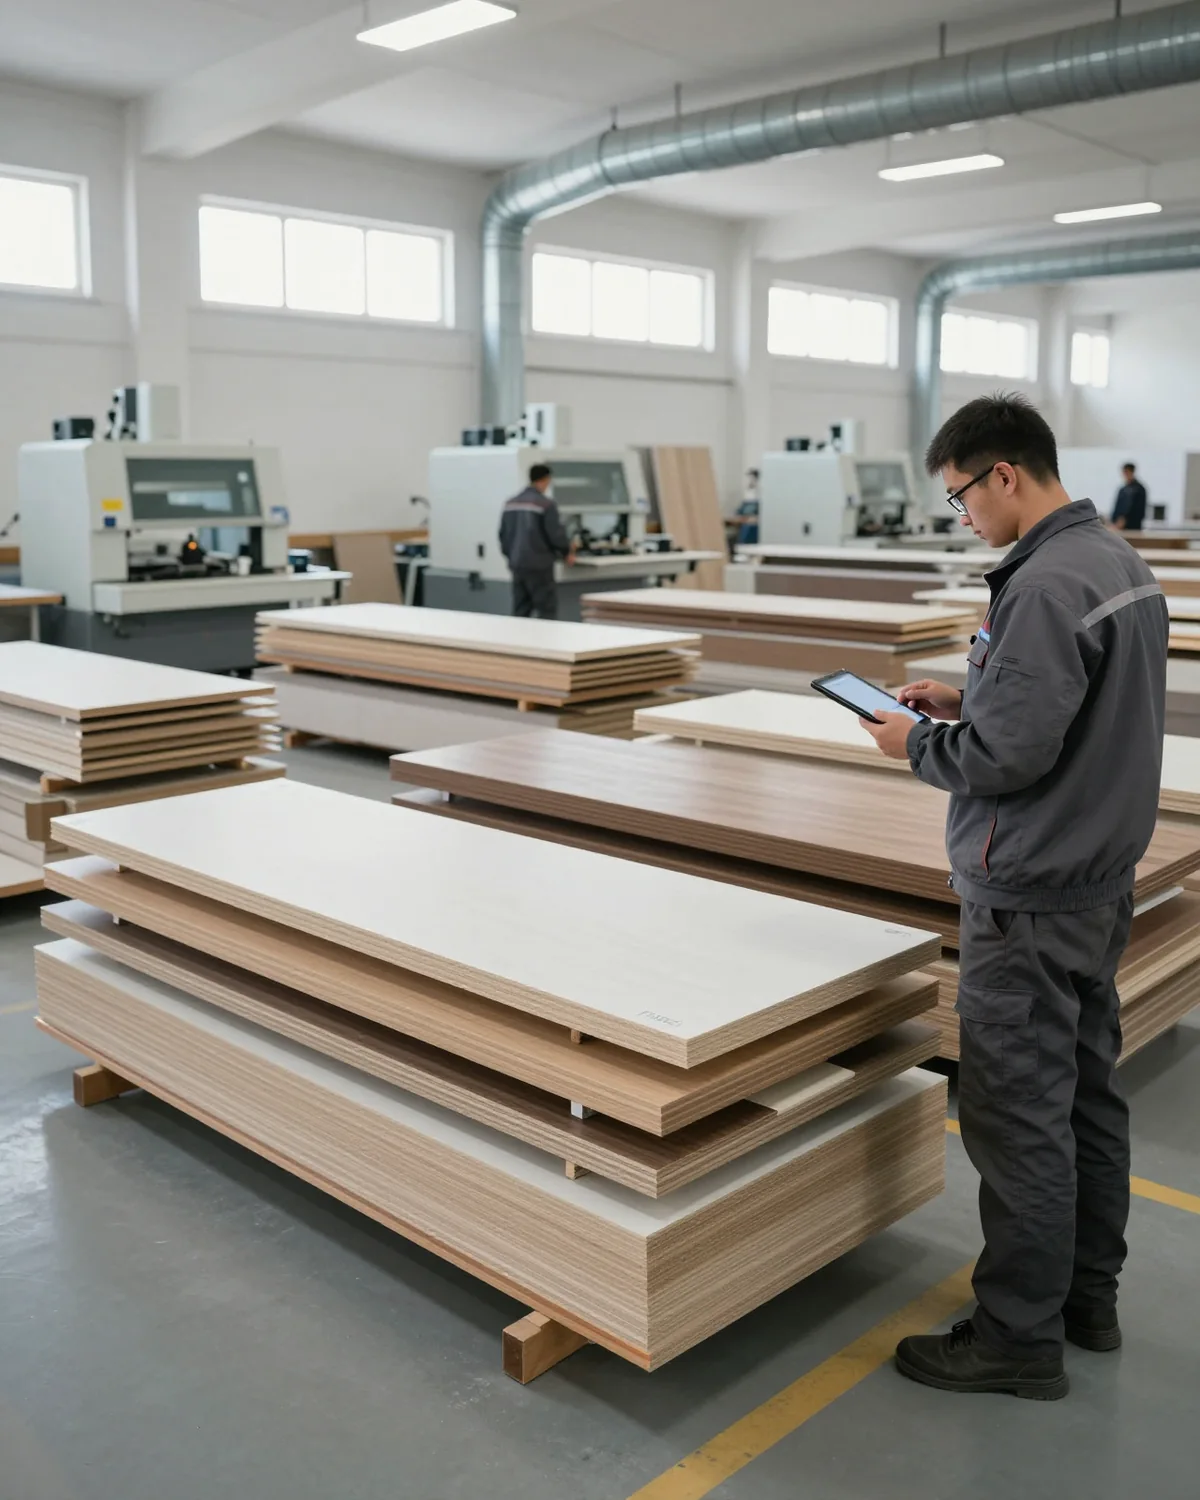
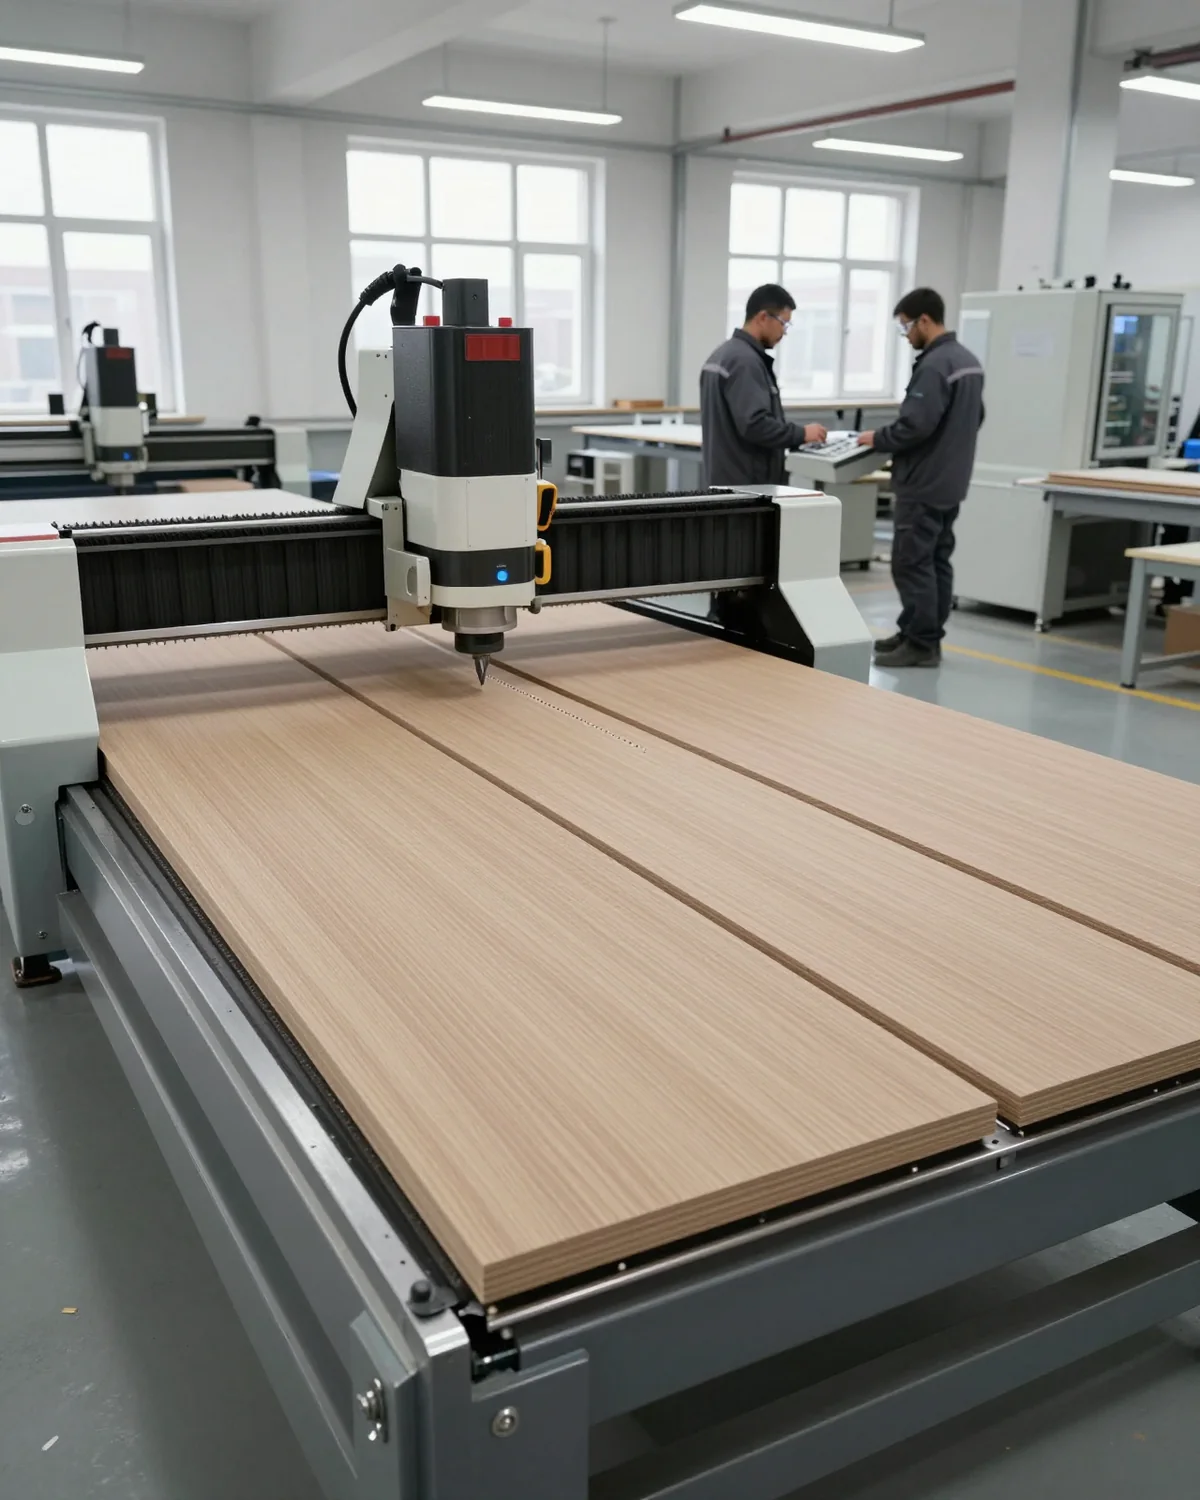
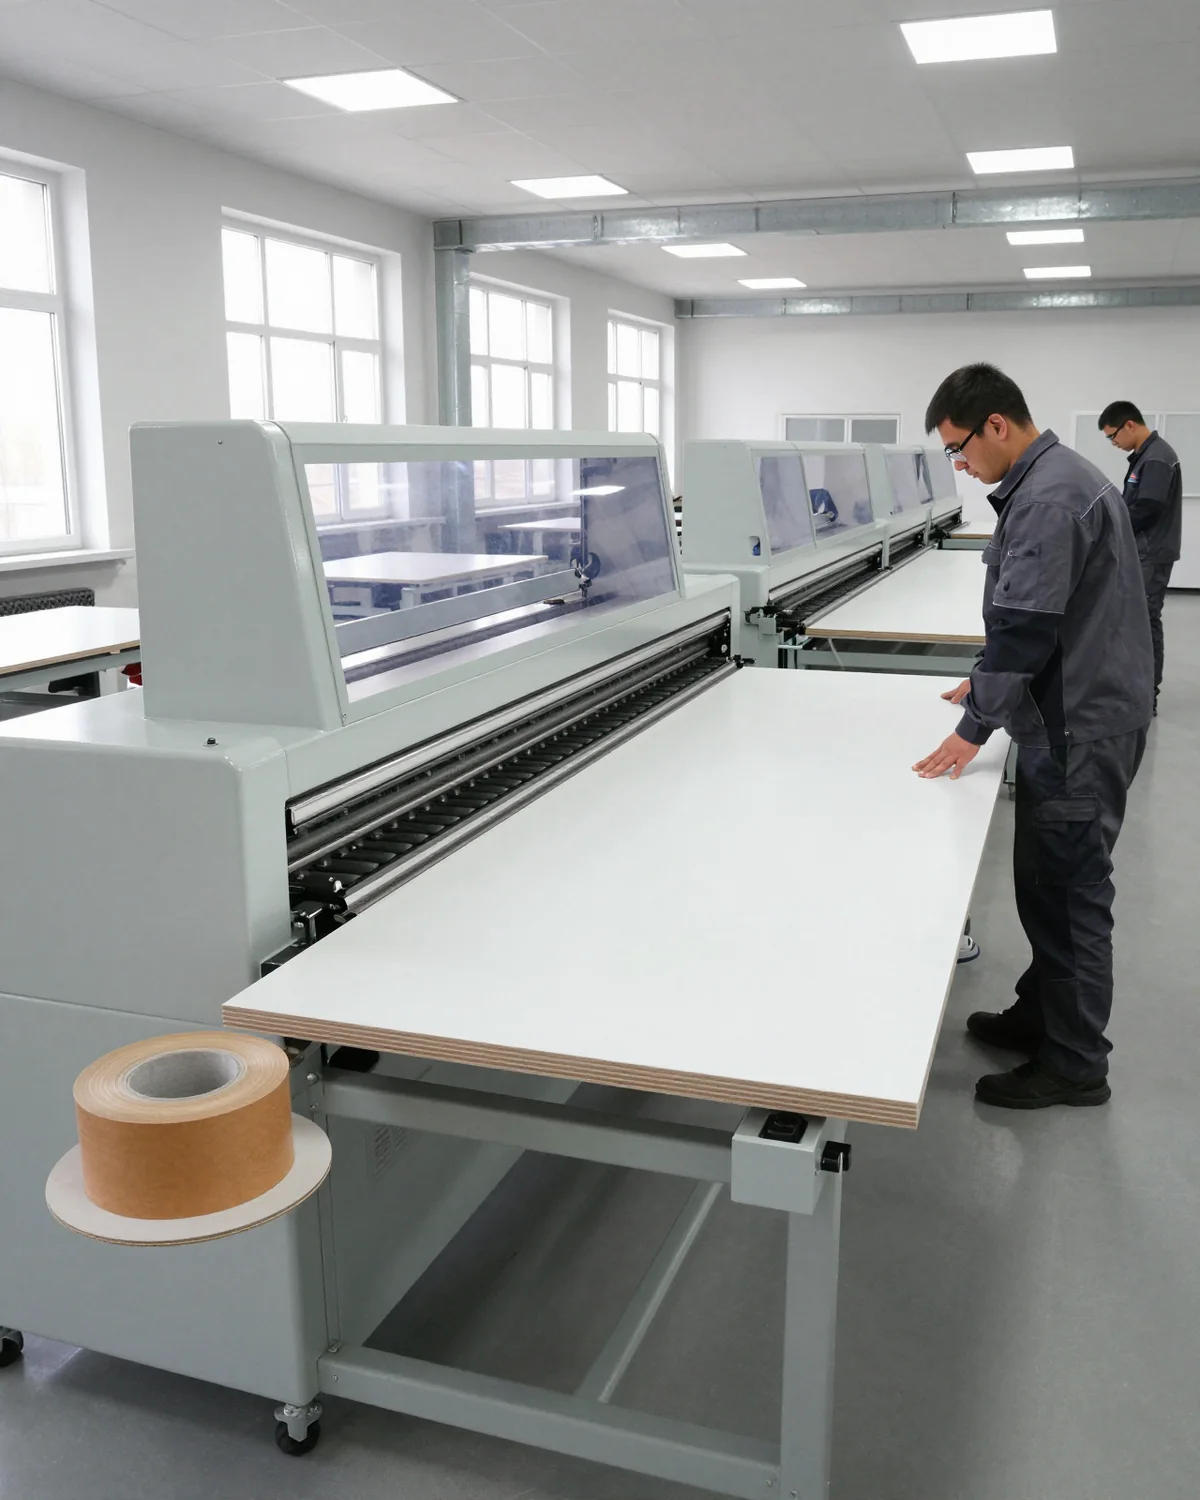
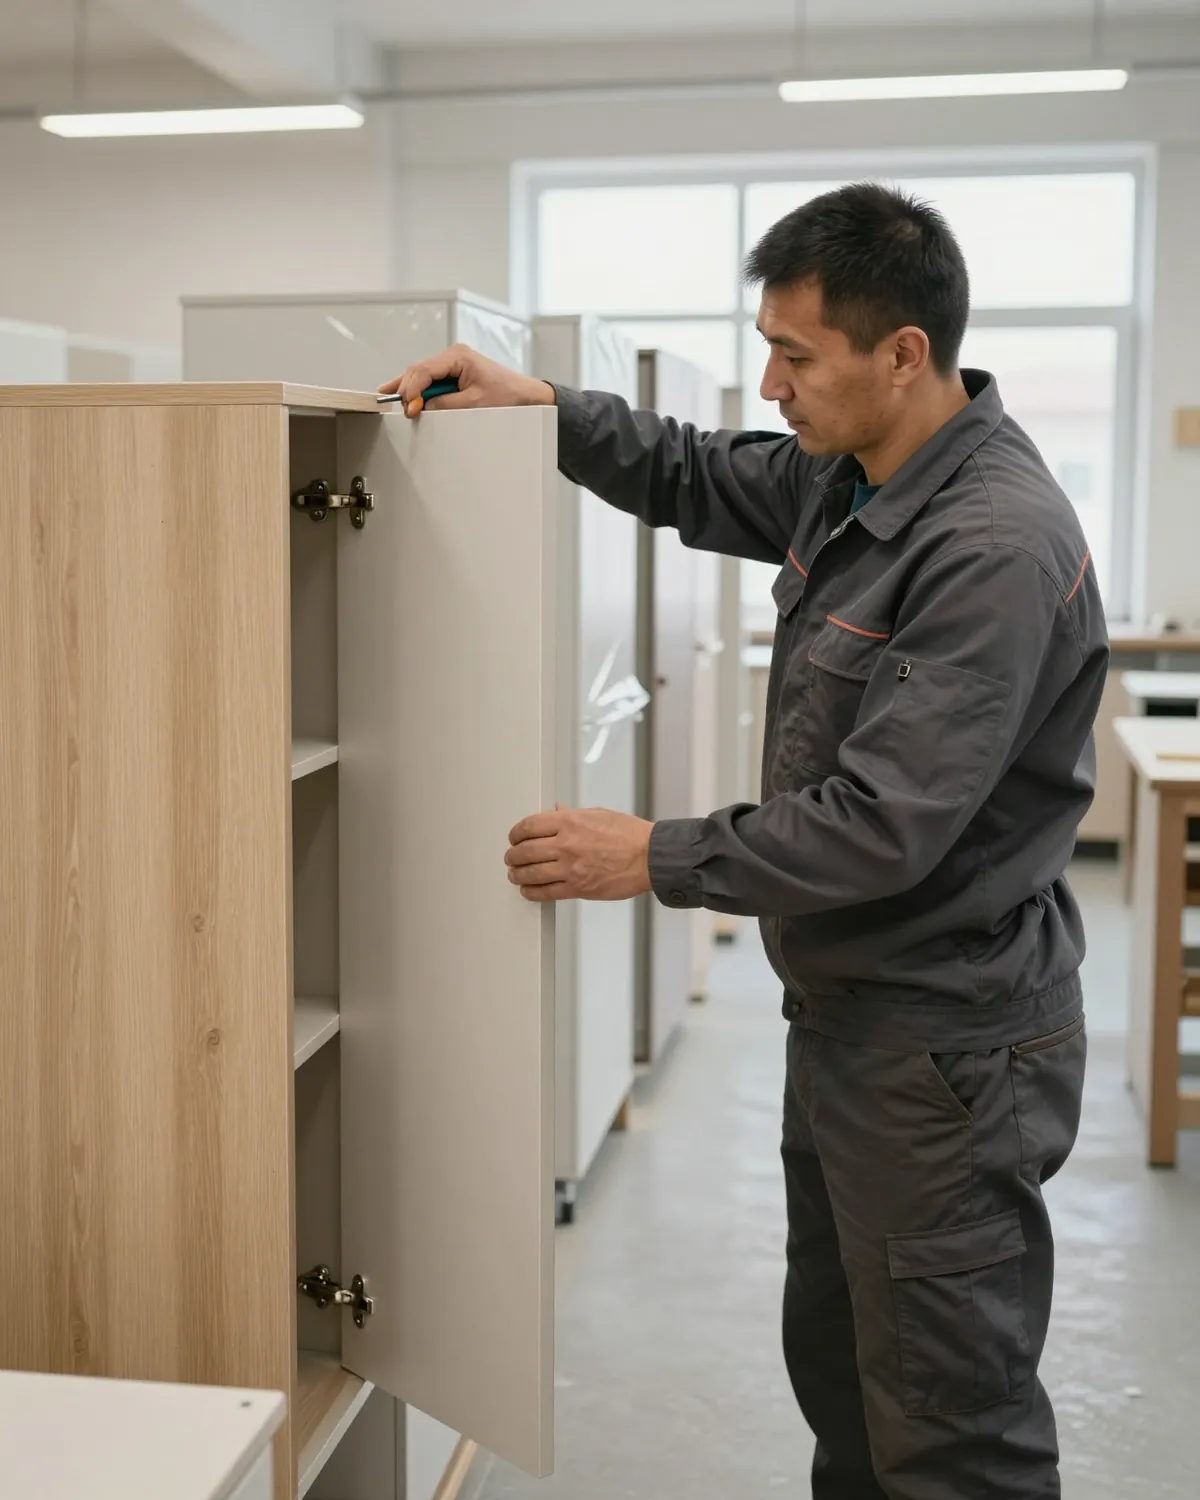
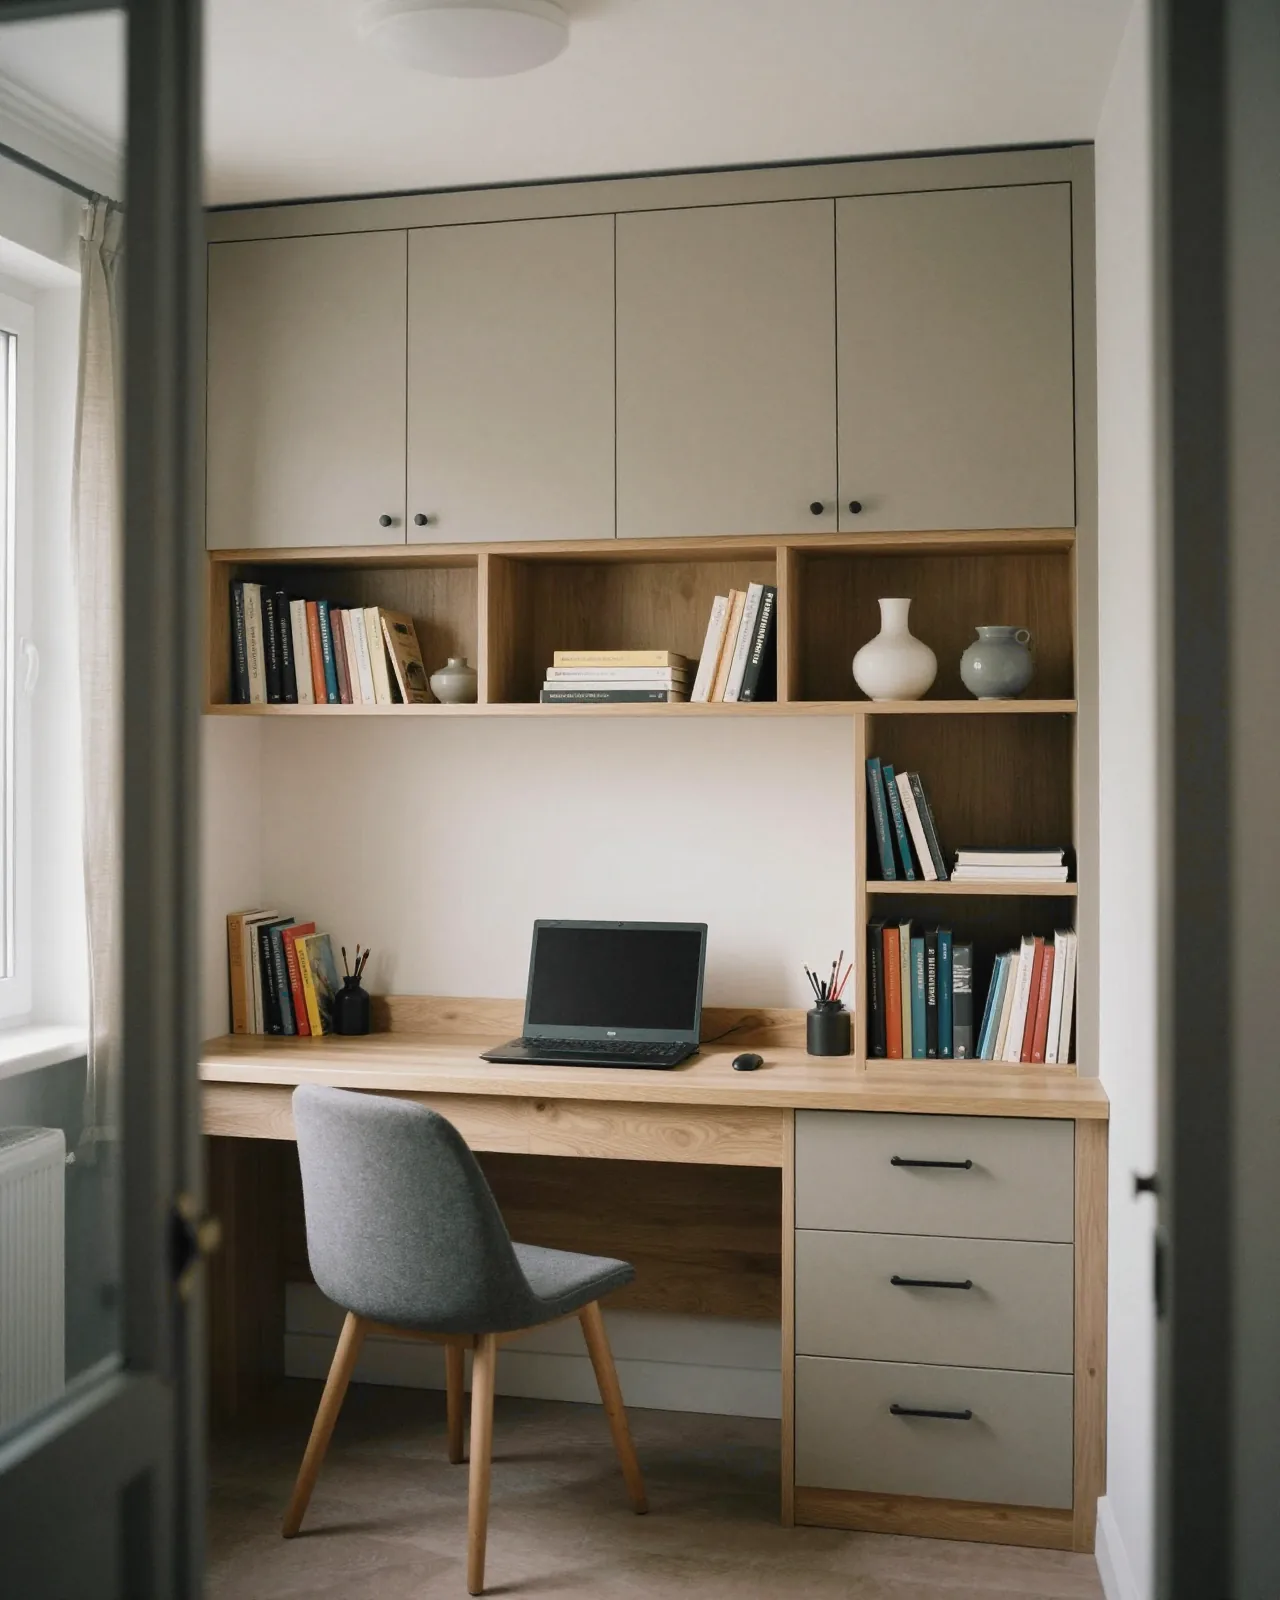
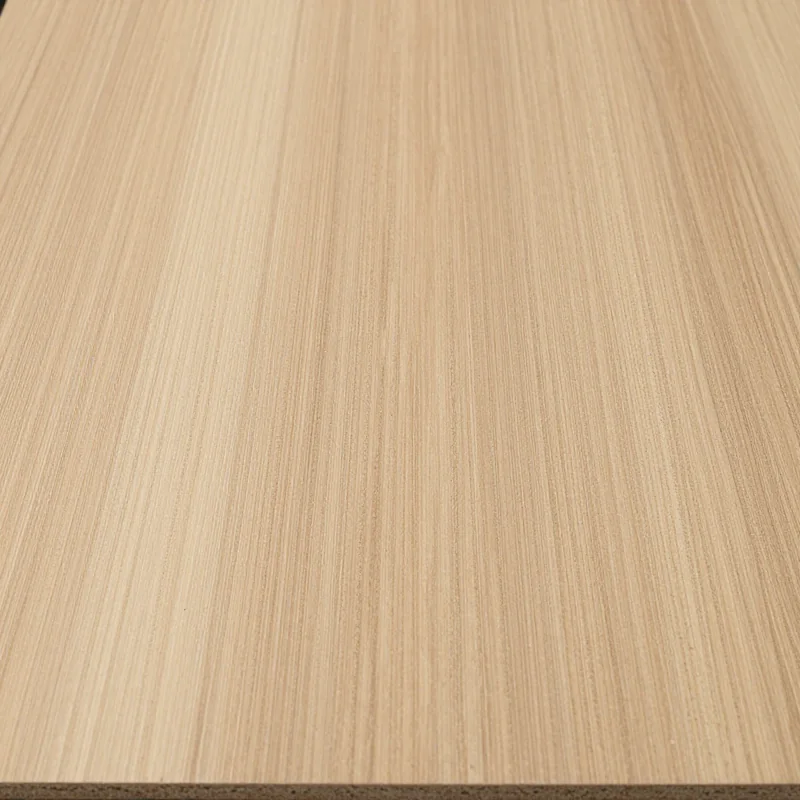
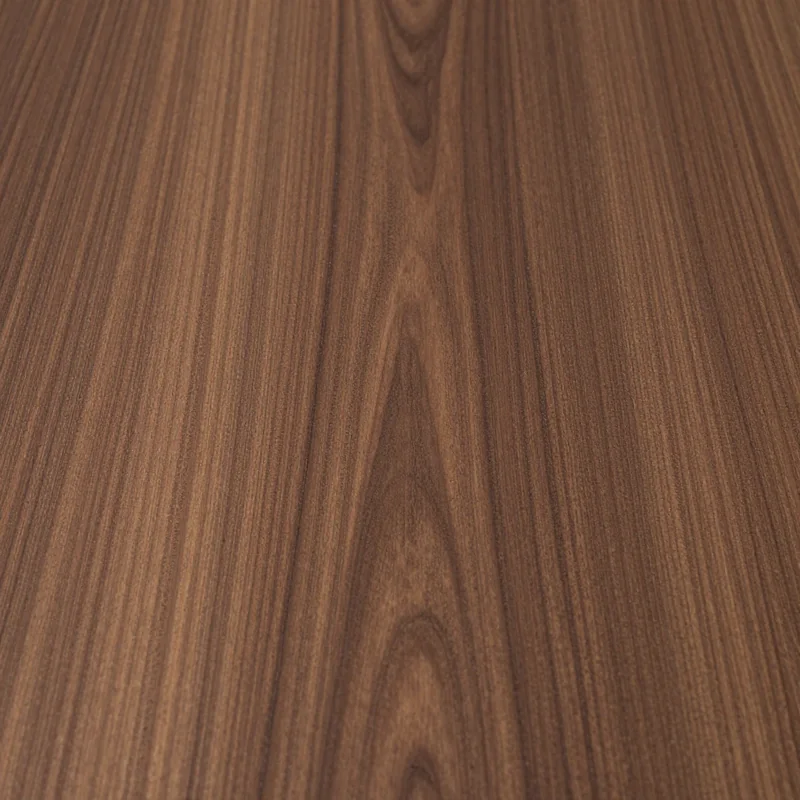
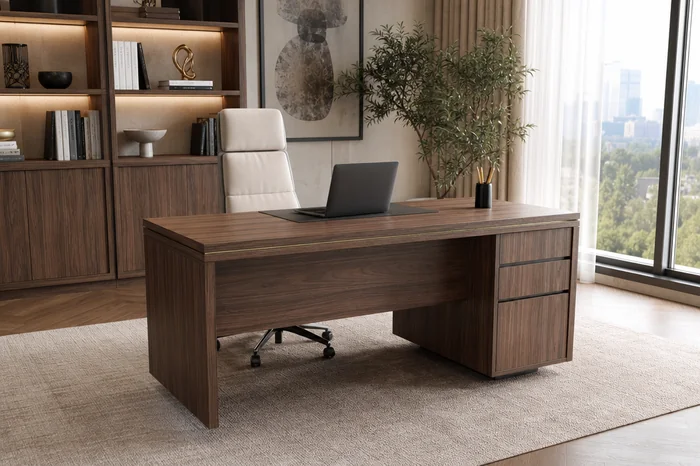
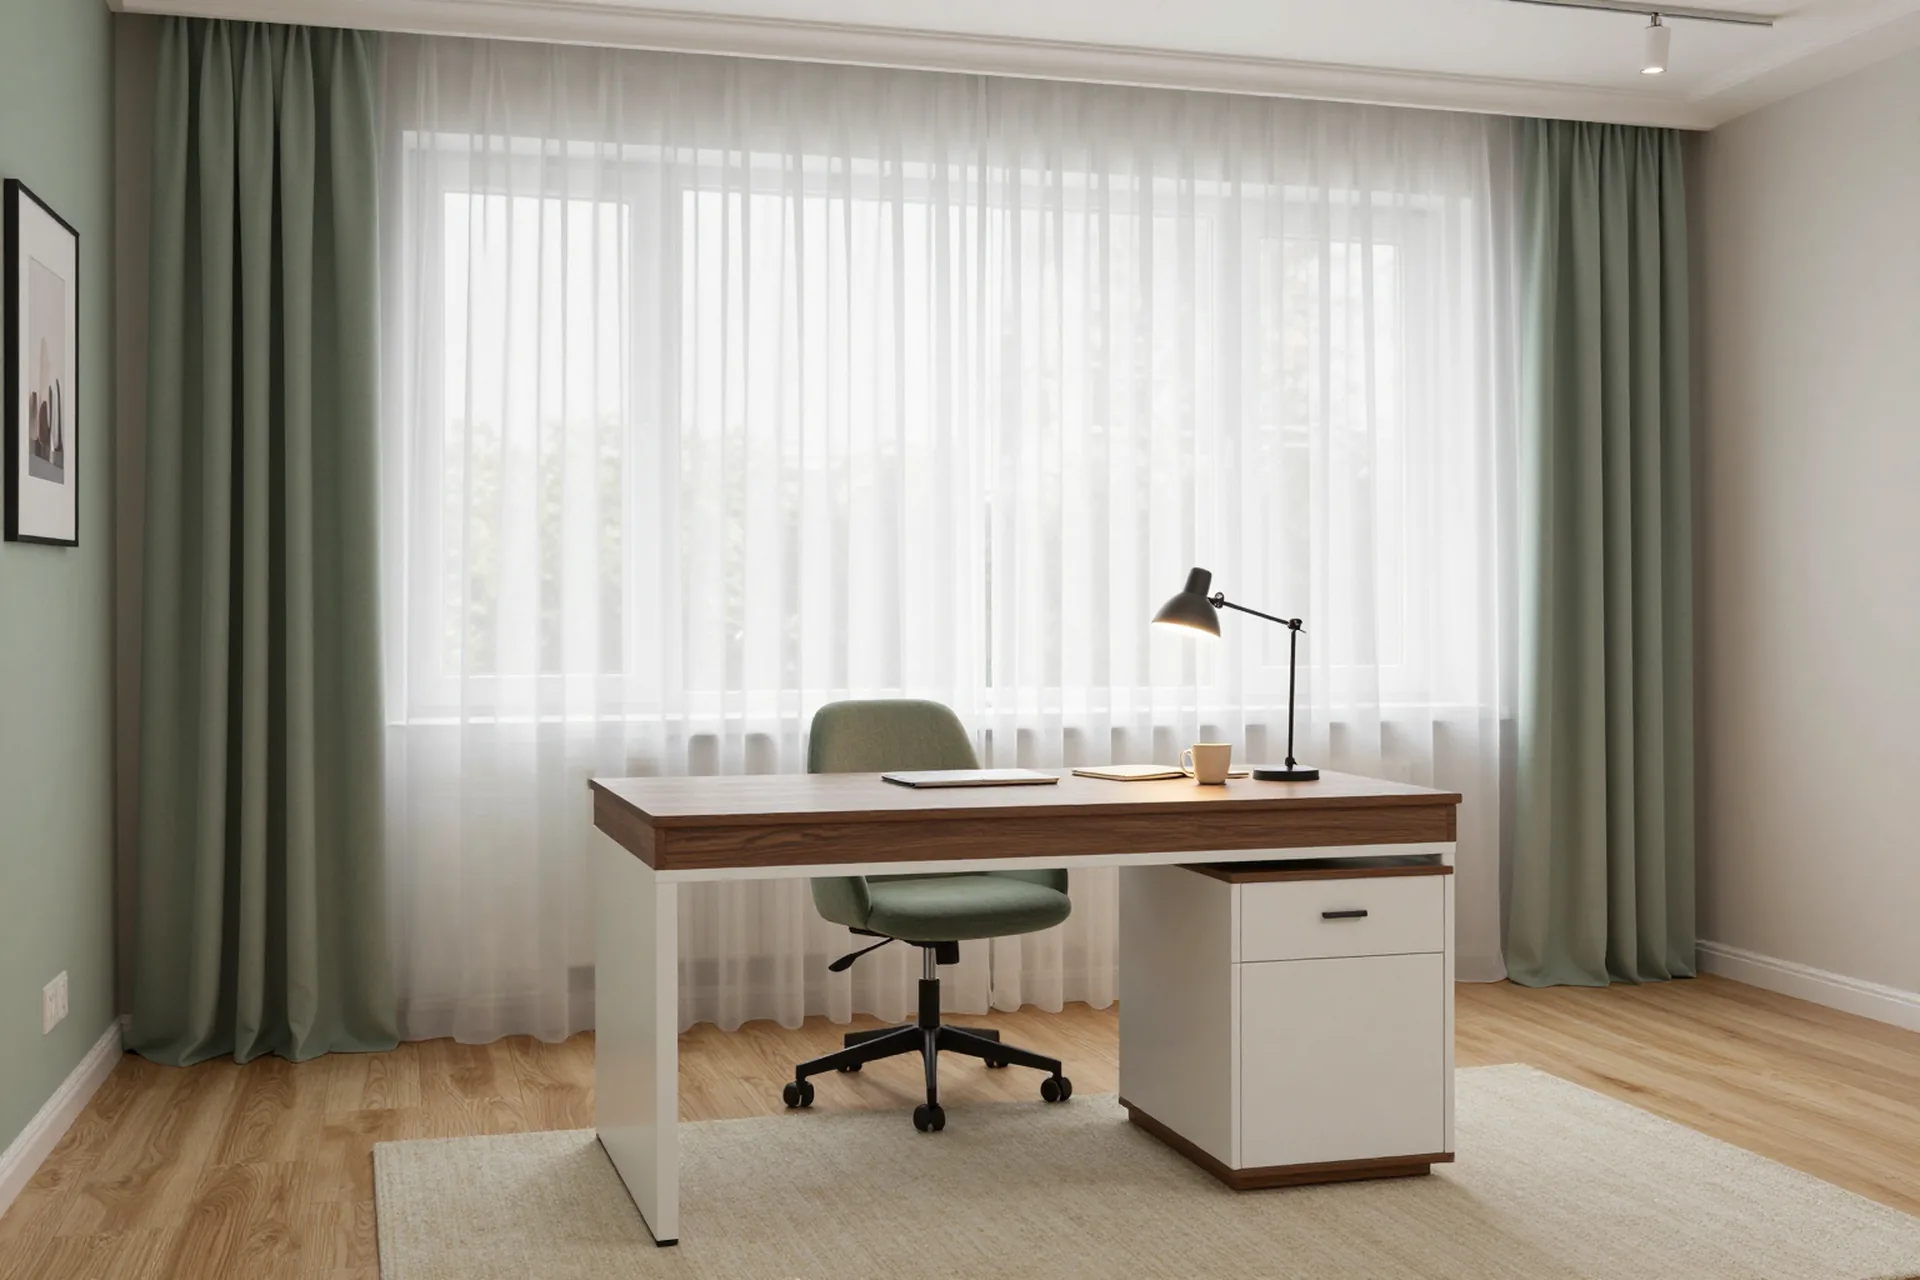
A custom computer desk from MEBLIX is built to the exact dimensions of your room, monitors and seating position. We measure for free, prepare a 3D project in 1–2 days, cut and edge panels in our own 600 m² workshop, run a control assembly, then install with our own crews. Warranty is 24 months by contract.
We size a desk from the monitors, seated posture and leg space, not a catalogue standard. Below is how we work out depth, width and height for a specific user and room.
Depth and width for two monitors and a PC tower
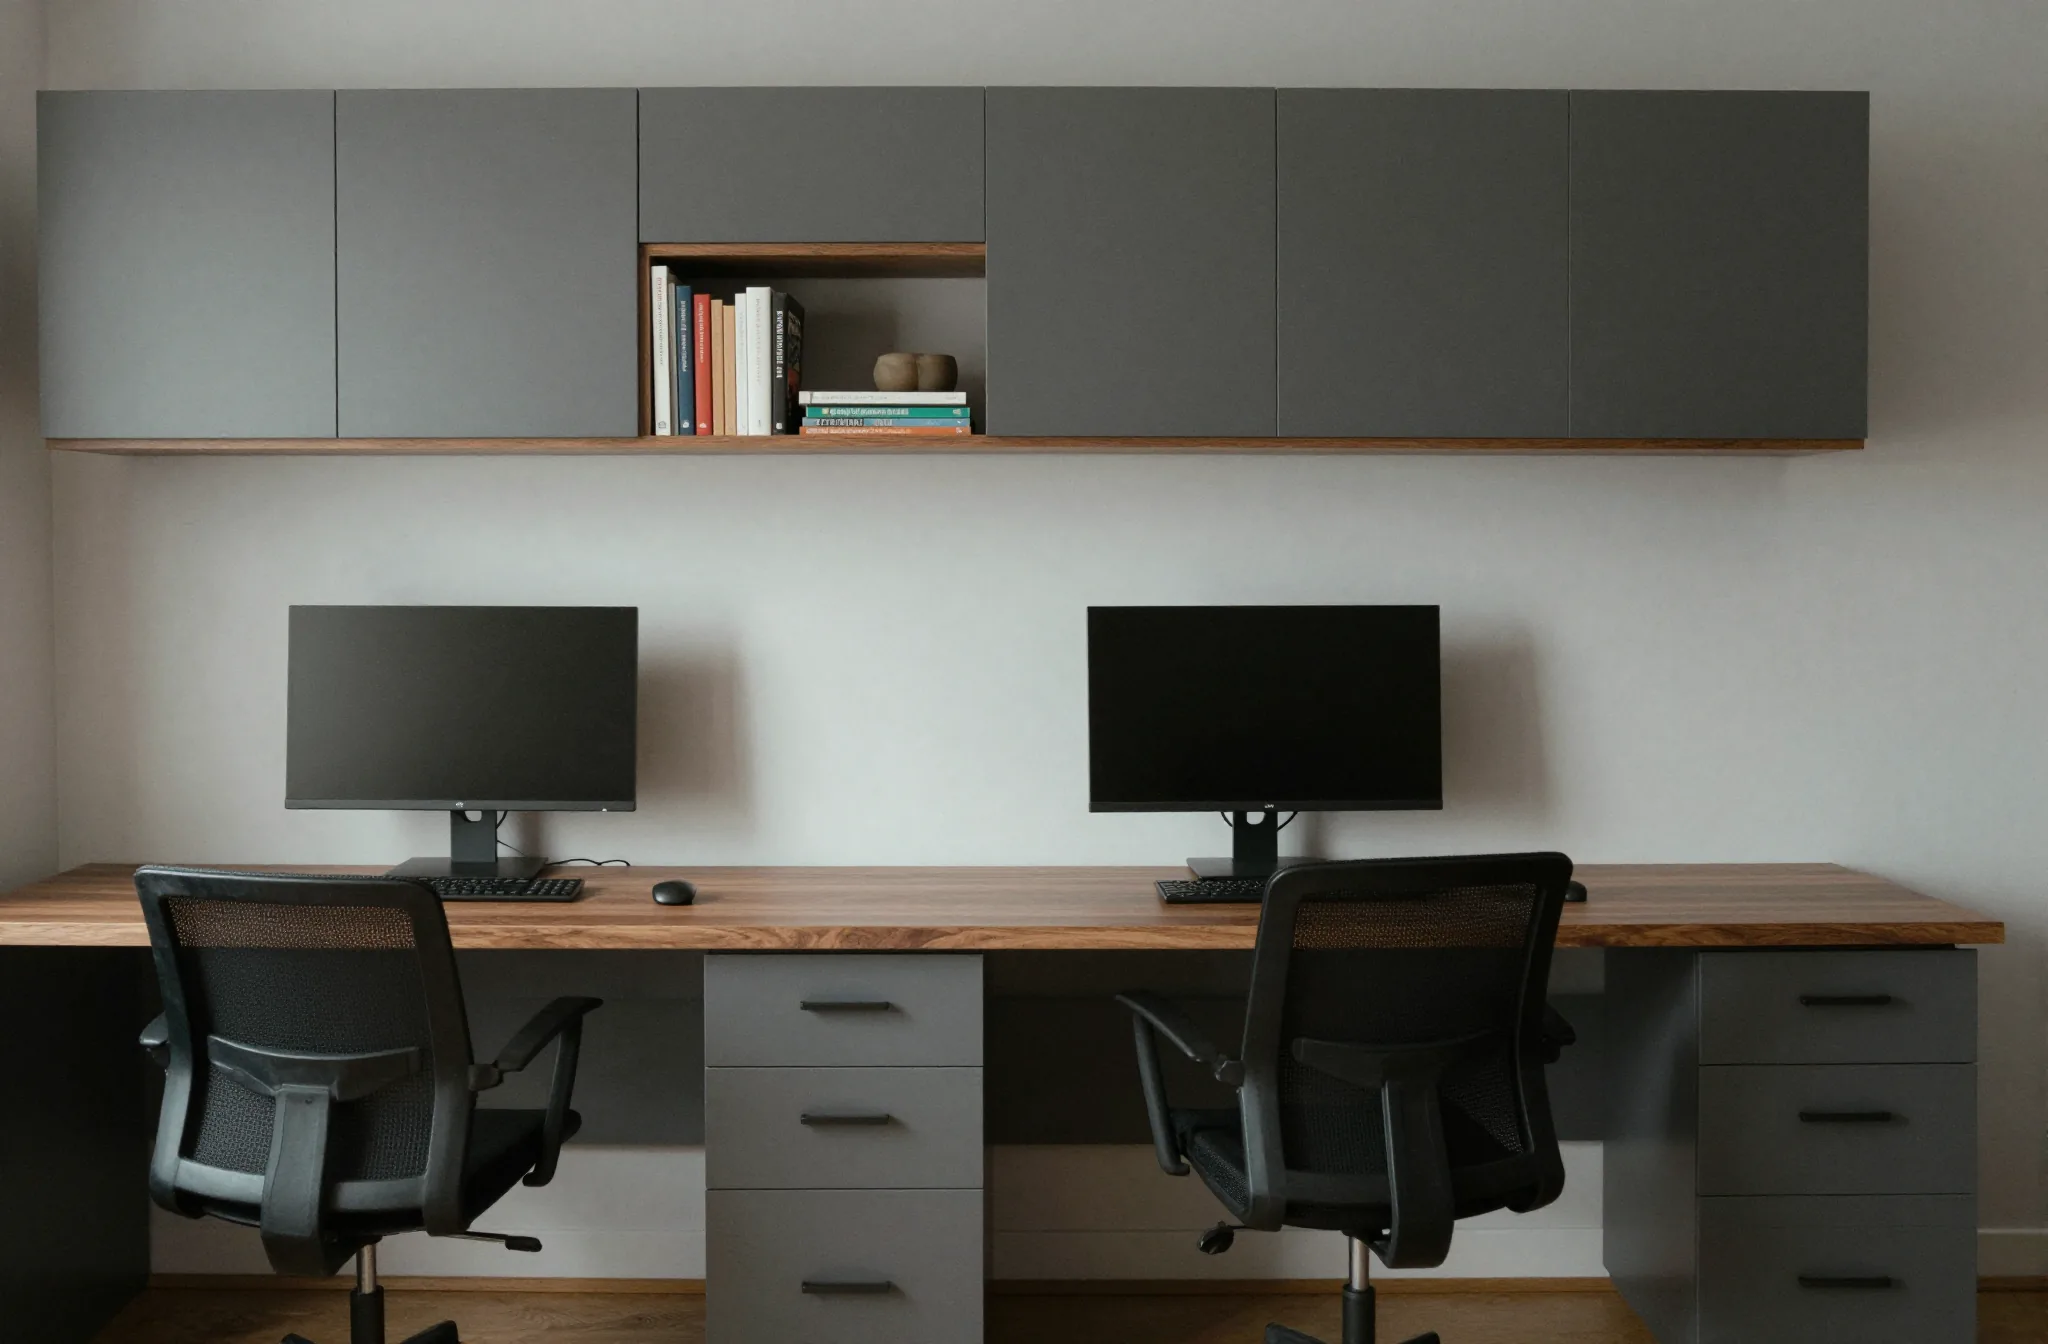
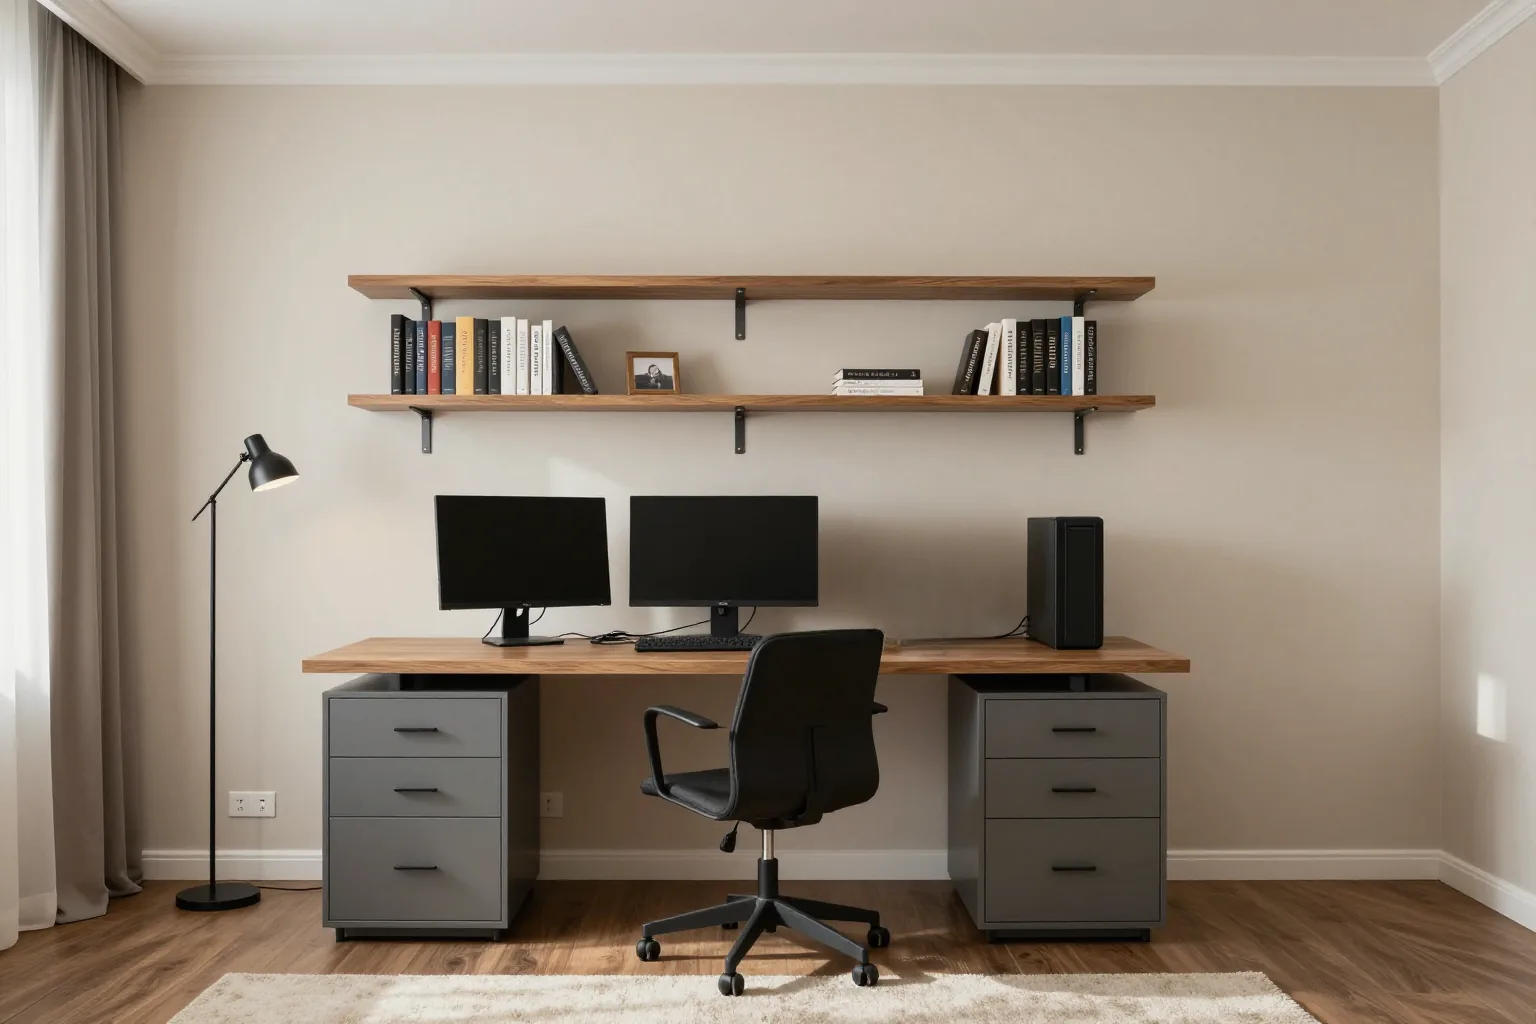
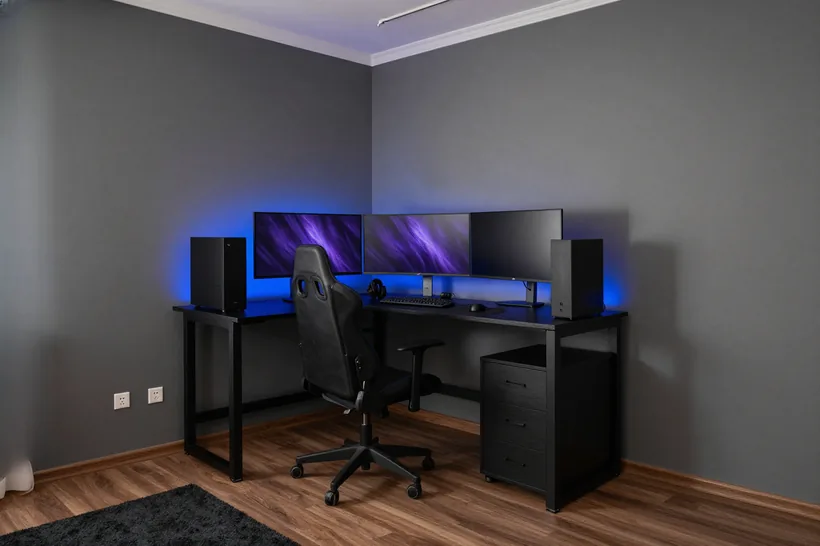
We size the surface from the monitor footprint first, then add the tower and a clear knee zone, so a two-screen setup never eats the legroom. A 24-inch panel on a stand needs about 60 cm of depth before the viewing distance feels comfortable, and a second screen adds width rather than depth. The tower sits to one side with a 10-15 cm air gap behind it, and the knee zone stays at least 80 cm wide so the chair swings without clipping a leg. A computer desk from MEBLIX is drawn around those three zones together, so the layout holds up once the equipment is on it. A deeper worktop is not automatically better — past a point the far edge stops being reachable.
Choosing a height that fits your seating
We set the height from your seated elbow line, not a catalogue default, so shoulders stay relaxed and wrists sit level with the keyboard. Sit in the chair you will actually use, let the arms hang, and measure from the floor to the underside of the forearm; a worktop set to that figure keeps elbows near 90 degrees and palms flat on the keys. Our free measurement and 3D project, ready in 1-2 days, records that figure before any board is cut. If the desk is shared by people of different heights, a fixed surface forces a compromise — plan the chair and footrest around the taller user, since a low desk is harder to correct.
Fitting a desk into a niche or a sloped wall
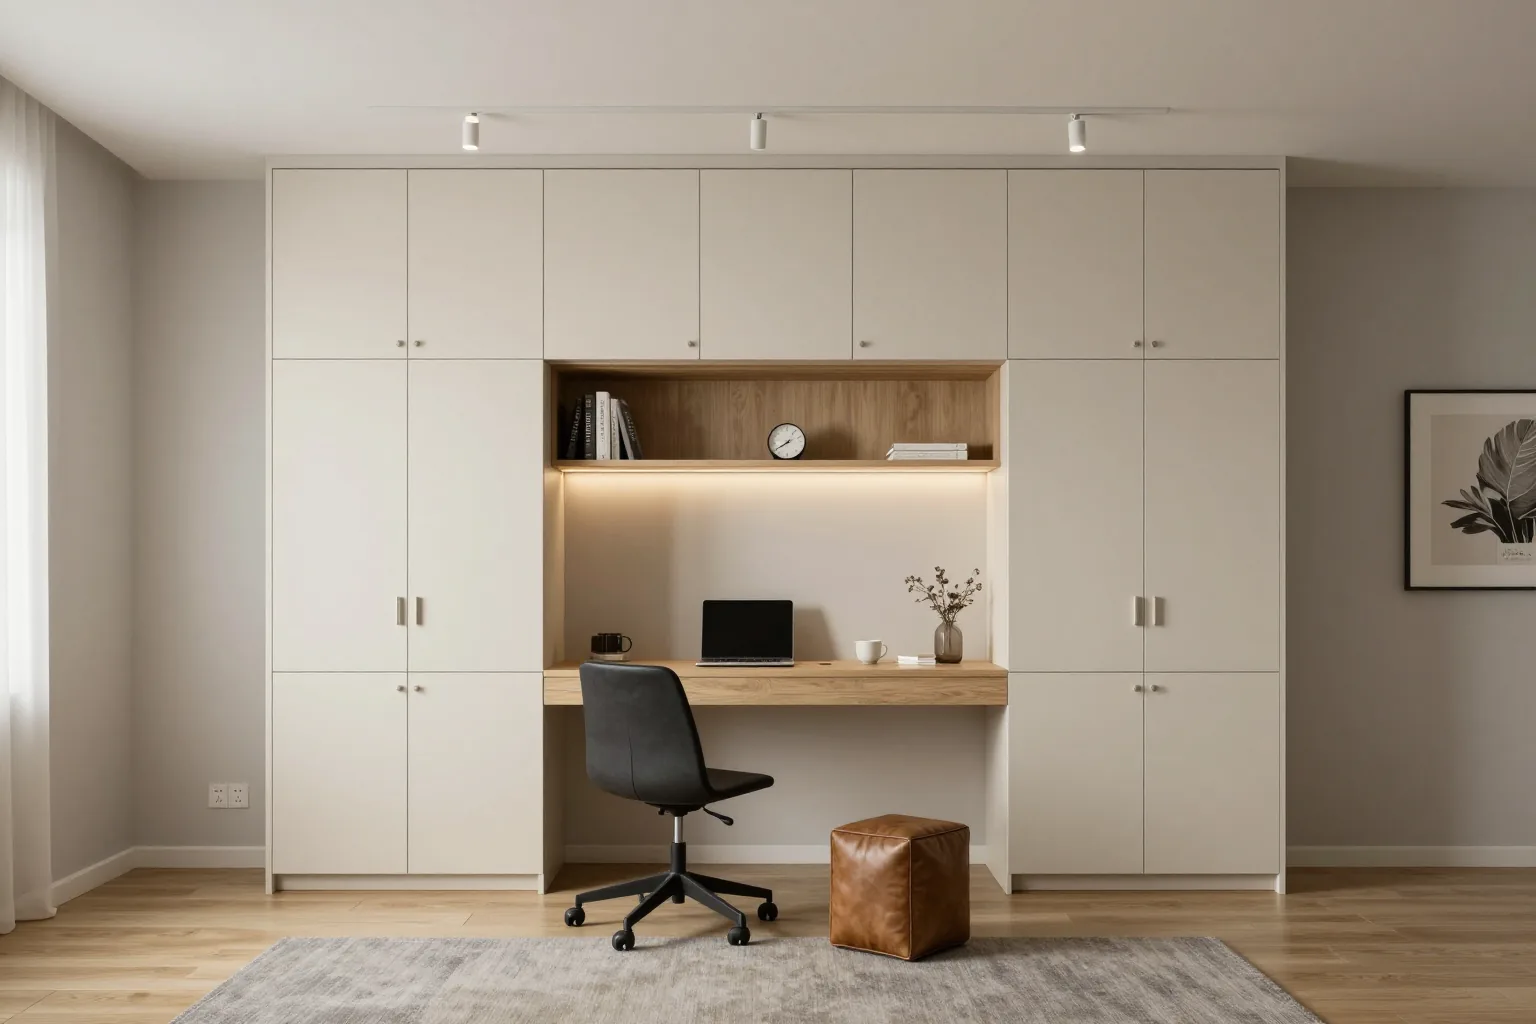
We measure the niche at several points and cut the worktop to the tightest line, so the desk meets the wall without gaps or forced shims. A wall that reads straight at the centre can pull back 2-3 cm at the corners, and that difference shows up as a dark seam behind the desk. Our team takes a template on site, then runs cutting, edge banding, painting and control assembly in our own 600 m² workshop, so the piece arrives matching the drawing. Walls in older Almaty flats are rarely square, and a single centre measurement produces the visible gap — the fix is a template taken on site, not a bigger tolerance.
Materials for a computer desk and stopping sag under load
The surface material decides how the work area survives a mouse and moisture and how well it carries the weight of screens. We compare the options and their reinforcement.
Comparing desk top materials
Four work surfaces compared under daily desktop load| Surface material | Surface behaviour | Best for | Support needed |
|---|
| Laminated board (Egger, Kronospan) | Wears at edges, fine for light use | Home office on a budget | Stiff frame, extra rail |
|---|
| HPL | Resists scratches from mouse and keyboard | Daily long sessions | Standard frame |
|---|
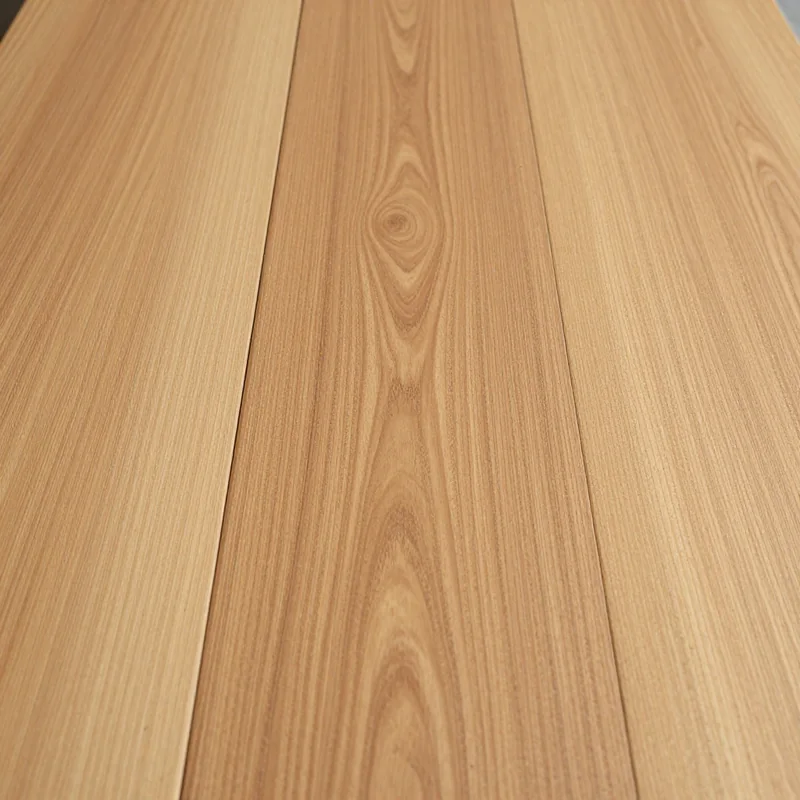
| Solid wood | Repairable, warm, moves with humidity | Open-plan living rooms | Seasoned, braced panel |
|---|
| Acrylic, quartz, ceramic | Hard, cool, heavy | Premium setups | Reinforced base |
|---|
Why a top sags and how we reinforce it
A top sags when the span between supports is too long for its thickness, so we shorten the span with a rail or a centre leg before adding thickness. A 25 mm laminated board from Egger or Kronospan holds two monitors comfortably across 900 mm; stretch the same panel past 1200 mm without a cross rail and the middle dips within months. A monitor arm concentrates load on a small patch, unlike a heavy tower spread over a wide area — the arm needs a backing plate, the tower a shorter span. We plan both into the drawing rather than patch them after installation. If you own a frame, tell us the rail positions at measurement, because a desk is only as rigid as the points it is fixed to.
Fittings that carry the moving parts
We fit Blum hinges, lift systems and drawer runners where a desk has moving parts, all carrying a 25-year manufacturer warranty. Drawer boxes and lift flaps get their own mounting points in the 3D project rather than being added on site, with Hettich and Boyard used where the layout calls for them. The fitting is only as good as the board it is screwed into, so we specify panel thickness under each hinge cup before cutting. In our workshop we run a control assembly of every desk with its drawers and flaps fitted, which shows up a misaligned runner before the unit leaves the bench.
Cable routing and ventilation for a computer desk
Wires and case heat are two things best designed in from the start rather than patched after installation. Here is how we build both into a custom computer desk.
Hiding cables without trapping them
We route cables through a cut-out and a channel under the desktop, so the workstation looks clean but every wire can still be reached and replaced. The opening sits behind the monitor line, where display and system-unit leads drop through a rounded edge that will not fray insulation. From there the duct runs along the underside to the rear edge, held by clips rather than glue so a lead can be freed without tools. A tray carries the power strip and the surplus coil, keeping the floor clear. A duct that is too tight looks tidy on day one and becomes a problem the first time a lead fails — leave spare capacity and access points at both ends.
Ventilation for a tower inside a cabinet
A tower in a closed cabinet needs intake and exhaust openings sized to its airflow, or it will run hot and loud within weeks. We size the front intake gap and the rear exhaust to match the case fans, and keep a finger-width of clearance on the sides so air is not blocked by the surrounding panels. Where the enclosure has doors, we cut a vent grille into the panel behind the computer rather than into the visible face. The quietest fix is to plan the storage unit around the chassis's own fan layout, not to drill holes afterwards — rear and front gaps should line up with the case vents.
Mounting a monitor arm on a bespoke top
We plan the bracket's mounting point and a backing plate into the project, so the clamp sits on solid material instead of a hollow panel. The plate spreads the load across the underside, and the opening for the clamp bolt is drilled before the surface is finished, not after. A monitor holder pulls down and forward, so the fixing point needs support directly beneath it — the frame and supports are laid out around that spot. A later add-on often lands on a spot chosen for looks, which is exactly where the panel has the least support — decide the position before the cut list is finalised.
Straight, corner or niche computer desk for a small room
The shape of a desk decides how much floor stays free around it. We go through straight, corner and built-in options and when each one earns its place.
Straight versus corner layout
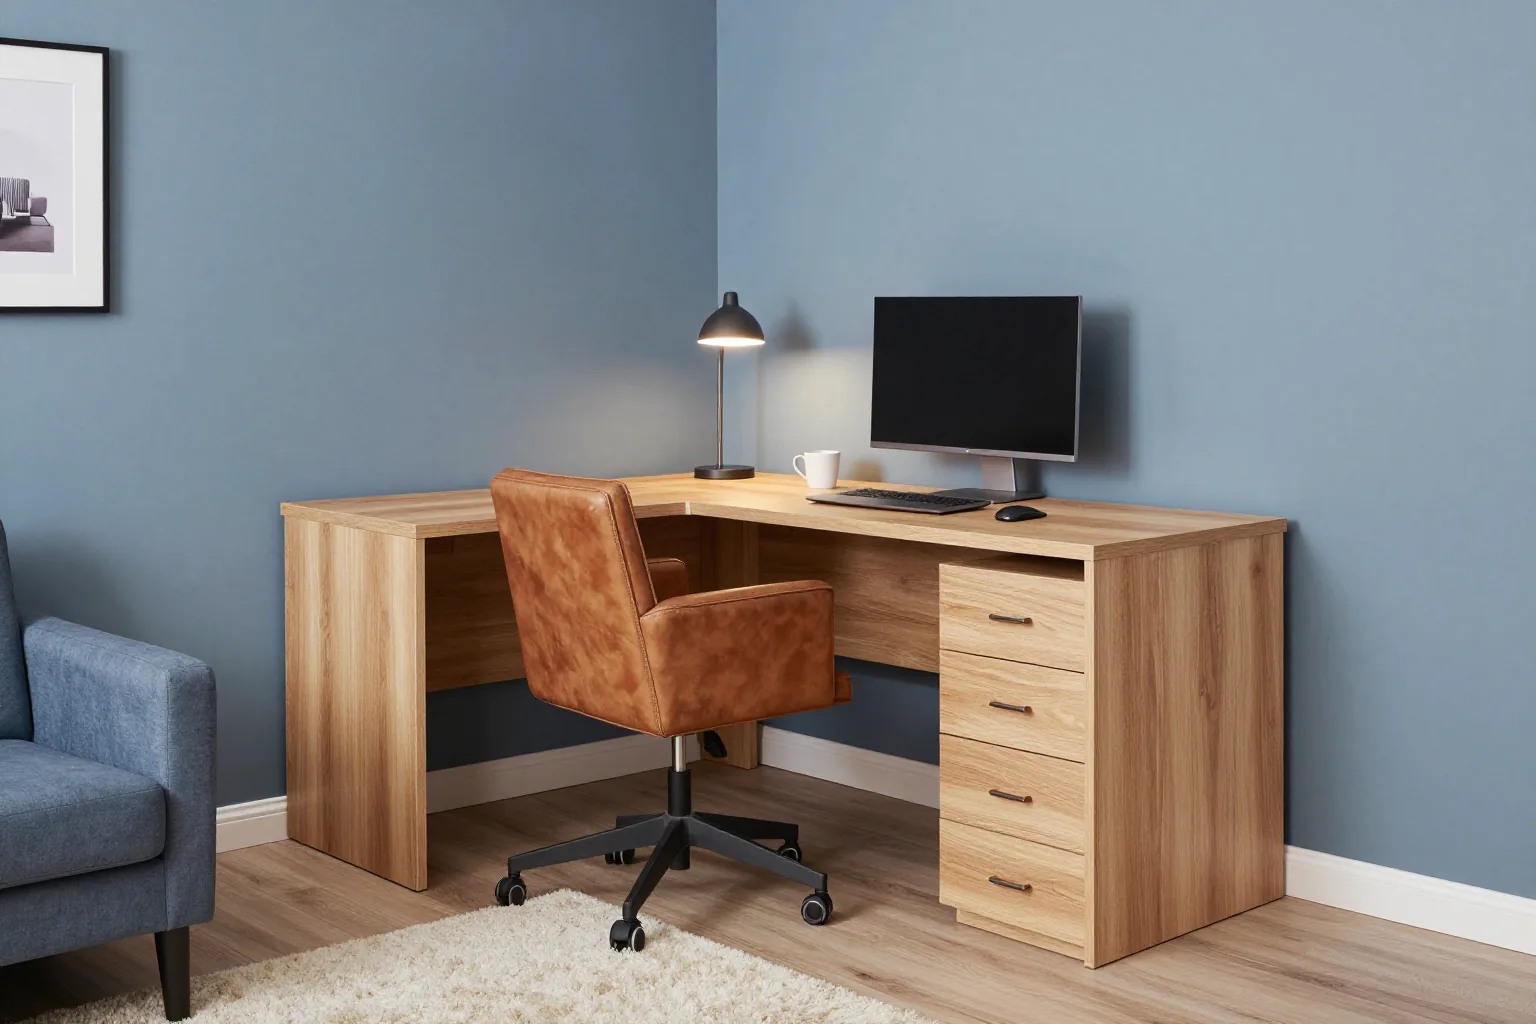
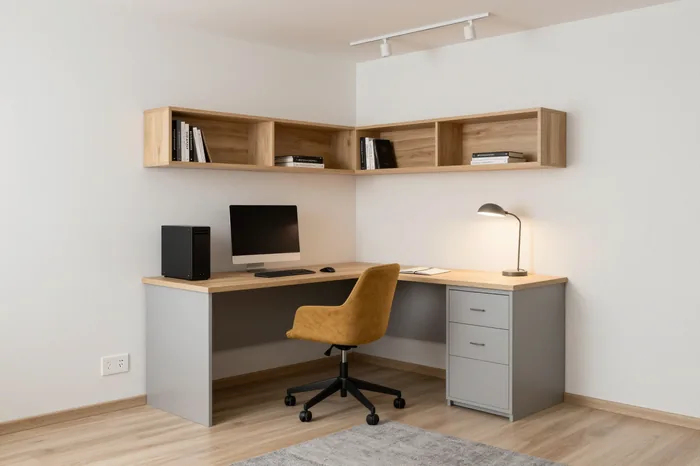
A straight desk gives a clean line along the wall and predictable legroom, while a corner desk trades floor space for a wider working arc around the chair. On a straight run the depth stays constant, so the chair rolls back and the walking path along the opposite side stays clear. A corner model puts the return along the second wall and lets the monitor sit deep in the angle, which shortens the reach to the keyboard. In a tight space the L-shape only pays off if the return side is actually reachable — a deep wing that blocks the window or the door swing costs more floor than it saves.
Ordering only a top for your own frame
We can make just the top to your dimensions if you already have a frame, and we check its support points before cutting. The panel comes from Egger or Kronospan boards, edged on all four sides, with cut-outs for cables placed where your frame leaves room. Send its length, width and the spacing of its beams, and we match the top's thickness to what those beams can carry without a visible bow. A frame designed for a thinner panel may not hold a heavier replacement, so send its measurements and we match the thickness and edge to what it can take.
How a made-to-measure desk differs from a shop model
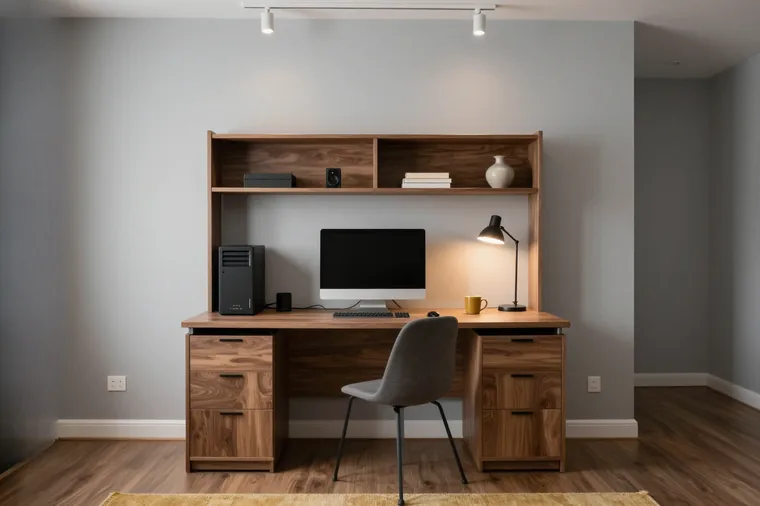
A shop model is sized to an average interior, while a made-to-measure one is sized to yours, so the difference shows up in the gaps, the legroom and the cable path. A ready unit comes in fixed widths, and a wall out of square by a couple of centimetres leaves a wedge-shaped gap that no pushing closes. A bespoke computer desk is cut to the measured surface, with the cable channel and tower bay placed where your socket and chair are. Our teams install it after control assembly in the workshop. The real gap is not the price tag but the fit — a slightly wrong ready model ends up with a spacer behind it.
From free measurement to signed acceptance
A custom computer desk moves through one route from the first site visit to the signed handover. Below is what happens at each step and how you check the result yourself.
Measurement and the 3D project
We measure on site for free and prepare a 3D project in 1–2 days, so the desk is agreed on screen before any panel is cut. Our technologists record the niche dimensions, the slope of the wall, the positions of sockets and the swing of the door, then shape the model around those numbers. You see the monitor heights, the cable exits and the drawer layout in the drawing, and you can move a shelf or widen a section while it is still a file. The project is where a wrong assumption is still cheap to fix — check the monitor positions and the cord exits on the model, not once the truck has arrived.
Control assembly in the workshop
Every desk is trial-built once in our 600 m² workshop before it ships, so fit and fittings are checked while the piece is still with us. The shop runs cutting, edge banding, painting and a full trial build under one roof, and the crew fits the Blum hinges, lift mechanisms and runners on the actual panels rather than on a sample. A control build catches the problems that a photo of the finished item never shows — a sliding box that rubs, an edge that does not meet, a cut-out in the wrong place. Ask to see the trial build of your piece if you want certainty ahead of the delivery.
Installation, acceptance and warranty
Our own crews install the desk, we sign the acceptance document when the work is done, and the product carries a 24-month warranty by contract. The fitters level the frame, fix the top, connect the cable channels and check that every storage compartment closes flush against the carcass. Payment follows the same order: half as a deposit, the rest after you have signed, and we work by bank transfer. Sign only after you have pulled out each compartment and checked the cord exits yourself — that is the moment the piece is confirmed against the project, not a formality. Blum hardware adds a 25-year manufacturer warranty on top of the 24 months on the desk itself.
The bottom line on computer desks
A computer desk works when dimensions, surface and cable layout are settled before production. The checklist covers points deciding whether the finished piece fits your space and how you work.
- Body measurements first: set seated elbow height and screen distance, then add the tower and knee zone — the desk grows from posture, not walls.
- Surface matched to load: choose material by daily wear, and plan the support frame before adding thickness — thickness alone won't stop a long span bowing.
- Cables and airflow on the drawing: route wiring and size cabinet ventilation during planning, since both are harder to add once assembled.
- Layout chosen by the space: pick straight, corner or niche by free floor area and interior angles, not catalogue shows.
- Fit confirmed at handover: walk through the 3D model, then open drawers and check joints at acceptance — when any mismatch is still correctable.