
Short answer
How to choose a kitchen without rework? Start with the room dimensions and utility connections, then pick the shape of the kitchen unit, the countertop height for your height, and the appliances. We make kitchens in our own workshop in Almaty: we measure the space for free, prepare a 3D design in 1–2 days, and after installation by our own team we sign an acceptance certificate.
How to choose a kitchen to fit the shape and size of the room
The shape of the kitchen unit comes from the walls, window, door, and water and gas connections, not from a picture in a catalog. First we break down where to start, then which shapes exist and where each one fits.
Where to start when choosing a kitchen unit
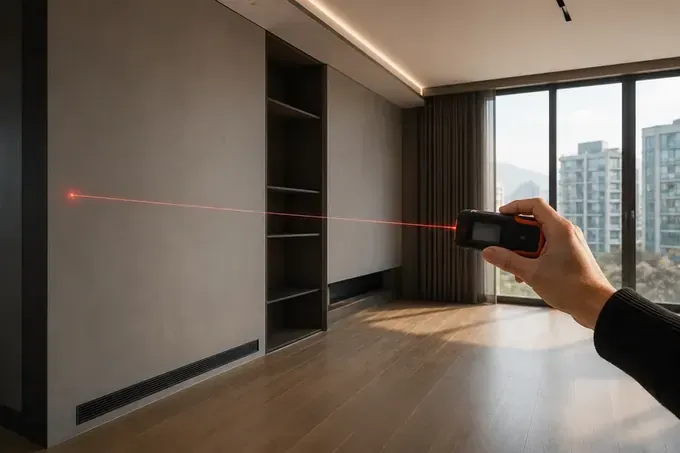
A kitchen unit without rework starts with a plan of the room, not with the color of the fronts. We first look at where the riser, ventilation duct, and gas pipe run, at what height the windowsill is, which way the door opens, and where the radiator hangs. Then the measurement specialist takes the dimensions of each wall and checks the corners and floor level differences: even a slight wall lean changes the width of the end module. We note the ceiling height separately — it determines whether the upper cabinets can go all the way to the top. Only after that do we discuss the shape of the kitchen unit, appliances, and storage, because all of it has to fit between the fixed points of the room. Measurement is free with us, and over 13 years on the Almaty market and 900+ kitchens made, we have seen how often a beautiful sketch runs into a pipe. Take photos of the water and gas connections and sockets before the measurement specialist's visit — that way the design accounts for them right away instead of adjusting later.
How the room's constraints affect the layout
The kitchen layout is set by the points that cannot be moved without renovation: the riser, ventilation duct, gas pipe, and window. The sink goes closer to the riser, the cooktop where it is convenient to route the extractor hood into the duct, and the fridge at the edge so its tall carcass does not break up the work surface. A window with a low windowsill limits the countertop height or requires fitting it flush, and a radiator under the window takes space from the lower modules. A balcony door on the same wall as the sink is not a problem if the leaf opens above the countertop. A door that opens inward eats up part of the wall, and the corner module next to it sometimes does not fit. A gas stove is not placed right next to the window or the fridge — a stretch of countertop is needed between them. Moving the sink farther from the riser is possible, but then the drain requires a slope and free space under the countertop, which takes away drawers.
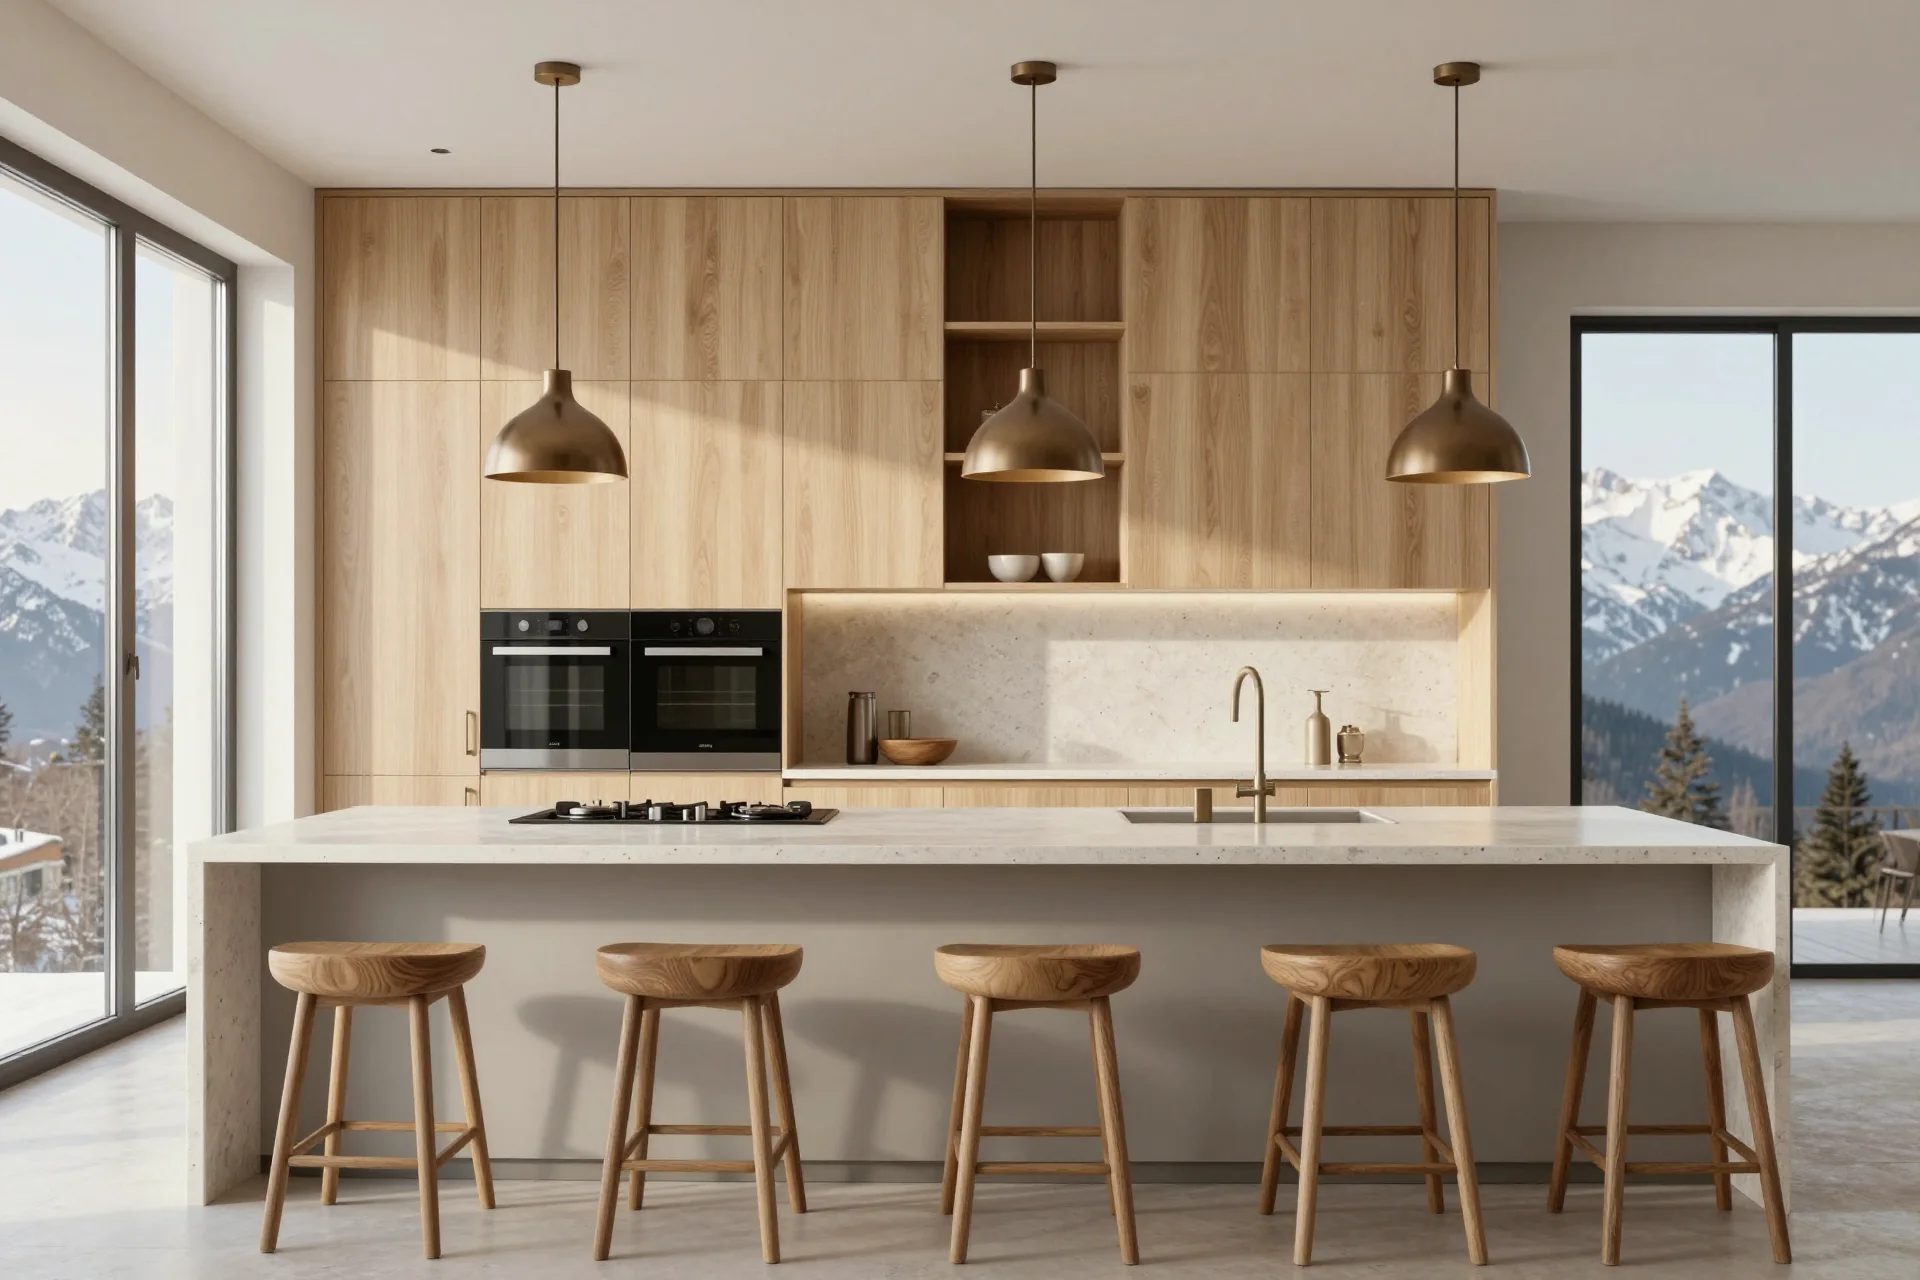
Kitchen unit shapes and which room they suit
| Shape | Which room | What to consider |
|---|---|---|
| Linear | narrow, one long wall | little work surface |
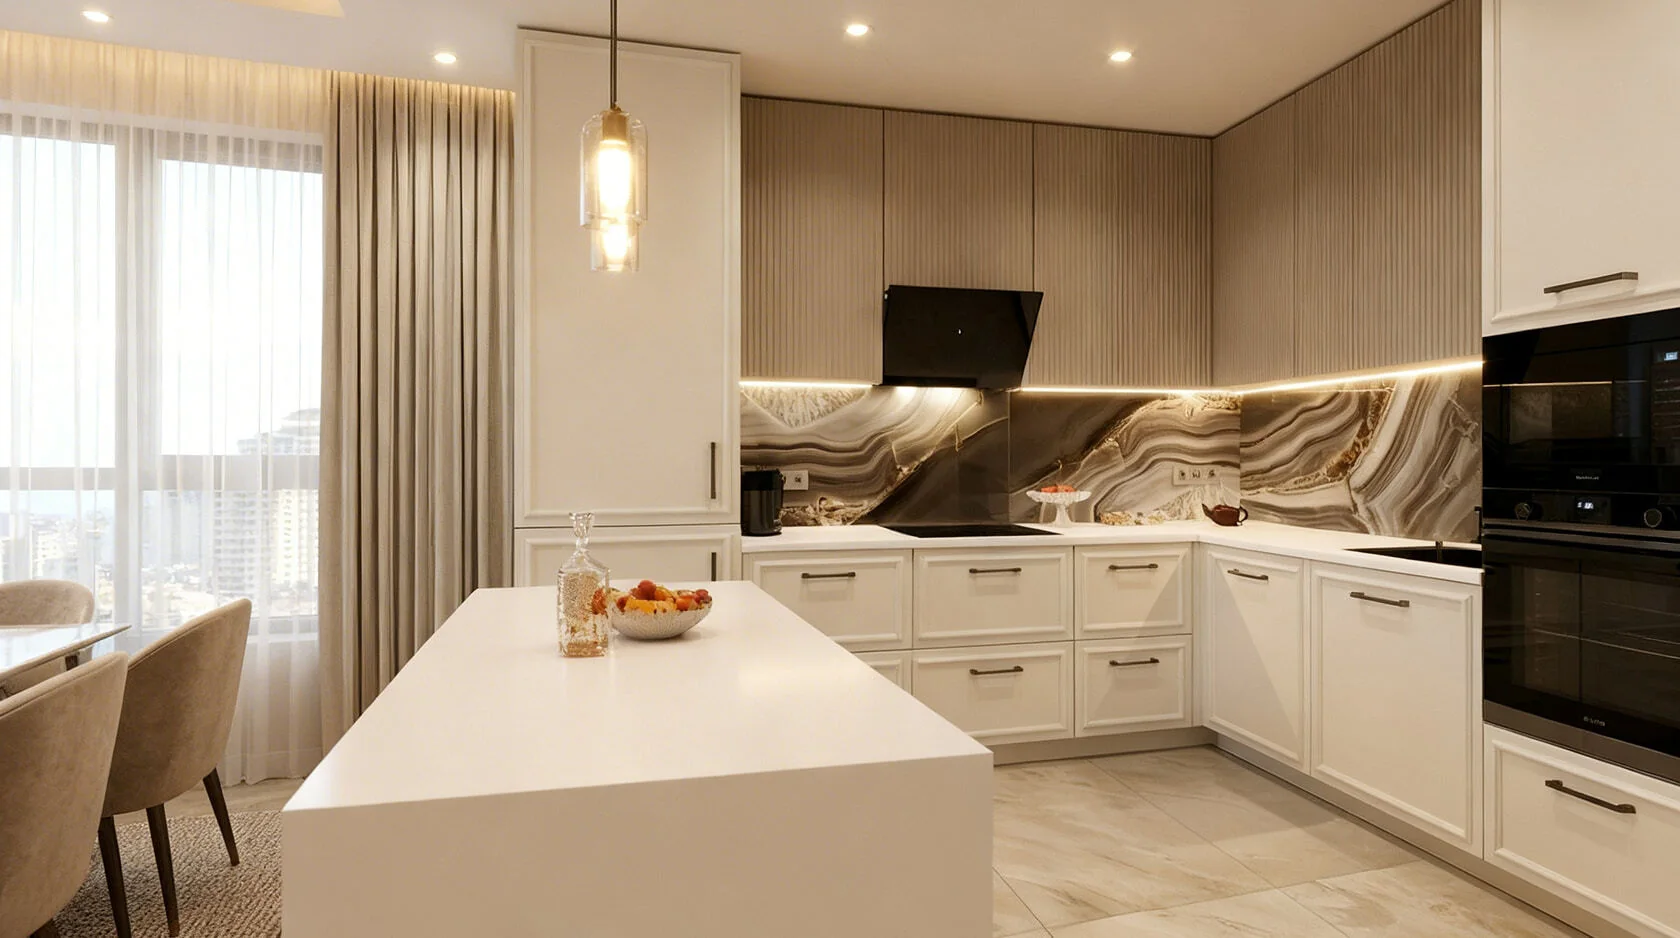
| L-shaped | square or with a window on the wall | corner module for storage |
| U-shaped | spacious, three free walls | passage between the rows |
| Parallel | walk-through, elongated | width of the passage between the rows |
| With an island | kitchen-living room | passage around the island |
| With a peninsula | medium, need a breakfast area | bar height or dining height |
| Built into a niche | studio, kitchen unit in the wall | blind doors, quiet extractor hood |
Countertop height and the work triangle for comfortable cooking
Cooking comfort is determined by the distances and heights that can no longer be adjusted after installation. Here we cover the work triangle, the free zone for chopping, and the heights of the countertop, cabinets and appliances.
What the work triangle is
The work triangle is the sink, the hob and the fridge, arranged so that there are two or three steps between any two points. The person at the hob constantly walks this route: took out the food, washed it, chopped it, put it on the heat. If the fridge stands at the far end of a long linear kitchen, an extra few dozen steps add up over one dinner, and if the three points are squeezed into one metre, two people can no longer pass each other. In an L-shaped and U-shaped layout the triangle forms on its own; in a linear one it is replaced by the order "fridge — sink — hob" along a single wall. In a parallel layout it is convenient to place the sink and the hob opposite each other, with the fridge at the entrance to the aisle. A route through the triangle to the door or balcony gets in the way of cooking — the household will constantly be crossing the work zone. Between the sink and the hob, leave a free countertop at least 60 cm long for chopping, otherwise you will have to cook on the edge by the sink.
Which countertop height is comfortable for you
We calculate the countertop height from the height of whoever cooks most often, rather than taking a single figure from a catalog. A standard work surface stands at 85–90 cm from the floor, but a tall person has to stoop at it, while a short person has to pull their shoulders up. In the workshop the height is assembled from three components: adjustable legs under the plinth, the height of the carcass and the thickness of the countertop itself, so it can be raised or lowered by a few centimetres without reworking the modules. If two people of different heights cook, the height is chosen for the one who spends more time at the hob, while the other gets a lower island or table. The sink is sometimes placed slightly above the general line, and the hob slightly below, since you look down into a tall pot. We confirm the heights of family members at the measurement stage so that the height can be built into the design. A simple home test — stand at the table and bend your arm: a comfortable countertop is 10–15 cm below your elbow.
Cabinet and appliance heights without bending
- Appliance tower: we can raise the oven and microwave into a tall carcass at chest level so you don't have to bend down to a hot baking tray.
- Dishwasher: raised in a column above floor level, it saves you from bending when unloading dishes, but takes space from a tall tower.
- Upper cabinets: between the countertop and the bottom of the wall row, 50–60 cm is usually left so you don't hit your head and can see the backsplash panel.
- Extractor hood: its height above the hob is set by the manufacturer's instructions, and we build this distance into the design before cutting.
- Sockets and lighting: the positions of sockets above the countertop and the LED strip under the upper row are marked in the design so you don't work in your own shadow.
- Top shelf: check which shelf the cook can reach without a stool, and above it keep storage for rarely used items.
Which appliances and fittings to decide before the design
The modules of a kitchen set are built around the appliances, so the models and dimensions of the units are chosen before the drawings. We explain why this matters, how built-in and freestanding appliances differ, and what is included in the order.
Why appliances are chosen before the kitchen set
We start choosing a kitchen unit with a list of appliances, because each appliance sets the width, depth and cutout of its module. An oven requires a niche with a ventilation gap, a hob requires a cutout in the countertop according to the manufacturer's template, and a built-in refrigerator requires a column of exact height. A dishwasher can be slim or full-size, and this determines how many drawers remain next to the sink. The sink is also considered an appliance: inset, surface-mounted or undermount sinks require different module and countertop designs. The range hood determines whether there will be a cabinet above the hob or an open wall. If the model changes after cutting, the carcass has to be made anew, and in a finished kitchen this is already a new order. Therefore, in our 3D design, each appliance is placed with dimensions from its manual, not as a conventional rectangle. Send us the model names before the design, and bring the appliances themselves to the installation — this way the assemblers will check the cutouts on site right away.
Built-in or freestanding appliances
Built-in appliances are hidden behind fronts or in niches and maintain a single line of the kitchen unit, while freestanding ones are easier to replace and are not tied to module dimensions. A built-in refrigerator is covered with a front matching the kitchen unit, but is usually smaller in volume than a freestanding one of the same width. A freestanding cooker with an oven takes up one opening and is suitable if gas is supplied to a specific location. In a small room, a freestanding refrigerator is sometimes more sensible: it does not require a column and frees up space for storage. Built-in appliances are installed in a module according to the dimensions specified in the manual, and when replacing, you will have to look for a model of the same format. A dishwasher is almost always built-in, otherwise its body stands out from the row. A mixed option is also normal — built-in hob and oven plus a freestanding refrigerator at the edge. In a corner layout, place the refrigerator so that its door opens towards the work area and does not block the passage.
What is included in the kitchen package
- Carcasses: lower, upper and tall modules made of Egger and Kronospan laminated chipboard, which we cut and edge in our own workshop.
- Fronts and countertop: doors, drawer panels, work surface and wall panel that covers the wall between the rows.
- Hardware: hinges, drawer slides and lift mechanisms for upper cabinets — we use Blum, Hettich and Boyard.
- Installation details: plinth, cornices, end panels, work area lighting and cutouts for the sink and hob.
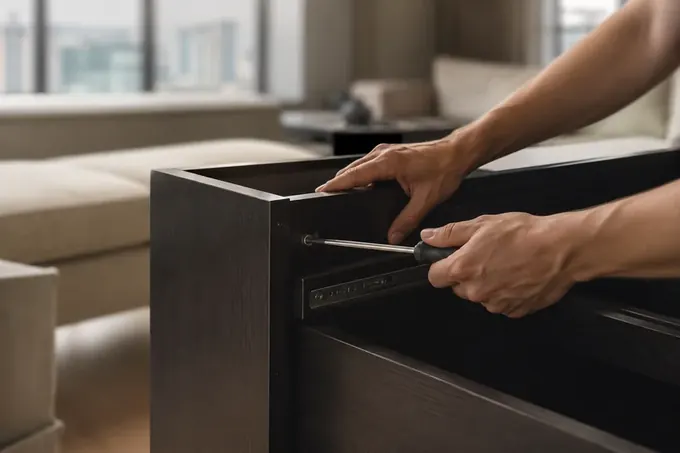
- Assembly and installation: we carry out a trial assembly in the workshop before shipping, and our installation team installs the kitchen on site.
- Purchased separately: make a list of what you are buying yourself — sink, faucet, appliances — so that the design takes their dimensions into account.
Zone-based storage, from drawers to floor-to-ceiling cabinets
Storage is calculated from what is already in the home, not from the number of doors on the sketch. Below — the lower row, upper tier and distribution of items by work zones.
Drawers or shelves in the lower row
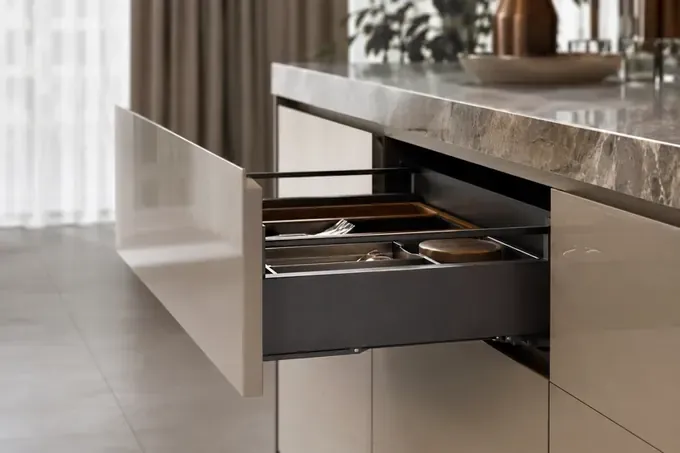
In the lower row we recommend pull-out drawers instead of shelves behind a hinged door. A drawer pulls out fully, and a pot in the far corner is visible from above — no need to get down on your knees and take out everything in front. Under the sink, where the pipes and trap run, there is usually a door or a drawer with a cut-out, and it is convenient to place waste sorting there too. Wide drawers hold pans and lids, narrow ones hold spices and bottles by the stove. The corner module in an L-shaped kitchen is the most awkward spot, and we close it with a carousel or pull-out system so the corner does not turn into a store of forgotten things. Inside a tall drawer you can fit a second, hidden one — for gadgets and small items that otherwise get lost among the pots. A drawer with a soft-close mechanism closes quietly even when fully loaded and does not bang against the carcass. For heavy cast-iron cookware, ask for full-extension runners — then the back wall of the drawer is in view too.
Upper cabinets to the ceiling or with an open shelf
Cabinets to the ceiling add a whole extra tier of storage and remove the dusty strip between the top of the units and the ceiling. We build such a row in two levels: the lower one for everyday dishes at arm's level, the upper mezzanine one for what is needed rarely. Upper fronts on lift-up mechanisms open upwards and do not hit your head, while hinged ones are simpler and suit narrow cabinets. Open shelves look light and show off pretty dishes, but they collect dust and kitchen grease, so they are placed away from the stove. The upper row is shallower than the lower one, so large dishes and pots do not go there, but plates and cups fit in a cabinet with a dish rack right above the sink. If the ceiling is uneven, during measurement we take the height at several points and close the gap with a trim strip in the colour of the front. Mezzanines above head height are best given over to the festive dinner service, supplies and seasonal appliances — things taken out a couple of times a year.
What to store in which zone
| Zone | What to store | Which module |
|---|---|---|
| By the fridge | grains, canned goods, bread | tall larder unit |
| By the sink | cleaning products, sponges, waste | sink unit |
| Above the sink | plates, cups | cabinet with dish rack |
| By the work area | knives, boards, gadgets | drawer with organiser |
| By the stove | pots, pans, spices | wide drawers |
| Under the ceiling | dinner service, supplies, seasonal items | mezzanine |
| By the entrance | bags, aprons, towels | narrow larder unit |
How to choose a kitchen by the type of fronts and handles
Doors and drawer panels are what you see from the doorway and touch dozens of times a day. We break down the surface, the way it opens and the choice of colour together with the worktop and walls.
Matte or glossy fronts
We select kitchen fronts based on the room's light and on who uses them, not just on a photo in a catalogue. Gloss reflects light and visually enlarges a small space, but fingerprints, droplets and fine scratches show up on it, especially on dark tones. A matte surface is calmer, hides hand marks and suits families with small children, although grease stains sometimes sink in more deeply on it. Super-matte soft-touch coatings feel pleasant to the touch and hardly hold fingerprints, but fine scuffs on them can no longer be polished out. Light gloss next to a window can glare on a sunny day, while a dark matte front in a room with a north-facing window makes it gloomier. You can look at samples of film, plastic and painted MDF in our showroom. Look at the sample in daylight and run your finger over it — that immediately shows how many marks will remain.
Handles, profile or push-to-open
- Classic handles: the most reliable option, a handle is easy to grab with a wet hand, and it protects the front from fingernail scratches.
- Recessed profile: an aluminium strip along the top edge of the front gives a clean line without protrusions and suits narrow passages.
- Push-to-open: a front without handles opens with a light push, but fingerprints remain where you press.
- Mixed scheme: handles on the lower row and push-to-open on the upper one — a common compromise between looks and convenience.
- Integrated handle: a milled groove in the front itself with no add-on part suits painted MDF and keeps a clean plane.
- Heavy drawers: push-to-open is inconvenient for pots and cast iron, so a profile or handles are used there.
How to choose a colour for the room and the light
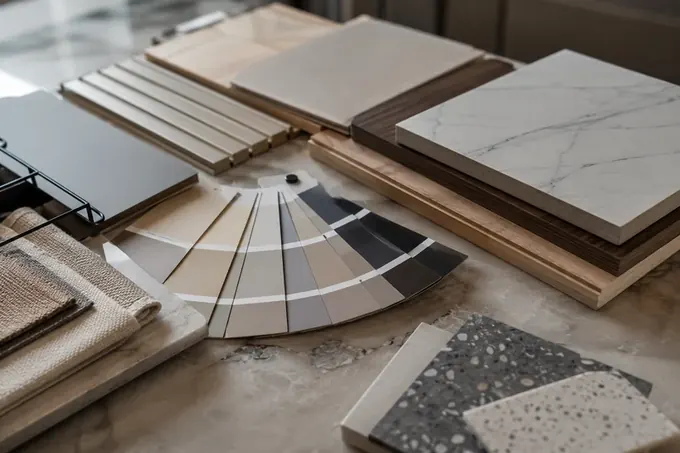
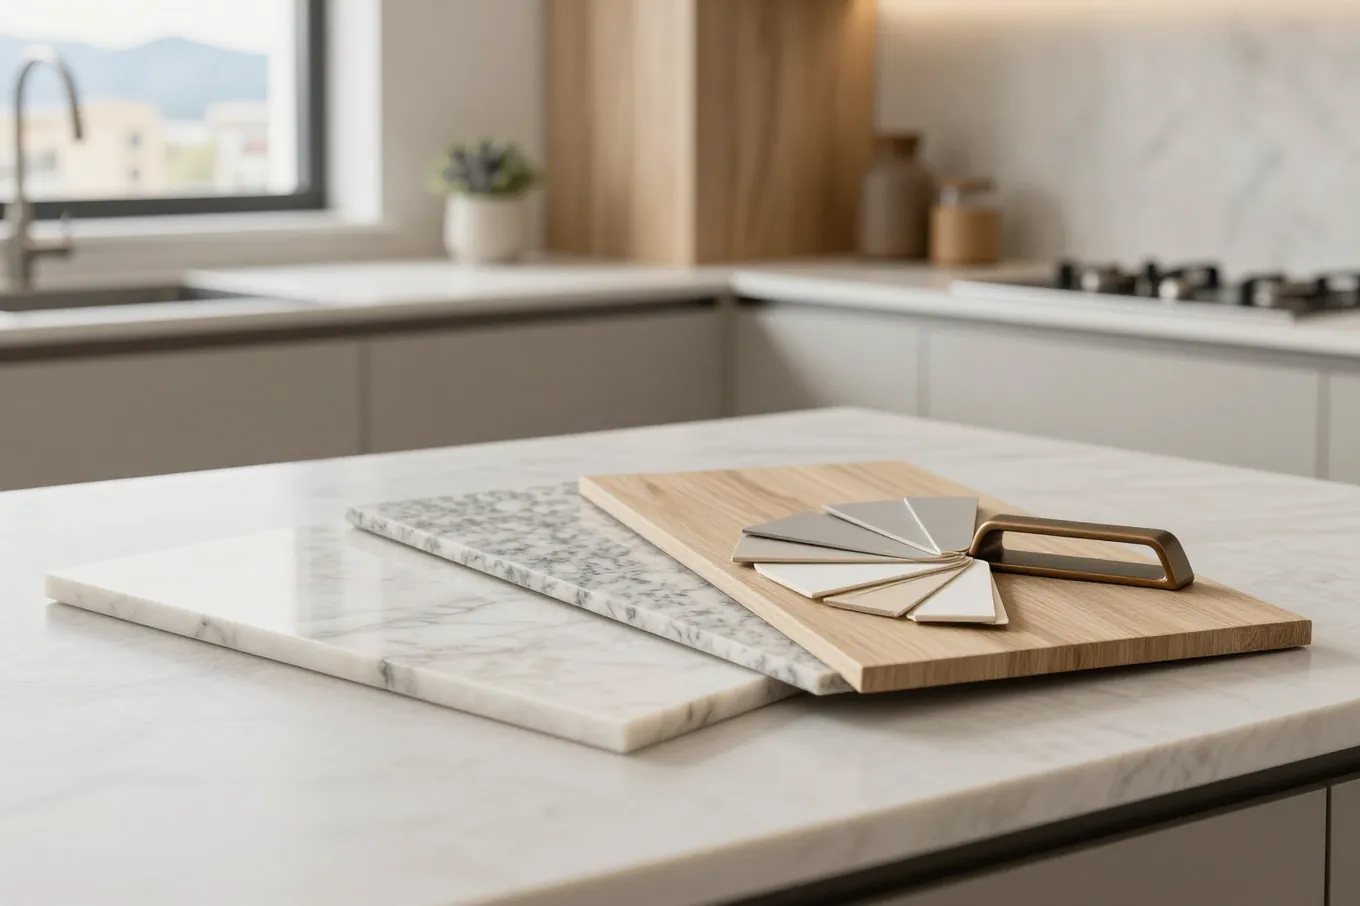
We choose the colour of the fronts together with the countertop, wall panel and floor using samples in the showroom, not from a single square of film. On a phone screen the shade looks different from how it looks in the room under a warm lamp, so it is better to try the sample against the wall of the future kitchen. Light tones (white, beige, light grey) enlarge a small space and age calmly, while a rich colour works well on one row or an island, where it does not press on the whole room. The countertop colour is usually chosen to contrast with the fronts so the work line reads clearly, and the wall panel — to match one of them. Wood decor on the lower modules hides foot marks at the plinth and goes with almost any countertop. In the 3D design we show the chosen palette as a whole so the customer sees the combination before cutting. A dark bottom and light top visually raise the ceiling, while a solid dark suite up to the ceiling, on the contrary, makes the room feel smaller.
Measurement, 3D design and acceptance of the finished suite
A mistake is easier to fix on a drawing than on the wall after installation. We explain when to call the measurement specialist, what to look for in the design before signing the contract, and how the check of the finished suite goes.
When to call the measurement specialist and what to prepare
- Measurement timing: we recommend calling the measurement specialist after rough finishing, when water, gas, ventilation and electrics are in place, but the walls are not yet wallpapered.
- Wall finish: tell us in advance whether there will be a tile backsplash or a wall panel — the depth and mounting of the upper row depend on it.
- Appliance list: prepare the model names of the oven, hob, fridge and dishwasher so the design is built around their dimensions from the start.
- Family habits: write down who cooks, their height and what is stored in the kitchen now — this saves half the questions on site.
- Clear access: clear the walls of old furniture and boxes before the measurement so the specialist can take dimensions along the full length.
- Sockets: mark where the kettle, coffee machine and blender will go, then the electrician will bring the sockets above the countertop to where they are needed.
What to check in the 3D design before signing the contract
Our 3D design is ready in 1–2 days after the free measurement, and it is exactly where you can see how to choose a custom kitchen without surprises after installation. Check whether the oven door, dishwasher and fridge open at the same time without hitting each other or the handles of neighbouring modules. See where the corner module lands, where the riser runs and whether the meter or gas valve is hidden behind a solid panel. Compare the countertop height with the one recorded at the measurement, and the height of the upper row relative to the extractor hood. Separately, look at where the sink sits relative to the window and whether there is enough light over the work area in the evening. Compare the palette of the fronts and countertop in the design with the samples — the shade on a monitor is often warmer. Lead times for each item are shown in the price list on the item page, and it is convenient to check them at this stage. Walk through one dinner scenario in the design — from the fridge to the sink and the hob — and it will immediately become clear where space is lacking.
How we accept the kitchen after installation
| What we check | How to check |
|---|---|
| Gaps between fronts | even along the whole line |
| Hinges and drawers | open and close each one |
| Countertop and joints | no gaps or chips |
| Sink and appliances | no water leaks, precise cutouts |
| Completeness | everything per the design and contract |
| Lighting and sockets | working, wires hidden |
| Documents | acceptance certificate and 24-month warranty |
Summary: how to order a kitchen without rework or extra cost
A short guide to all six sections for those who are just about to order a kitchen set and want to go from measurement to handover without rework or extra costs.
- The room comes first: the shape of the set is dictated by the riser, vent channel, window and door, so it's worth starting with the floor plan, not the color.
- Ergonomics: the work triangle, free countertop between the sink and the stove, and a height matched to the hostess's stature matter more than any decor.
- Appliances before drawings: appliance models are chosen before the design, otherwise modules will have to be redone after cutting.
- Storage: drawers in the lower row, floor-to-ceiling cabinets and zoning your belongings by area save you from cramped space for years to come.
- Fronts and color: the surface, handles and palette are chosen from samples in daylight together with the countertop and wall panel.
- Checking at every stage: the design is walked through with a dinner scenario, and the finished kitchen is accepted by gaps, drawers, joints and documents.
Article updated 29 September 2026Calculate kitchen price All blog articles