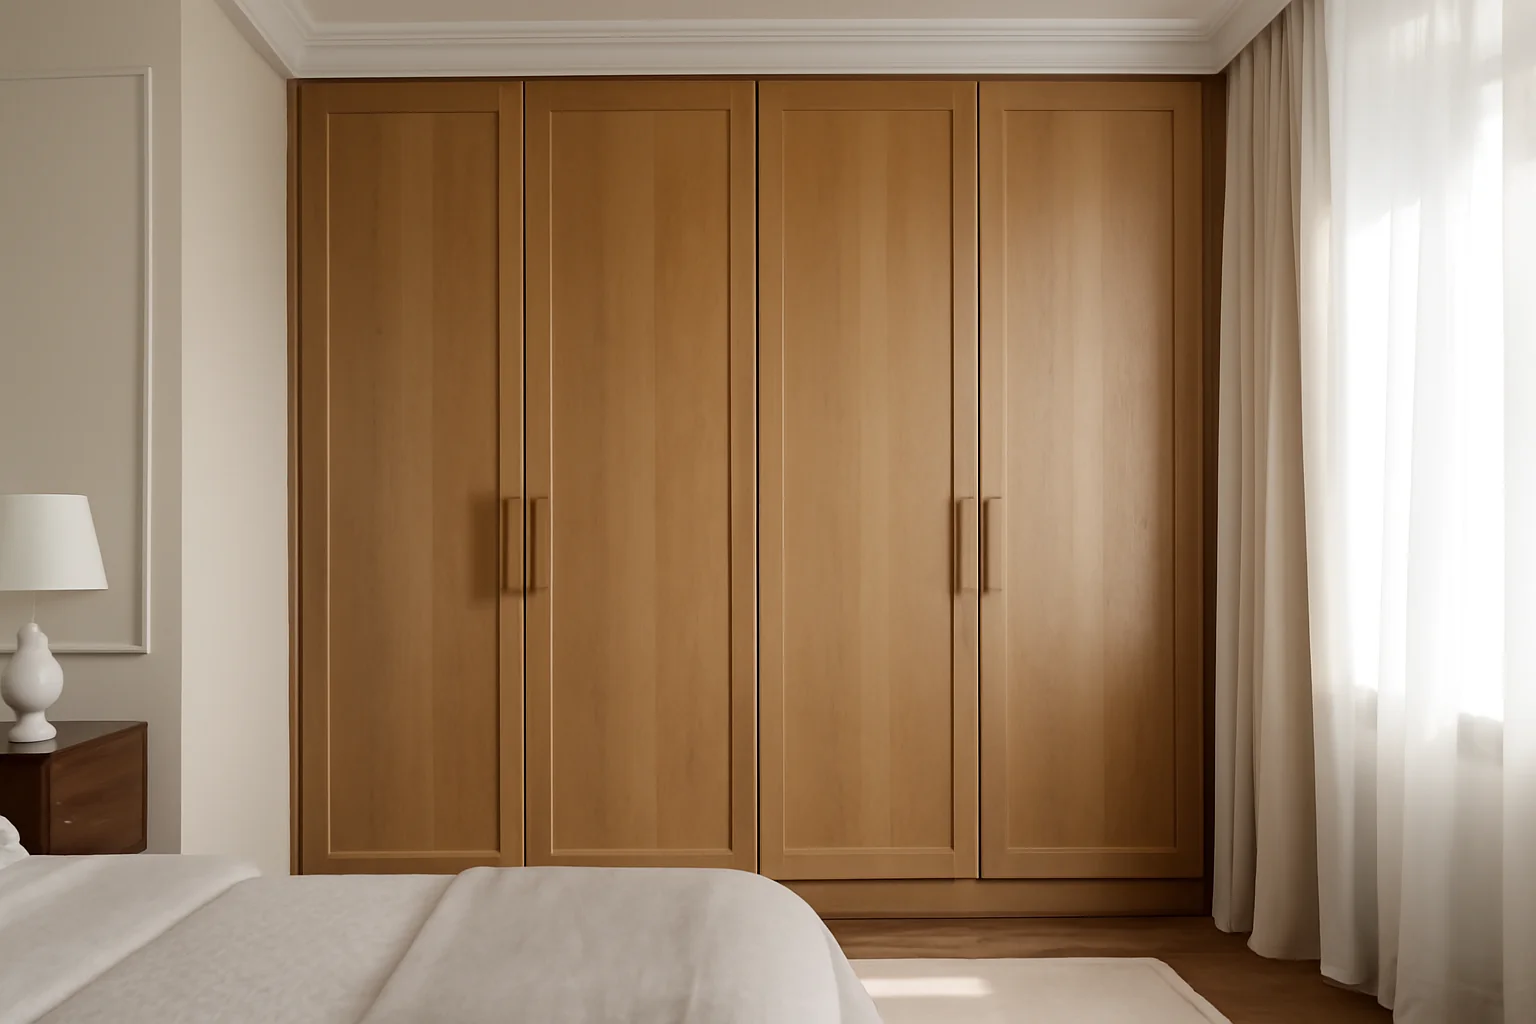
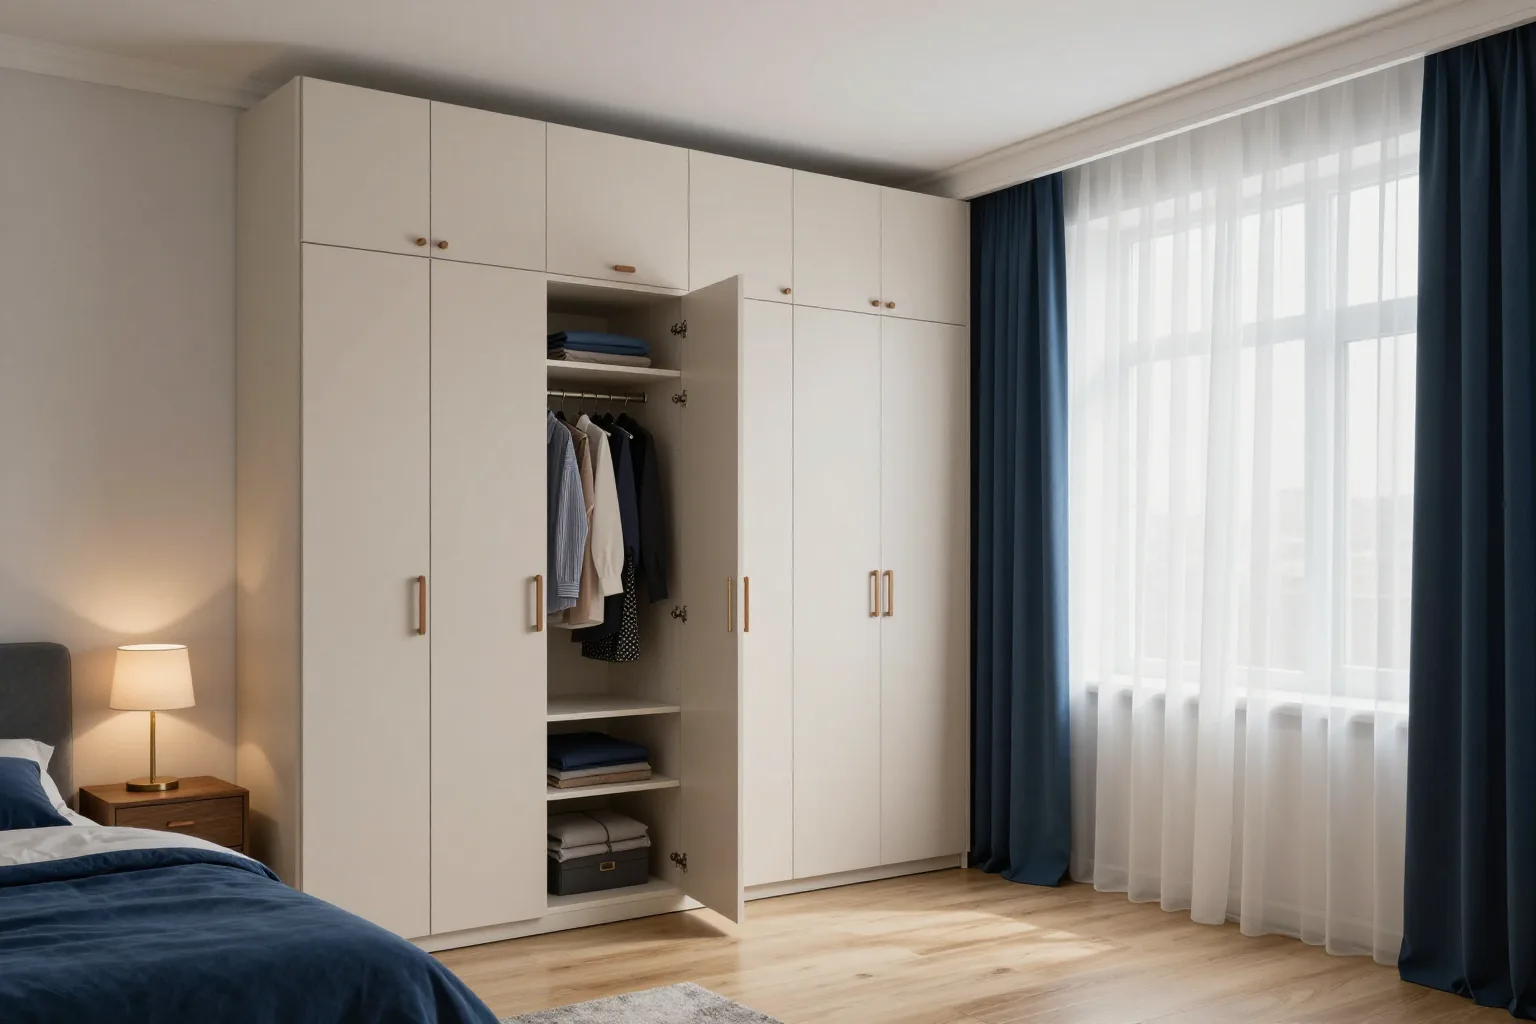
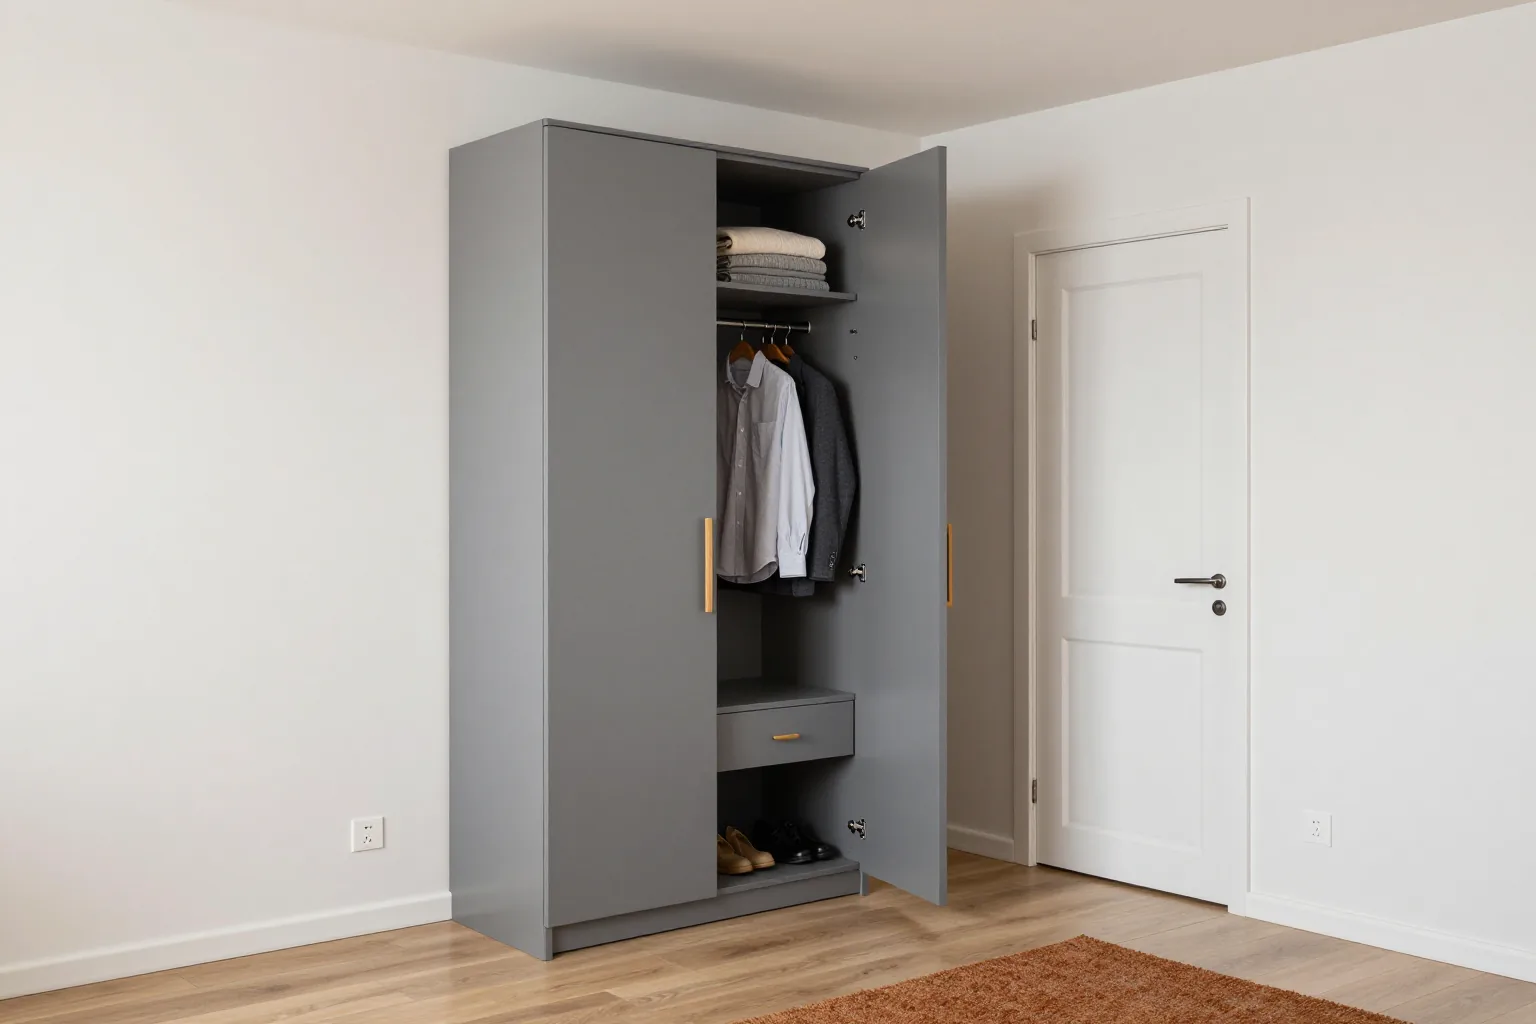
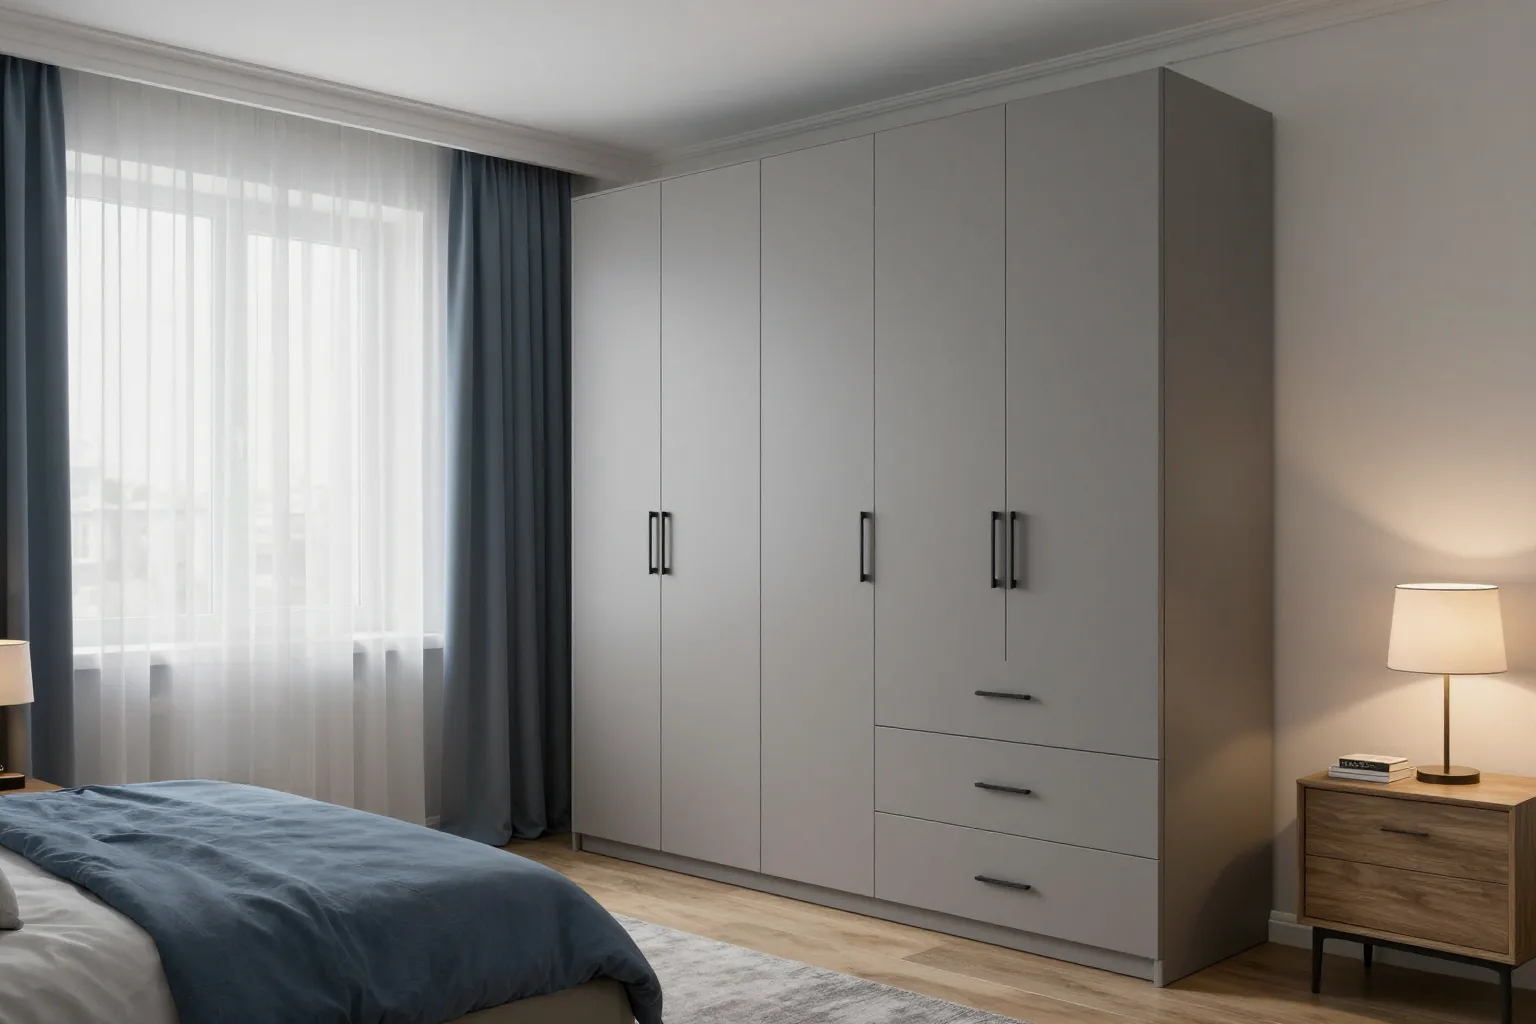
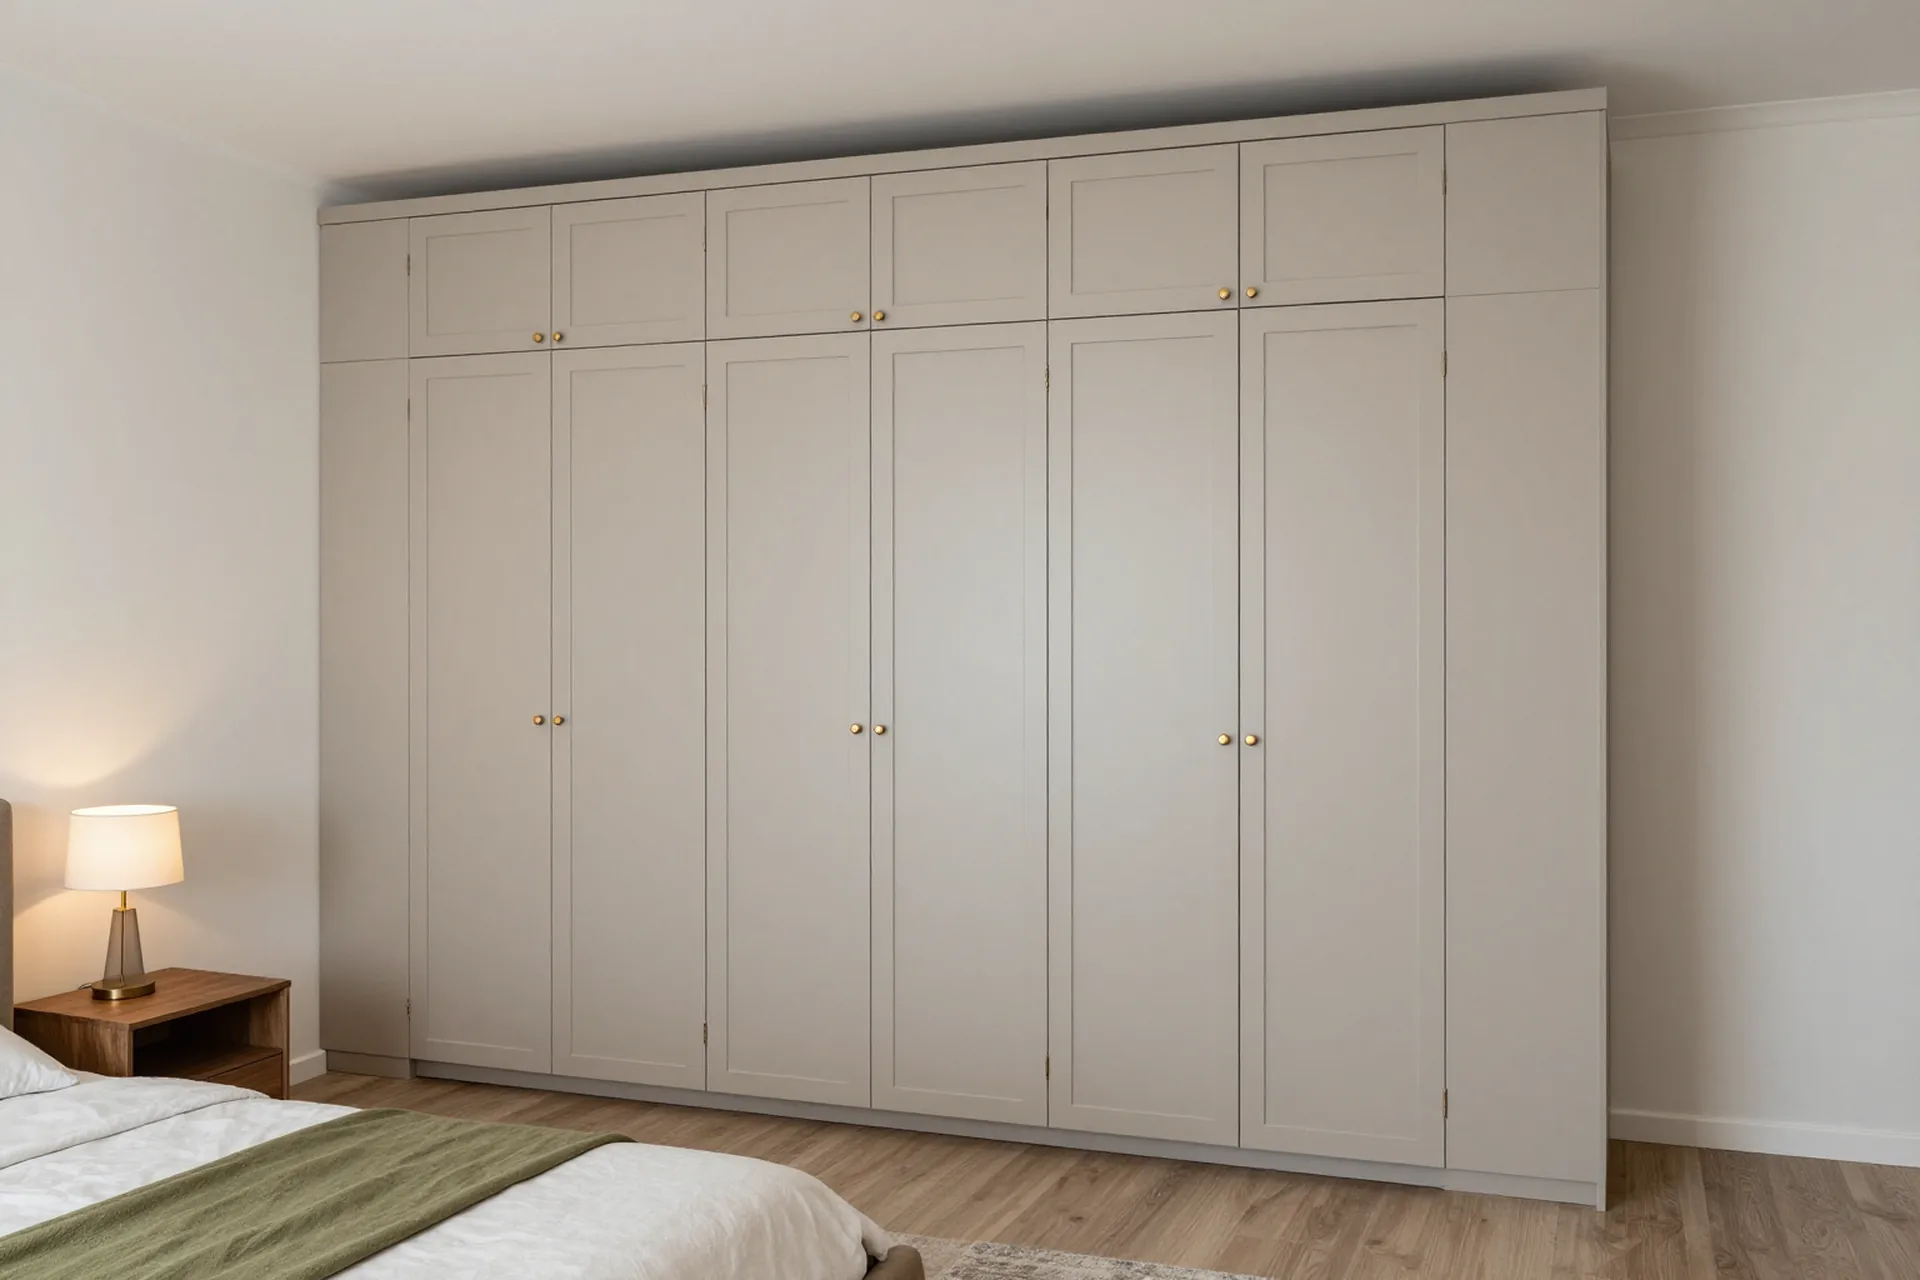
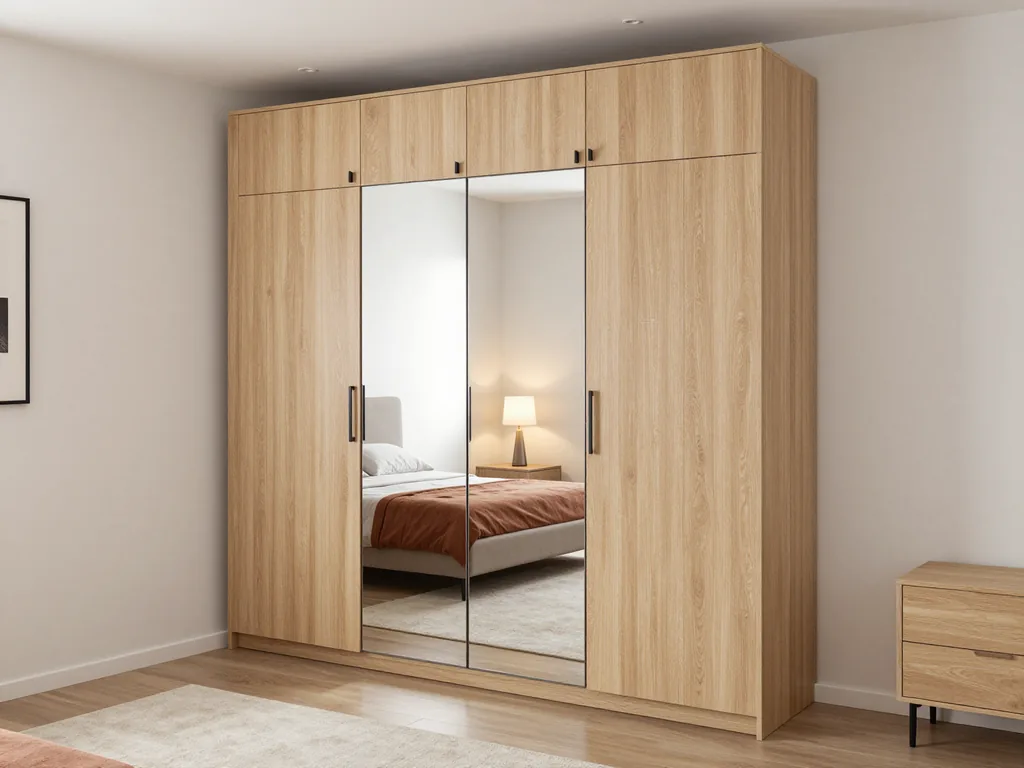
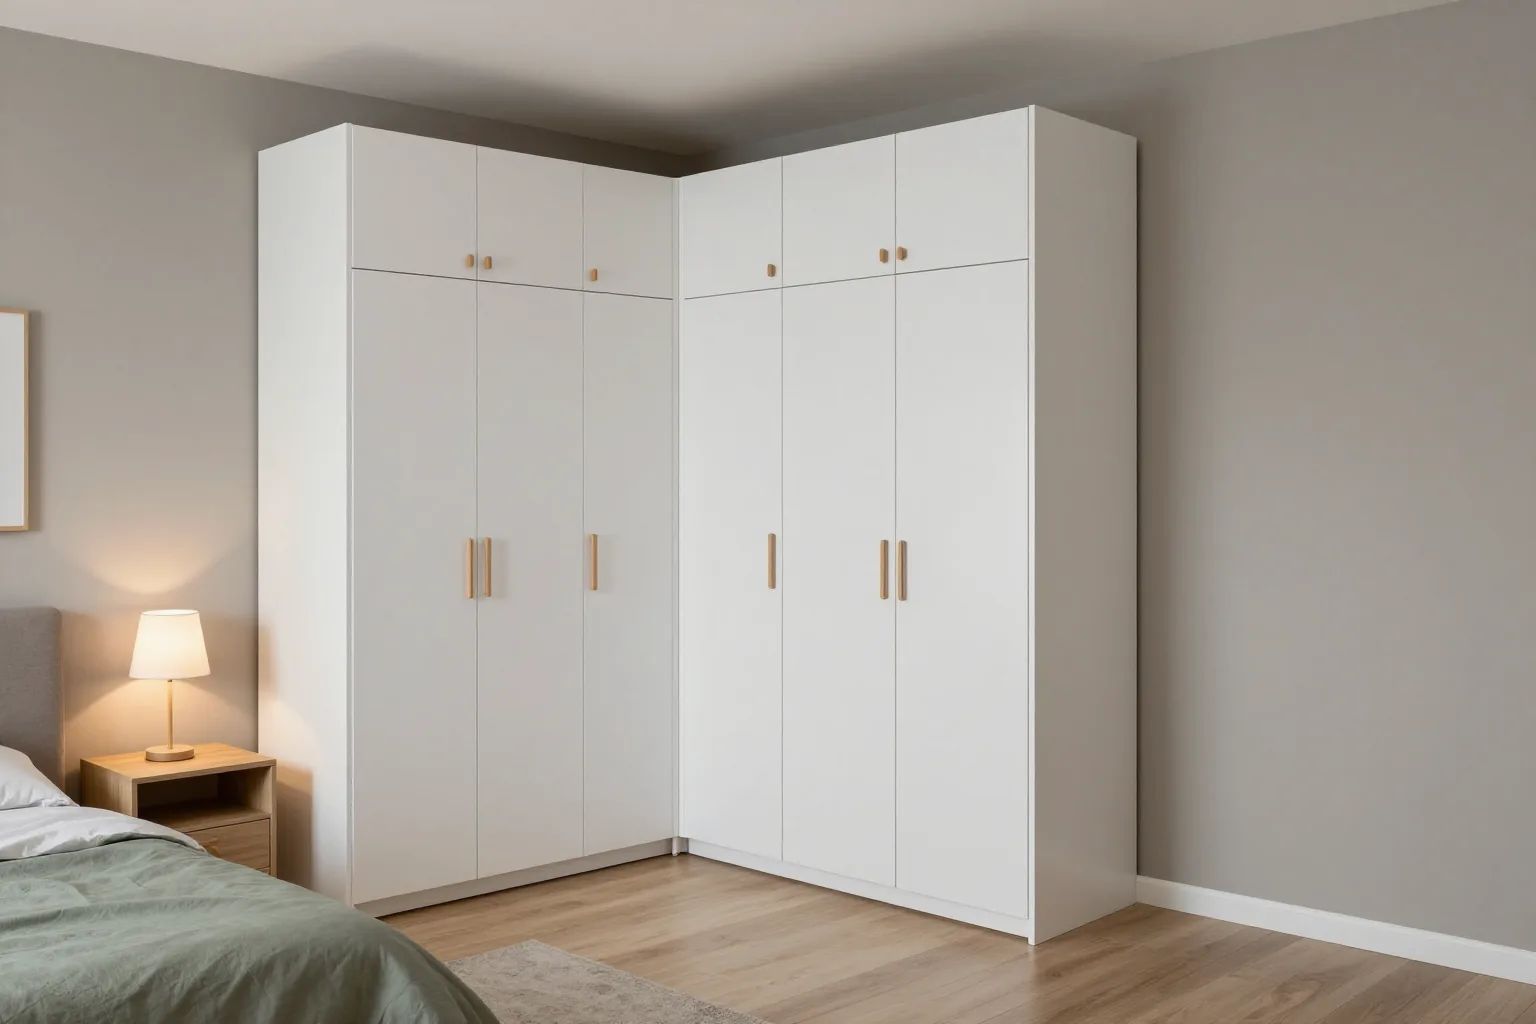
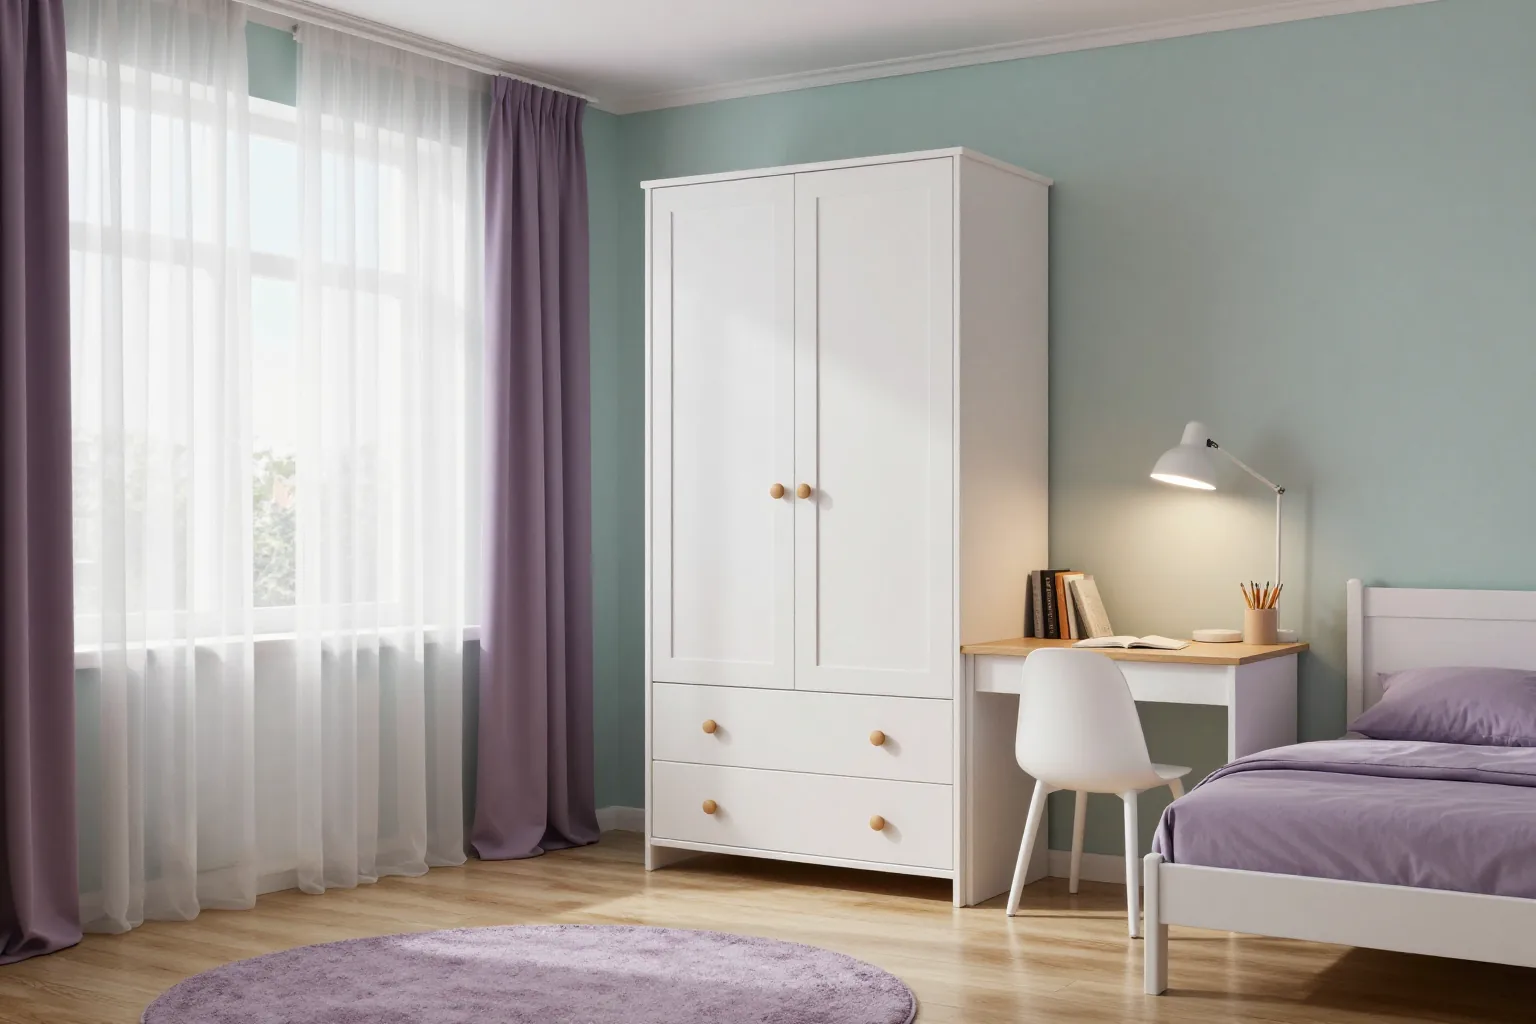
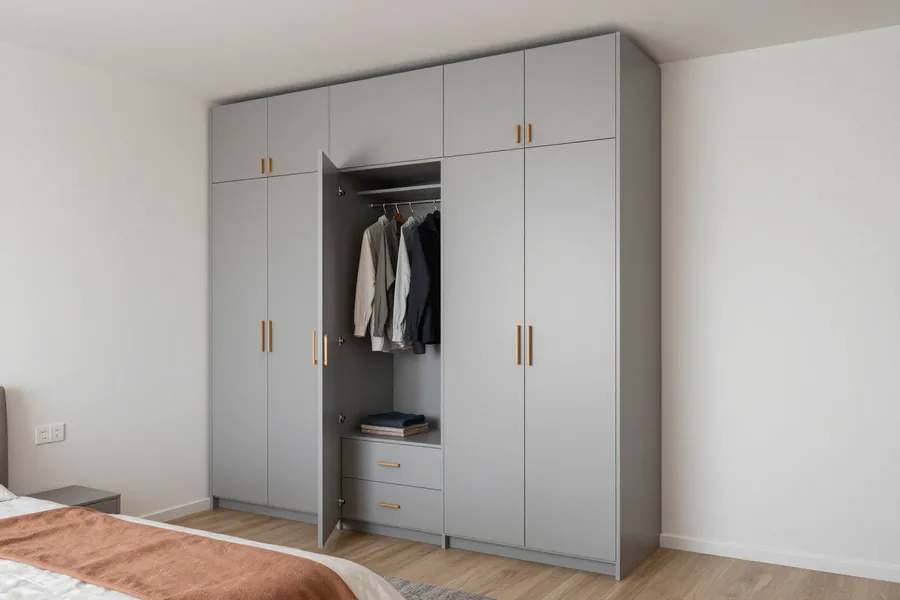
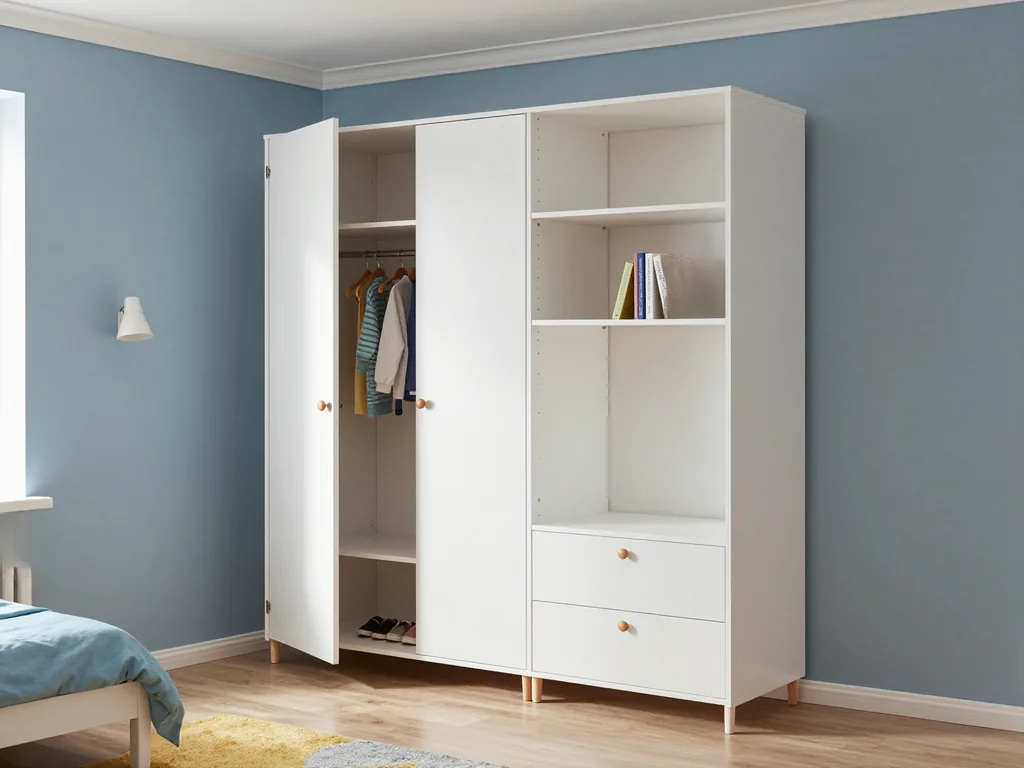
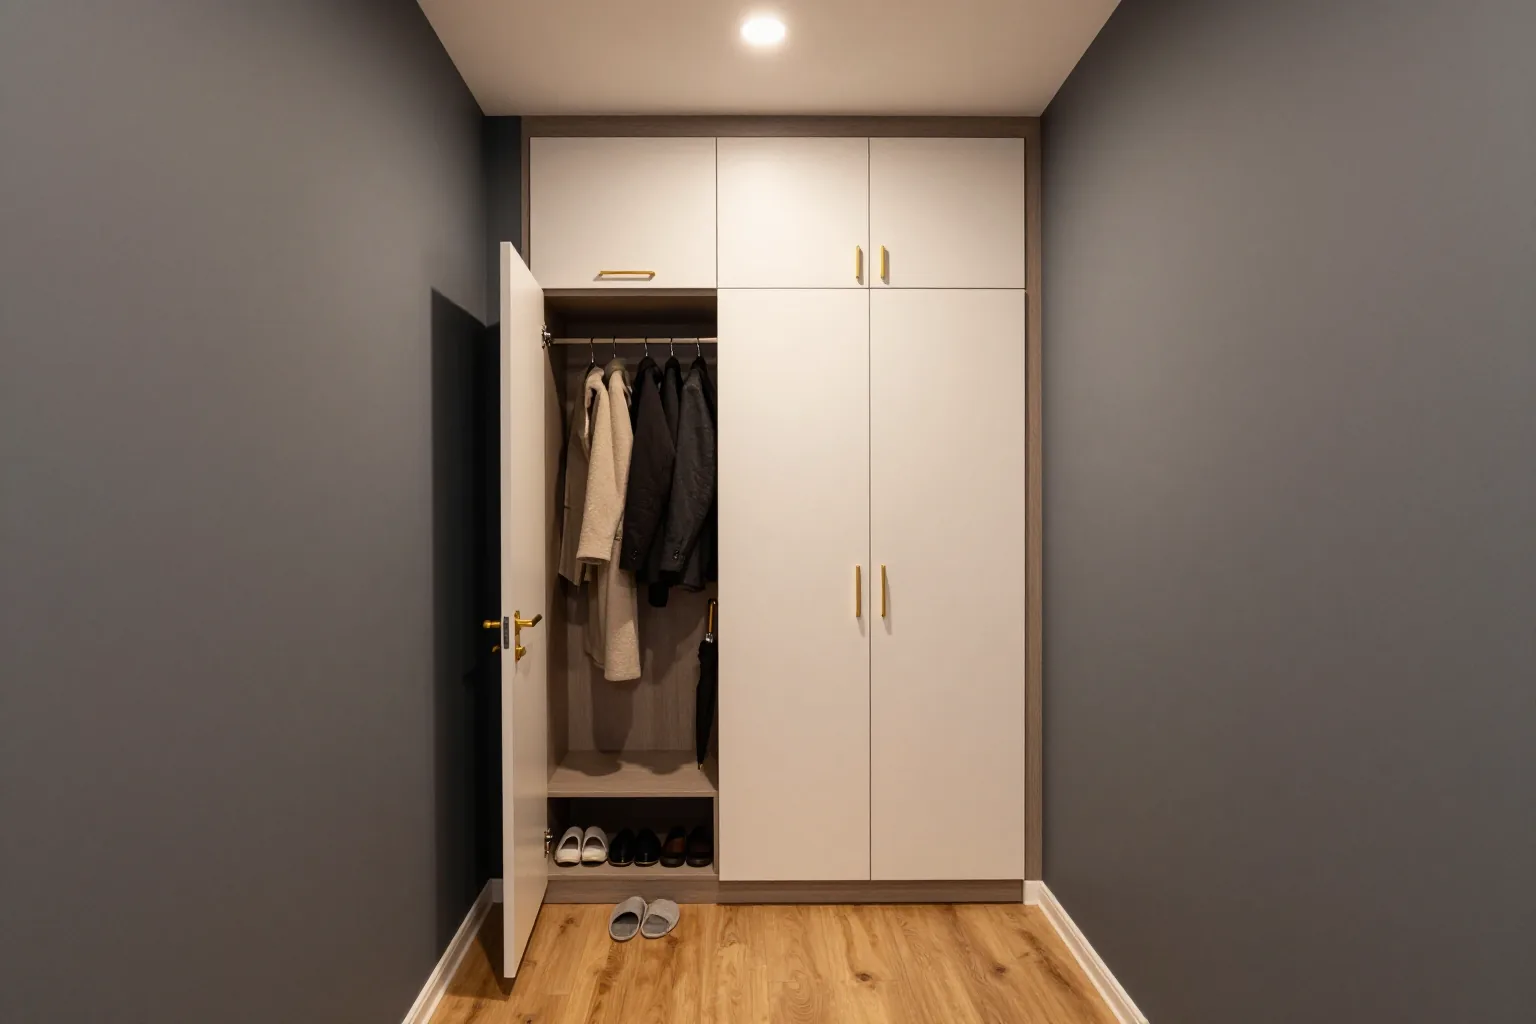
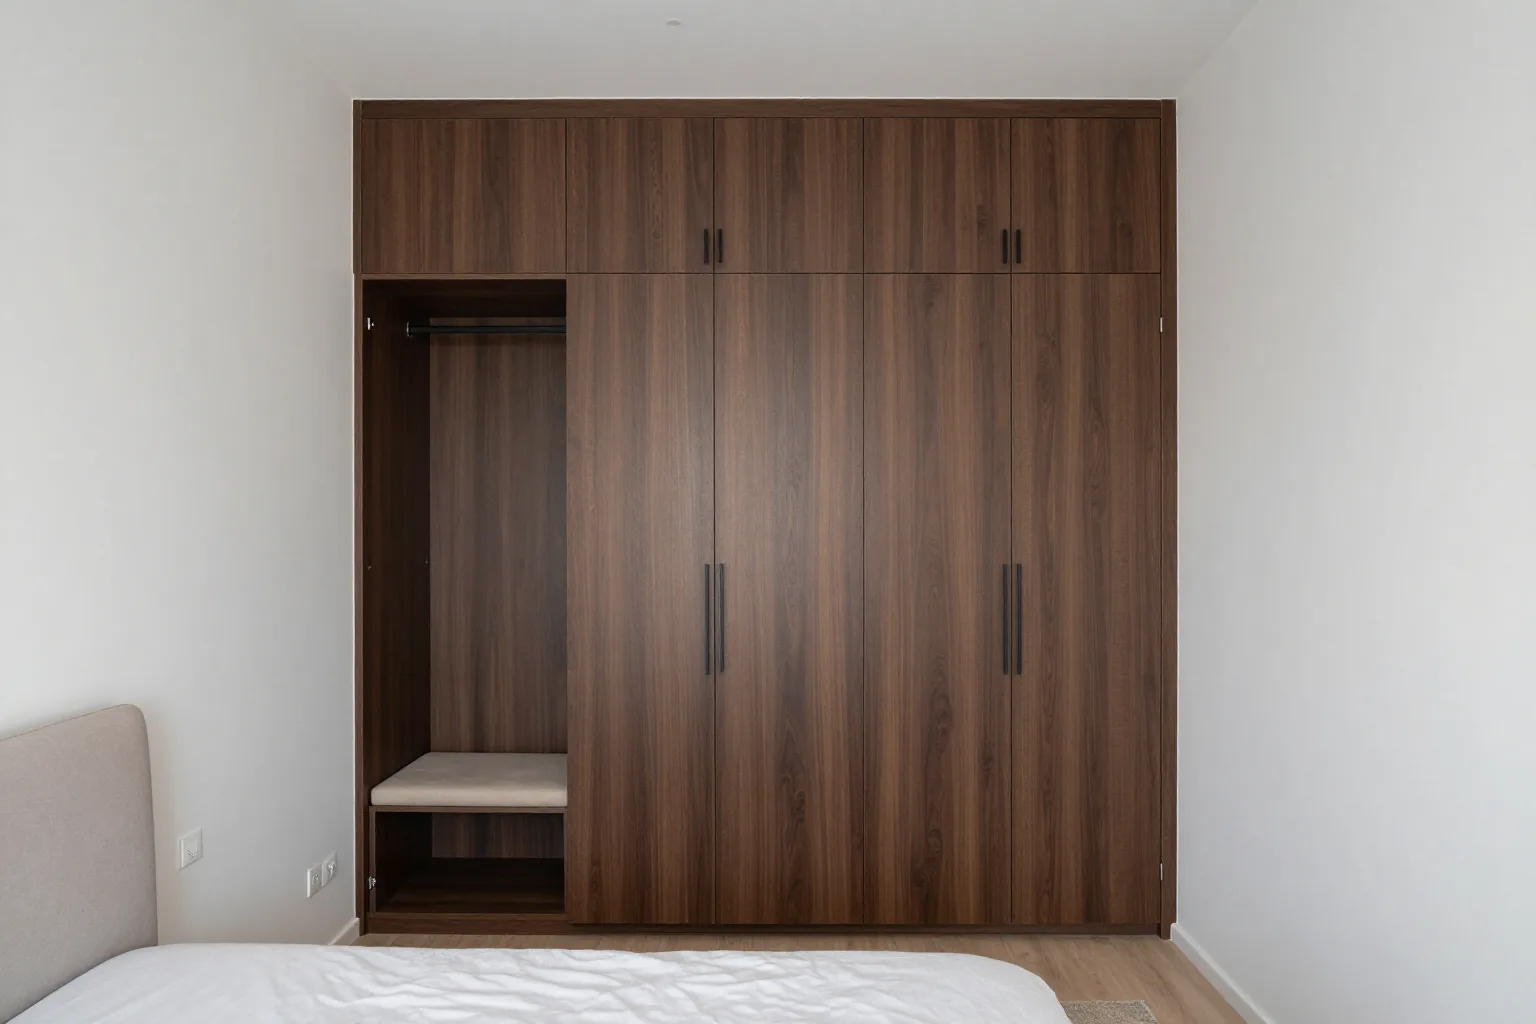
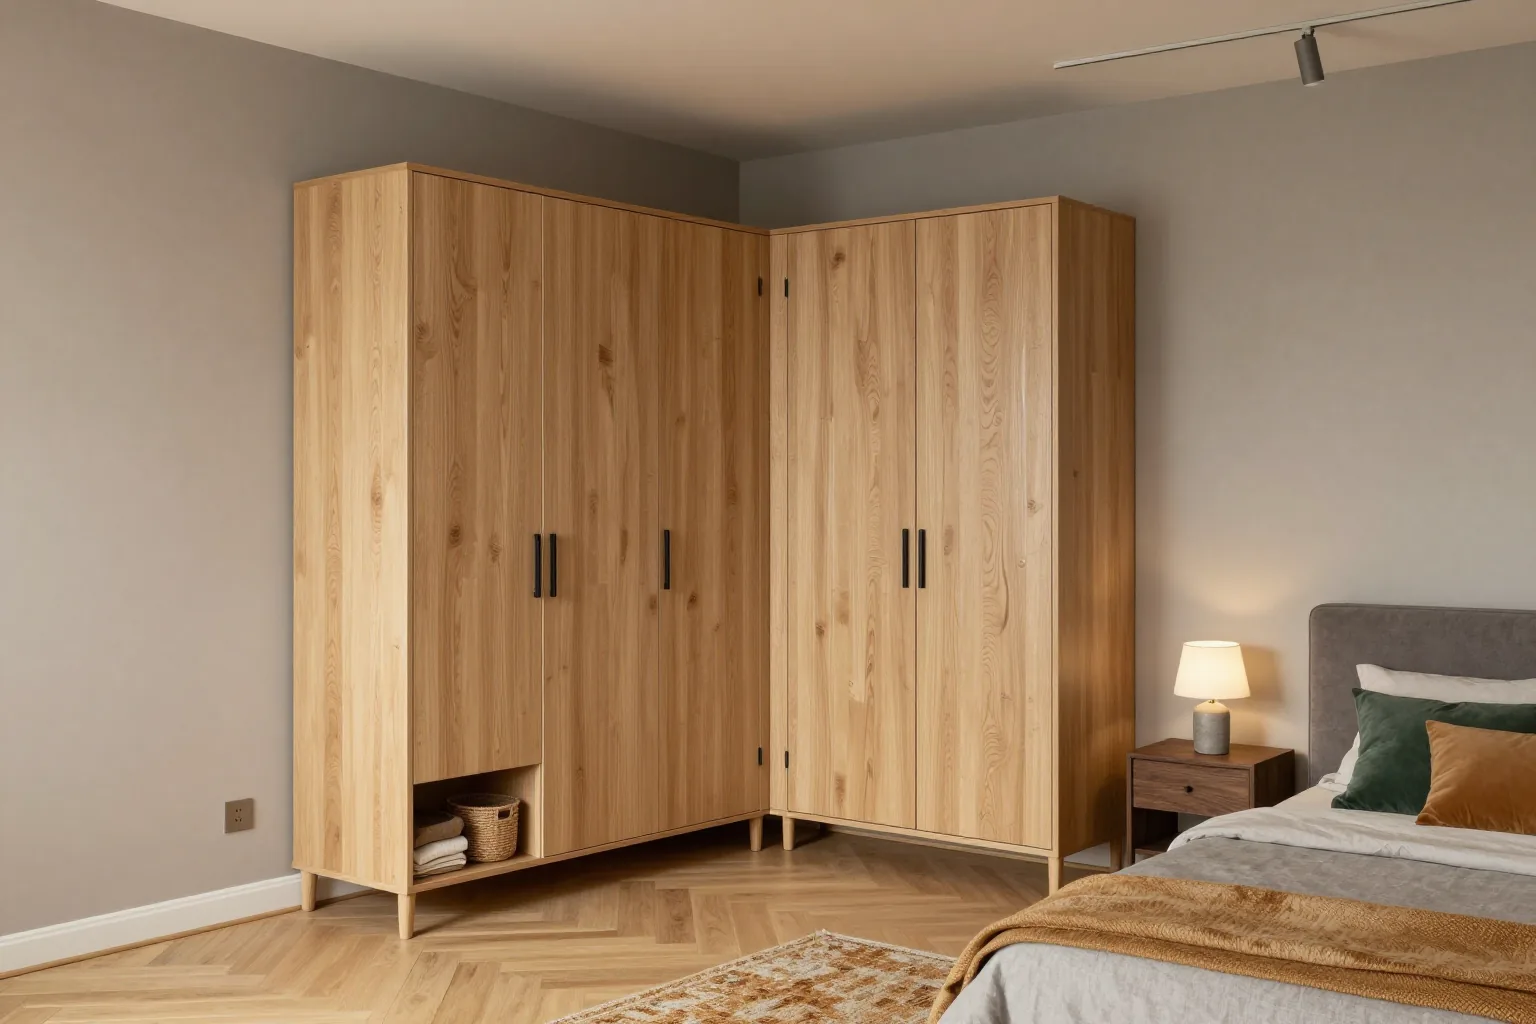
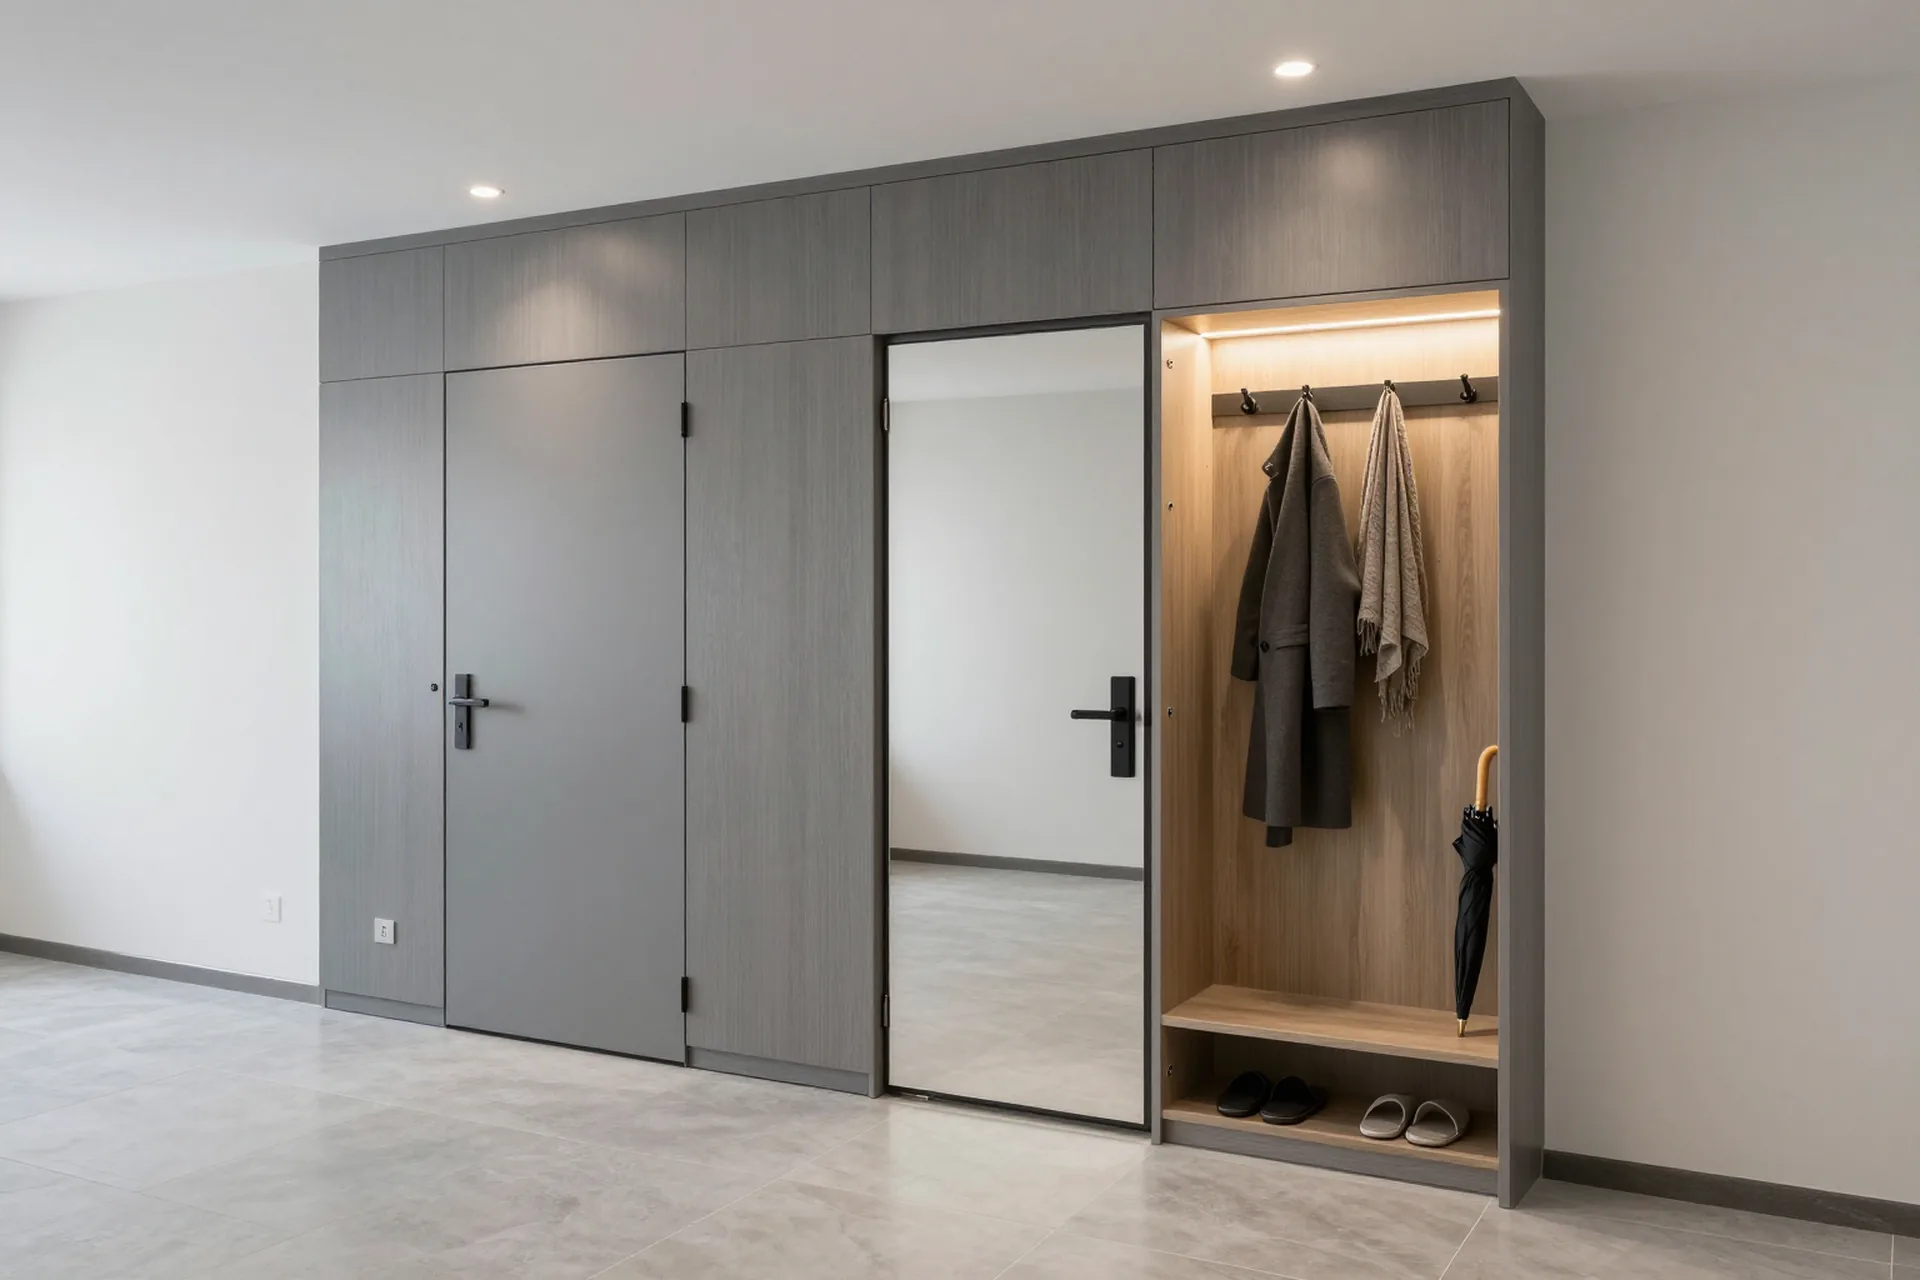
A custom hinged-door wardrobe from MEBLIX is designed from the actual measurements of your flat, made in our own 600 m² workshop from Egger and Kronospan boards with Blum hardware, and installed by our own crews. Measurement and a 3D design are free, and the wardrobe carries a 24-month warranty under the contract.
Choosing the design starts with two measurements: the depth of the carcass and the free space in front of the fronts. A hinged model wins wherever you want full access to everything inside and every shelf in view at once.
How hinged doors differ from sliding ones
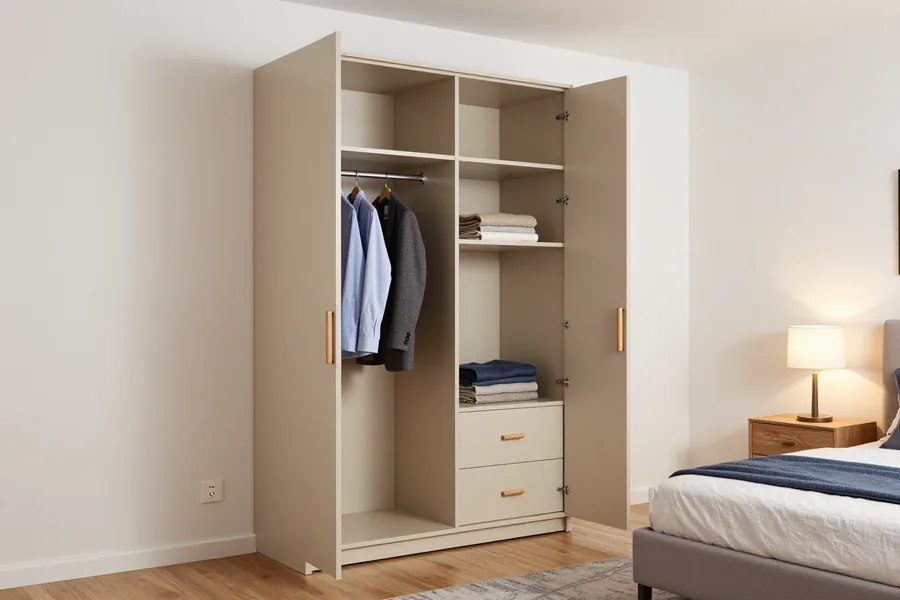
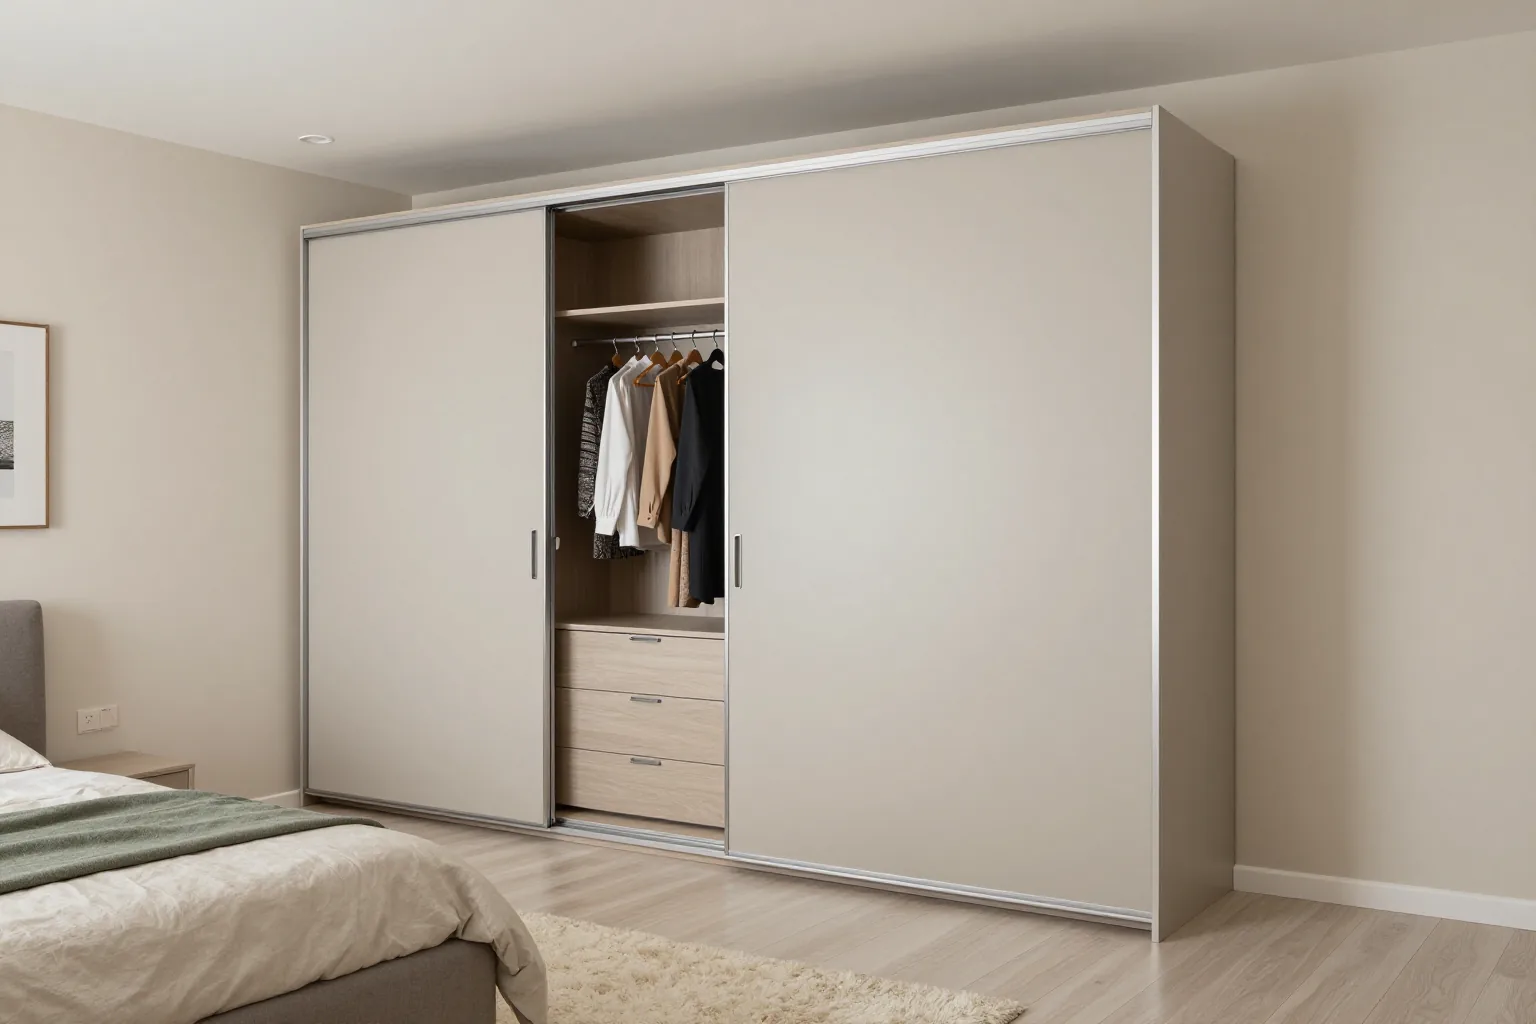
A hinged door swings outwards, so it needs clear floor space in front of it, but in return you see everything inside and lose no depth to rails. A sliding system eats 80–100 mm of carcass depth and divides the opening into two overlapping doors, so the far half of a section is always covered. On a hinged model the hinge is fixed to the side panel and the door opens through 95–110 degrees, exposing the whole section, which means the rail can run along the back wall. If a bed or a chest of drawers stands in front of the wardrobe, the door will hit it; in that layout sliding doors save space, although a hinged version can still be built with doors of different widths for narrow passages.
Carcass depth comes from your things
We work out the depth from what you plan to store, not from a catalogue. Clothes on hangers need 550–600 mm, while folded linen on shelves is fine with 400 mm. That is why we start with a list of your belongings and only then fix the carcass size. With hinged doors, door width matters as well: the wider the door, the more clear space it needs in front. In a small room three or four narrow doors usually work better than two wide ones, because each takes less space and you open only the section you need.
Hinged wardrobes for small rooms and awkward layouts
In a small room every centimetre counts. What wins here is not a smaller wardrobe but an exact depth, a tight fit against the walls and rails that run in the right direction.
A built-in model in an alcove
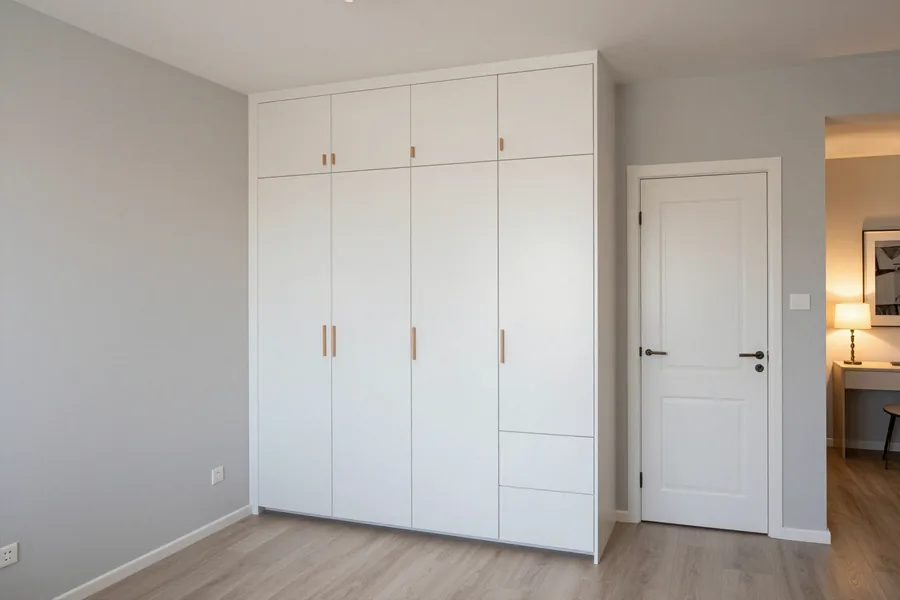
For a small room we most often design a built-in model that sits in an alcove: it takes no extra centimetres from the wall and follows the real geometry. A freestanding unit pushes the storage line 10–15 cm away from the wall because of the gap left for skirting and uneven plaster, whereas a built-in unit is fixed to the alcove walls and keeps those centimetres. In a narrow room we fit clothes rails across the depth rather than along it, so hangers face the walkway and more clothes fit into the same footprint. During measurement the technologist checks the corners, how far the walls lean from vertical and the ceiling height at three points. Those figures decide whether the wardrobe goes all the way up or gets a top cabinet.
A hinged wardrobe for every room
A hinged wardrobe for every room| Room | What goes inside | Front features |
|---|
| Bedroom | rails, linen shelves, drawers | solid doors, soft-close |
|---|
| Hallway | shoe shelves, hooks, a bag cubby | narrow doors for the walkway |
|---|
| Children's room | toy shelves, low rails | no glass, soft-close |
|---|
| Living room | tableware, textiles, decor | combined with open shelves |
|---|
Carcass and front materials
The carcass and the fronts do two different jobs: one carries the load, the other sets the look. What you choose to cover the doors with also affects how long the wardrobe takes to make.
What the carcass is made of
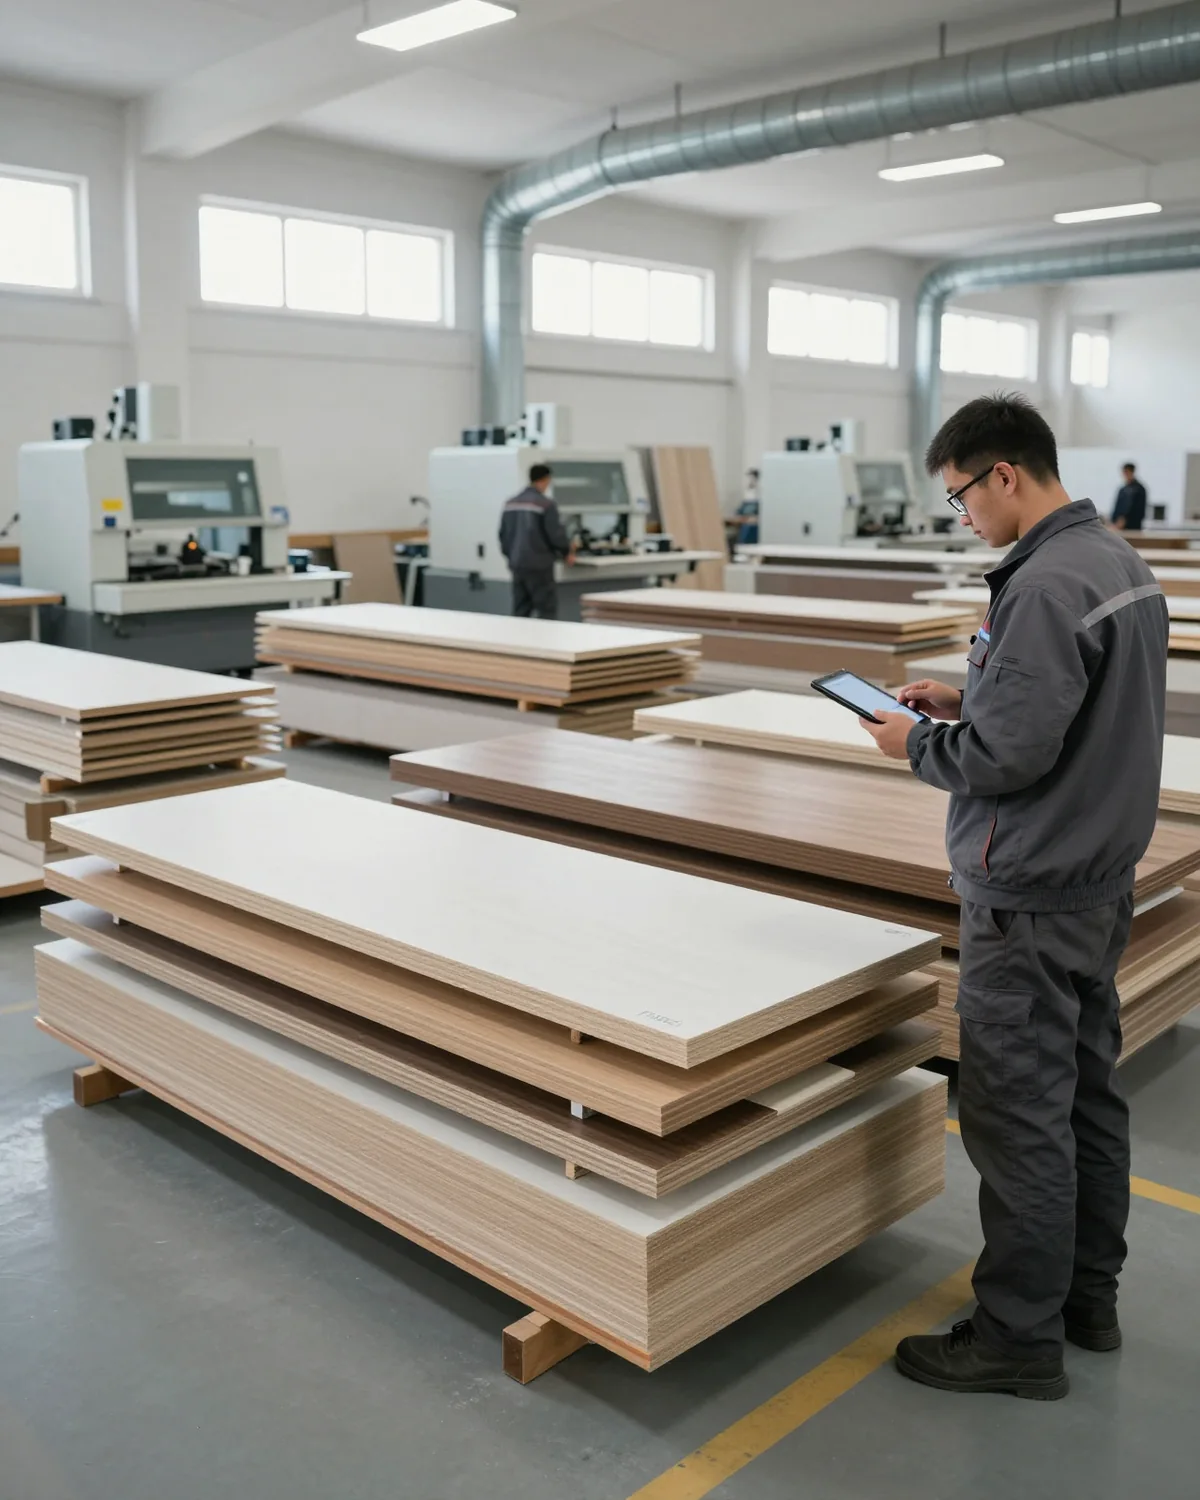
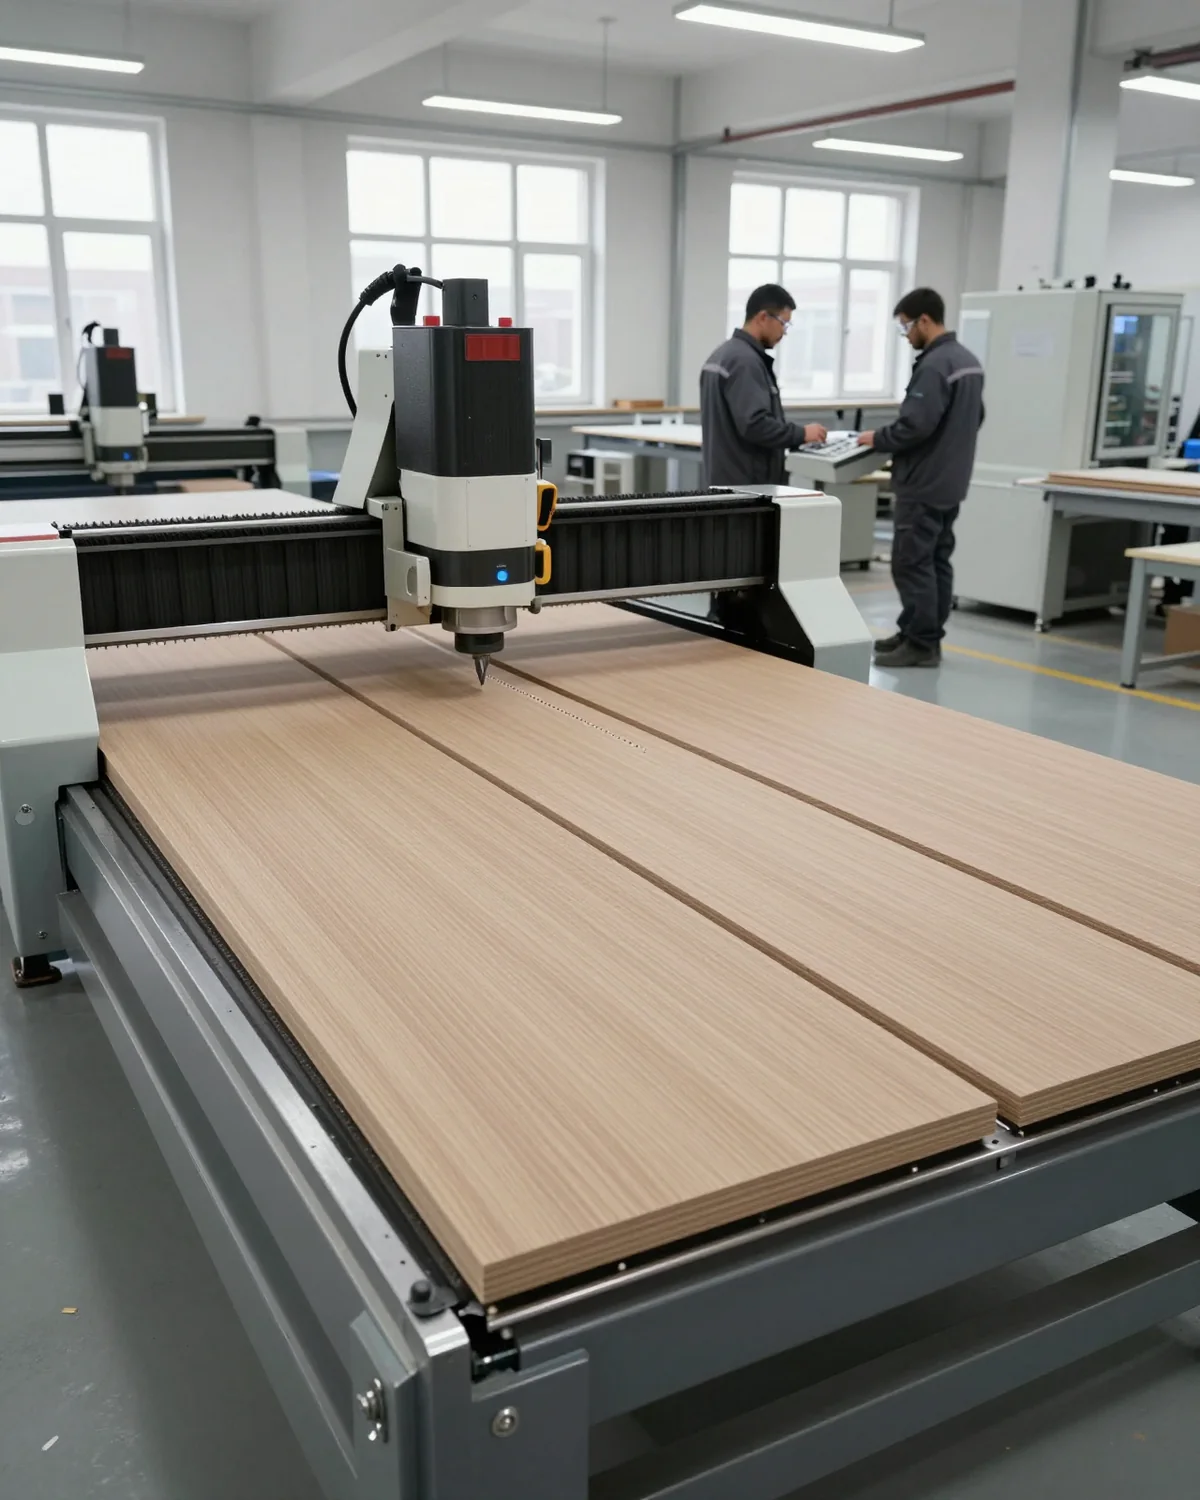
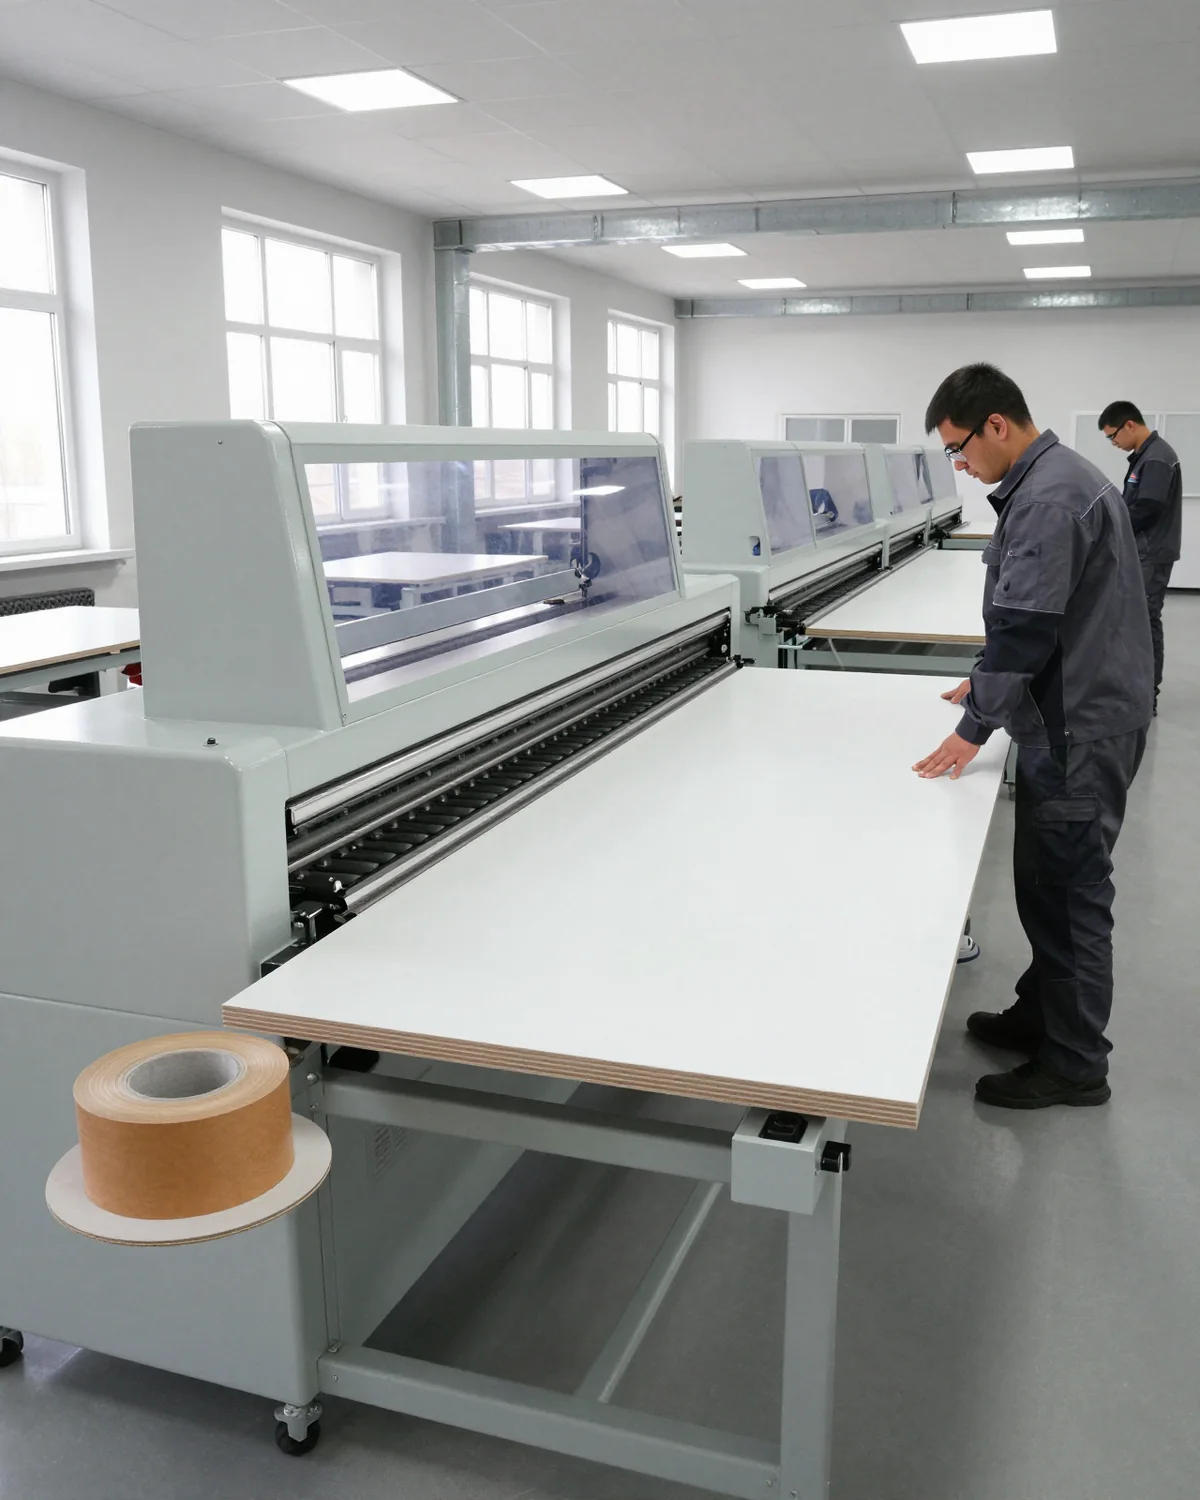
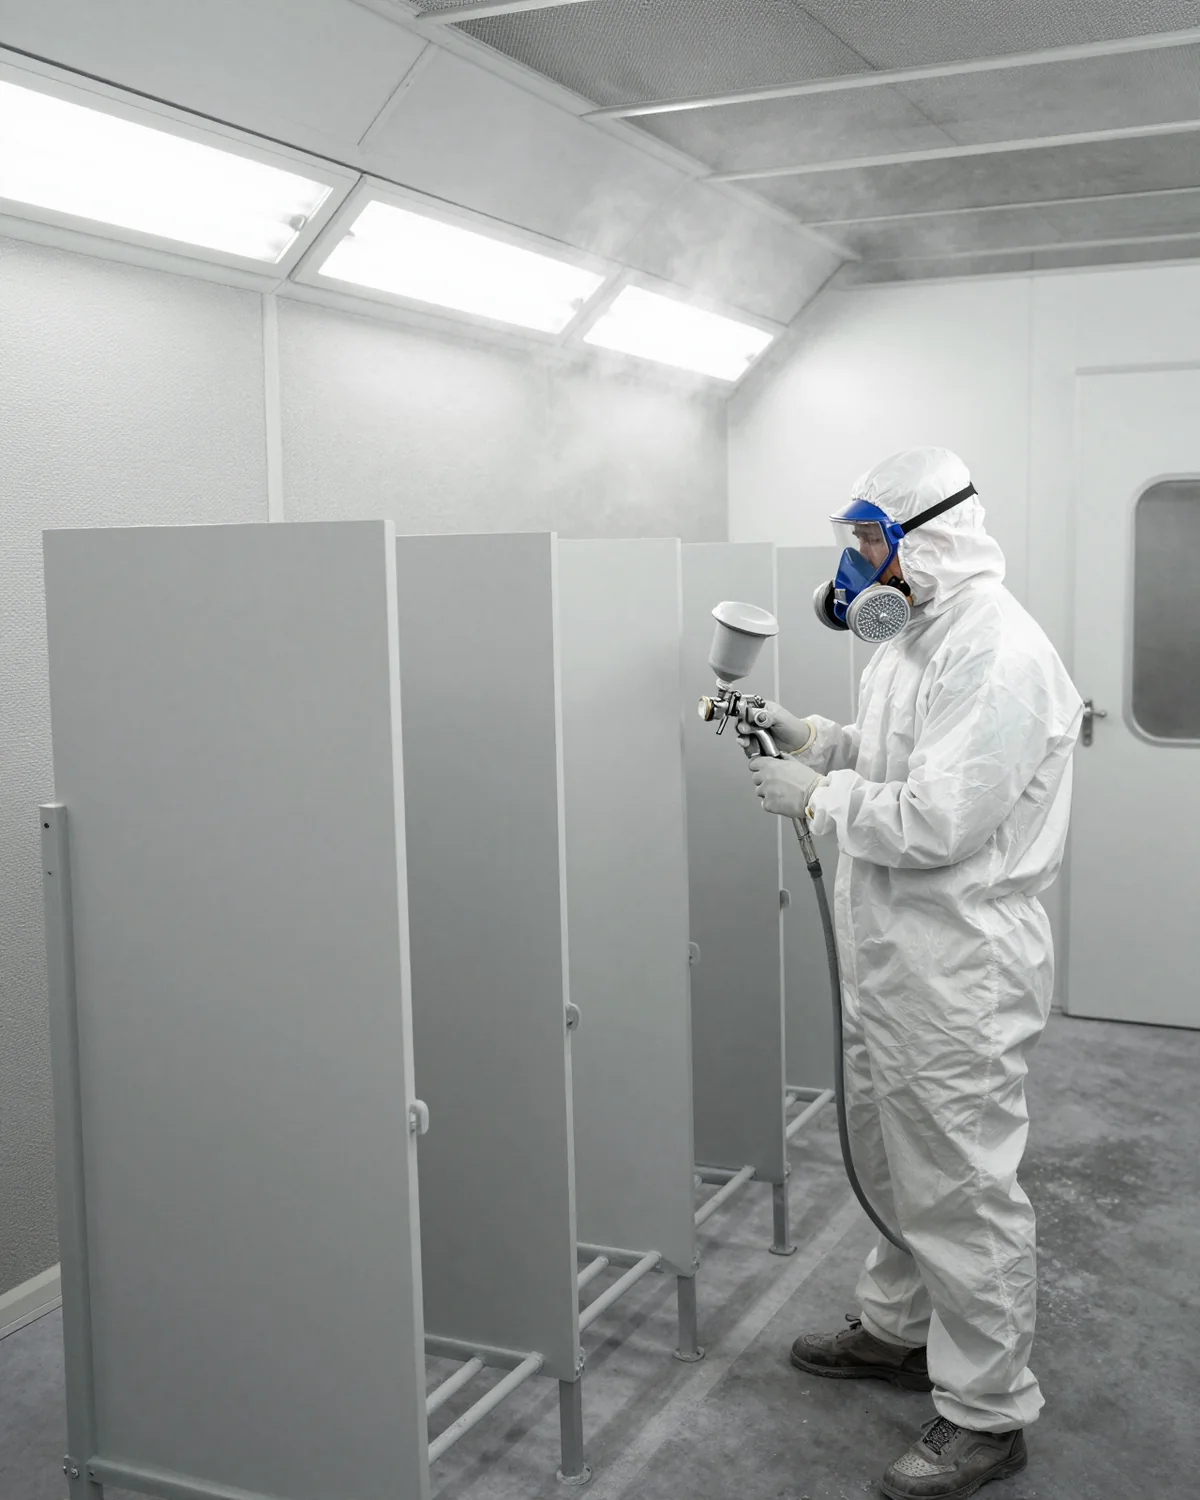
We build the carcass from Egger and Kronospan laminated chipboard. These dense boards hold shelf and hinge fixings well and do not swell at the cut edge. Our 600 m² workshop handles cutting, edging, painting and trial assembly, so we cut and process the boards ourselves instead of buying ready-made parts from outside. Before assembly we check every panel for squareness, because even a couple of millimetres of skew leaves a gap where the door meets the carcass. Strength depends not only on the board brand but also on the edging: in the workshop we edge every visible and hidden end, otherwise moisture in the air slowly loosens the joints. If the wardrobe stands against the outer wall of a bathroom or kitchen, ask for edging on every end, including the bottom ones, because that is where swelling starts.
Laminated chipboard, MDF foil, enamel or solid wood
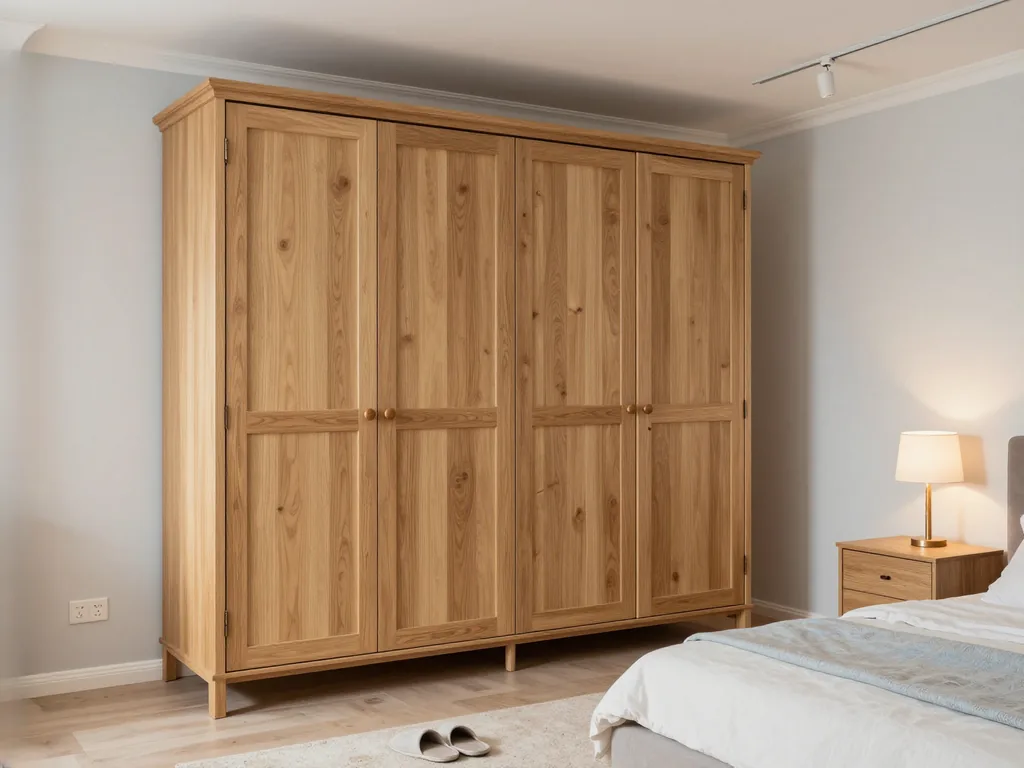
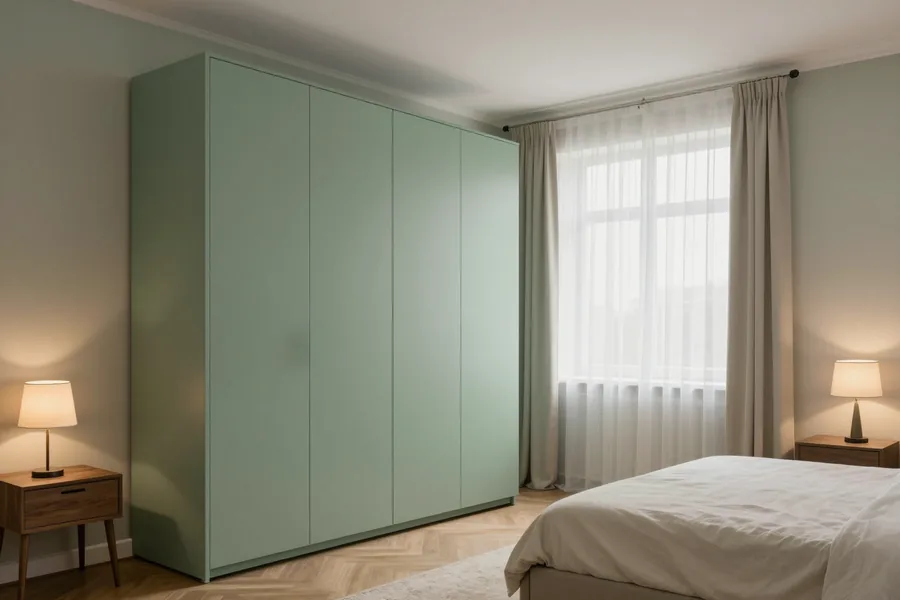
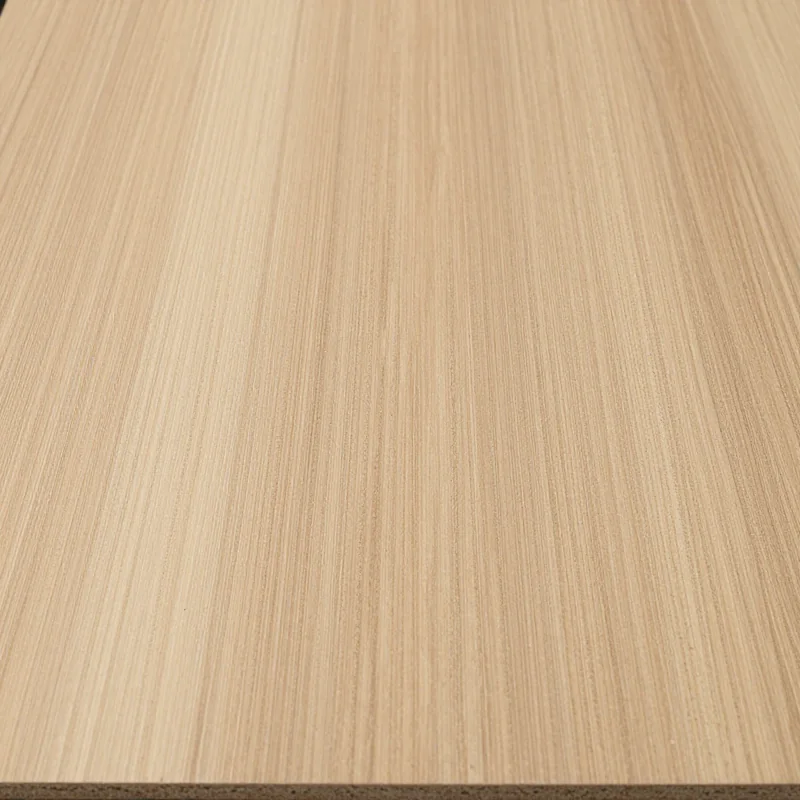
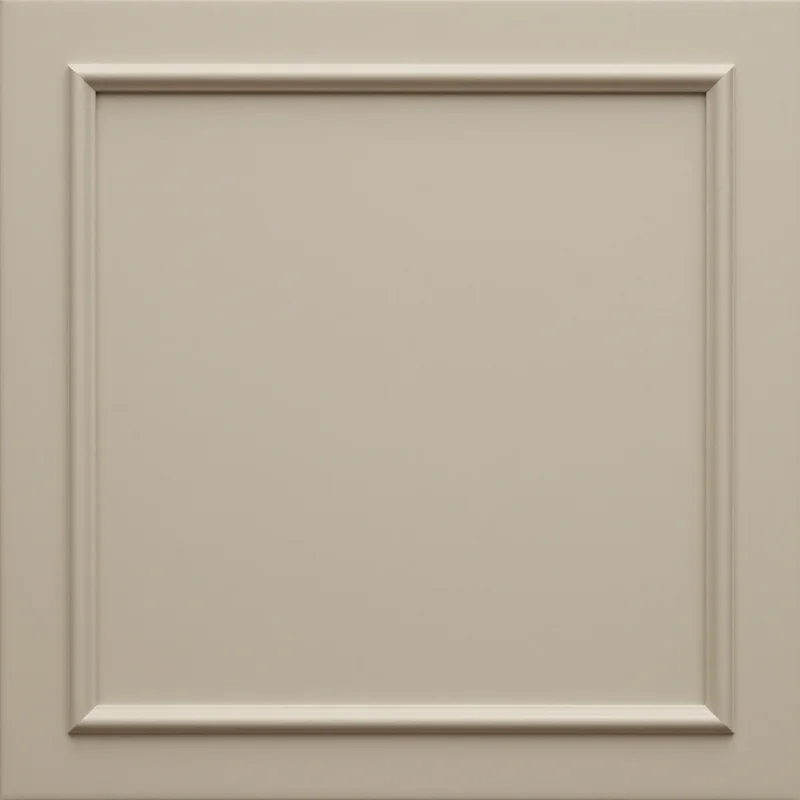
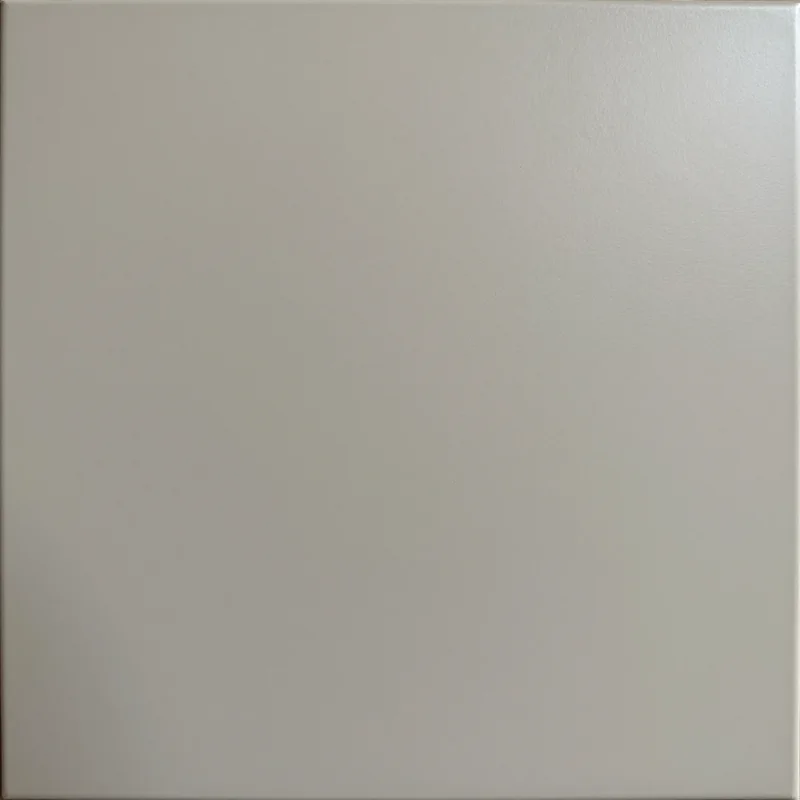
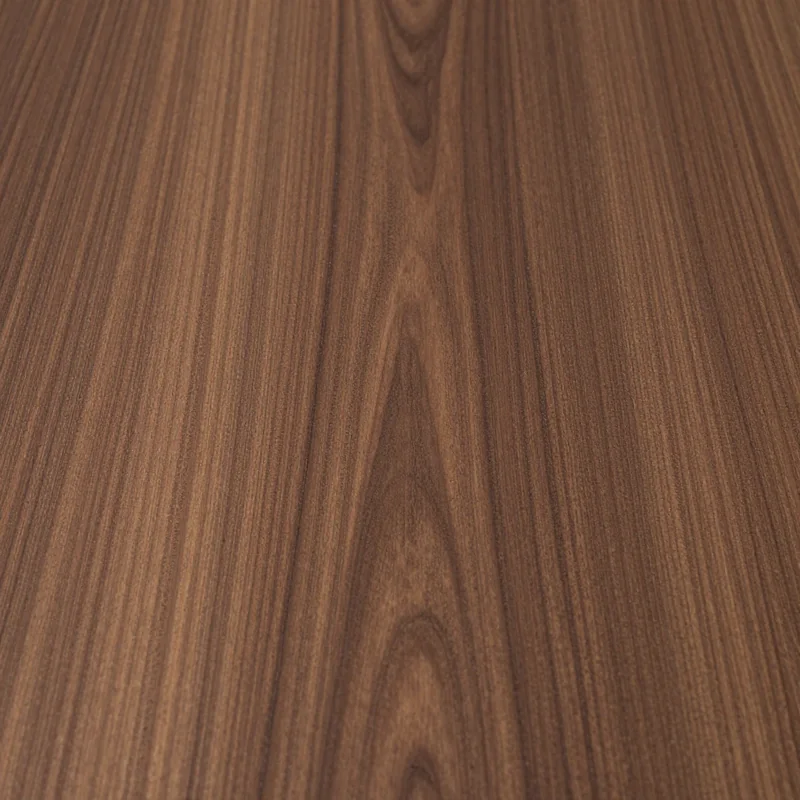
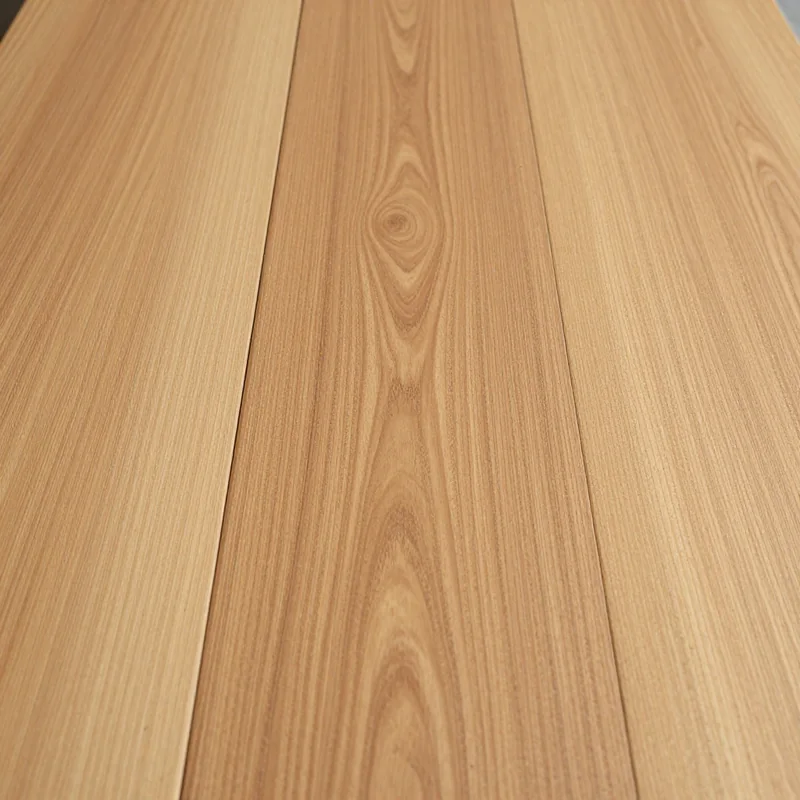
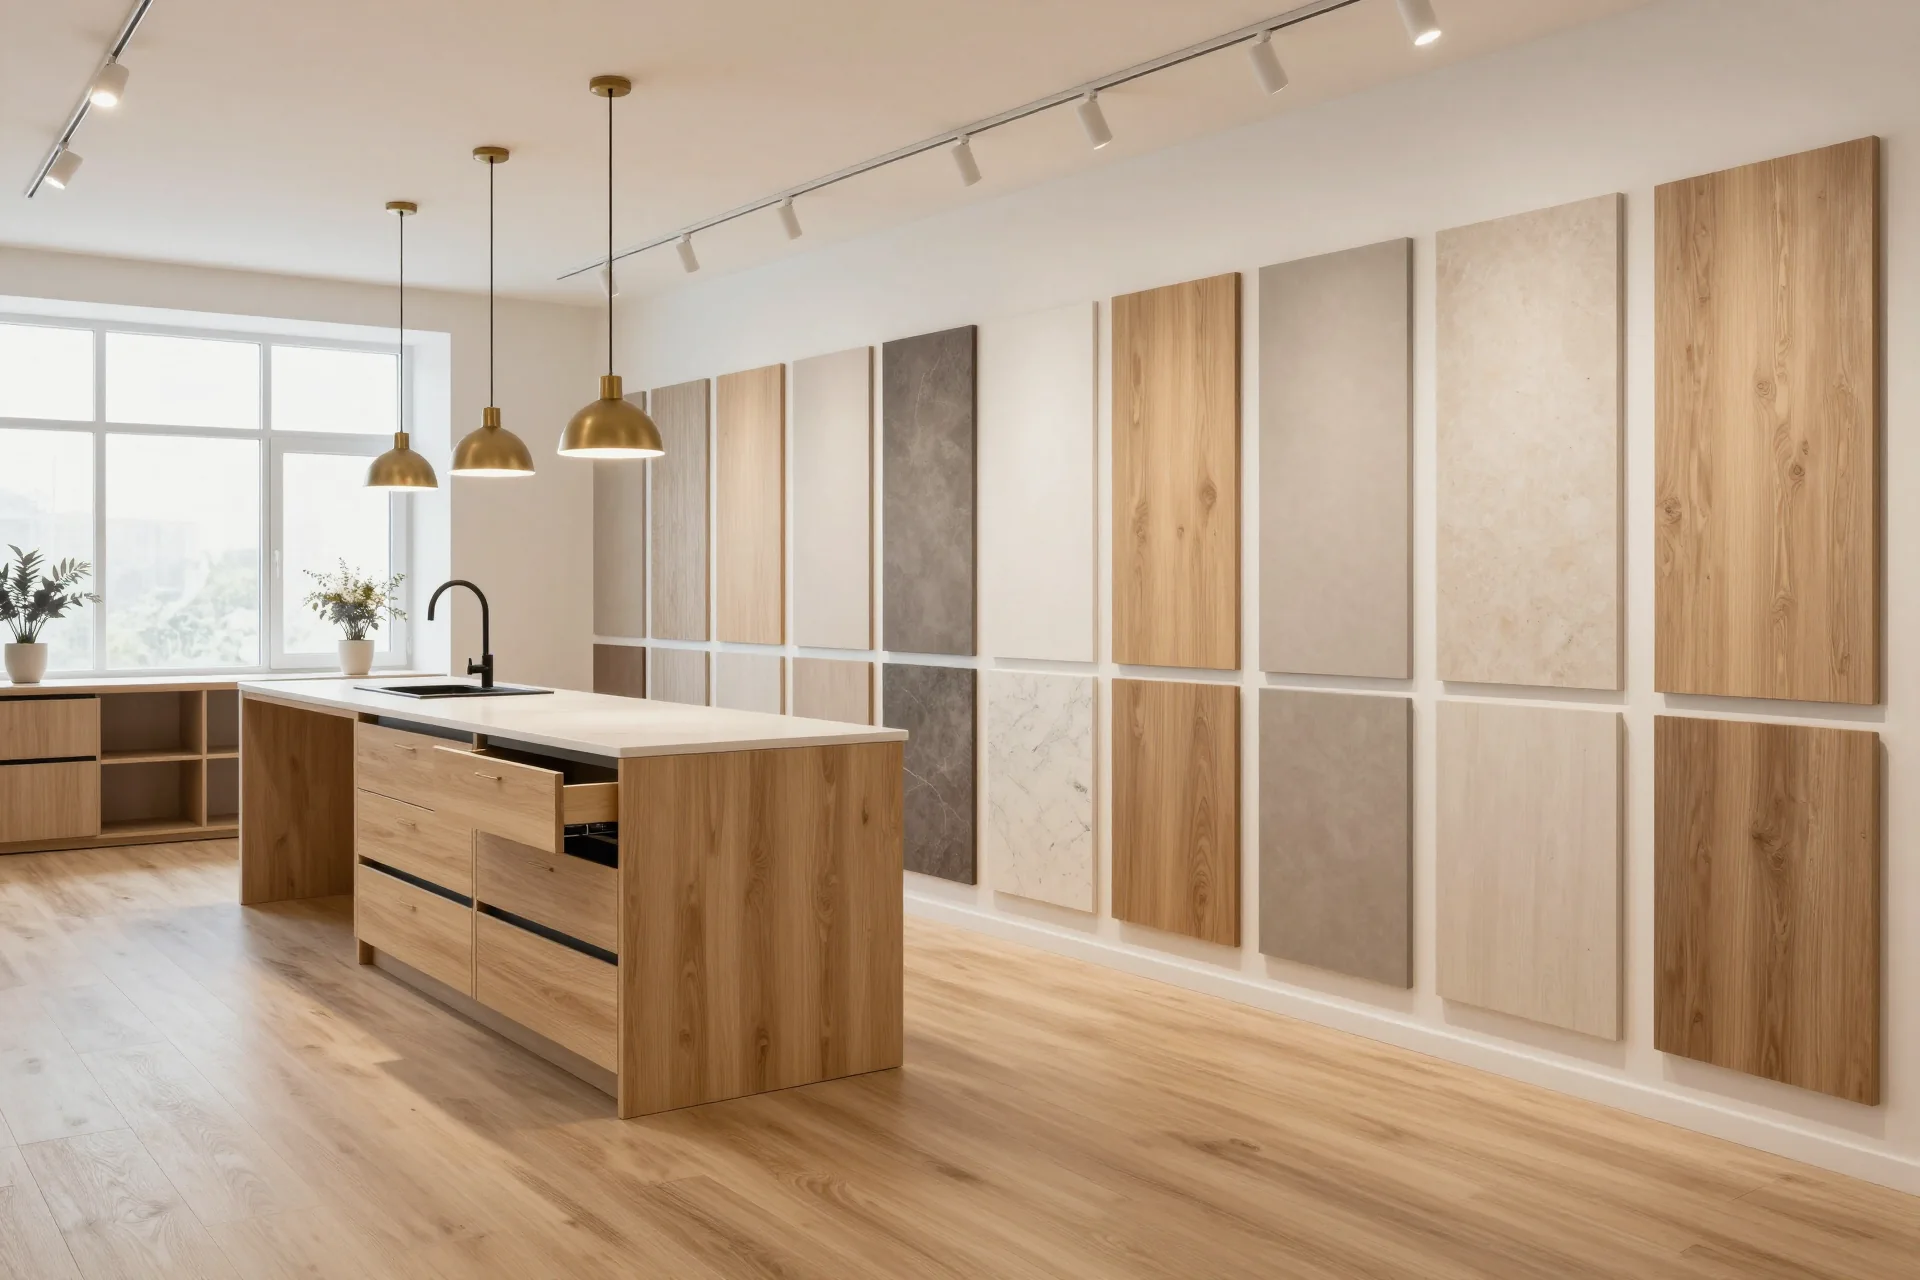
For fronts we offer laminated chipboard, MDF with foil, MDF with enamel and solid wood. The choice depends on your budget, the humidity of the room and the texture you want. Laminated chipboard matches the carcass colour and gives a seamless look. Foil-wrapped MDF opens up a wide palette of matt shades. Enamel goes on as an even matt or gloss coat with no edge joint, but it takes longer to prepare. Solid wood shows the natural grain. Foil is cheaper and quicker to make, yet it copes less well with heat from a cooker or a radiator under the window. Any of the four options suits a bedroom or dressing room, while in a kitchen or hallway, where humidity swings, foil is best kept off the lower doors.
Lead times by front material
Lead times by front material| Front material | What it gives you | Lead time |
|---|
| Laminated chipboard | practical and quick | in the price list on this page |
|---|
| MDF foil | matt texture, wider palette | in the price list on this page |
|---|
| MDF enamel | smooth surface with no edge | in the price list on this page |
|---|
| Solid wood | natural wood texture | in the price list on this page |
|---|
Uneven walls and a gap-free fit
The biggest worry when ordering is that the carcass will stand crooked and leave a gap along the wall. Measuring the real geometry and designing around it solves this before a single board is cut.
Why a perfect drawing does not fit a crooked wall
Walls are rarely flat over their full height, so a carcass built to ideal dimensions ends up with a gap in one corner and a pinch point in another. In panel buildings the deviation from vertical can reach a couple of centimetres over the height of a wall, and horizontals in room corners drift even more. A gap at the base is not an installation fault but the result of making the unit without allowing for the real surface. The cure is not sealant or a cover strip over the gap but a design based on actual measurements, so the front and side panel follow the line of the floor and wall from the outset.
How measurement and design close gaps and skew
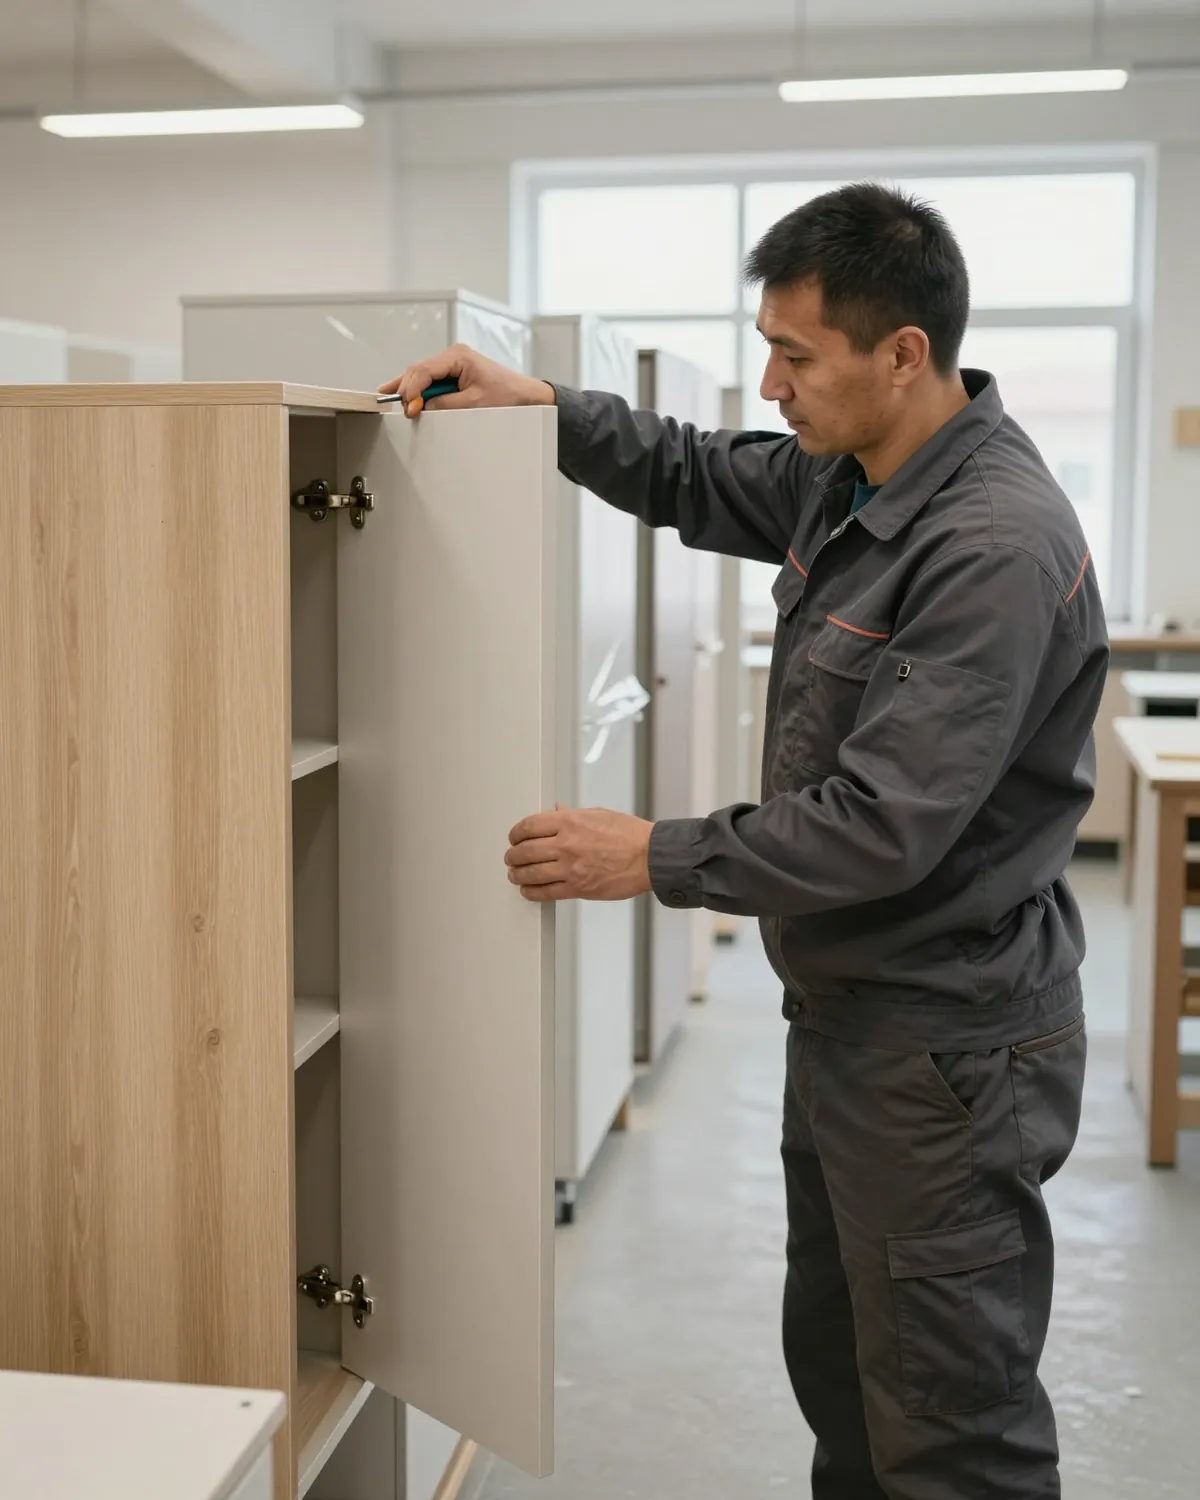
Our measurer records the geometry at several points, and the designer builds in compensation gaps and a wall profile so the doors do not catch and no gap remains. Two specialists are involved: the first notes deviations in height, depth and corners, and the second transfers them into the 3D design and works out where a filler strip or a trimmed side panel is needed. We choose hinges with plenty of adjustment to take up any remaining skew after installation. If a door is out of line after fitting, it is adjusted at the hinges rather than by trimming the front, which is why we sign the handover certificate only after checking how every door opens. Measurement and the 3D design are free and take 1–2 days.
Built-in units and non-standard ceiling heights
For an alcove we design a built-in wardrobe without side panels: the surfaces of the opening act as supports, and we add the frame, shelves and fronts cut exactly to size. This option wins on depth, because no centimetres are lost to double side panels and the doors close the opening from edge to edge. For a non-standard ceiling height the wardrobe gets a top cabinet or the fronts are cut to height. It is important to leave a technical gap, otherwise the door can jam as the building settles. In Almaty we assemble built-in wardrobes on site, because a carcass like this cannot be carried into a flat in one piece.
Shelves and hardware that do not sag
The second worry is that shelves will bow under books and doors will droop over time. Here is what that depends on and how we build a strength margin into the design.
Why shelves bow and how we choose thickness
A shelf bows when the span between supports is too long for its thickness and load, so we choose the thickness and support spacing based on what will sit on it. In a carcass of Egger laminated chipboard a standard shelf on a typical span is enough for linen and light items, while for books, tableware and appliances we calculate the load per linear metre and add supports. For heavy rows the material alone is not enough. A centre support or an upright helps, whereas a thicker board will still sag over a long span. Cutting for non-standard sections happens in our own workshop, and every shelf is checked for deflection at the trial assembly before the wardrobe leaves.
What hardware holds the doors
The doors hang on hinges, and we fit Blum, Hettich and Boyard hardware. Blum hinges carry a 25-year manufacturer's warranty. A soft-close hinge holds the door in position and stops it slamming, and a mounting plate with three-way adjustment lets us realign a front after installation if the wall throws it out. Even a good hinge will droop if the front is too heavy for it, so for solid wood and tall doors we use reinforced hinges and add a third fixing point. During installation we check the swing of each door and the gaps along its full height.
Interior fittings for specific things
- Cross rail: for hangers in a shallow carcass, saves depth and leaves room for shelves beside it.
- Long rail: for long clothes across the full section width, when the carcass depth allows.
- Drawers on runners: for small items, underwear and accessories, with a smooth action and a stop.
- Shelves at different heights: for shoes, bags and folded clothes, with the height set by the largest item.
- Top cabinet: for seasonal clothes and suitcases that come out a couple of times a year.
- Pull-out trouser racks and rails: for trousers and ties, so they do not crease in a pile.
From measurement to the handover certificate
Ordering from a direct manufacturer means one team handles measurement, design, production and installation. Here is each step, from the first visit to signing the papers once the wardrobe is in place.
Measurement and a 3D design in 1–2 days
Measurement and the 3D design are free. We prepare a full model of the wardrobe with its fittings and fronts in 1–2 days, so you see a proper visualisation of the finished piece rather than a sketch. The designer records the real dimensions of the opening, the ceiling height and the position of sockets and skirting, then lays out the sections, shelves and rails around your belongings. The model shows straight away where each door will swing and how much room is left before the nearest sofa or room door. The visualisation is not there for looks: it is how we check that the doors open freely and do not catch on nearby furniture. Before you approve it, walk through the model with a tape measure in hand so the real dimensions of the opening hold no surprises on installation day.
Our own workshop, trial assembly and installation
We are a direct manufacturer: we cut, edge, paint and assemble the wardrobe in our own 600 m² workshop, and our own crews install it rather than subcontractors. Before dispatch the whole unit is assembled in the workshop, so cutting errors or misaligned holes show up before the van leaves rather than during installation in your flat. The installers arrive with a complete kit and fixings, assemble the carcass to the drawing and level the doors. Ask the crew leader in advance who will remove your old furniture, as that item is written into the contract separately.
Payment, delivery and the handover certificate
Payment is made in two stages: a 50 % prepayment and the balance when you sign the handover certificate. We accept bank transfers, and delivery within the city and up to 30 km is free on larger orders. The prepayment starts the cutting and the purchase of Blum, Hettich and Boyard hardware, and the second half is paid once the wardrobe is standing in your room. We sign the certificate after installation, once you have checked how the doors open and the drawers run. At handover, open and close every door several times and check that the soft-close dampers run smoothly, so every remark is recorded before you sign.
Hinged wardrobes in brief
What to remember before you order
- Format: hinged doors win where you want full access to everything inside and have free space in front of the wardrobe.
- Fronts: the material sets both the look and the lead time, from quick laminated chipboard to solid wood.
- Geometry: uneven walls and gaps are solved by measuring the real shape and designing in compensation gaps, not by sealant.
- Load: shelves hold their weight when thickness and support spacing are worked out in advance, and hinges are matched to door weight.
- One contractor: a direct manufacturer runs the whole order with one team, from measurement to the certificate signed after installation.