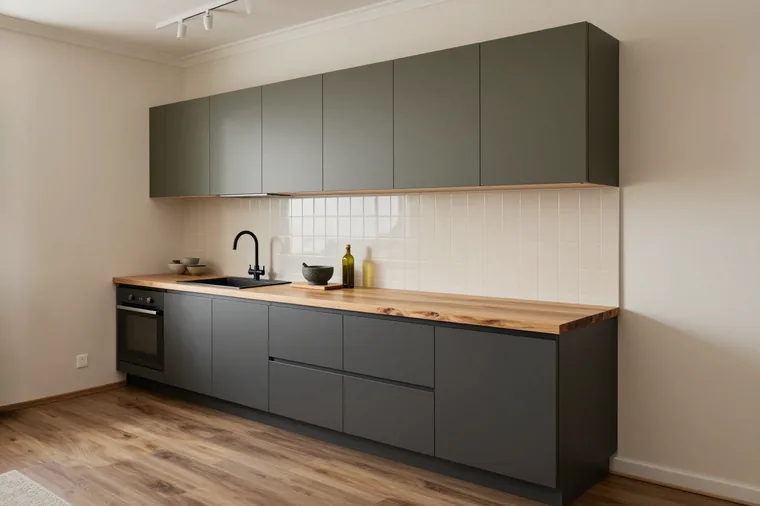
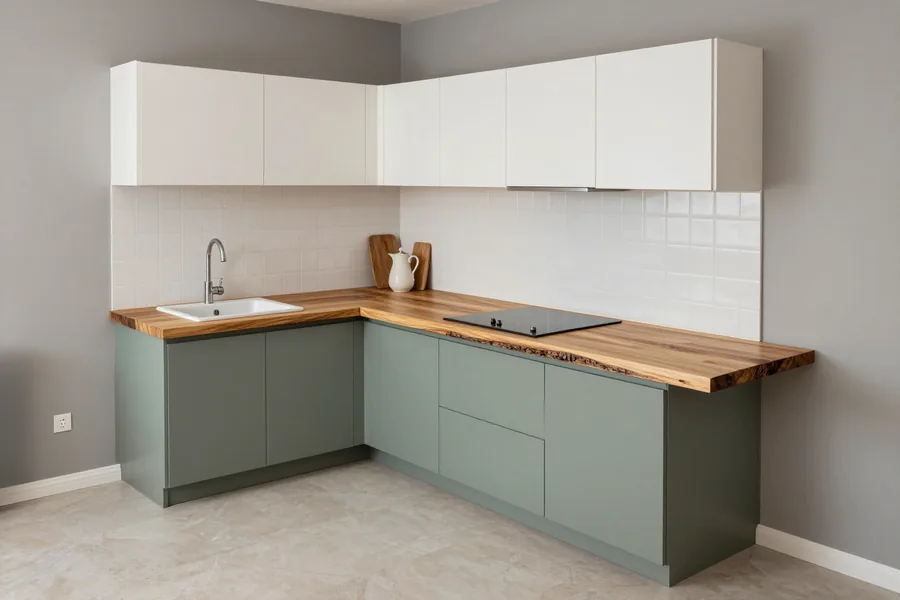
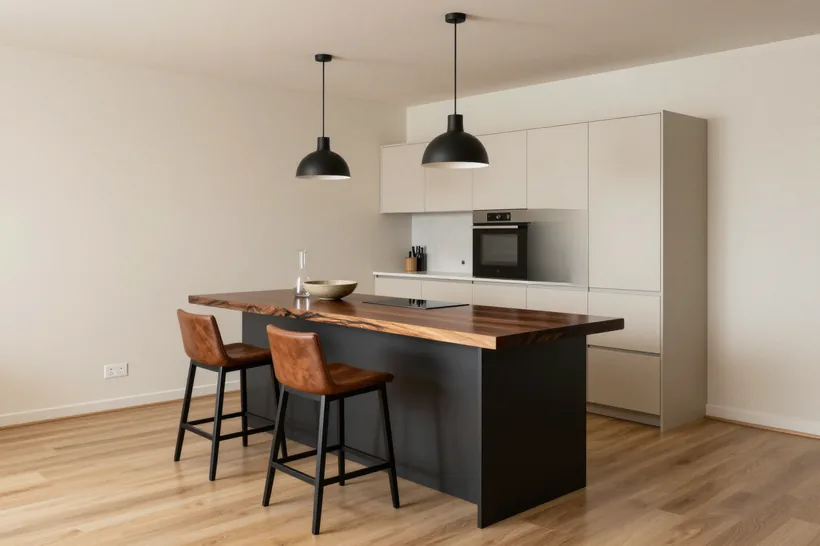
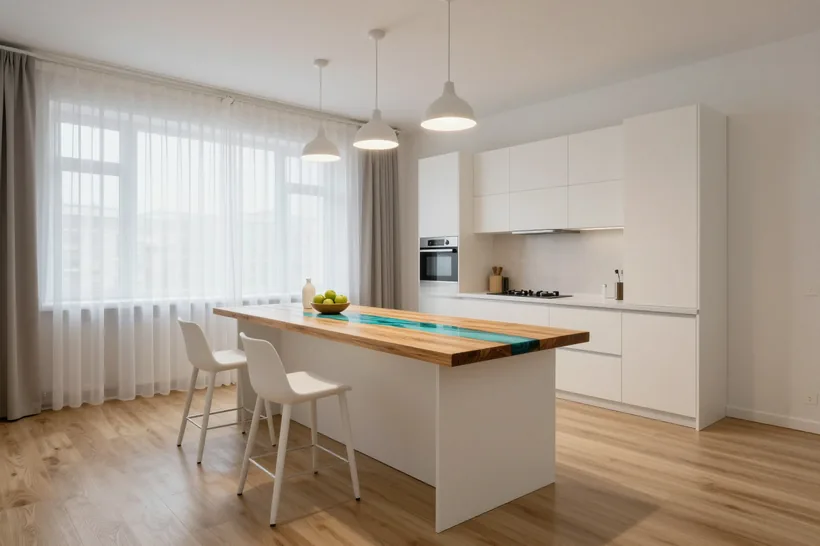
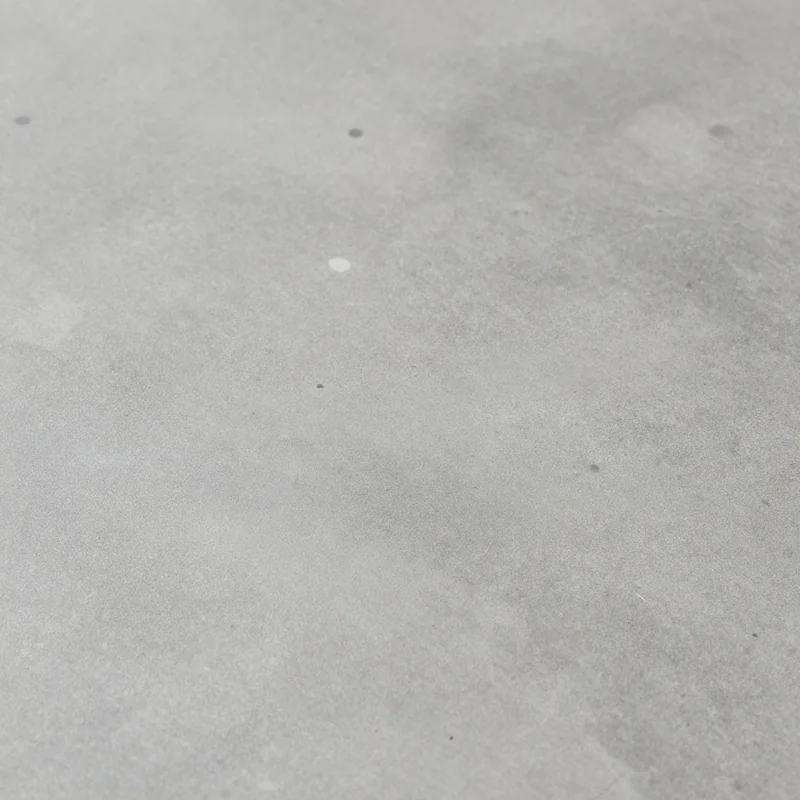
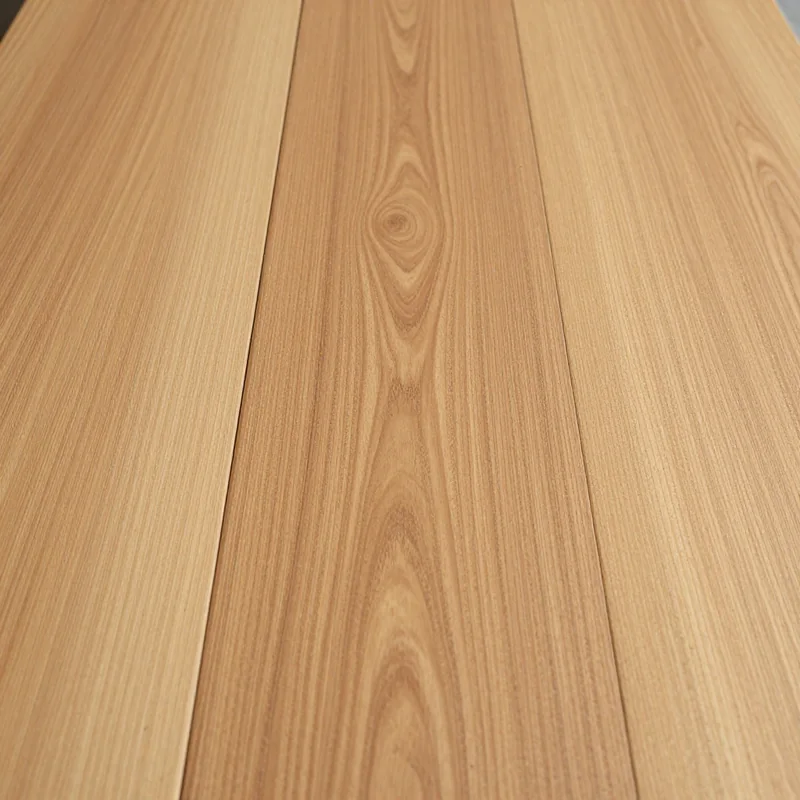
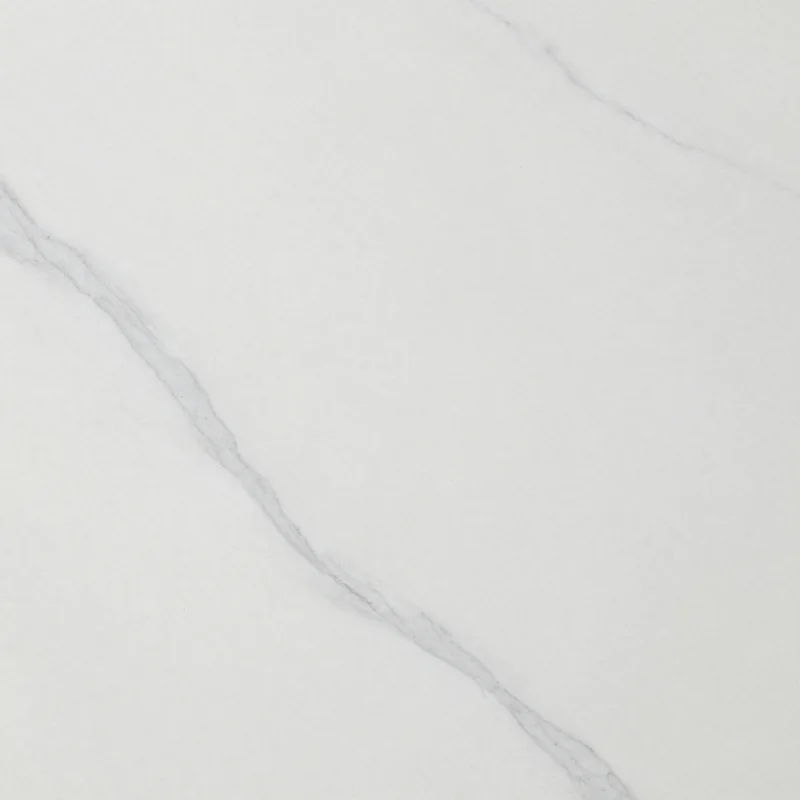
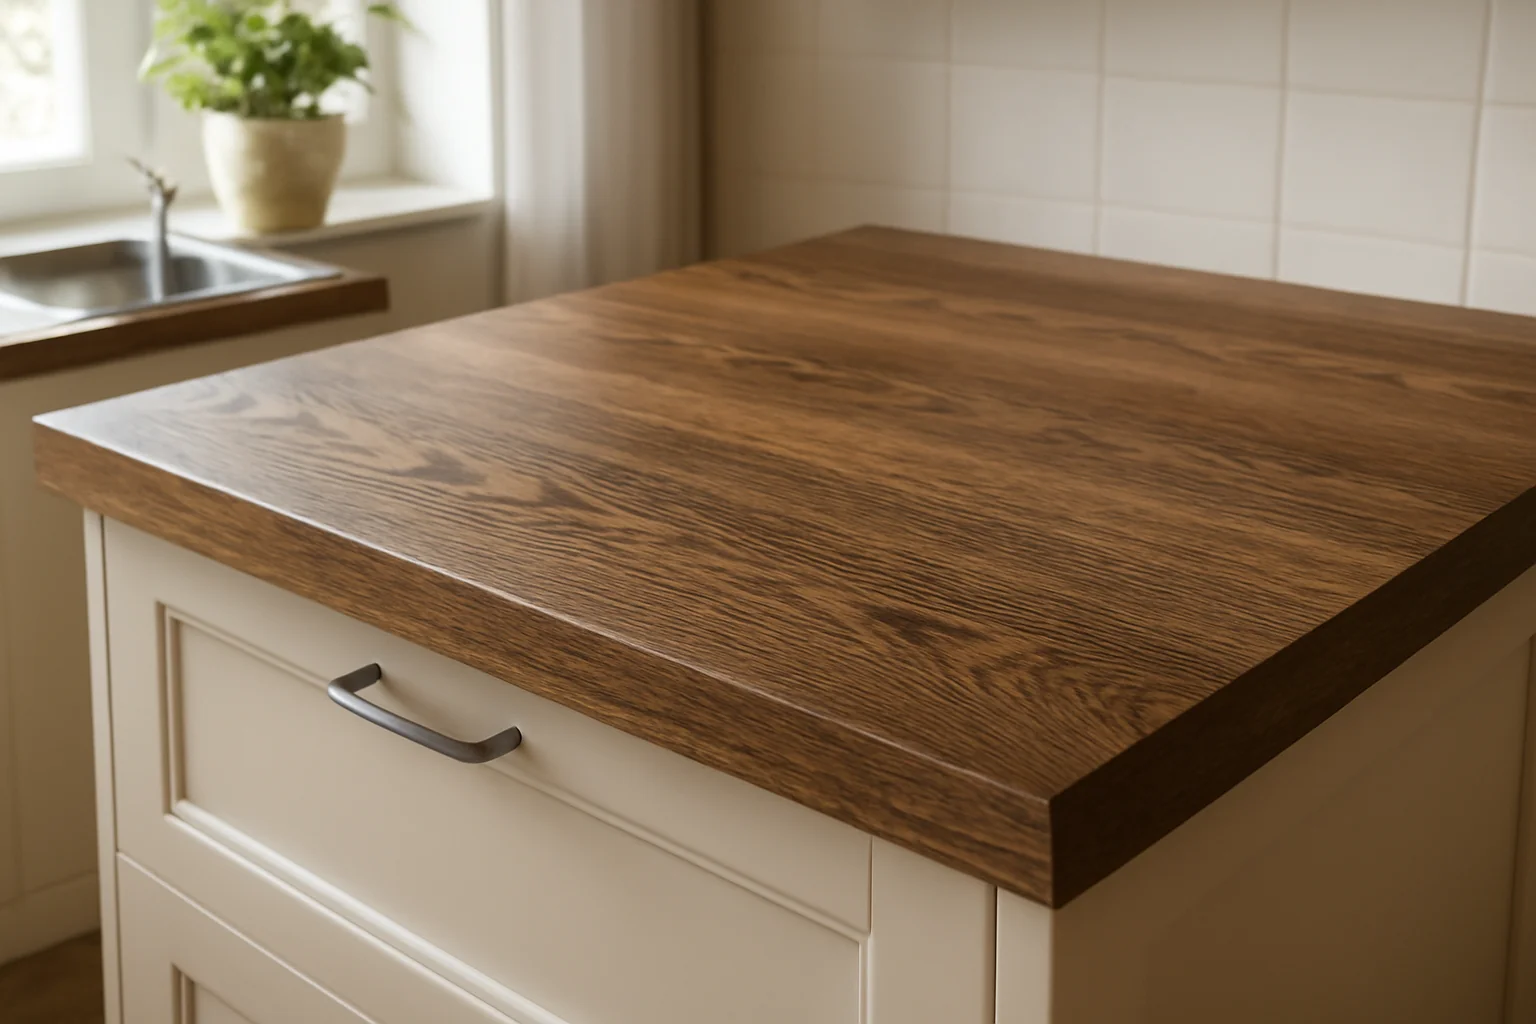
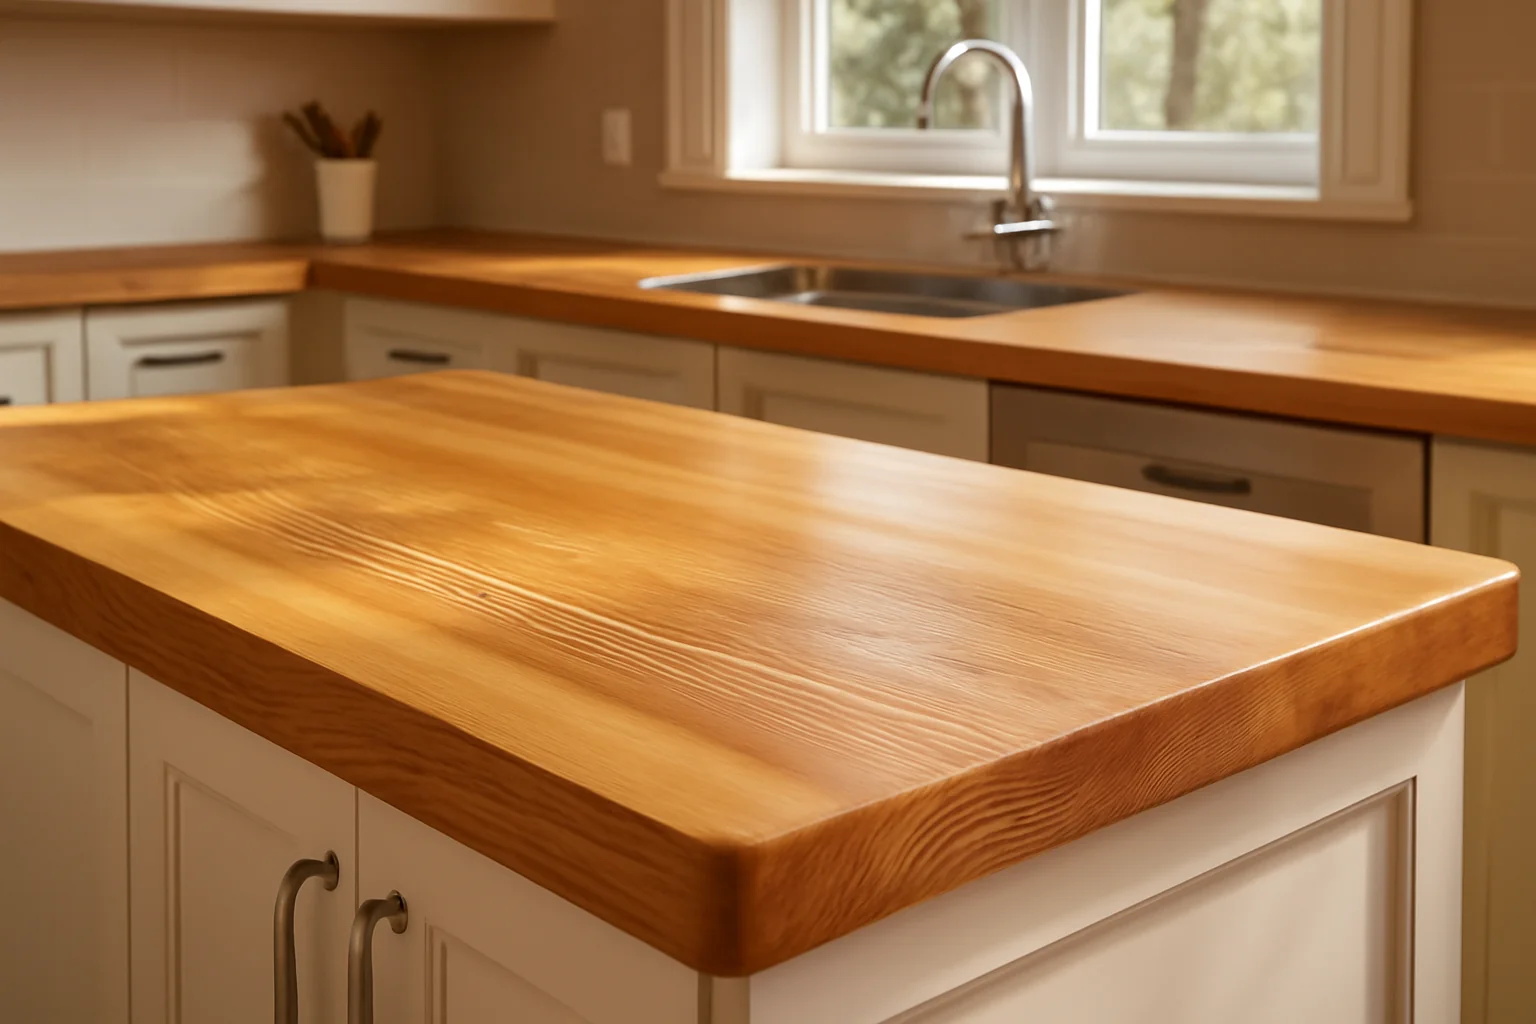
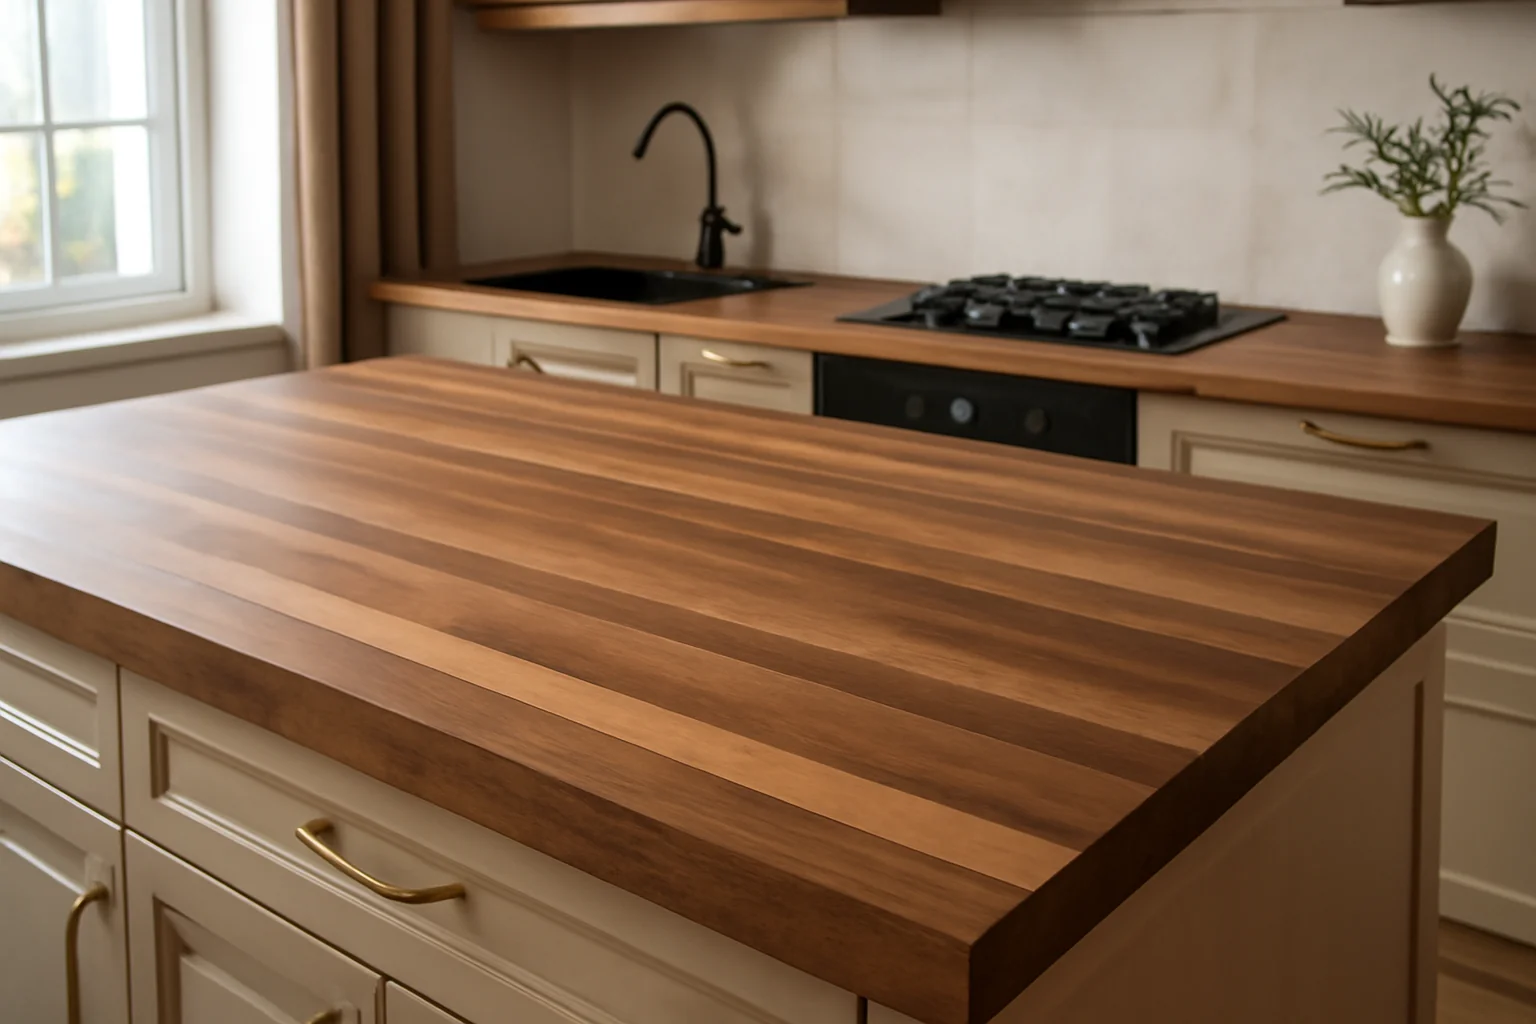
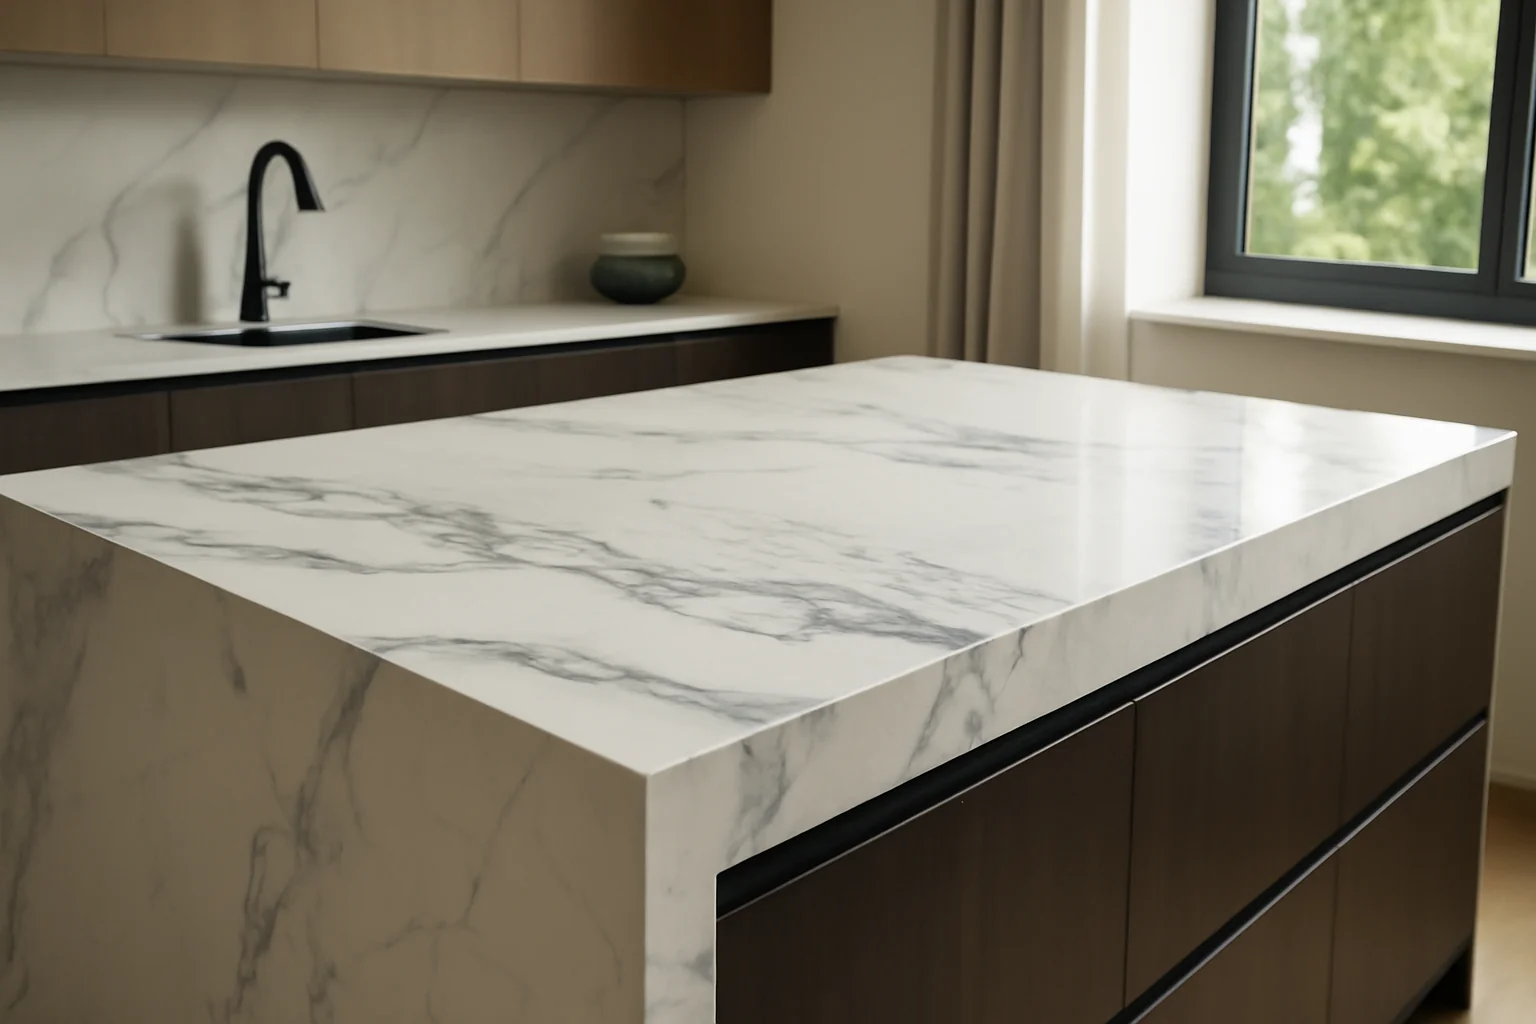
A MEBLIX slab countertop is a single cut of wood, selected to fit your kitchen's dimensions, stabilized and finished with a protective coating. We take measurements, prepare a 3D design in 1–2 days, fit the sink and hob, install with our own crews and provide a 24-month warranty under contract.
Buyers often confuse three types of wooden blank — they look like solid wood, but the form of the cut and how they behave in a kitchen are different. We show the difference in construction, grain and performance around the sink.
What a slab is and how it differs from glued solid wood
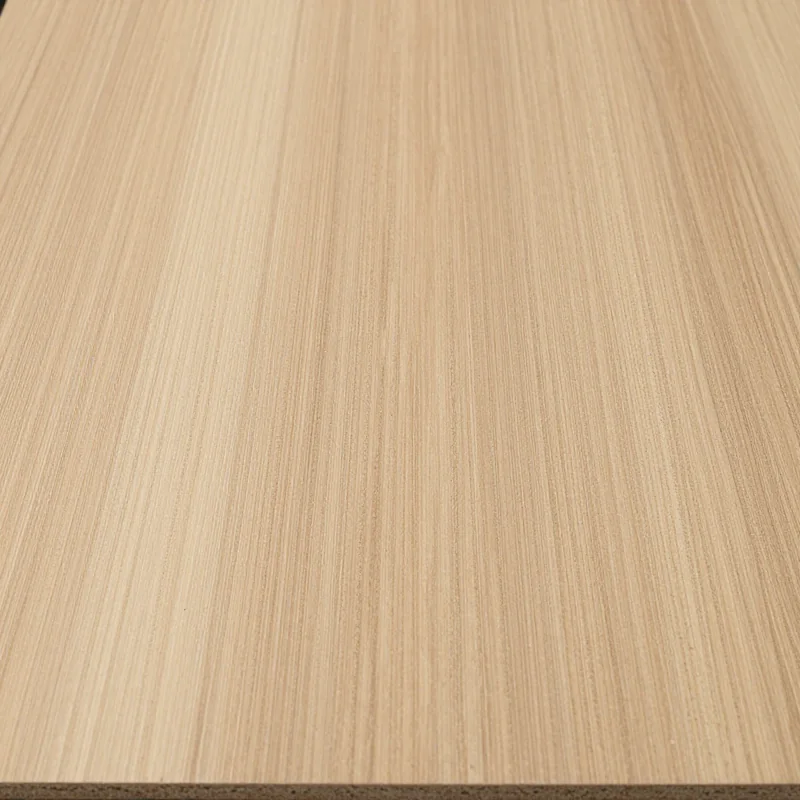
A slab is a single longitudinal or cross cut of a trunk with its natural grain, knots and cracks, whereas glued solid wood is assembled from lamellas and finger-jointed board from short offcuts. In a single cut the fibers run continuously across the entire width of the blank, so the direction of the pattern is set by the trunk itself, not by the layout of lamellas in the press. A glued blank gives even geometry and a repeatable pattern: lamellas are matched by tone and glued into a smooth surface, which is convenient for long spans. Finger-jointed board is the simplest option: short offcuts are joined along the length and width, the seams are visible in the pattern and act as weak points when humidity fluctuates. The integrity of the cut means the grain and behavior of the wood in it are unique — but the requirements for drying and stabilization are also higher than for glued stock: residual stress is relieved before milling, otherwise the surface will warp after installation. That is why an oak slab countertop requires careful selection of the blank and stabilization before installation.
Comparison of formats for the kitchen by key parameters
wood and stone formats compared| Format | Pattern | Behavior around the sink | Repairability |
|---|
| Slab | single, unique | requires stabilization and protection | sanded, coating renewed |
|---|
| Glued solid wood | even, repeatable | more stable, but sensitive to standing water | sanded locally |
|---|
| Finger-jointed board | striped, made of offcuts | moderate resistance | limited repair |
|---|
| Quartz agglomerate | uniform | unaffected by moisture | chips are hard to remove |
|---|
Which slab to choose for the loft style without overloading the kitchen
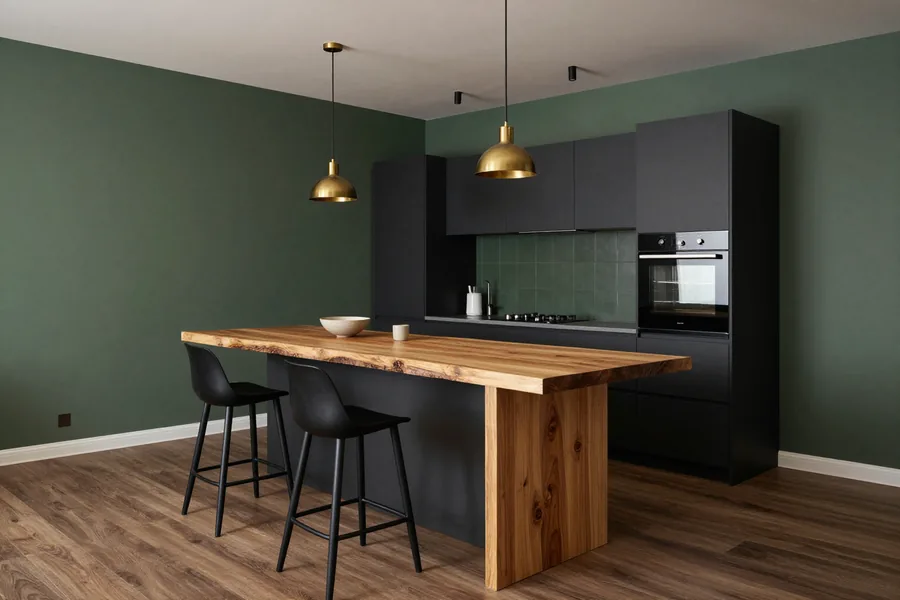
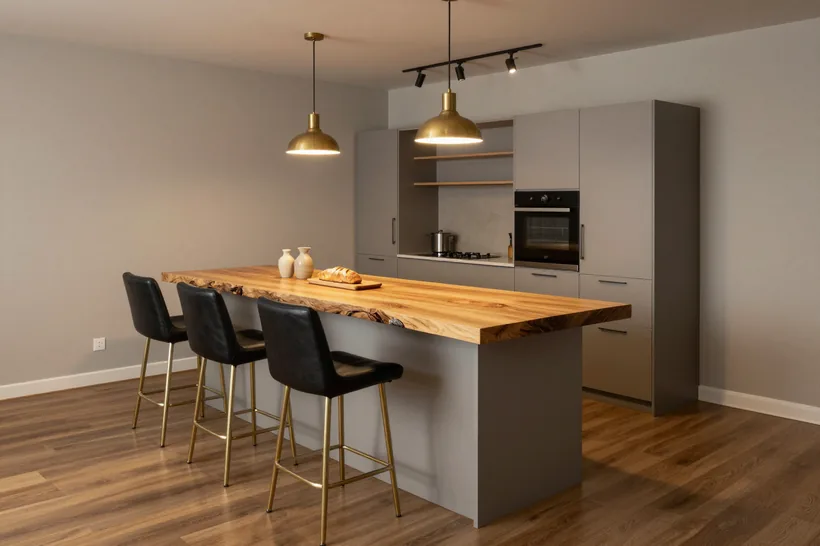
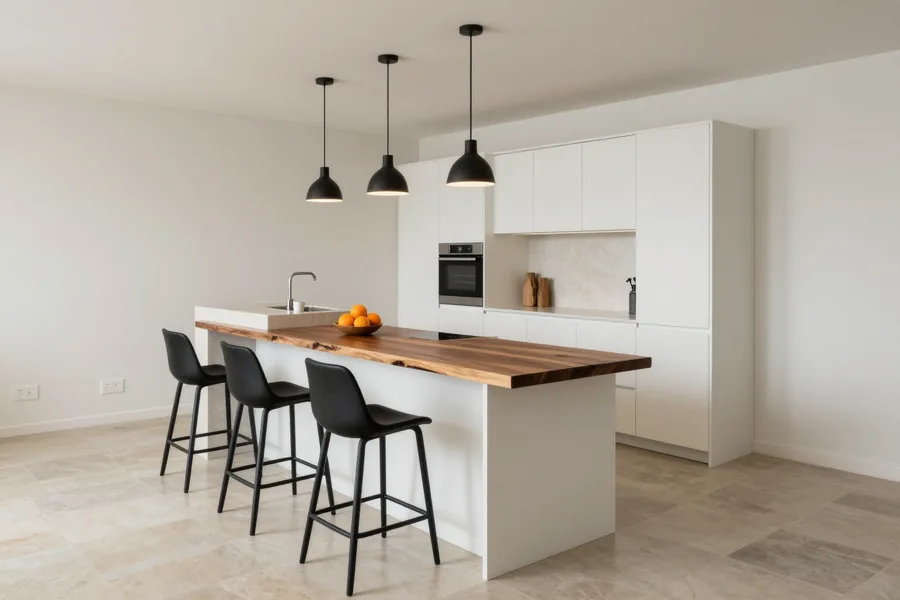
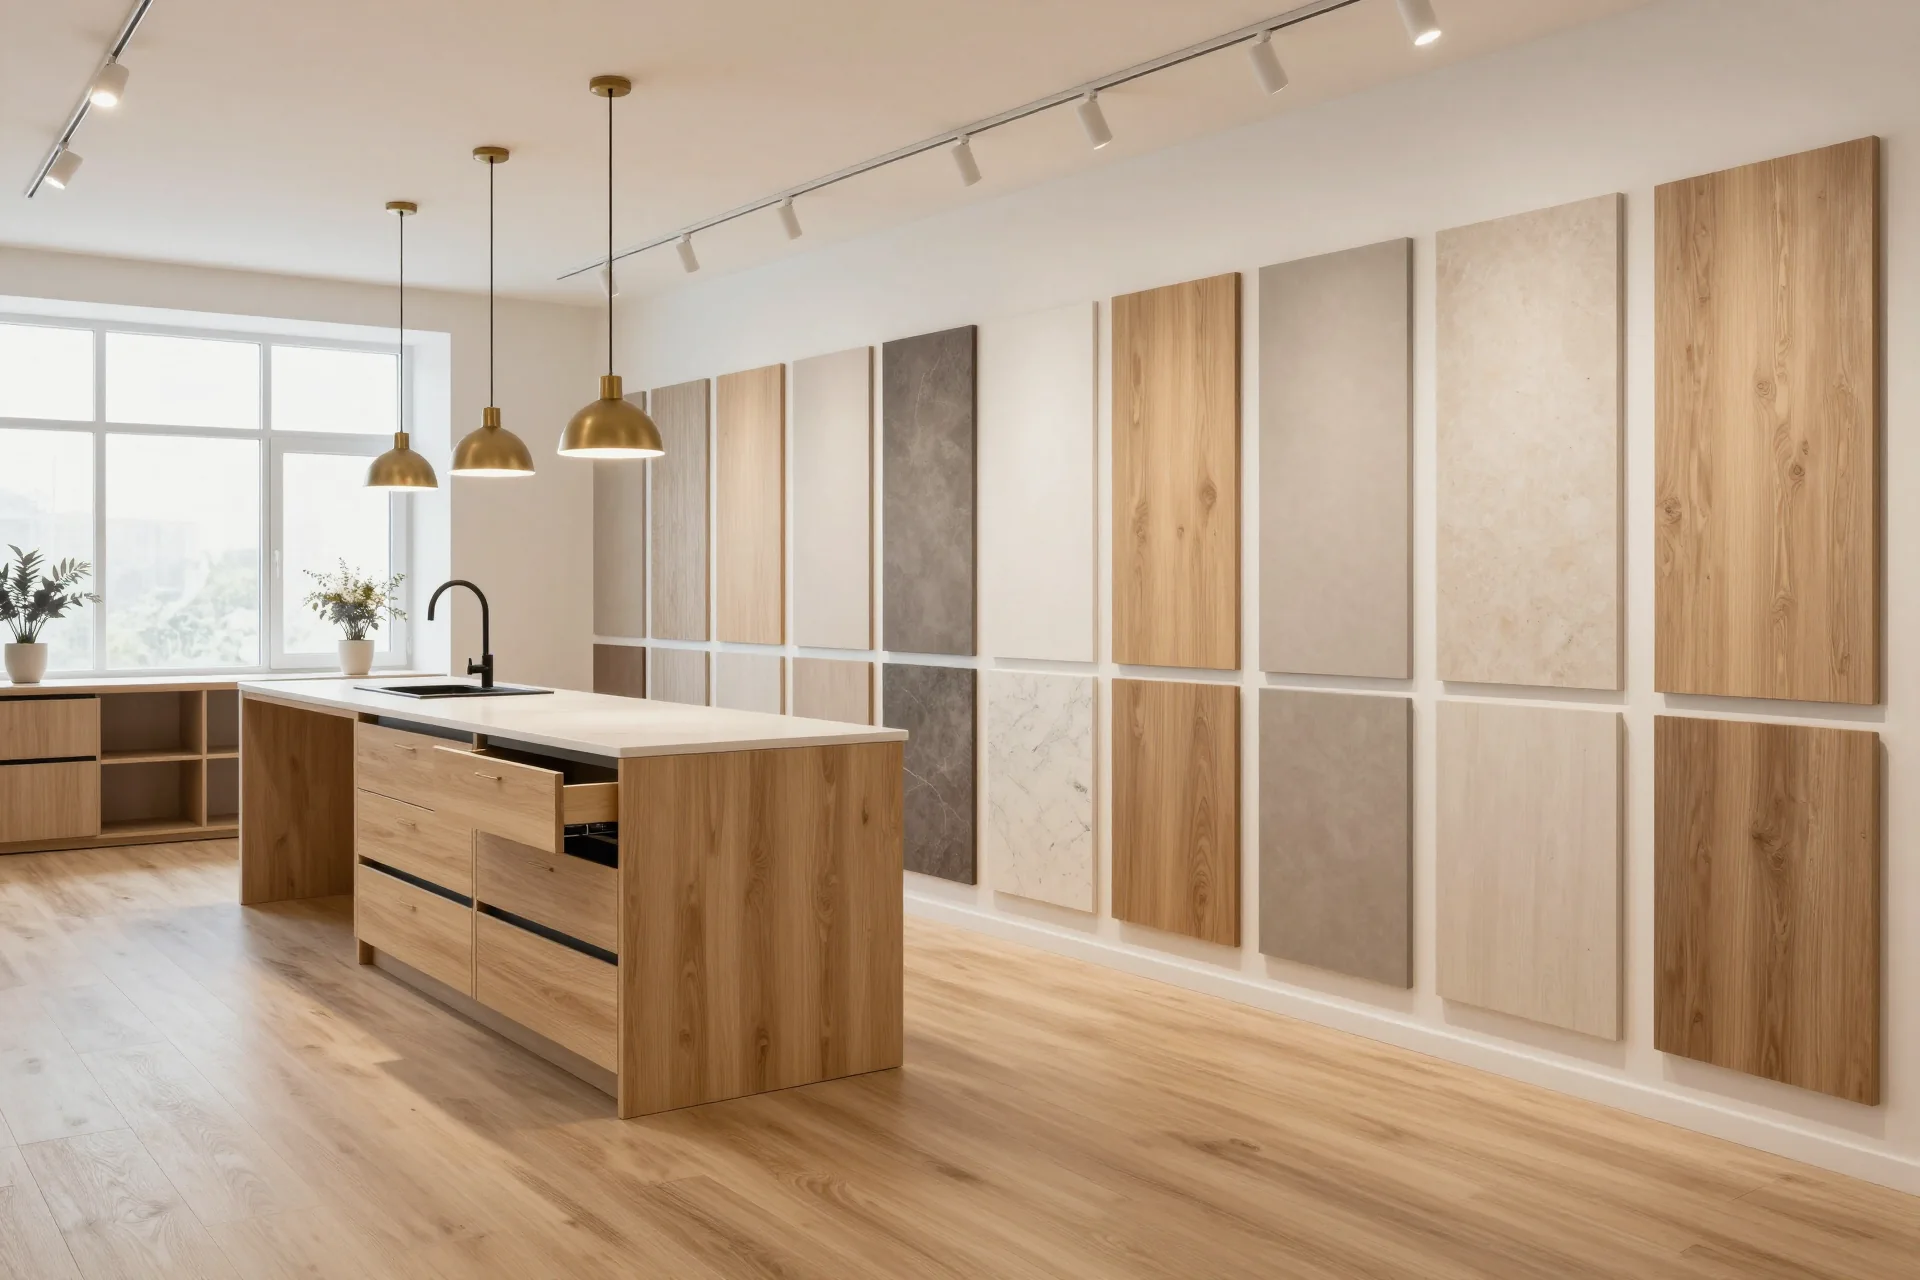
For a loft we more often select oak with pronounced grain and a live edge, while for smaller kitchens we choose a calmer cut without large knots so the wood does not compete with the rest of the furniture. Oak gives a dense, contrasting texture and holds the edge well; ash is lighter and has a larger pattern, so it looks more active in a compact space. We keep the live edge where the work surface is exposed at the front — on an island or peninsula — and hide it against the wall, otherwise the cut collects splashes and crumbs. A calm blank with one or two small knots reads better in a small kitchen than a wide panel full of defects. A heavy pattern works when the rest of the kitchen is neutral — otherwise the wood starts to "shout" and becomes tiring after a month: keep the fronts plain and free of extra decoration.
How a slab countertop behaves in the kitchen
The buyer's biggest fear is that the wood will warp from water and heat. We explain how we stabilize the slab before manufacturing and integrate appliances so the item lasts for years.
Will the slab crack from water and heat
We stabilize the slab before manufacturing — we dry the blank to working moisture content, fill cracks with epoxy resin and seal the surface with a protective compound, so under normal use it does not crack from household moisture and heat. Drying happens gradually in the workshop: a sharp temperature change releases the wood's internal stress, and the blank behaves unpredictably when cut. Epoxy resin fills not only visible splits but also tiny hairline gaps where water would otherwise seep in. We choose oil- or lacquer-based protective coatings to match the species and how actively the kitchen is used. If you have decided to buy a slab countertop, we will tell you in advance how to care for it so the coating lasts a long time. The risk comes not from a single drop but from standing water at the edge of the sink — that is why we separately seal the area around the cutout and advise not to leave puddles there after washing dishes.
How to integrate a sink and hob without ruining the live edge
We mark the cutouts for the sink and hob according to the 3D design and make them so that the live edge stays on the visible part while the technical edges are straight and protected. We cut to a template: first we determine which side of the slab will be the face, then we move the openings to the rear zone, where the uneven contour does not show. We seal the edge around the cutout with a protective compound and sand it flush — the gap between the appliance and the wood must not be left open. It is better to place the hob and sink in different areas of the slab: heat and water fronts in one zone accelerate wood wear, while a dry work surface remains between them. On narrow slabs we show in the design in advance where the cutout boundary will run, so the customer sees the result before cutting.
What slab thickness is needed so the item does not sag
We choose the thickness to match the span and the load: the wider the unsupported surface, the more massive the slab must be, and on long sections we add stiffening ribs. We calculate the span between brackets in the 3D design together with the thickness — these two parameters only work as a pair. Under heavy appliances and at the sink we add extra supports, even if the slab itself is thick. We attach the stiffening ribs underneath so they do not interfere with drawers and do not press against the carcass. Sagging is more often caused not by the slab itself but by insufficient supports — that is why in the design we calculate the bracket spacing right away, not just the thickness. At the control assembly stage in the workshop we check how the item sits on the frame and adjust the supports before installation.
Live edge and cracks in a slab countertop
Cracks and an uneven edge in a slab are not a defect but the character of the material. We explain where such a pattern is appropriate and how to prepare it, and where it is better to choose a straight edge.
Are cracks and knots a flaw or a value
Cracks and knots in a slab are part of the natural pattern, not a defect — but only if they are stabilized and do not affect the strength of the item. A knot itself is denser than the surrounding wood and holds firm, whereas a hairline crack along the grain widens as the wood dries and can reach the edge. That is why we fill such areas with epoxy resin: it penetrates the cavity, sets and turns the weak spot into a solid mass. It is not the crack itself that is dangerous but its movement — if the edges "play" when pressed, that area must be filled and reinforced. Before sanding, check each crack for movement with a finger or a probe: a stable one only needs filling, while a "breathing" one is first pulled together and only then filled.
Whether you need a live edge or a clean edge is better
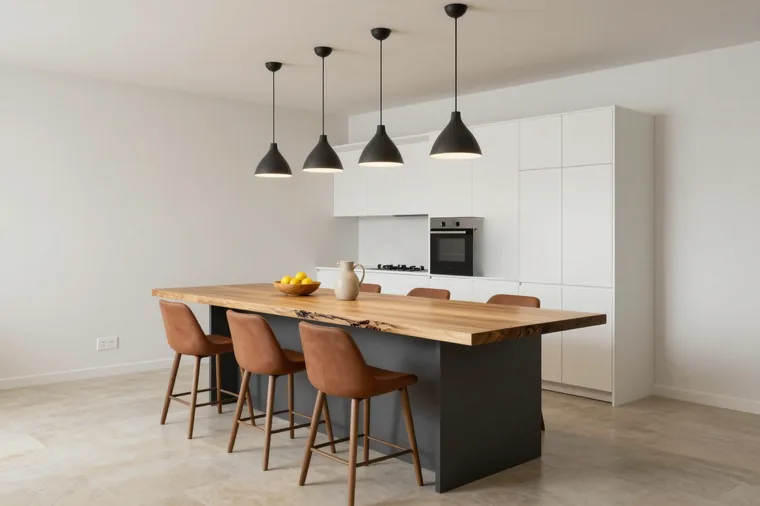
We keep the live edge when the countertop stands in the open — on an island, a bar counter or a dining table — while against a wall and in tight layouts we more often make a clean edge. The untouched edge of the wood (Live Edge) preserves the bark, the burls and the cut line, so it is visible from all sides and works as the main accent of the kitchen. Such an edge goes on islands and counters where people come right up to it and it does not run into appliances. A live edge needs more room around the perimeter — if the item is pushed against a wall, the uneven edge starts to get in the way and collect dirt. Plan for the edge to overhang the carcass by 20–30 mm: that way your hand does not catch on the protrusions and shavings and crumbs do not get stuck in the curves.
How to combine a slab with epoxy, stone and metal
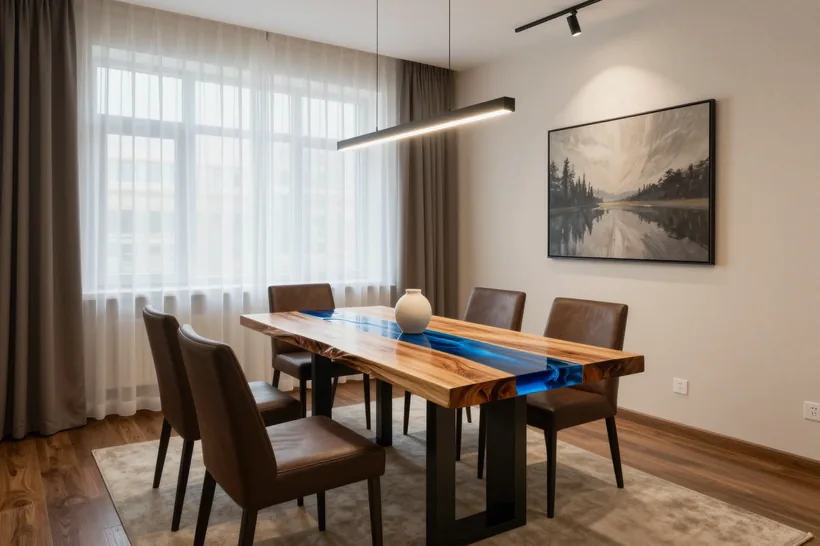
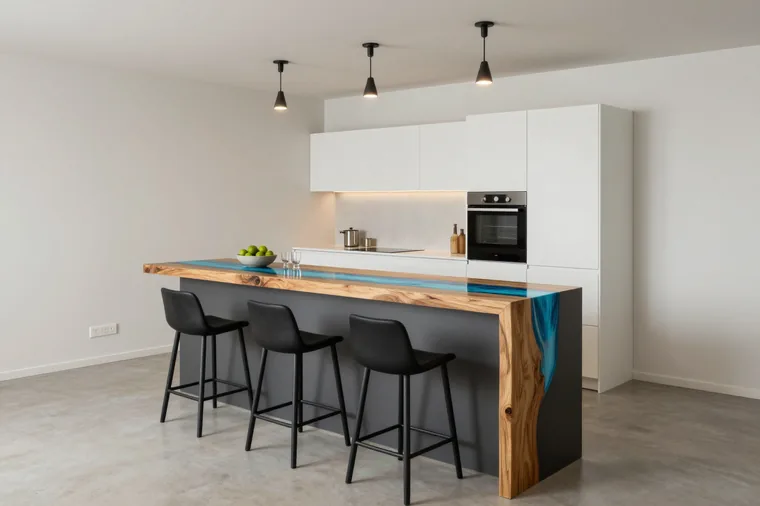
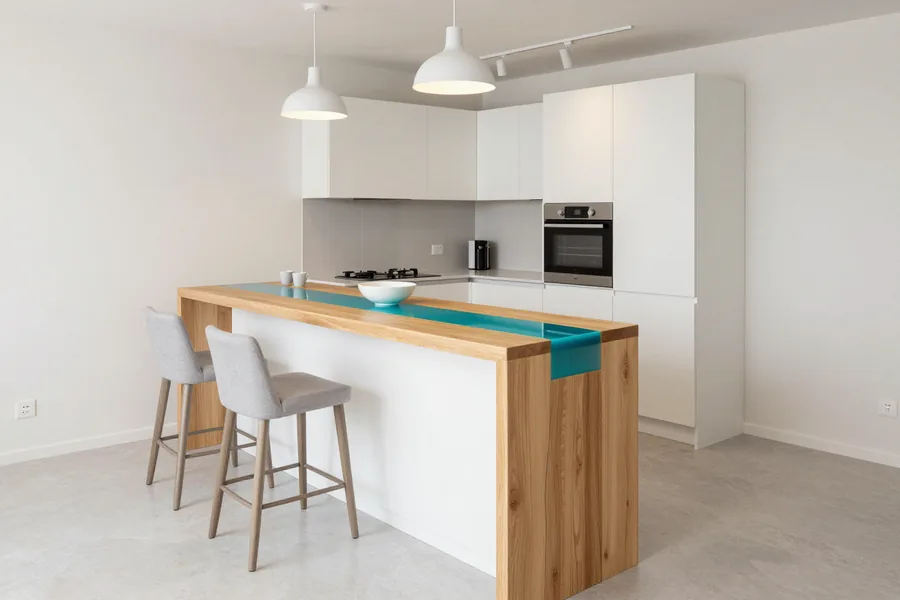
We combine a slab with epoxy filling in a "river" effect, as well as with metal and glass in separate zones, if this is included in the project. The "river" filling fills a longitudinal crack or the joint between two halves and at the same time holds the geometry: the resin binds the edges and keeps them from separating. We place metal and glass in specific spots — an insert in the countertop, a backsplash or a shelf beneath it — so as not to overload the wood with cold surfaces. The combination works when the materials have a similar expansion coefficient — otherwise a gap appears at the joint over time, so we design the seam in advance. At the joint of wood and metal, allow a compensation gap of 2–3 mm: it absorbs the seasonal movement of the slab and keeps the seam from separating.
Protection and care of the slab surface
A slab lasts for decades if the surface is protected and receives regular care. We explain what we coat the item with in the workshop and what is worth doing at home so the wood does not darken.
What a slab countertop is coated with — oil, lacquer or wax
We choose the protective finish for the usage scenario: oil and wax are easier to renew yourself, lacquer gives a denser film but requires careful handling. Oil penetrates the fibers and preserves the tactile texture of the wood — it is applied in two or three coats with intermediate sanding, and renewed locally over the work area. Wax creates a soft top layer that holds up well to accidental drops but wears faster than oil near the sink. Lacquer covers the slab with a thin film and protects against stains better, but it is vulnerable to chips on the edges: when struck by a knife or heavy dishes, it is the film that gets damaged, not the wood. For a kitchen, what matters more than the type of coating is how regularly it is renewed — even a dense lacquer wears down over time near the sink and work area, so the finish is chosen based on how often you are ready to return to treating it.
How to care for it so the surface does not darken or dry out
- Wipe up water right away: puddles by the sink are the main cause of wood darkening, especially where it meets the edge strip.
- Don't put hot items down directly: trivets for pots and baking trays preserve both the lacquer film and the wax layer.
- Refresh the finish: apply oil or wax as the work area wears, before grey spots appear.
- Don't cut on bare wood: a cutting board protects both the protective layer and the surface itself from scratches.
- Watch the edges: that's where moisture gets under the finish fastest and starts darkening from within.
- Don't leave a wet cloth: fabric left on the slab for hours softens the wax and leaves marks.
- Check the joints around the sink: inspect the sealant once a season — a micro-gap lets water under the item unnoticed.
How to order a slab countertop to your size in Almaty
An order starts not with a ready-made board but with on-site measurements and working out the future shape. Below are the stages of work, payment terms and warranty, plus the answer to whether you can order just the countertop.
Can I have an item made to my size instead of taking a ready-made board
Yes, we make a slab countertop to your size and design — with on-site measurement and 3D visualization, rather than adapting a ready-made board. A technician visits the site, takes actual measurements, marks the utility outlets and the position of the sink and hob, then within 1–2 days prepares a 3D model with the item's shape and the placement of built-ins. Measurement and visualization are free with us. Ordering just the countertop is possible if the kitchen is already installed: then we measure as it is and account for uneven walls and joints with appliances. This approach removes the main risk — that a ready-made board won't fit the opening or will hit a protrusion. A site visit before the sketch saves more time than any adjustment during installation.
Stages of work from measurement to installation
the item's journey from measurements to on-site installation| Stage | What we do | Result |
|---|
| Measurement | site visit, measurements | exact dimensions for the item |
|---|
| 3D design | working out the shape and built-ins | approved look of the countertop |
|---|
| Slab preparation | drying, stabilization, pouring | material ready for cutting |
|---|
| Manufacturing | cutting, edge, finish | countertop in the workshop |
|---|
| Trial assembly | check before dispatch | no surprises during installation |
|---|
| Installation | installed by our own crews | signed acceptance certificate |
|---|
Ordering, payment and warranty terms
We work under a contract: 50% prepayment, the balance after signing the acceptance certificate, a 24-month warranty on the item, and a 25-year manufacturer's warranty on Blum hardware. Payment can be made by bank transfer, which is convenient when ordering for a legal entity or in combination with a turnkey renovation. Lead times depend on the item and material — for each option they are listed in the price list on this page, and rush orders are also possible. A control assembly takes place in our 600 m² workshop before shipping to the site, so on location the team assembles an already-tested unit. The acceptance certificate is signed after installation — you accept the work based on the actual installation, not on photos from the workshop. It is this procedure, not promises, that is the customer's real safeguard.
The bottom line on slab countertops
A brief summary of what really matters to remember about a slab when the decision is made for a specific kitchen rather than in general terms.
- A slab is a single cut, not a glued panel: the pattern is one of a kind, but it requires stabilization before fabrication.
- In the kitchen, preparation matters more than the species itself: drying, crack filling and a protective finish are more important than thickness.
- A live edge and knots are character, not a defect, if they are stabilized and do not interfere with use.
- Care is simple: wipe up water, refresh the finish and do not place hot items directly on it.
- Made-to-measure ordering is possible even if the kitchen is already installed — a measurement and design show how the slab will fit into your interior.