
Short answer
Laminated chipboard or MDF is chosen not for the whole piece of furniture at once, but for each part. In our own workshop in Almaty we usually build carcasses and shelves from Egger or Kronospan laminated boards, while doors for enamel, milling and complex shapes are made from MDF. We show the material of every part in the 3D design after a free measurement.
How laminated chipboard differs from MDF in composition and properties
The two wood-based boards look alike only in a finished wardrobe. Let's break down what they are pressed from, how they behave in the workshop, and why the material is chosen for each part separately.
What particleboard and fibreboard are pressed from
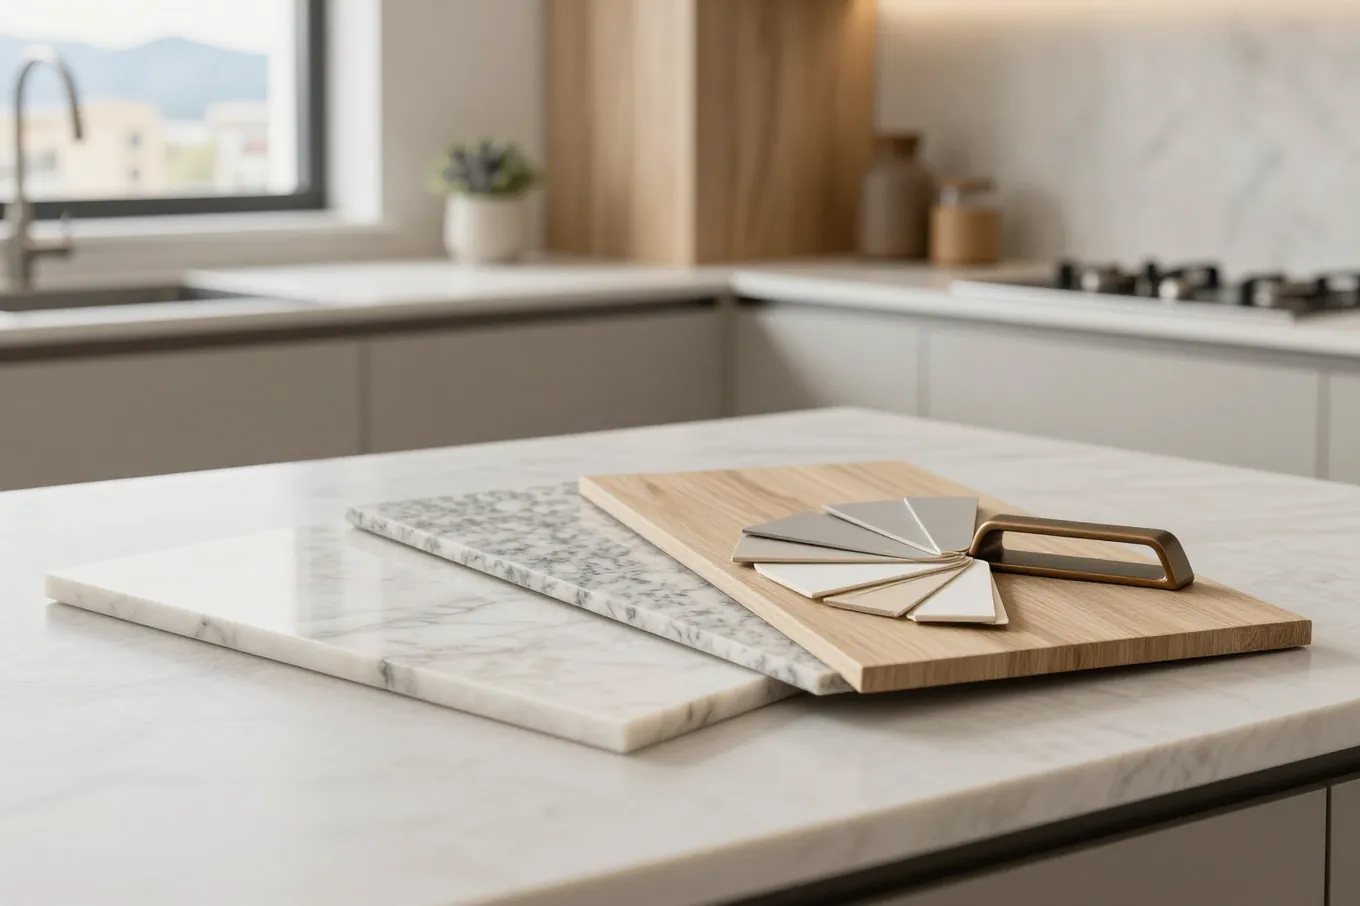
The question "laminated chipboard or MDF" comes down to the board's core — chips under a melamine film or homogeneous wood fibre. Laminated board is pressed from wood chips with a binding resin, and at the factory a decorative melamine-impregnated paper is baked on top: that gives a ready decor in wood, stone or solid colour. We work with Egger and Kronospan boards, and cutting and edge banding are done in our workshop in Almaty. Fibreboard is made differently — the wood is ground almost to dust, mixed with resin and pressed into a dense sheet with no voids. Such a sheet arrives without decor, so it is painted, wrapped in film or faced with veneer. Both boards rely on resin, so safety is about the emission class of the specific sheet, not the abbreviation in its name. Look at the cut edge of a sample before ordering: large chips with voids won't hold a profile, while a homogeneous fibre mass mills cleanly and gives a smooth edge under enamel.
How the two boards behave in furniture
| Board | Core | What it can do | Weak point |
|---|---|---|---|
| Laminated chipboard | chips with resin, factory melamine decor | straight parts, ready colour without finishing | an open cut edge absorbs water |
| MDF | dense homogeneous wood fibre | milling, painting, curved and radius shapes | without finishing needs film, enamel or veneer |
| Moisture-resistant MDF | fibre with water-repellent additives | parts near water and steam | needs the same finishing as standard |
| Uncoated chipboard | chips without a decorative layer | hidden parts only | absorbs moisture without protection |
Why the material debate is settled part by part
To the question of which is better, laminated chipboard or MDF, the workshop answers with a list of parts, not a single word. Over 13 years in the Almaty market and 3 500+ projects we have settled on a simple scheme: inner walls, shelves and bottoms carry weight and hold fasteners, so a laminated board with ready decor suits them. Face parts are responsible for looks, and there the intended finish decides — enamel, a milled profile or a radius shape require a fibre core. Hence the difference in cost too: the same kitchen with flat laminated doors and with painted doors differs not in the carcass but in the face. Combining two boards in one piece is the norm, not a saving on quality. Ask at the measurement to name the material of each part separately: that way you immediately see what exactly you are paying for and where you can save without losing durability.
Which board to use for the carcass, shelves and back panel
The carcass of an item carries the weight of dishes and clothes, holds the hinges and runners, while the front parts are responsible for its appearance. Here we look at the internal parts and the boards used for them.
Why wardrobe and kitchen carcasses are assembled from laminated board
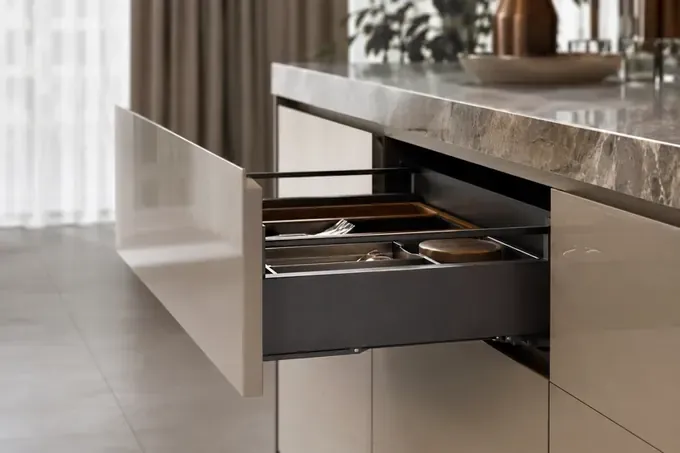
A laminated chipboard carcass is the main option we offer for kitchens and wardrobes: the board arrives with a factory finish on both sides and needs no finishing after cutting. Among the 900+ kitchens and 800+ wardrobes our workshop has made, a laminated carcass is a familiar construction, because the melamine coating is easy to wipe clean inside and resists rubbing from dishes and hangers. The Egger and Kronospan boards we work with hold confirmats and cam locks securely, and Blum, Hettich or Boyard hinges and runners fit firmly into the side panels. The carcass decor does not have to match the doors: internal walls are often made light, and from the outside they are barely visible. Back panels and drawer bottoms are usually made from thin fibreboard sheet — they carry no load and are hidden from view. Ask for a light decor inside hinged wardrobes and kitchen larder units — it is easier to find what you need, and lighting gives more light.
How to prevent shelves from sagging
- Span: sagging depends on shelf length more than on the board's name, so a wide section is divided by an upright or the shelf is given support in the middle.
- Load: books, dishes and appliances press on the shelf constantly, and such places are marked separately in the project, before cutting.
- Thickness: a loaded shelf gets a thicker board or two glued together, while a thin one is left for light items.
- Fixing: a shelf on removable shelf supports can shift, while one fixed into the side panels with connectors adds rigidity to the carcass.
- Back panel: a panel set into a groove or screwed around the perimeter keeps the carcass from skewing, and the shelves do not drift sideways.
- Arrangement: heavy items go on the lower shelves and closer to the side panels, where the board barely bends even after several years.
When the visible carcass parts are made from MDF
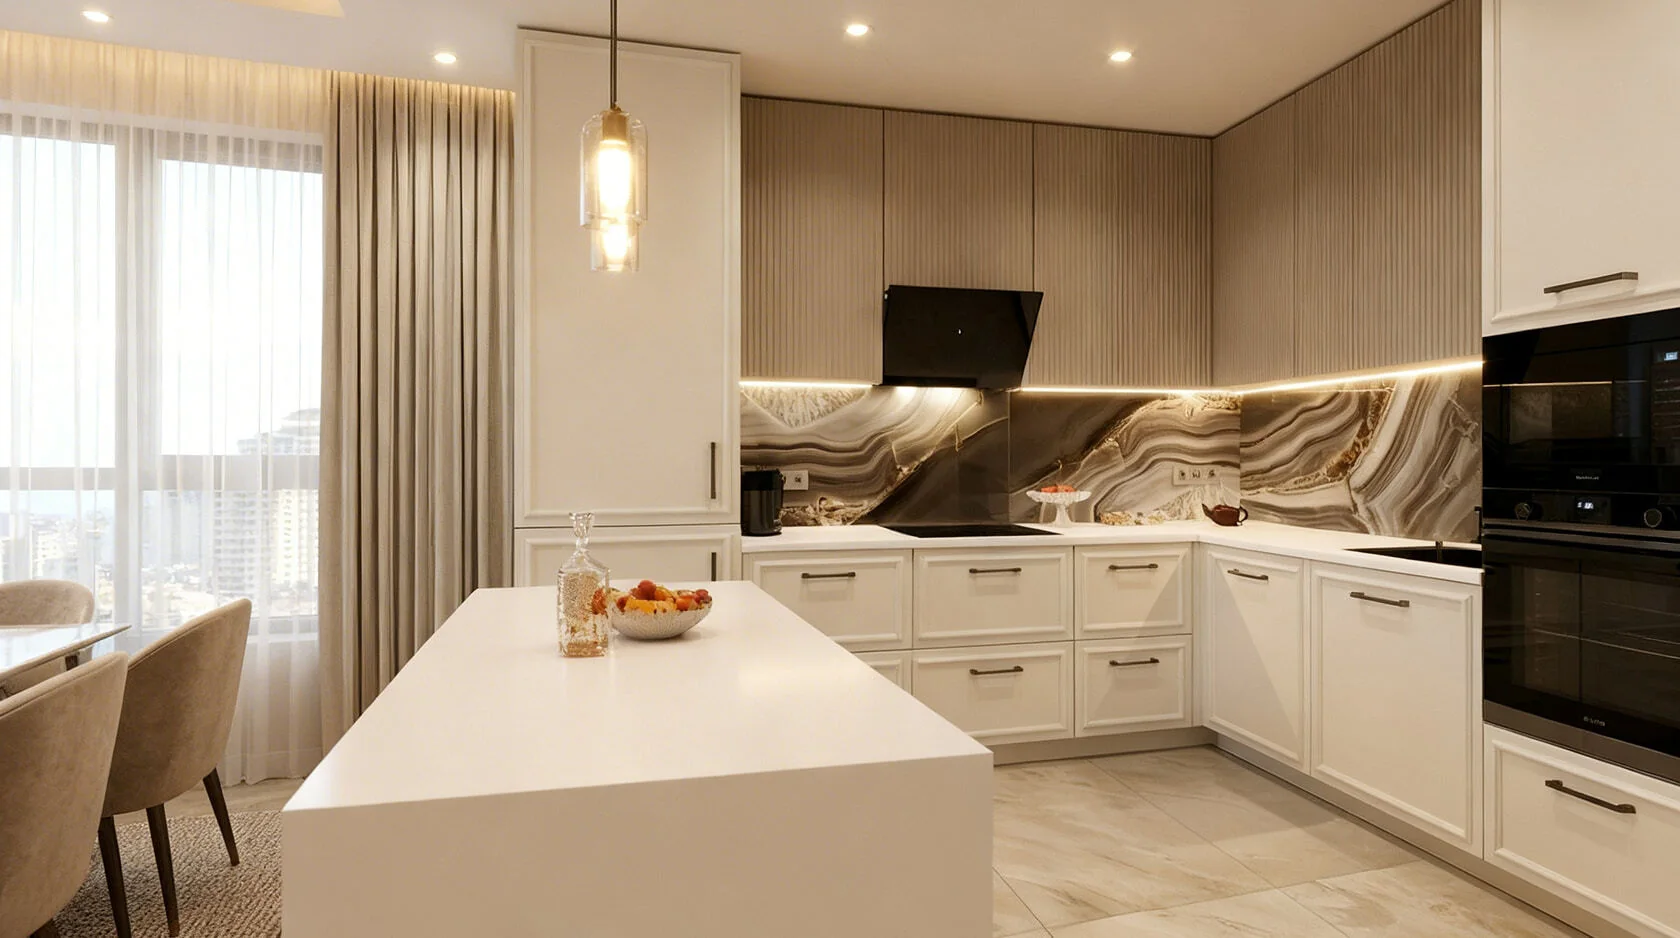
We make the visible parts of the carcass from MDF when they need to be painted to match the doors or bent to a radius. These are the end side panels of a fitted unit, open shelves at its edge, decorative panels by the fridge, and open shelving where the carcass is the face of the item. Such parts go through the same process as the doors — milling, primer and painting in our workshop — so the shade matches the front parts with no difference between batches. Inside a closed module a painted base is not needed: no one will see it, and laminate inside wipes clean just as well. A combined carcass, with enamel outside and a factory decor inside, is a common solution for kitchens and wardrobes. Specify painting only where the part is visible in the open, and leave the rest in laminate, so the visible part of the item looks whole without extra work.
Film, enamel and veneer on MDF doors
Fibreboard on its own is only a blank; the coating on top gives the door its appearance. We compare three finishing options and look at when a laminated door without extra finishing is enough.
What enamel gives on painted doors
We paint MDF fronts in our own workshop: the enamel goes onto the milling, edges and curves in a continuous layer, with no joints or edge banding. Before painting, the blank is sanded and primed, then the color and protective lacquer are applied, so a painted door has no seam through which moisture could get inside. The color is chosen from a catalog, and the doors, side panels and plinth come out in the same tone. Complex shapes also work well under enamel — radius doors, frame profiles and handles milled directly into the edge. Enamel can be matte, silky or glossy — matte hides small marks, while gloss reflects light and visually widens a narrow kitchen. Another property of a painted surface is that a chip or scratch can be sanded and touched up without replacing the whole door. Matte enamel is chosen for a calm look, while gloss is worth choosing if you are ready to wipe fingerprints near the handles more often.
How front panel finishes differ
| Finish | Surface | Relief and shape | What to look at |
|---|---|---|---|
| PVC film | gloss, matte, wood texture | milling, the film wraps the relief | edges near hot appliances |
| Enamel | any color, matte or gloss | milling, radii, complex profile | corners, where chips are more common |
| Veneer | natural wood pattern | mostly flat doors | pattern of adjacent sheets |
| Melamine laminated chipboard | factory-finished decor | flat door only | edge banding on all four edges |
When a flat door made of laminated board is enough
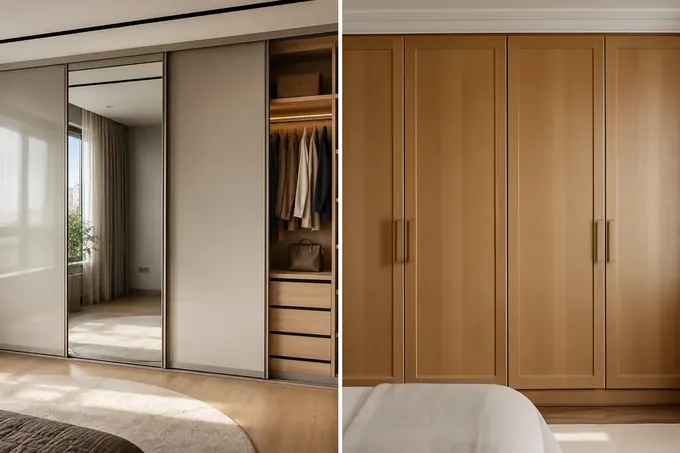
A flat door made of laminated board is suitable when you need a ready-made decor without relief or painting. Such a door gets its decor from the factory — solid color, oak or ash texture, concrete — and all four edges are closed with color-matched edge banding. For a sliding wardrobe, walk-in closet, hallway cabinet and a minimalist kitchen with profile handles or push-to-open, this is enough. Laminate has clear limitations: you cannot mill it or create radii, and the edge banding on the end remains visible as a thin line. But such a door is lighter than a painted one and tolerates knocks on corners better, where enamel chips more often. You also cannot repaint such a door, because paint adheres poorly to melamine, and a color change means a new door. If you allow that you might want a different kitchen color someday, this is an argument for a painted fiberboard base: it is repainted rather than ordering entirely new doors.
Laminated chipboard and MDF in the kitchen around the sink, hob and oven
A kitchen loads the boards unevenly: water, steam and heat are concentrated in a few modules, while the other cabinets live calmly. Let's go through these zones one by one.
Which material withstands the module under the sink
When choosing MDF or laminated chipboard for the kitchen, start with the sink cabinet — there it's not the name of the board that matters, but the protection of every cut edge. A drop on melamine or enamel wipes off without a trace, but water from a leaking siphon during an unnoticed leak reaches the bottom edge of the base and the chipboard swells. That's why in the sink cabinet we seal all edges with banding, including the cutouts for pipes in the back panel, and we mount the cabinet on adjustable legs so the bottom doesn't sit in water when mopping the floor. A fibreboard base also swells with prolonged wetting, though slower than chipboard, so there is no waterproof board for the kitchen. Moisture-resistant versions exist for both materials, but the choice of décors is usually narrower. Put a drip tray or rubber mat under the sink and check the siphon once a season — this extends the cabinet's life more than switching the board.
Kitchen zones and what they do to the board
- Sink: water from the siphon and from hands gets on the bottom and lower edges, so here a continuous edge and sealant at the cutouts matter most.
- Hob: heat and grease settle on the countertop and wall cabinets above the hob, so the extractor is chosen to match the width of the cooking zone.
- Oven and dishwasher: hot air and steam escape sideways, towards adjacent doors and cabinet sides, especially when the door is opened.
- Plinth: when mopping the floor, water gets on the bottom strip, and it needs edge banding along the bottom or a plastic profile with a seal.
- Wall cabinets: steam from the kettle and pots rises, so the kettle is not placed directly under a wall cabinet but moved to an open area.
Which doors to install next to the oven and dishwasher
Next to the oven and dishwasher we install doors with a coating that tolerates heat and steam well. PVC film on a fibreboard base is held by glue, and with regular heating its edge near a hot appliance may eventually come loose, especially on gloss and light colours. Enamel behaves more stably in this spot, and a laminated door with edge banding is also suitable if it is flat. We install built-in appliances according to their manufacturer's scheme — with ventilation gaps so that hot air escapes through the designated channels and not into adjacent doors. If the entire kitchen is planned in film, it is more convenient to place the oven in a tall cabinet column where there are no such doors next to it. Do not open the dishwasher immediately after the programme ends: the cloud of steam that escapes in the first minutes hits the edges of the countertop and adjacent doors directly.
Edges and banding determine the carcass service life
Laminated board is damaged not by water on the surface, but by water that finds an open cut. That is why the frame's durability is determined by the edge banding, cuts and holes that are not visible in the finished product.
Why an open cut of the board absorbs water
An exposed chipboard cut absorbs water because the melamine covers only the two faces of the sheet, while the edge remains porous chip with resin. Moisture travels along the capillaries into the depth, the chip swells, and the part bulges at the edge — after drying it no longer returns to its original thickness. On a swollen edge the banding peels off, the connectors work loose, and the hinges lose their fit, so the door starts to sag. Fibreboard takes up water more slowly and evenly, but its cut still cannot be left unfinished in a wet area. Swelling almost always starts not from the visible surface but from the lower edges, the holes for pipes and the cutouts for sockets. In a dry wardrobe or bedroom this problem hardly shows up, and there a laminated carcass serves without special conditions. So a carcass should be judged by the quality of its edge banding and the sealing of all cutouts, not by the decor you see on the showroom floor.
How we edge and check parts in the workshop
We glue the edge banding onto parts in our own workshop after cutting, while the cut is clean and dry. Cutting, edge banding and painting all happen in one 600 m² workshop in Almaty, so the whole chain from sheet to finished part passes under a single control. The banding is matched to the decor colour, and on the sink module and the plinth we also seal the edges that will later go under the countertop or to the floor. Before dispatch the item goes through a test assembly: the craftsman assembles the carcass, checks how the parts fit together, and looks for unglued areas and chips along the edge. That way edge defects are found in the workshop, not in the customer's flat after installation. Once the furniture is at home, run a finger along the edges of the lower parts — the banding should sit tight with no gap or burrs, and the corner should not catch fabric.
Where wardrobes and kitchens hide exposed cuts
- Sink module: the cutouts for pipes and the trap in the back panel and base stay open if they were not sealed with banding or sealant.
- Countertop cutout: the cut for the sink and hob is hidden under the appliance, but steam and water find it first.
- Plinth and lower edges: the bottom edge of the side panels and the plinth strip meet water more often than other parts when the floor is washed.
- Cutouts for sockets: holes in side panels and shelves for sockets and lighting, made on site, often stay unprotected.
- Edges against the wall: parts pressed against a cold external wall can dampen from condensation, so their edges are sealed too.
How to lock the material choice into the project and the contract
A material agreed verbally is easily lost between measurement and cutting. Here is what the project shows, what to put in the documents and what the warranty covers.
What the 3D project shows about materials
After a free measurement we prepare a 3D project in 1–2 days, where every part has its material and decor specified. The project shows which surfaces will be laminate, which will be enamel or film, where the edge banding runs and how the side panels join the doors. This is the moment when changing a decision is easiest: before cutting, swapping the board on a part is just an edit in the file, while after it requires a new part. The project is also a good place to check combinations — a light carcass with dark doors, an end panel in the wall colour, an open shelf in enamel. The item can be broken down by module to see how many parts go to painting and how many stay in the factory decor. Go through the project asking "what will be visible here", and it becomes clear where enamel is really needed and where laminate is enough.
What to put in the order specification
- Carcass board: the manufacturer, in our case Egger or Kronospan, and the name of the decor so that a reorder comes in the same tone.
- Door base and finish: fibreboard or laminate, the type of coating — enamel, film or veneer — and the level of gloss.
- Edge banding: the colour and the list of edges it covers, including the hidden cuts at the sink, plinth and back panels.
- Hardware: the brand of hinges and runners we fit — Blum, Hettich or Boyard, since the warranty terms depend on the brand.
- Lead times: for each item they are shown in the price list on the item page, and a rush order is agreed separately in the contract.
What the item warranty covers
We give a 24-month warranty on the item under the contract. Blum hardware carries the manufacturer's 25-year warranty, while Hettich and Boyard have their own manufacturer terms. For the warranty to work without disputes, the contract must state the material that actually arrived on site, so the specification is checked against the item during installation. Rush orders are possible with us too, but even then the specification is fully agreed before cutting. We sign the acceptance report after installation, and the customer pays the second half only after signing, so there is time to calmly inspect the doors and edges. No board will survive a siphon leak that went unnoticed for months, so under the sink it is worth looking into the module from time to time. Keep the contract with the specification together with the report: they make it easy to order a part in the same decor if a door needs replacing a few years later.
Summary: which material to choose for the frame and fronts
A short guide for those choosing materials for a kitchen or wardrobe and wanting to understand what they pay for in each part of the item.
- By parts: the material is chosen separately for the carcass, shelves and doors, and combining two boards in one item is considered normal practice.
- Carcass: laminated board with a factory decor serves well in internal parts if all its edges are covered with edge banding.
- Doors: enamel, milling and radii require a fibreboard base, while flat wood-effect or solid-colour decor is also available in laminate.
- Painting: a painted door can be repainted or a chip touched up, while a laminated one is replaced entirely when the colour changes.
- Wet zones: at the sink, oven and dishwasher the service life is determined by the edge banding, gaps and coating, not by the name of the board.
- Documents: the board manufacturer, decor, door coating and hardware brand are worth writing into the specification before cutting.
Article updated 25 September 2026Calculate wardrobe All blog articles