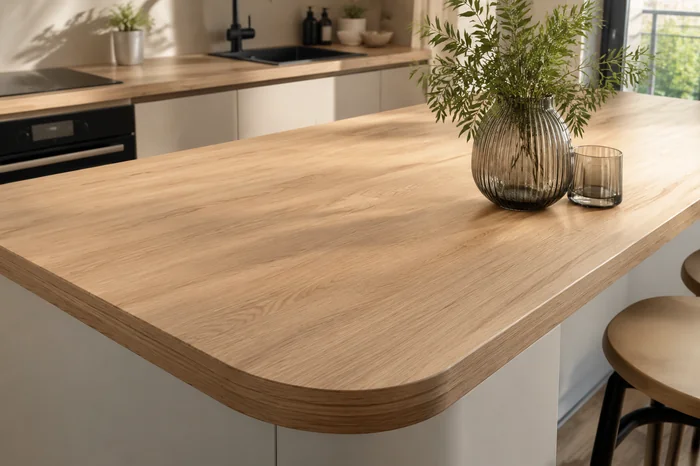
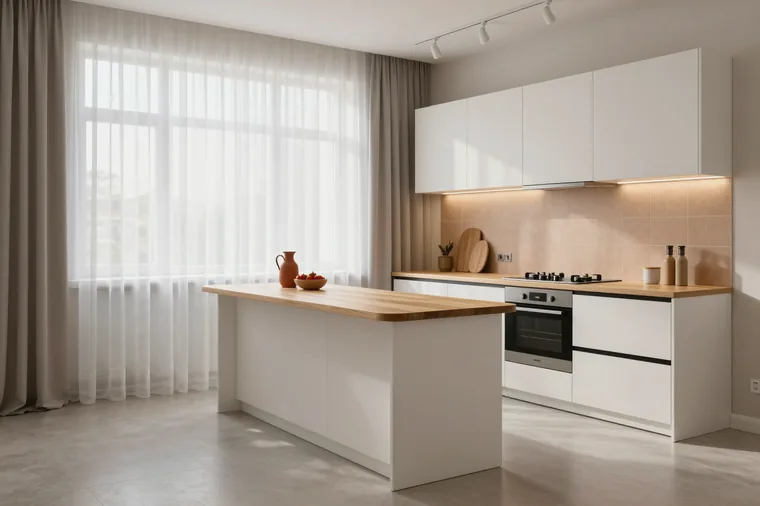
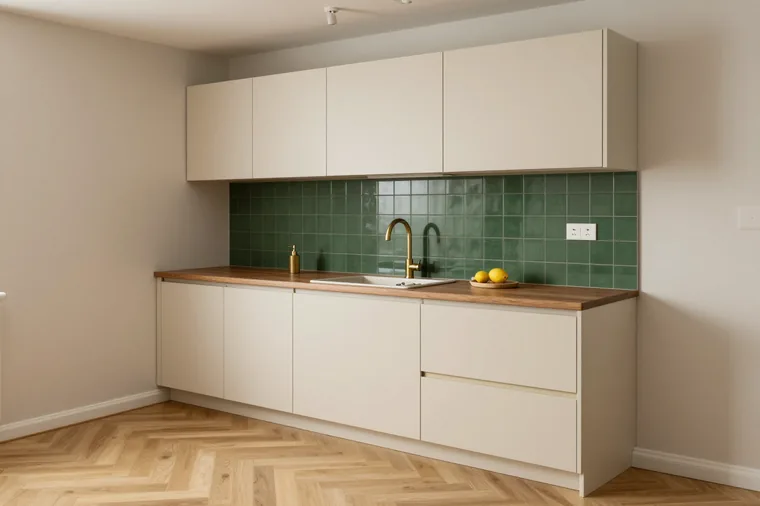
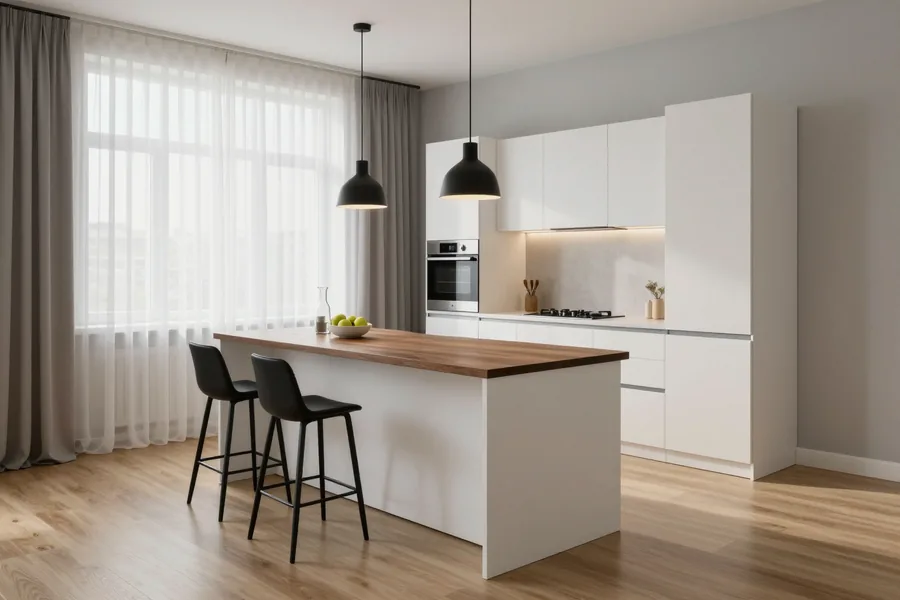
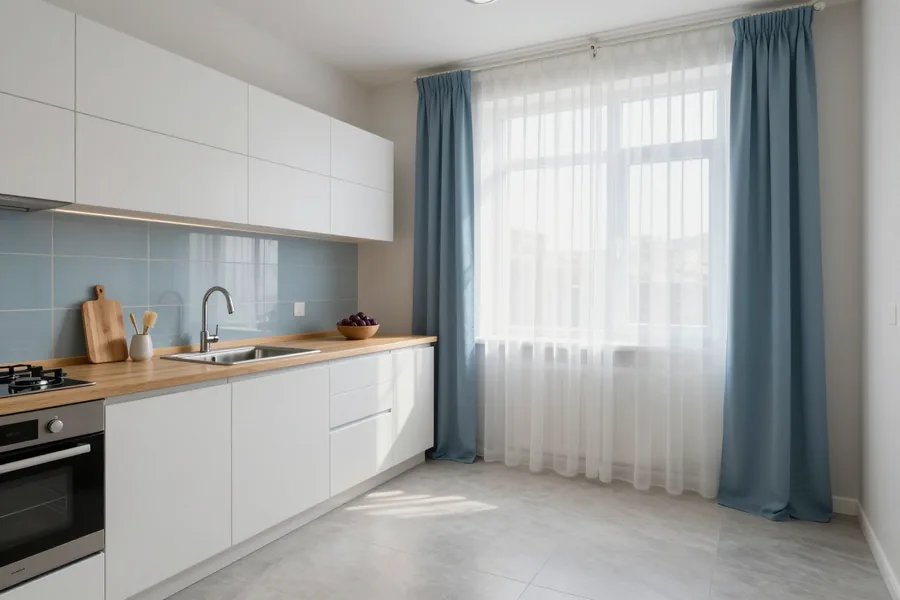
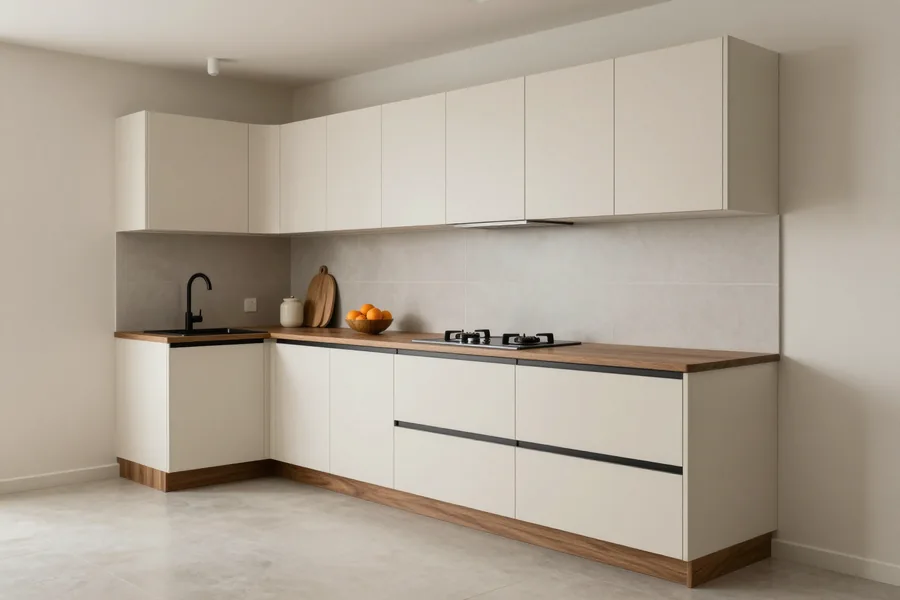
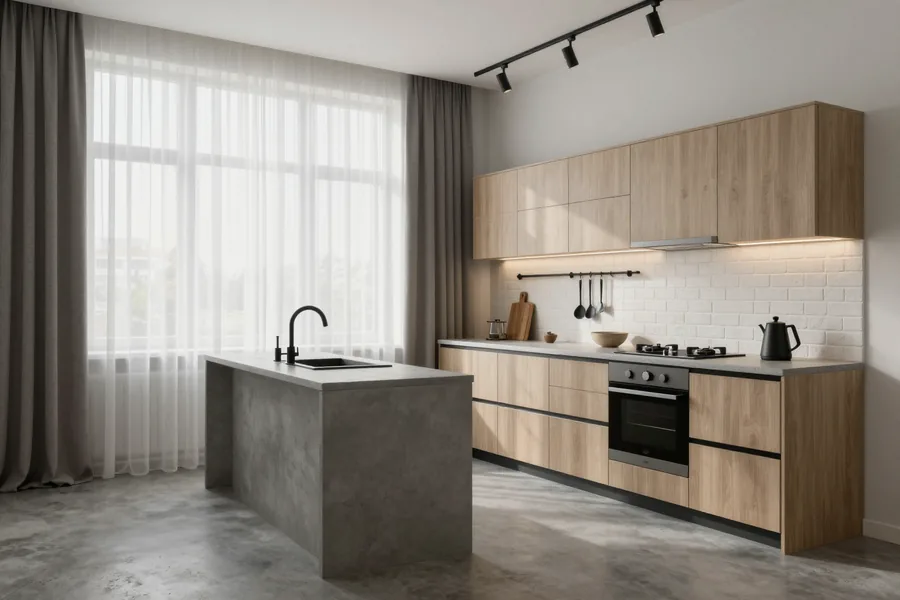
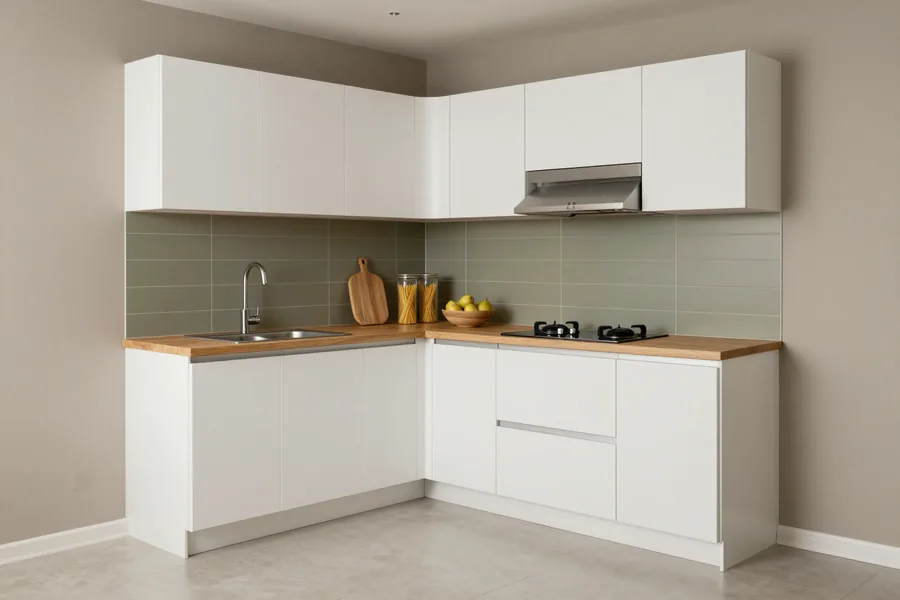
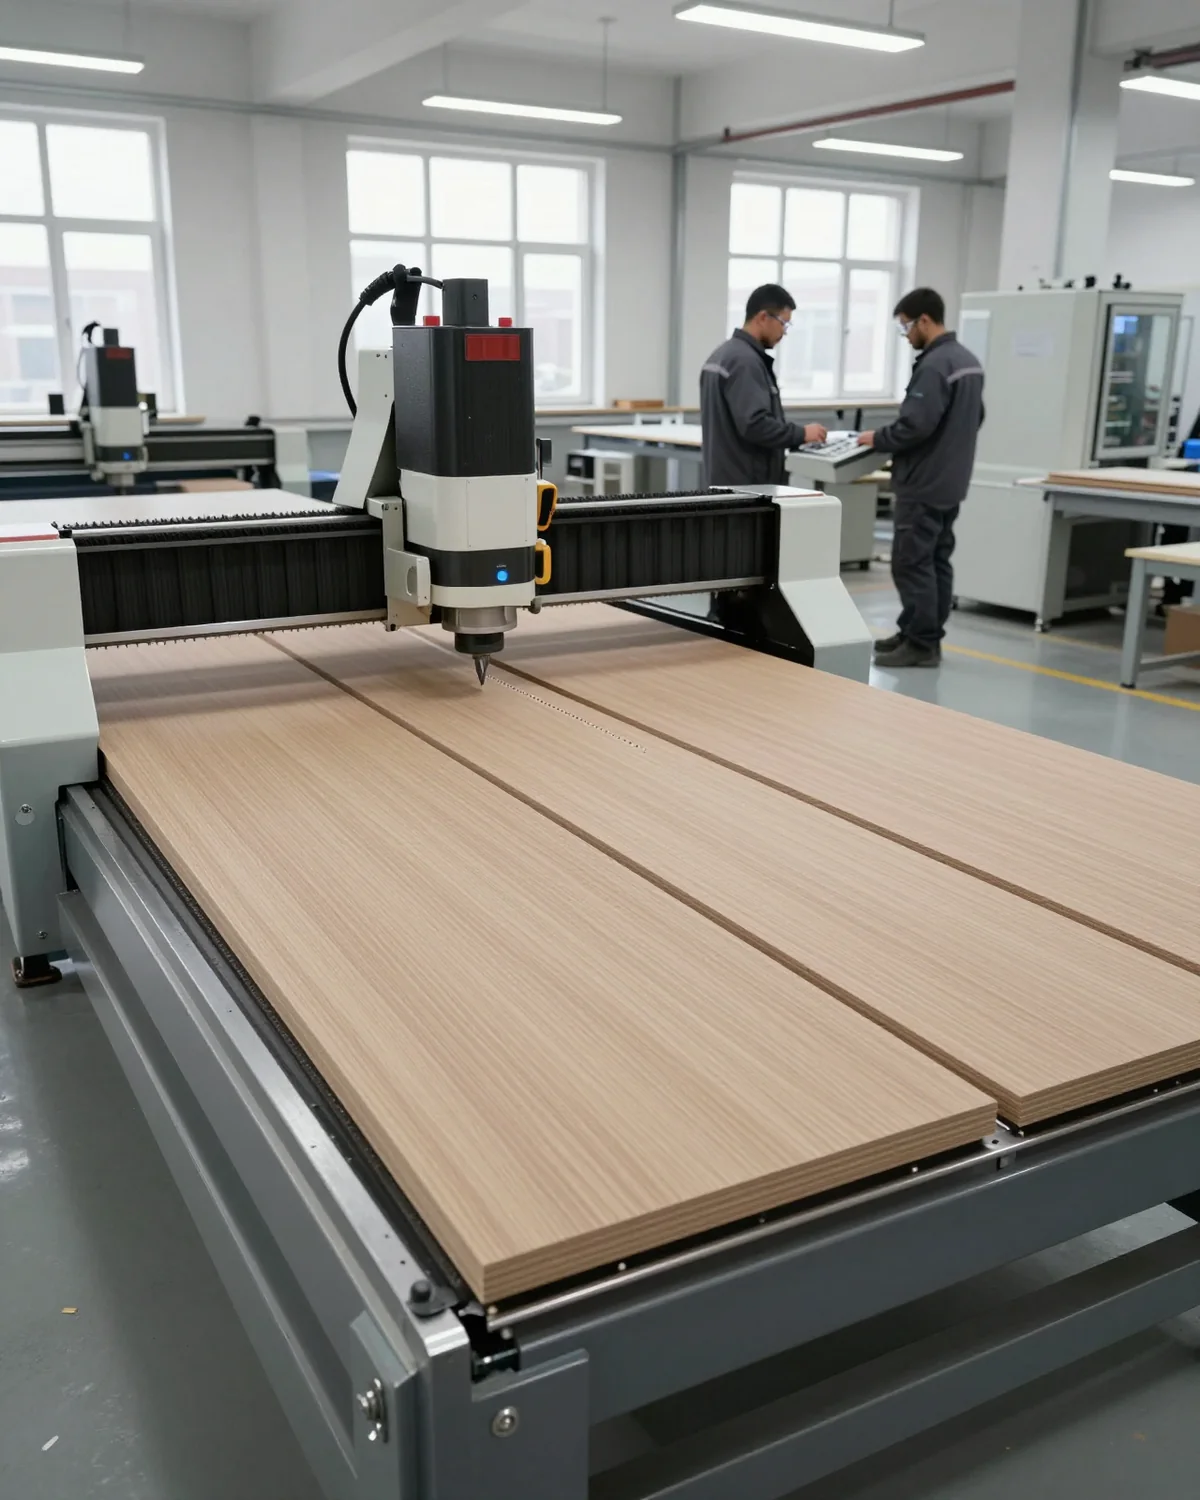
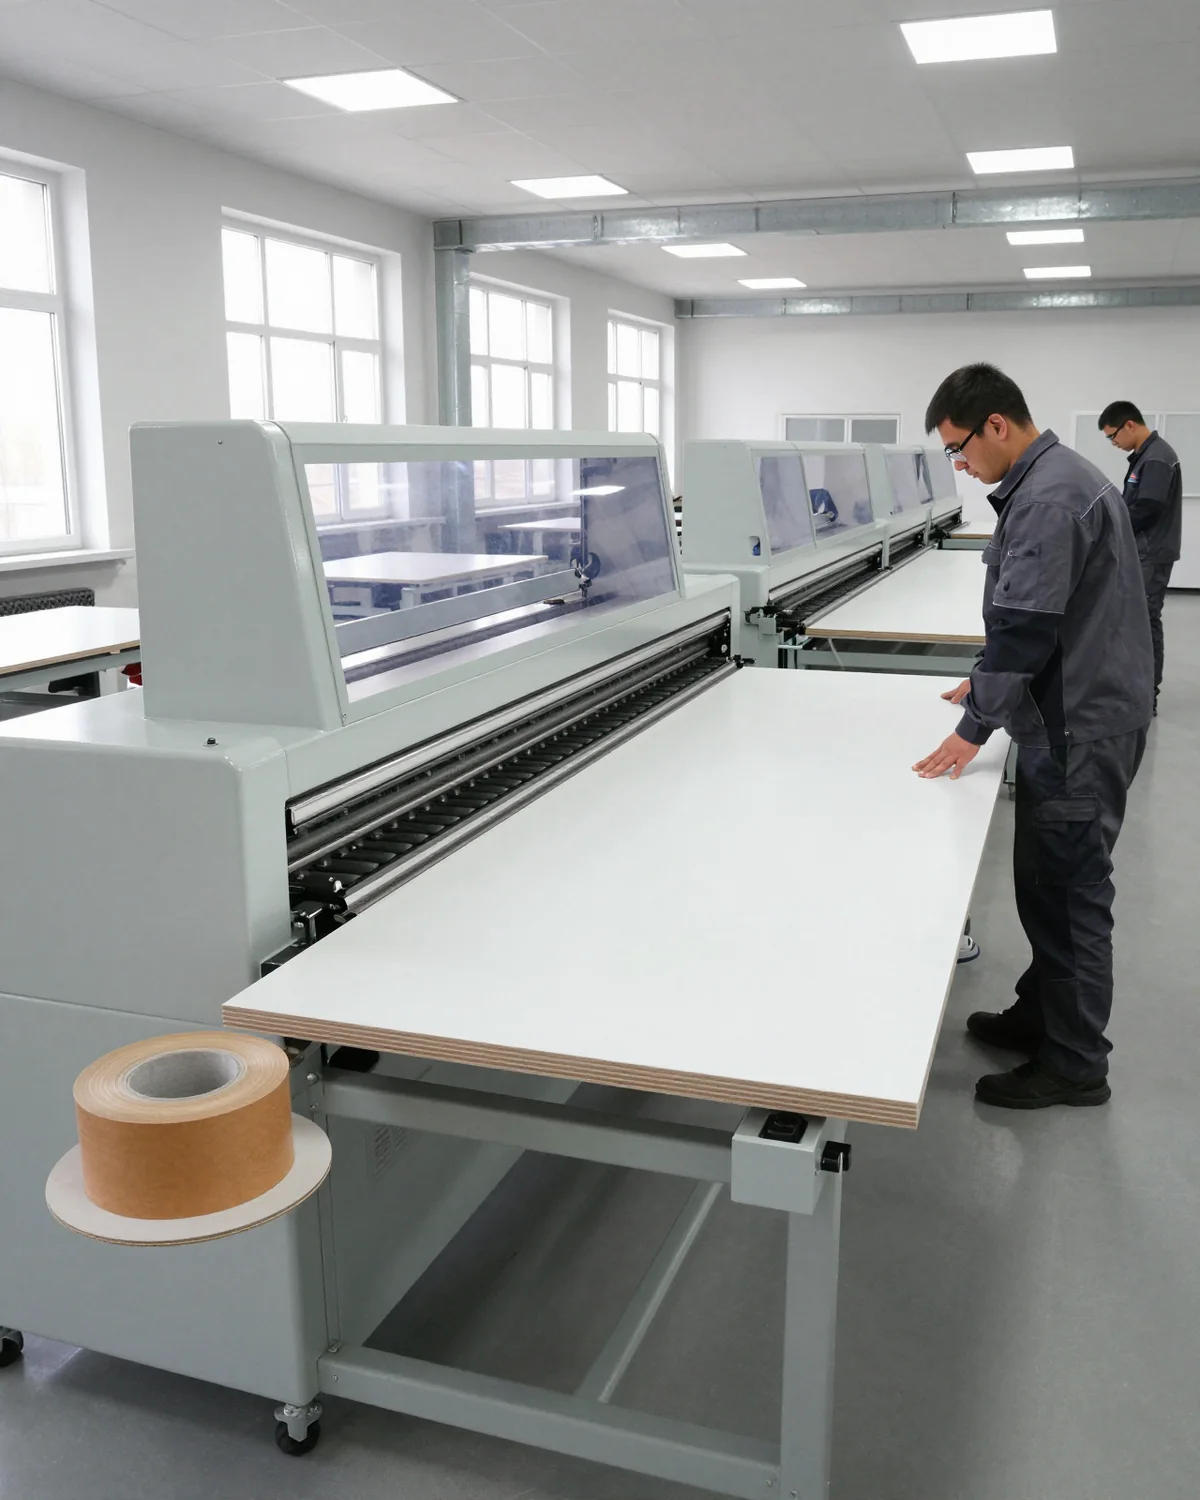
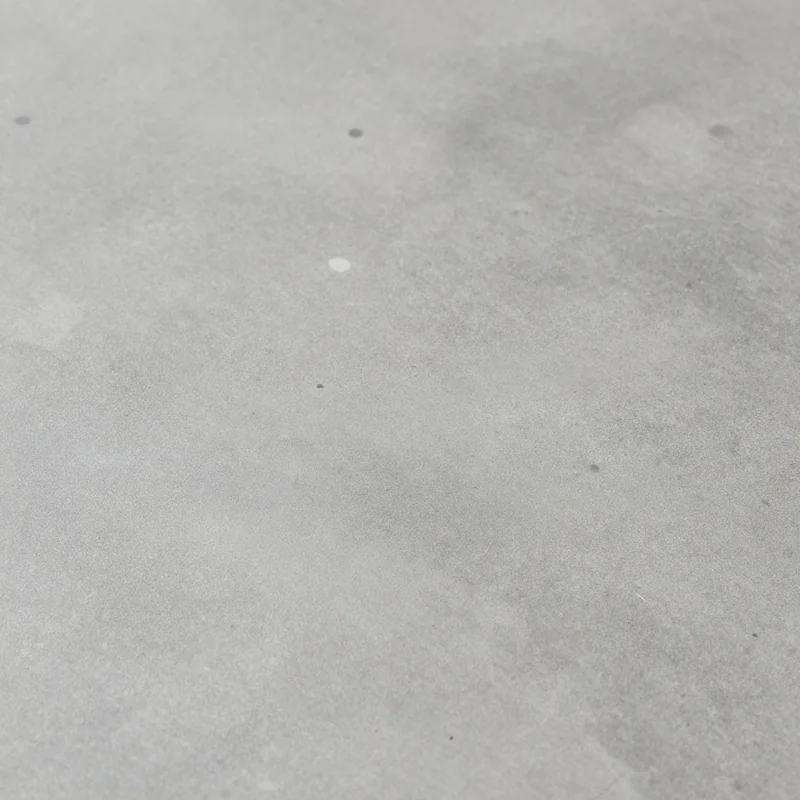
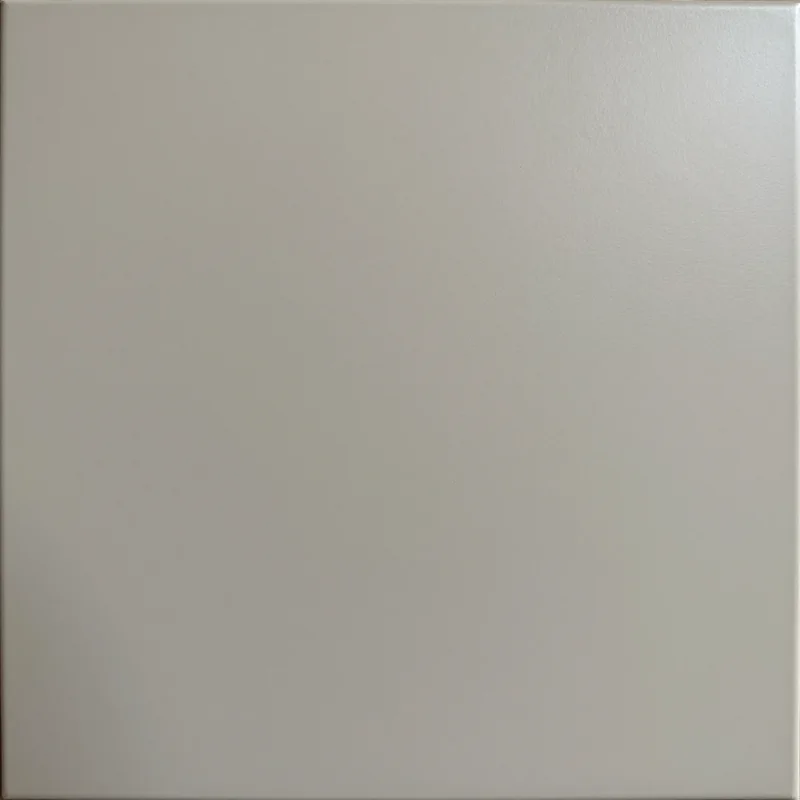
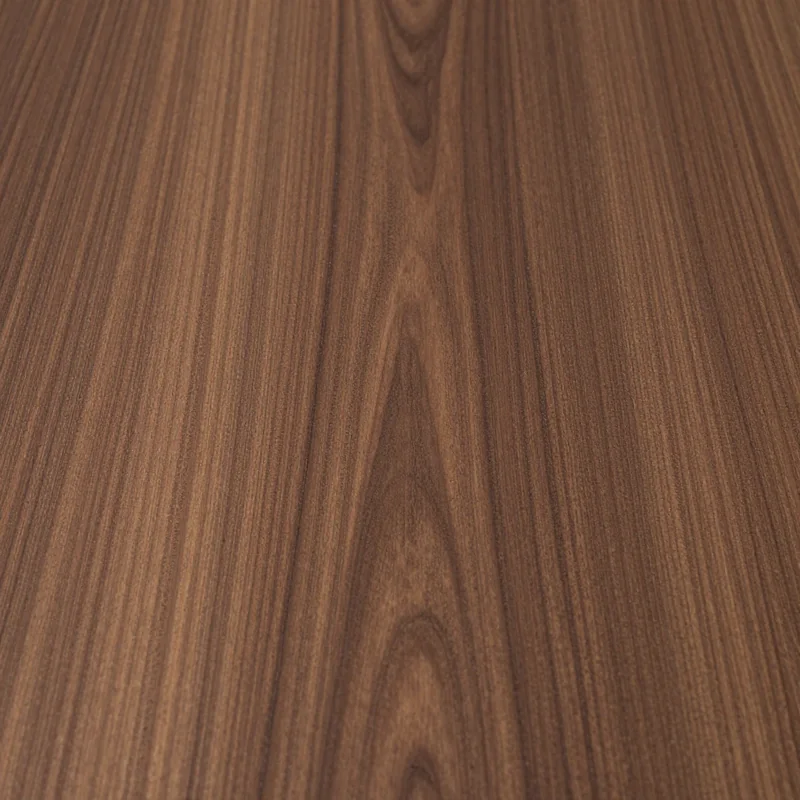
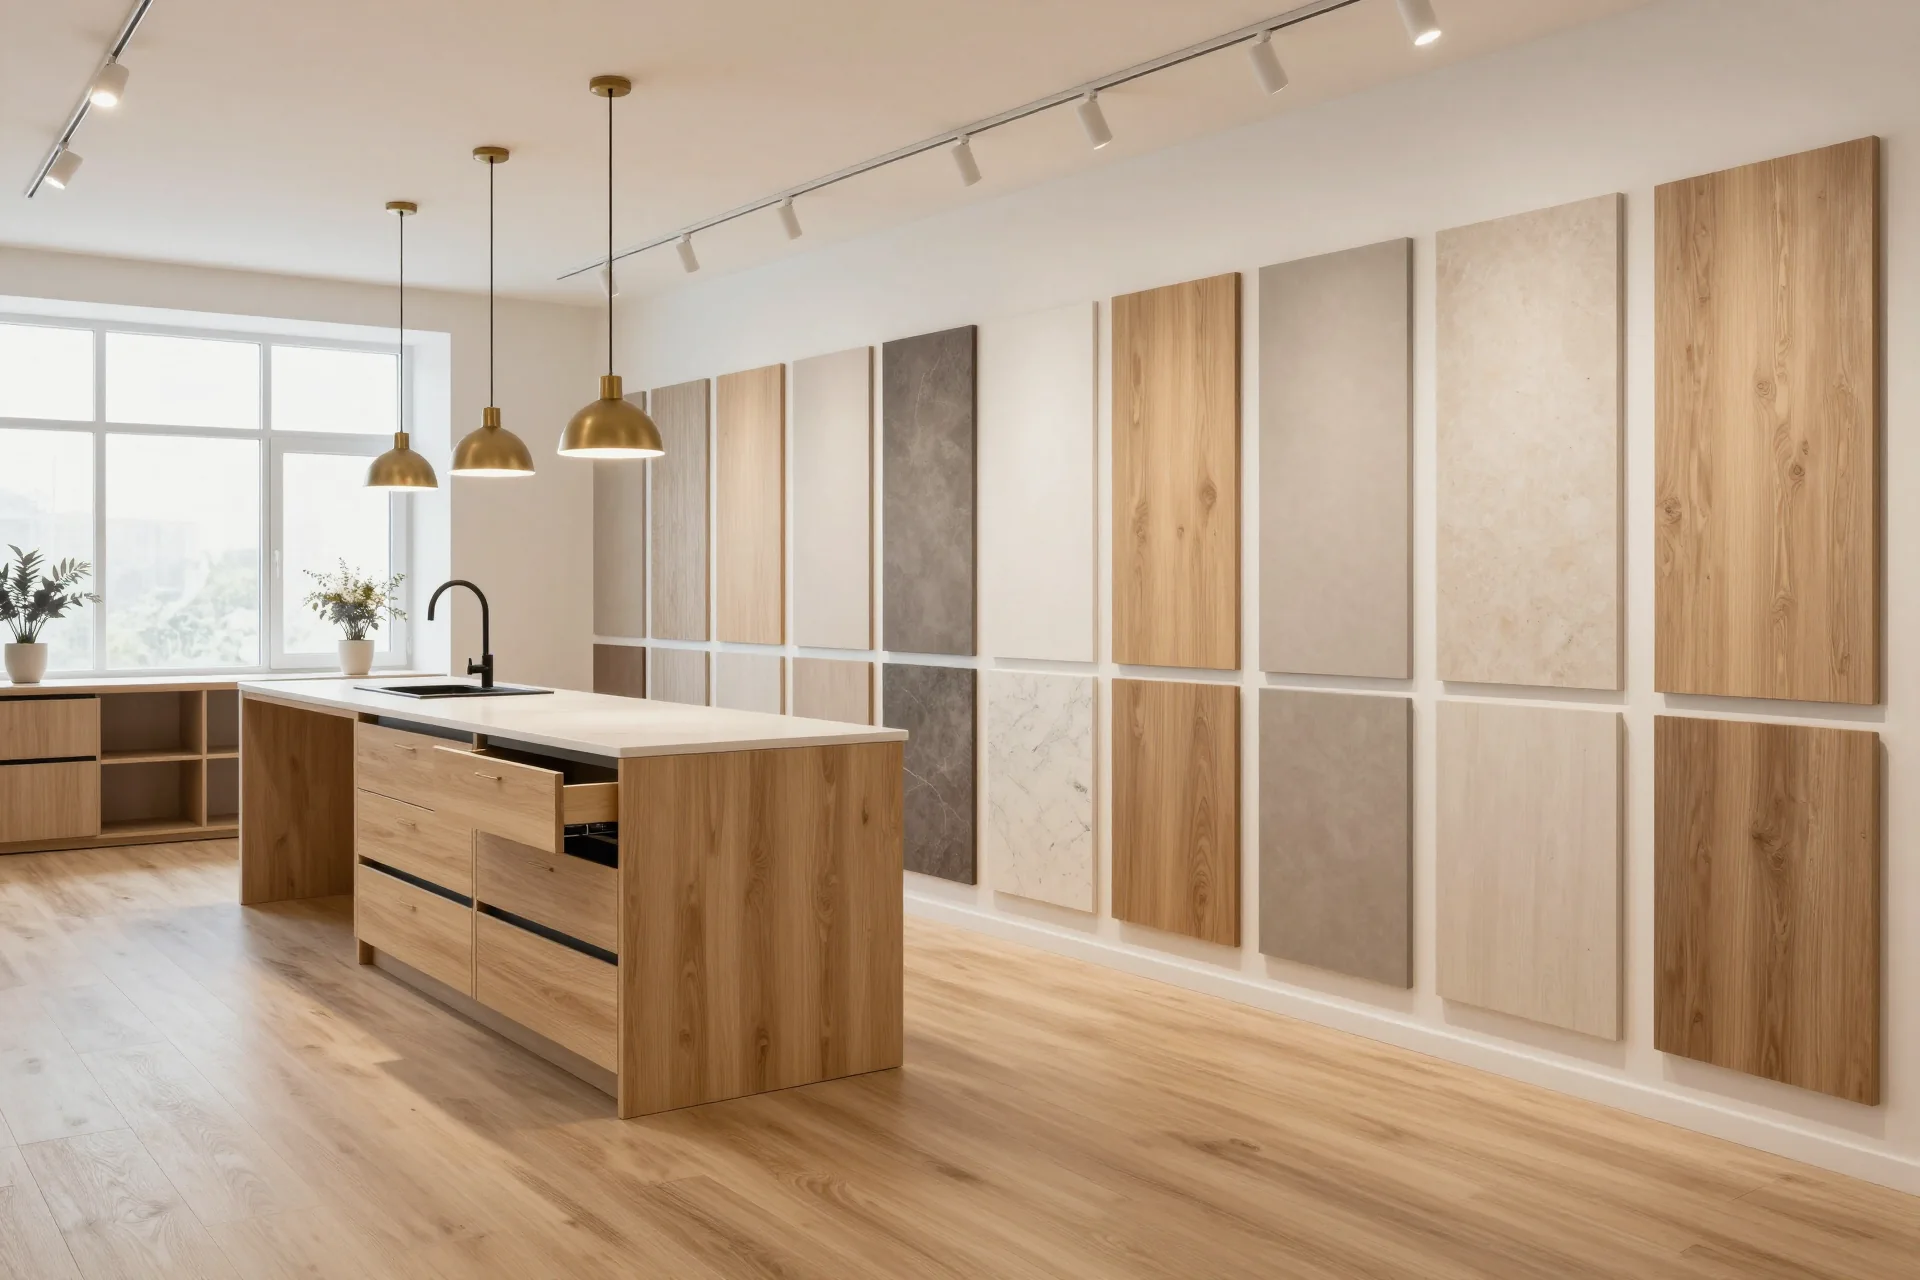
A custom chipboard countertop from MEBLIX is made to your dimensions in our own 600 m² workshop in Almaty: measurement, 3D design in 1–2 days, edge banding, sink cutout and installation by our own crews. We work with Egger and Kronospan boards and give a 24-month warranty on the item under the contract.
The material of the work surface determines how it behaves near the sink and next to hot cookware. We explain how laminated board, moisture-resistant chipboard and fibreboard differ in practice, not in theory.
How laminated chipboard differs from chipboard and MDF
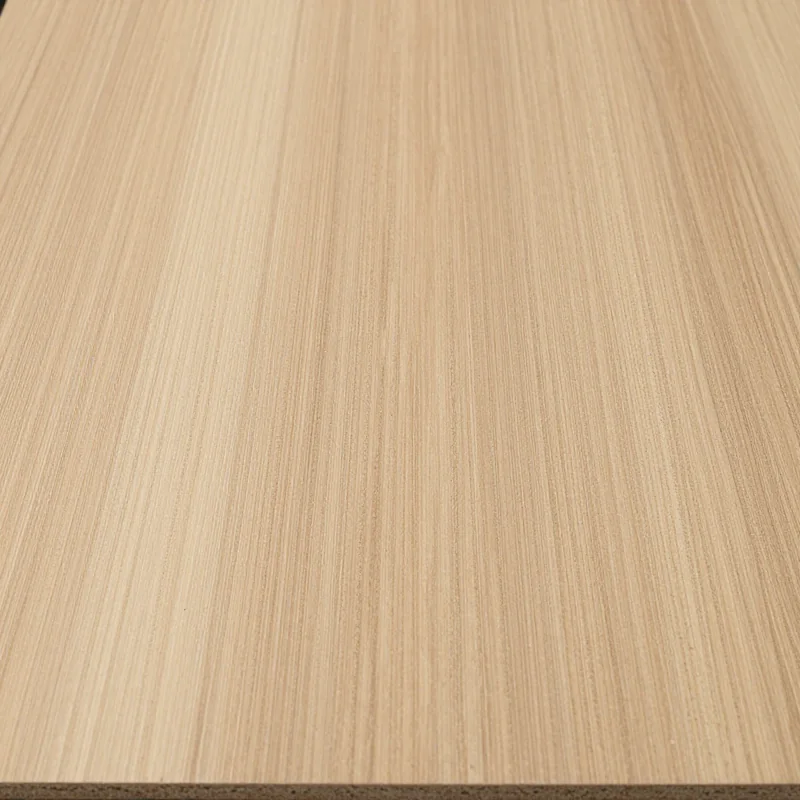
Laminated chipboard is chipboard with a laminating layer on the surface, while MDF is a board made of fine wood fraction that is easier to mill and cover with film. Inside the laminated board is pressed coarse chip, outside is decorative laminate bonded under high pressure. The fibreboard has a finer and denser fraction, so it holds the cutter and shape better: it is used for radiused ends and shaped edges, which would crumble on a chip-based core. In our workshop we work with Egger and Kronospan boards — both manufacturers have laminated and moisture-resistant ranges. Countertop production from chipboard in our workshop always includes mandatory edge protection. Fibreboard is chosen where radii and shaped edges are needed. Laminate resists household dirt and needs no painting, but it is the edge, not the face, that determines how long the board will last by the sink.
What to choose for the sink area and next to heat
By the sink we install moisture-resistant chipboard or fibreboard, and near the hob we offer heat-resistant coatings — ordinary laminated chipboard without protection fears both water and heat. The moisture-resistant range differs from the standard one in its binder composition: the resin absorbs water less, so swelling along the edge is slower. But the material alone does not save you — the sink cutout and the joint at the hob are sealed separately, otherwise water seeps under the board. For the work surface we use Egger and Kronospan boards with dense laminate, for the edge by the hob — coatings that withstand hot cookware without white marks. Even a moisture-resistant board holds moisture only while the edge is intact, so choosing a material without a well-designed edge does not solve the problem at the sink.
Comparison of options by job
board options by kitchen zone and edge finish| Option | Where suitable | Edge protection | Matching facade shade |
|---|
| Laminated chipboard | work surface, dry zones | PVC edge | yes, from the board catalog |
|---|
| Moisture-resistant chipboard | sink area | edge and cutout sealing | yes |
|---|
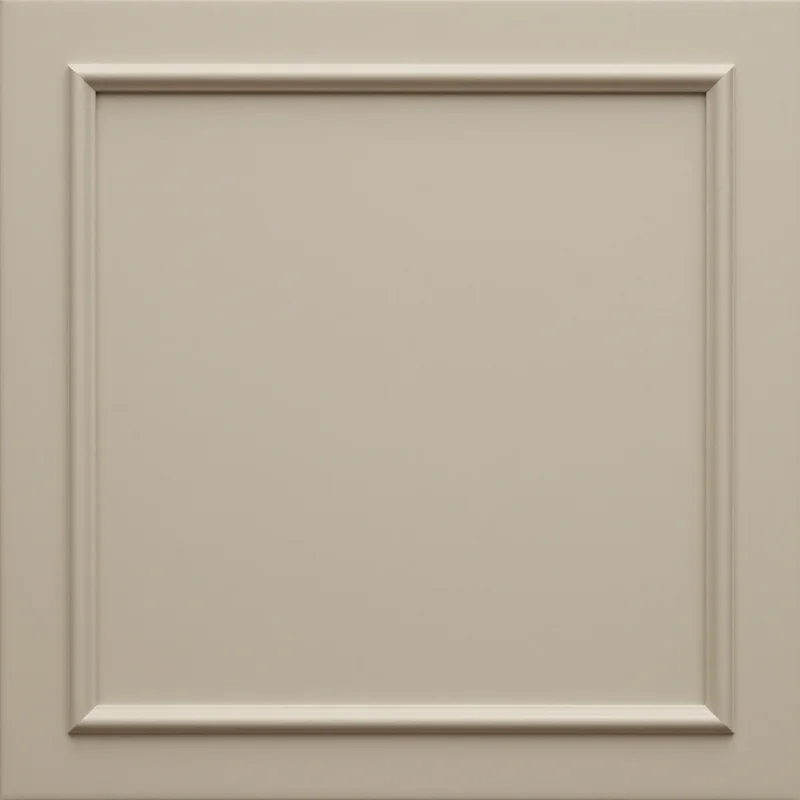
| MDF in PVC film | visible ends, radii | film over the entire edge | yes, to match facades |
|---|
| Painted MDF | non-standard shape | painted edge | by sample |
|---|
Moisture resistance and edge protection of a chipboard countertop at the sink
Swelling starts not from the face but from the open edge where water gets in. We show how edge banding and cutout sealing protect the board in the sink area.
Why a chipboard countertop swells from water
Standard chipboard swells when water gets into the exposed edge and is absorbed into the wood particles — the face laminate itself does not let moisture through. The board gains volume where the water contacts it, the fibres swell, the laminate lifts above the core and cracks along the edge — and that area can no longer be restored by sanding. Moisture-resistant chipboard holds water off longer thanks to the binder in its composition, but its exposed cut without edging still absorbs it. What breaks down fastest is not the surface but the sink cut-out and the joints at the wall, where the edge stays unprotected the longest — which is why, when designing an item, we give sealing these points as much attention as choosing the board. You can spot the process at an early stage by slight swelling near the seam — that is a signal to check the sealant.
How we protect the edge and the sink cut-out
We edge all cut edges in the workshop and seal the sink cut-out so that water does not get into the board even if there is a leak. We do the edging in our own area: the edge runs around the entire perimeter, including the inner contours of the cut-out, with no gaps at the corners. We fill the seam around the bowl with sealant for wet areas and press it along the full length — no gaps are left for water to seep into. Our production includes a test assembly in the workshop: the craftsmen check how the edge holds on the cut and how the cut-out sits before the order is shipped. Sealant needs renewing over time, so during installation we leave access to the seam and recommend checking it whenever the plumbing is replaced.
Moisture-resistant chipboard versus standard
Moisture-resistant chipboard differs in the composition of its binder and absorbs water more slowly, but it does not become fully waterproof. In our work we use Egger and Kronospan boards: in the moisture-resistant ranges the binder keeps the fibres from swelling quickly, while in standard laminated chipboard the same contact with liquid causes noticeable swelling faster. The difference between moisture-resistant and standard board shows up in exactly those minutes, so around the sink how quickly you react to a leak matters more than the material itself: a puddle wiped up in time does less harm to the board than one forgotten under the bowl. The exposed cut of a moisture-resistant range still needs edging, otherwise the binder only delays swelling but does not prevent it. In practice we recommend moisture-resistant board for the sink area and standard board for the rest of the surface, and we protect the edge equally carefully in both cases.
Sagging of a long chipboard countertop and supports
A long countertop without support in the middle sags under the weight of appliances and dishes. We break down board thickness, span length and the load-bearing elements that keep the surface flat for years.
What thickness is needed to prevent sagging
A span of about three metres without an intermediate support requires a board of increased thickness or reinforcement, and thin laminated chipboard will sag even with careful use. A standard panel reliably holds its shape on short sections, where the load falls on closely spaced attachment points to the carcass. On a medium span, thickness is calculated together with the position of the sink and hob — cutouts weaken the panel most of all. Reinforcement with an aluminium profile or a second board underneath adds rigidity where increasing thickness is unprofitable in terms of weight and edge finishing. Thickness works in tandem with the span: the same board on a short section holds its shape for years, while on a long one it requires an intermediate point. If you need a made-to-measure MDF countertop for a non-standard span, thickness and reinforcement are calculated individually for the project. Before cutting, technicians check the panel length against the board's load-bearing capacity — this calculation is built into the project already at the measurement stage.
When supports and a base frame are needed
We install supports or a base frame if the span exceeds what is safe for the chosen thickness, and we select them for the specific kitchen. A concealed metal post in the middle sits behind the fronts and does not obstruct the drawers, while an open base frame suits islands and bar areas where stability from below matters. Our installation crews set the post in the same plane as the carcass — any skew leaves a noticeable gap at the wall. For corner kitchens, the point is shifted into the corner where the two projections of the panel meet. A concealed post in the middle is not visible from outside, but it is exactly what takes the load off the board and extends the service life of the item. When replacing the panel on an already installed kitchen, an additional point can be added without reworking the carcass.
Parameters of a long countertop
summary of thickness and load-bearing elements by span length| Span length | Board thickness | Supports |
|---|
| short section | standard | not required |
|---|
| medium span | standard or reinforced | as calculated |
|---|
| long section | increased | post or base frame |
|---|
| corner shape | by projection | post in the corner |
|---|
Made-to-measure chipboard countertops and non-standard shapes
A ready-made board from stock rarely matches the kitchen in length, angle and cutout. Here is how to order a made-to-measure chipboard countertop to your own dimensions and shape.
How to order a countertop to your own dimensions
We start with a free measurement and a 3D design in 1–2 days, and then manufacture the part to your dimensions in our own workshop. On site, the technician records the length and depth of the future part, the position of the sink, hob and sockets, checks the geometry of the walls, pipe protrusions and the height of the cabinets. Based on this data, the cutting of Egger or Kronospan board is done in our workshop, and we apply and finish the edge in the same production facility. In the 600 m² workshop, the part undergoes a test assembly on the carcass before being sent to the customer. An on-site measurement is more accurate than any dimensions "from memory", because it takes into account the real walls and the position of utilities. If the kitchen is already assembled, the technician additionally checks the height of the cabinets and verifies whether the supports under the old panel have sagged.
Corner countertops and sink cutouts
We make corner countertops and cutouts for the sink and hob according to the project so that the joint and the cutout match the kitchen carcass. For an L-shaped configuration, the technician calculates the joint line of the two planes and the connection method — a tie or a strip — and marks the cutout according to the dimensions of the specific sink model with an allowance for fasteners. We drill the hole for the mixer and the panel after cutting, on the finished part, so as not to disturb the geometry or damage the edge. We seal the end of the cutout with a moisture-resistant edge and sealant; otherwise, the laminated chipboard near the sink swells from the first leaks. It is better to include the corner and cutout in the project before cutting — reworking a finished part costs more than accurate calculation at the start.
Can I order just the countertop
We can manufacture just the countertop if the kitchen is already installed, and we work as a direct manufacturer without intermediaries. The measurement specialist visits the site, takes dimensions along the carcass, and checks whether the cabinets are level — this data is used to build the 3D project. The part is cut and edged in our workshop, and our own teams handle the installation: they remove the old slab, install the new one, and adjust it on site. Payment follows a 50% prepayment and 50% after signing the acceptance certificate; lead times for this option are in the price list on this page. When replacing a single countertop, the most important thing is to take accurate on-site measurements rather than relying on the old part — the carcass may have shrunk over time.
Uneven walls and jointing without gaps
Walls are almost never perfectly flat, and the gap between the countertop and the wall is immediately visible. We show how measurement and on-site fitting eliminate gaps.
Why a gap appears at the wall
A gap appears when the item is made to nominal dimensions while the actual wall deviates from the plane — then the gap is visible along the entire length. A deviation of one centimeter over three meters creates a noticeable strip that no edge can hide. The reason is not the material or the board, but that the drawing was taken from the project, not from the actual site. Even in new buildings, the room's geometry deviates from a rectangle, let alone in older homes. Accurate measurement records every irregularity, and based on this data, the blank is cut with an allowance on the side that adjoins the wall. The price of a chipboard countertop depends on the cutting and the allowance reserved for fitting. A small gap at the wall is often covered with a skirting or wall profile, but this only works with accurate measurement.
How we fit the countertop on site
We take on-site measurements and fit the item during installation so that it sits without gaps even with an uneven wall. Measurement specialists survey the room point by point: they check the wall plane, mark protrusions and slopes, and measure the junctions at the sink and the hob. Based on this data, the blank gets an allowance in length on the side where adjustment is possible. Installation teams bring the finished part and finalize the junction on site — they remove excess material and set the edge along the actual wall line. In our workshop, such blanks are cut with an allowance because on-site adjustment is cheaper than reworking a finished item. On-site fitting requires a free allowance, so the blank is cut with possible on-site adjustment in mind.
How the order works from measurement to installation
We handle the order from the free measurement and 3D design through to the control assembly in the workshop and installation by our own teams, and the prices for each option are in the price list on this page. Measurement and 3D design take 1–2 days, after which the blank goes to cutting and edge banding in a 600 m² workshop. Egger and Kronospan boards are cut in the workshop, the edge is applied along the contour, and the finished item is sent for control assembly. Before dispatch, the part is reassembled to catch any discrepancy before the team goes to the site. Installation is carried out by our teams, and we sign the acceptance certificate after installation. Control assembly in the workshop before dispatch lets us catch a discrepancy before the team goes to the site, not after installation.
The bottom line on particle board and MDF countertops
The countertop holds the kitchen together: it determines where the sink goes, where the seam runs, and whether the board can bear the weight of the dishes. We have gathered what most often decides the fate of an order.
- Material for the zone: a moisture-resistant board is used by the sink, and on visible ends — film-wrapped MDF in the colour of the fronts, not a bare cut.
- The edge matters more than the face: swelling starts at an open edge, so sealing the cutout and the ends matters more than the decorative coating.
- Span and support: a long work surface without a support in the middle sags, and the thickness is chosen for the specific length, not by eye.
- Design before cutting: your own dimensions, the corner shape and the cutout are set out in the drawing in advance — a finished board cannot be reworked.
- Walls and fitting: unevenness is dealt with by precise measurement and on-site fitting, not by trimming a finished item from stock.