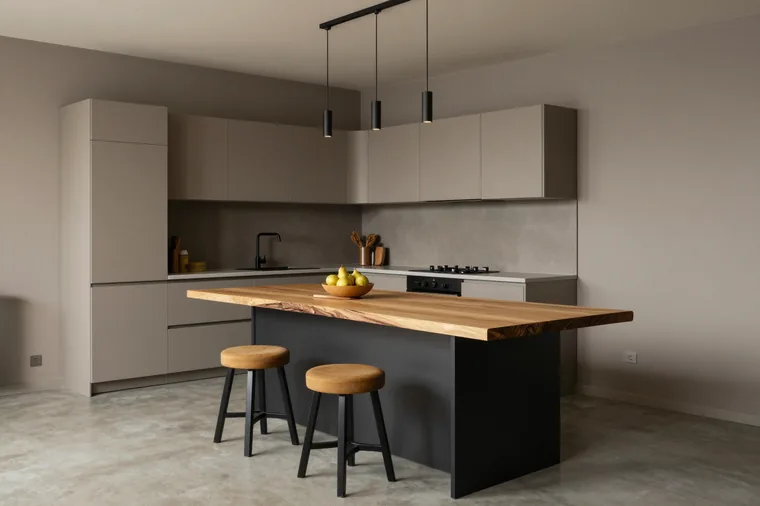
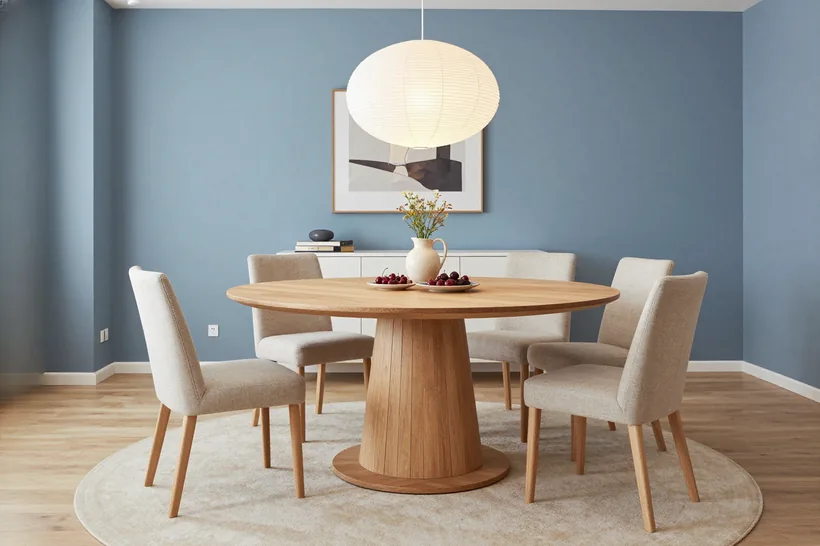
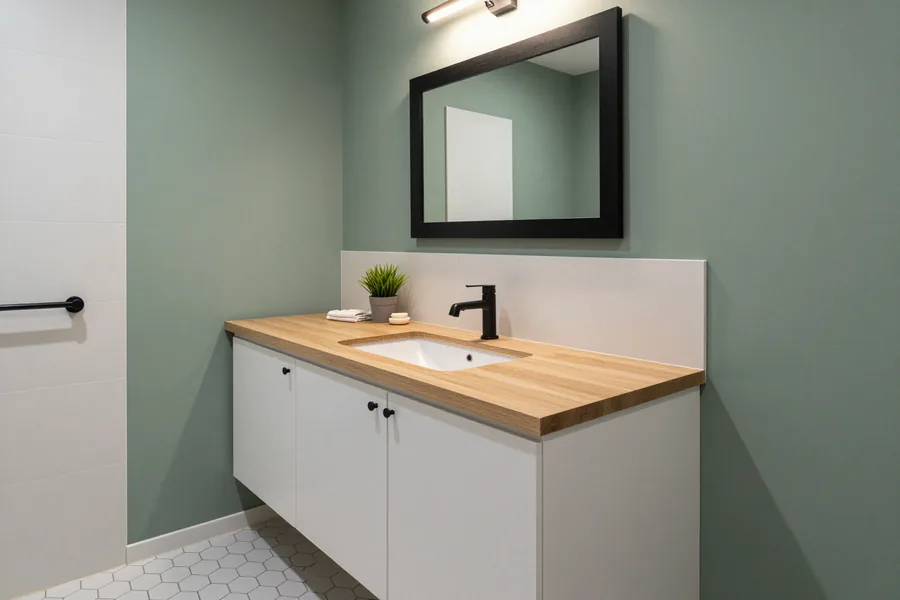
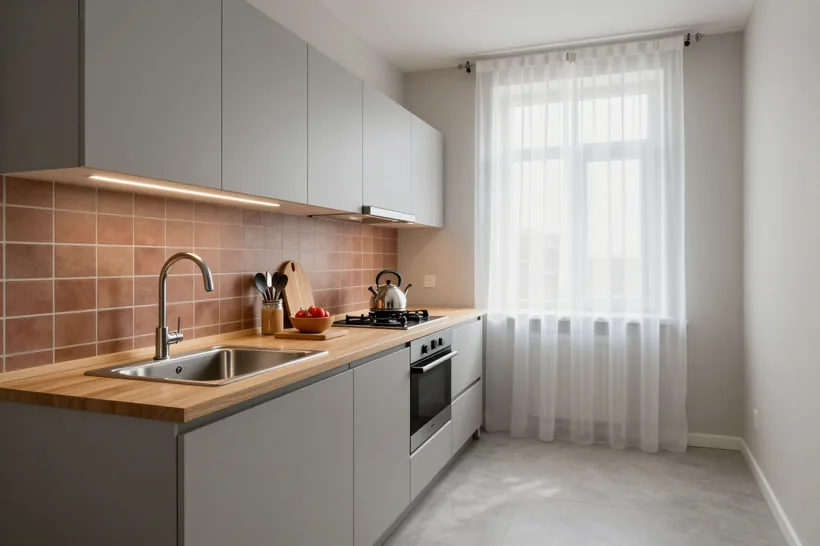
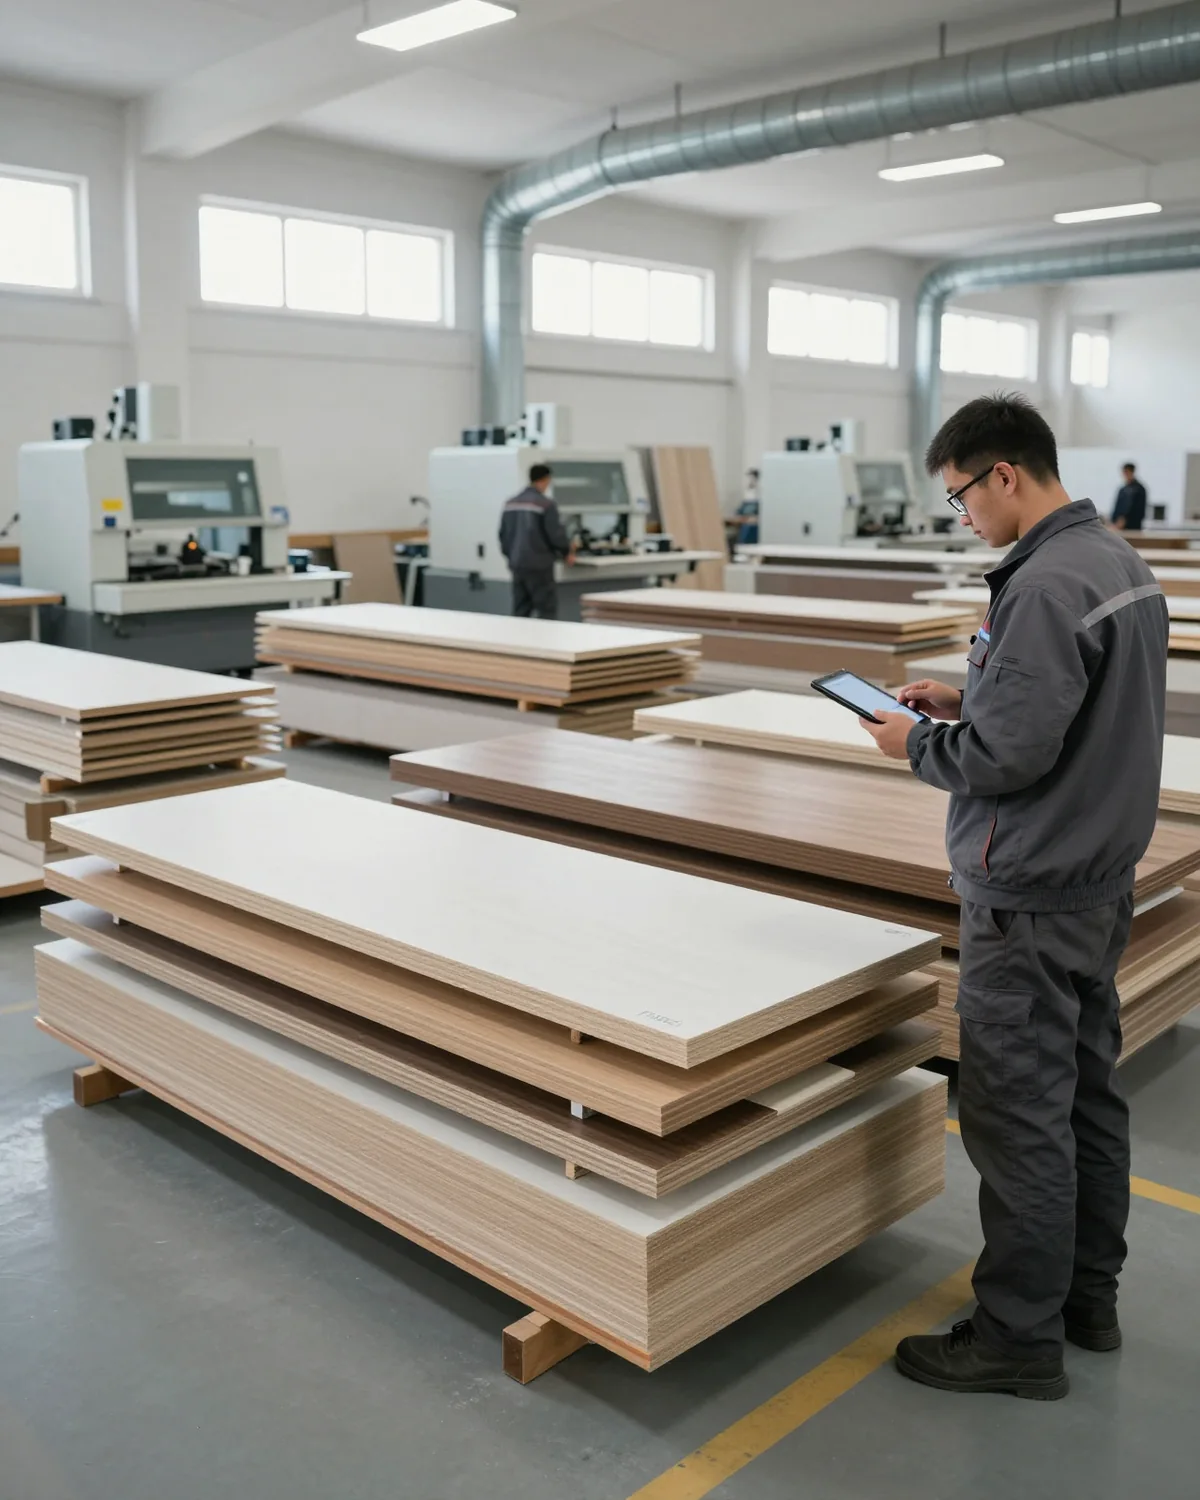
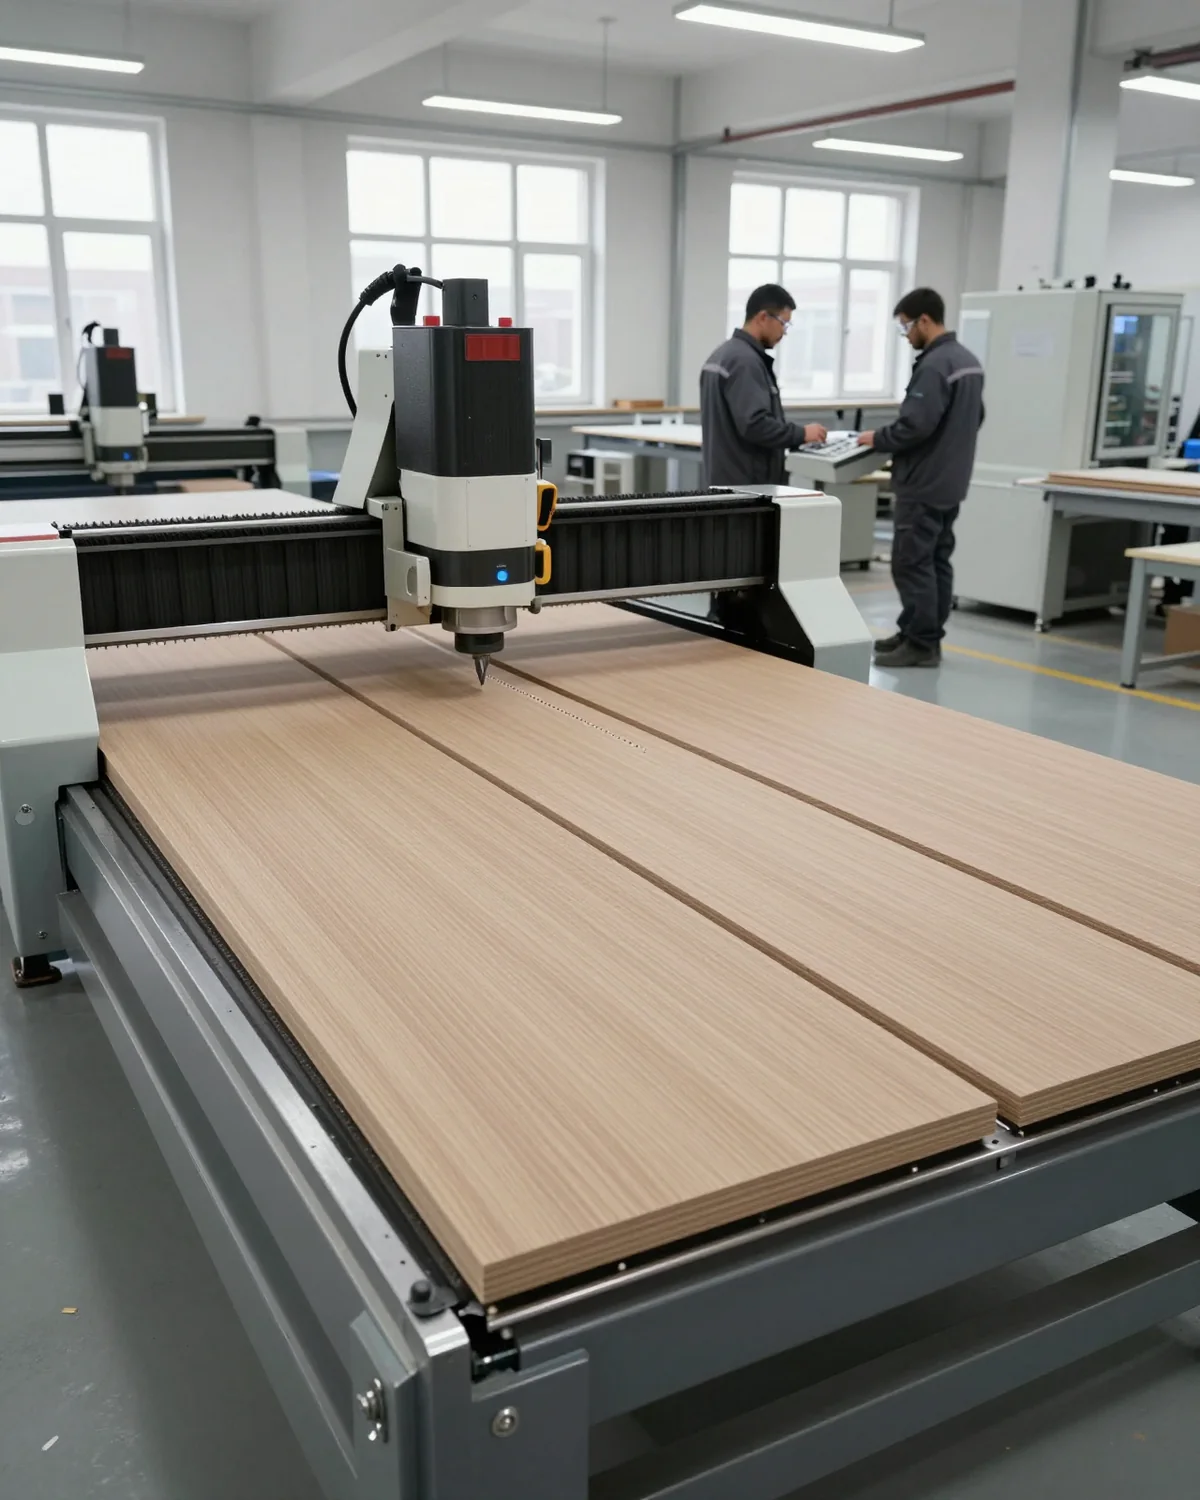
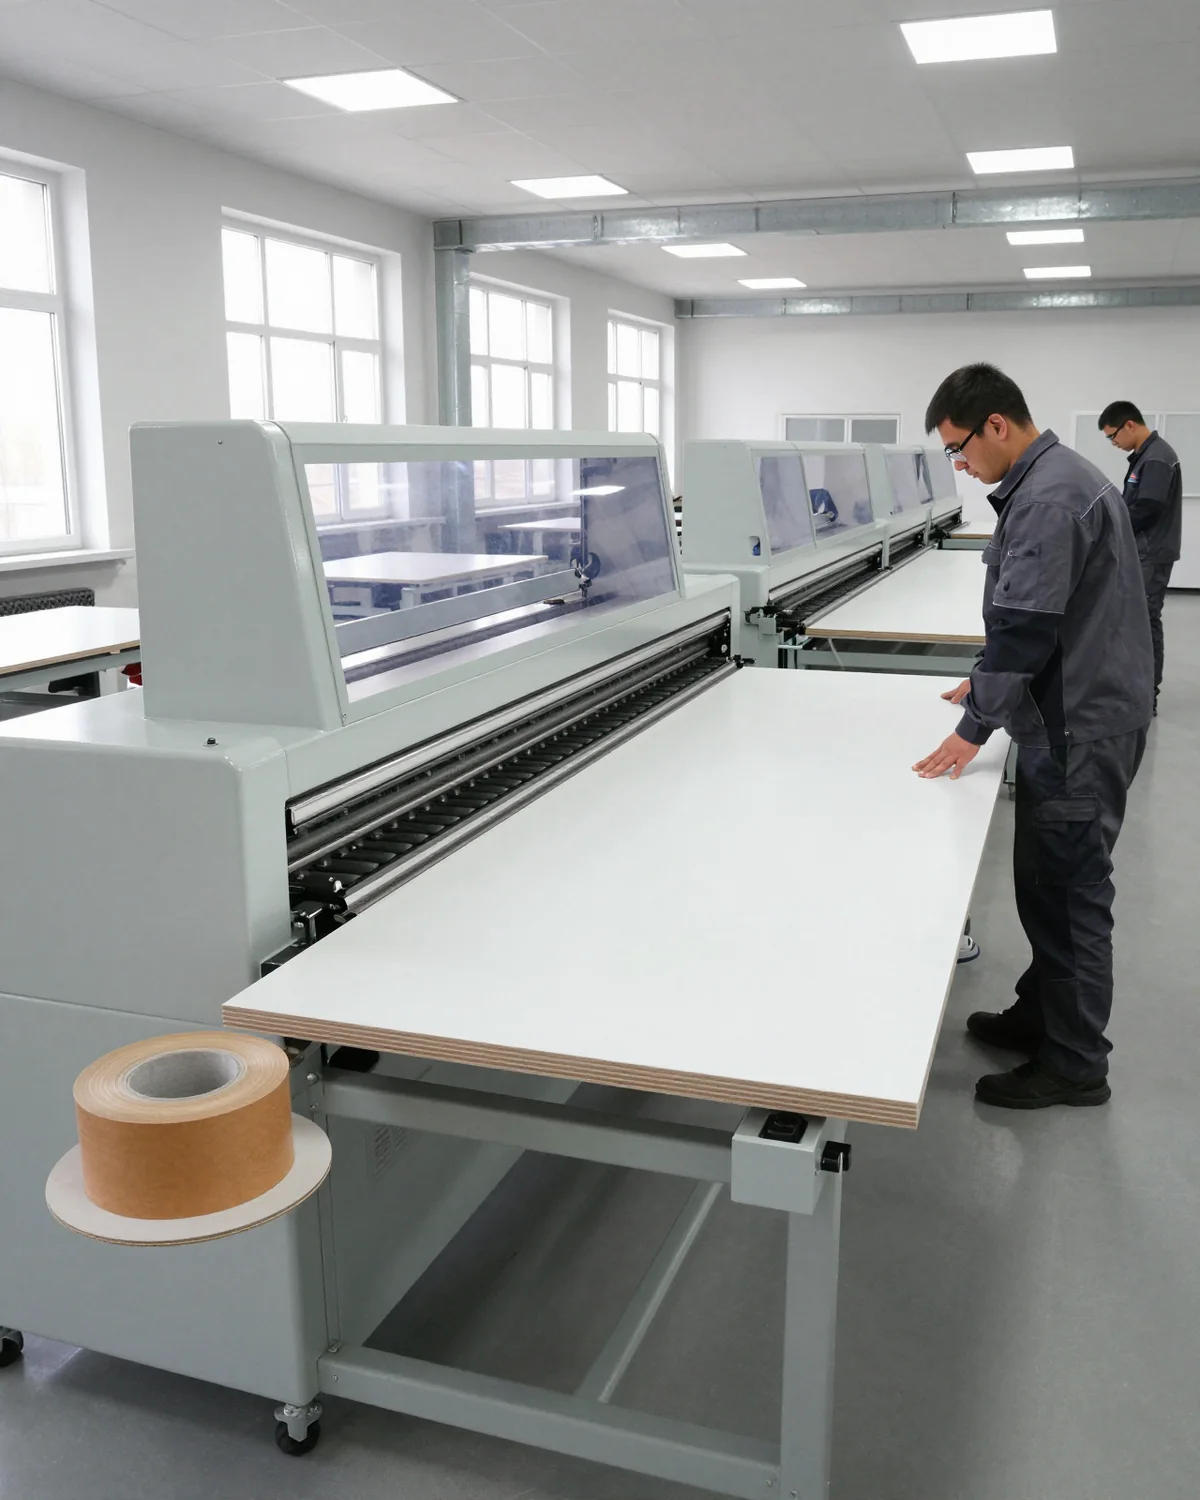
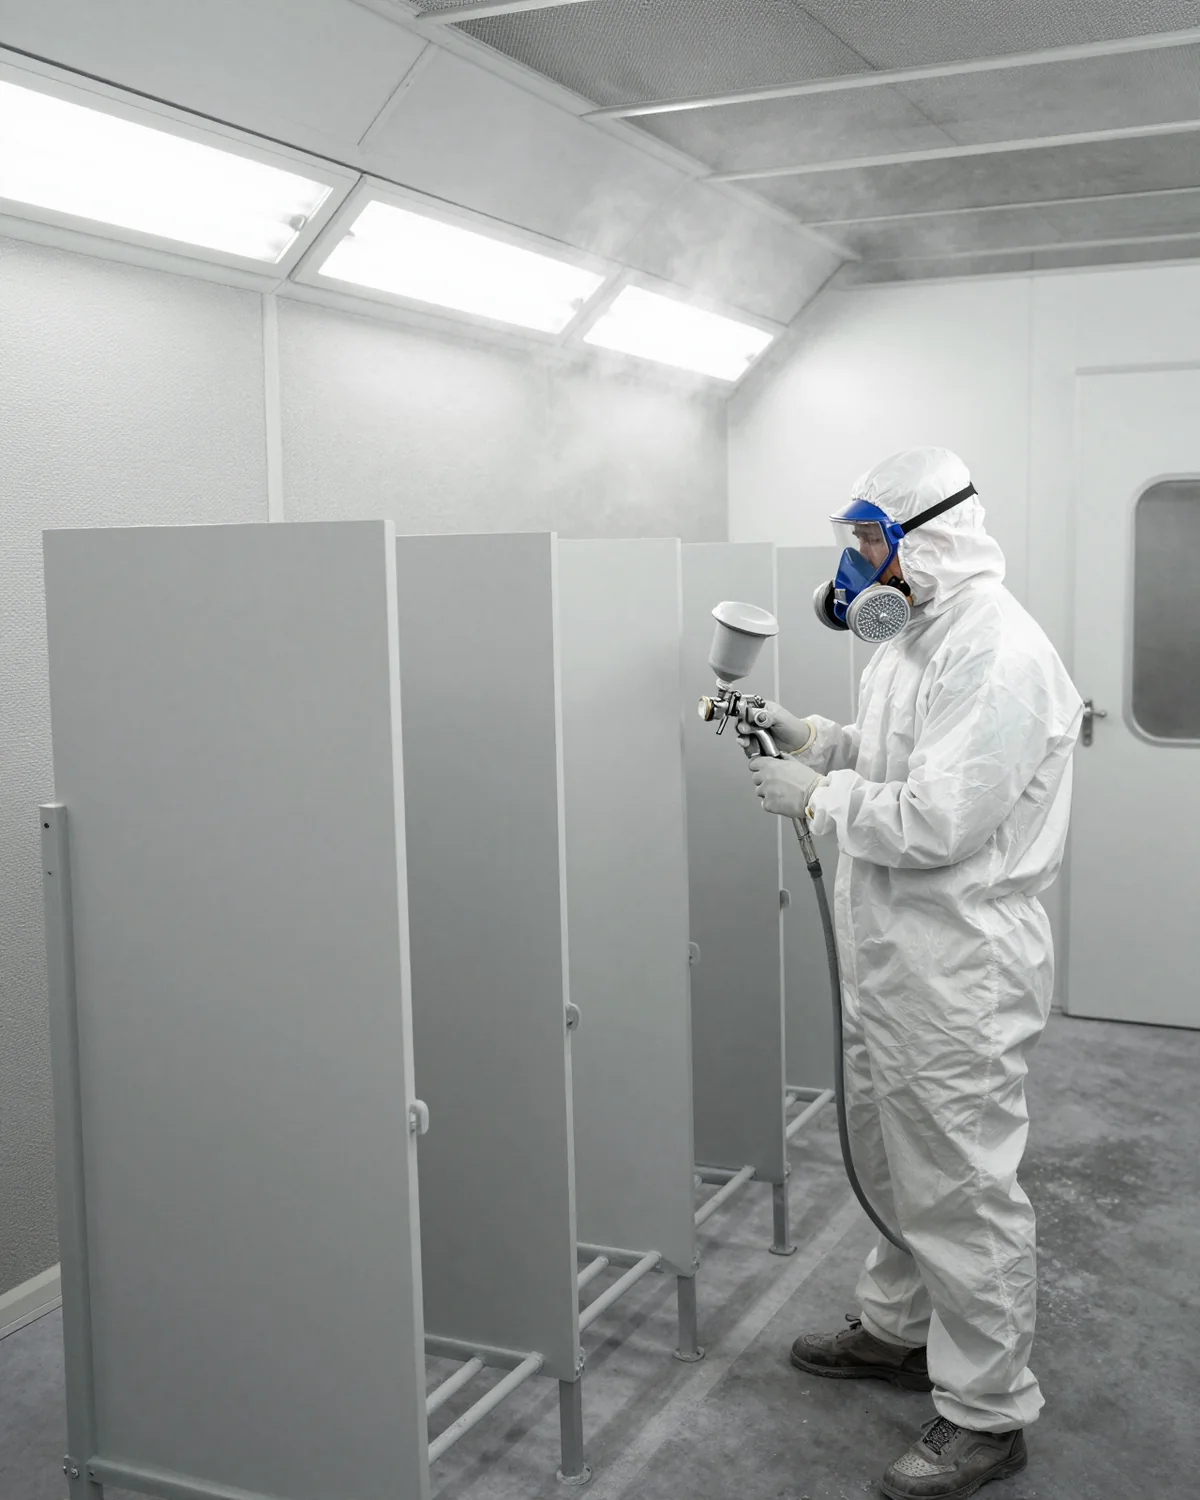
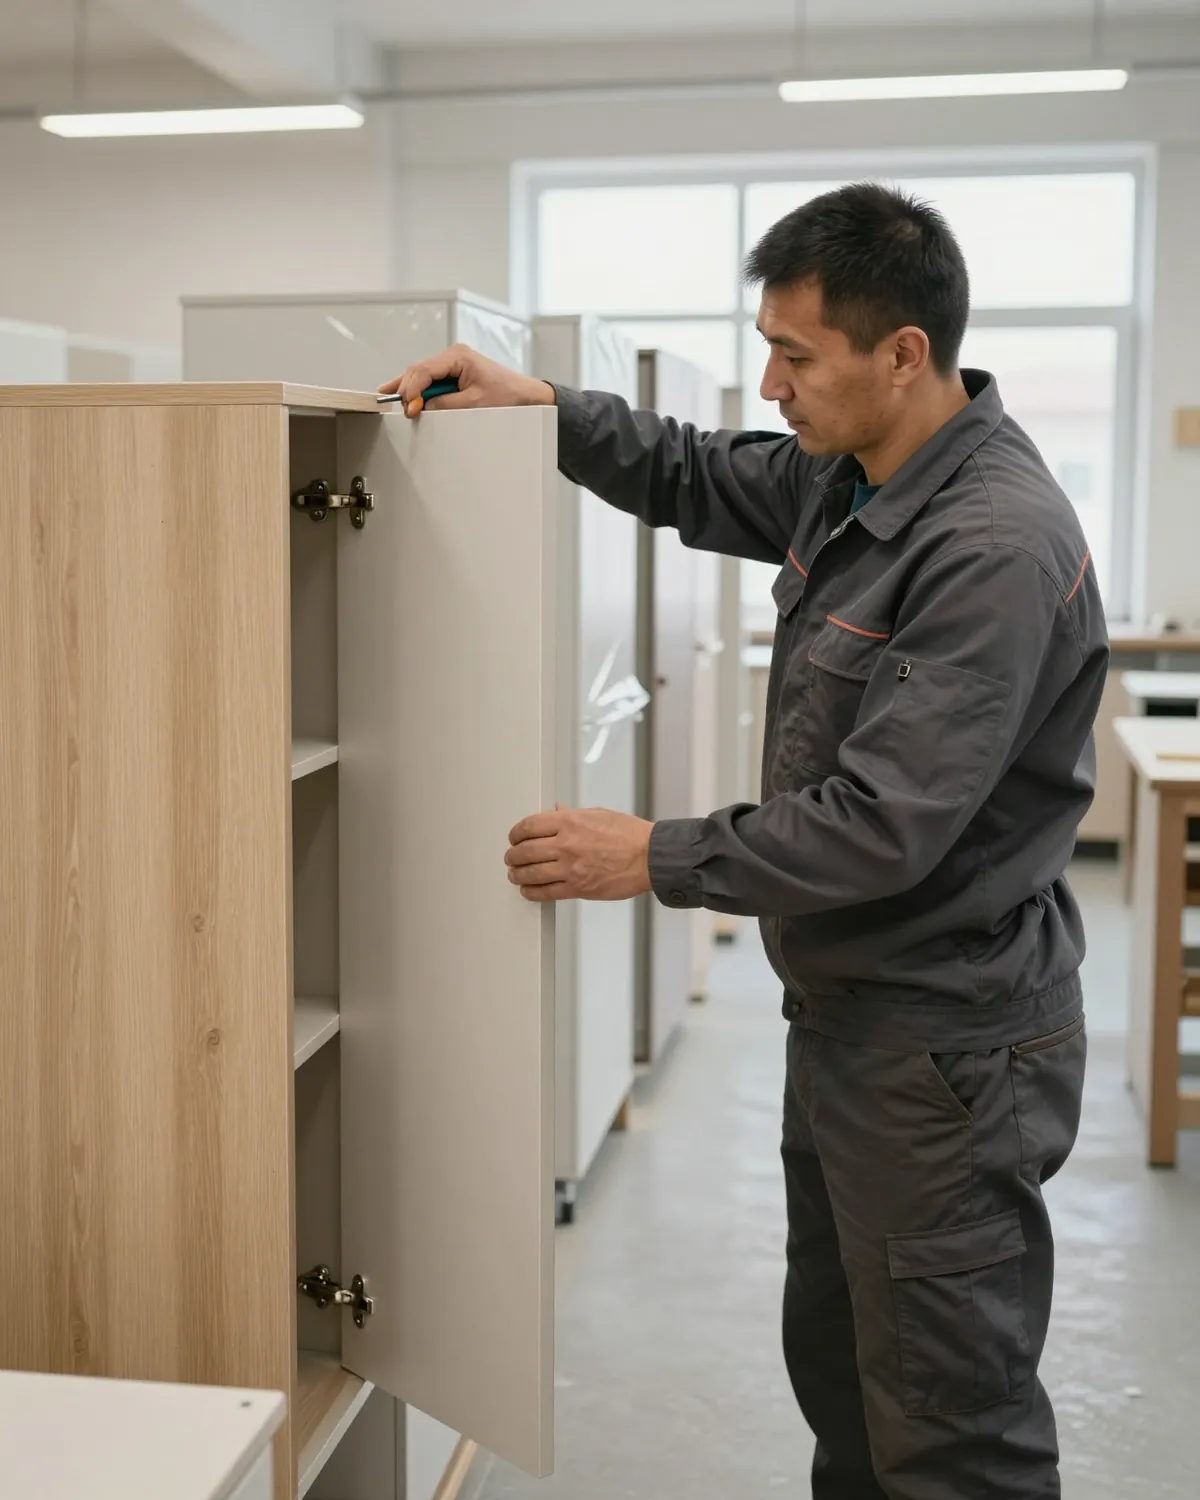
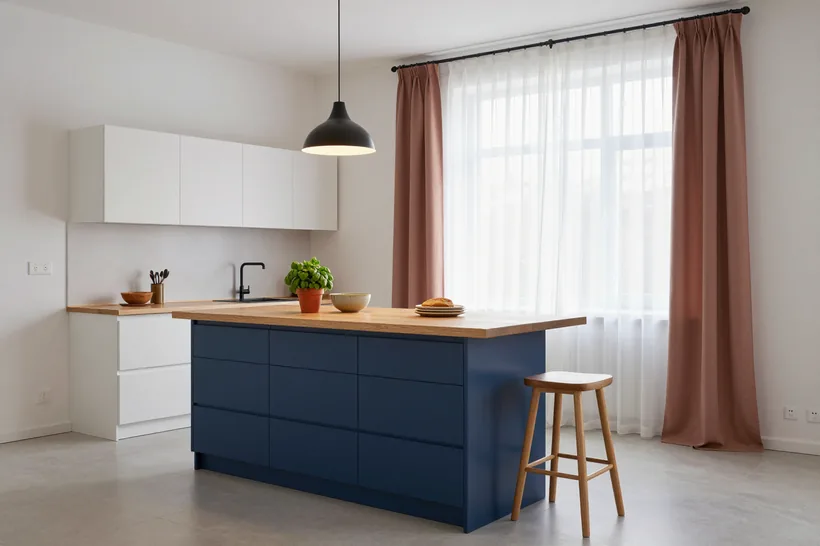
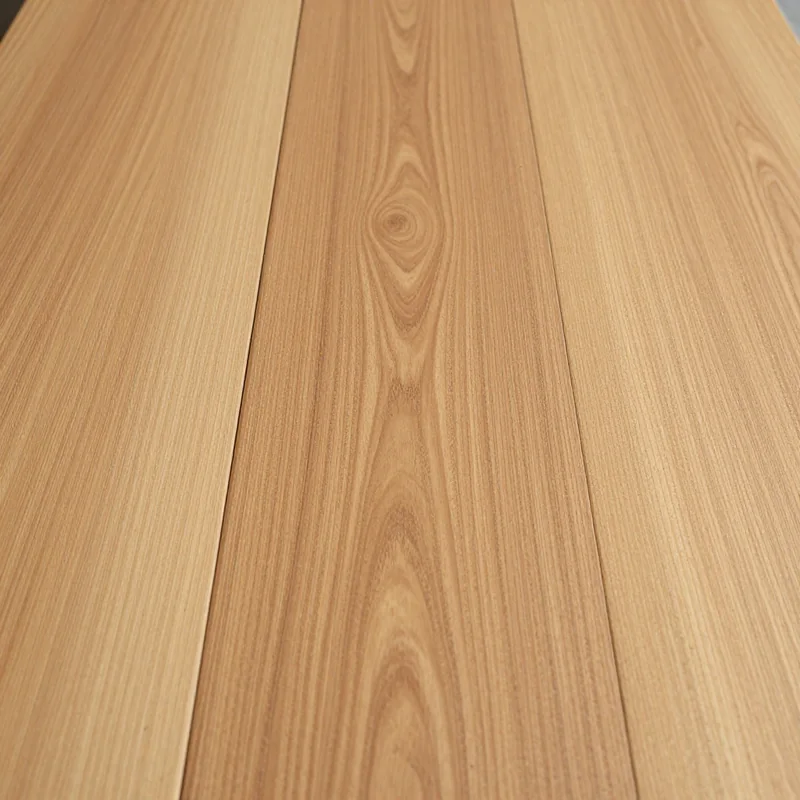
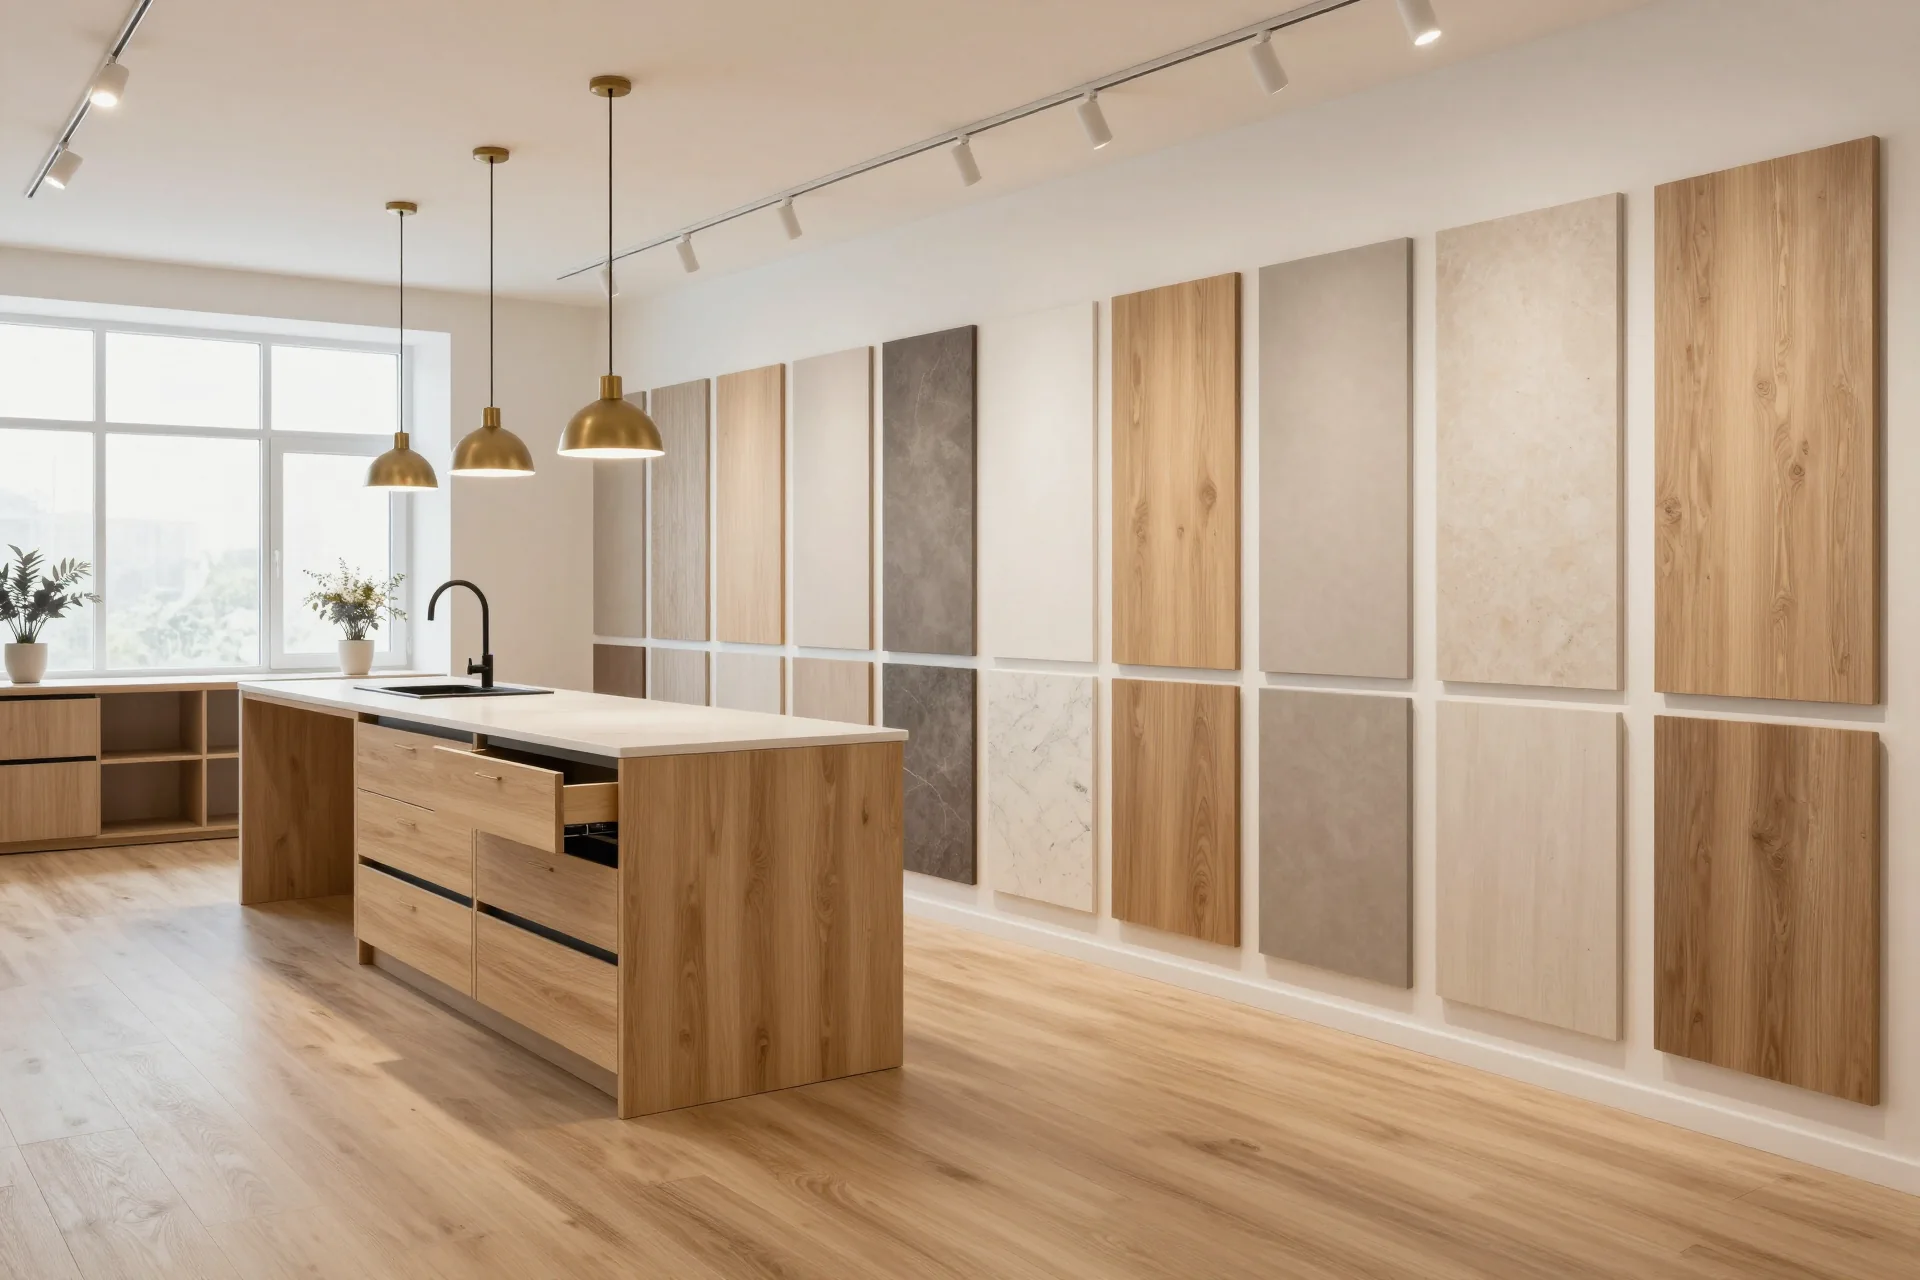
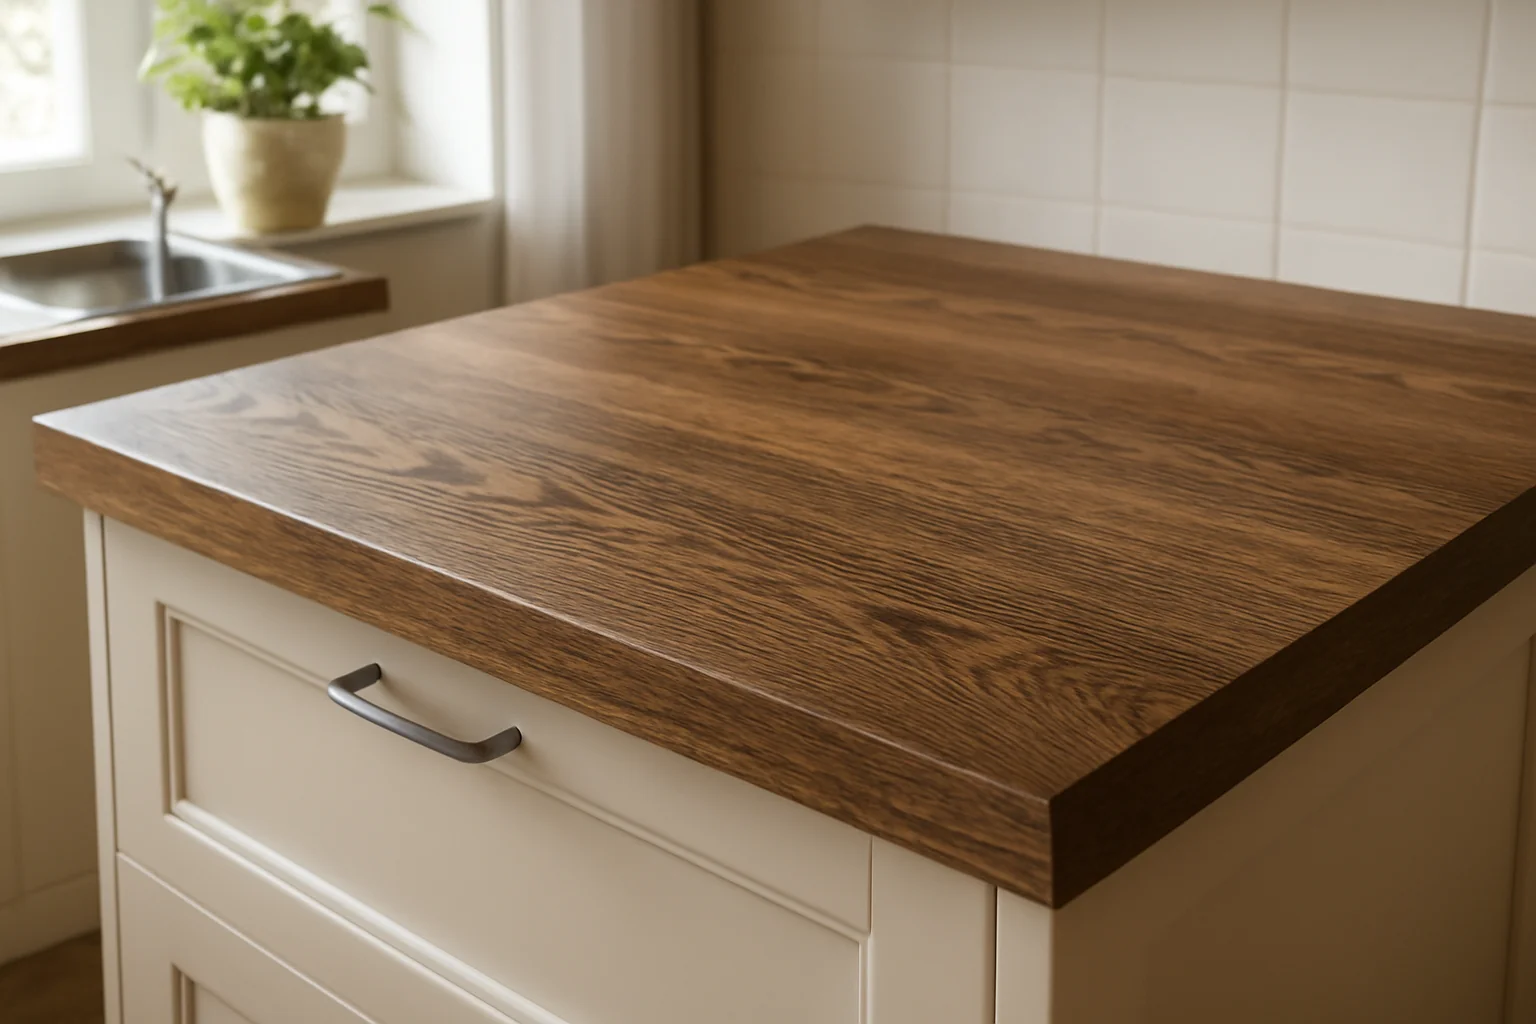
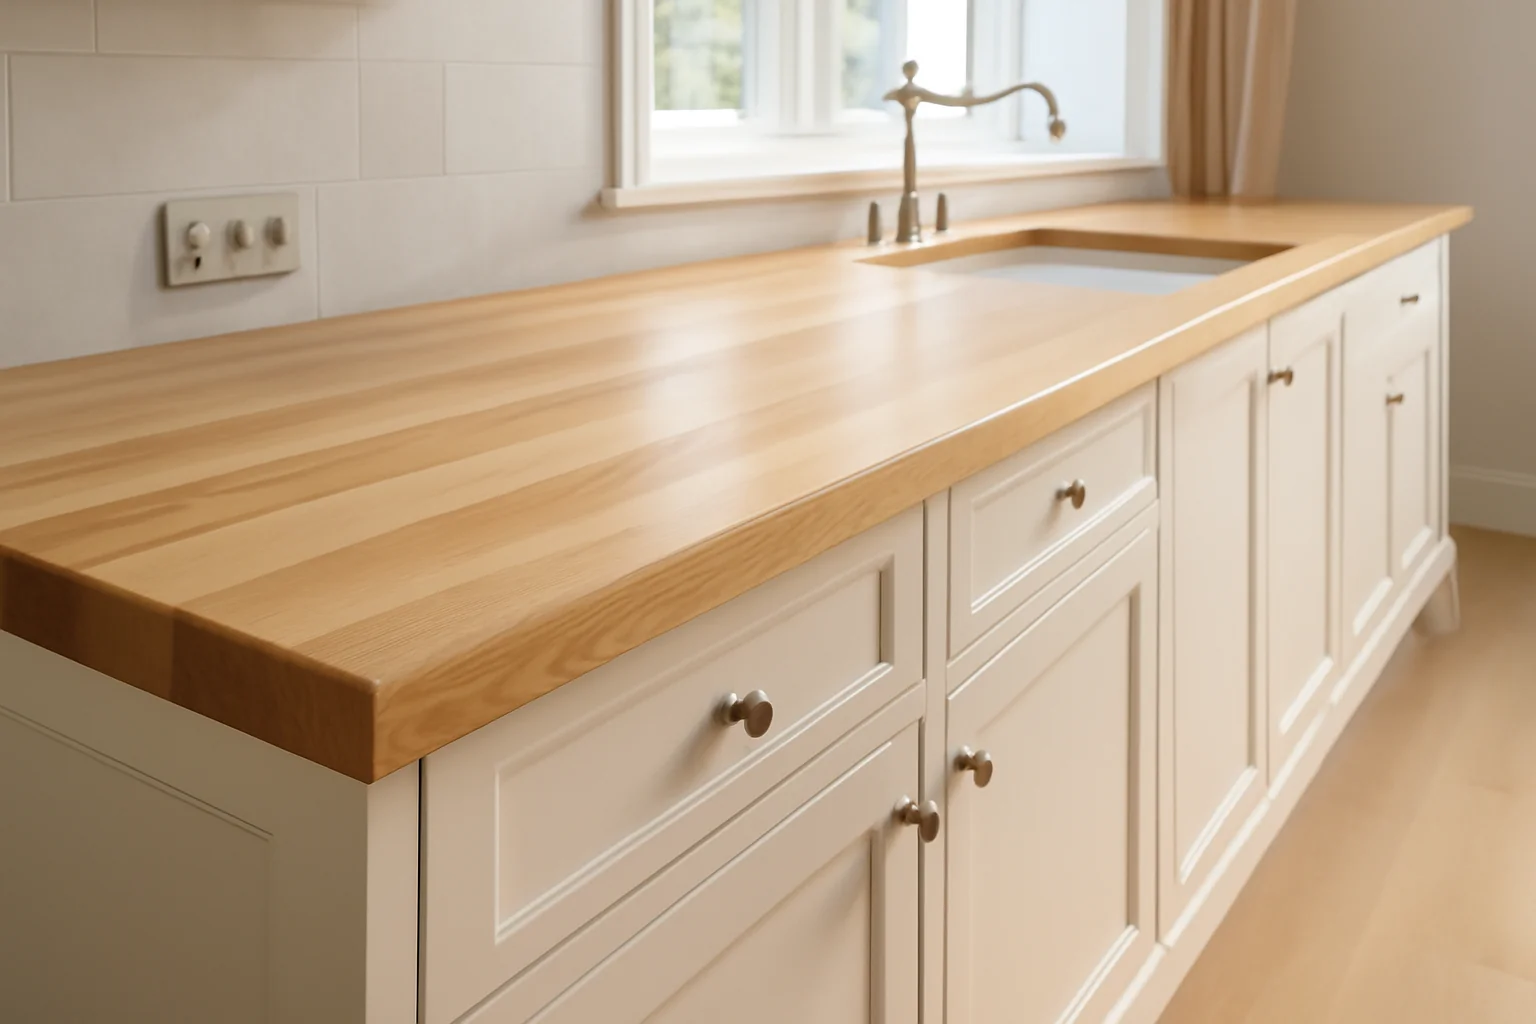
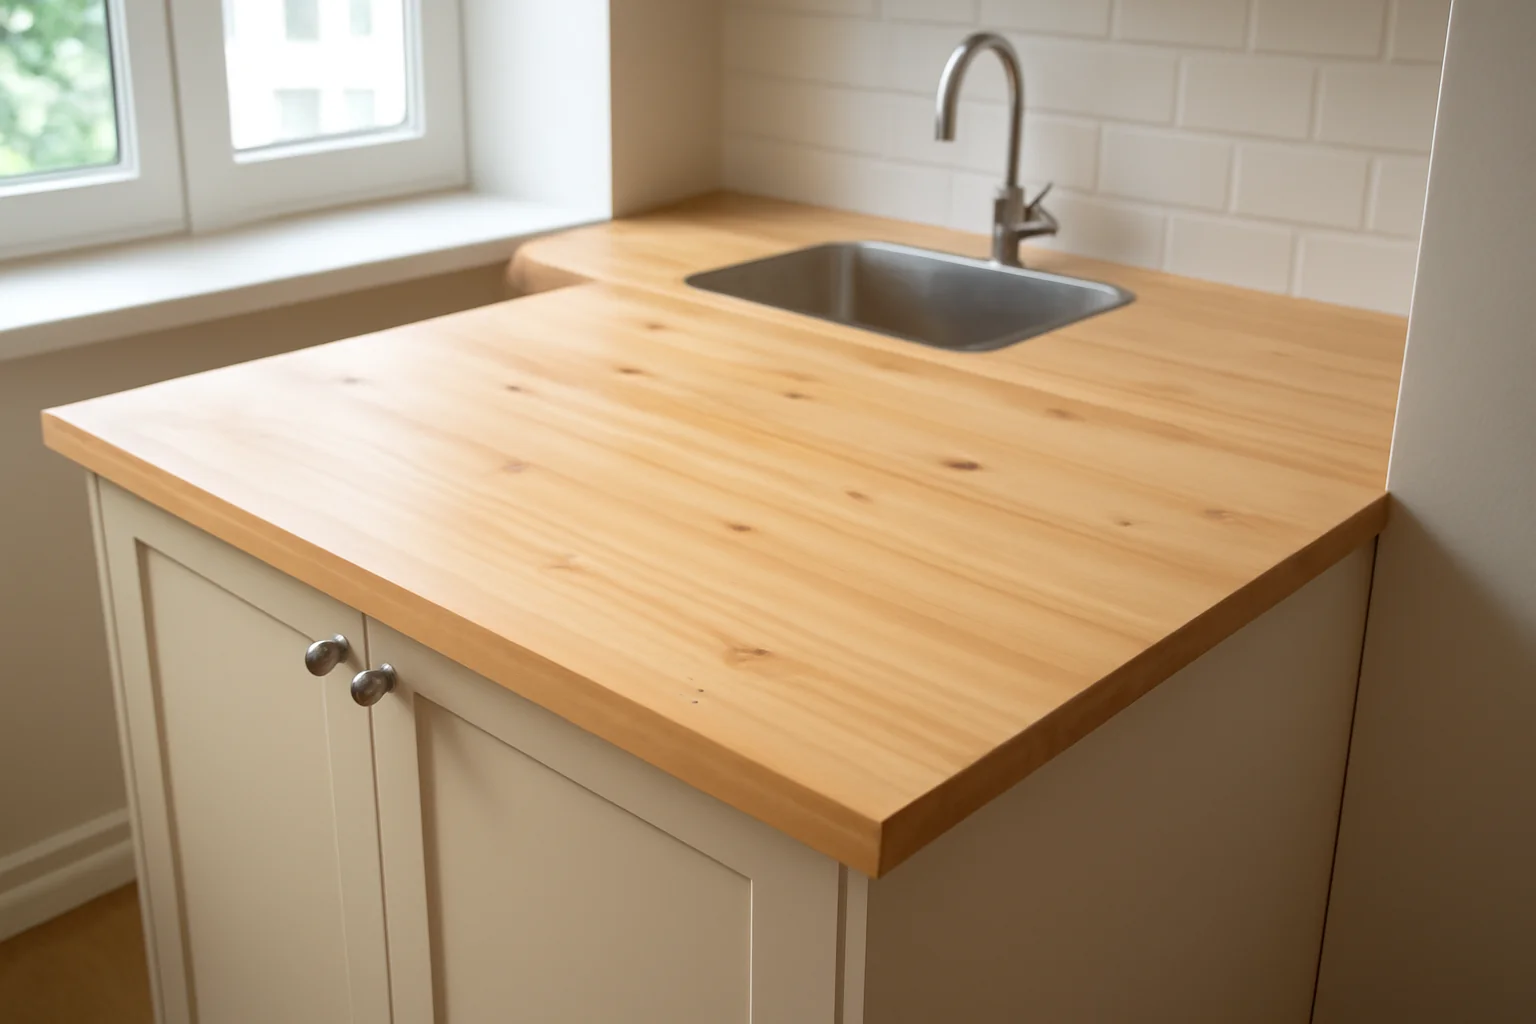
Custom wooden countertop in Almaty — MEBLIX's specialty: our own 600 m² workshop, production of kitchen and bar models and under-sink countertops from solid wood, glued timber and slabs. Services include measurement, 3D design and installation by our own crews. 24-month warranty on the item under contract.
How a countertop behaves in the kitchen and bathroom depends on two things: how the blank is assembled and which species it is made from. We break down the construction and species for different tasks.
How solid wood differs from glued timber and slab
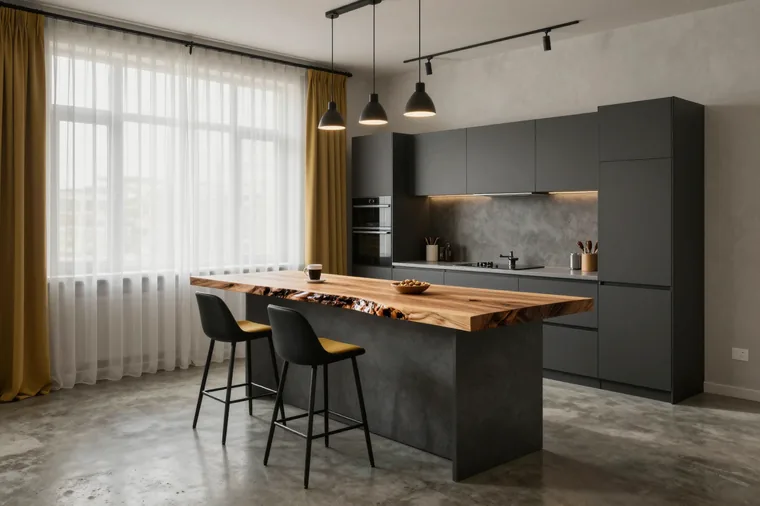
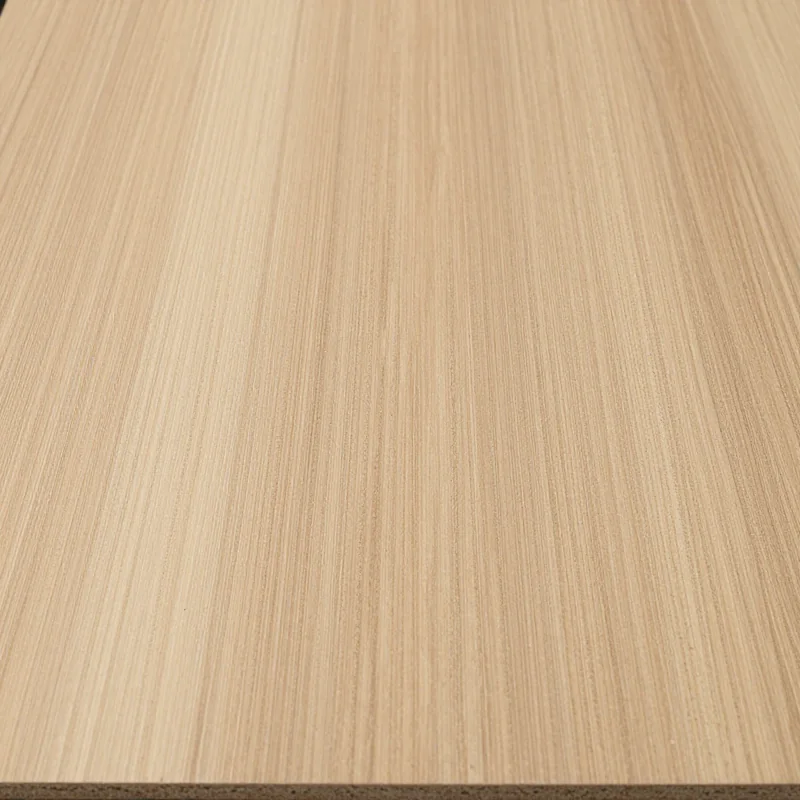
Solid wood is a single piece of timber, glued timber is a panel of glued lamellas, and a slab is a cut with a live edge. Each option reacts differently to moisture and load: a single piece pulls the whole plane as it dries, a slab with an uneven edge needs a rigid frame, and a panel behaves more predictably. In glued timber the lamellas are laid with the grain running in different directions, so internal stress is distributed across the whole board rather than concentrated at one point. A slab gives the most expressive pattern, but its edge and back side must be stabilized, otherwise the cut will warp. Glued timber warps less when humidity changes precisely because of the cross-gluing — this is critical near the sink and dishwasher, where wood absorbs steam and water most often.
Which species suits the kitchen, bathroom and bar counter
species and the tasks they suit| Species | Task | Behavioral feature |
|---|
| Oak | Kitchen, bathroom, counter | Dense, resistant to moisture and impacts |
|---|
| Walnut | Dark interior, counter | Deep tone, softer than oak |
|---|
| Ash | Light kitchen, table | Pronounced pattern, light tone |
|---|
| Elm | Live-edge slab | Durable, beautiful cut |
|---|
| Beech | Table, work area | Uniform texture, sensitive to moisture |
|---|
Walnut countertop and other species for a dark interior
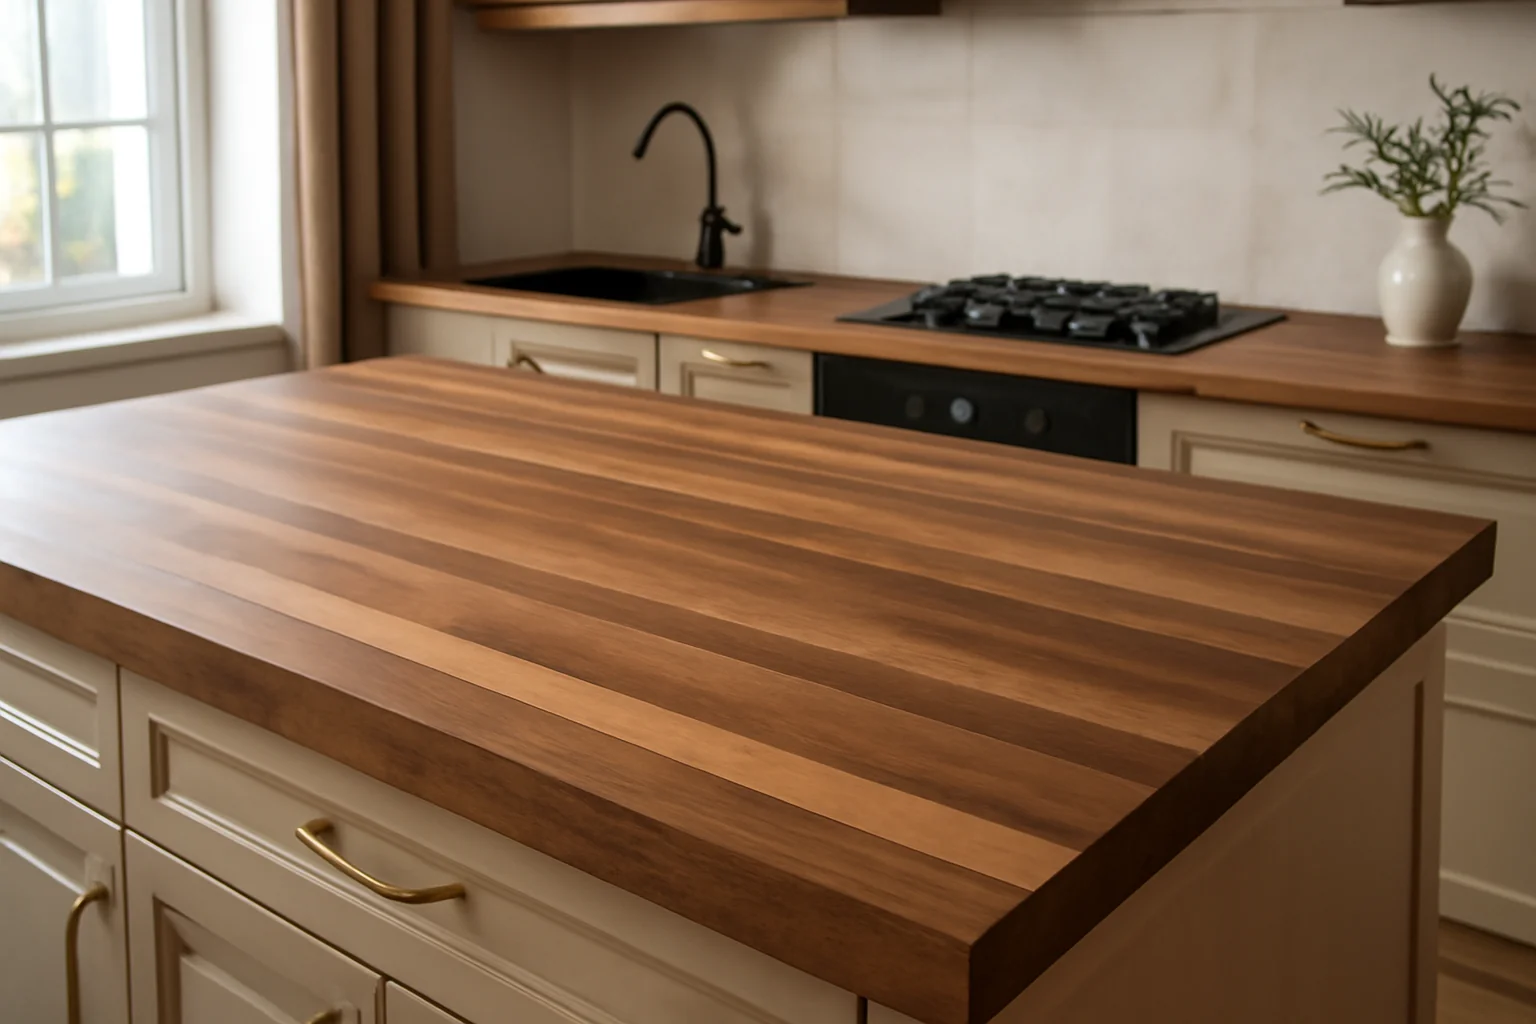
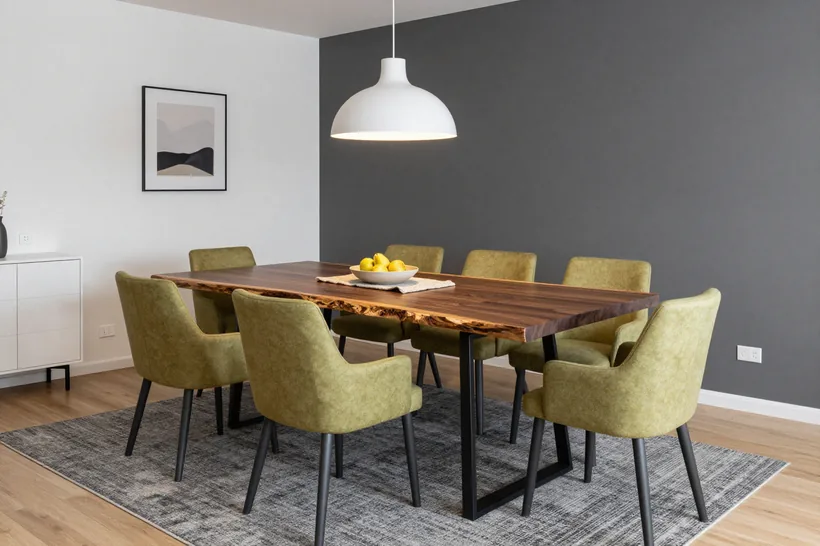
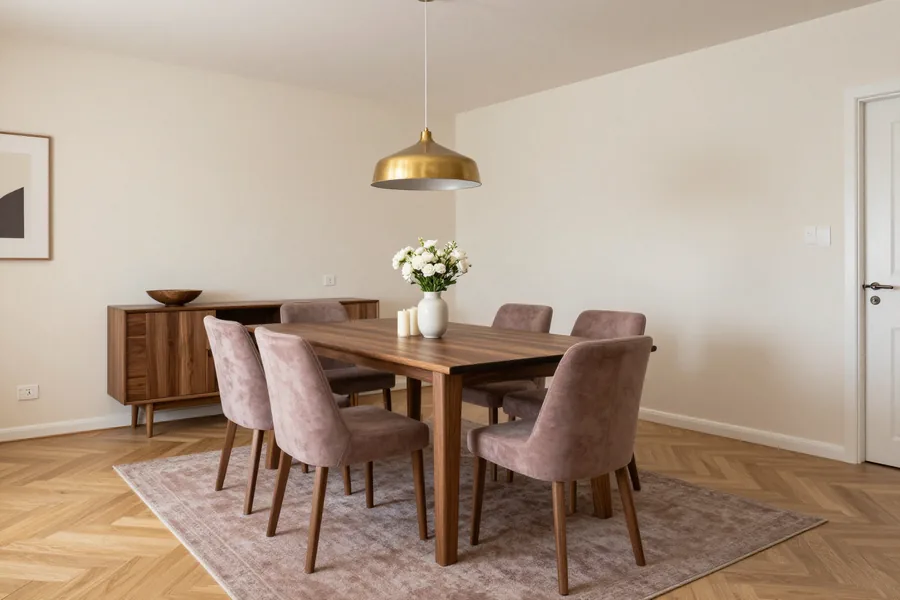
We make walnut items from solid wood or glued timber and finish them with oil or lacquer — walnut gives a deep dark tone that lasts for decades with proper care. In our practice, walnut is most often requested for bar counters and islands, where wood works as an interior accent, while ash and oak are used for work surfaces near the sink. Solid walnut shows a large grain pattern, while glued timber is more even in tone and more stable in geometry. We choose the finish based on the load: oil is easier to refresh locally, lacquer holds as a continuous film. Walnut is softer than oak, so hot dishes without a trivet leave marks faster — a trivet for hot items here is not a formality but a necessity.
Moisture, gaps and protection of a wooden countertop
The buyer's main fears are that solid wood will swell from water and that gaps will appear between the lamellas over time. We break down what actually protects wood and where the limits of its capabilities lie.
Will solid wood swell from water and what protects the ends
We seal the edges separately from the surface — the edge absorbs moisture faster than anything else, so around the sink and hob it gets reinforced protection. An open cut works like a wick: water travels deeper along the capillaries faster than through the face surface, and the cutout for the sink and pipes creates several such cuts at once. That is why we saturate the edge with a protective compound in several coats and seal the joint around the sink along the perimeter. The surface is finished with oil or lacquer — they handle short-term splashes and condensation. Even with protected edges, it is best to wipe up puddles by the sink right away: wood tolerates short-term moisture, but standing water finds micro-damage in the coating and gradually soaks the fibres underneath.
Will gaps appear between the lamellas over time
In glued laminated timber, gaps between the lamellas appear only if the gluing technology was compromised or the solid wood sits in a constantly damp area without a finish. The lamellas are glued with a special compound under pressure, and with normal geometry the seam is stronger than the fibre itself — the wood tears next to it, not the glue. The material is alive: it takes on and releases moisture with the seasons, so the width of the lamellas fluctuates by fractions of a millimetre, and that is normal behaviour. What matters is something else — when a gap grows, darkens at the edges and a fingernail sinks into it. That signal means the finish has worn through, moisture has got inside and the glue has started working outside its normal conditions. Then the joint is cleaned out, dried and re-covered, not just smeared over with wax on top.
Oil, lacquer or wax for protecting wood
- Oil: penetrates the fibres and protects the solid wood from within, and is refreshed locally without stripping the whole coat.
- Lacquer: forms a film on the surface and holds up more predictably than oil next to the dishwasher and steam — moisture does not get into the pores between refreshes.
- Wax: gives a soft matte finish and highlights the texture, but requires more frequent refreshing of the surface.
- Combination: oil with wax on top — for kitchens where tactility and a matte surface matter.
- Choice by scenario: around the sink and hob our technicians suggest lacquer, for the dining surface — oil.
Sag, thickness and joints with the wall
Sag and a gap at the wall are two fears that are solved at the design stage, not after installation. Here is how we calculate thickness, place supports and fit the junction to the real geometry of the room.
What thickness is needed so the worktop does not sag
We choose the thickness based on the span between supports — the longer the section without intermediate support, the thicker the blank must be or the more often hidden supports are needed underneath. On a 600 mm deep kitchen base, the span between cabinets is covered by standard thickness, while on an island 1800–2400 mm long without intermediate support we calculate the support spacing separately. MEBLIX technicians also look at the species: solid timber is stiffer than a thin slab of the same length, so different blanks carry the same span differently. They also take the grain direction into account: along the span the lamellas resist bending worse than across it, so in the project we orient the layout according to the future load. On a long span it is more worthwhile to add a hidden support than to increase the thickness along the whole length — it is both more reliable and does not weigh down the structure.
How the joint with the wall is hidden when the wall is uneven
We take the wall geometry during the measurement and fit the edge to the actual line — the expansion gap is closed so that the slit is not visible. The craftsman goes along the wall over the length of the future surface and marks where the line deviates from the plane: in panel buildings, the difference over two meters can be noticeable, and a straight edge will leave an uneven gap. Using these points, we process the edge along the actual line, and cover the gap with a wall profile. If the wall deviates more than acceptable, leveling it just for this item is pointless — it is easier to include the junction in the design and work it in with a trim or backsplash. On-site measurement is free, and we prepare the 3D design in 1–2 days, so we fix the geometry before cutting.
Bar counter for a solid wood worktop
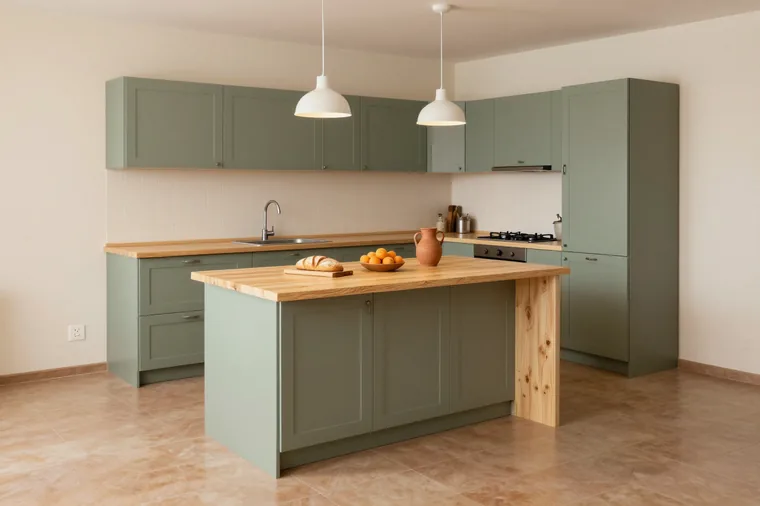
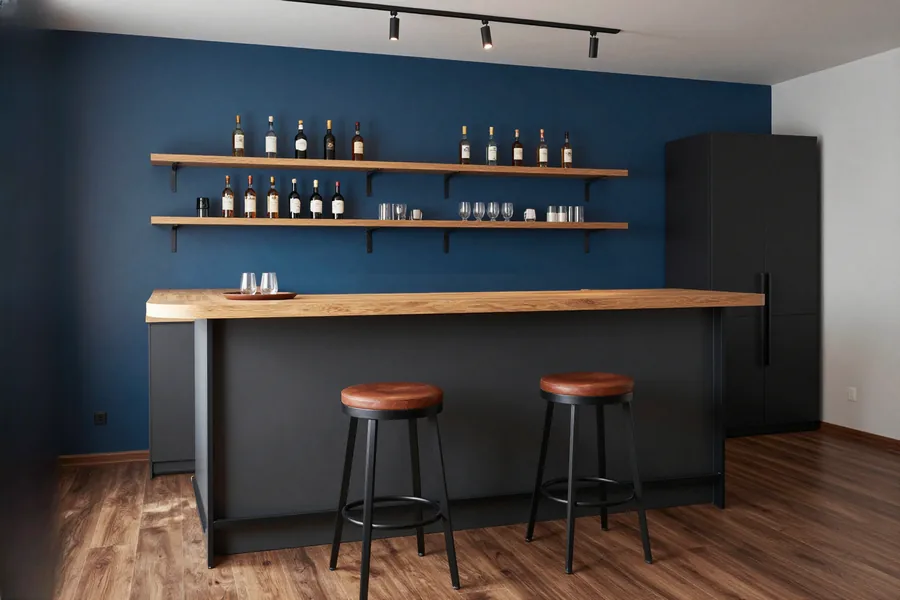
We make a wooden bar top to the size of the counter, taking into account the overhang for seating and attachment to the base. The thickness and method of fixing depend on what this part rests on. The overhang on the seating side is usually 250–300 mm: people sit behind it, put their elbows and dishes on it, so we reinforce the cantilevered part with hidden fasteners or brackets to the counter base. If the counter adjoins a wall, we support one side on it and hold the free edge on a metal frame under the cladding. On a bar counter, the overhang on the seating side is loaded by elbows and dishes — we calculate the fastening and thickness for this scenario, not for 'just a flat board'. We select the species based on load: soft varieties sag faster on a cantilever, and with a 300 mm overhang the difference in rigidity between oak and birch is already noticeable to the touch.
Custom wooden worktop to size
The path from the first measurement to installation: what happens at each step, how to order separately from the kitchen, and what the lead times depend on.
How measurement and 3D design work if the kitchen is not yet assembled
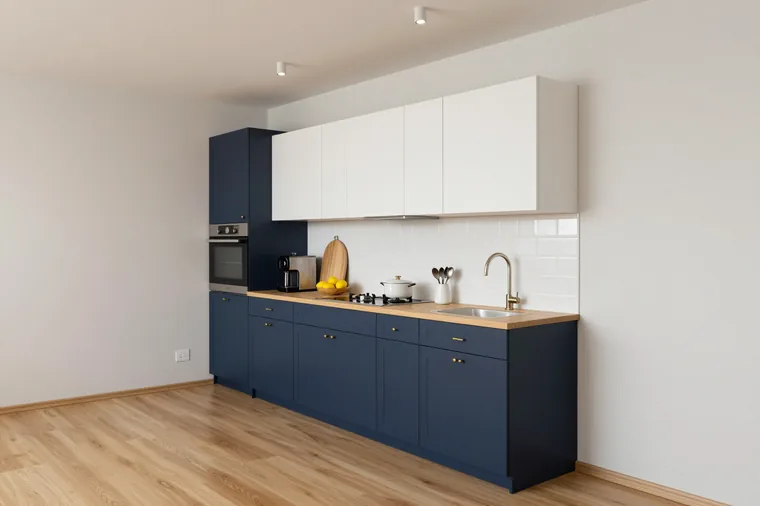
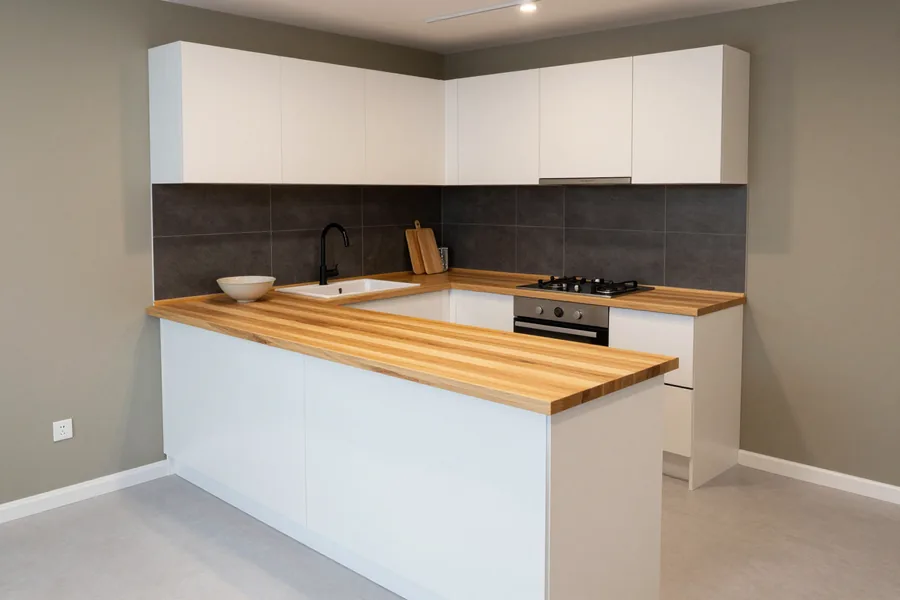
We provide free measurement and a 3D design in 1–2 days — we take on-site dimensions and plan the cutout for the sink and hob before manufacturing, even if the kitchen is not yet assembled. On site, the technician checks the geometry of walls and corners, transfers the positioning of the sink, hob, and sockets into the design, and in the showroom you see how the custom wooden worktop will fit on the future cabinets. We approve the design before cutting: any changes to the cutout, overhang, and edge are made at this stage. If the kitchen is not assembled, during measurement we record not only dimensions but also the water and electrical connection points — the position of the cutout depends on them, and it cannot be changed after cutting.
Item under the sink for the bathroom and separately for your own desk
We make surfaces under the sink for the bathroom and separate models for your own desk — without a kitchen, to the size of your furniture, with a cutout for the basin and end protection in the wet area. The customer brings a drawing of the cabinet or we take the dimensions ourselves, select the species and finish, and make the cutout for the basin using the template of the specific sink so that the edge fits without a gap. A worktop made of timber or glued panel for a desk receives a different treatment: here a flat surface and resistance to dry air from the radiator are more important. For the bathroom, what matters more is not the species but the finish and end protection — water stays there longer than in the kitchen, so oil in the bathroom is renewed more often than on a kitchen surface.
Lead times and urgent orders
Lead times depend on the item and material and are shown in the price list on this page; rush orders are possible — we discuss them at the measurement. In our own 600 m² workshop, cutting, edge banding, painting and control assembly take place, so the schedule depends on the workload of the section and the number of coating layers, not on the delivery of the board. Urgency comes down not to cutting but to drying and the coating gaining strength — so it makes sense to speed up not just any model, but the one where the coating allows it. Delivery in Almaty and up to 30 km is free for a large order; you pay the balance after signing the acceptance certificate — so lead times and acceptance stay in line with the contract. We put rush items into the workshop schedule as a separate line so they don't shift already agreed orders.
Caring for a wooden worktop and refreshing the coating
Wood lasts a long time if caring for it is simple and regular. We explain what to do every day, how to remove stains and how often to refresh the protective layer.
How to care for the work surface every day and how to remove stains
- Damp cloth: wipe the surface with a soft cloth — the rough side of a sponge leaves micro-scratches on the protective layer.
- Puddles right away: wipe up spilled water, sauce and wine immediately, not letting liquid soak into the ends and joints of the lamellas.
- Oil finish: fresh stains are removed with a mild soap solution and warm water, without bleach or alcohol.
- Lacquer layer: remove fat and coloring foods right away before they soak in, otherwise a matte spot will remain.
- What to avoid: abrasive powders, metal scrapers and alcohol-based products — they strip the protection faster than any dishware, and one such cleaning can cost a local refresh.
What to refresh the coating with and how often
We recommend refreshing the oil coating as it soaks in — when water stops beading and the wood darkens from moisture. Lacquer lasts longer and is refreshed when scuffs appear in the work area. Oil is applied locally without removing the item from the kitchen: clean the area, spread a thin layer, let it soak in, remove the excess with a cloth. Lacquer requires sanding and full recoating, so it is more often chosen for dining tables rather than for the area by the sink. In our workshop we apply the protection after control assembly so that edges and ends are covered evenly around the entire perimeter, including the cutout under the sink. On walnut and other dense species, oil soaks in more slowly — a refresh will be needed less often than on pine or oak. We use wax as an intermediate option for a matte texture. Refreshing oil is easier to do locally without removing the item — that's why it is chosen more often than lacquer by the sink and in the work area.
The bottom line on wooden countertops
We've distilled the workshop's experience into a short list of what really determines the outcome when ordering a wooden countertop — from choosing the construction to the daily care of the finished item.
- Construction matters more than species: glued timber behaves more stably than solid wood in wet areas, while a slab is chosen for its live edge and the character of the grain.
- Edge protection and finish: these, not the species itself, decide whether the work surface will swell from water and whether gaps will appear between the lamellas.
- Thickness and supports are calculated by span: the joint with the wall and its unevenness are accounted for at the measurement, not during installation when the item is already finished.
- Made-to-measure ordering is a single process: measurement, 3D design, the sink cutout and installation follow one chain, so the finished item matches the design.
- Care comes down to one thing: refresh the finish on time and don't scrub with abrasives — then the wood lasts a long time.