
Short answer
How to save on custom furniture without compromise: simplify what is least visible and leave the mechanisms, edge banding and measurement accuracy untouched. We measure the space free of charge and prepare a 3D design in 1–2 days, where extra modules are immediately visible. We manufacture in our own workshop without intermediaries, and prices for each item are in the price list on its page.
How to save on furniture even before measurement and design
The main savings are laid down on paper, long before the board is cut. We break down what lines make up the estimate, how the design removes the unnecessary, and why priorities should be set before the first meeting with the measurement specialist.
What makes up the estimate for custom furniture
| Estimate line | What it depends on | Where you can simplify |
|---|---|---|
| Carcass | board area, number of modules | fewer partitions, standard depth |
| Fronts | material, painting, milling | board decor instead of enamel |
| Hardware | number of drawers and mechanisms | shelves where a drawer is not needed |
| Interior fittings | wire baskets, pull-out baskets, pantographs | rods and shelves |
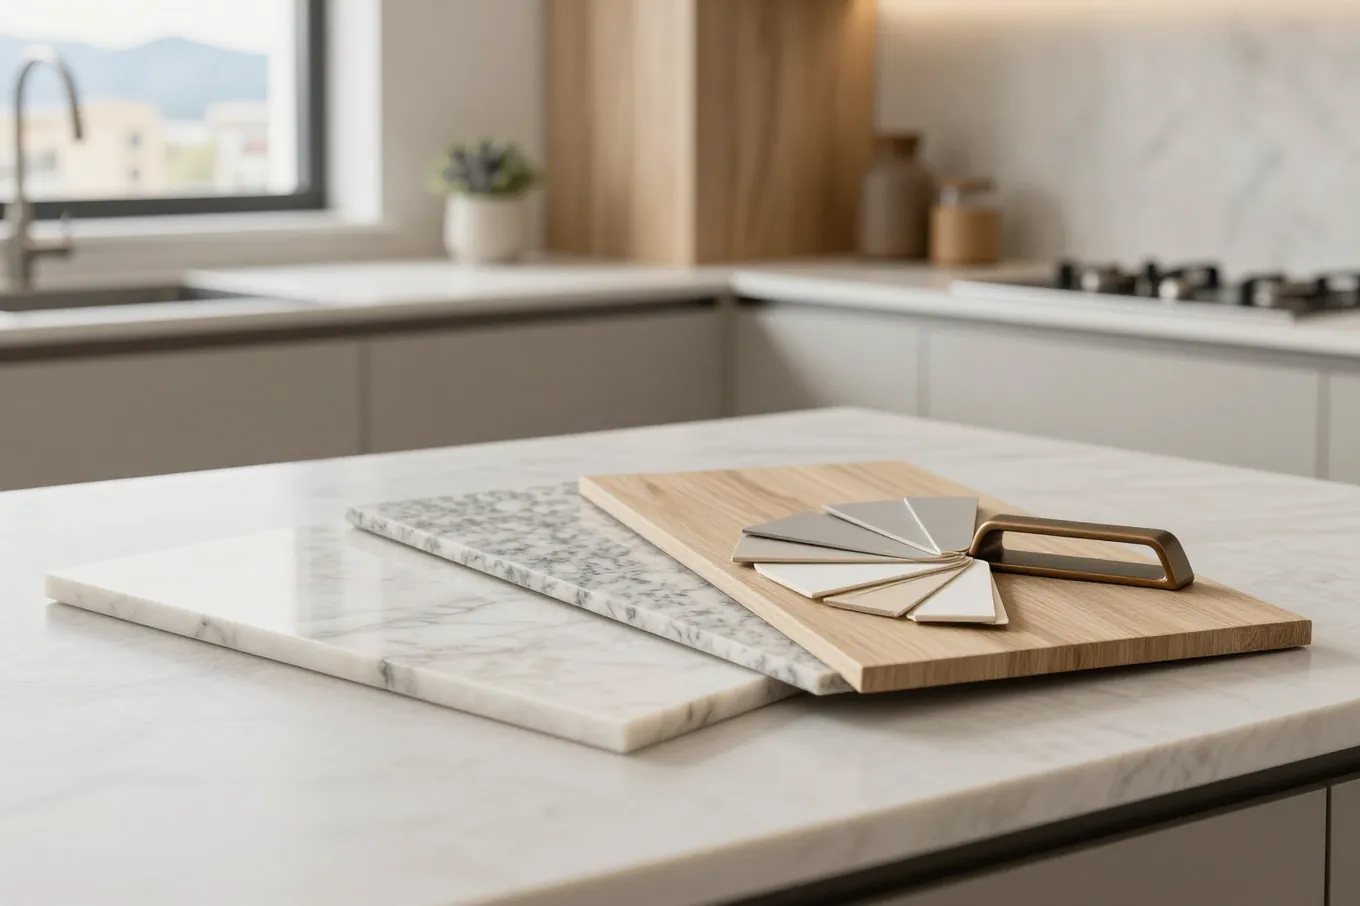
| Countertop | material, cutouts, joints | board instead of stone |
| Finishing | handles, lighting, overlays | simple handles, no decor |
| Delivery and installation | order volume, distance | one order instead of several |
Why accurate measurement and a 3D design save money
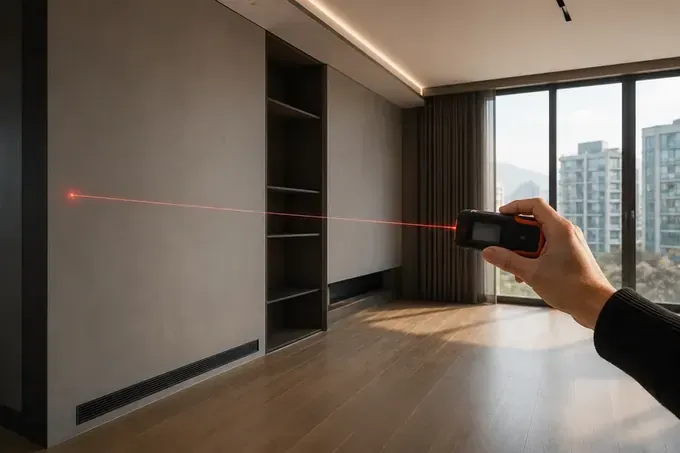
Saving on furniture is easiest at the design stage, while changes affect only the drawing and not the cut parts. We measure the space free of charge and prepare a 3D design in 1–2 days, in which every module, every shelf and every front is visible. On the three-dimensional image it is easy to spot the unnecessary: a third drawer that no one will open, a duplicate cabinet, or a mirrored door where an ordinary one would do. Accurate measurement eliminates gaps and filler strips that appear when dimensions are taken hastily, and avoids reworking a part on site. The technologist immediately suggests standard depth and height where they do not get in the way, so the board is cut with less waste. The design also shows where one wide section will replace two narrow ones, and a shared side panel of adjacent modules removes an extra part. Ask for two versions of the design, full and simplified, and compare them against the item's price list: the difference will show which solutions are really worth the money.
How to set priorities before the design
- Must-have and nice-to-have: split your wishes into two lists so the technician knows what can be dropped without losing convenience.
- Everyday and occasional: don't skimp on drawers and mechanisms used every day, while top cabinets and far sections can be simplified.
- Visible and hidden: what guests see from the doorway deserves more expressive finishing, while the inside of a wardrobe can be as simple as it gets.
- Now and later: some furniture can be ordered later if the project leaves room and a matching decor for future modules.
- Set or single items: several items in one order are easier to plan for cutting, delivery and installation.
- Real habits: describe what is stored where now so the project doesn't end up with sections for things that aren't in the home.
- Ready-made from the old: a working shelving unit or chest of drawers can stay, and you can order only built-in furniture to fit the room's dimensions.
Where to simplify fronts and finishing without hurting the look
Fronts are the most visible and one of the most expensive parts of an item. We look at where simplification stays invisible to guests and owners alike and doesn't shorten the life of a wardrobe, kitchen or hallway.
Board decor instead of painting
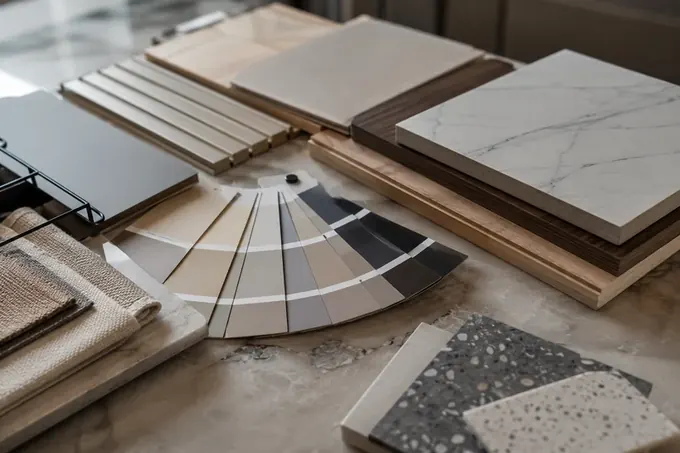
We cut and edge fronts in Egger and Kronospan board decor the same way as the carcass, with no painting area, so they cost noticeably less than enamel. The decors mimic wood, stone, concrete and solid colors, and a matte textured surface hides fingerprints and small scratches. Painting requires primer, sanding, several coats and drying between them, and every step adds craftsman's work. A chip on a painted front shows immediately, while board decor color runs evenly across the whole surface and needs no touch-up. For a kids' room, hallway and bedroom wardrobes such a front looks calm and neat, and wood decor with pronounced texture is almost indistinguishable from veneer at a distance. There is one limitation: board decor can't be radiused and doesn't hold complex milling. Look at decor samples in person in daylight — on a phone screen the shade often looks cooler or darker than in the room.
Expensive fronts only where they show
We use enamel or milling only on fronts visible from the doorway, while side, inner and upper ones are made in board decor of a matching tone. In a kitchen this is often the lower row by the entrance and the island, in a living room the wall unit fronts at eye level, in a hallway the wardrobe doors facing the apartment door. Top cabinets, tall units in a niche and fronts deep in the room are almost never in view, and there's no point buying enamel for them. Mixed finishing needs careful matching: glossy enamel next to matte decor looks like a mistake, while matte enamel with a similar solid-color decor looks intentional. The technician checks the combination on the 3D design and then on physical samples placed side by side under one light. Match the enamel and decor pair on samples before approving the project, because fixing the shade after painting means ordering the fronts again.
Handles, open shelves and small finishing
- Handles: simple brackets or a profile keep the budget down, and designer handles can be added later if the same hole layout is kept.
- Open shelves: a section without a front costs less than a closed one, but it demands tidiness and collects dust faster than a closed one.
- Decorative overlays: cornices, pilasters and balusters add work, and in a simple interior the item looks cleaner without them.
- Lighting: it is installed where it is needed for work, for example above the countertop, not around the entire perimeter of the cabinets.
- Glass and display cases: one display case in a set looks more expressive than a row of glass doors and is simpler on the budget.
- Plinth: a plinth strip in the color of the carcass is simpler than a separate decorative one and does not stand out against the floor.
What to simplify in the kitchen and what to keep
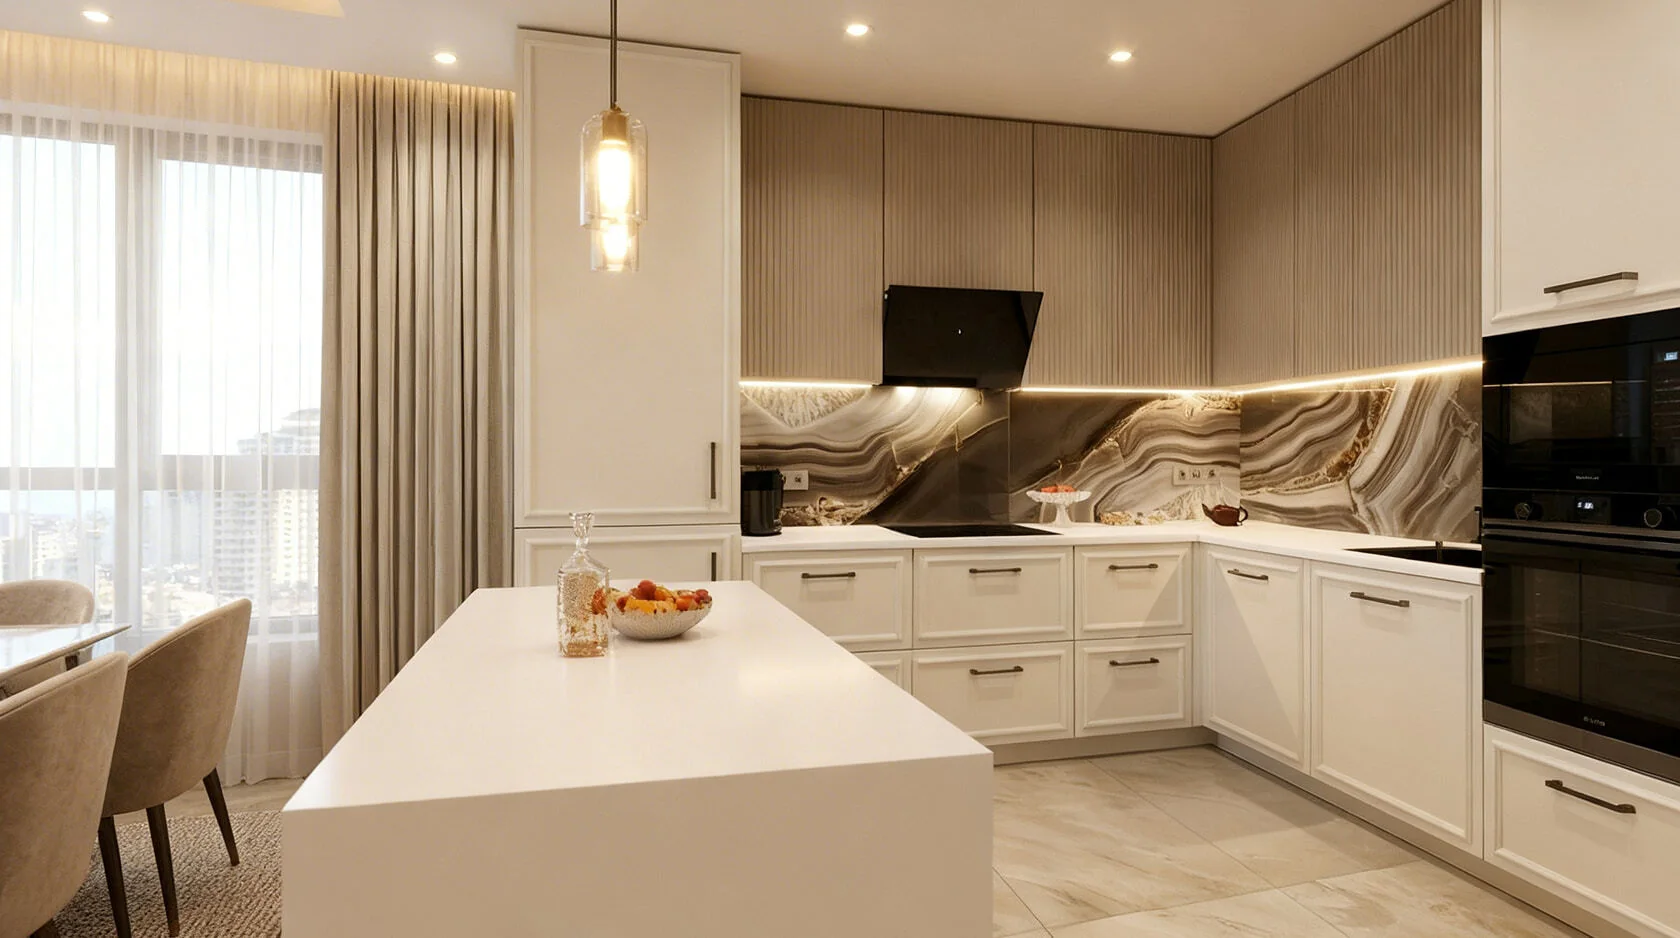
The kitchen is the most complex and mechanism-heavy order in an apartment. We break down the three areas where decisions affect the budget the most: the layout, the filling of the modules, and the work surface together with the backsplash.
A layout without moving the sink and appliances
How to save on a kitchen without losing convenience is best understood from the room plan: the sink, stove and hood stay where the water, sewage, gas or electrics are already routed. Moving the sink to the window or onto an island means a new pipe run, a pump or a raised floor, and these are renovation costs that are not visible in the furniture budget. A straight or L-shaped kitchen along the existing connections is assembled from standard modules and does not require complex corner solutions. Islands and peninsulas are beautiful but add fronts, a countertop and a separate connection, and in a narrow room they also take away the walkway. A freestanding rather than built-in refrigerator saves you a tall cabinet and an extra front. In a small kitchen, a corner module with a rotating carousel can be replaced by a blind corner with a shelf if its contents are rarely taken out. Before the measurement, mark on the plan which utilities to leave in place — a project built around the existing connections usually turns out simpler and more reliable than any rearrangement.
Drawers, hinged modules and upper cabinets
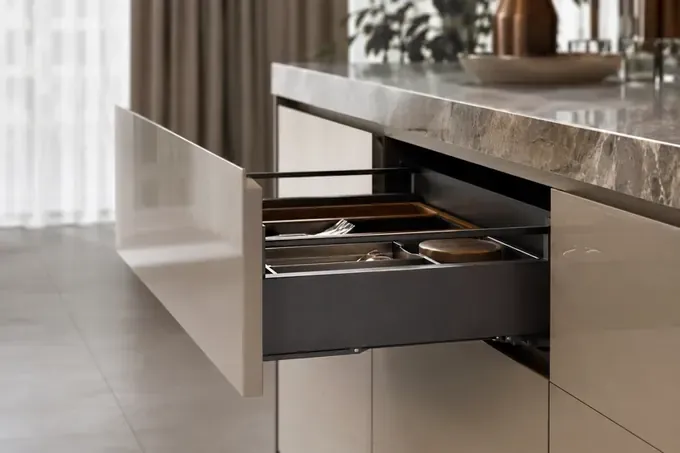
- Drawers where they matter: we put pull-out drawers by the stove and sink, where they are opened dozens of times a day, and make the far modules hinged.
- Hinged modules: a hinge is simpler and more reliable than a pull-out mechanism, and a shelf inside holds pots and supplies no worse than a drawer.
- Upper cabinets to the ceiling: they provide extra storage without extra lower modules, and the top section removes the place where dust collects above the cabinets.
- Standard widths: modules of standard width are cut with less board waste than non-standard sizes at every section.
- Lift mechanisms: the mechanism is needed above the work area and by the hood, while a regular hinge is enough for rarely opened cabinets.
- Dish rack and bottle rack: simple built-in elements replace expensive systems if dishes and oils are stored in one module.
Countertop and backsplash
We install laminated chipboard countertops together with the carcasses; they need no separate measurement and no second visit from the installers. A board with a moisture-resistant base and edge-banded ends serves fine in the kitchen with normal cleaning, as long as you don't leave water standing at the joints. Stone is ordered to a template only after the carcasses are installed, its cutouts for the sink and hob are made at a separate production facility, and installation is a second visit. If you want stone, you can keep it on the island or in the sink area, where it works hardest, and make the rest of the surface from a board in a similar decor. A backsplash made from a wall panel matched to the countertop is simpler than tile and goes in together with the furniture, with no separate tradesman and no grouting. For a long kitchen, plan the joint in advance: a joint at the edge of the sink picks up moisture faster than a joint in the middle of the work zone.
Sliding wardrobes and built-in wardrobes with well-planned interiors
In a sliding wardrobe, the costs hide in the carcass and the interior, and the doors with rollers are the last thing you should simplify. We break down where the savings are for built-in and freestanding wardrobes.
A built-in wardrobe instead of a freestanding one
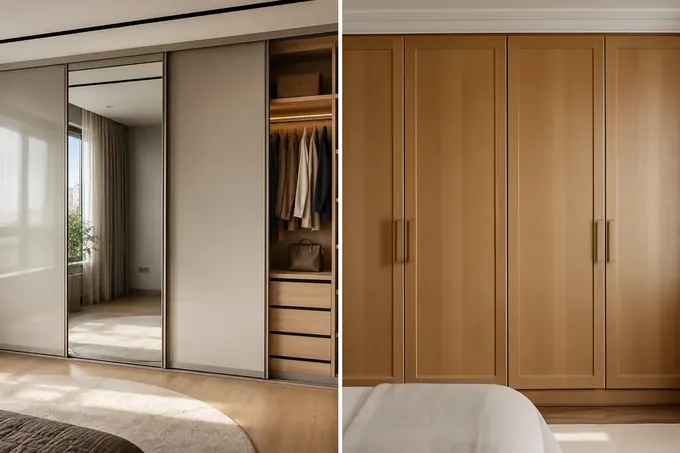
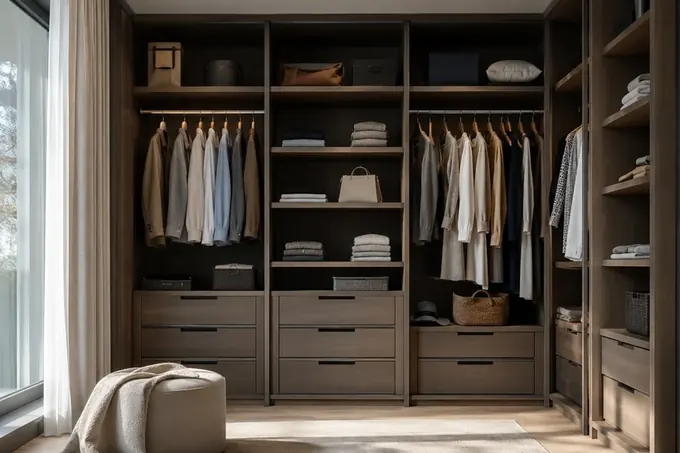
The biggest saving on a sliding wardrobe is to build it into a niche, where the walls, floor and ceiling replace the sides, top and bottom of the carcass. We design the built-in wardrobe from an exact measurement, so less board is used, and the wardrobe fills the space from floor to ceiling with no gap for dust on top. In 13 years on the Almaty market we have made 800+ wardrobes, and we see that a niche in a hallway or bedroom usually holds more than a freestanding carcass of the same width. A built-in wardrobe has one condition: the walls and floor in the niche must be level and ready for installation, otherwise the unevenness has to be covered with trim strips. Another limitation is moving: a built-in wardrobe stays in the apartment. On the other hand, the niche behind it doesn't collect dust behind the back panel or at the sides, and sliding doors need no room to swing open. If the home is rented or a move is likely, choose a freestanding wardrobe that can be reassembled in a new place.
An interior without unnecessary mechanisms
- Shelves and rails: we fit simple shelves and rails instead of pull-out baskets and wire drawers, and the wardrobe's capacity doesn't suffer for it.
- Pull-down rail: a lowering rail is only needed if the top of the wardrobe is very high; otherwise a top shelf for seasonal items is enough.
- A couple of drawers: two drawers for linen and small items are more useful than a row of pull-out sections that are rarely used.
- Adjustable shelves: holes for repositioning the shelves let you change the interior without a new order or rework.
- Shoes: angled shelves are simpler than pull-out shoe racks and work just as well in a hallway.
- Depth: clothing on hangers needs full depth, while books and boxes are fine in a shallower section made from the same board.
- Lighting: a door-opening sensor is needed in a deep wardrobe, while in a shallow one the room lighting is enough.
Door solutions and where to simplify them
| Solution | Where you can simplify | What to keep |
|---|---|---|
| Rollers and tracks | do not simplify anything | a reliable door system |
| Door panel | board decor instead of mirror | a flat rigid panel |
| Mirror | one mirrored door out of three | safety film on the mirror |
| Glass pattern | no sandblasted design | plain glass |
| Profile | a simple profile in color | profile rigidity |
| Number of doors | fewer doors, wider | convenient access to sections |
| Top mezzanine | full-height shared doors | access to upper shelves |
Details where savings backfire
Part of the savings comes back in a year or two through repairs, replacements, or rework. We look at places where you shouldn't simplify and what's better done differently there so you don't pay twice.
Hinges, tracks, and lift mechanisms
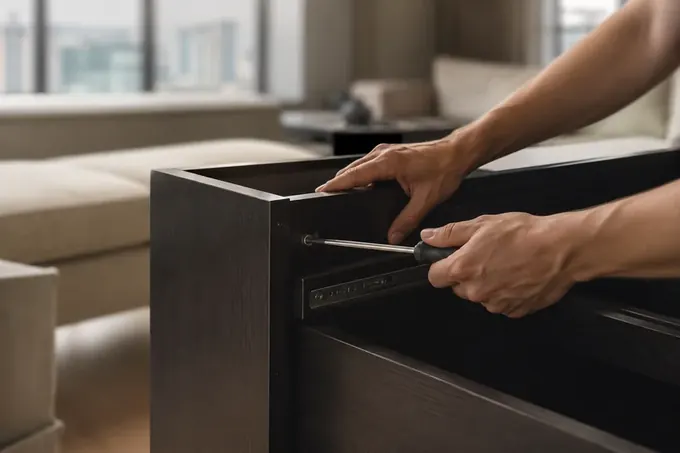
We don't simplify mechanisms: hinges, tracks, and lift mechanisms work every day and are the first to reveal a weak spot in the product. In our workshop we install Blum, Hettich, and Boyard hardware, and Blum offers a 25-year manufacturer's warranty on hinges, lift mechanisms, and drawer tracks. A weak hinge sags, the door stops closing evenly, and the track starts jamming under the weight of dishes or items. Replacing a mechanism in a finished product is harder than installing it right away: old holes don't always fit a new model. Soft-close and smooth closing protect the fronts and carcass from impacts, and in a kitchen with children, also fingers. A top cabinet lift mechanism holds the front open, and a cheap model eventually stops fixing it at the right height. If the budget is limited, save on the number of mechanisms, not their class: three reliable drawers are more useful than five cheap ones that will need replacing in a couple of years.
Edge banding, board, and wet areas
We cover every end of a part with edge banding in a separate workshop area because an open board absorbs moisture and delaminates from the inside. Saving on edge banding for hidden ends, such as the back edges of shelves or the bottom edges of side panels, seems harmless, but that's exactly where water gets in when mopping the floor. The Egger and Kronospan boards we work with hold their shape if the ends are fully covered and the fasteners are installed properly. In the kitchen near the sink and dishwasher, in the bathroom, and in the hallway by the front door, there's more moisture than in the bedroom, and in winter, melting snow from shoes gets in there too. You can't simplify protection there: moisture-resistant base, sealing of joints and cutouts, the right gap at the wall, legs or plinth that raise the carcass above the floor. Near the sink and in the bathroom, it's better to reduce the number of modules or skip enamel than to save on water protection that will ruin the carcass.
Savings and their consequences
| What was simplified | What it costs you | How to do it differently |
|---|---|---|
| Measuring with the owner's tape measure | gaps and redoing parts | free measurement on site |
| Drawer mechanisms | jamming and replacement | fewer drawers, reliable mechanisms |
| Edge banding on hidden ends | the board swells | edge banding around the entire perimeter |
| Protection by the sink | the lower module swells | sealing cutouts and joints |
| DIY installation | misalignment and stripped fasteners | installation by the workshop team |
| Sliding wardrobe rollers | doors squeak and come off track | a reliable door system |
| Fasteners for wall cabinets | sagging and tearing off the wall | fasteners suited to the wall material |
How to save on furniture in the estimate without hidden surcharges
The final amount depends not only on the materials of the item but also on who makes it and what is included in the order. Let's look at the manufacturer, delivery with installation, and checking the contract.
A direct manufacturer with no middleman
Inexpensive custom furniture comes from someone who measures, designs, manufactures and installs the item themselves, with no middleman markup between the customer and the workshop. That is exactly how we work: measurement and 3D design, manufacturing in our own 600 m² workshop in Almaty, where cutting, edge banding, painting and trial assembly take place, and installation by our own teams. A middleman takes the order, passes it to someone else's production and adds their share to the cost, while questions about sizes go through several hands. Trial assembly in the workshop before shipping rules out on-site rework, for which a separate bill is sometimes issued. MEBLIX does not resell ready-made furniture, so the design, cutting and installation follow a single drawing, and whoever made a sizing error is the one responsible for it. Before signing the contract, ask where exactly the furniture will be made and who will come to install it — the answer will say a lot about your future estimate.
Delivery, installation and changes in the estimate
Delivery in Almaty and up to 30 km is free for us on a large order, the threshold is stated on the Delivery and payment page, and beyond 30 km delivery carries an extra charge. Installation is carried out by our teams, and we discuss its terms and put them in the estimate before the contract, not on the day of installation. Several items in one order is more economical for both delivery and installation: one vehicle and one visit instead of several. The most unexpected costs usually come from changes after production has started, because cut parts can no longer go back into the sheet. Carrying items up without a lift, assembly in tight conditions and dismantling old furniture are also discussed in advance, so that no questions arise on installation day. Changes before the contract is signed affect only the drawing and do not turn cut parts into waste, so it is worth resolving all doubts about sizes and contents before the design is approved.
What to check in the contract before paying
- Order contents: in the contract we list the items with sizes, decor, hardware and internals so the estimate matches the project.
- Project in the app: we attach the approved 3D project to the contract as a reference point for installation and acceptance.
- Payment by stages: the deposit starts the order in the workshop, and the balance is paid after signing the acceptance certificate.
- Cashless payment: payment can be made by bank transfer, which is convenient for accounting and confirming payments.
- Warranty: the item carries a 24-month warranty under the contract, and Blum hardware comes with a 25-year manufacturer's warranty.
- Acceptance certificate: we sign the certificate after installation, so the customer accepts the already installed item, not boxes in the hallway.
- Item prices: the price for each item is shown in the price list on its page, and the estimate is easy to check against them.
Summary: where to save and where not to cut corners
A short guide for those planning a project on a limited budget who want furniture to last a long time and not need rework.
- Project: the main savings decisions are made on paper by comparing the full and simplified options before the board is cut.
- Fronts: board decor suits hidden and side fronts, while enamel is kept for the most visible areas.
- Kitchen: a layout along existing utilities, hinged modules in far zones and a board worktop noticeably simplify the estimate.
- Wardrobes: a built-in wardrobe in a niche uses less board, and shelves and rails replace expensive pull-out systems.
- Non-negotiables: mechanisms, edge banding, protection of wet zones and precise measurement are not open to simplification.
- Estimate: one order for several items and all changes before signing the contract save you from extra costs.
Article updated 22 September 2026Calculate wardrobe All blog articles