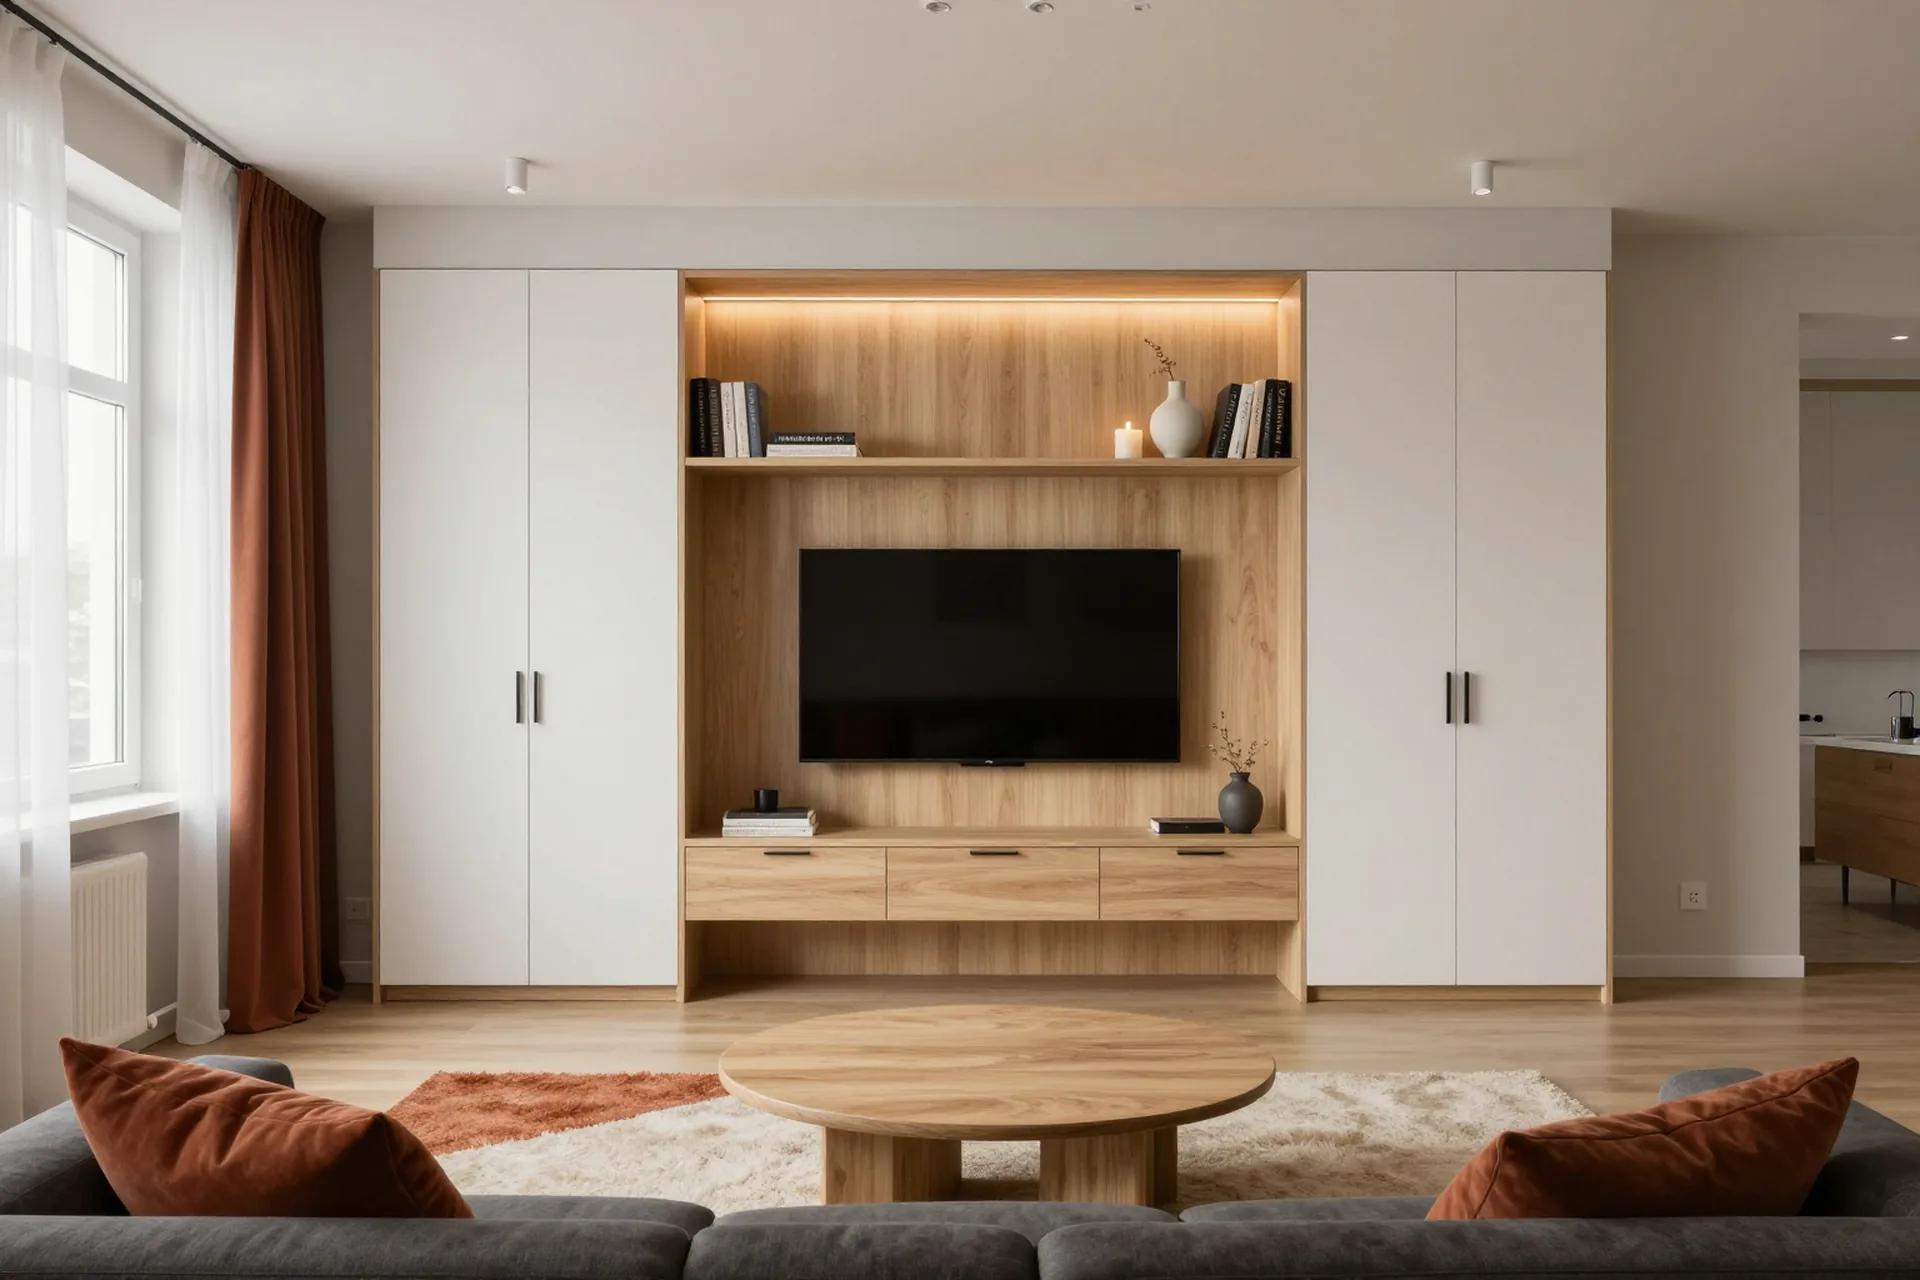
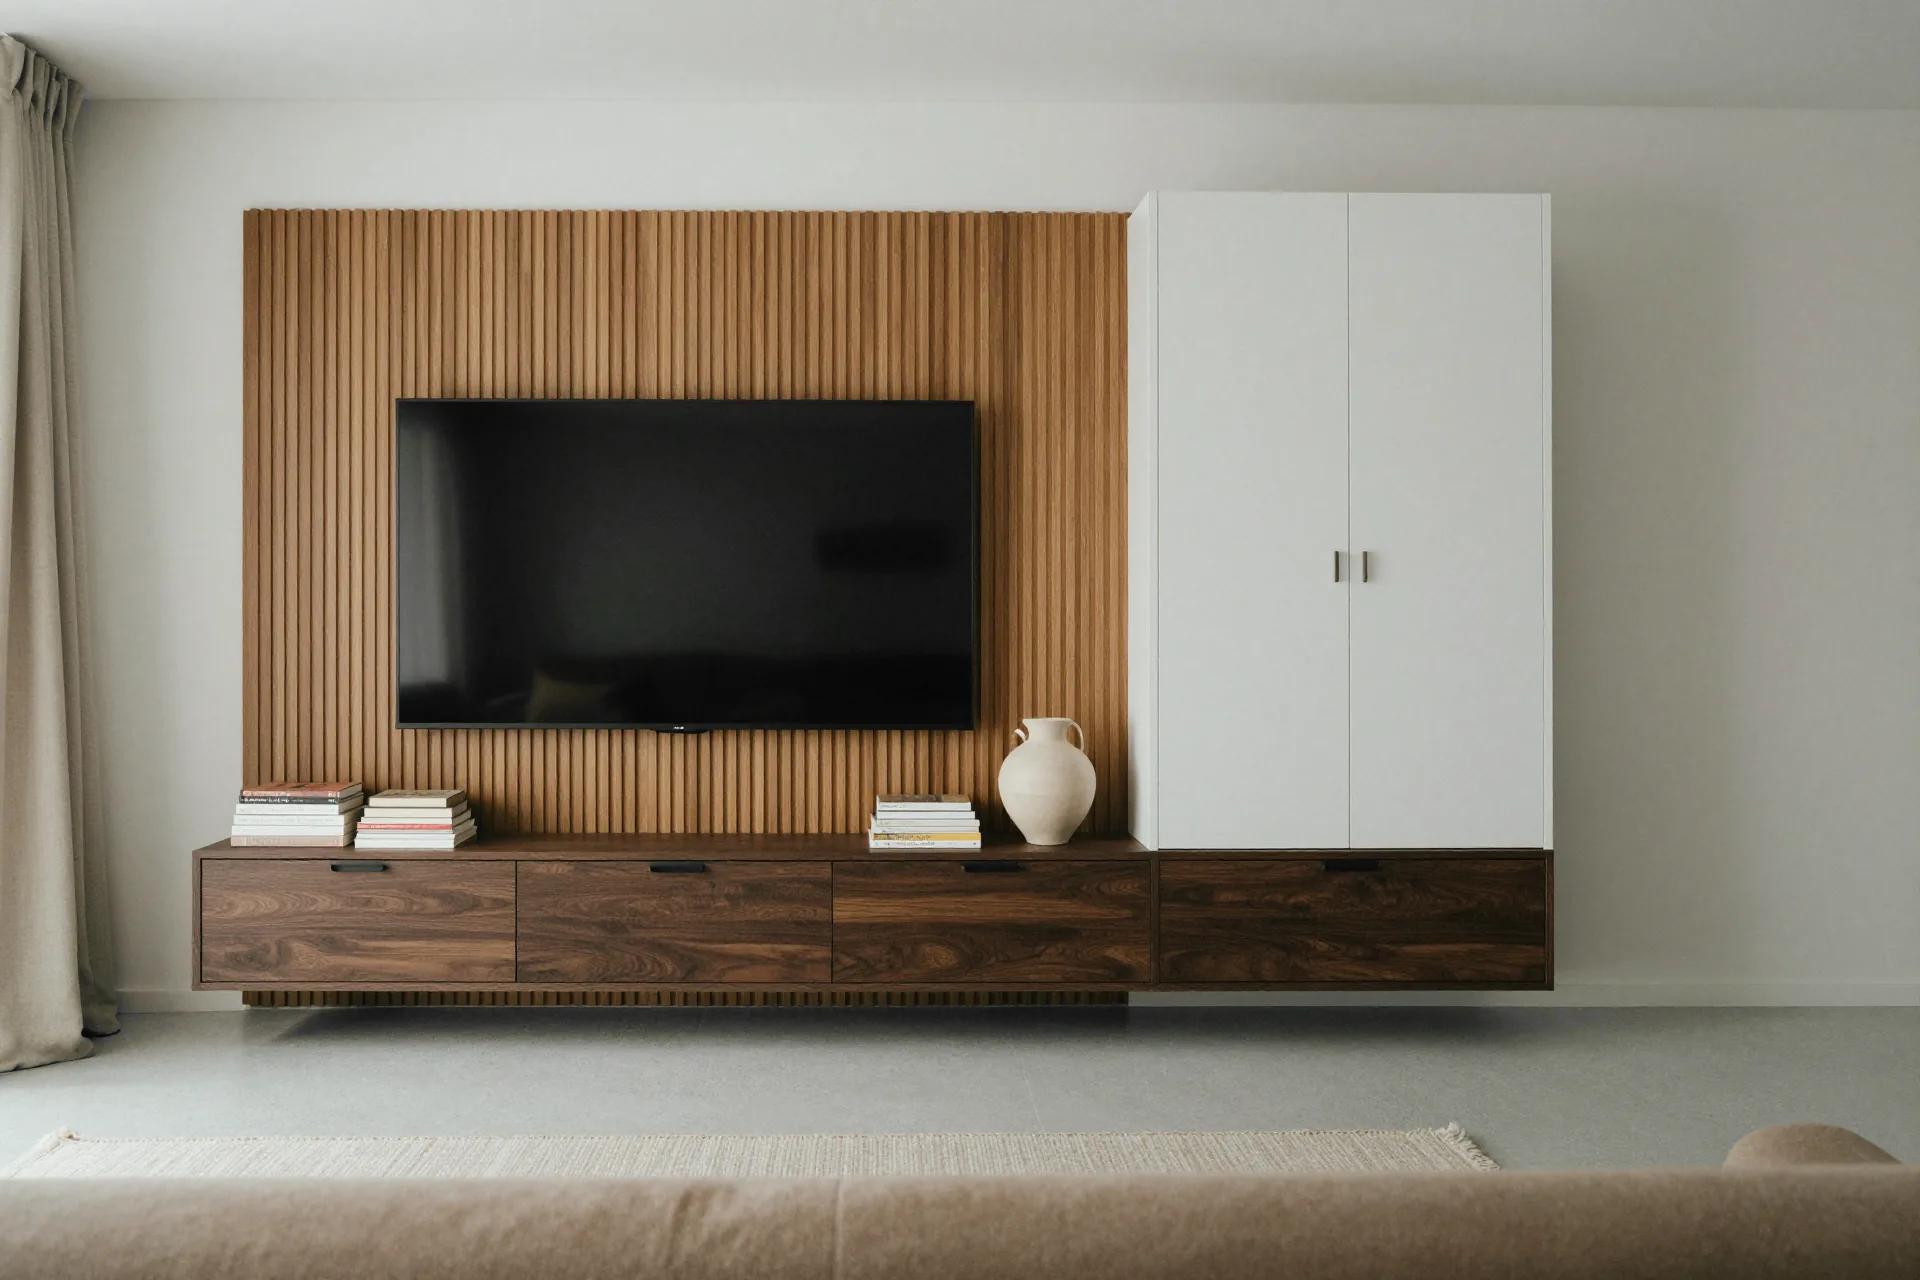
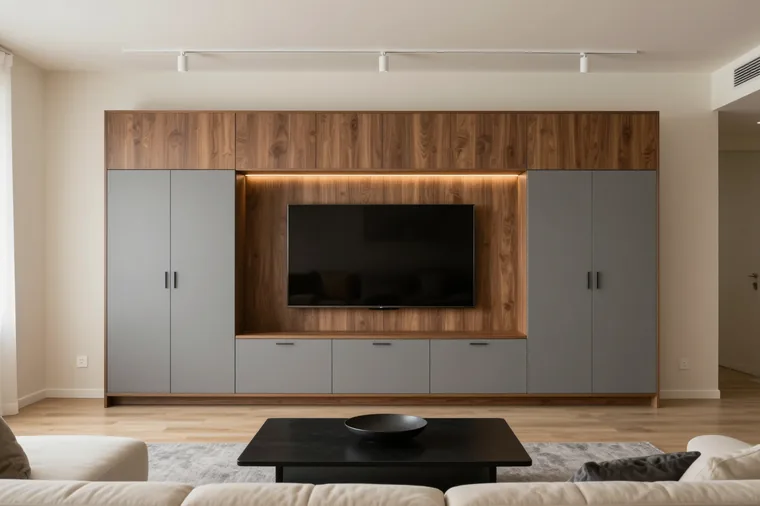
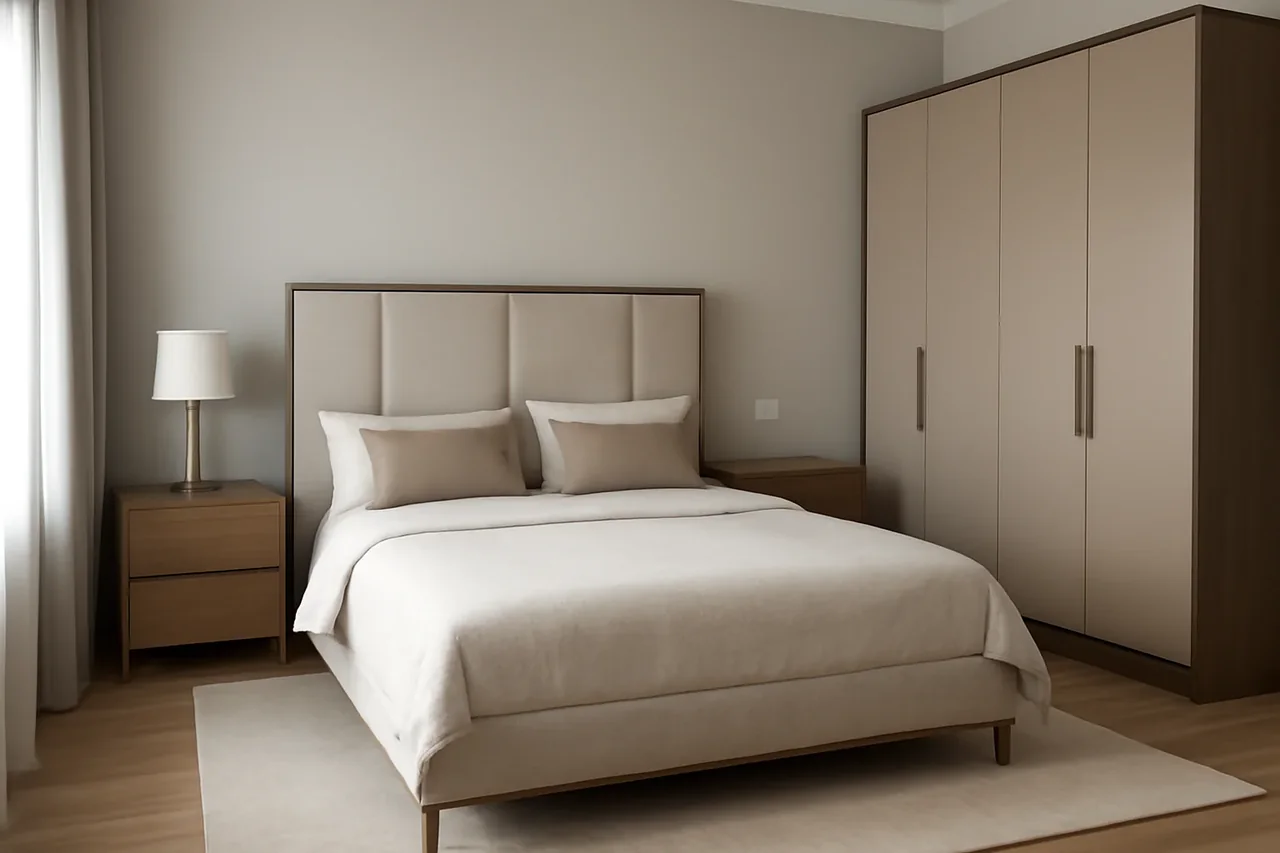
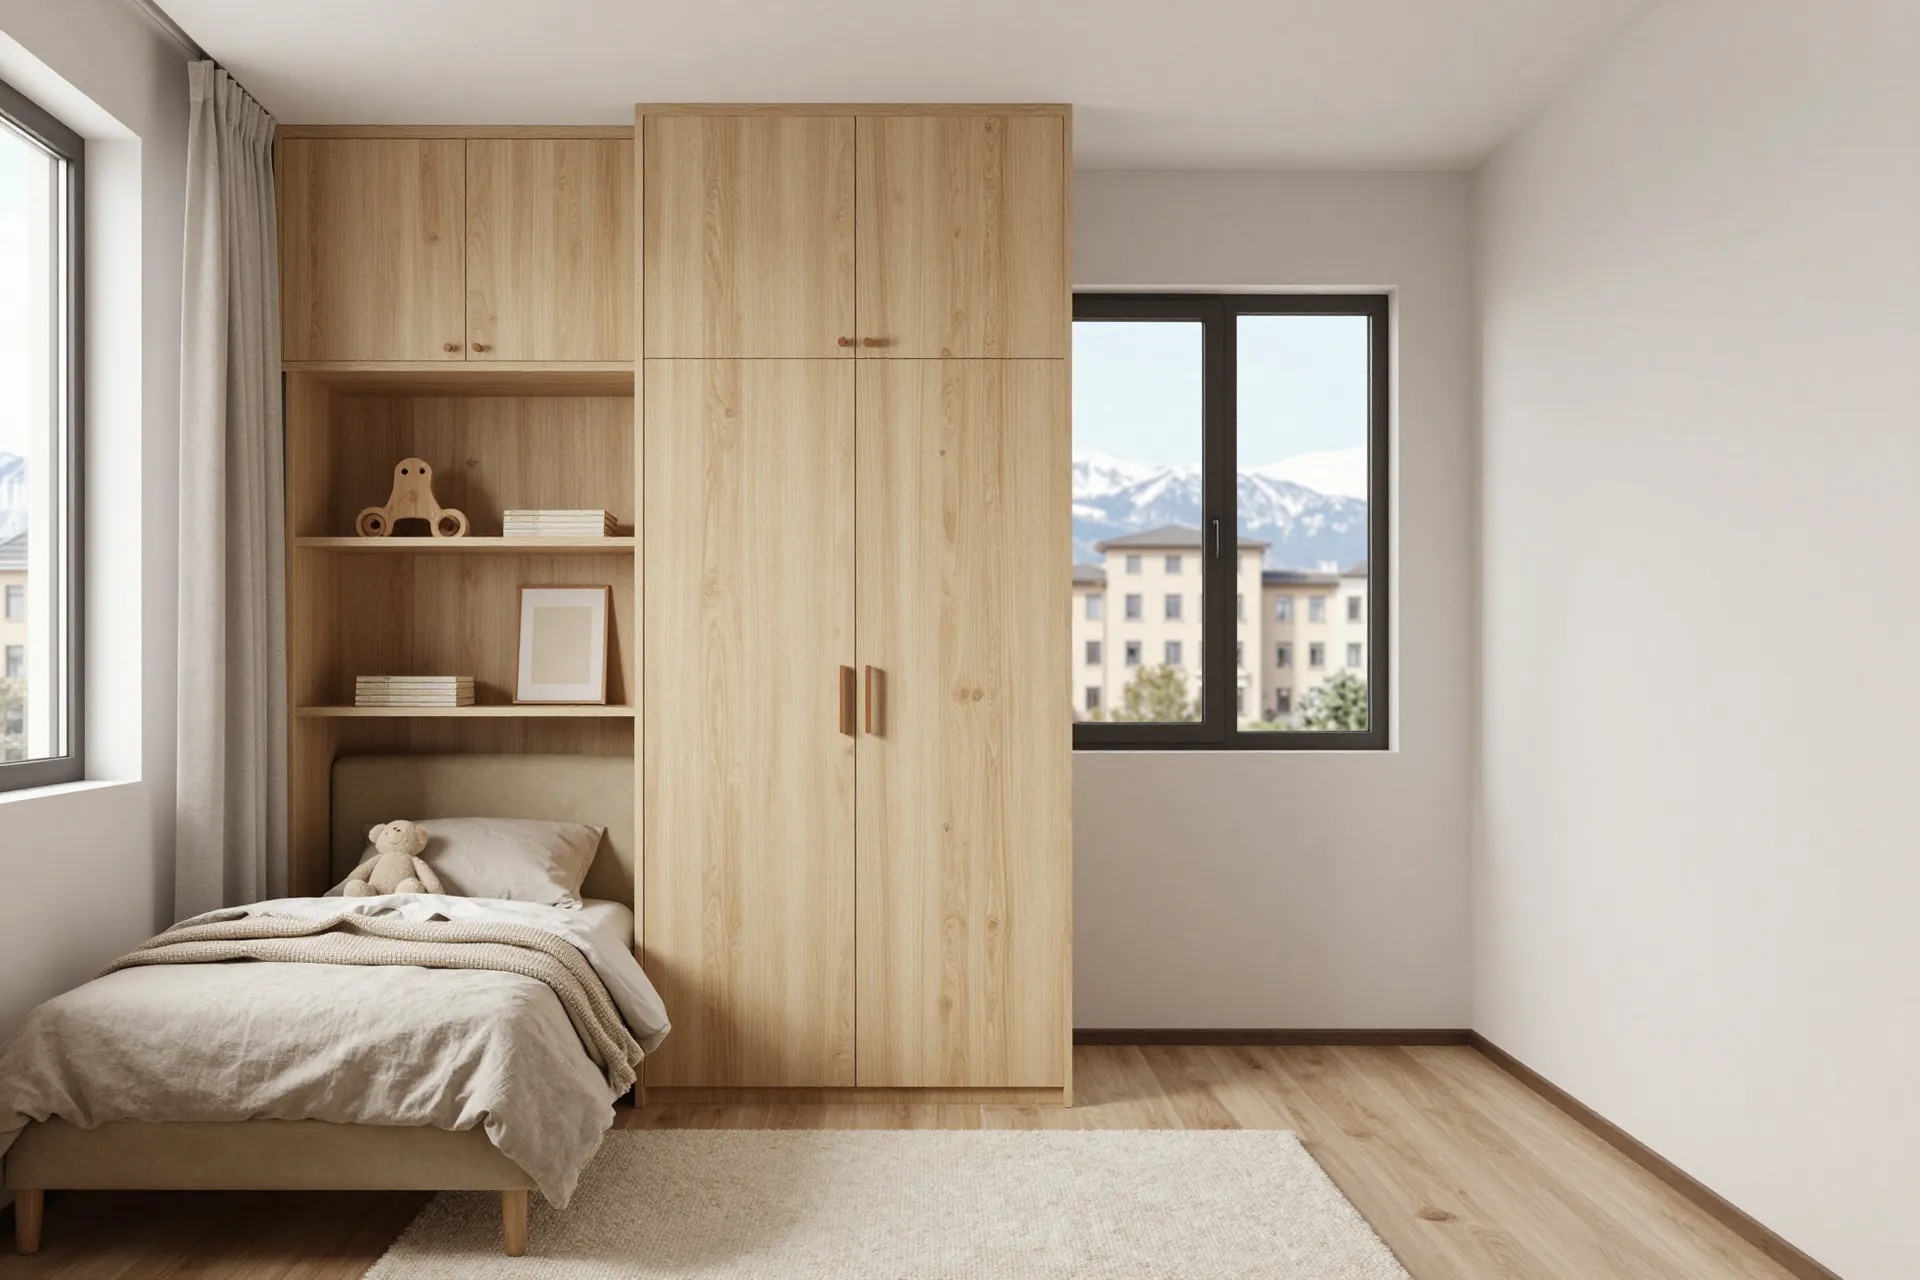
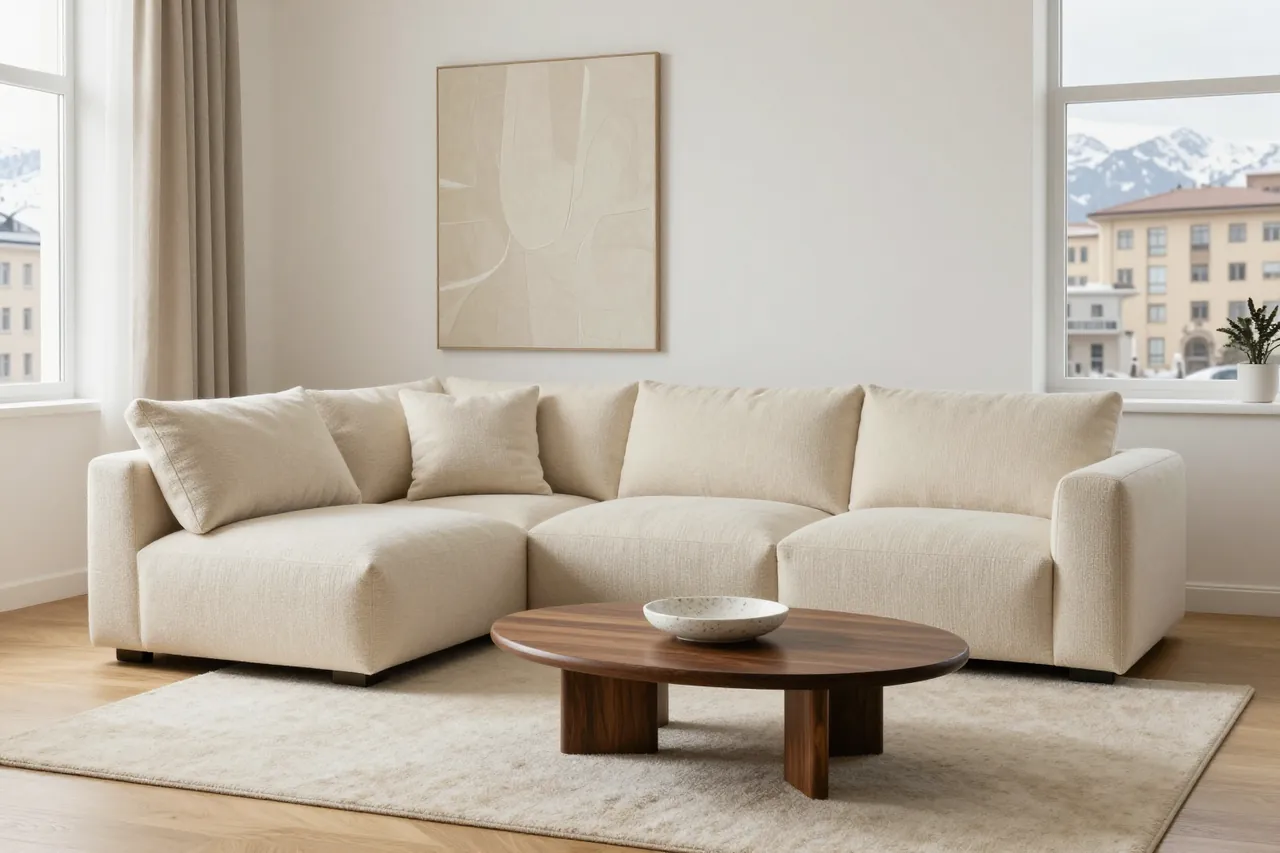
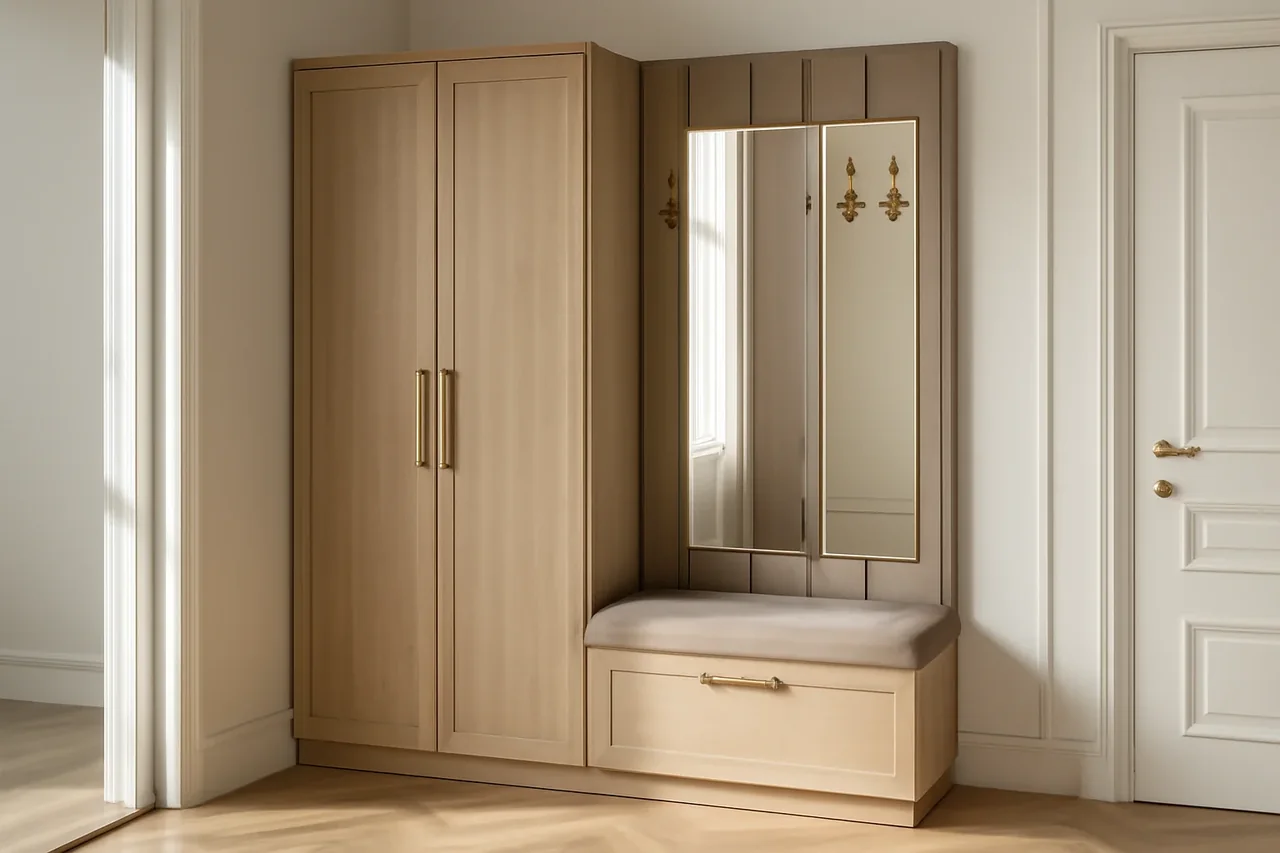
Custom living room furniture is designed from the wall, not from a catalogue. First the niche, the ceiling height and the distance to the sofa are measured, then the wall is divided into a TV area, closed storage and open shelves. Our measurement visit is free, the 3D design is ready in 1–2 days, and the contract warranty is 24 months.
The living room is the only room where furniture both works hard and stays on show for guests. A planning mistake here is noticed every evening: a cable hangs below the screen, a shelf sags under books, a wall unit eats into the path to the balcony. Below is the order of decisions that helps you avoid these mistakes before the measurement visit. Prices and lead times for each piece are in the price list above, not in this article.
Where to start planning a living room
Start not with the fronts but with how your family spends the evening. That scenario decides what sits at the centre of the wall and how much space goes to equipment and to storage.
Four questions before the measurement visit
- Scenario: films in the evening, having guests over, reading, or all of these. This decides whether a screen, a display cabinet or a book wall takes the centre.
- Equipment: TV size, set-top box, router, speakers. Each item needs a place, a socket and a route for its cable.
- Storage: what goes behind solid doors, and what you want to show on shelves and behind glass.
- Light: where the window is, where the sun hits the screen in the daytime and where you need lighting in the evening.
Which wall suits the furniture
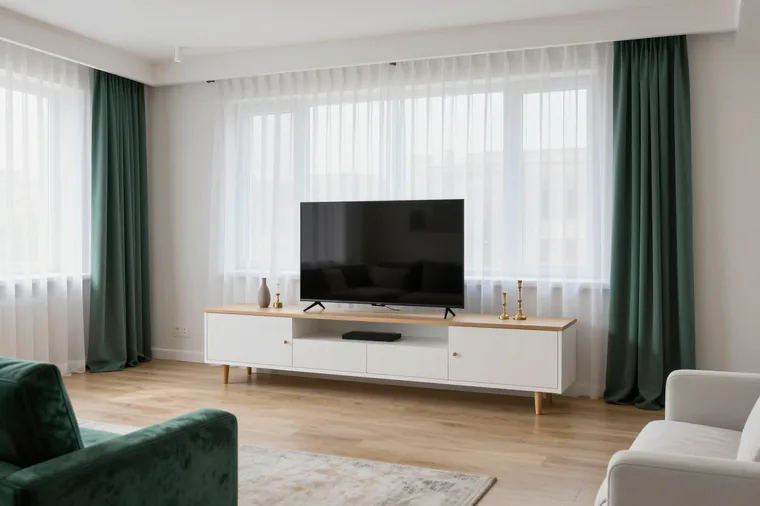
The best wall for a TV area is one that doesn't get direct light from the window. If the window faces the screen, you will get glare in the daytime, and no front can fix that. The second check is doors and walkways. A unit half a metre deep along the long wall of a narrow room takes away the walkway, and you end up squeezing past it sideways. The third is what is hidden in the wall. A radiator, a ventilation box, an electrical panel or a column projection turns up in almost every flat, and it is better to spot them at the measurement visit than during installation. Made-to-measure furniture wraps the carcass around such places or turns them into a niche. A ready-made module can't do that: it either won't fit or leaves a gap.
What to prepare for the measurer
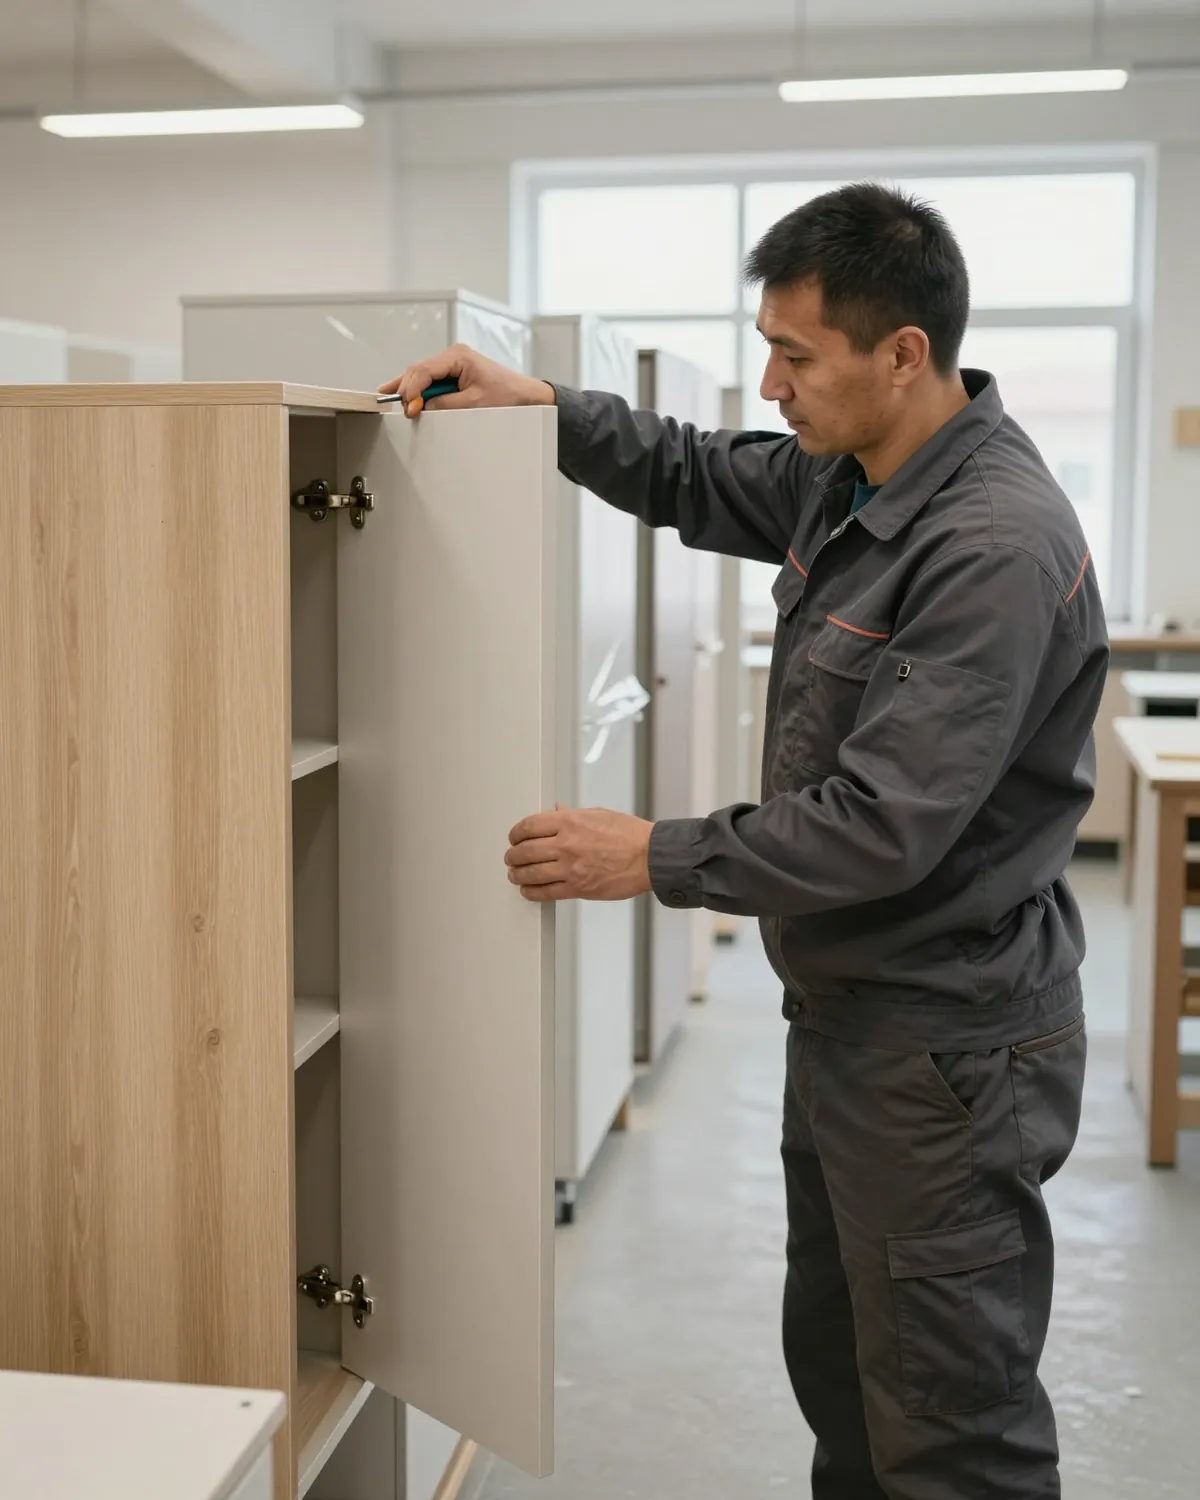
Write down the model of your TV and set-top boxes in advance, roughly how many books, dishes and collectables you have, and take photos of the sockets and cable outlets on the wall in question. If a new sofa is coming, we need its size, because the distance to the screen is measured from it. The measurer takes dimensions with a laser to within 1 mm and notes uneven walls and ceilings, and the photos of your equipment show straight away how deep the niche needs to be. If the wall is still to be plastered or the next wall tiled, book the measurement after that work: a couple of centimetres of finish changes the size of the niche. Also decide whether any old furniture stays in the room and needs to fit alongside, such as a piano or an aquarium. The more accurate this information, the fewer changes the 3D design will need.
A TV area with no cables on show
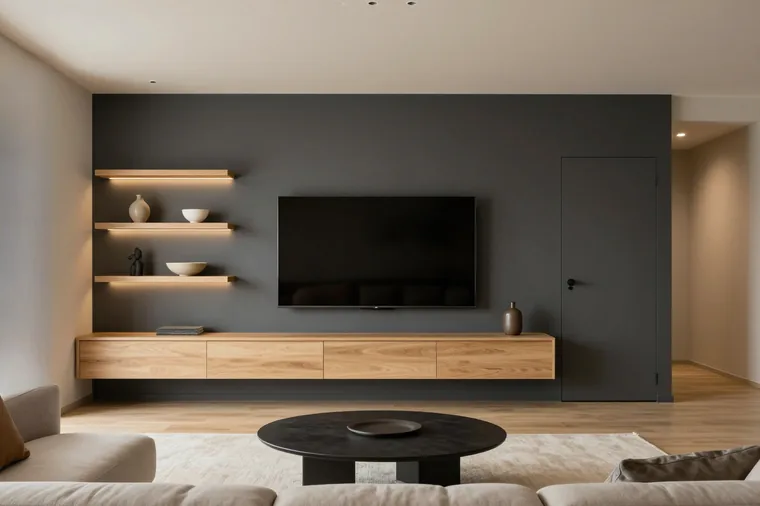
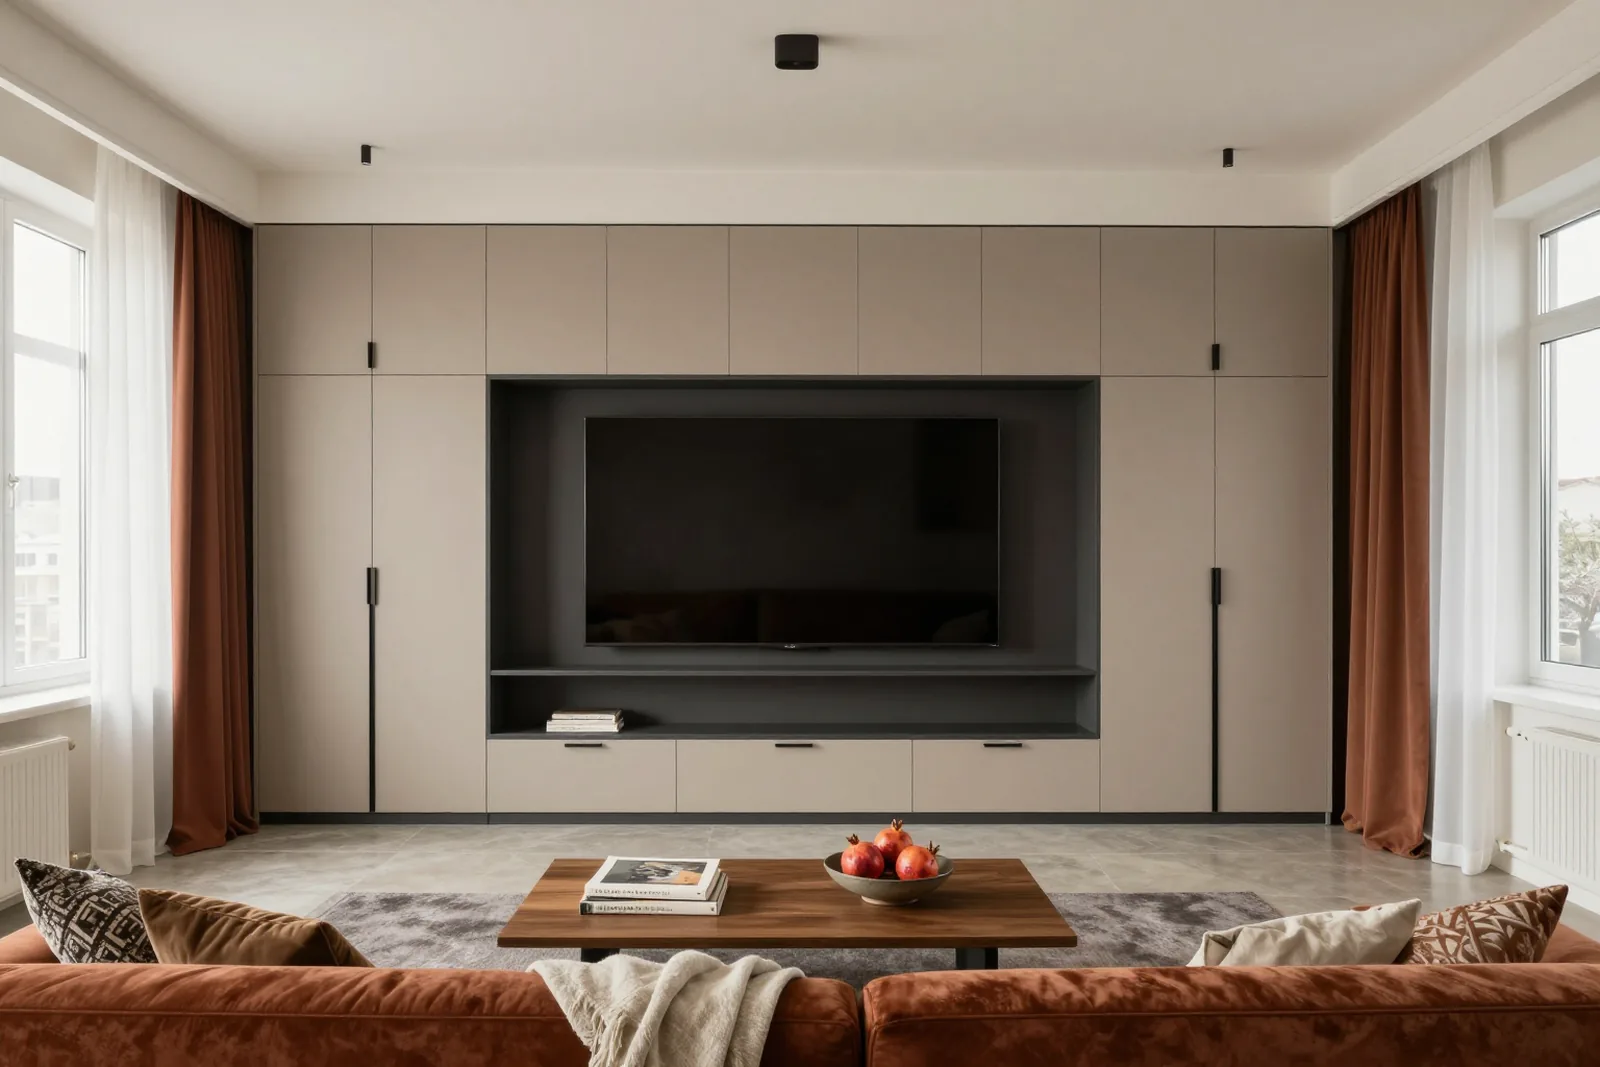
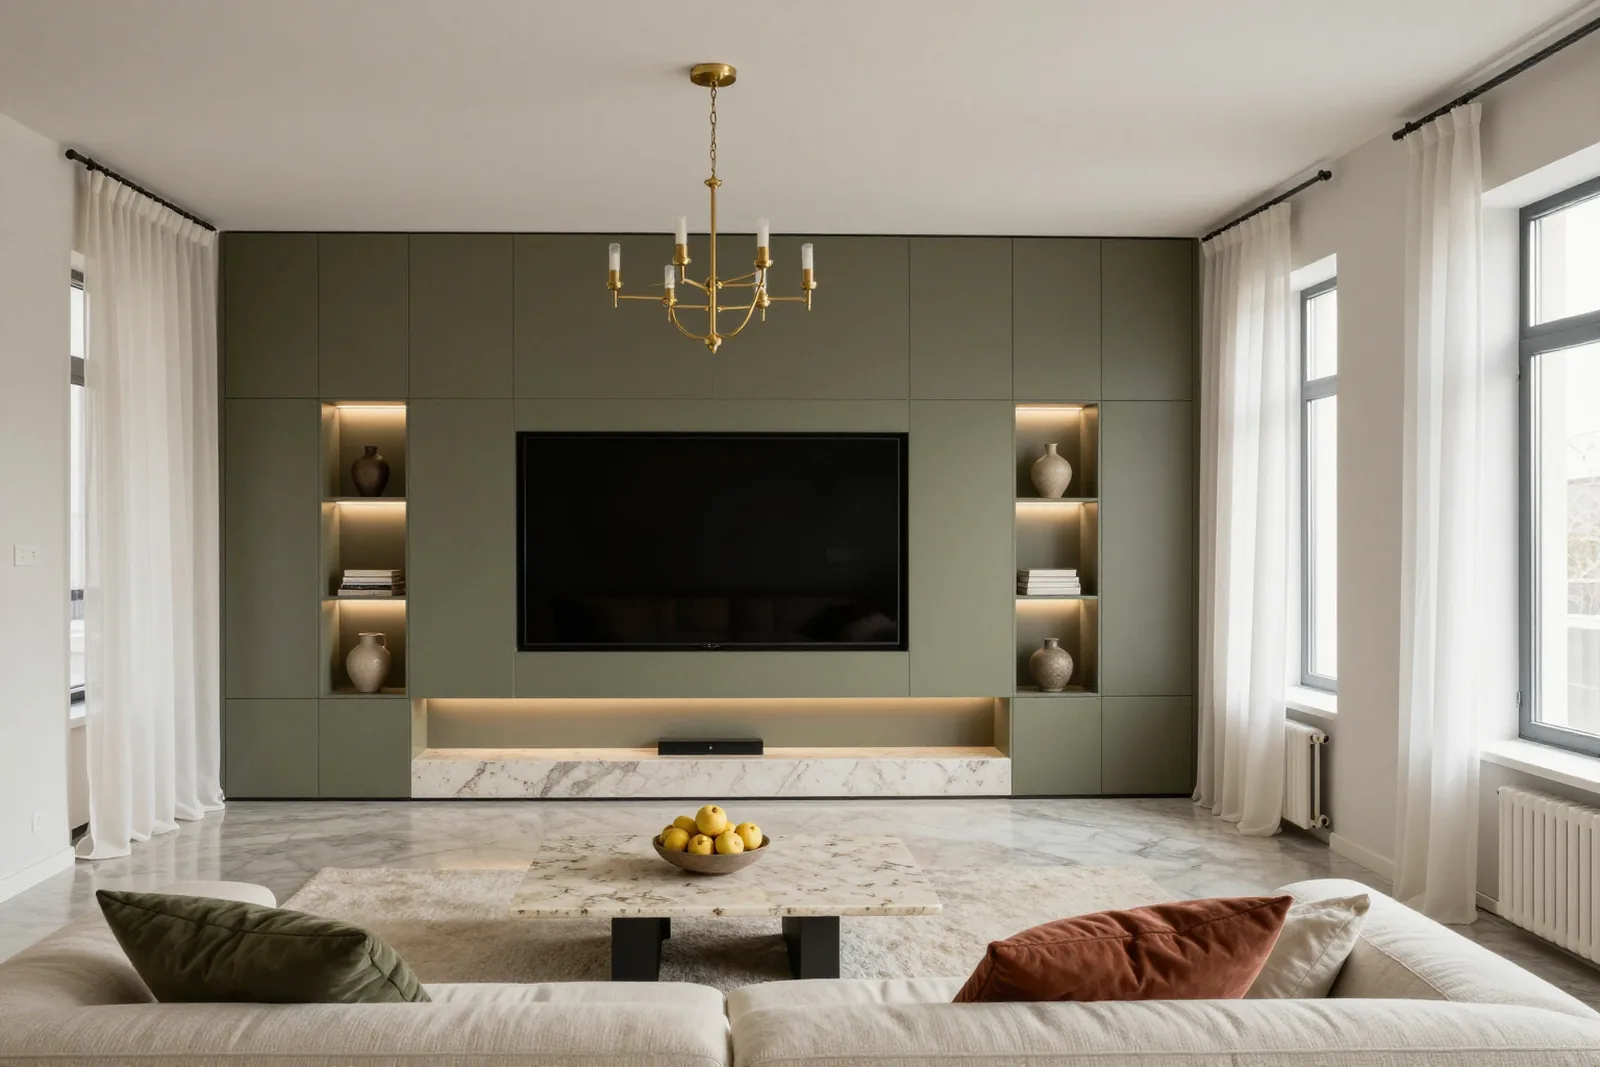
The screen is the focal point of the living room, so the TV area is worked out first. Three things matter here: the height of the screen, the distance to the sofa, and where the cables and warm air from the equipment go.
Screen height and distance to the sofa
In a living room the centre of the screen is usually set at the eye level of a seated person. For a sofa of normal height, TV makers give a range of 100–120 cm from the floor to the middle of the screen. The lower the sofa, the lower the screen. Hang the TV higher and your neck starts to ache within half an hour. Distance follows similar logic, but there is no single formula. For a 4K screen, LG's table gives 1.5–2.1 m for 50 inches and 2.0–2.5 m for 65 inches. In practice we start from where the sofa already stands or will stand, then pick the screen size and niche height to suit that distance, not the other way round. That way the wall and the upholstered furniture work as one system.
The TV niche and ventilation
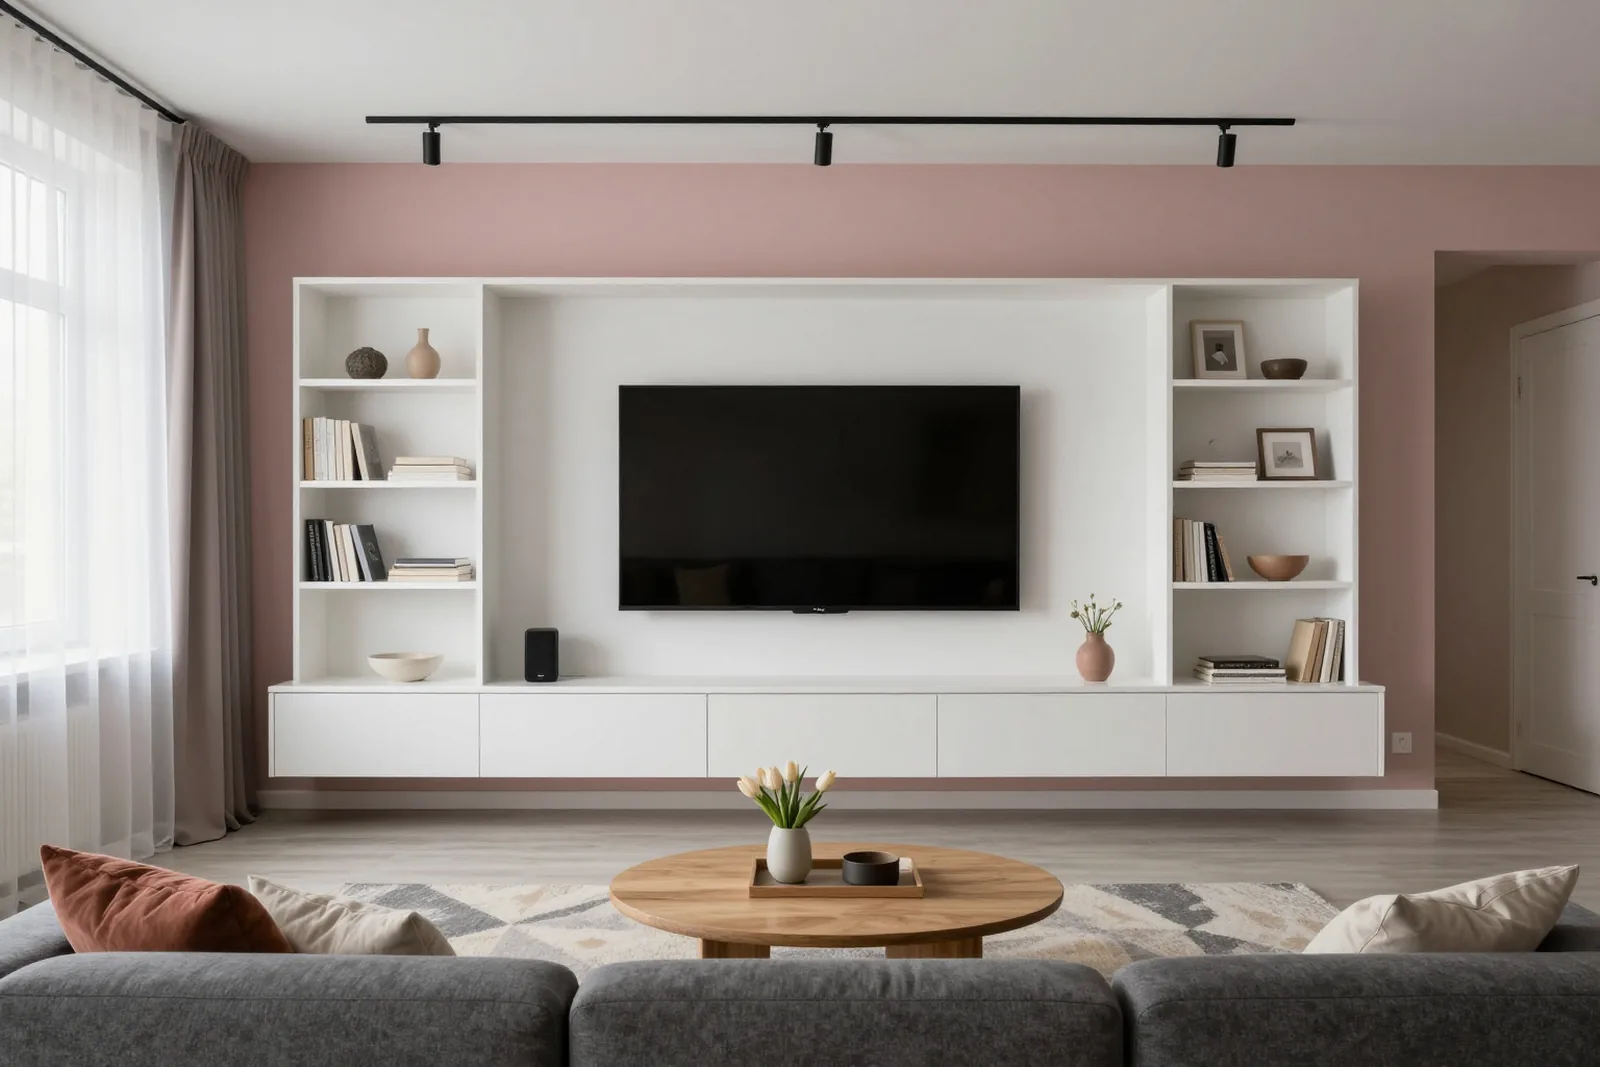
The screen niche is made wider and taller than the TV itself. Manufacturers' manuals ask for clear space around the body, around 10 cm for many models, or the set overheats. The niche is deeper than the TV on its bracket. If the screen hasn't been bought yet, the niche is planned for the intended size with some margin, and before production the dimensions are checked against the spec sheet of the chosen model. Set-top boxes, receivers and routers need air too: the closed section beneath them gets vent holes or an open back edge, and a mesh door or slotted front doesn't block the remote. A closed box with no ventilation is a common flaw of ready-made TV units, and made-to-measure furniture fixes it. A living room with a well-planned TV area has no overheating set-top box and no tangle of cables.
Where the cables go
- Cable channel: a vertical duct behind the panel takes cables from the screen down to the TV unit, out of sight.
- Outlets in the back panel: holes for plugs are drilled in the carcass so the door doesn't pinch the cable.
- Socket behind the screen: it is brought up to bracket height before the furniture goes in, if the electrician has time.
- Power strip inside: it sits in the TV unit, so only one cord to the wall is visible.
- Spare length: cables are left a little longer so the equipment can be pulled out without taking anything apart.
Built-in living room furniture or separate modules
A built-in system covers the whole wall; modules stand freely and can be moved around. The choice depends on how long you plan to stay in the flat and how straight its walls are.
How the two approaches differ
Built-in versus modular living room furniture| Criterion | Built-in system | Separate modules |
|---|
| Gap under the ceiling | none, top cupboards close it | stays, dust collects |
|---|
| Uneven walls | compensated on site | a gap shows at the wall |
|---|
| Moving house | dismantled with some rework | moves as it is |
|---|
| Storage volume | the whole wall up to the ceiling | only the height of the modules |
|---|
When a built-in system pays off
Built-in living room furniture makes sense if the flat is your own and you don't plan to rearrange the room in a couple of years. A floor-to-ceiling wall then gives the most storage for the same floor space, and the top tier holds things you take out once a season: suitcases, Christmas decorations, spare dishes for guests. Uneven walls are another argument. In Almaty buildings of different ages a deviation of a couple of centimetres along a wall is common, and a built-in carcass closes it with a filler strip on site. Modules win in a rented flat and in a room where a child's bed or a desk may appear within a year. They are easy to spread across different walls or take with you.
What to check in the wall before ordering
- Straightness: the deviation in height and length is measured at the visit, and it sets the width of the filler strip.
- Hidden pipes and cables: there must be none where the furniture is fixed to the wall.
- Wall type: plasterboard holds a wall-hung module only with embedded mounts; concrete and brick take standard fixings.
- Skirting and cornice: these are often removed so the furniture sits flush.
Depth and proportions for the size of the room
Carcass depth decides whether the room feels spacious. Ten centimetres along the whole wall is a walkway you either gain or lose.
Typical depth of living room pieces
Carcass depth in a living room| Piece | Usual depth | What fits |
|---|
| TV unit | 40–45 cm | set-top box, receiver, games console |
|---|
| Shallow module | 30–35 cm | books, dishes, documents |
|---|
| Bookcase | 25–35 cm | one row of books |
|---|
| Display cabinet or sideboard | 35–45 cm | plates, glasses, collections |
|---|
| Clothes wardrobe | 55–60 cm | hangers across the rail |
|---|
A small living room up to 16 m²
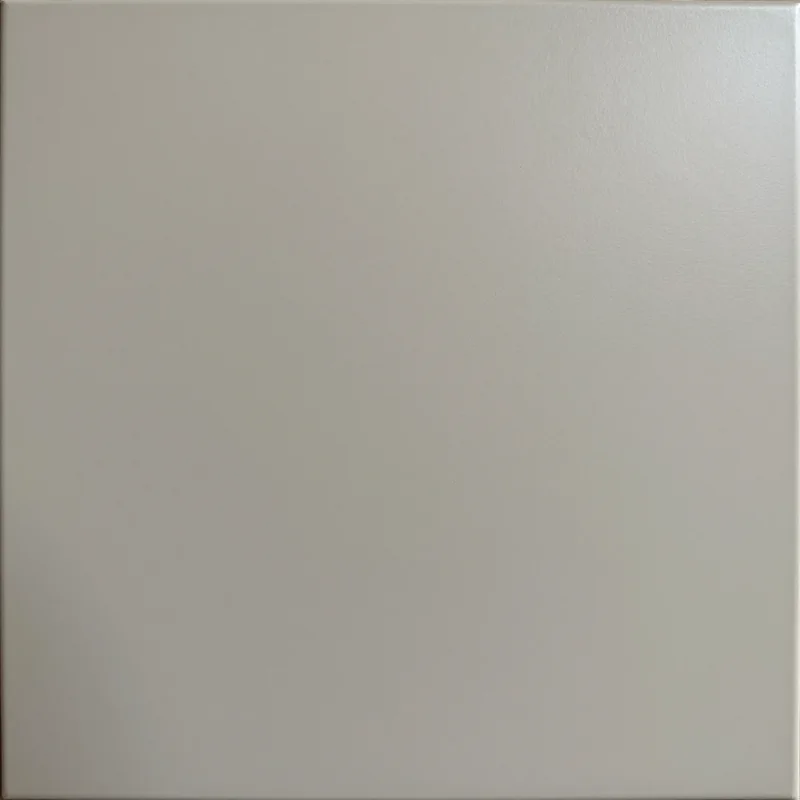
A custom living room for a small space relies on shallow modules and storage that goes up. A full-height unit 30–35 cm deep holds a lot but doesn't steal the walkway and visually blends into the wall, especially with light, smooth fronts in the wall colour. Replace bulky furniture in the middle of the room with one continuous system along the short wall. Keep fewer open shelves in a small living room: every shelf of small items adds visual noise. Gloss and mirror inserts reflect window light and make the room feel a little larger, but dark gloss shows dust and fingerprints more, so in homes with children we usually suggest a light matte finish. It forgives both dust and handprints.
Proportions on a tall wall
On a wall with a ceiling higher than 3 m, floor-to-ceiling furniture can look heavy. Three techniques help. The top tier is made in the wall colour and without handles, so it reads as part of the architecture. The central section, by contrast, stands out through texture: veneer, slats or lit niches. And the lower cabinets are raised on a plinth or wall-hung, so the floor shows beneath them. That way even a five-metre wall looks composed rather than solid. If the room has a cornice or moulding, the top of the furniture is aligned with it rather than the ceiling, so the line follows the existing architecture and the cabinets don't compete with the decor. Check this in the 3D design before production, while changing the proportions costs nothing.
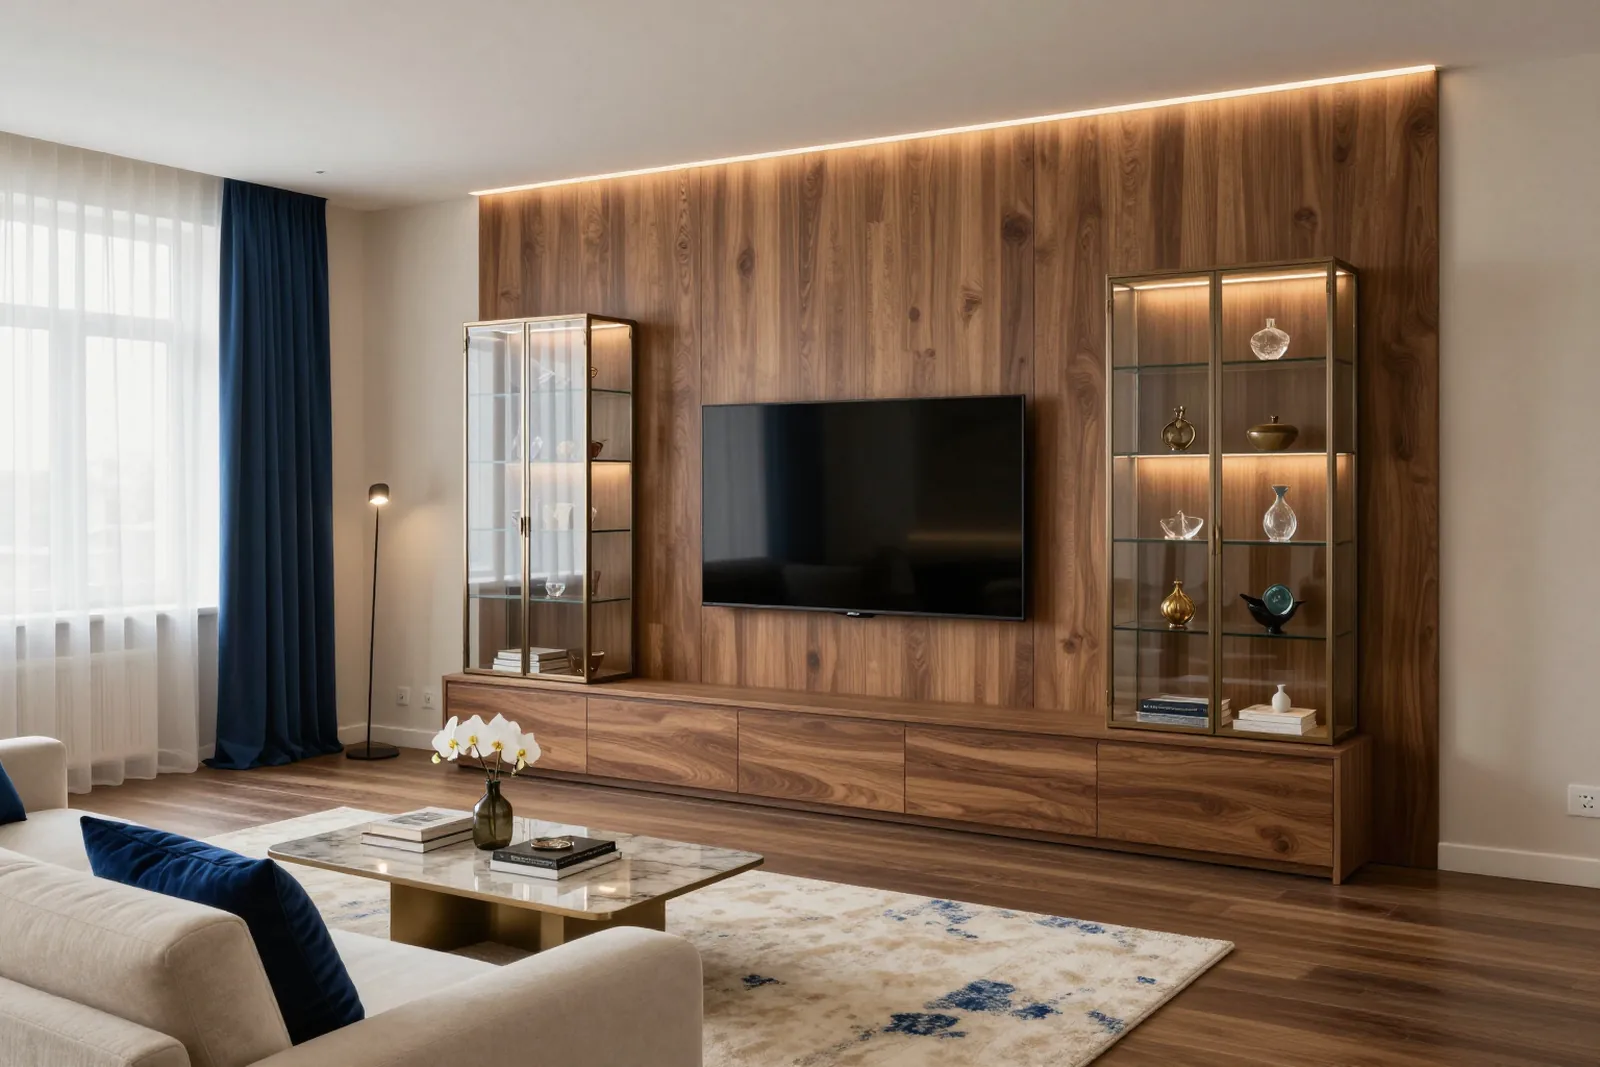
Shelves and display cabinets that don't sag
Open shelves and display cabinets carry the heaviest load in the living room. Books, dishes and collections weigh more than they seem, and this is where mistakes show first.
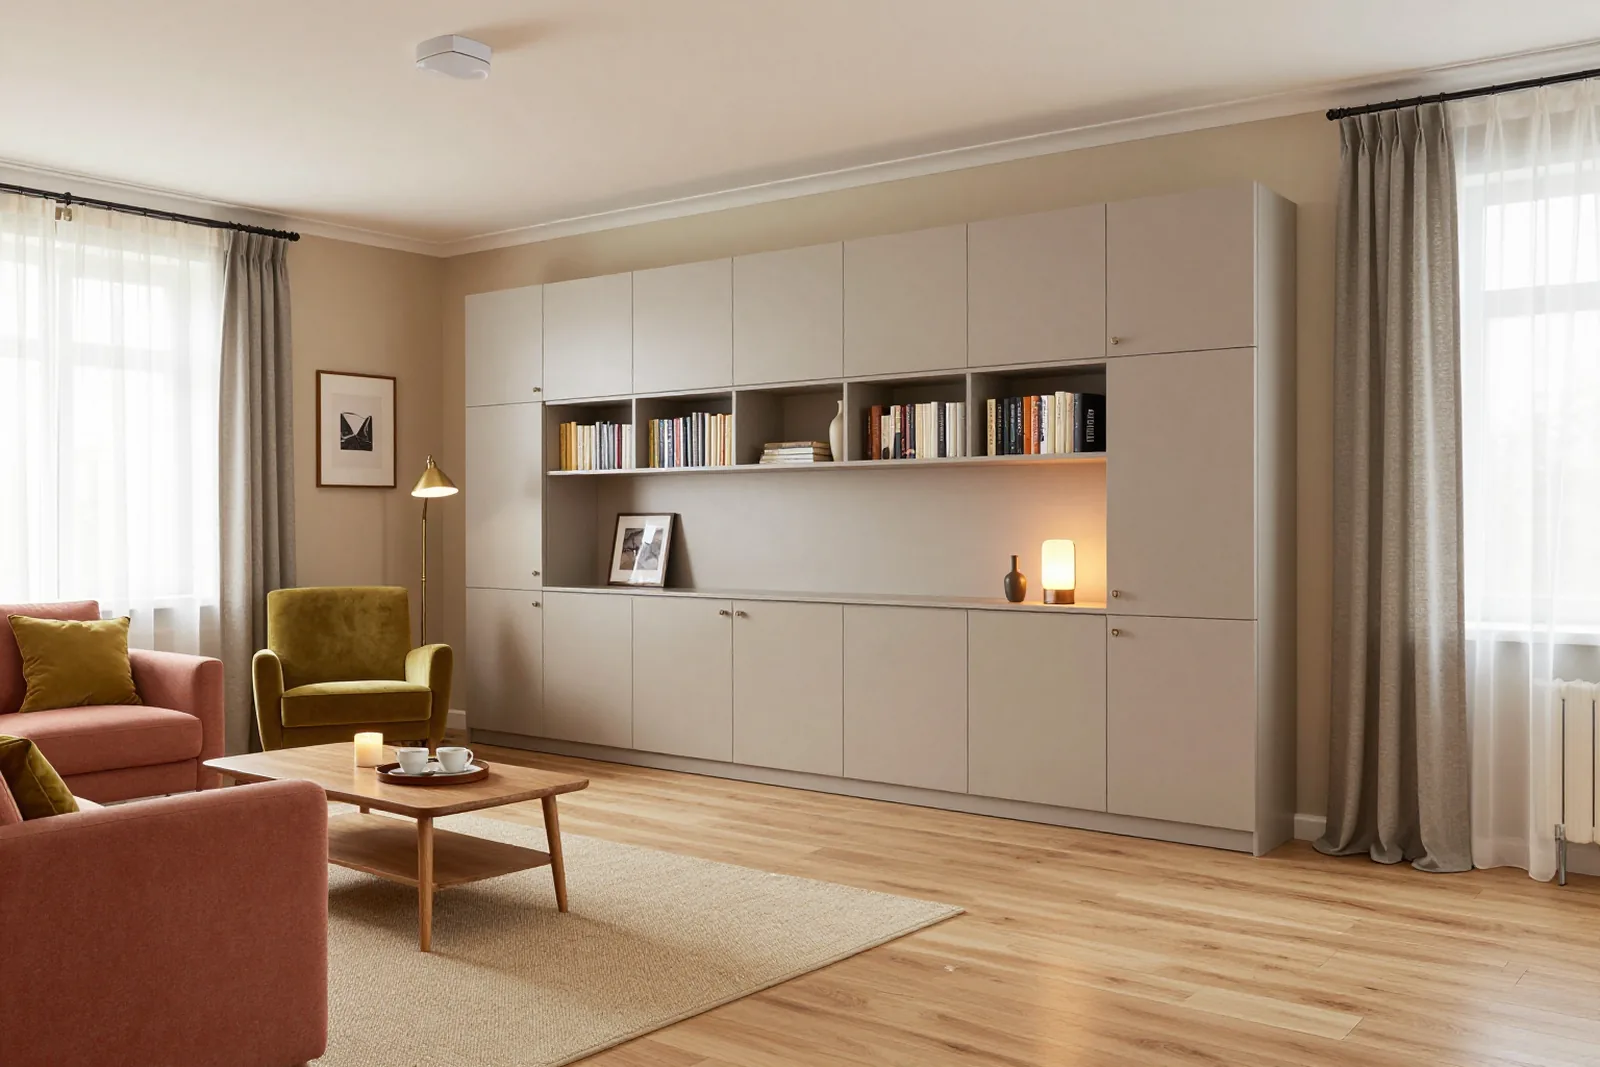
Why bookshelves sag
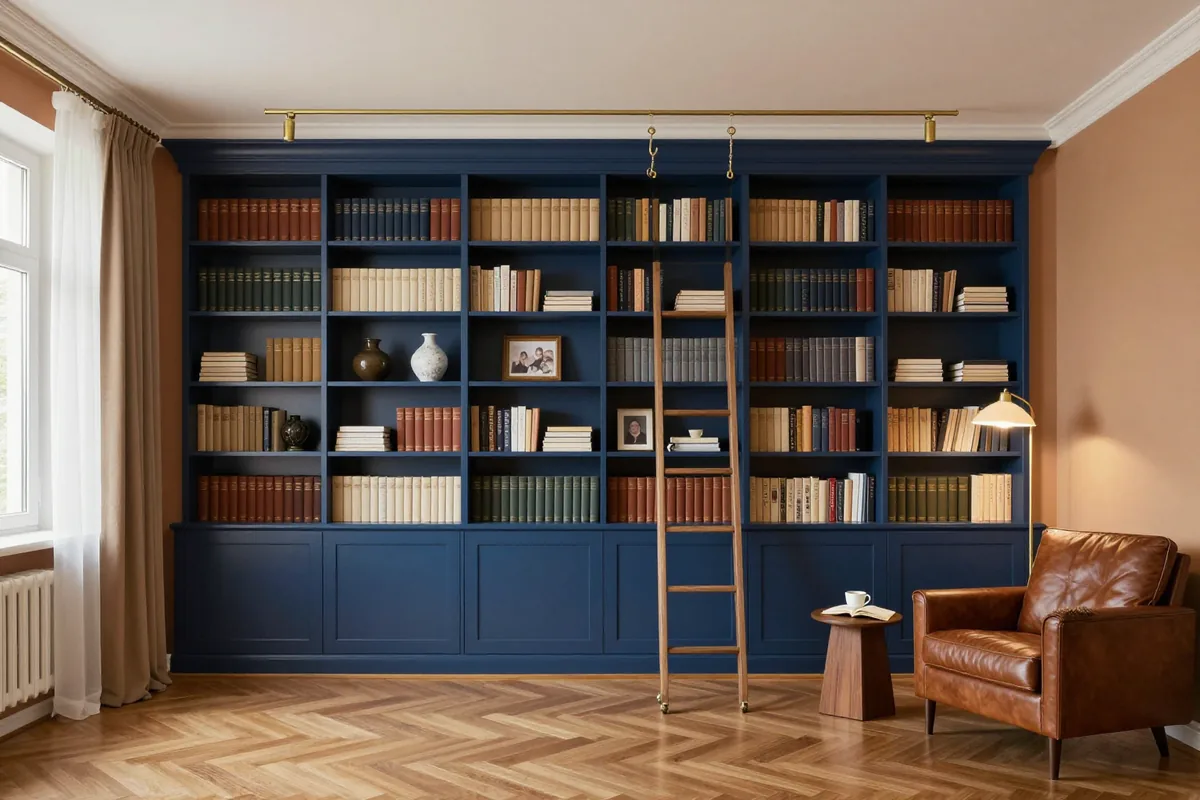
Making living room furniture with a book wall starts with a load calculation. A full row of books on one shelf is tens of kilograms pressing on the middle of the span for years. A long 16 mm chipboard shelf under that load slowly sags, even if it is perfectly straight in the first month. So on a book wall the spans are split with vertical uprights, a thicker board is used, or the front edge is stiffened with a strip. The second rule: if you don't plan to change the shelf height, fix bookshelves on dowels or confirmat screws rather than only on shelf supports. The third is to spread the load: the heaviest albums and bound magazines go on the lower shelves or into closed sections. Then an open library looks as straight years later as it did on installation day.
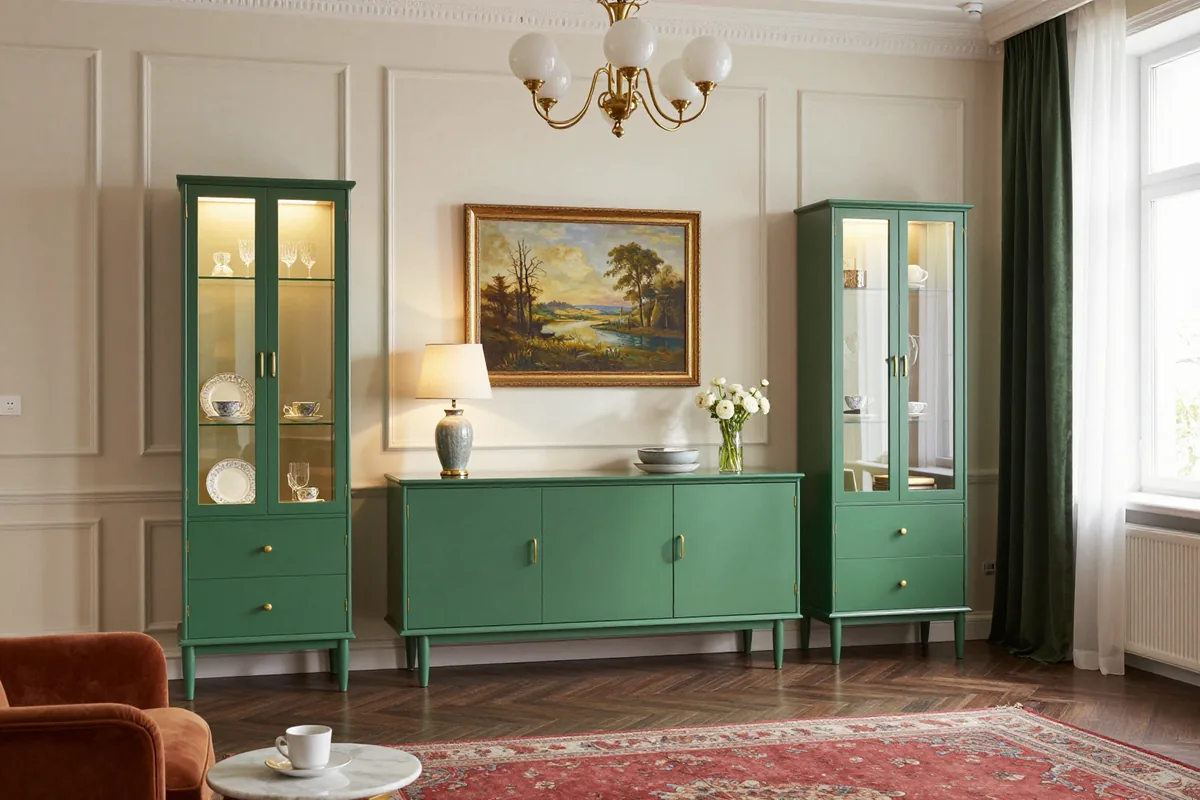
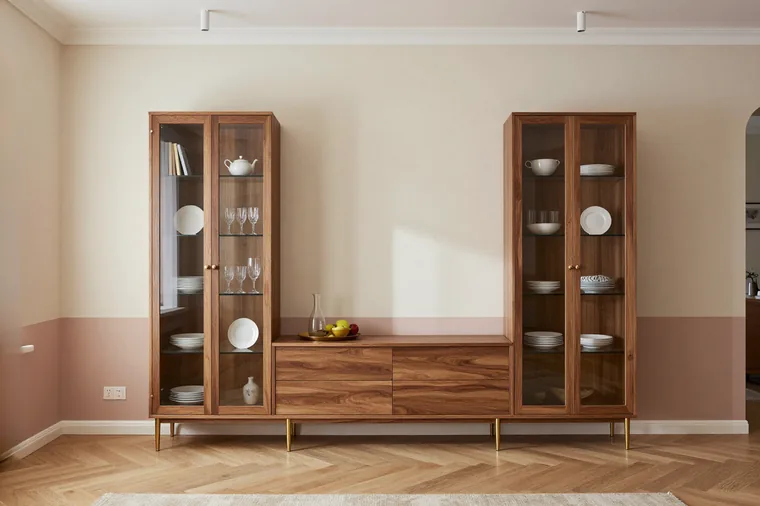
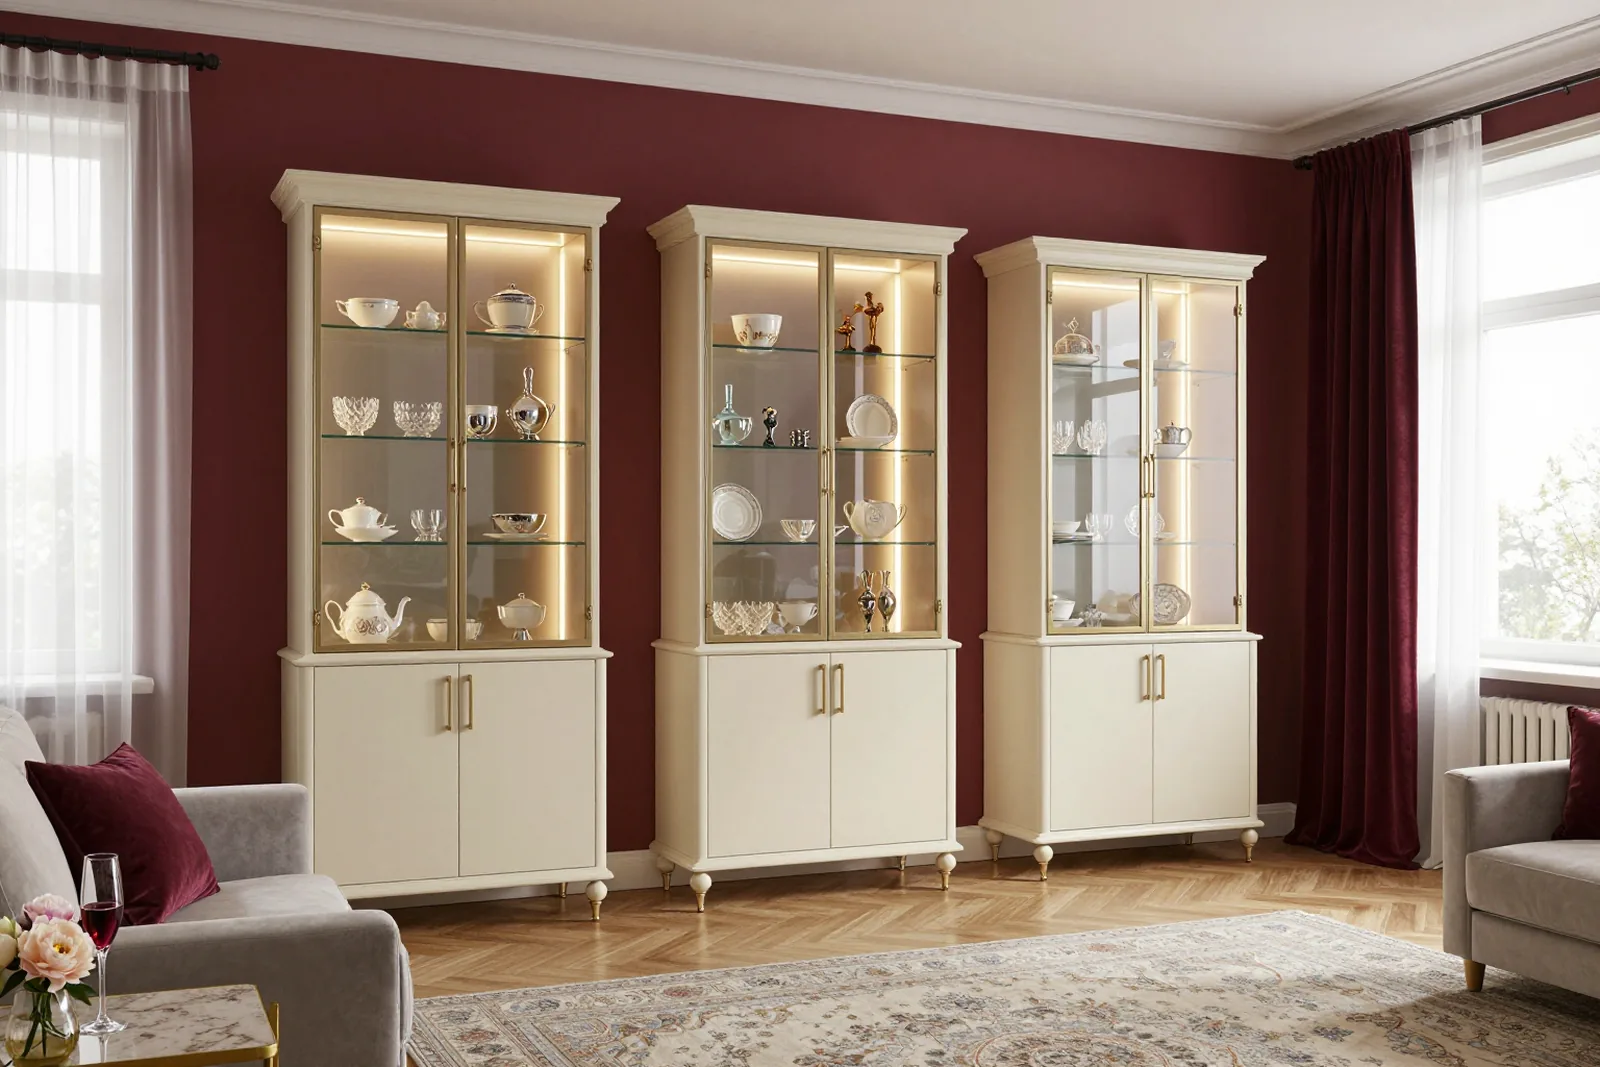
What matters in a display cabinet
- Door glass: tempered, with polished edges so you can't cut yourself.
- Glass shelves: on metal supports with soft pads so the dishes don't rattle.
- Back panel: light, mirrored or lit, so the contents don't disappear into shadow.
- Hinges: with soft-close, otherwise a glass door slams and works loose over time.
- Dust: a cabinet with doors gathers dust many times slower than an open shelf, so keep crystal and porcelain behind glass.
Lighting open niches
Niche lighting softens the living room in the evening and removes the harsh contrast between a bright screen and a dark wall. The LED strip is set into a profile under the shelf or along the edge of the niche, so the eye sees light rather than dots of diodes. The power supply is hidden in the next closed section, with access for replacement. The switch is most convenient next to the sofa, or use a dimmer with a remote. A separate lighting circuit for the display cabinet lets you switch on only that while guests watch a film. The colour temperature is chosen to match the room's general light, so the shelf lighting doesn't clash with the ceiling light. Light that is too cold turns wood grey; too yellow distorts white fronts. Before installation it is worth seeing a sample strip in the showroom in the evening, with the main lights off.
Matching living room furniture to floors and doors
After the floor and walls, the wall unit is the largest surface in the room. So its colour and texture are chosen together with what is already in the flat.
Wood next to wood
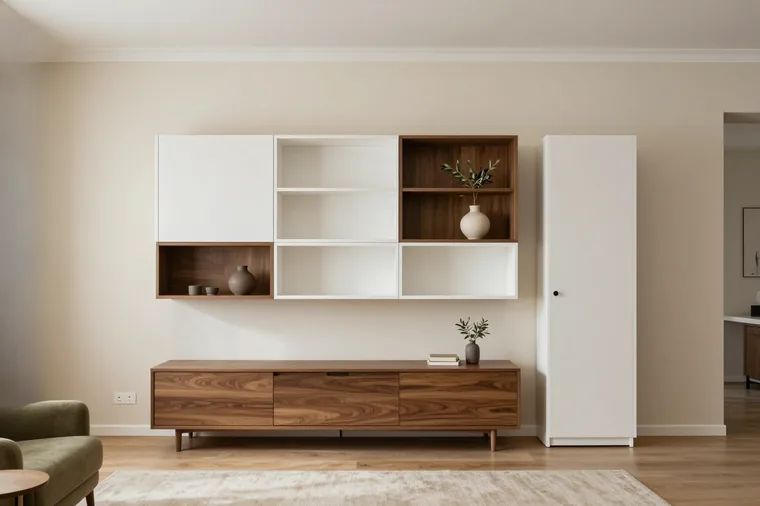
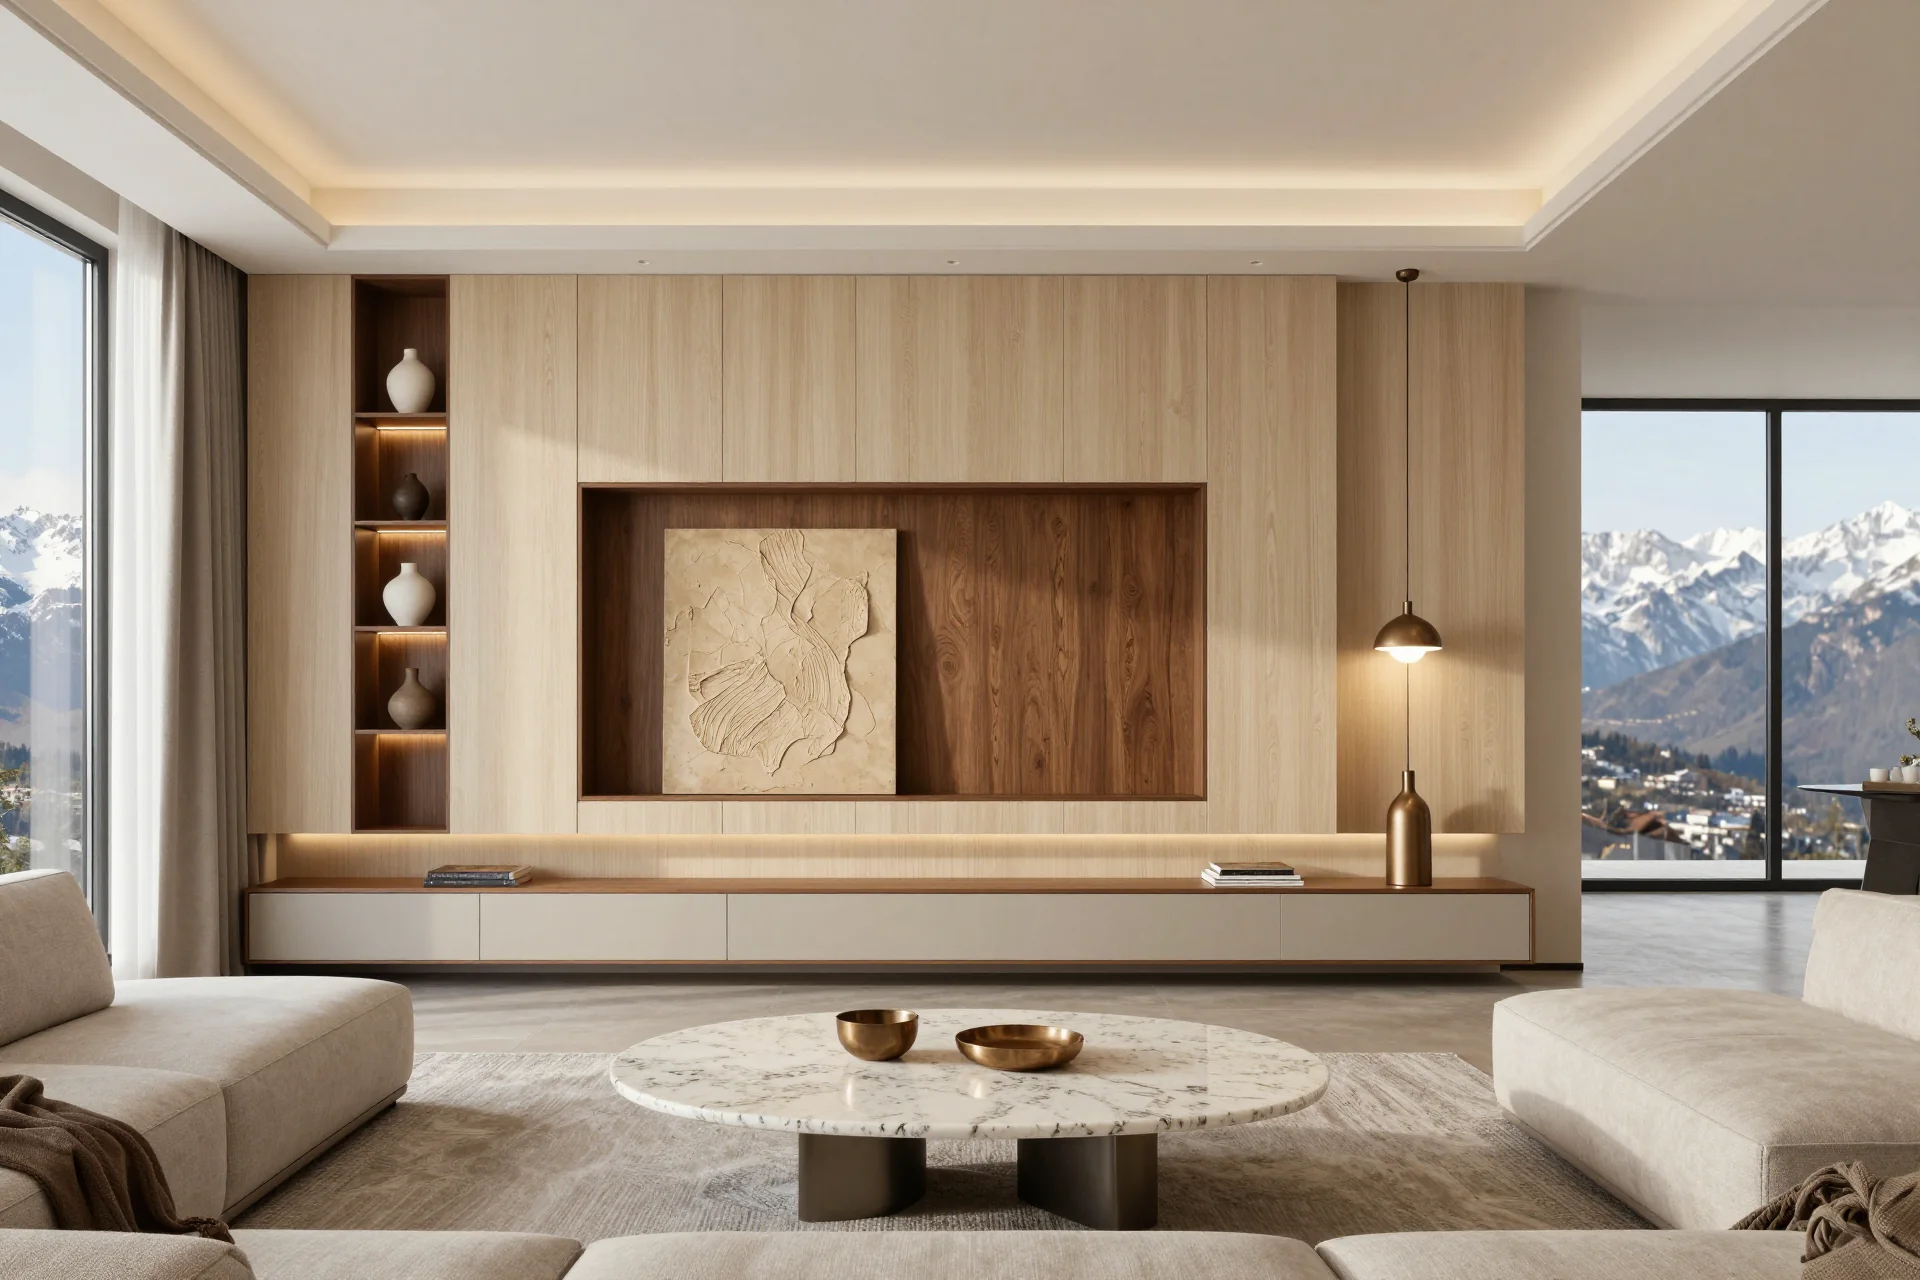
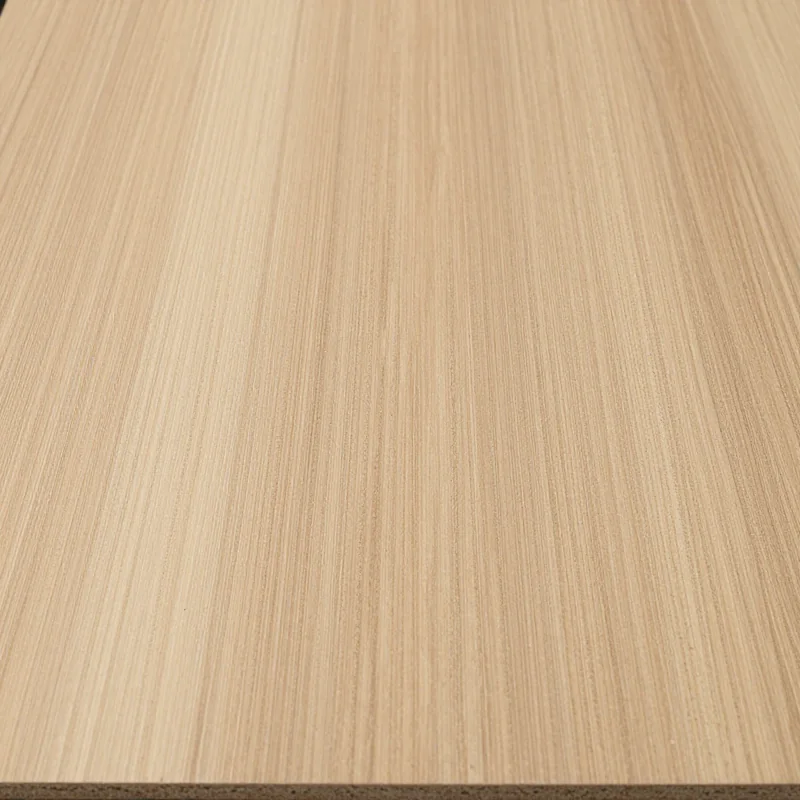
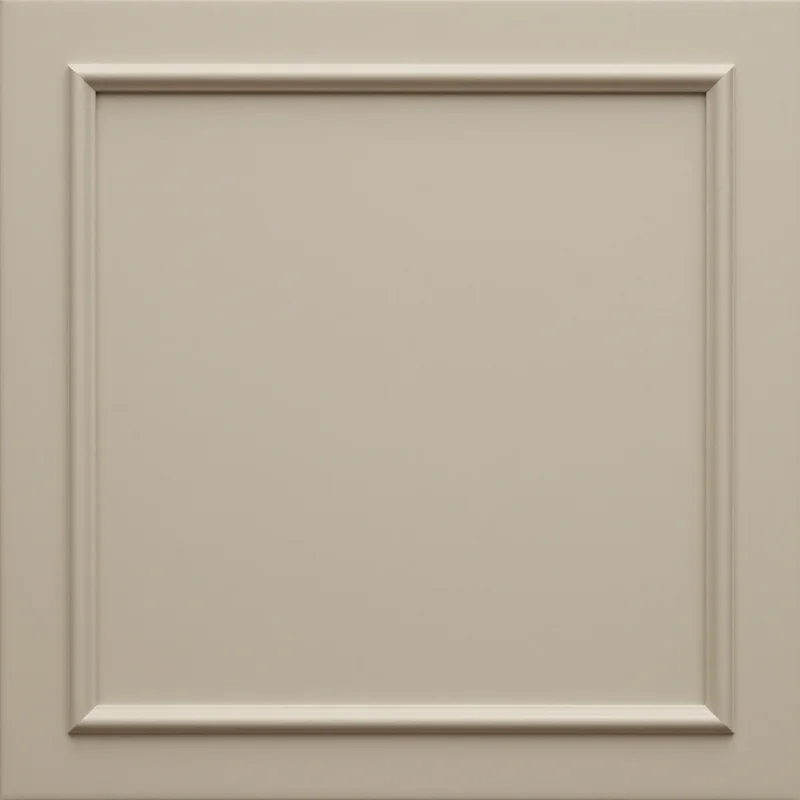
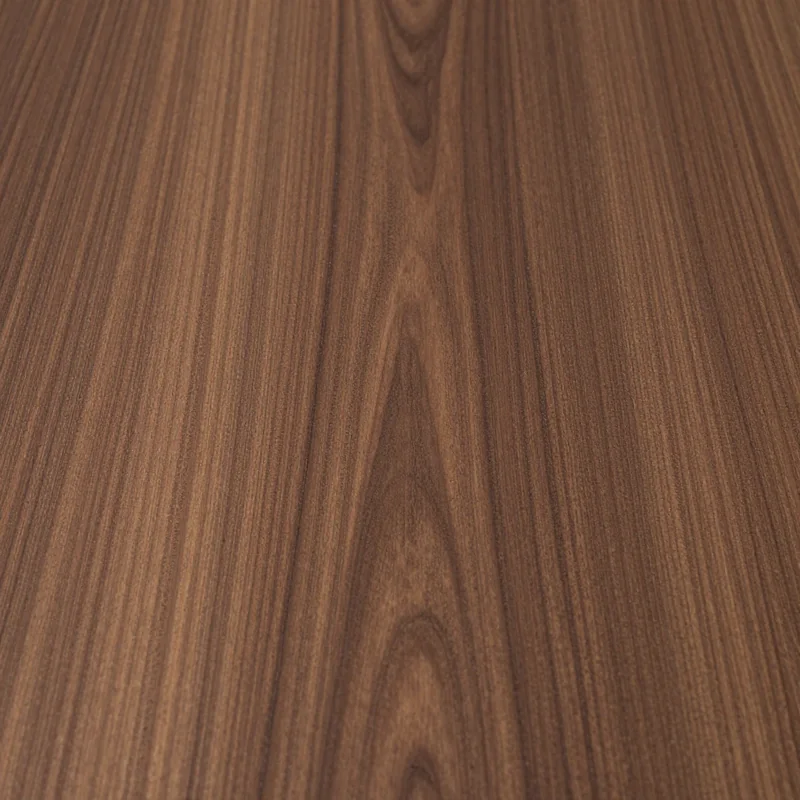
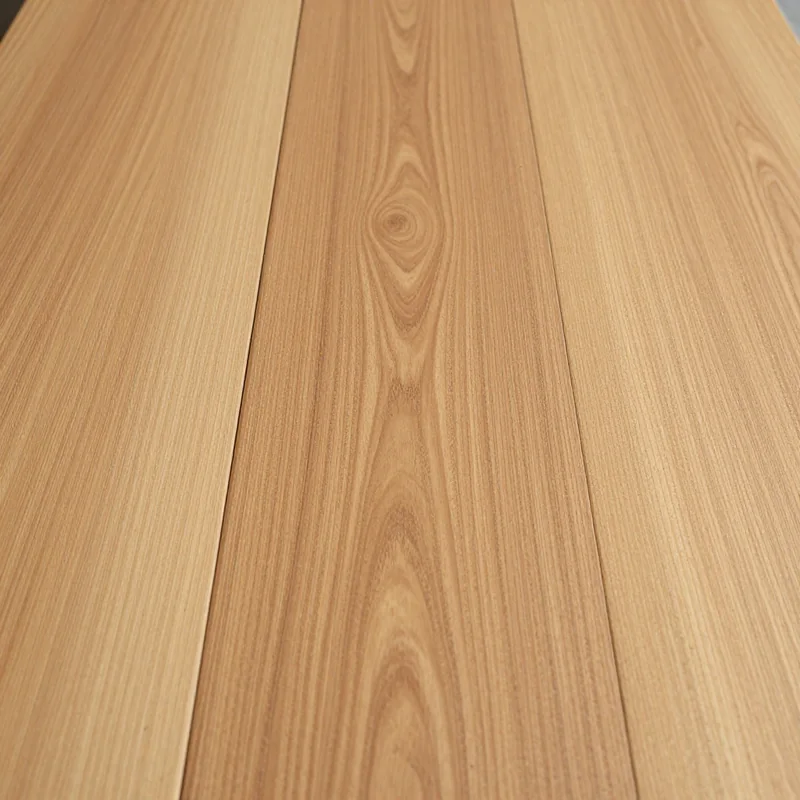
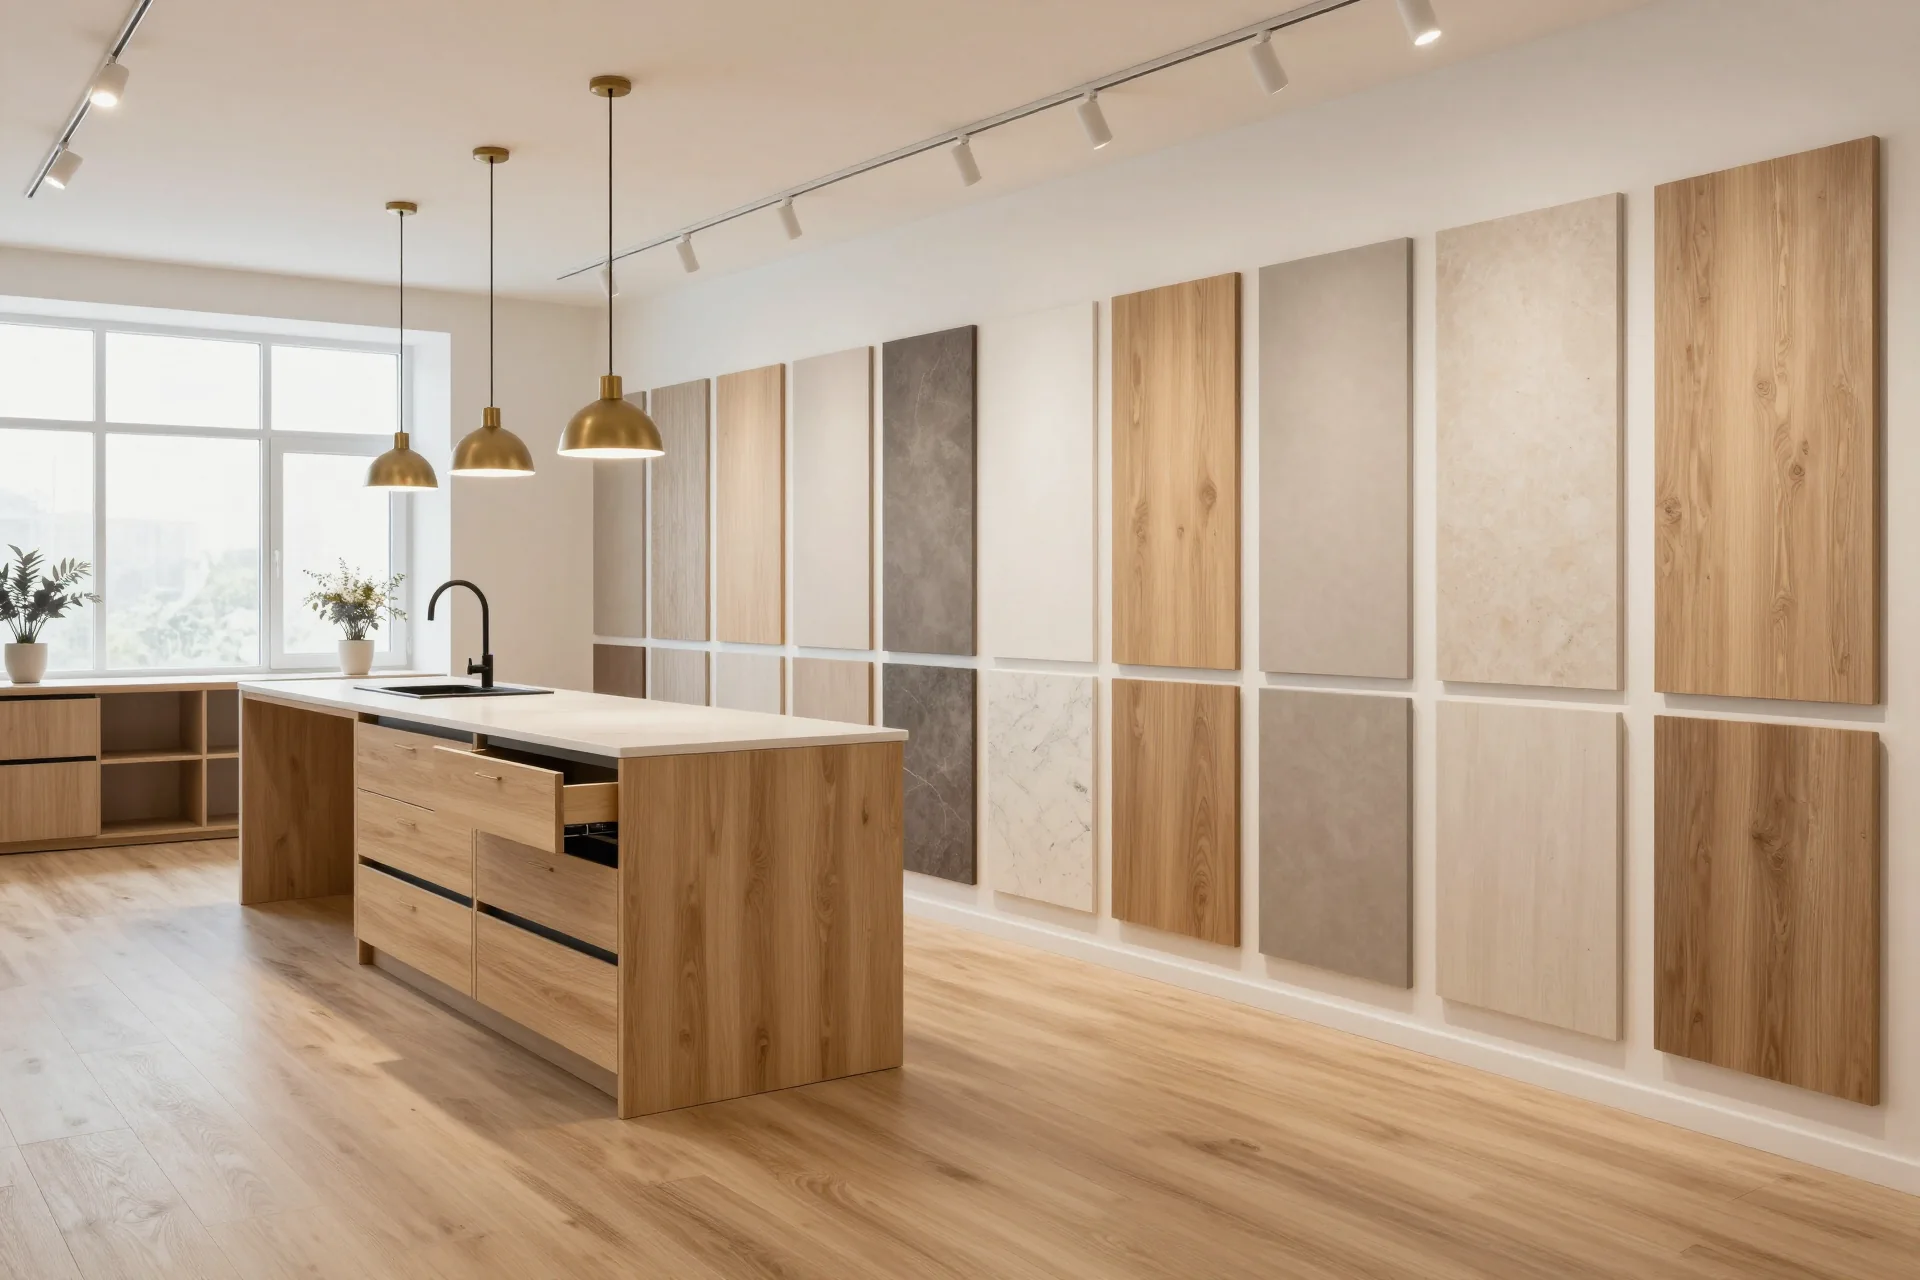
The most common problem is two almost identical shades of wood side by side. A light oak floor and fronts in a slightly yellower oak look like a mistake, not a pairing. Two options work. The first is to match the front finish as closely as possible to the floor, comparing samples right on the floor in daylight. The second is to go for a clear contrast: a light floor with dark walnut on the central part of the wall, or warm wood against plain fronts in the wall colour. When custom living room furniture is made for a finished renovation, the interior doors join the palette too. If they are white, white matte fronts will tie the room to the hallway, and wood texture is best kept as an accent in the centre.
Palette rules
- Plain in the wall colour: tall cabinets in the wall colour blend into the room and don't overwhelm it.
- One wood per room: if the floor is oak, the fronts are oak of the same tone or not wood at all.
- An accent in the centre: the boldest texture or lighting goes to the TV area or display cabinet, not the whole wall.
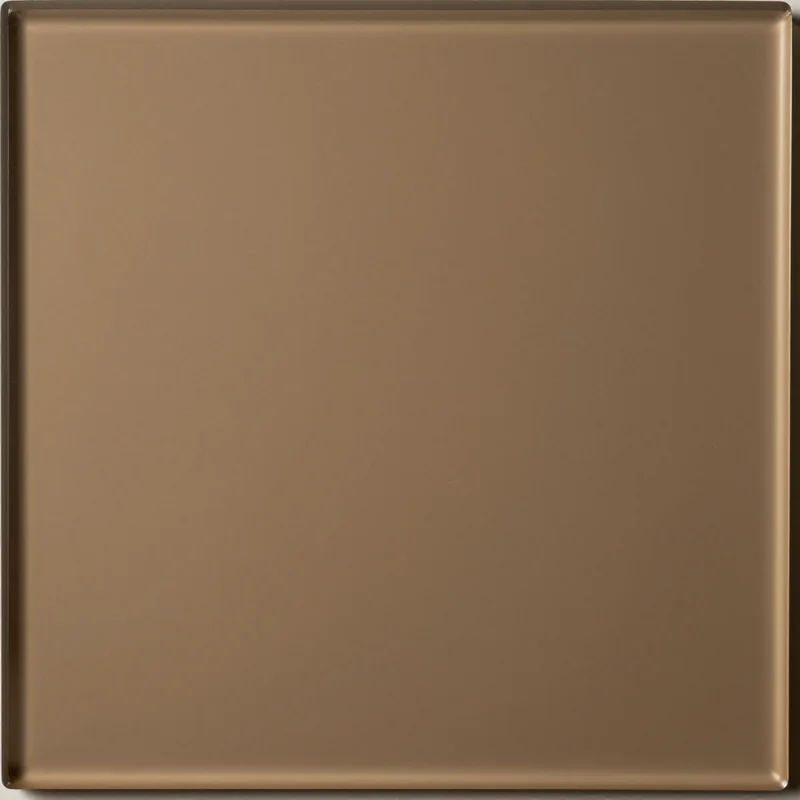
- Metal in one tone: handles, legs and profiles in one colour, for example black or brass.
A cabinet for everyday things
Even a formal room holds plenty of everyday items. Without a dedicated place they spread across shelves and display cabinets, and the wall unit loses its look.
What usually lives in the living room
In flats without a storeroom, whatever doesn't fit in the hallway and bedroom ends up in the living room. The vacuum cleaner and mop, the ironing board, a clothes airer, boxes of documents, board games, spare dishes for celebrations, the Christmas tree and decorations. When a custom living room cabinet is planned around a list like this, the inside gets sections of the right height: a tall one for the vacuum and the board, drawers for documents and small items, deep shelves for boxes. From the outside these are ordinary smooth doors in line with the TV area. Guests see a tidy wall, while you know that everything for cleaning is behind the third door. This is cheaper than a separate wardrobe in the hallway and takes up no extra floor space.
How much to close and how much to show
- Closed doors: two thirds of the wall or more if you have children or pets.
- Display cabinets: for dishes and things you like to show but don't want to dust every week.
- Open shelves: books, photos and a few decor pieces, leaving some empty space.
- Drawers below: for small things, remotes and chargers, so they don't clutter the TV unit.
Furniture for a studio or open-plan kitchen-living room
In a studio one room serves as the kitchen, the place to relax and sometimes the bedroom. Furniture here doesn't just store things; it divides the space into zones.
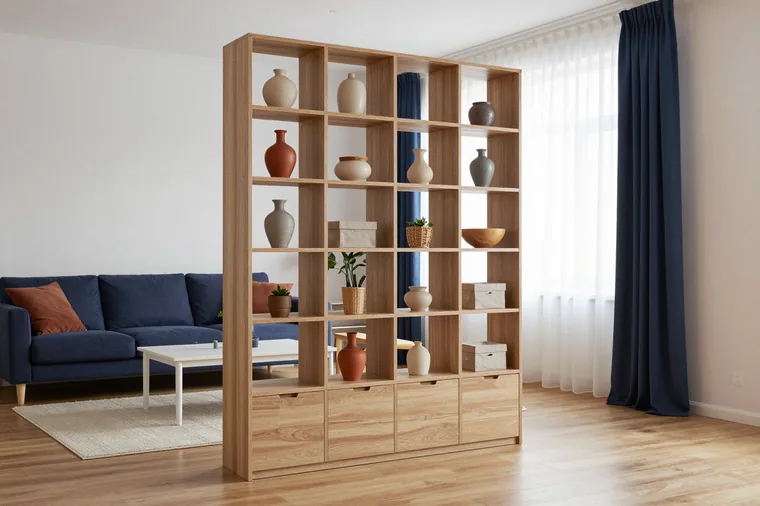
A divider instead of a wall
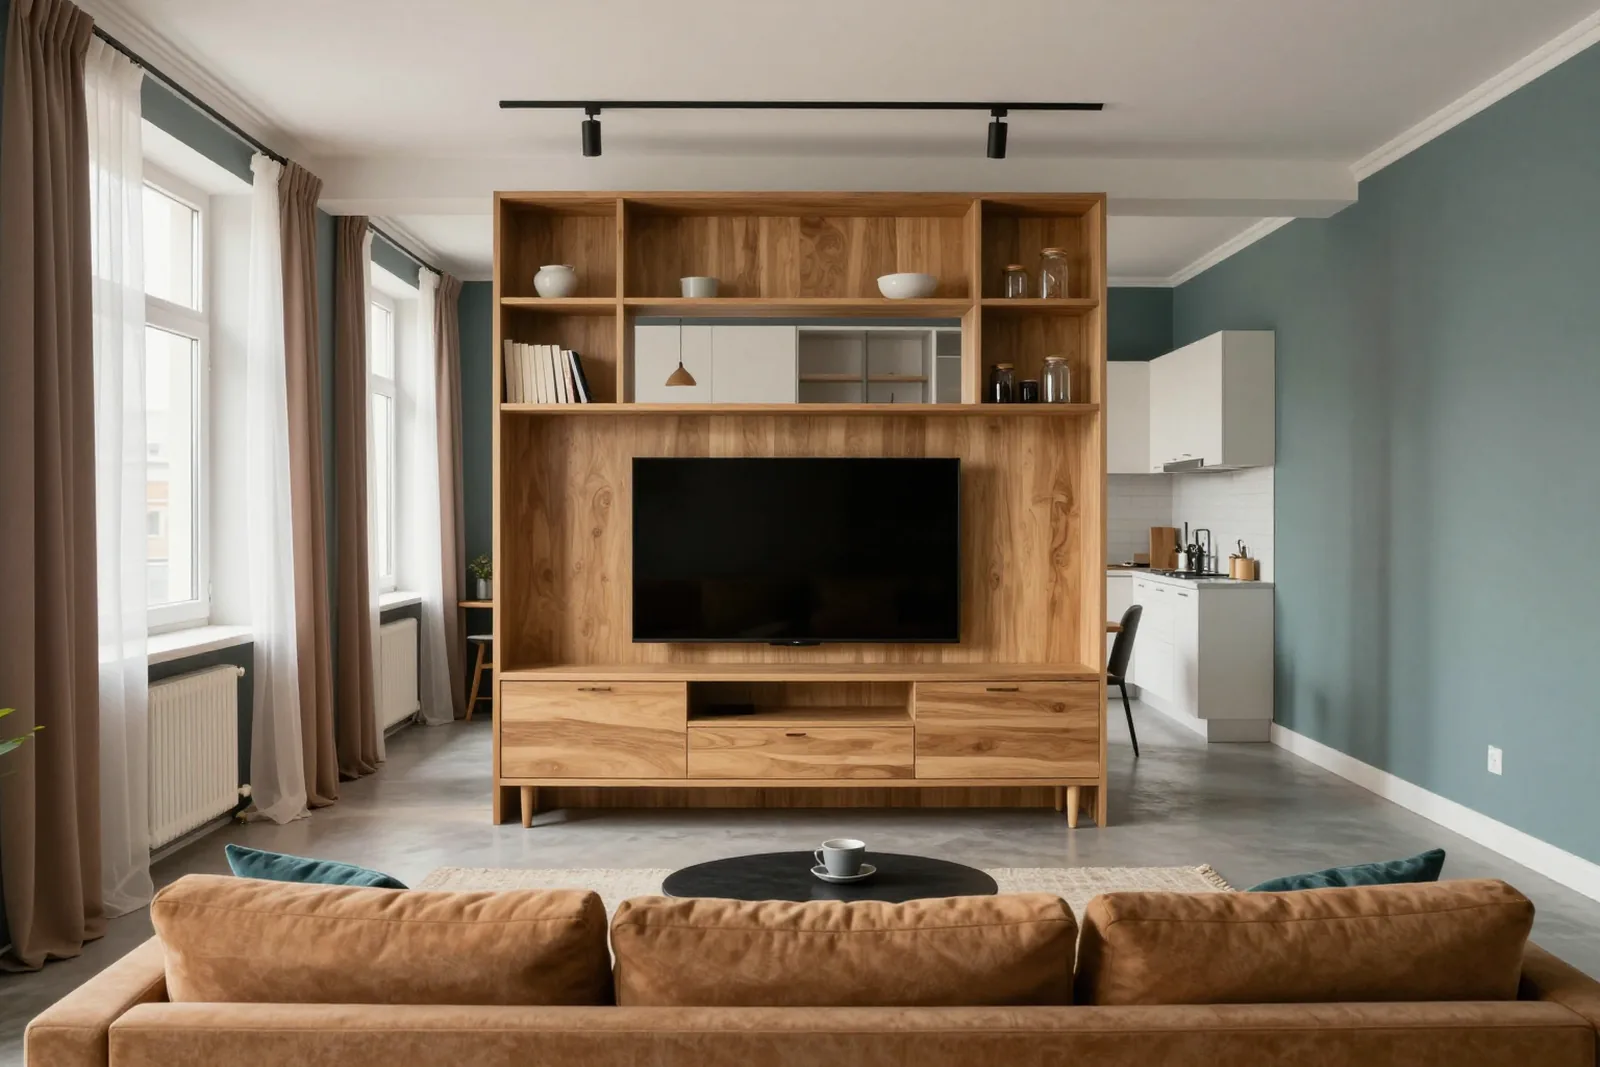
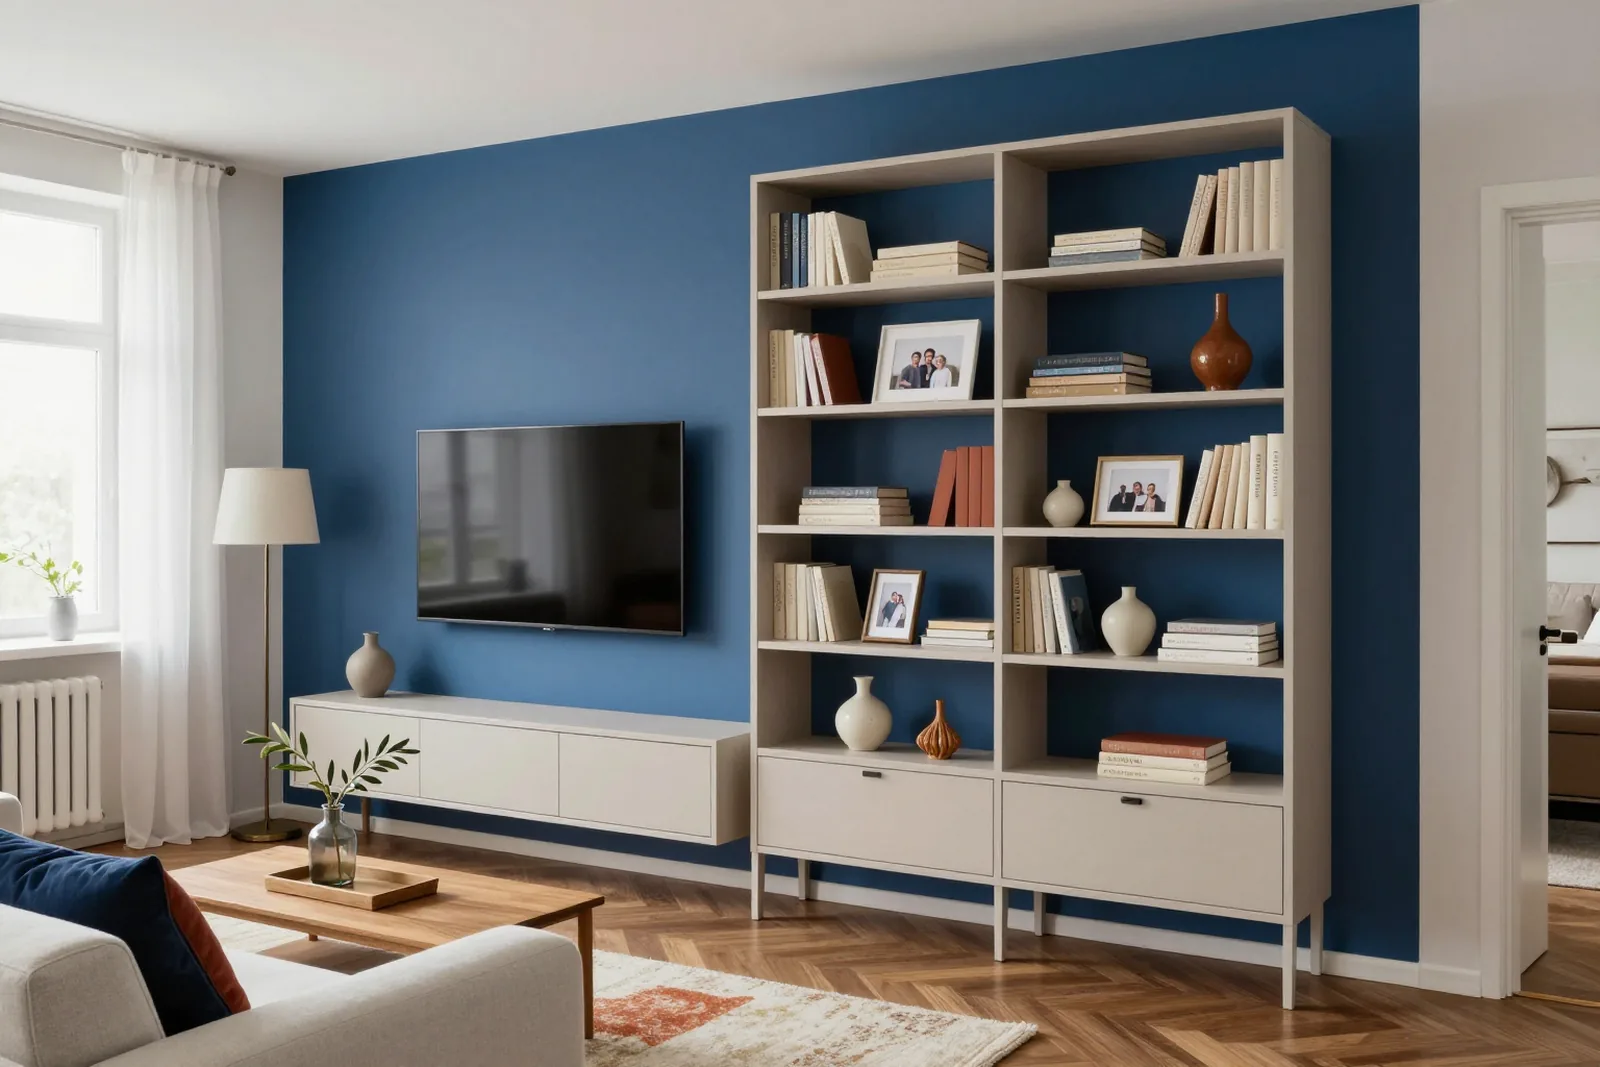
Open shelving across the room separates the sofa area from the kitchen or bed while letting daylight through. A TV can be mounted on one side and books or kitchen dishes placed on the other. For stability, tall shelving is fixed to the floor and ceiling or to the nearest wall. The lower part is often closed: the divider then looks heavier at the base and you can't see through it at floor level, where cables and small things usually collect. Shelf heights and spacing are chosen so the dining table isn't visible from the sofa, and the screen isn't visible from the kitchen. If the divider screens off a sleeping area, the upper part is left open and closed sections go at bed level.
A wall unit in the same finish as the kitchen
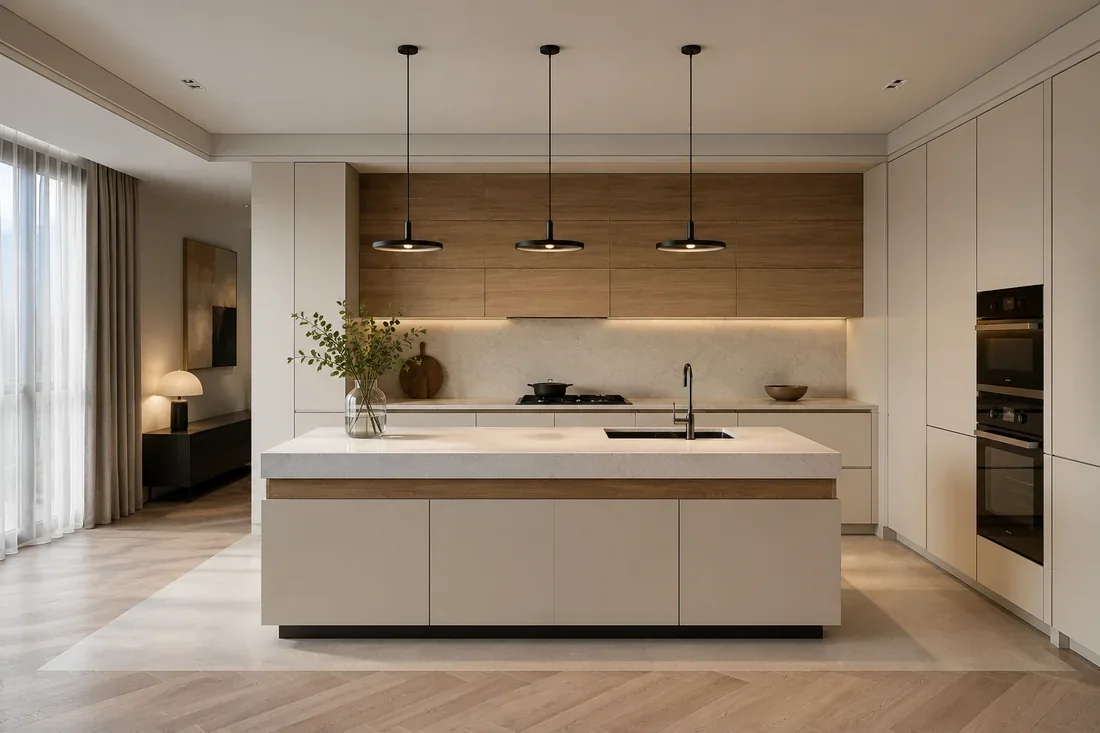
Custom living rooms in a studio almost always benefit when the wall unit shares the kitchen's finish or sits in a calm contrast with it. Fronts in one colour turn the kitchen and living area into one composition, and the room feels larger. If we made the kitchen, we take the finish from its design. If not, we match it against a sample of its front in the showroom in daylight. It helps to align the kitchen wall cabinets and the top tier of the wall unit on one line, which the eye reads as a single architectural detail. Ordering the kitchen and living room together also simplifies the job: measurement, design and delivery happen once, and the front shades match because the boards come from one batch.
Living room furniture in brief
Summary
- Custom living room furniture starts with how you use the room, your equipment and your list of things, not with choosing fronts.
- Set the screen so its centre is about 100–120 cm from the floor, and make the niche with room for ventilation.
- A built-in floor-to-ceiling system gives more storage and hides uneven walls; modules are easier to move.
- A depth of 30–35 cm saves a small room, and book spans are split with uprights so shelves don't sag.
- Choose the wall unit colour together with the floor and doors, and in a studio together with the kitchen.