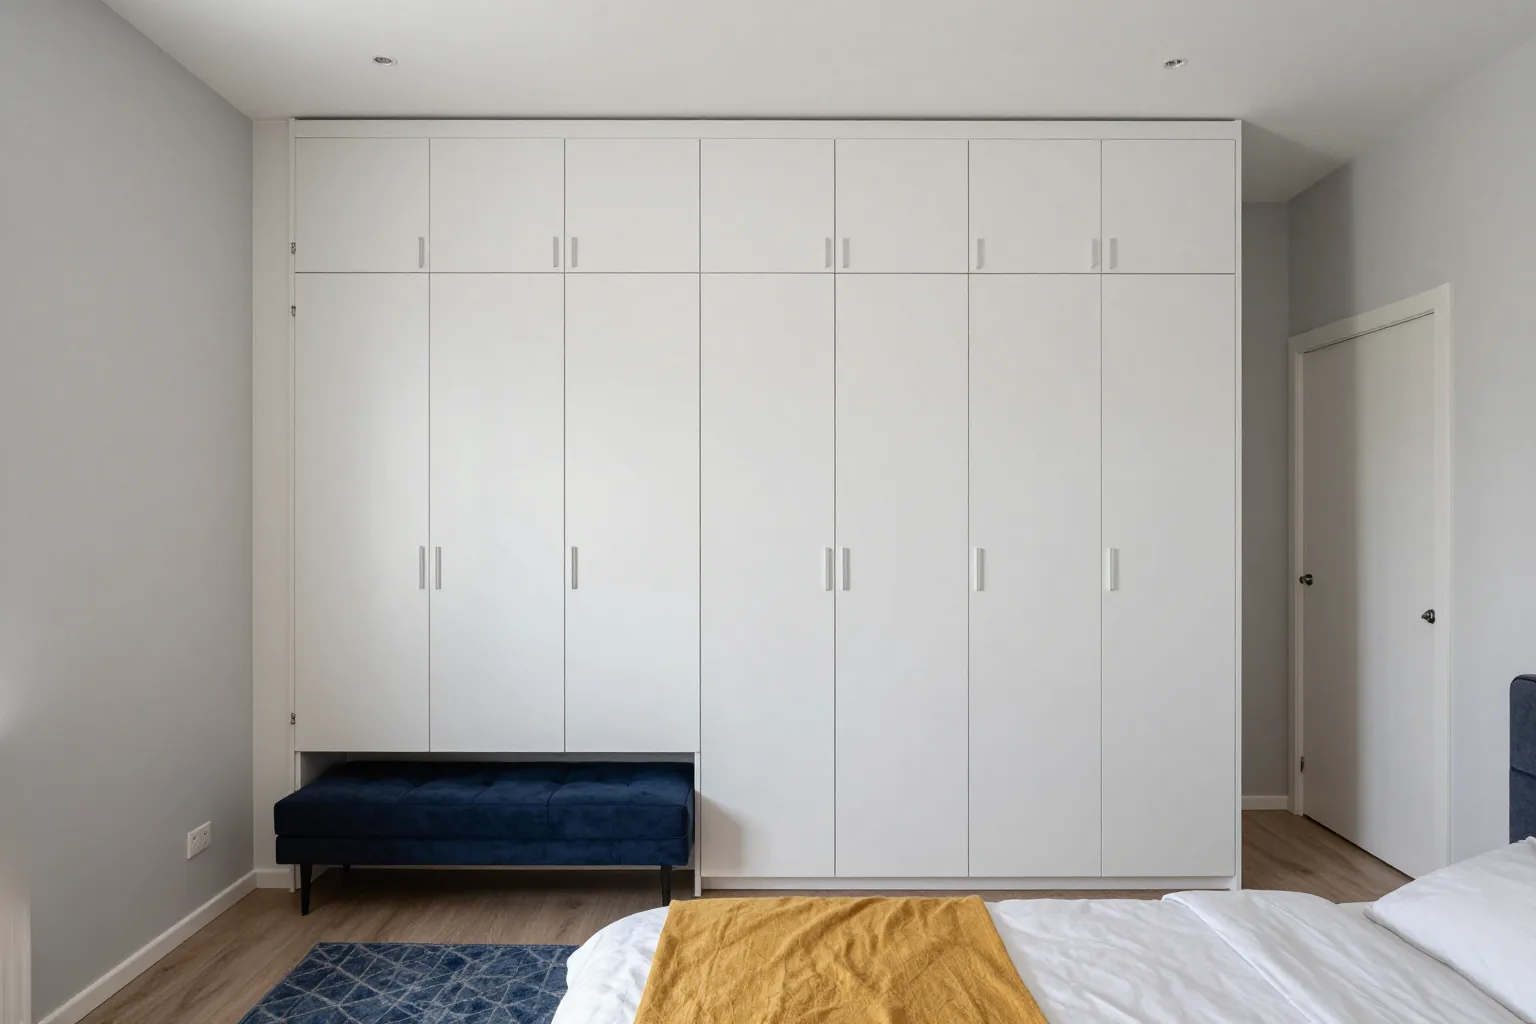
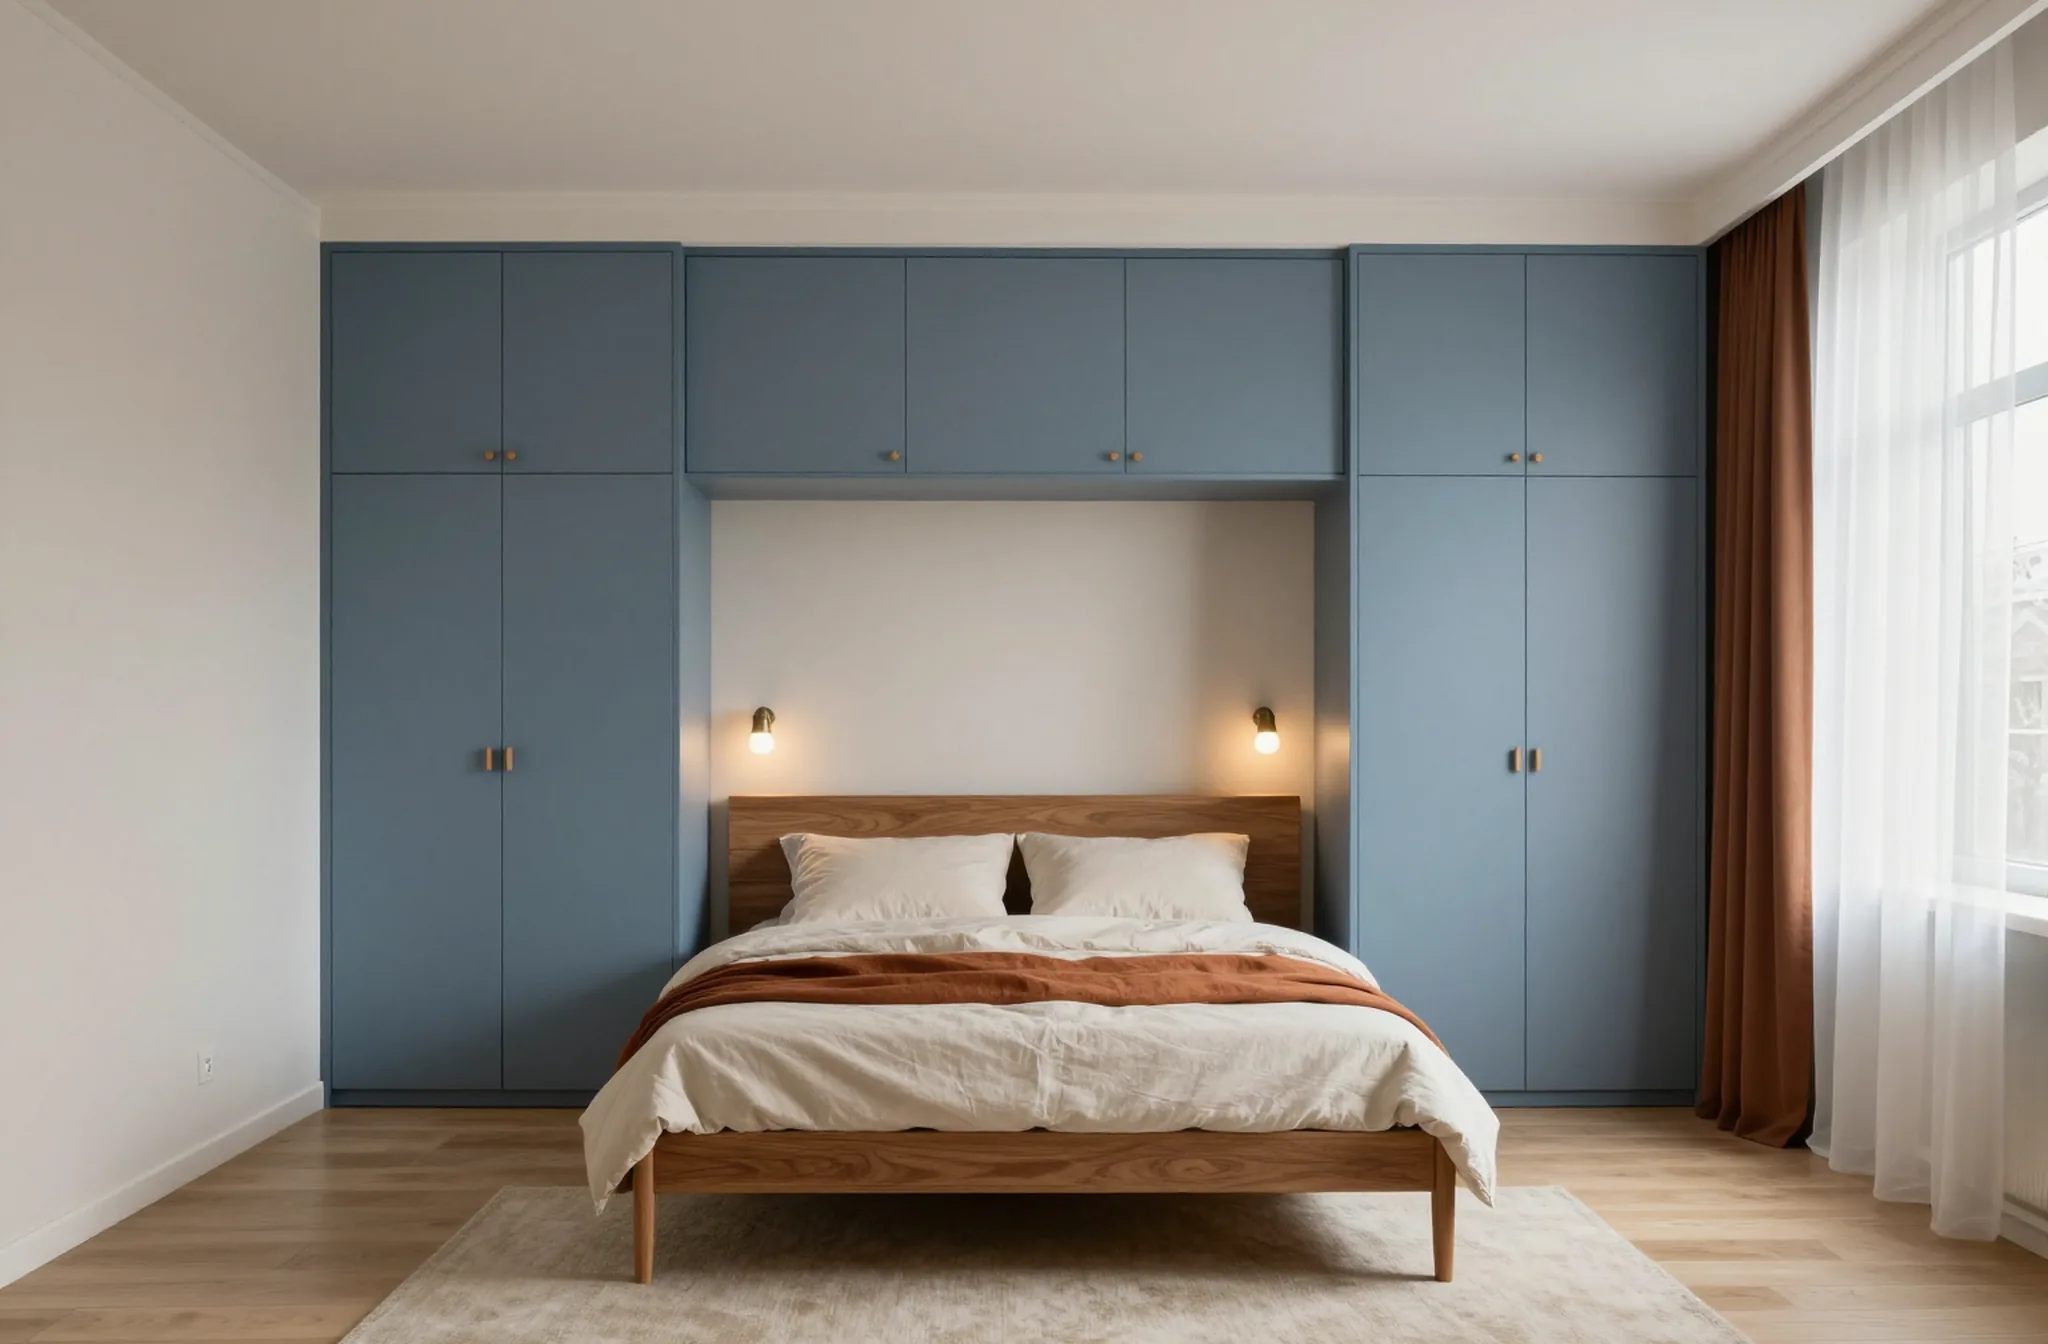
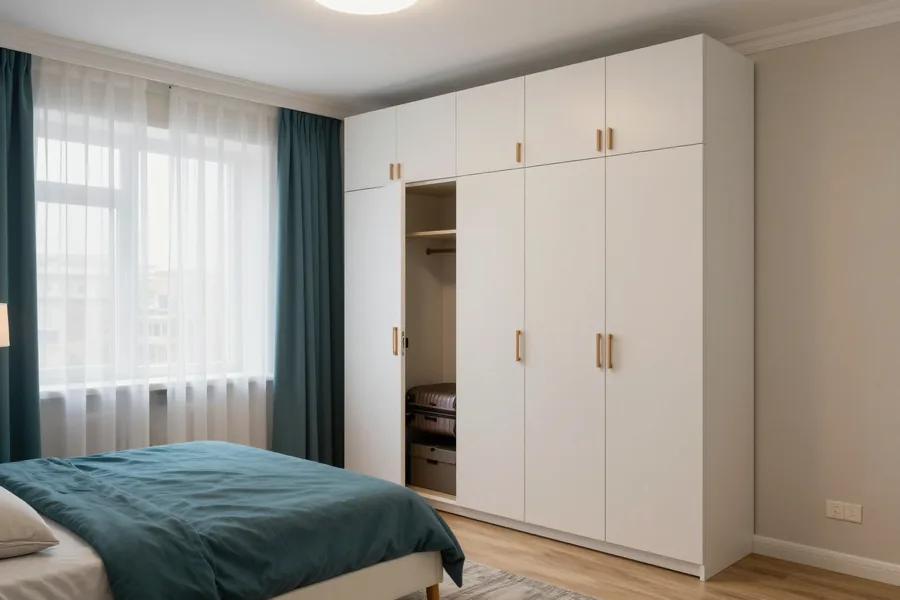
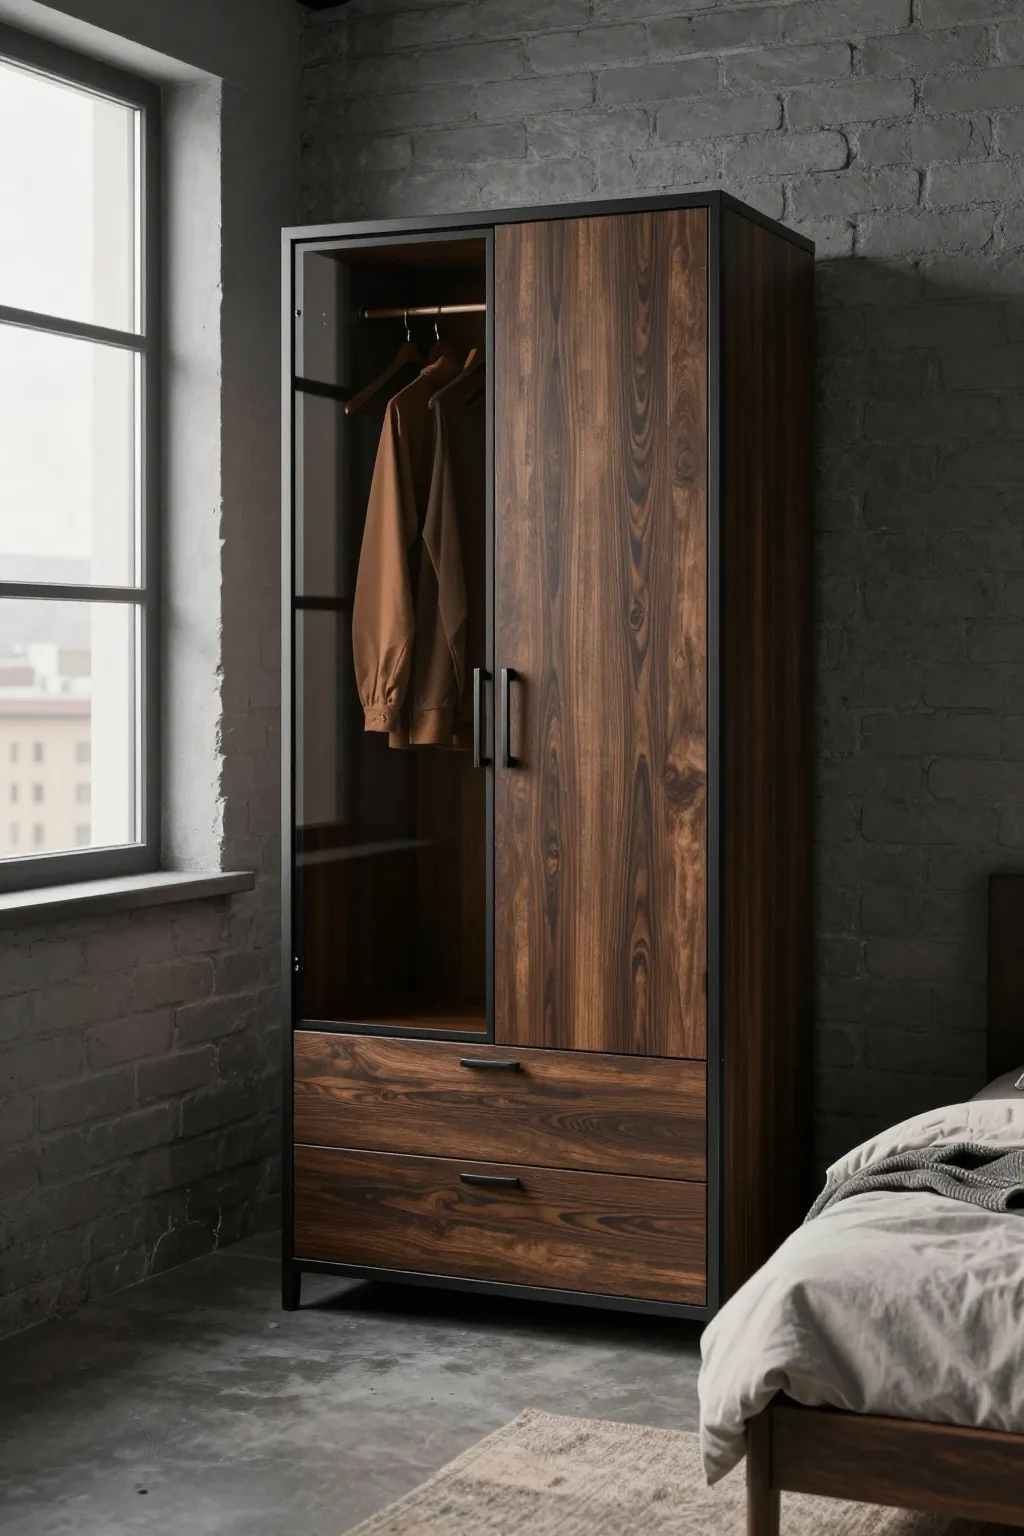
A custom bedroom wardrobe from MEBLIX is built to your room, not to a catalogue size. We measure the space, draw a 3D project in 1–2 days, cut and edge the panels in our own 600 m² workshop, then install with our own crews. Every wardrobe carries a 24-month contract warranty.
The door type decides how much floor stays free and how the body sits against walls. We build three base layouts, matched to the space.
Hinged or sliding doors for a small bedroom
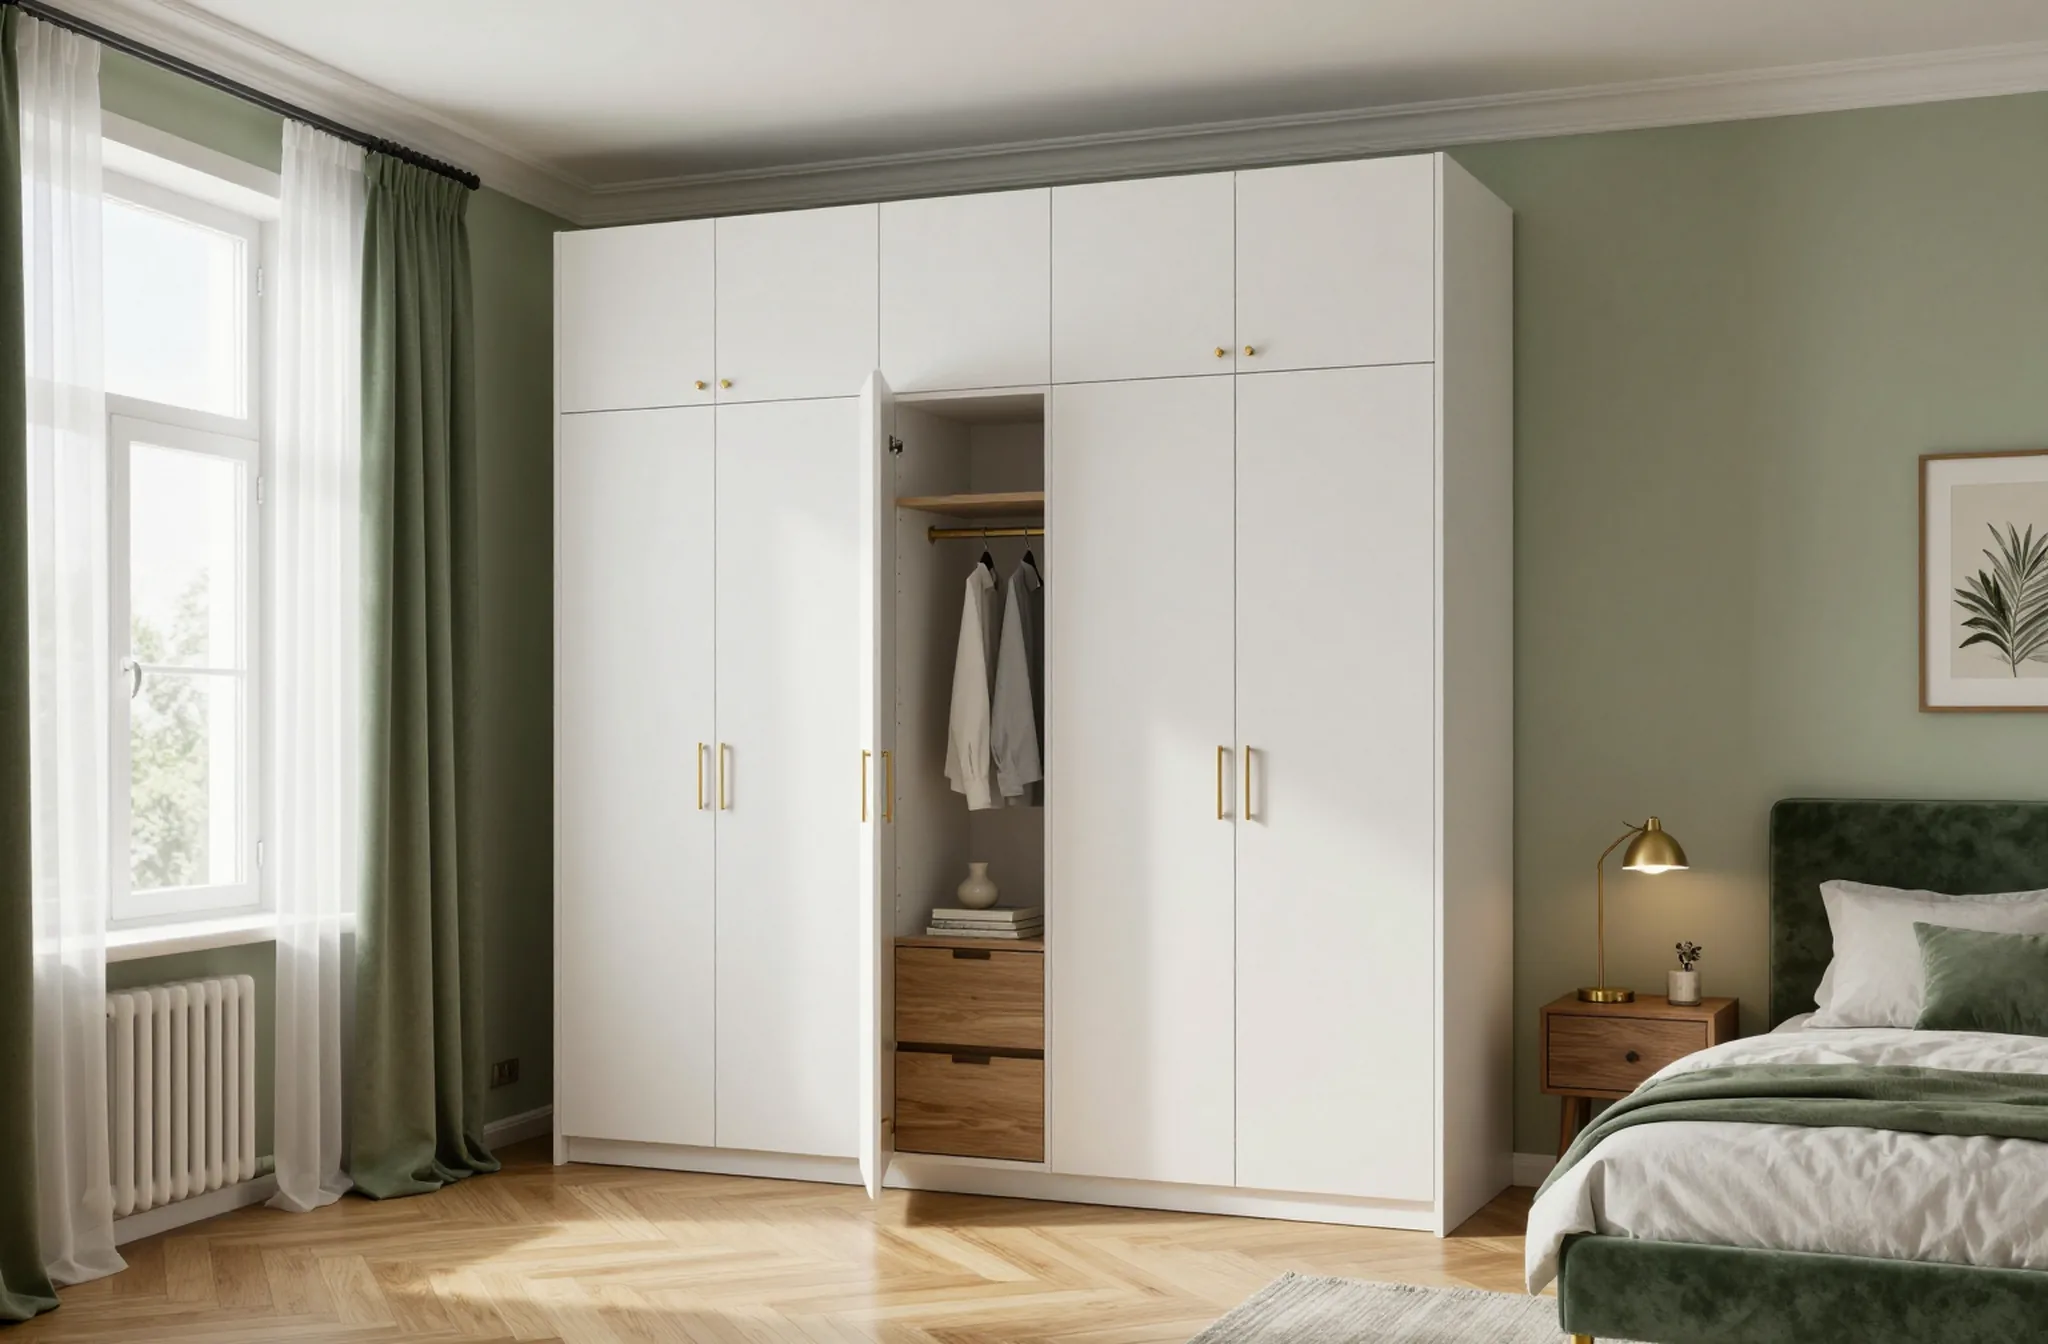
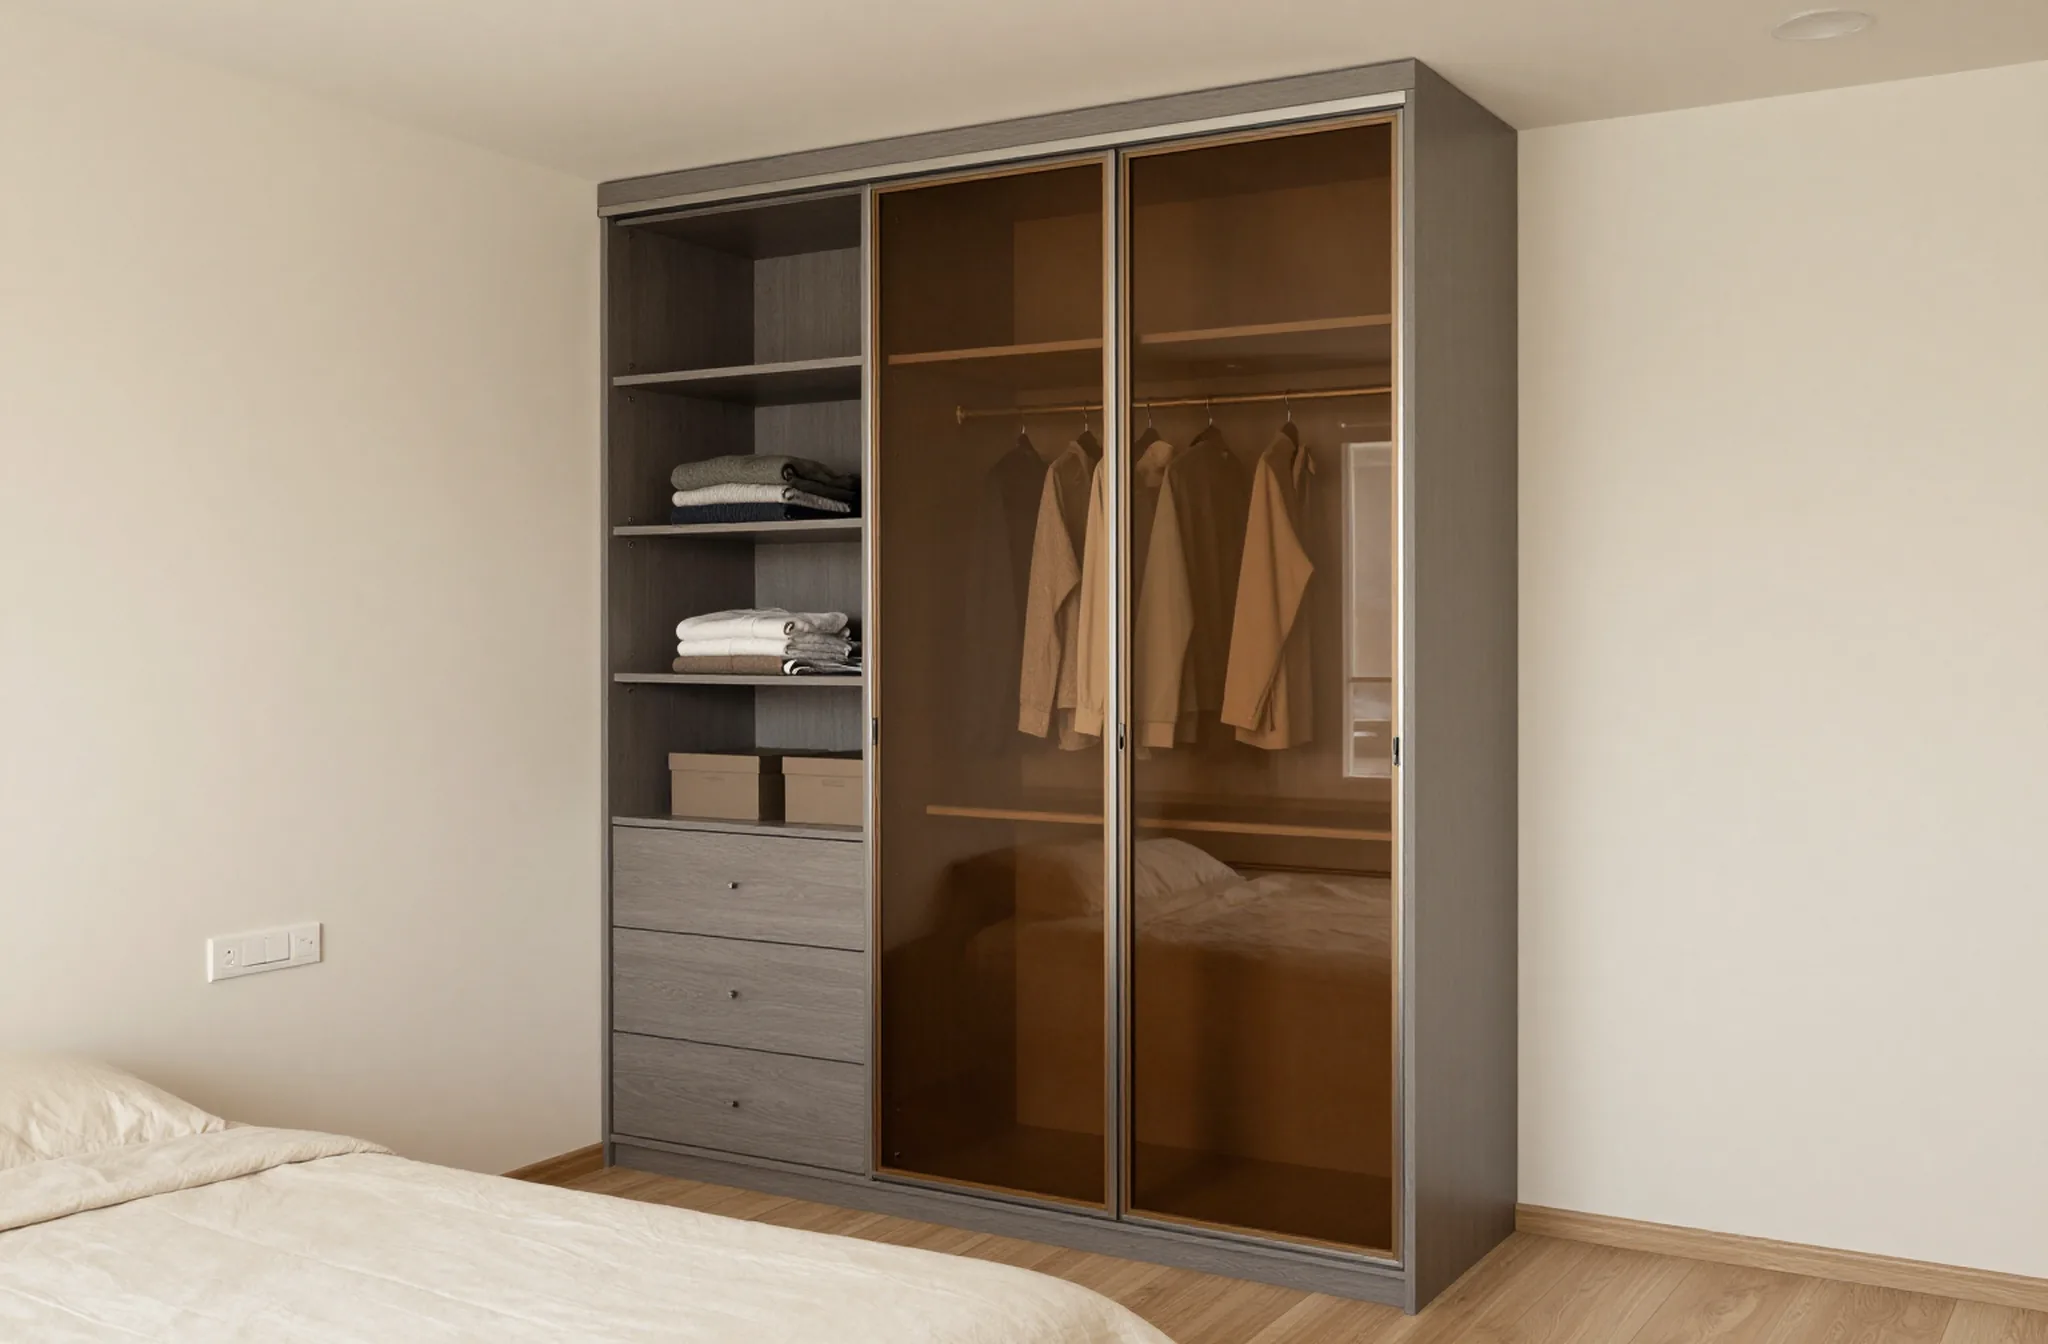
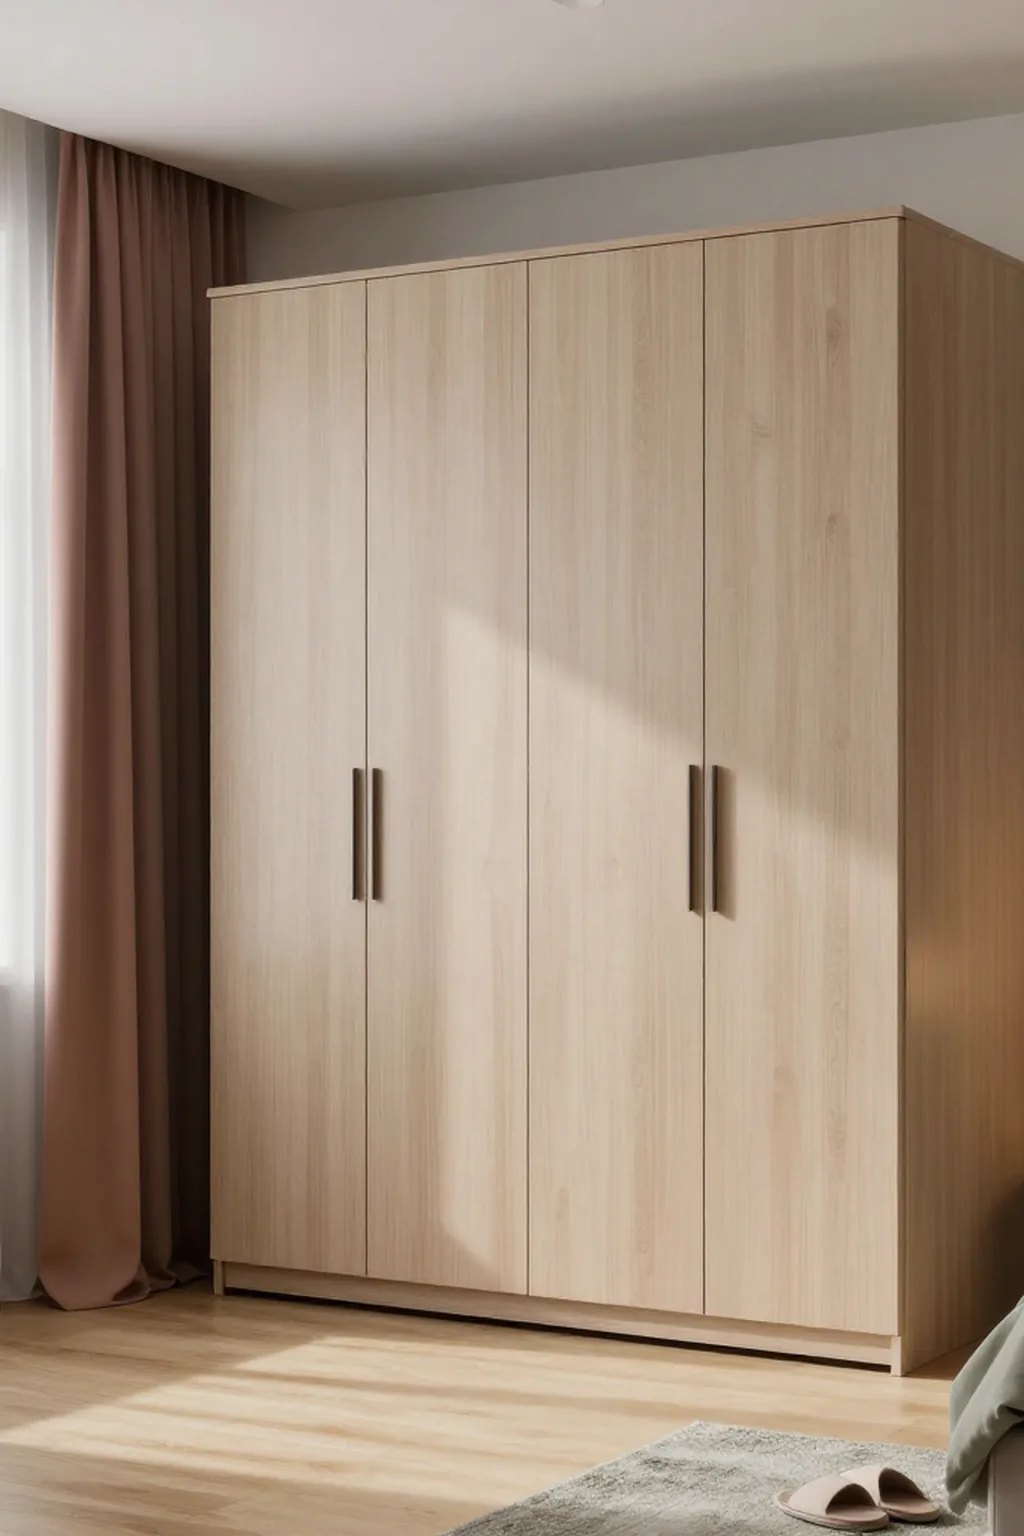
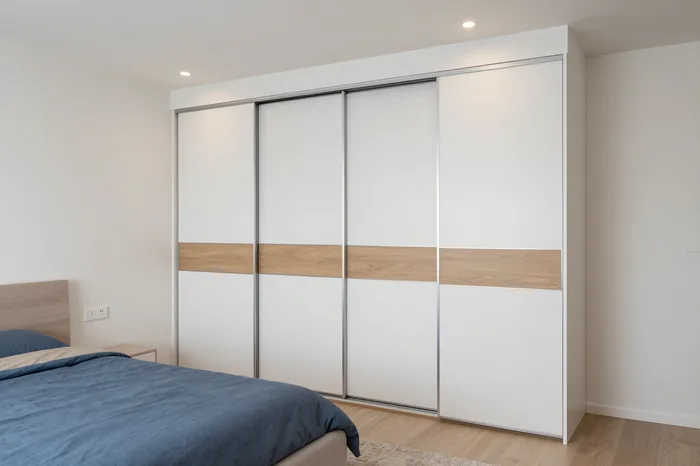
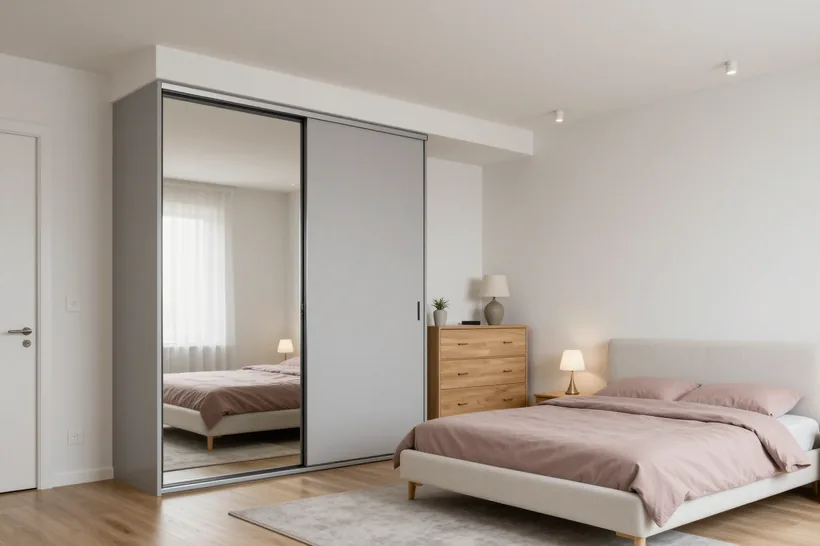
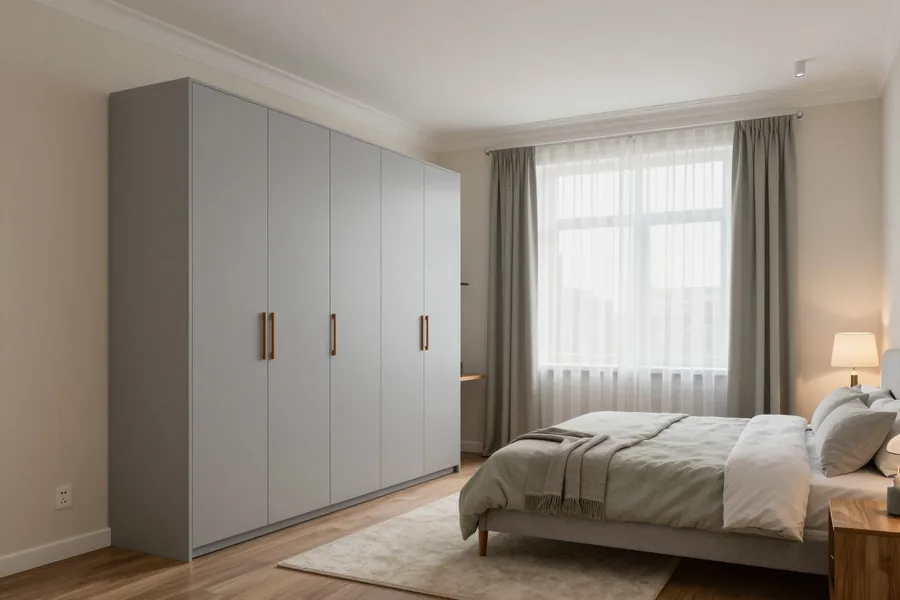
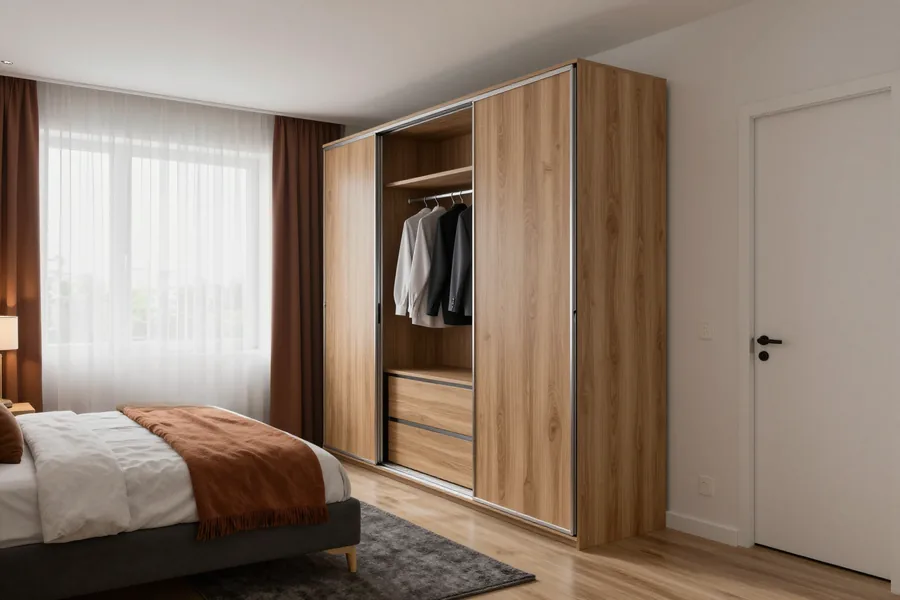
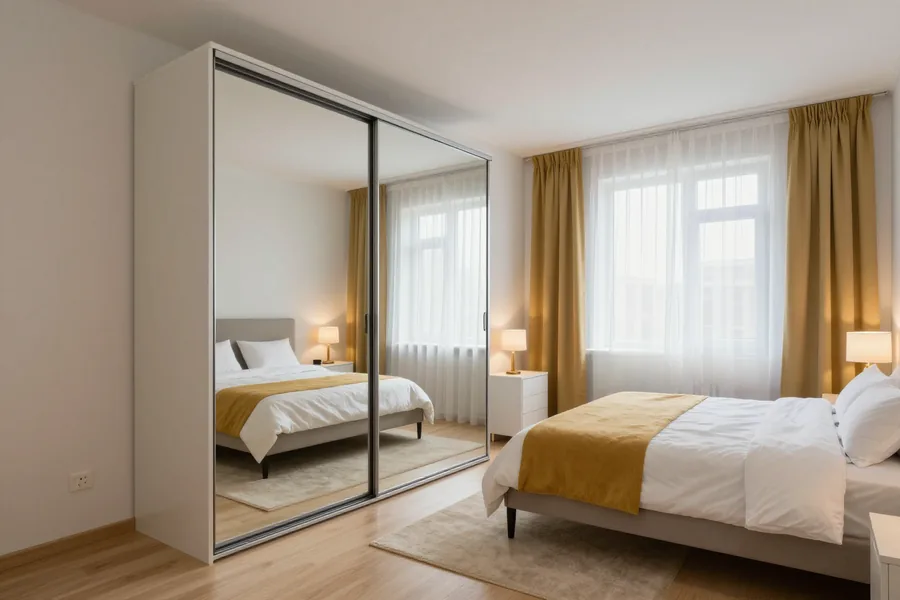
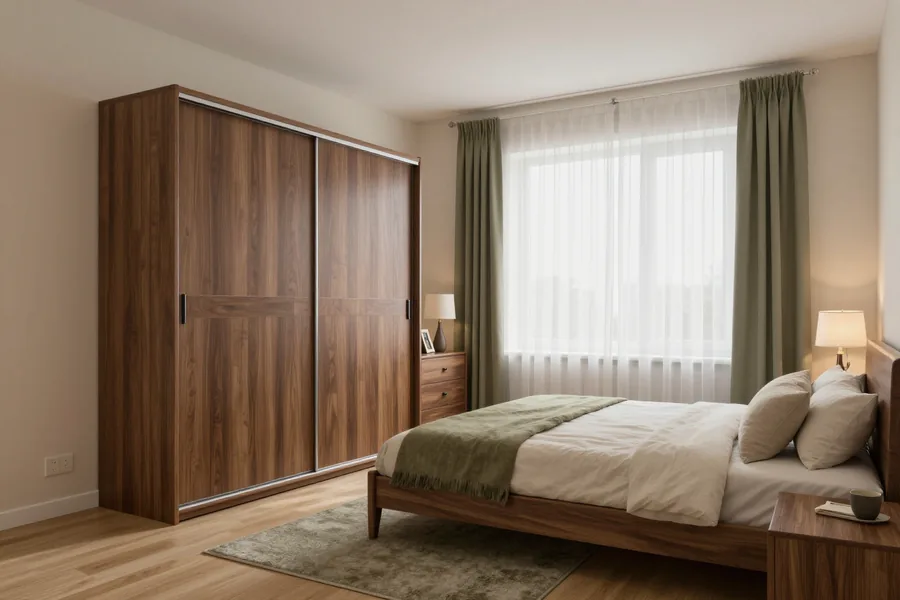
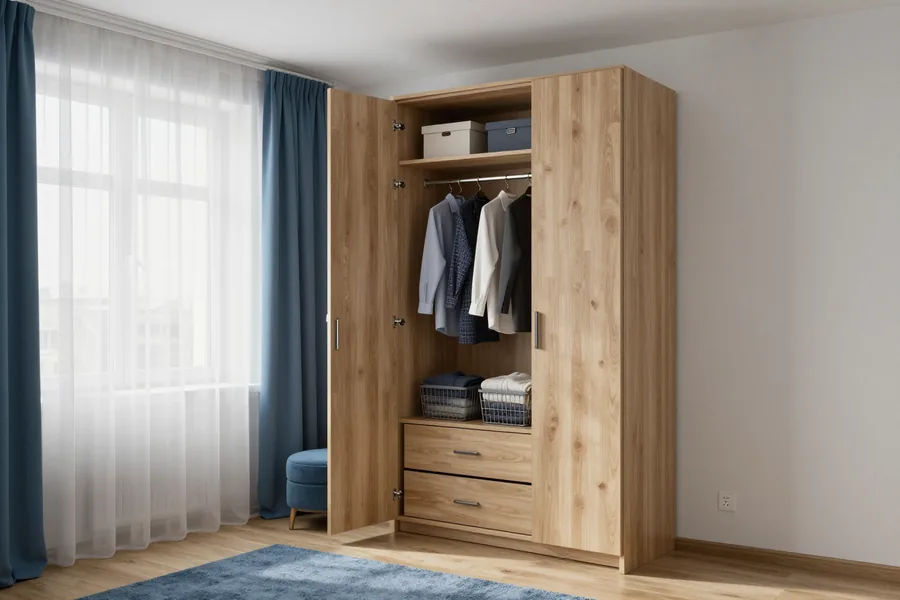
For a tight bedroom we usually recommend sliding doors, because they need no swing clearance in front of the wardrobe. A sliding run carries its weight on top and bottom tracks, so the carcass can stand right against the bed frame without a leaf ever blocking the aisle. Hinged leaves work on adjustable Blum hinges with soft-close dampers and open the whole interior at once. If the bed leaves at least a leaf-width of free floor, hinged often wins on daily convenience. Measure that gap first — a 600 mm leaf needs roughly 600 mm of clear floor to swing. For unusual layouts, a custom bedroom wardrobe lets us fit doors and body to the exact room dimensions.
Built-in, freestanding or a walk-in closet
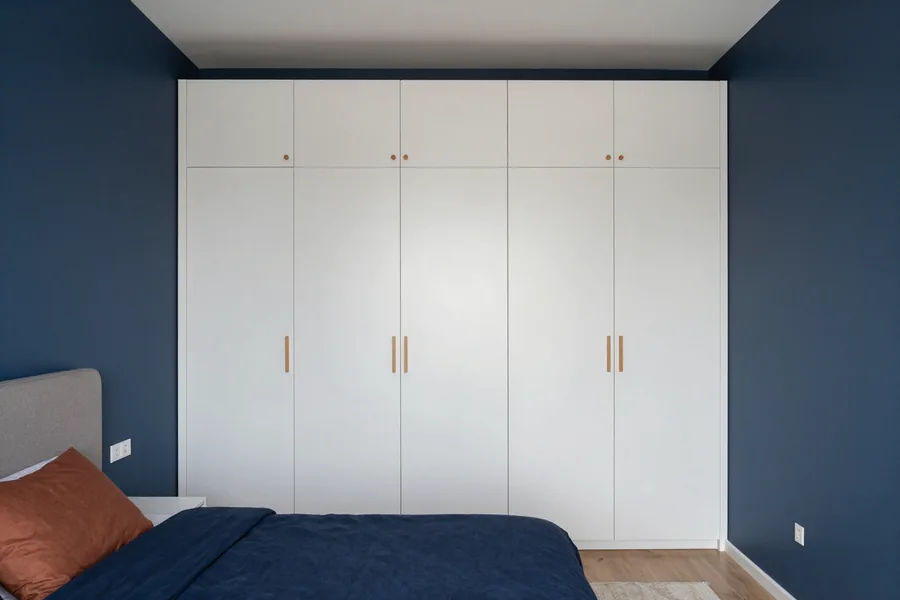
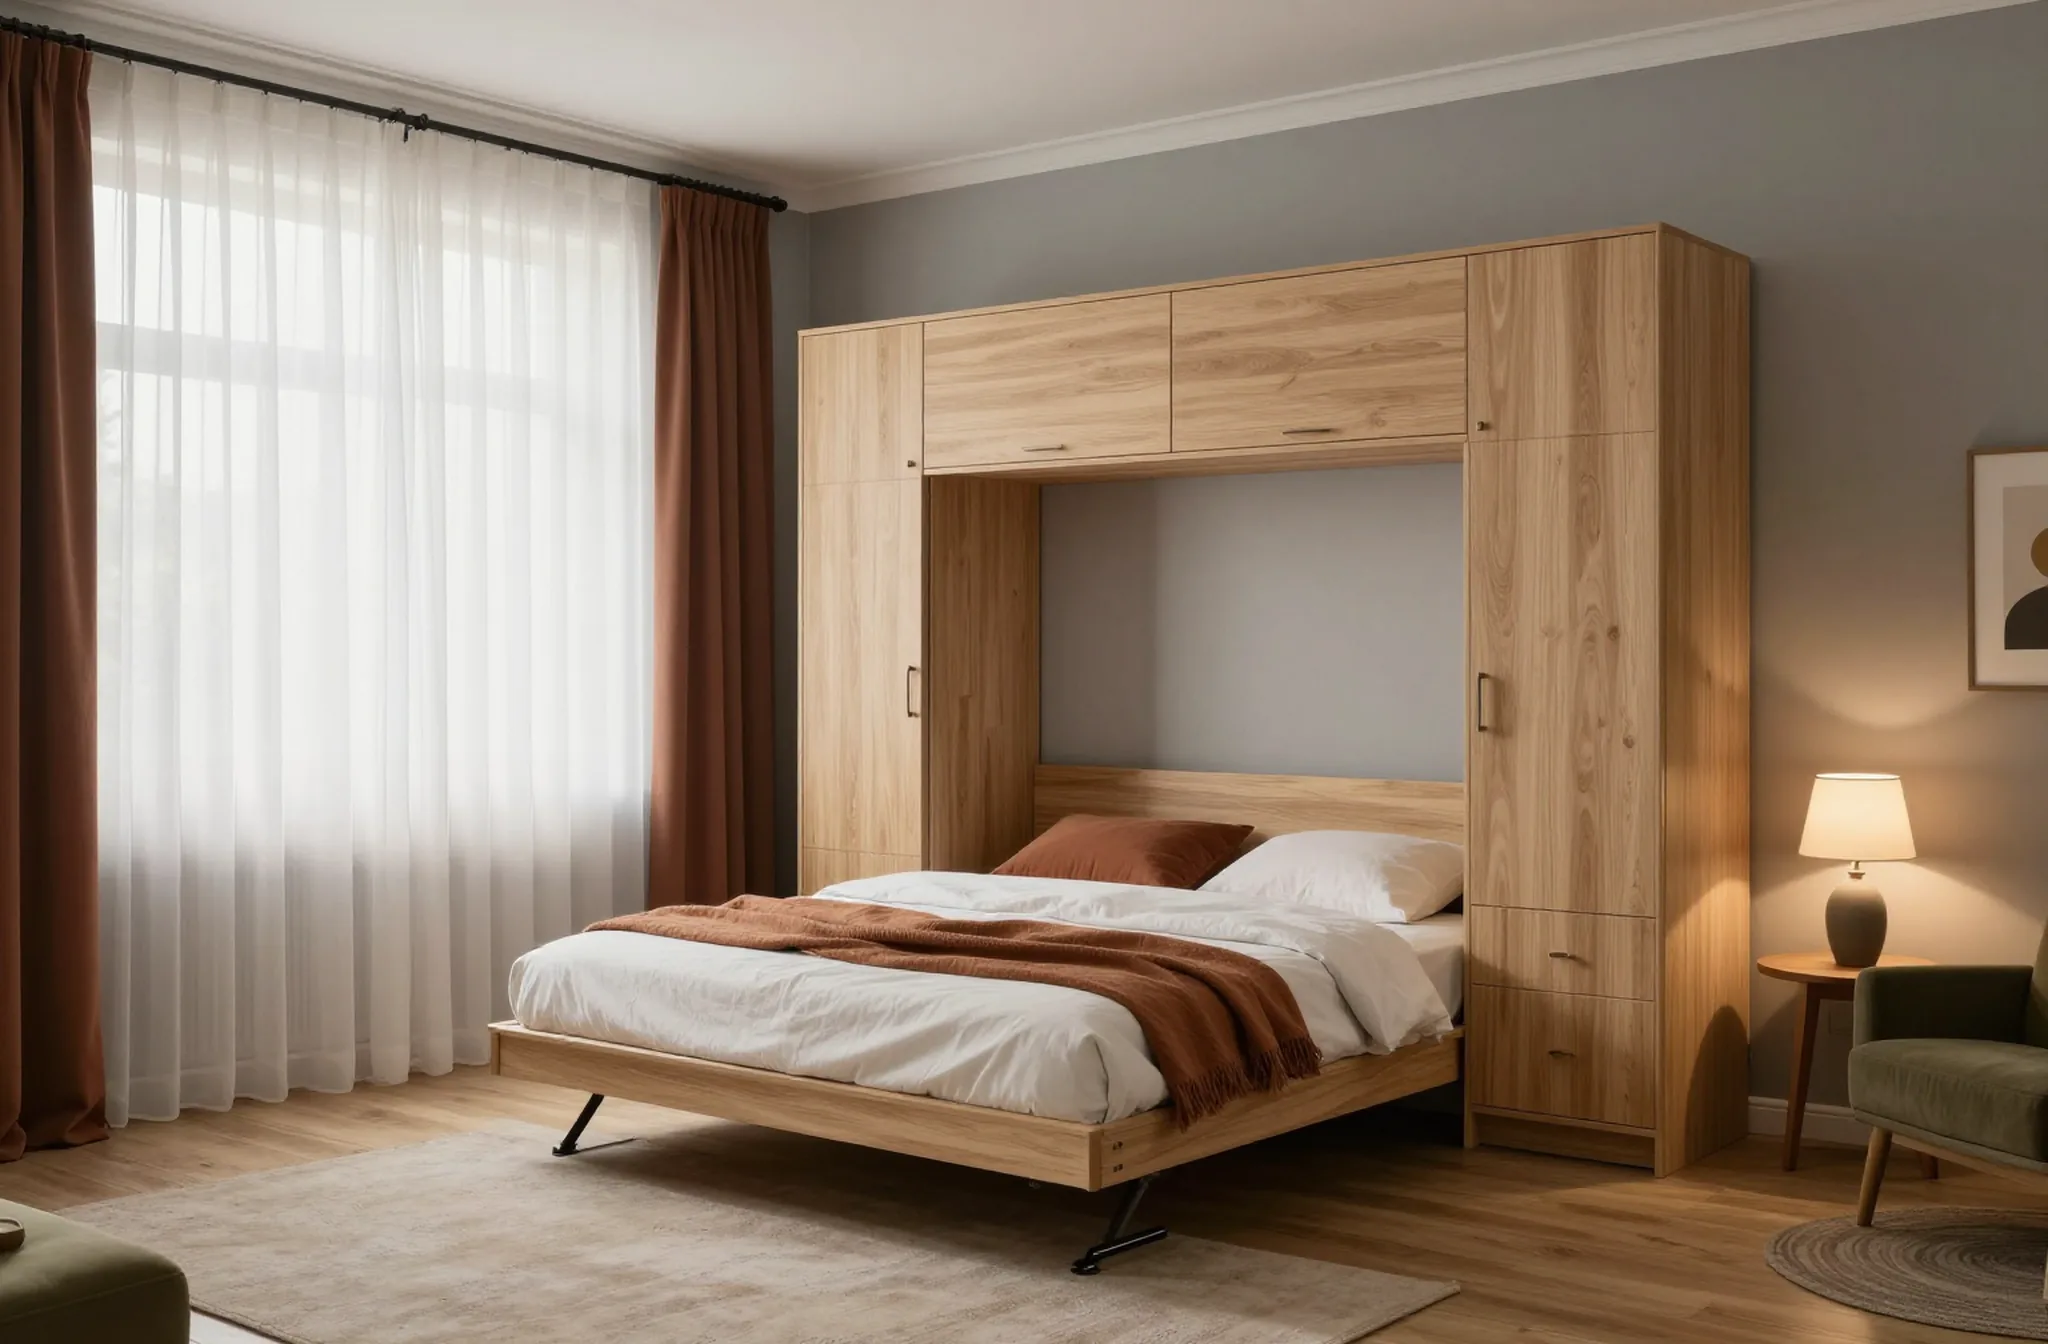
A built-in wardrobe uses the walls and niche as its own body, so it saves depth and closes gaps a freestanding unit leaves behind. We frame the recess with side and top panels, run the fronts flush with the wall line, and the bedroom gains storage without losing a centimetre to a separate carcass. A freestanding unit is simpler when the surface is straight and you may move the piece later. A walk-in closet only pays off with a spare corner of real floor area; otherwise the same storage fits into a slimmer built-in run along one wall. In a compact bedroom, the built-in route almost always returns more usable volume per square metre.
Wardrobes for niches and sloped ceilings
How odd geometry becomes usable storage| Condition | How the wardrobe is planned |
|---|
| Narrow niche | Body fills the recess, fronts flush with the wall line |
|---|
| Sloped ceiling | Lower section for drawers, tall section for hanging |
|---|
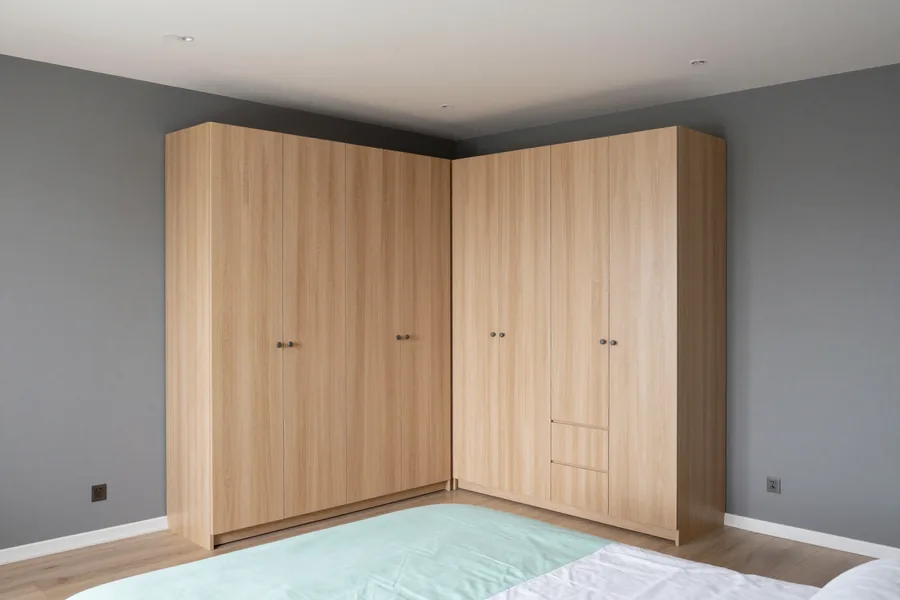
| Corner with a column | Corner module wraps the column, no dead space |
|---|
| Uneven back wall | Filler panels absorb the difference at assembly |
|---|
Why bedroom wardrobe shelves sag and doors catch the body
Most wardrobe complaints come down to a bowing shelf, a wall gap, and a leaf catching the carcass. We examine the causes and how we rule them out.
How we stop shelves from sagging under load
- Span against thickness: each board is sized to its load, so books get thicker Egger or Kronospan panels than knitwear.
- Stiffening edge: a front strip on a long board resists bowing better than the sheet alone.
- Mid support: past the safe span limit, we add a divider so the shelf cannot creep down.
- Load check at the drawing: heavy zones are marked on the plan and supported before cutting.
- Control assembly: each unit is built in the shop first, so weak points show before delivery.
Fitting a wardrobe to walls that are not straight
We measure the wall at several points and build filler strips and a scribed edge so the unit meets an uneven surface without a visible gap. A single reading at the centre tells you almost nothing in a panel block, where the surface can drift by a couple of centimetres from corner to corner. Our technologist records the deviation along the full length and at three heights, then the drawing carries a filler of the right width for each section. During installation the crew scribes the outer side to the actual wall line, so the joint closes tight and the fronts still run level.
Depth and clearance so hangers never hit the door
A hanging section needs enough internal depth for the hanger plus the door mechanism, so the leaf never brushes the shoulders of the clothes. A standard adult hanger takes around 55 cm across the shoulders, and the carcass adds room behind it for the mechanism and in front for the garment to swing. On a hinged model the leaf sits outside the body, so the internal depth stays almost entirely available for clothes. A sliding wardrobe works differently: the track and running gear take a slice of the depth, so a compartment with sliding fronts needs a deeper carcass than a hinged one for the same hanger clearance. When the plan is tight, we check depth against door type before anything is cut, since no hardware swap recovers lost centimetres later.
Panels and hardware for a bedroom wardrobe that hold up to daily use
A wardrobe holds up on the board, edge and fittings, not the render. Here are the panels and hardware we use and what each does.
Egger and Kronospan panels and why the edge matters
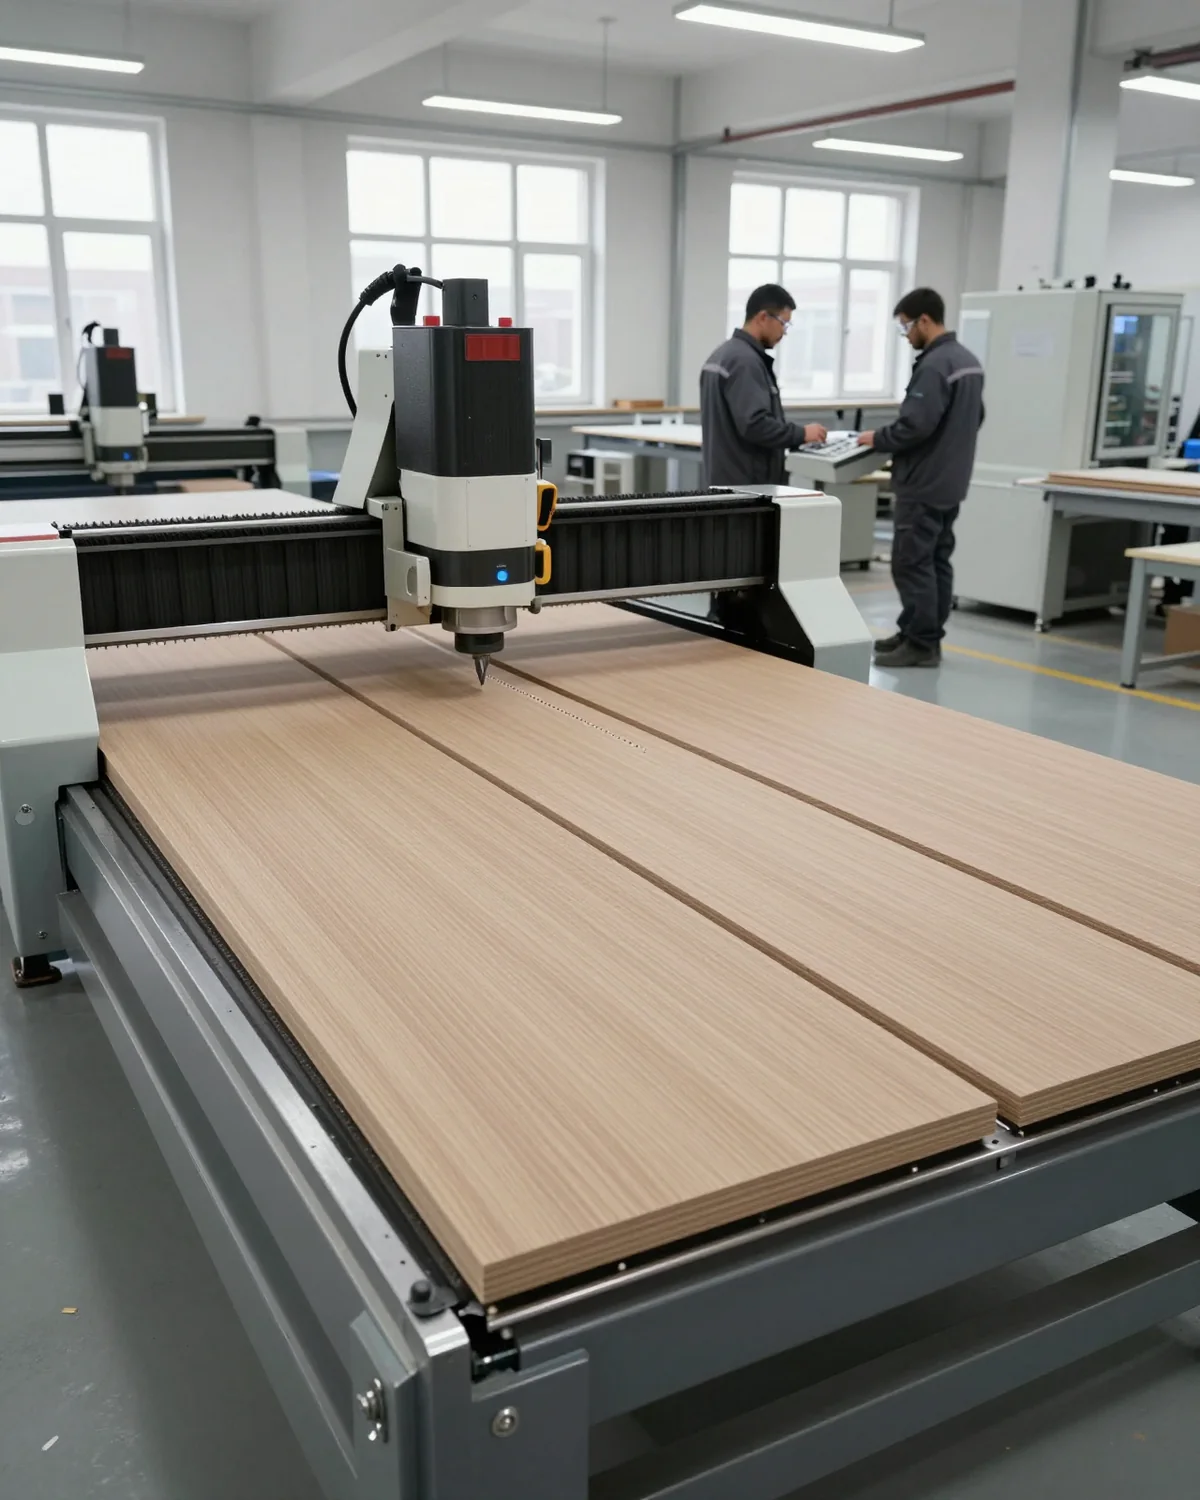
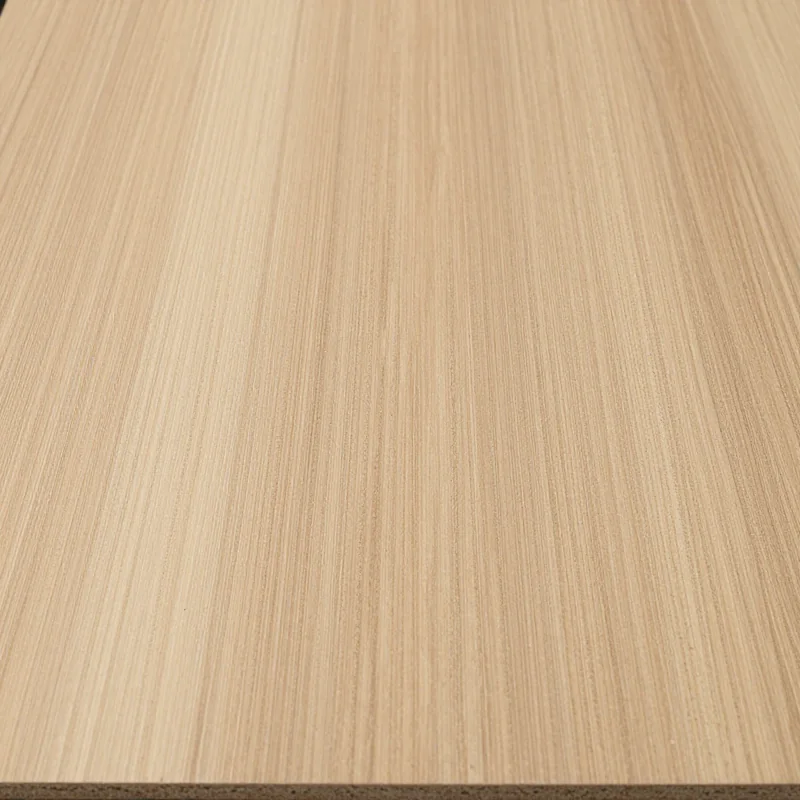
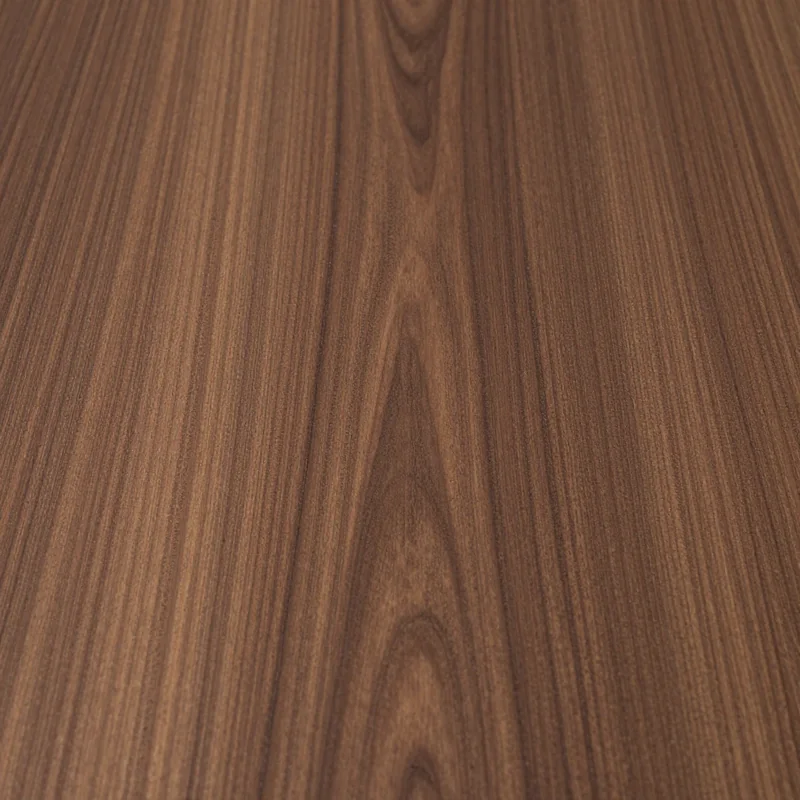
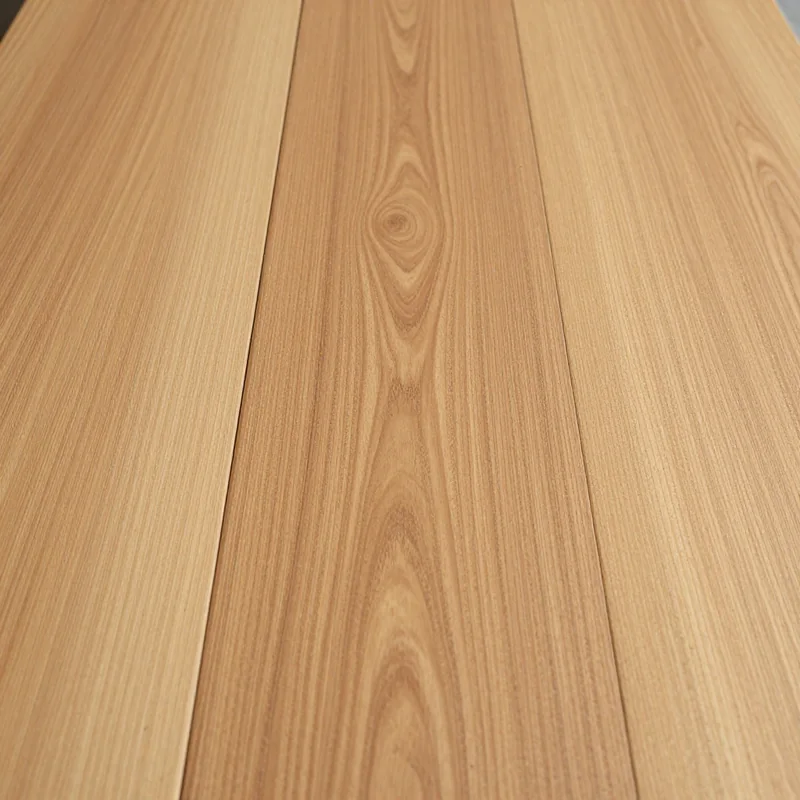
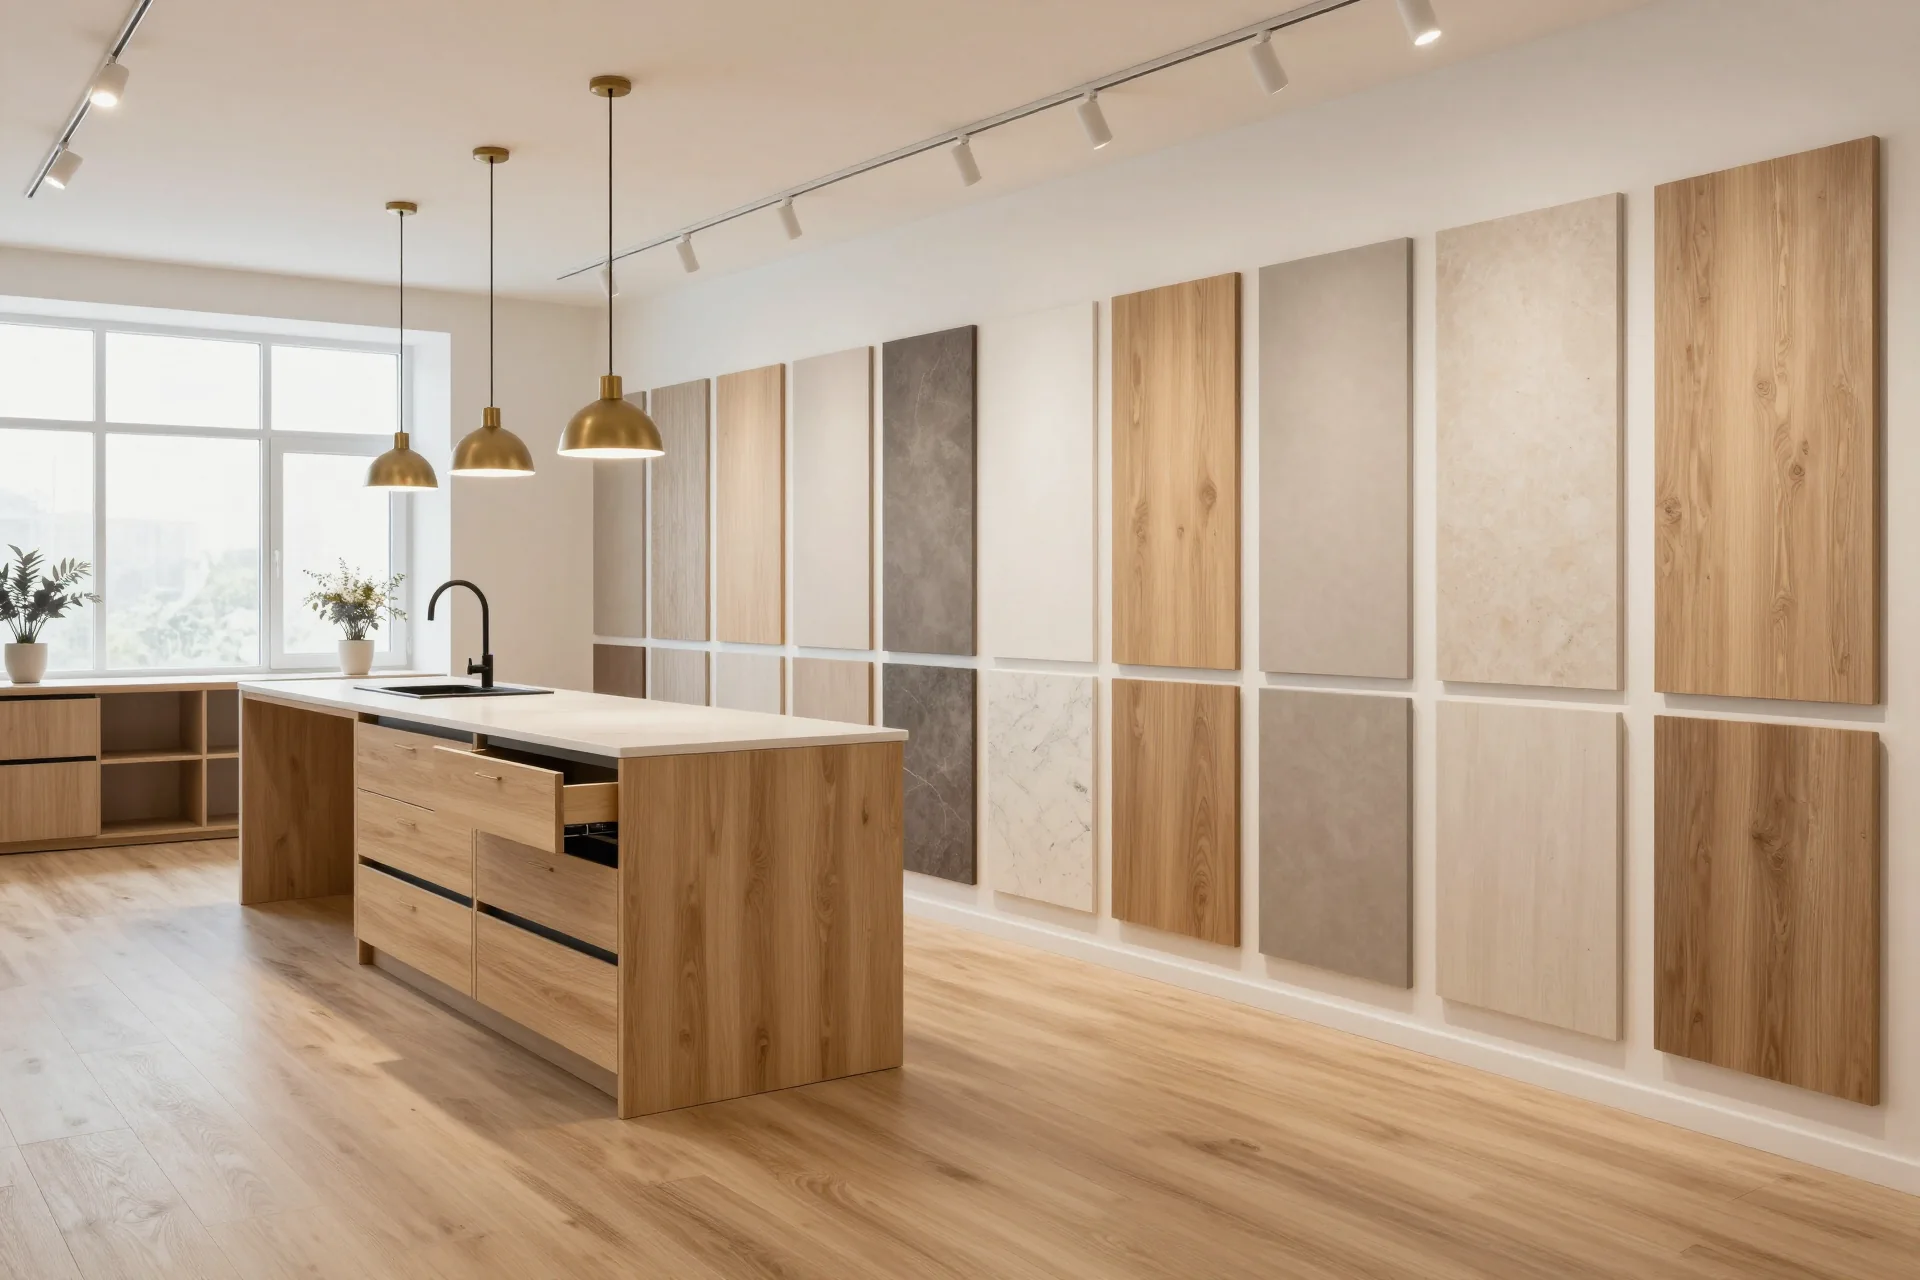
We build bodies from Egger and Kronospan boards and close every cut edge with a bonded strip, so moisture and wear do not reach the raw core. Egger supplies decor ranges for visible carcasses, while Kronospan covers larger runs where uniform surface matters more than pattern. Cutting, edging and control assembly happen in our own 600 m² workshop, keeping temperature and pressure consistent from panel to panel. A tight, even band reads as clean; a loose one collects dust and lifts at the corner. Most failures start where the strip was applied too thin or too cold, so quality here is a workshop habit, not a material choice alone.
Blum, Hettich and Boyard hardware compared
brands and parts by use and daily wear| Hardware | Where we use it | What it gives |
|---|
| Blum hinges and runners | Heavily used doors and drawers | Smooth close, 25-year maker warranty |
|---|
| Hettich | Standard hinged sections | Reliable daily action |
|---|
| Boyard | Budget-conscious projects | Solid basic movement |
|---|
| Soft-close dampers | All hinged doors | No slam, quieter bedroom |
|---|
Matching door hardware to the weight of the facade
- Weight rating: tall or heavy doors need hinges rated for that mass, or they drift out of alignment.
- Mirror inserts: a full-height mirrored facade weighs more than a plain one, so hinge count follows weight.
- Paired dampers: we match Blum hinges with Blum dampers so closing speed stays even.
- Drawer runners: hardware on bedding and shoe drawers is checked against carried mass.
- Extra hinge: two hinges on a full-height door is a common shortcut, cheap to fix.
Planning the inside of your bedroom wardrobe around what you actually store
We plan the interior around what you actually own, not a tidy drawing, so garments, shoes and bedding each find a place that fits.
Splitting the interior into long-hang, short-hang and shelves
- Full-height run: one tall bay for coats and dresses, set at the end so fabric is not crushed.
- Lower bay: a second rail for shirts and trousers, with folded knitwear on the shelf above.
- Drawer stack: three to four drawers at waist level for folded items and small accessories.
- Top box: a closed compartment near the ceiling for suitcases and duvets.
- Adjustable pins: let you raise or lower a rail when the mix of garments changes.
Storing shoes, bedding and seasonal items
- Shoe tiers: shallow flat or angled shelves near the floor, one row per pair.
- Bedding zone: top compartment holds duvets, pillows and spare linen in lidded boxes.
- Seasonal rotation: out-of-season coats go to highest or lowest shelf, freeing eye-level space.
- Deep low drawers: bedding and heavy jumpers fit better in wide shallow drawers than up high.
- Labelled boxes: clear or tagged boxes save a search when swapping the winter duvet.
Making a small bedroom work harder
In a small bedroom we push the wardrobe to full ceiling height and use the top zone for seasonal storage, so the floor footprint stays small while capacity grows. A built-in run along one wall at 60 cm depth holds a tall rail, a lower rail and a drawer stack without eating floor space, and the height box takes duvets and suitcases. We design these wardrobes around the actual niche, sloped ceiling and wall unevenness, so the frame meets the plaster. Going up rather than out is the cheapest way to add storage in a tight room, and it only works if the top zone is reachable with a step stool.
From measurement to installation of your bedroom wardrobe with our own crews
Every order follows one chain: measurement, 3D project, workshop cutting, installation. The same producer handles each step, distinguishing a direct manufacturer from a reseller.
How the free measurement and 3D project work
A measurer records the room, then our designers build a 3D project in 1–2 days showing the exact layout, materials and hardware before anything is cut. The visit is free, and the file covers wall drift, ceiling height and socket positions, so the plan reflects your bedroom rather than a catalogue page. You approve the layout section by section — long-hang, shelves, drawer stack — and only then does it reach the workshop. Because the same specialists who measure also feed the file, the panel list matches what was seen on site. That project is only as accurate as the measurement behind it, so our team checks drift and height on site.
What happens inside our 600 m² workshop
- Cutting section: panels are sawn to the approved file, so each part carries its own size.
- Edging line: every exposed edge is banded here, protecting the core from bedroom moisture.
- Painting area: facades and visible ends get their finish in one batch.
- Test assembly: the unit is put together once and checked for gaps and door travel.
- Dispatch check: hardware is counted against the file before the kit is wrapped.
Installation by our own crews and how we handle a stretch ceiling
- Own crews only: our installers arrive, not a subcontractor seeing the plan first.
- Membrane first: with a ceiling up, we plan a top gap and fix the frame to the wall.
- Structural anchoring: the body ties to wall and floor, never hung above, keeping it stable.
- Levelling on site: shims and adjustable feet correct floor slope, so doors run true.
- Clean handover: offcuts and packaging leave with the crew; the unit is checked before signing.
Acceptance, warranty and who answers if something is off
Handover and paperwork close an order. Here is how we close a job, what the contract carries and how payment is split.
Signing the acceptance act after installation
- After installation only: we sign once the wardrobe is mounted and you have walked through it.
- Doors: open and close every leaf and confirm nothing catches the body or frame.
- Drawers: pull each one out fully and push it back to feel the runners.
- Shelves: press down on the loaded spans and look for give under your planned weight.
- Fit: run a hand along the wall line to catch gaps at uneven plaster.
- On the spot: a catching door or visible gap is corrected by the crew during the same visit.
- When satisfied: signing confirms the unit matches the approved 3D layout in dimensions, fronts and fittings.
What the 24-month contract warranty covers
- On the wardrobe: the contract covers 24 months for body, fronts and assembly by our workshop.
- On the hardware: Blum hinges, lift mechanisms and drawer runners keep their own 25-year maker term.
- Named in the document: the contract should list the piece and fittings by name, not generally.
- Gaps later: a gap at the wall line from our fitting is a claim case, not a paid revisit.
- What to keep: the signed act, 3D layout and specification sheet make any claim quick.
- Read first: check the clause names both unit and fittings before signing.
Payment terms and urgent orders before a move
Payment is 50 % up front and the remaining 50 % after signing, and we work by bank transfer for both parts. An urgent order is possible when a move date is already fixed, and the workshop slot is booked around the confirmed drawings rather than the first call. That is why the free measurement and 3D layout, ready in one to two days, should happen as early as the new address allows. Once confirmed, the cutting, edging and painting schedule inside our own 600 m² workshop is set against your move date, and the installation crew is reserved for the same window. The second half is only due when the piece stands assembled and you have signed.
The bottom line on bedroom wardrobes
A bedroom wardrobe is settled before the doors go on. Five decisions carry most of the result, each cheaper on paper than to correct later.
- Door type: pick hinged, sliding or built-in by the free floor in front of the wardrobe, not by a picture you liked online.
- Shelf spans: plan the distance between supports against the load of bedding, books and folded stacks, so boards stay flat over the years.
- Uneven walls: measure at several points along the wall and close the difference with fillers instead of forcing the body into a gap.
- Hardware ratings: match hinge and runner capacity to the weight of each door and drawer, since an overloaded mechanism wears out first.
- Paperwork: read the acceptance act and the warranty terms before signing, while the installer is still in the flat.
The room, the load and the hardware have to be planned together, because a fix after installation always costs more than a line on the project.