Almaty Daily 10:00–20:00 +7 705 625 00 03 Book via WhatsApp
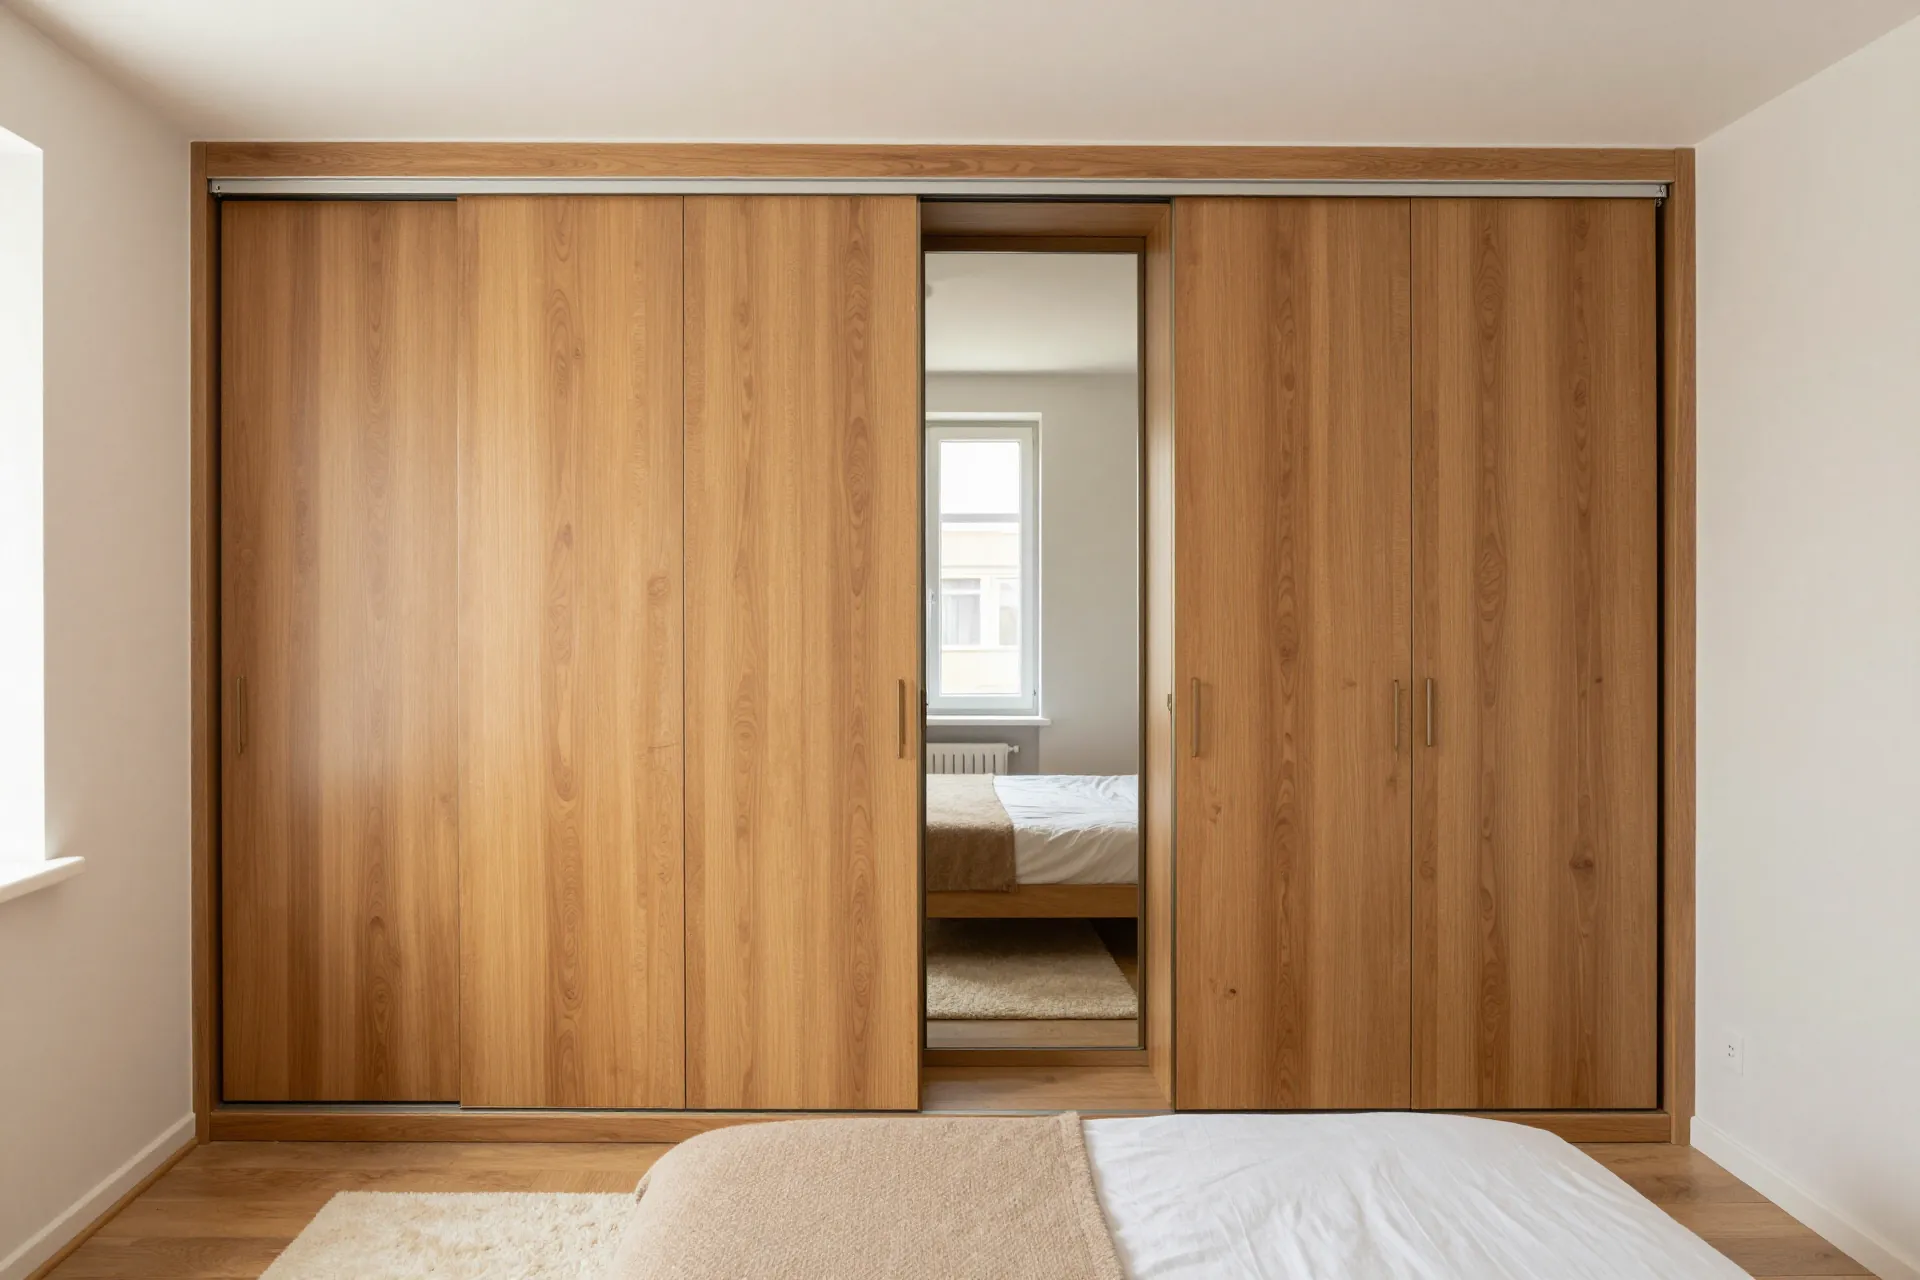
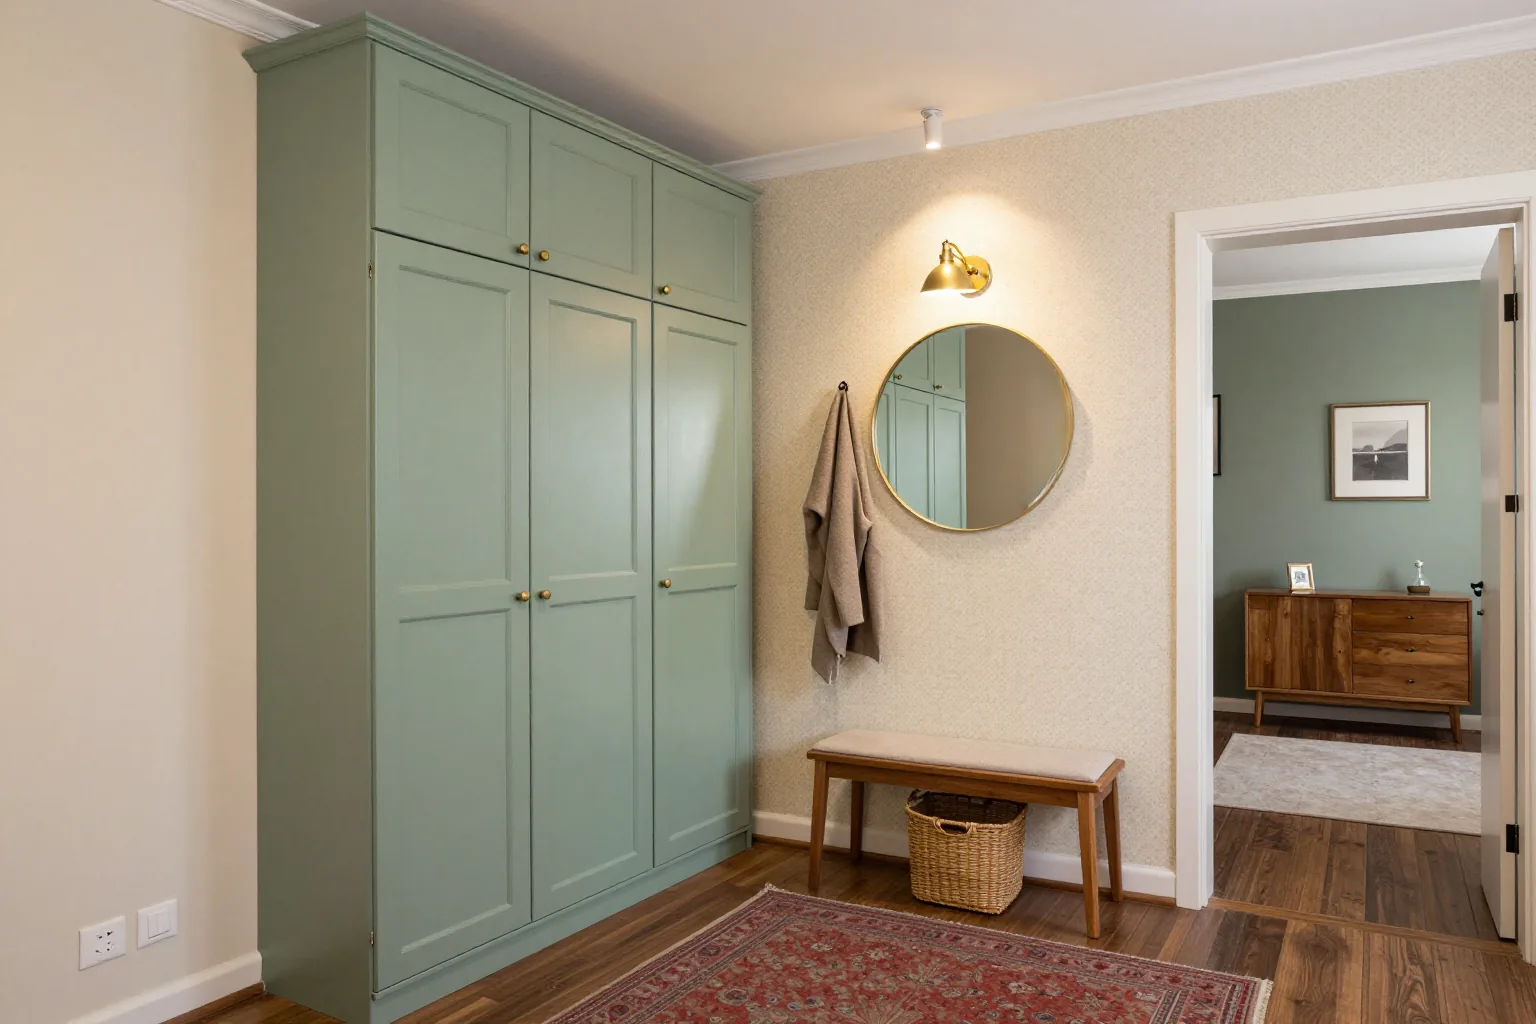
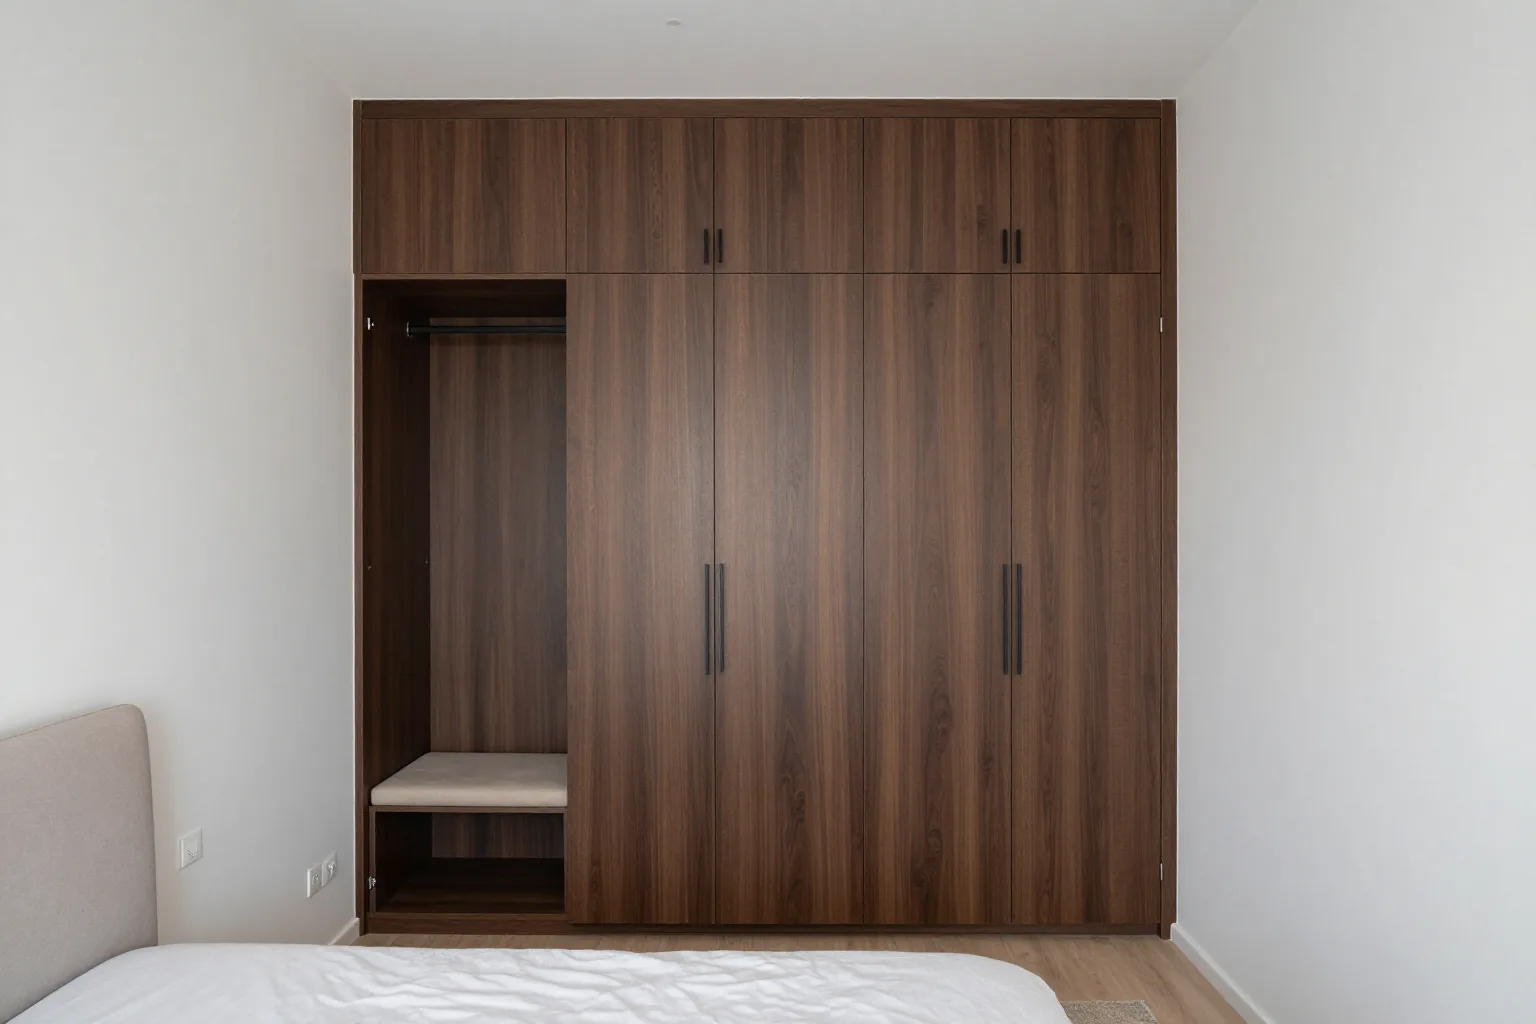
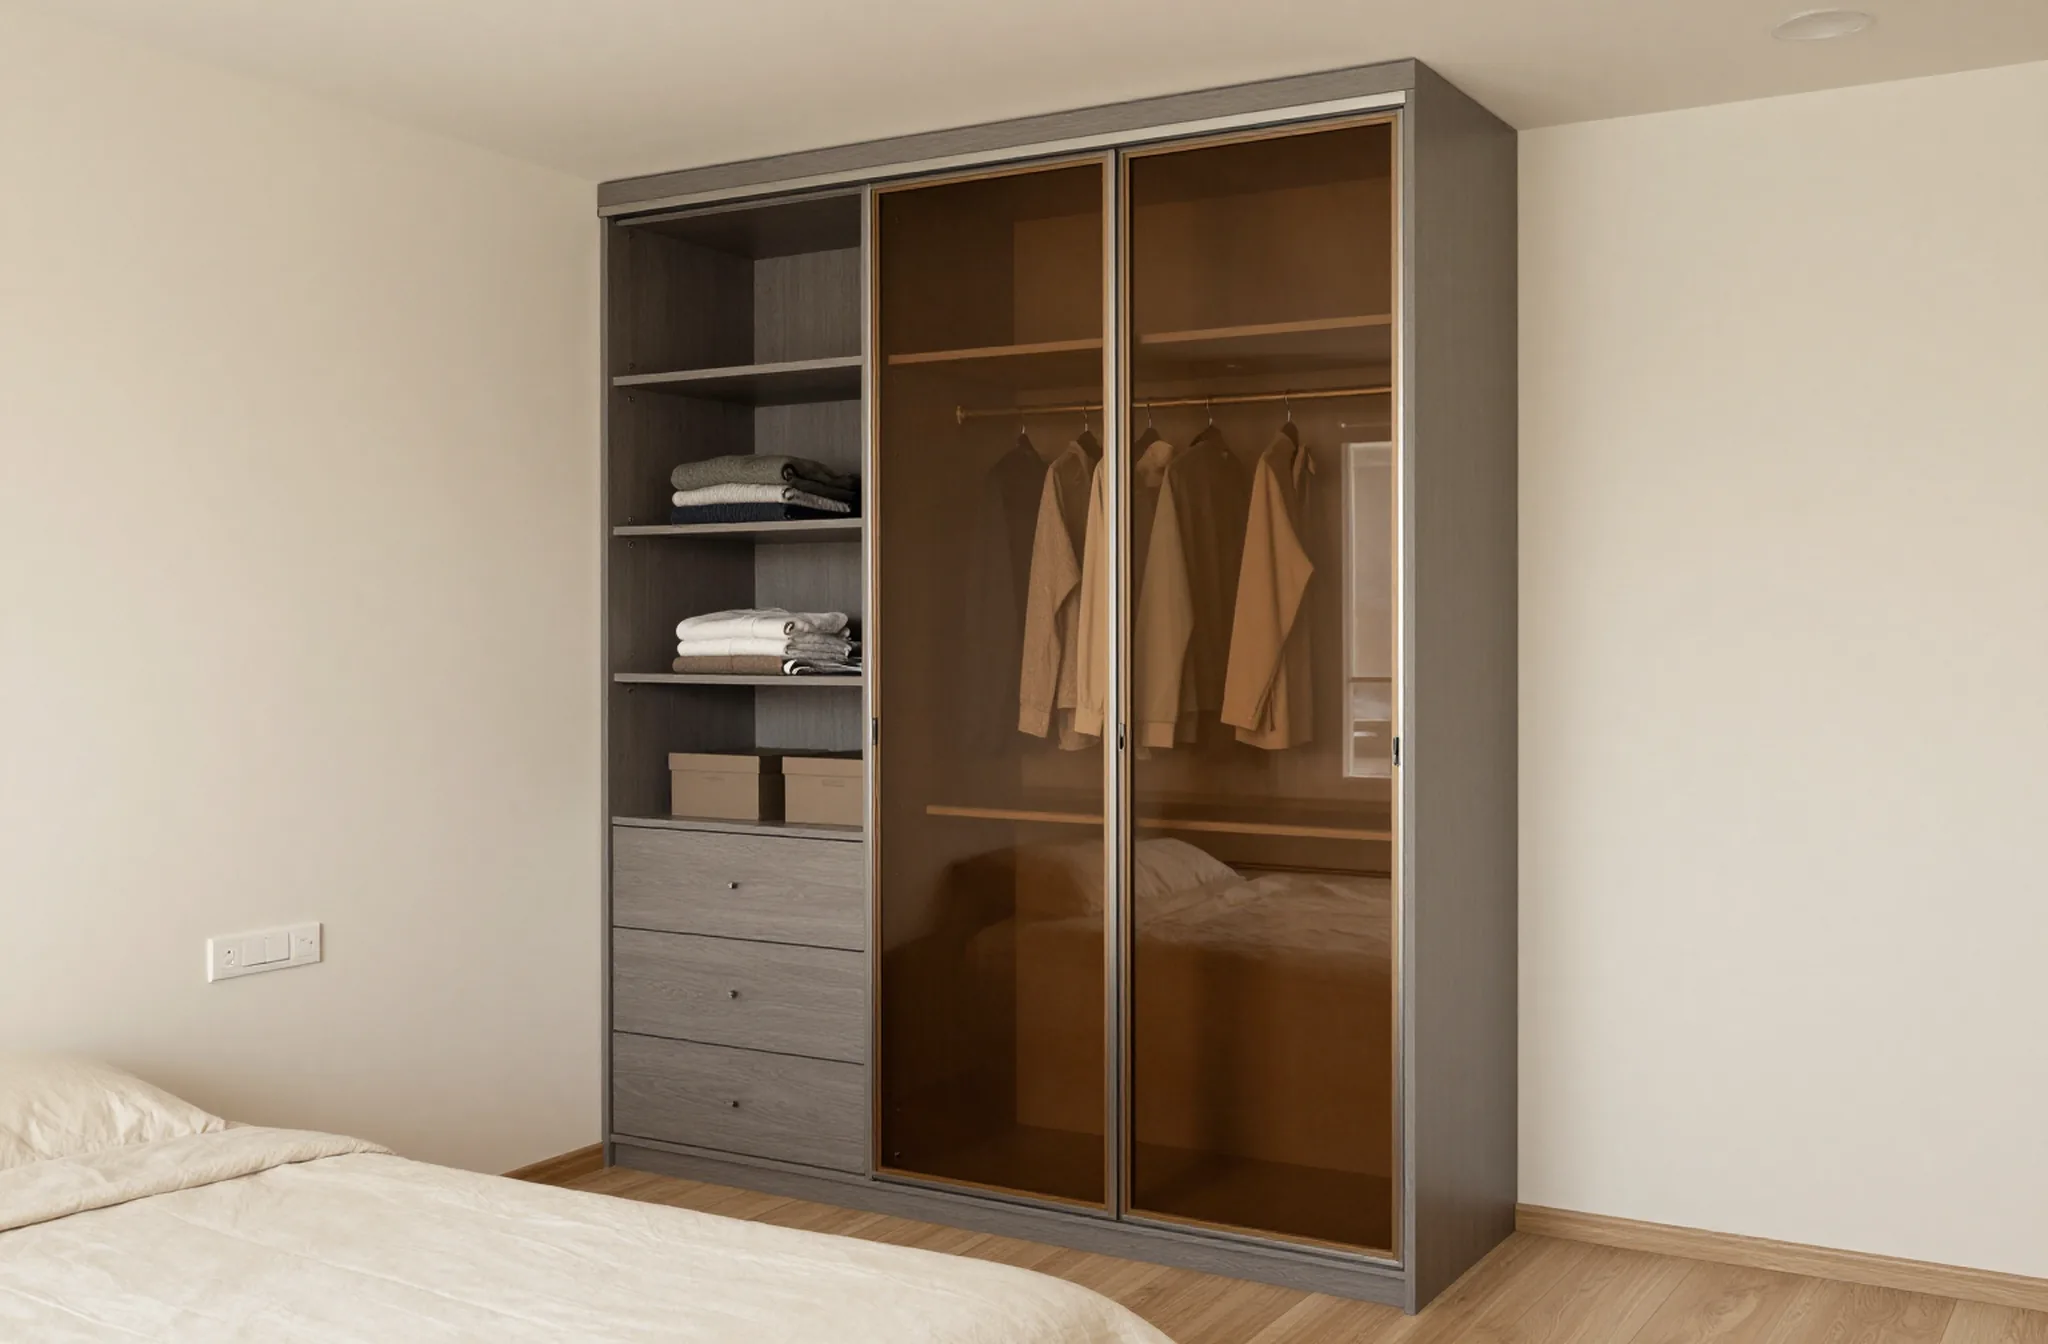
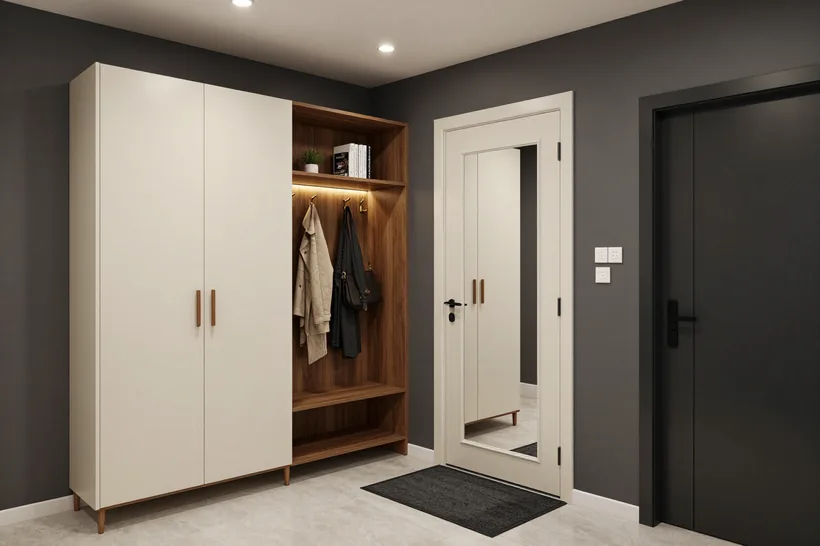
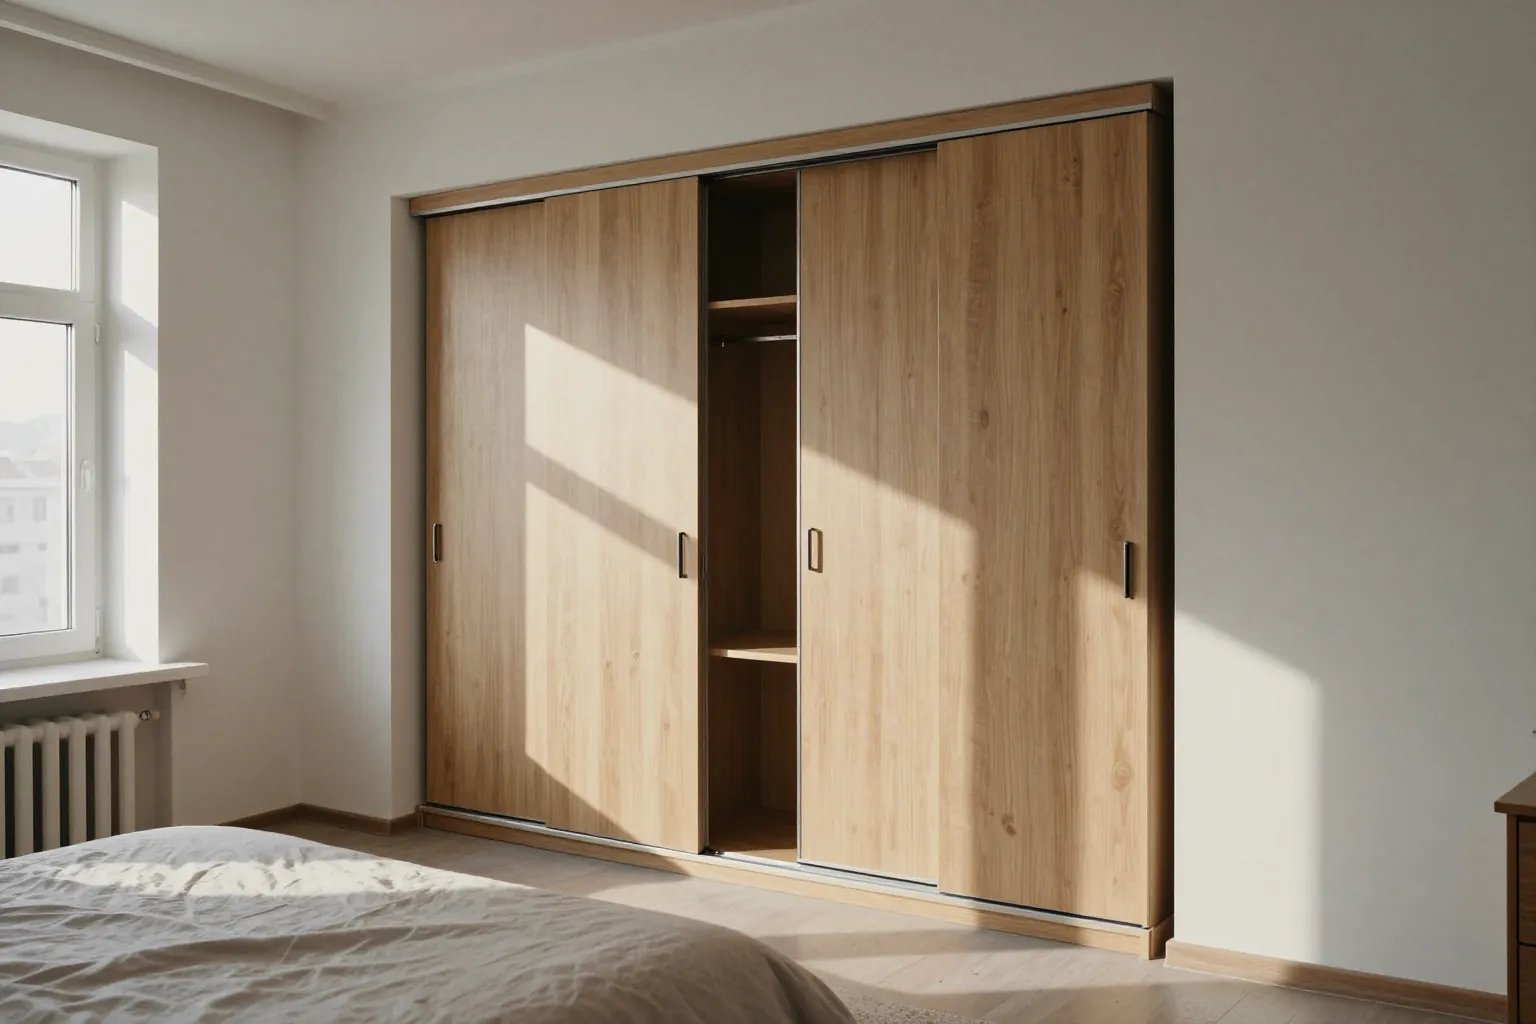
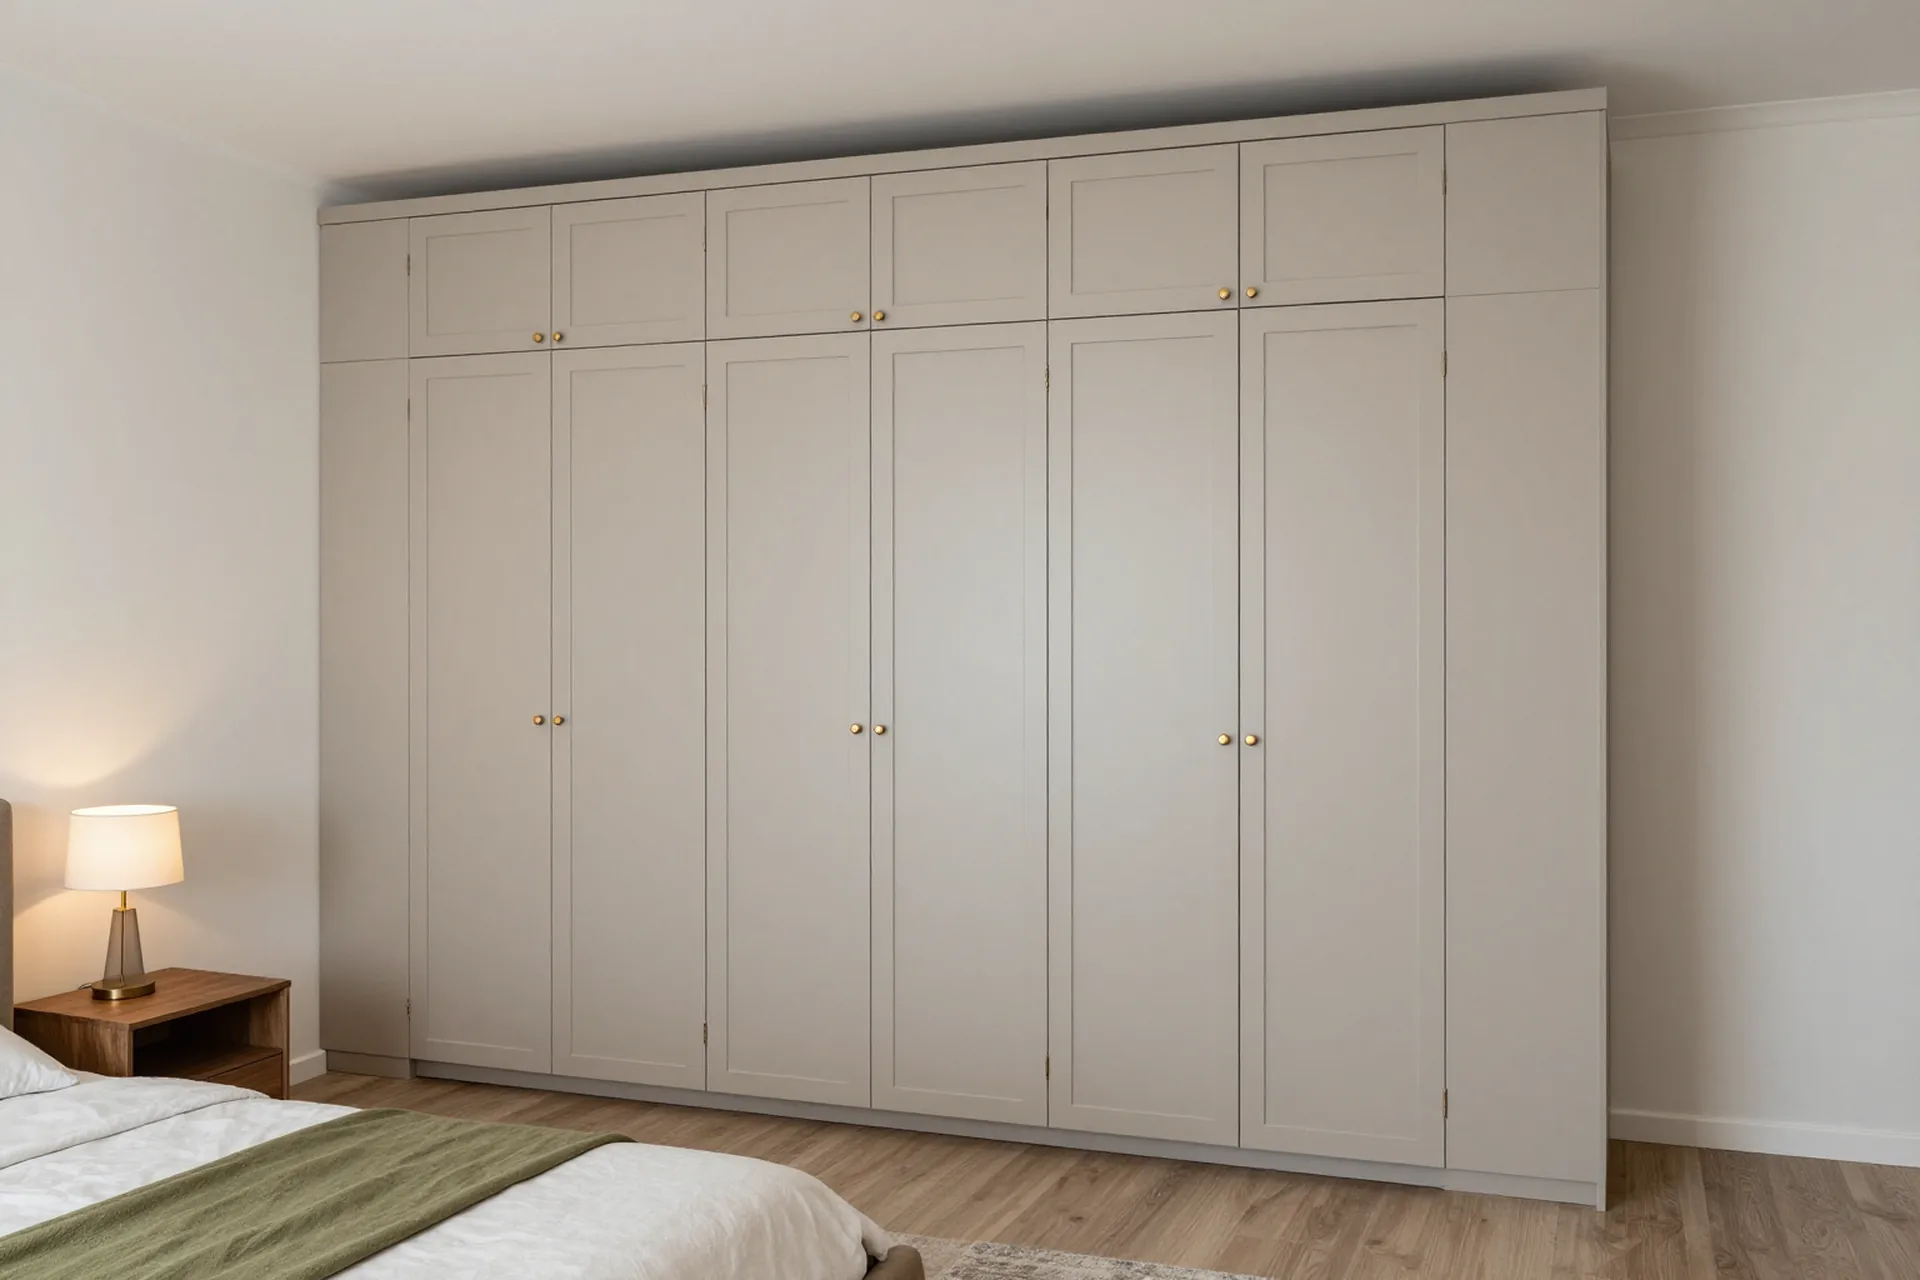
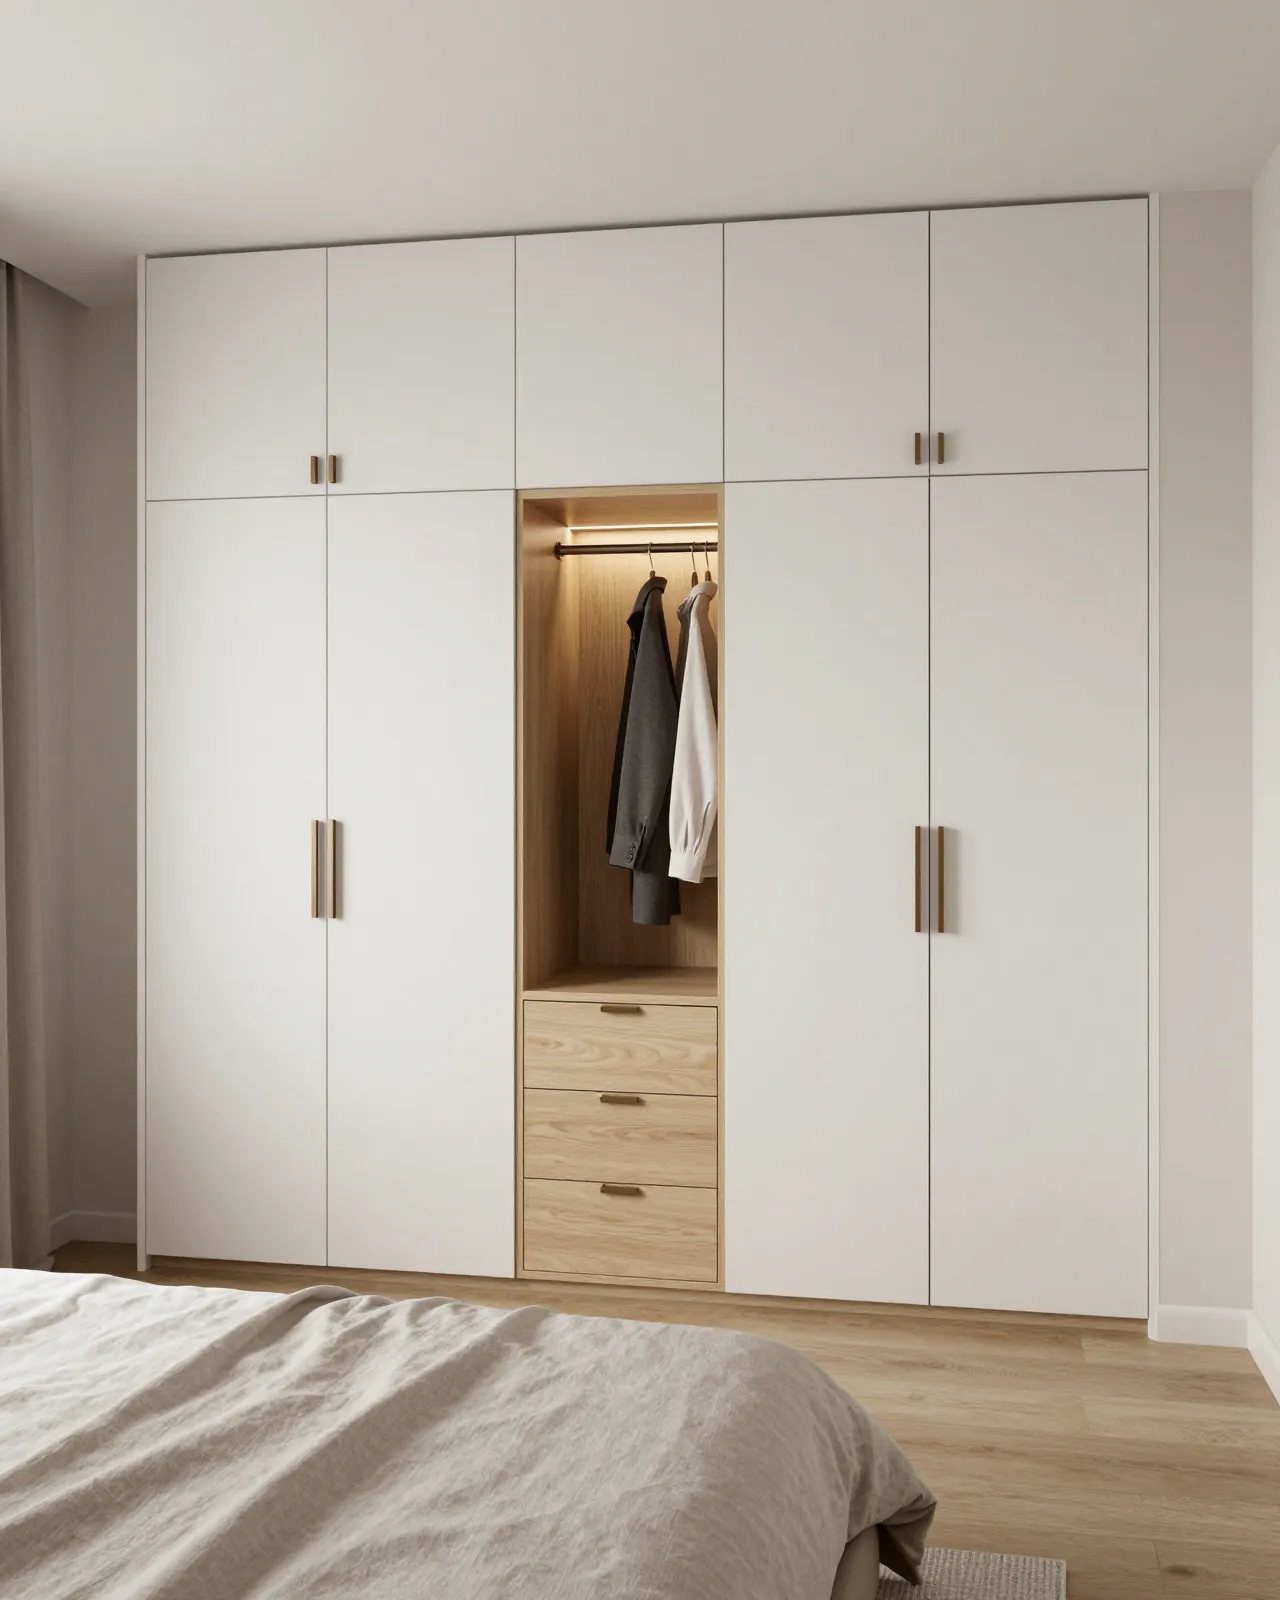
Wall-to-wall built-in sliding-door wardrobe in a bedroom with oak doors and a bronze mirrorBuilt-in wardrobe in a bedroom niche with an open hanging section and drawersFloor-to-ceiling hinged wardrobe with panelled fronts, a wooden bench and a round mirror in a hallway

Custom built-in wardrobes for any niche in Almaty

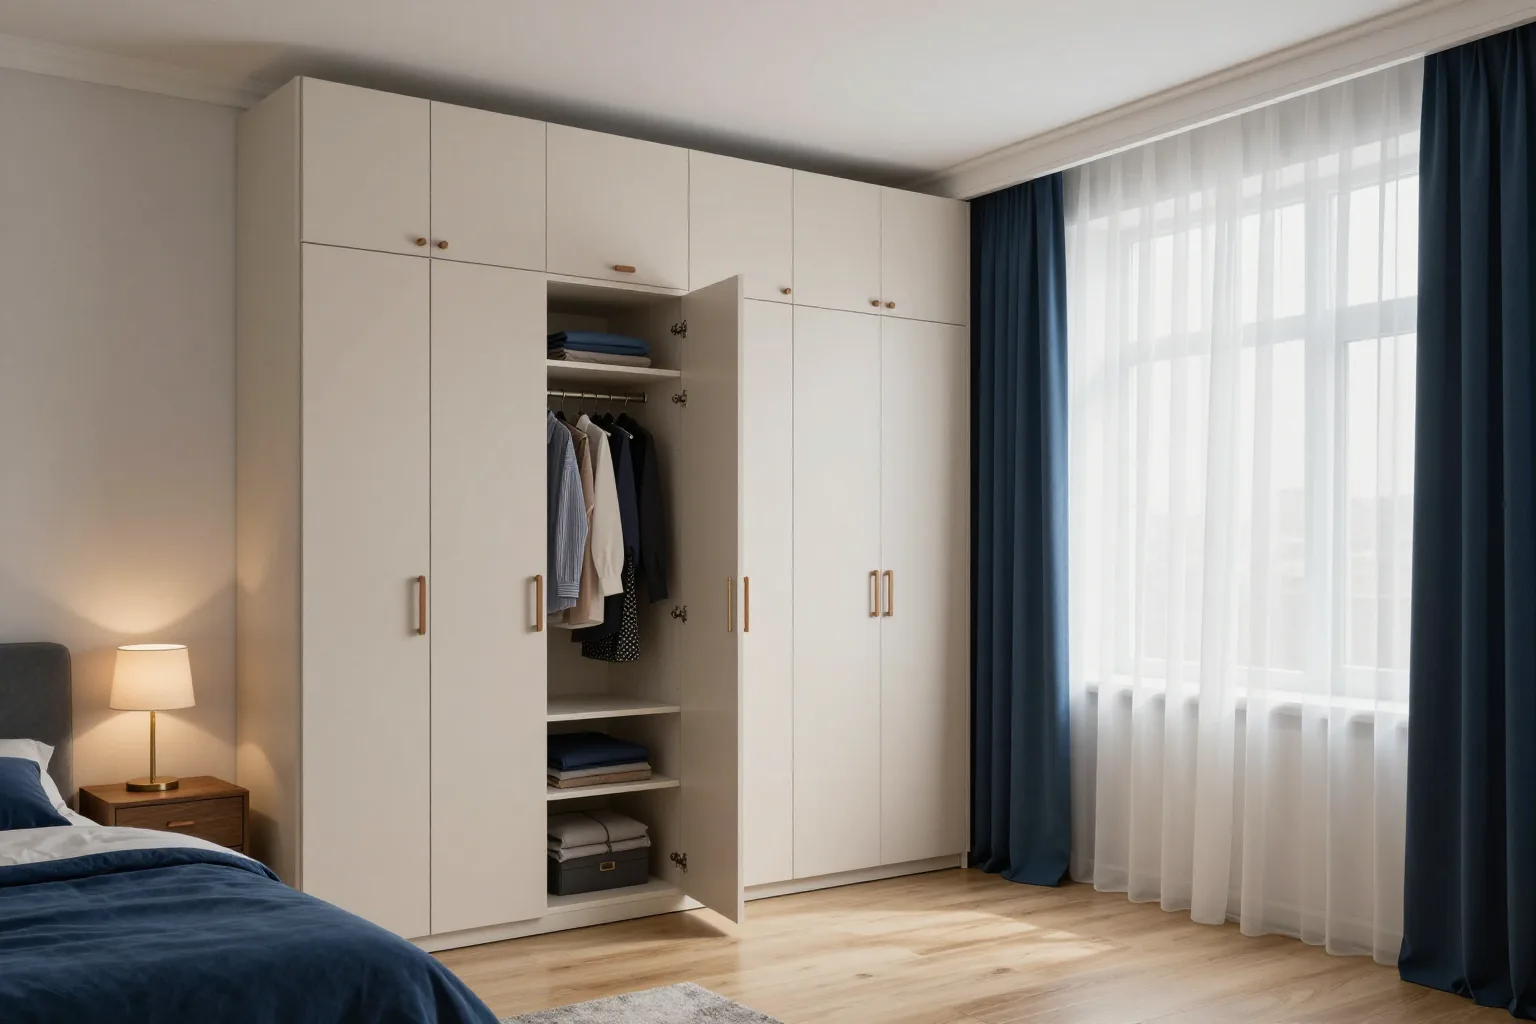
An alcove, a gap between walls or a corner becomes floor-to-ceiling storage. The wardrobe sits flush with the wall, and the alcove walls replace its side panels, so it costs less than a freestanding wardrobe of the same width. Niche measurement and a 3D design are free, the price is fixed in the contract, and the warranty is 24 months.

Measurement and 3D design are free and carry no obligation · price fixed in the contract · Kaspi Instalments up to 24 months

★ 4,9
Google rating
from 10 days
production per price list
24 mo.
warranty under contract

02Prices

Prices for custom built-in wardrobes

The "from" price is per linear metre of wardrobe width: laminated chipboard partitions and shelves, a hanging rail, doors and soft-close hardware. "₸/m" means per linear metre; lighting and the pull-down rail are add-ons. We fix the exact price in the contract after a free niche measurement.

  • 50% prepayment, the rest after installation and sign-off
  • Kaspi, card, cash, bank transfer for companies
  • 1–2 days for a 3D design, revisions free
  • Kaspi Instalments over 3–24 months with no down payment
Get an exact quote
ItemMaterialLead timePrice
  • Built into a niche, hinged doorsLaminated chipboard10 daysfrom 45 000 ₸/⁠m
  • Built into a wall recessLaminated chipboard10 daysfrom 48 000 ₸/⁠m
  • Built into a hallway with an open nicheLaminated chipboard, hooks, seat12 daysfrom 52 000 ₸/⁠m
  • Built into a niche, sliding doorsLaminated chipboard, aluminium track12 daysfrom 55 000 ₸/⁠m
  • Built-in for a kids&#x​27; roomE1-class laminated chipboard14 daysfrom 58 000 ₸/⁠m
  • Built-in with mirrorLaminated chipboard, mirror with safety film14 daysfrom 60 000 ₸/⁠m
  • Built-in, wall to wall and floor to ceilingLaminated chipboard, top cabinet14 daysfrom 65 000 ₸/⁠m
  • Built-in cornerLaminated chipboard16 daysfrom 82 000 ₸/⁠m
  • Built-in with premium interiorLaminated chipboard, pull-down rail, Blum drawers16 daysfrom 85 000 ₸/⁠m
  • Built-in with enamelled MDF doorsLaminated chipboard, enamelled MDF20–30 daysfrom 110 000 ₸/⁠m
  • LED section lighting (per wardrobe)LED strip, door-open sensorwith the orderfrom 16 000 ₸
  • Pull-down wardrobe rail (per wardrobe)Hardwarewith the orderfrom 22 000 ₸

03Calculator

Price estimate for built-in wardrobes by your dimensions

We price built-in wardrobes per linear metre of niche or wall width. Tap what fits and we'll show an estimated price and lead time from the price list. The estimate goes to a manager on WhatsApp in a single message.

01Type
02Width, linear m across the niche or wall
3 linear m
18 linear m
03Carcass
04Fronts
05Hardware
06Options

04Projects

Built-in wardrobes we've made in Almaty

01 / 08
Built-in sliding-door wardrobe in a bedroom niche with three ash-effect doors and an open hanging section

01 / 08

Built-in sliding wardrobe in a bedroom niche

Esentai City residential complex, Bostandyk district

We closed the niche between the bedroom walls with three ash-effect sliding doors. The niche walls became the sides, so it came out noticeably cheaper than a freestanding wardrobe and sits flush with the wall.

Items
niche, 3 sliding doors, open section
Materials
Laminated chipboard
Lead time
12 days
I want the same
Floor-to-ceiling built-in hinged wardrobe with grey panelled doors and a top cabinet in a bedroom

02 / 08

Built-in hinged wardrobe for a bedroom

Nova City residential complex, Bostandyk district

In a bedroom with clearance in front of the wardrobe we built a hinged one: cheaper than sliding, the whole wardrobe visible at once, and a top cabinet for seasonal things.

Items
panelled hinged doors, top cabinet
Materials
Laminated chipboard, film-wrapped MDF fronts
Lead time
14 days
I want the same
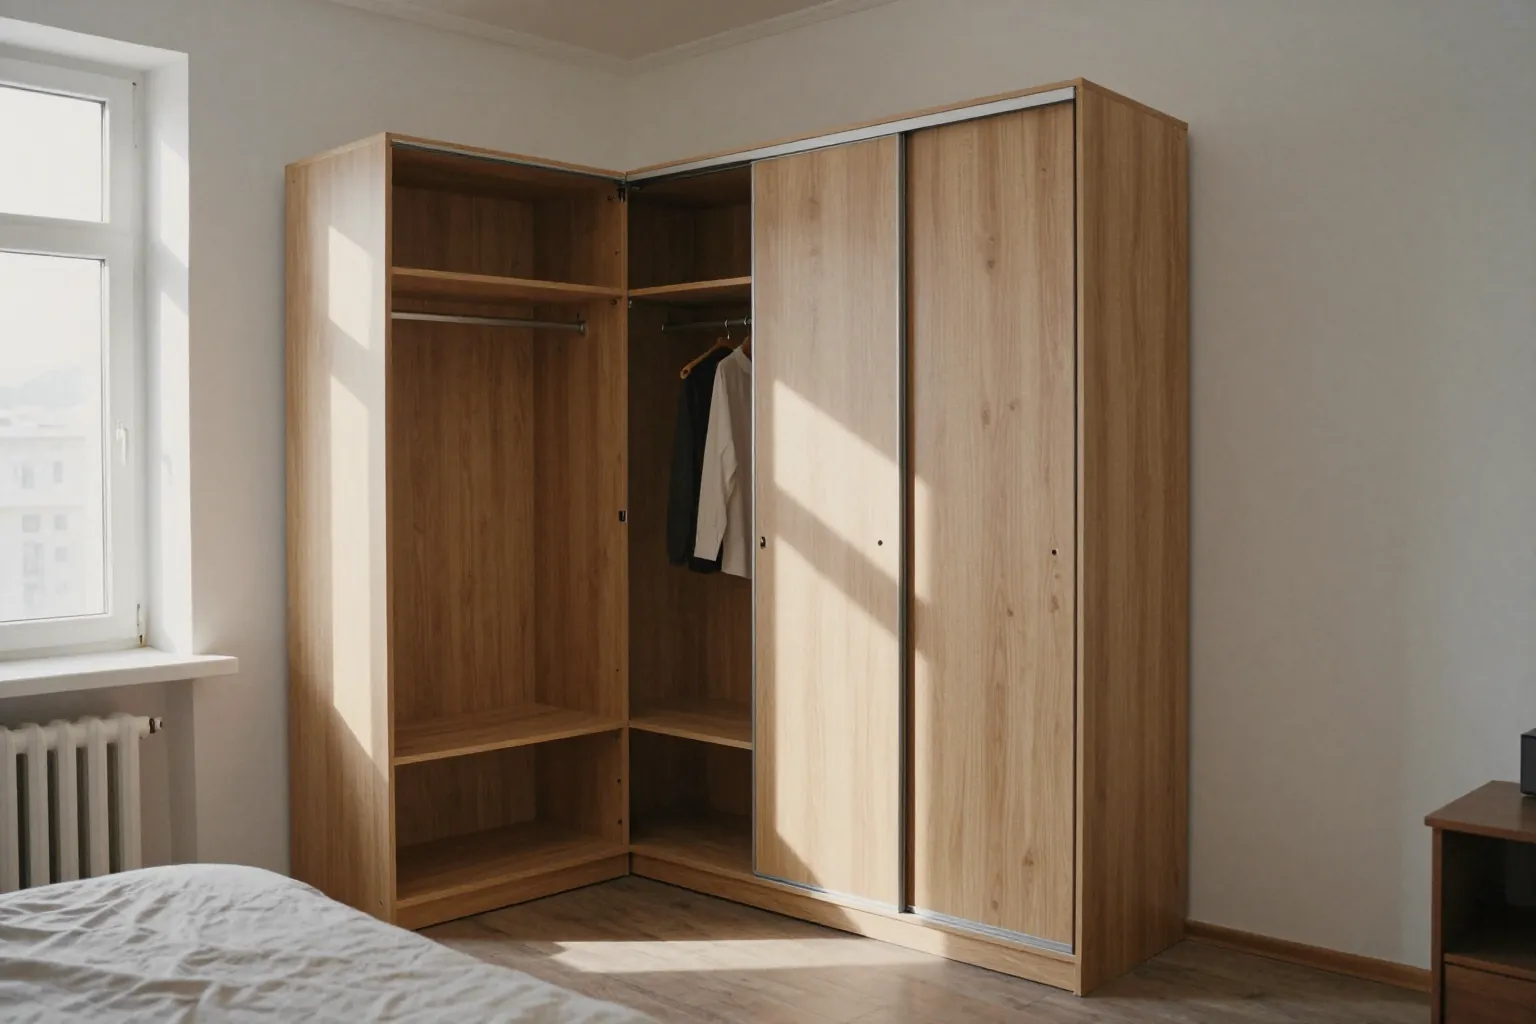
White L-shaped built-in corner wardrobe up to the ceiling with top cabinets in a bright bedroom

03 / 08

Built-in corner

Abu Dhabi Plaza residential complex, Medeu district

We used the bedroom corner by joining two walls. That gave a third more hanging space than a straight wardrobe along one wall.

Items
corner, two runs of doors, top cabinet
Materials
Laminated chipboard
Lead time
16 days
I want the same
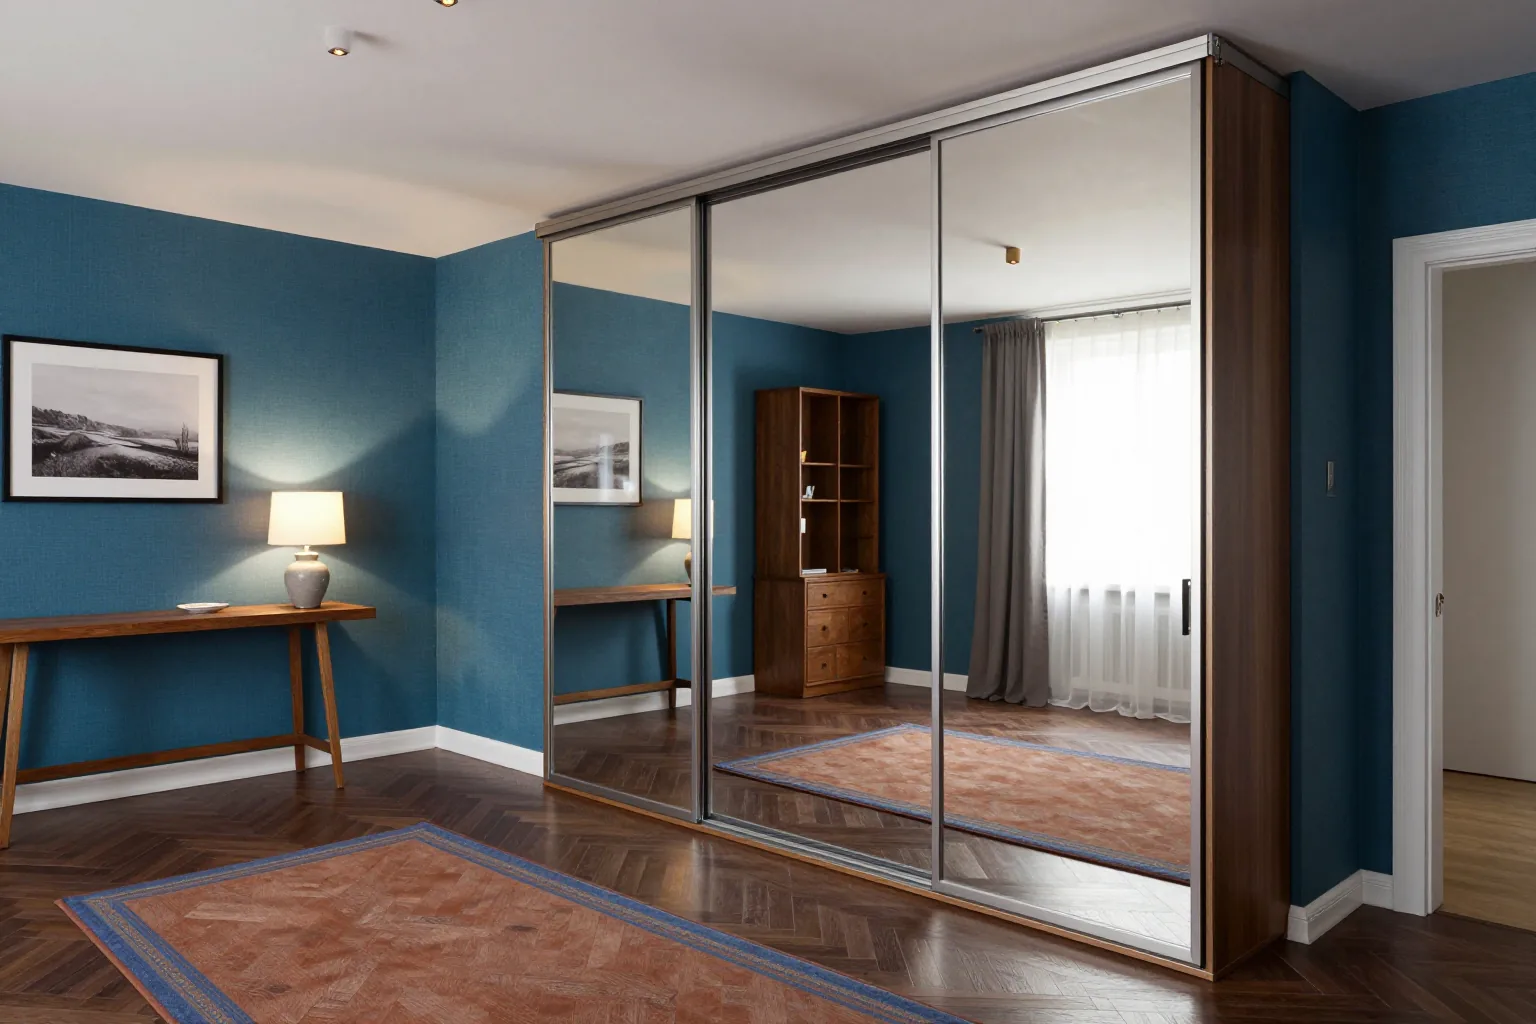
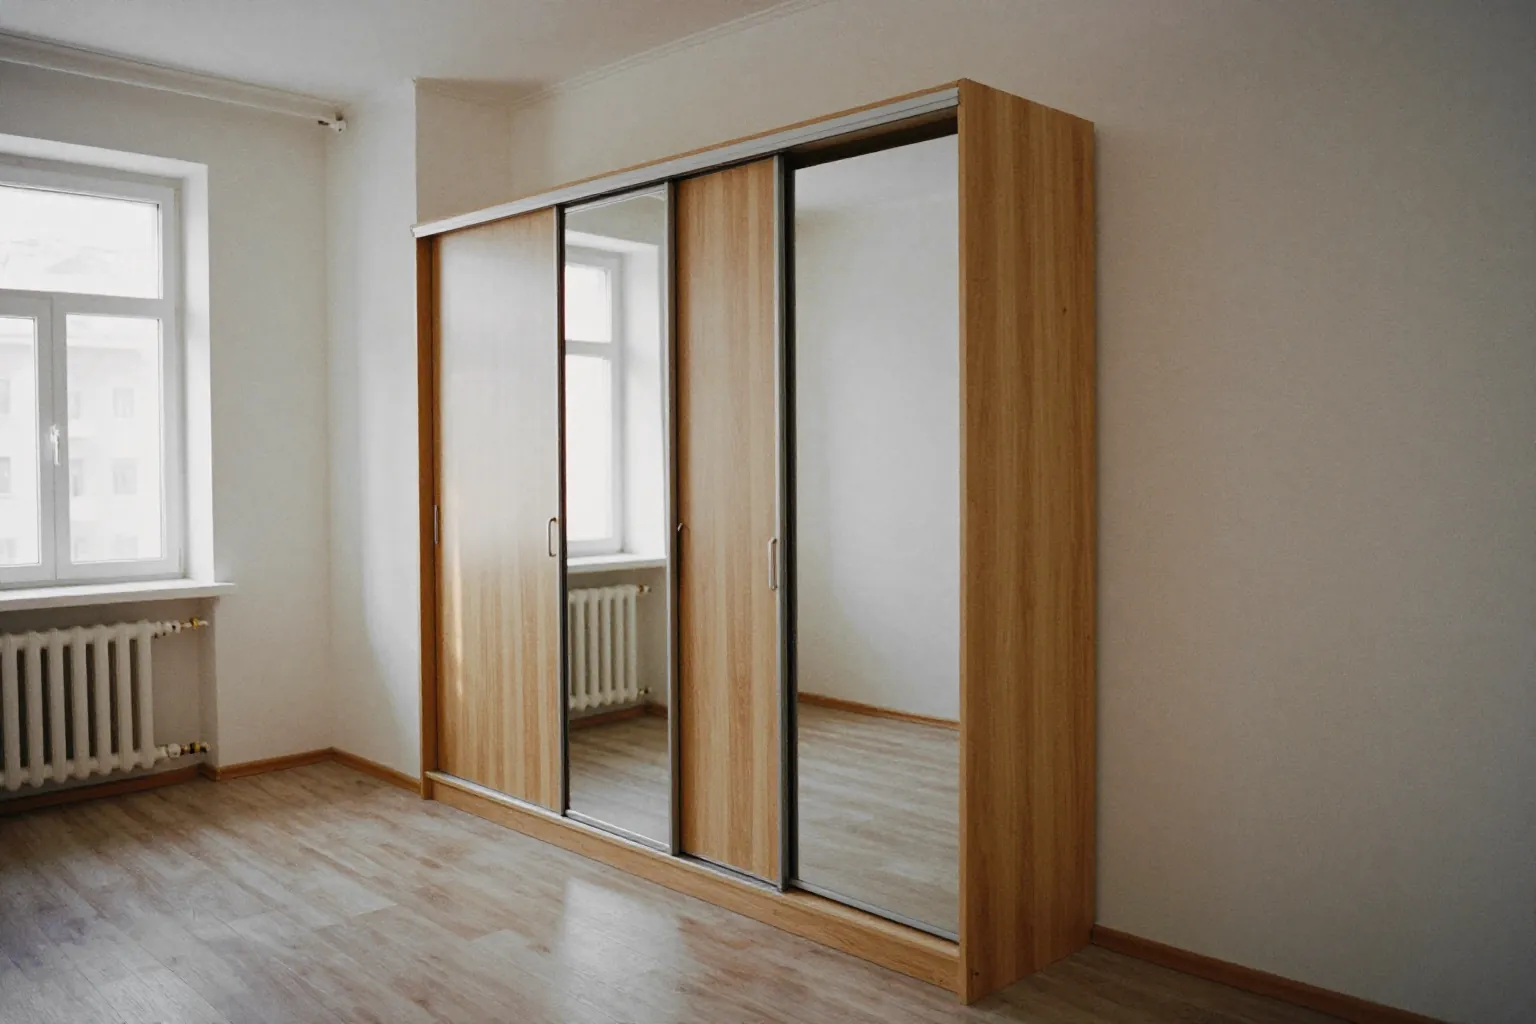
Shallow built-in sliding-door wardrobe with mirrored doors along the wall of a narrow apartment hallway

04 / 08

Built-in mirrored wardrobe for a hallway

Orbita-3 microdistrict

We closed a wall recess in the hallway with sliding doors, two of them mirrored. Full-length mirrors made the narrow hallway look wider.

Items
sliding, full-length mirrored doors
Materials
Laminated chipboard, mirror
Lead time
14 days
I want the same
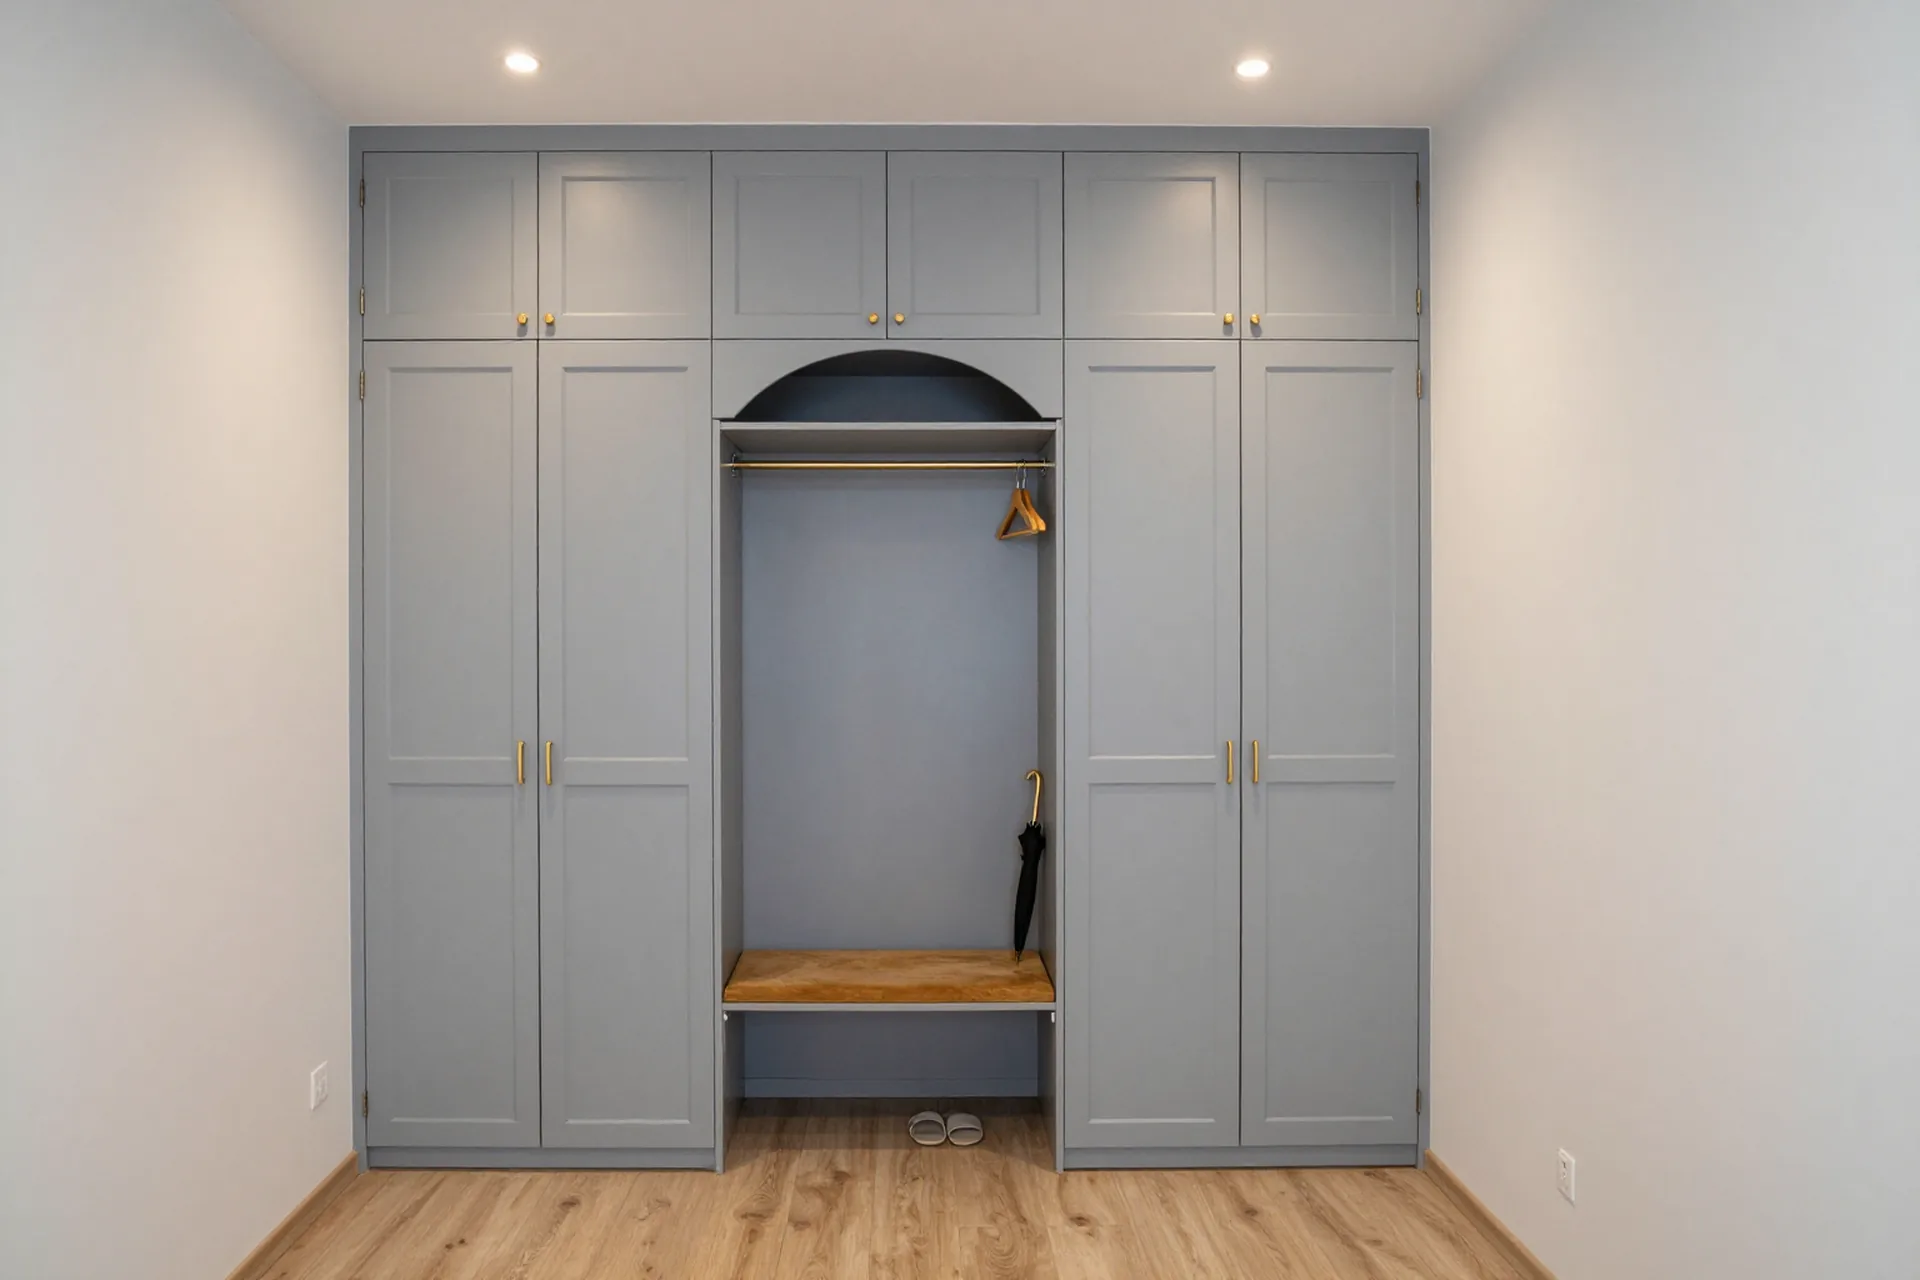
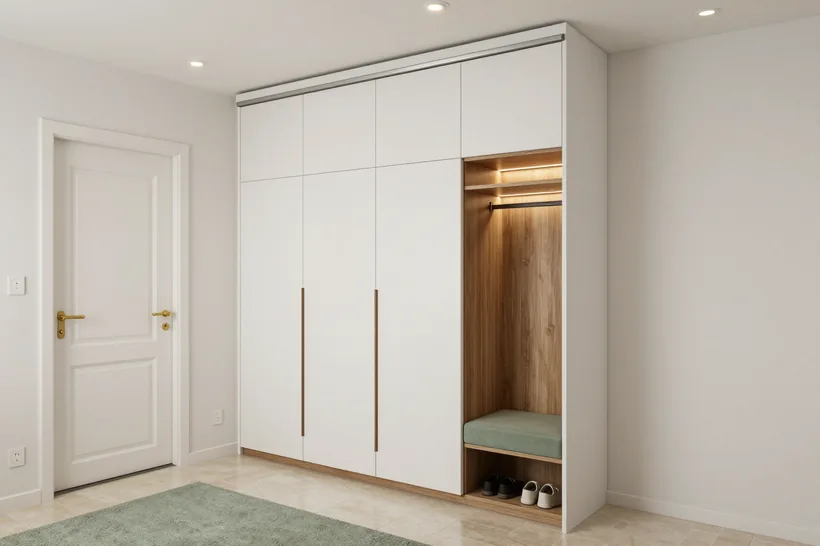
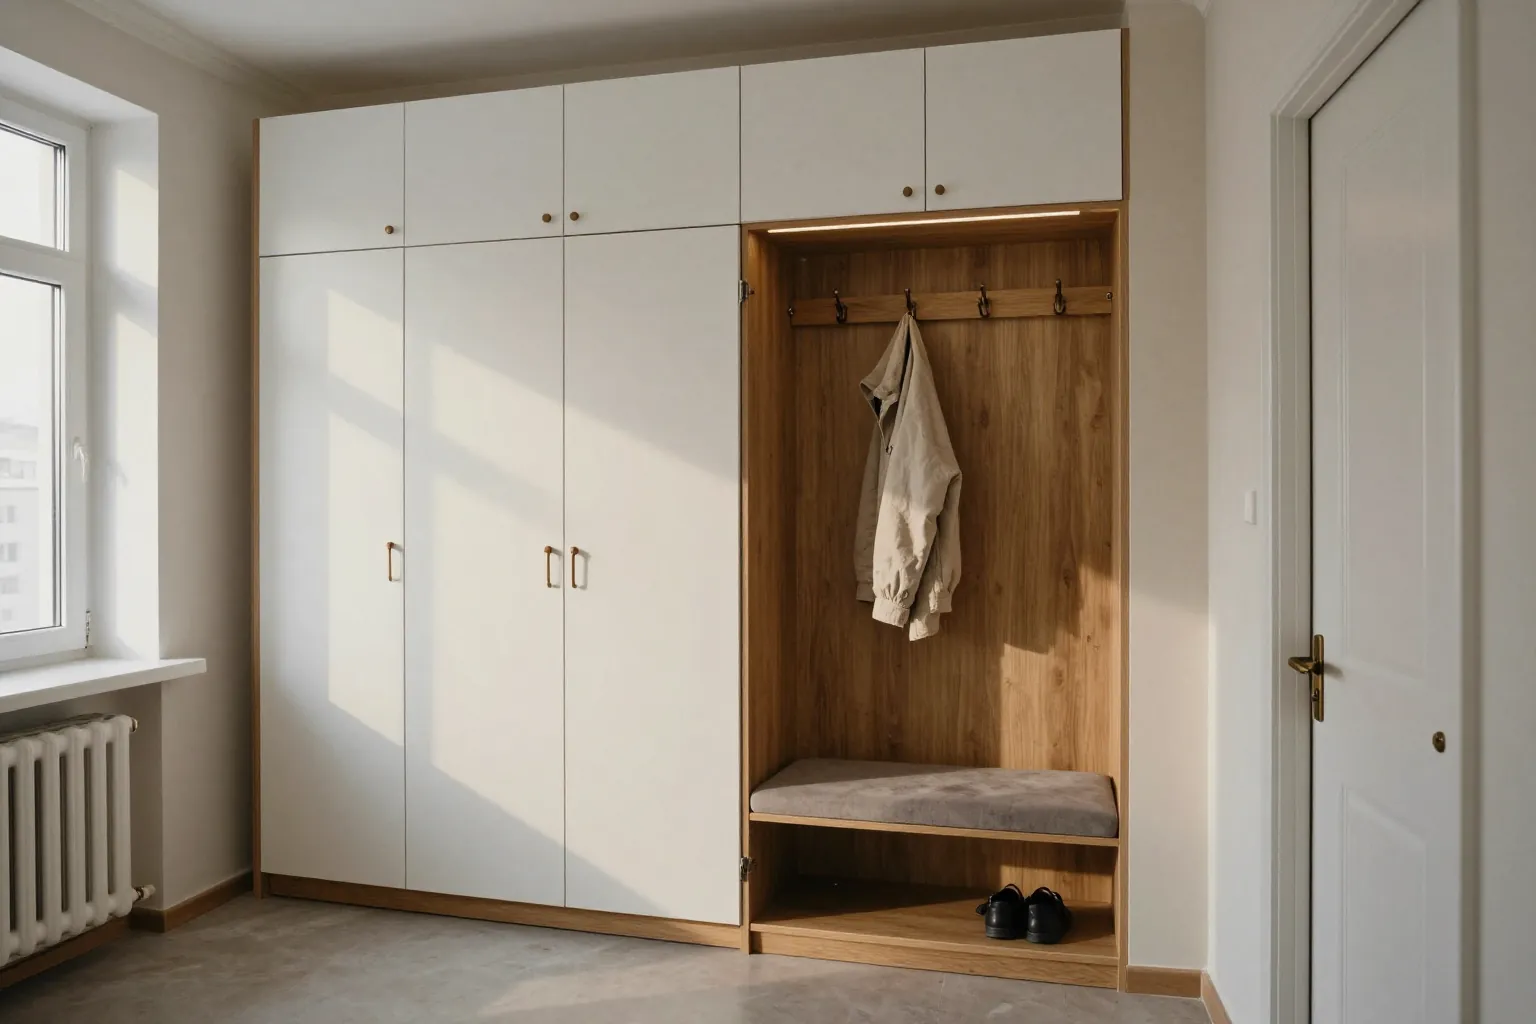
White wall-to-wall built-in hallway wardrobe with a lit niche, a bench and a top cabinet

05 / 08

Built-in, wall to wall

Almaty Arena residential complex, Alatau district

We filled the hallway wall with a floor-to-ceiling wardrobe: closed sections for clothes, an open niche with lighting and a bench, and a top cabinet for rarely used things.

Items
floor to ceiling, niche with a bench, top cabinet
Materials
Laminated chipboard
Lead time
14 days
I want the same
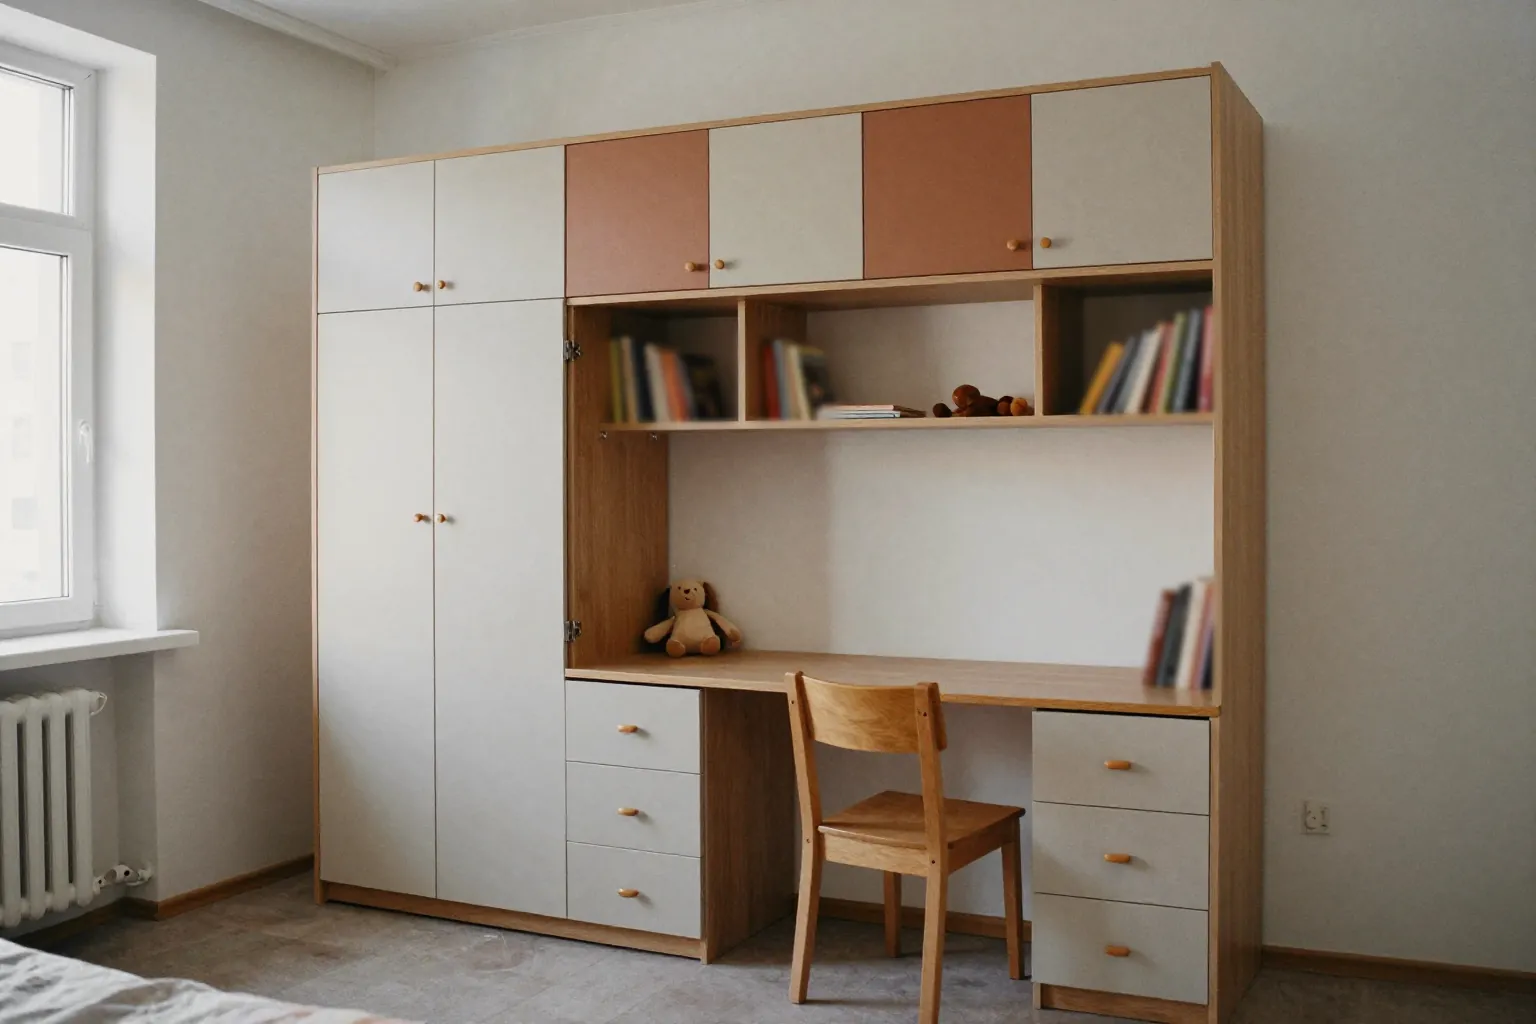
White built-in wardrobe in a kids' room with a top cabinet, drawers and open shelves above the desk

06 / 08

Built-in for a kids' room

Samal-2 microdistrict

We filled the kids' room wall with a wardrobe and top cabinet: hinged sections for clothes, drawers below and open shelves above the desk. E1-class materials with no smell.

Items
hinged, top cabinet, drawers, shelves
Materials
E1 laminated chipboard
Lead time
14 days
I want the same
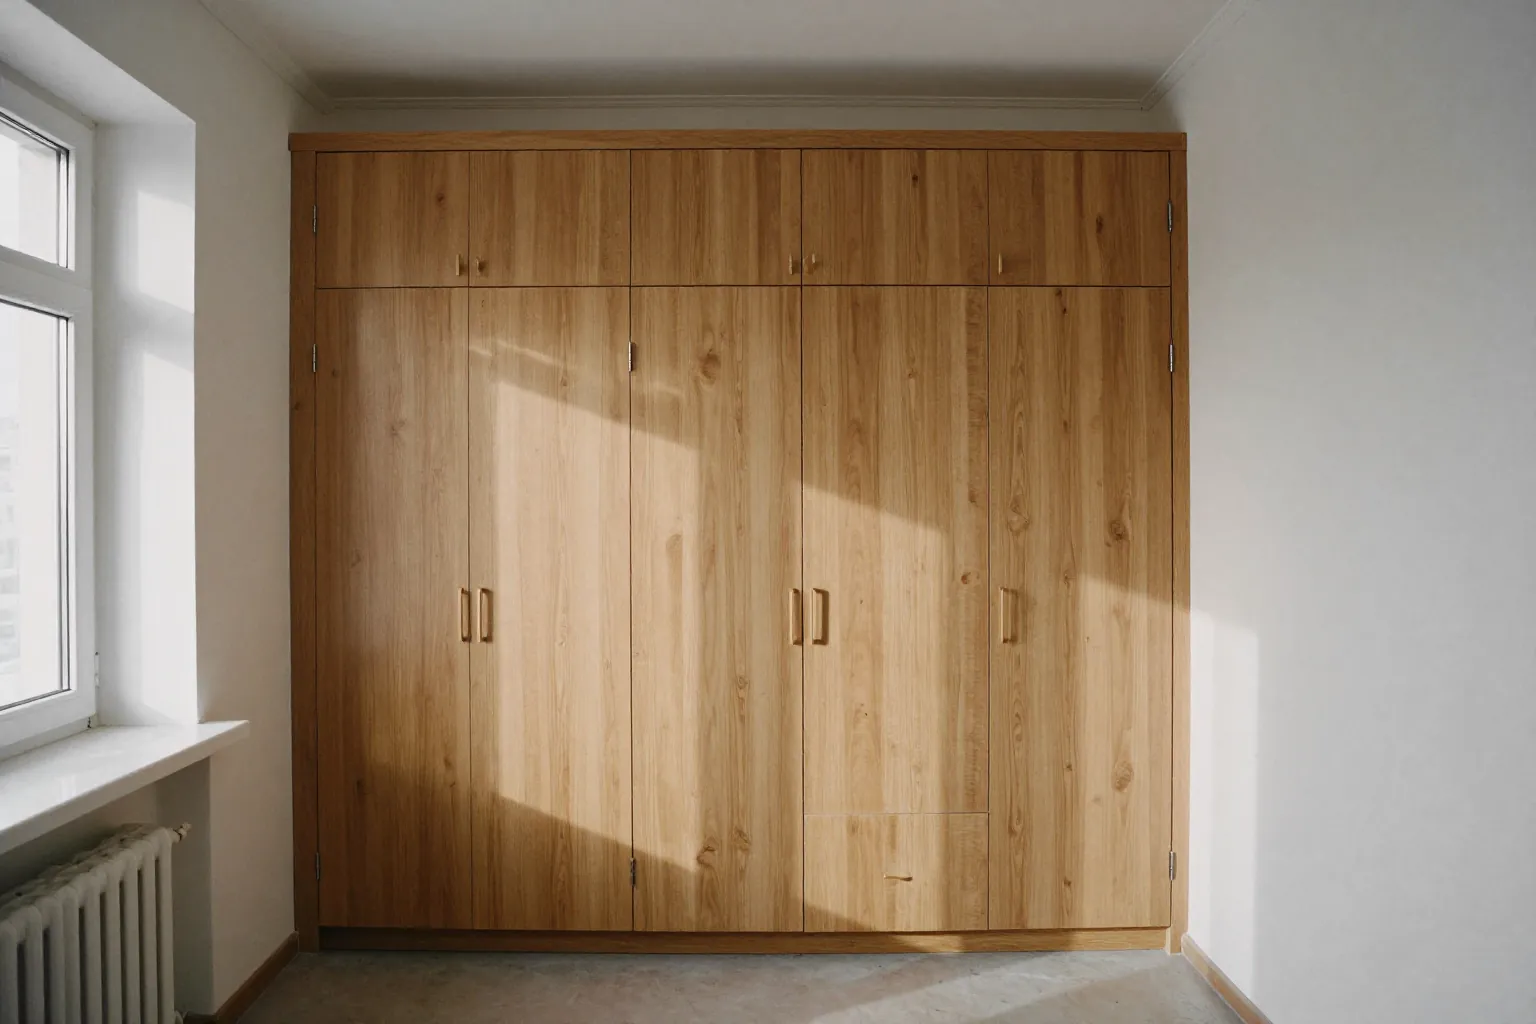
Built-in hinged wardrobe in a recess by the window with a top cabinet, an open door and shoe shelves

07 / 08

Built into a wall recess

Khrushchev-era flat, Almaly district

We filled the recess between the window and the hallway wall wall to wall, without a single extra side panel. A top cabinet above, shoe shelves below.

Items
wall to wall, hinged, top cabinet
Materials
Laminated chipboard
Lead time
10 days
I want the same
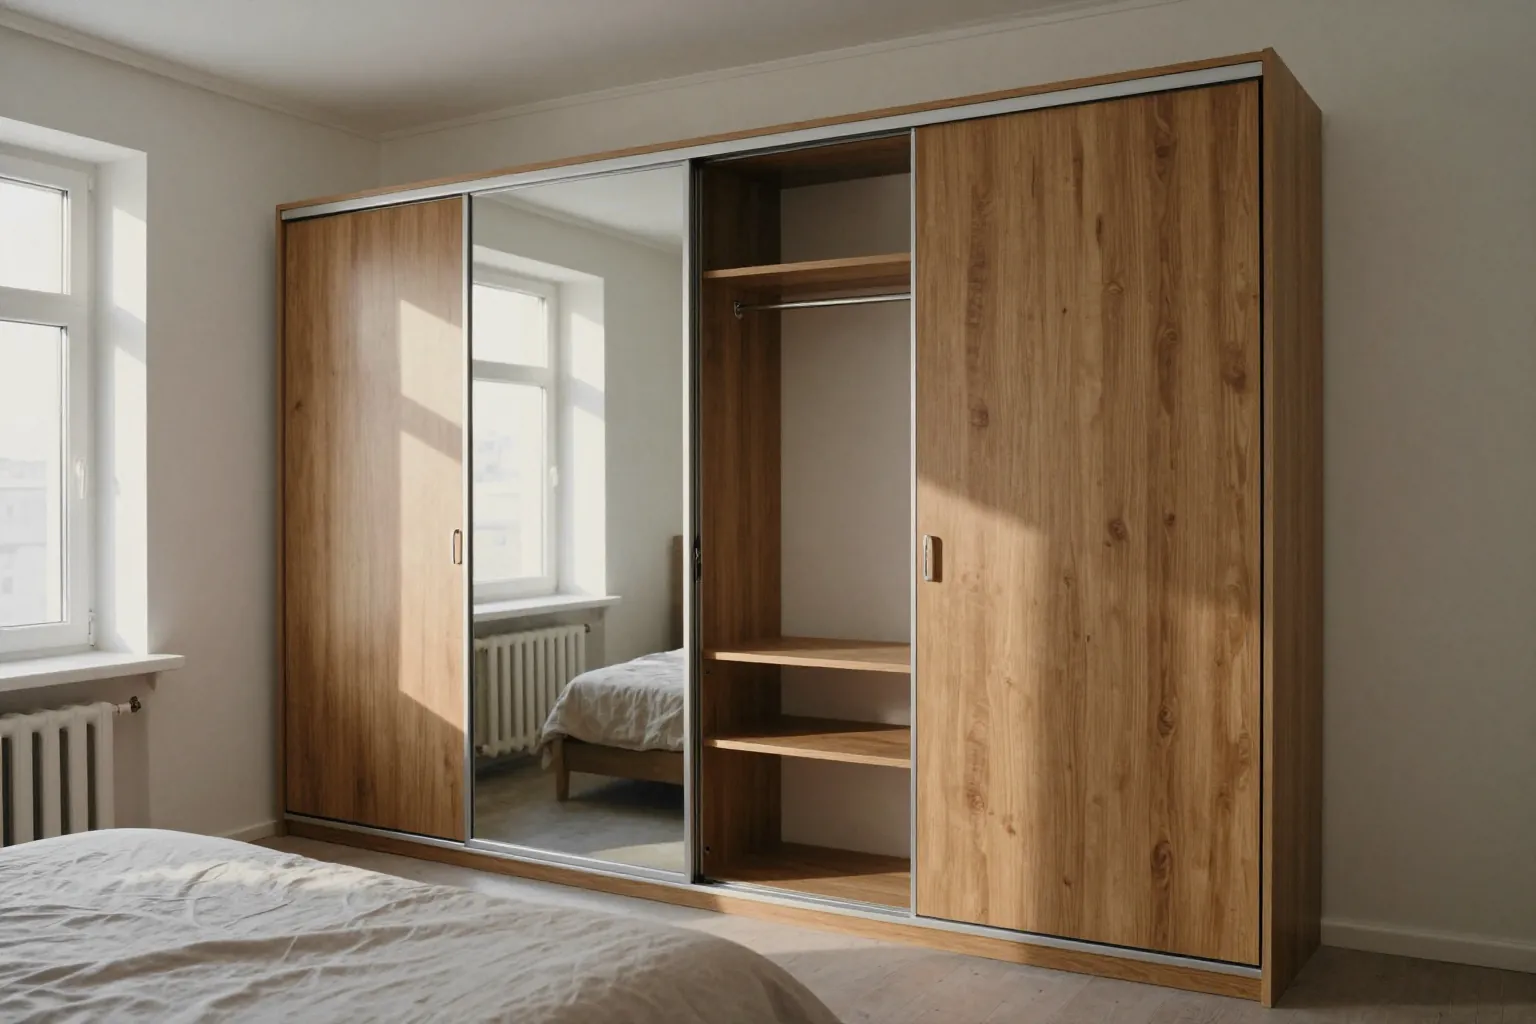
Light oak built-in sliding-door wardrobe with a mirrored door and a utility section for the ironing board

08 / 08

Built-in sliding wardrobe, wall to wall

Izumrudny Kvartal residential complex, Bostandyk district

Three oak-effect sliding doors across the whole wall, the middle one mirrored. It holds a couple's wardrobe plus a utility section for the ironing board and vacuum cleaner, and the mirror replaced a dressing table.

Items
3 doors, mirror, utility section
Materials
Laminated chipboard, mirror
Lead time
16 days
I want the same

300+

built-in wardrobes since 2013, out of 800+ wardrobes by MEBLIX. We'll show you ones similar to your niche on WhatsApp or in the showroom.

Show similar

05Why built-in

What goes into built-in wardrobes

  1. 01

    15–30% cheaper than freestanding

    The walls, floor and ceiling of the niche take over part of the structure: one or two side panels go, and often the back and base too. Less material means a built-in wardrobe of the same width costs noticeably less than a freestanding one.

  2. 02

    Sits flush with the wall

    The fronts line up with the wall, with no gaps at the sides and no dusty space on top. The wardrobe reads as part of the room, not as furniture pushed against the wall.

  3. 03

    A rail for any niche depth

    A deep niche from 55 cm gets a lengthwise rail and hangers; a shallow one of 35–45 cm gets a pull-out crosswise rail or shelves. Any depth works.

  4. 04

    Sliding or hinged doors, your choice

    Sliding doors take no space when opened, which suits a tight room. Hinged ones cost less and open everything at once where there's clearance in front. We choose for your layout.

  5. 05

    Wall deviations up to 2–3 cm under control

    Niche walls and floors are rarely straight. We cover deviations up to 2–3 cm with filler strips and adjustable feet, so the doors run smoothly and no gaps remain at the sides.

  6. 06

    Measuring the niche at every corner

    A niche looks rectangular but often narrows towards the top. We measure at the top, bottom and diagonals: a built-in wardrobe has nowhere to hide an error, so measuring matters more than for a freestanding one. Measurement in Almaty is free, and the 3D design takes 1–2 days.

06How ordering works

How to order built-in wardrobes step by step

Book a free measurement
  1. 01

    5 minutes

    Consultation

    Message us on WhatsApp or call. We discuss the task, style and budget, show similar projects and give a price estimate.

  2. 02

    within 24 hours

    Measurement

    The measurer comes free of charge anywhere in Almaty, takes laser measurements accurate to 1 mm, and marks sockets, pipes and uneven walls. Brings samples.

  3. 03

    1–2 days

    3D design and estimate

    We show the furniture in its colours and materials and make changes free of charge until you approve. Price, lead time and installation date are fixed in the contract.

  4. 04

    from 10 days

    Production

    Cutting, edging and trial assembly of the sections take place in our 600 m² workshop. Lead time per price list: from 10 days for a hinged niche wardrobe, 20–30 days with enamelled doors.

  5. 05

    1 day

    Delivery and installation

    We deliver, carry in, assemble and adjust the doors and drawers. After installation we clean up after ourselves.

  6. 06

    24 months

    Sign-off and warranty

    You check every mechanism, sign the certificate and pay the balance. The warranty starts that day, with service response within 1–2 business days.

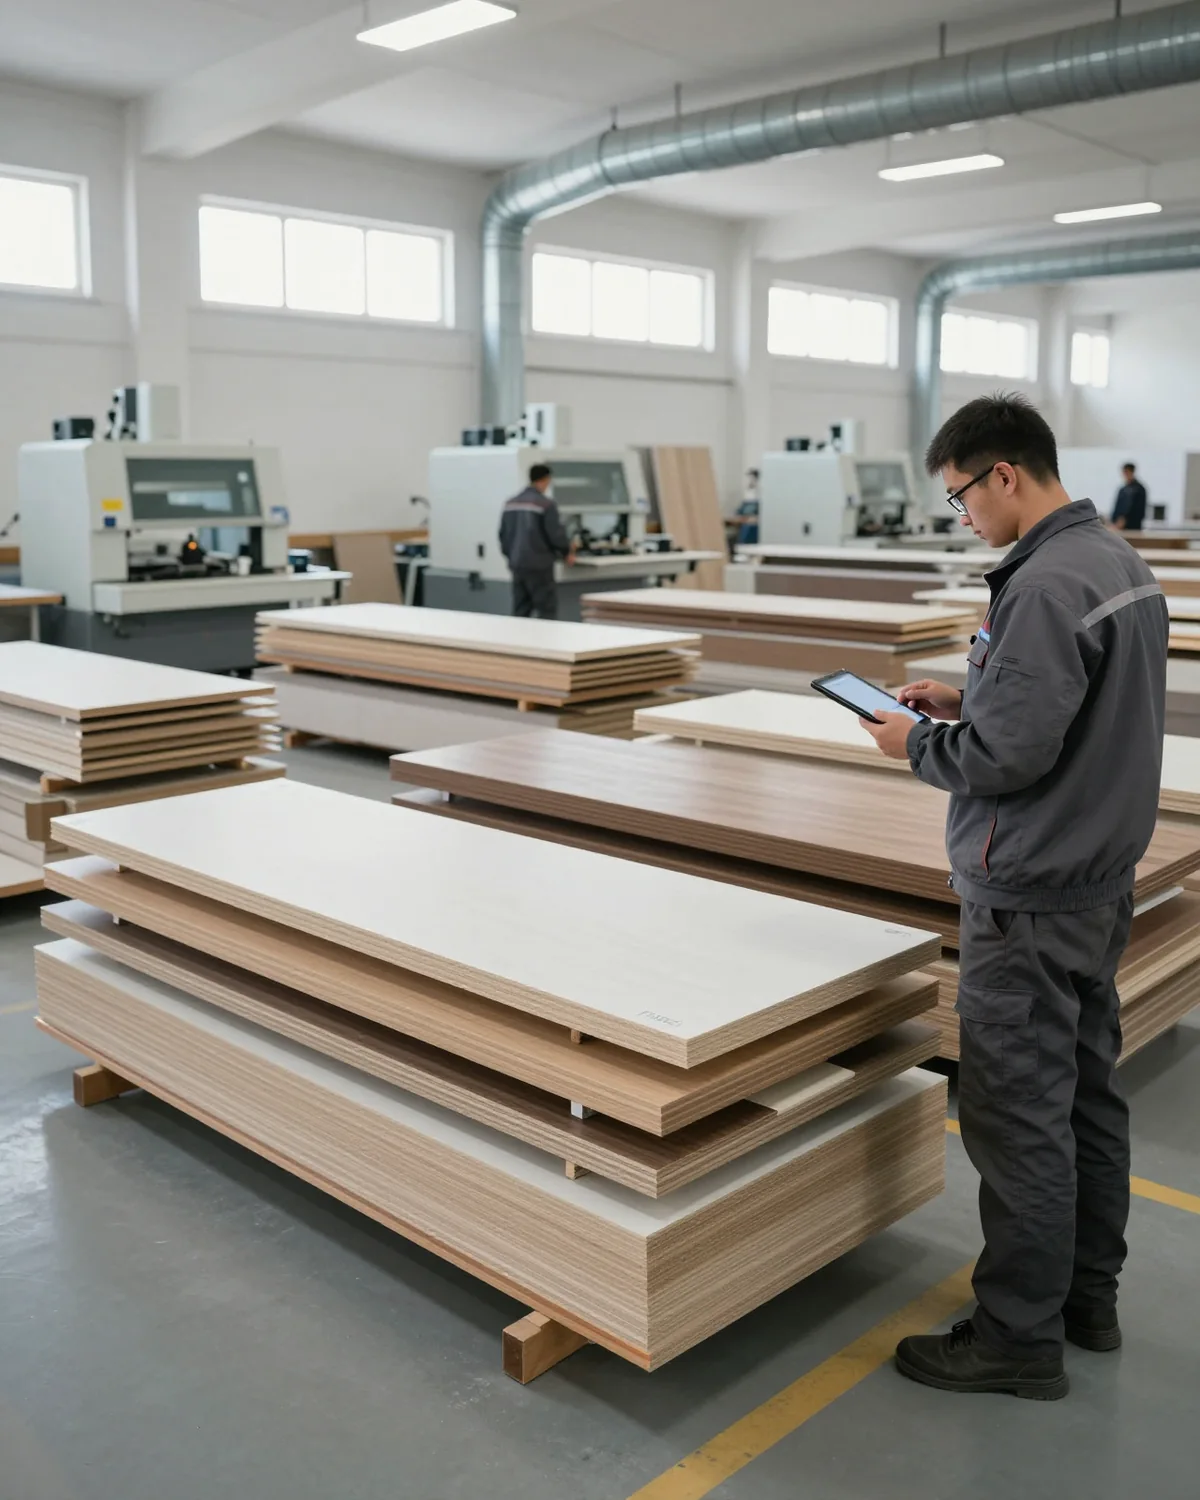
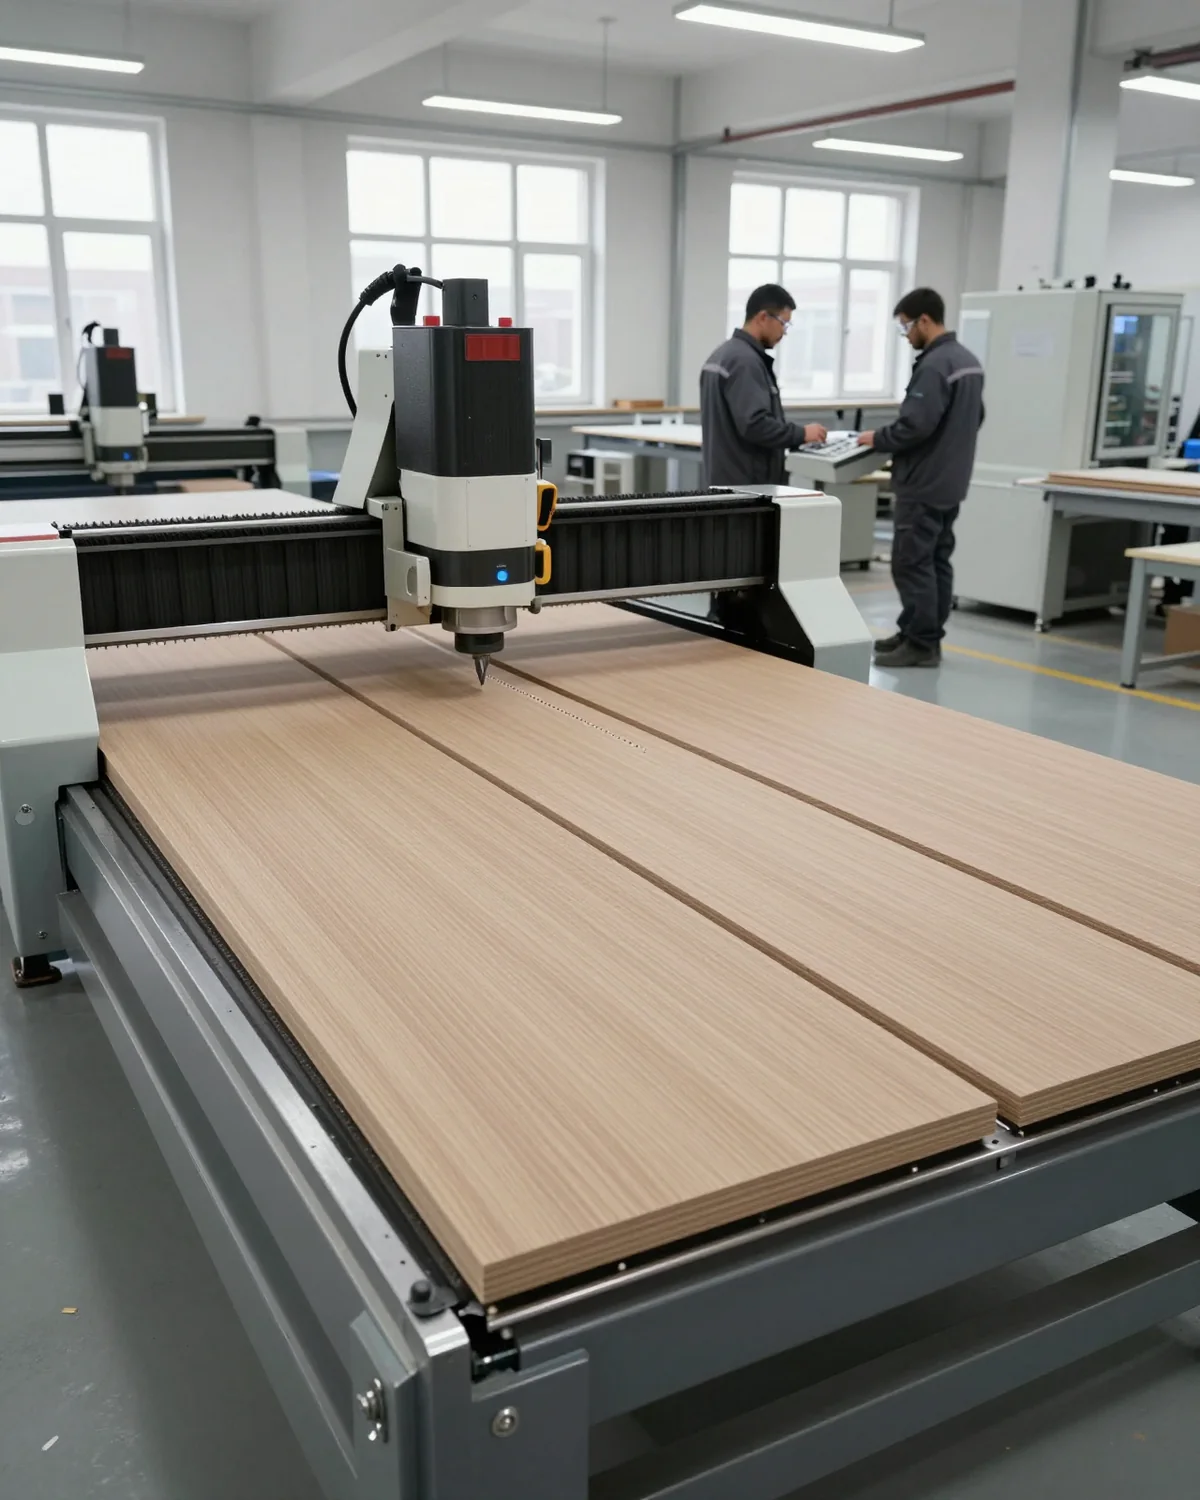
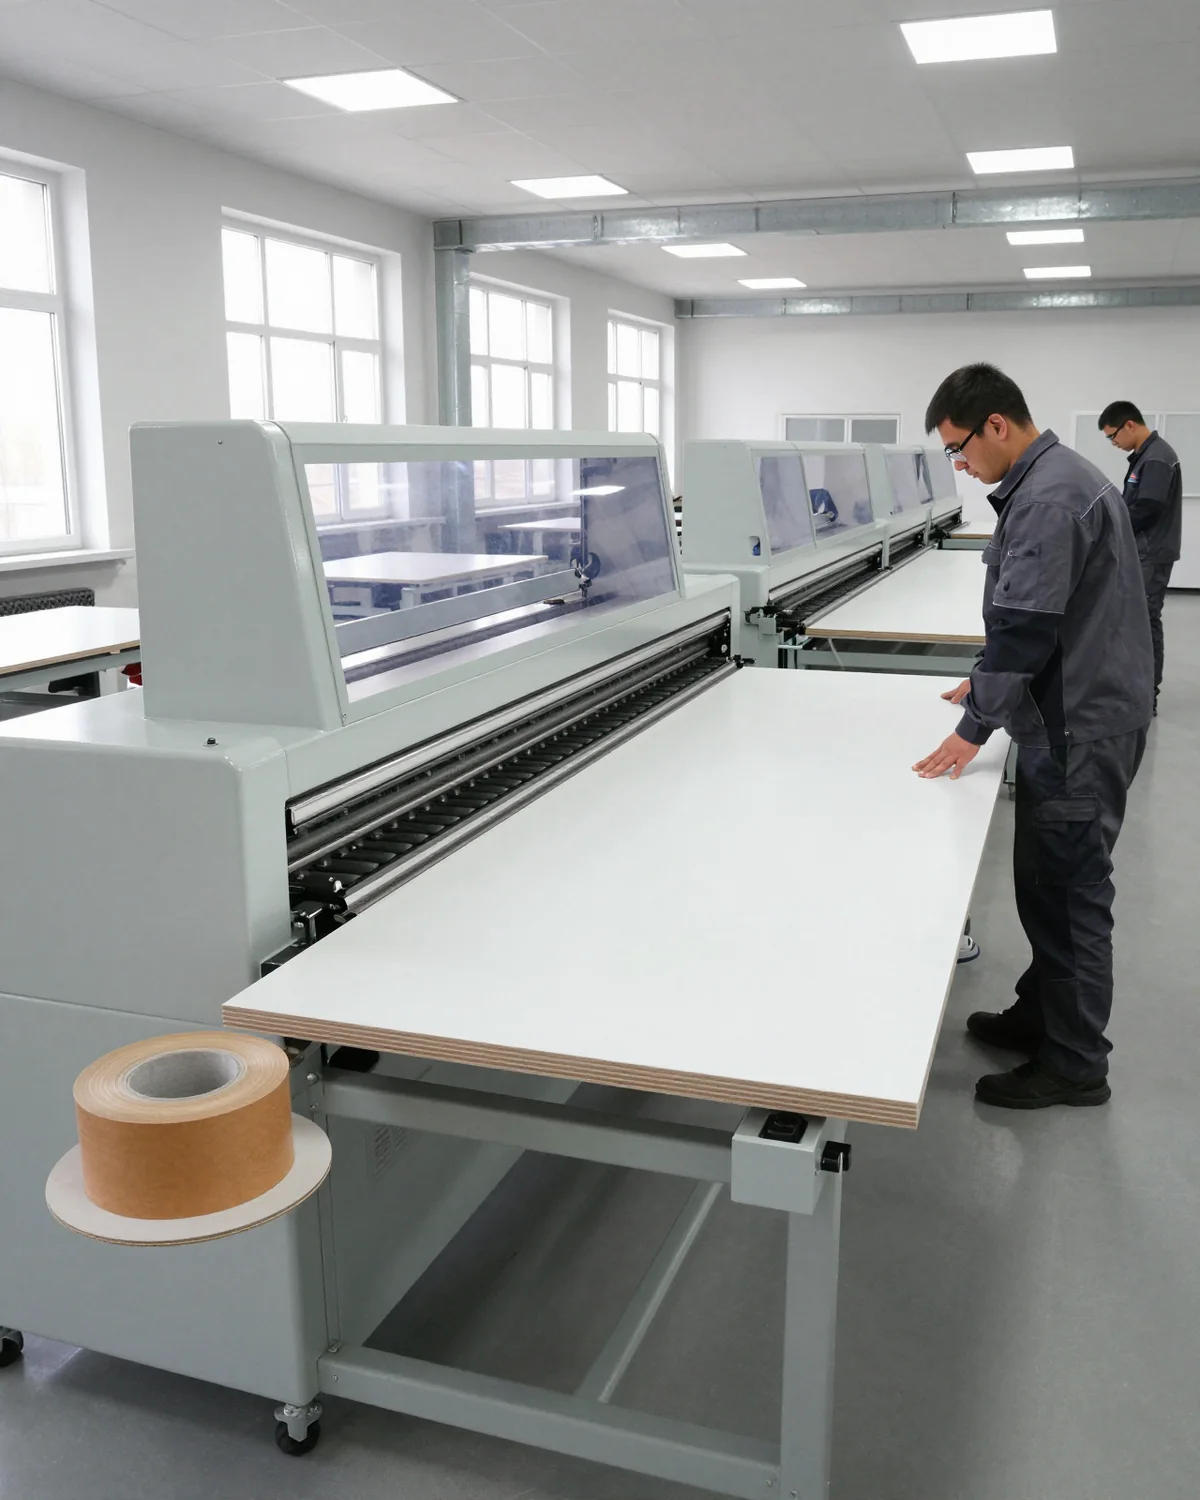
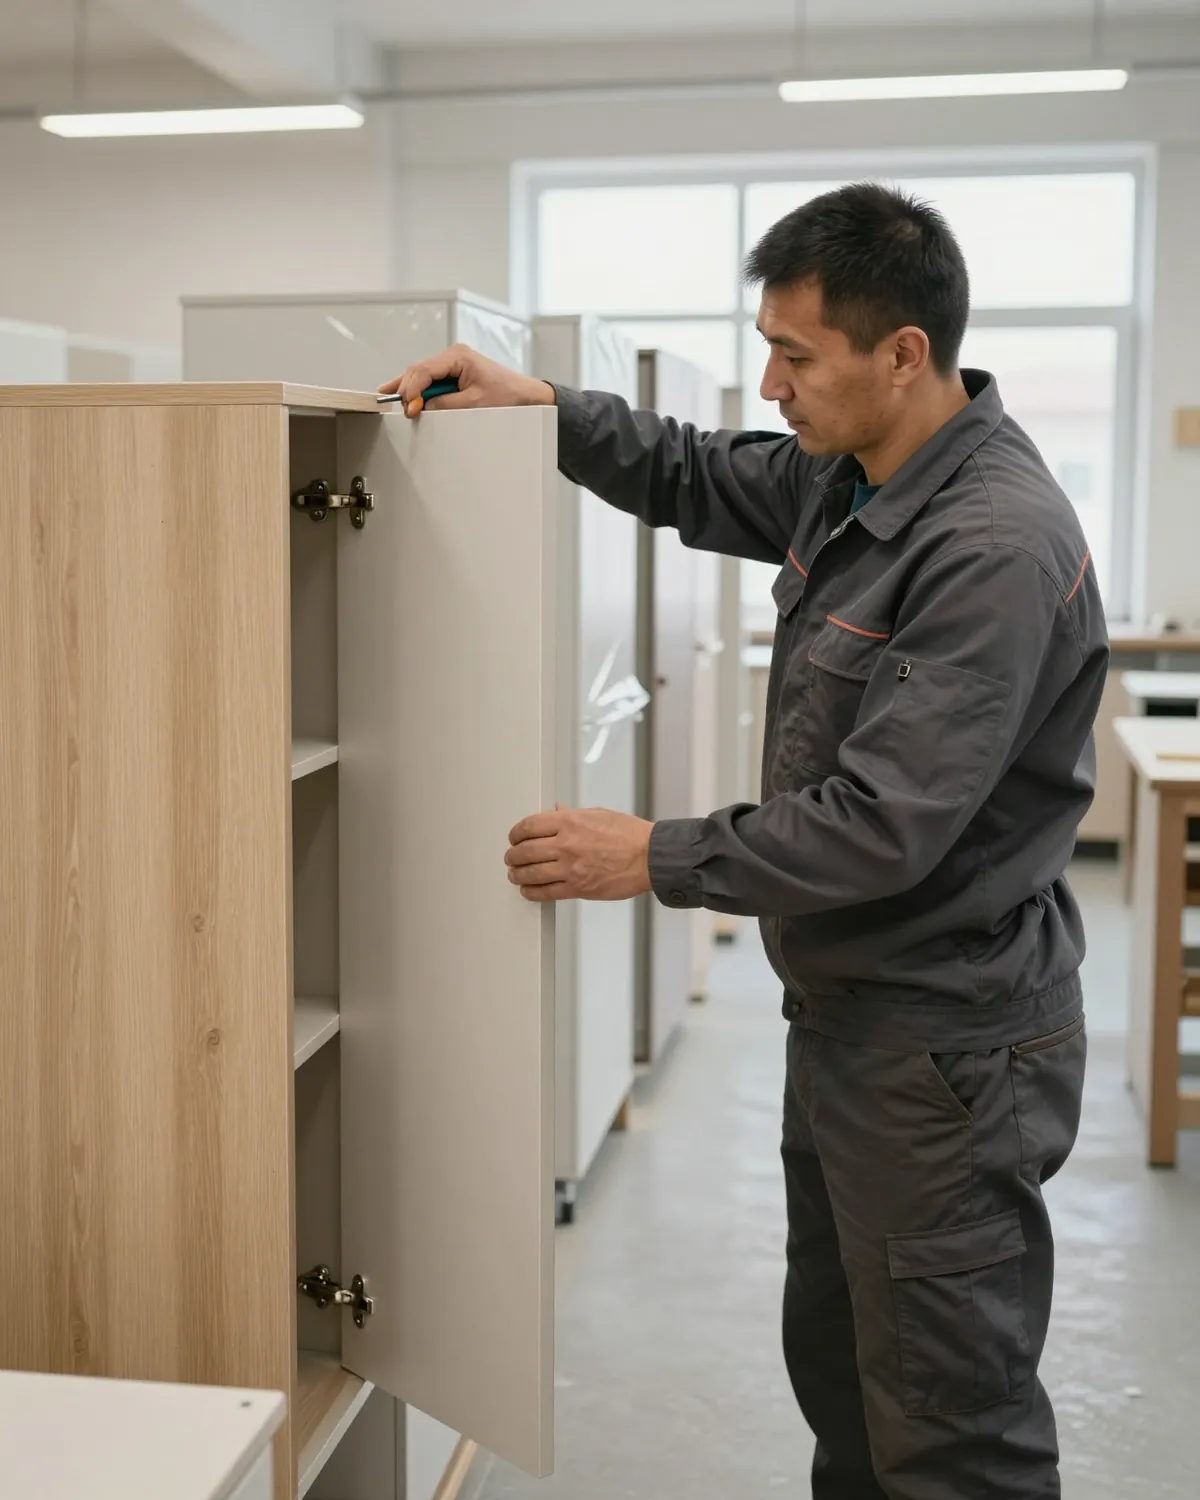
Stack of Egger and Kronospan laminated chipboard in our workshop warehouse before cuttingCNC machine cutting laminated chipboard into partitions and shelves for a built-in wardrobeEdge-banding machine sealing wardrobe shelf edges with PVC edging in the MEBLIX workshopCraftsman coating MDF doors with enamel in the spray booth of our workshopCraftsman checking the trial assembly of a wardrobe section with its door in the workshop before dispatchFinished white floor-to-ceiling built-in wardrobe with an open niche and lighting in a bedroom

01 / 06

07Production

How we build built-in wardrobes in our workshop

Six steps in our 600 m² workshop. You can see each of them with your own eyes: the showroom and production are under one roof.

  1. Stack of Egger and Kronospan laminated chipboard in our workshop warehouse before cutting
    01

    Egger · Kronospan · E1

    Board

    E1 emission class boards from Egger and Kronospan arrive at the workshop warehouse. 40+ laminated chipboard decors, 16–18 mm thick. We cut shelves and doors from the same batch of board, so the decor matches.

  2. CNC machine cutting laminated chipboard into partitions and shelves for a built-in wardrobe
    02

    Laser measuring to 1 mm

    CNC cutting

    A design engineer prepares the drawings, and the machine cuts the board to them. Dimensions come from a laser measurement accurate to 1 mm.

  3. Edge-banding machine sealing wardrobe shelf edges with PVC edging in the MEBLIX workshop
    03

    Blum · Hettich · Boyard

    Edging and drilling

    The edge-banding machine seals the edges, then we drill holes for Blum hinges and Hettich runners.

  4. Craftsman coating MDF doors with enamel in the spray booth of our workshop
    04

    Any RAL colour

    Enamel and veneer

    A finishing master paints fronts to RAL colours in matt and gloss. A laminated chipboard built-in wardrobe takes from 10 days, 20–30 with enamelled doors.

  5. Craftsman checking the trial assembly of a wardrobe section with its door in the workshop before dispatch
    05

    Pre-assembly in the workshop

    Assembly and inspection

    We assemble the modules in the workshop before dispatch, checking front gaps and drawer travel. The quality control department signs the item off for shipping.

  6. Finished white floor-to-ceiling built-in wardrobe with an open niche and lighting in a bedroom
    06

    Installation in 1 day

    Your wardrobe

    We deliver, carry in, assemble in 1 day, adjust the doors and clean up after ourselves. The 24-month warranty starts when the acceptance certificate is signed.

08Team

The craftsmen behind built-in wardrobes

MEBLIX workshop craftsmen who make and assemble furniture to order.

01 / 07
Aidyn Bolenov, Cabinet furniture repair craftsman

Aidyn Bolenov

Cabinet furniture repair craftsman20 years

★ 4.99 · 73 ratings

Aleksandr Martynenko, Furniture and kitchen unit assembler

Aleksandr Martynenko

Furniture and kitchen unit assembler23 years

★ 4.97 · 300 ratings

Andrei D., Made-to-order furniture maker

Andrei D.

Made-to-order furniture maker7 years

★ 4.26 · 32 ratings

Akzholtai U., Furniture maker

Akzholtai U.

Furniture maker5 years

★ 4.23 · 30 ratings

Vasilii Krasnov, Joiner and carpenter

Vasilii Krasnov

Joiner and carpenter20 years

★ 5.0 · 113 ratings

Viktor Gurov, Furniture front and hardware fitter

Viktor Gurov

Furniture front and hardware fitter17 years

★ 4.61 · 92 ratings

09Materials

What we make niche wardrobes from

Hardware by Blum, Hettich, Boyard · boards by Egger, Kronospan. 200+ front samples in the showroom to see and touch.

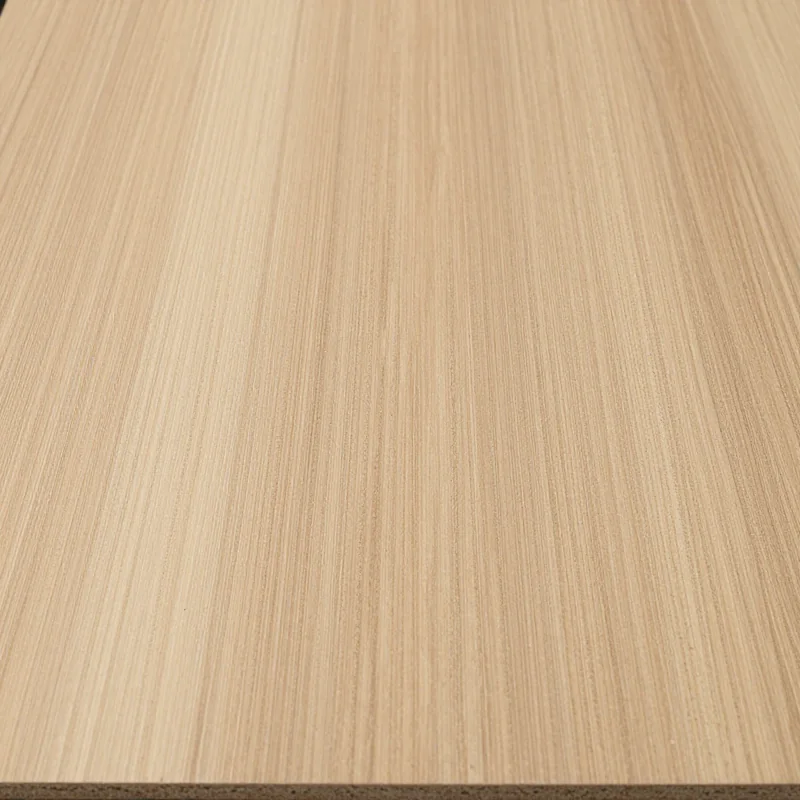
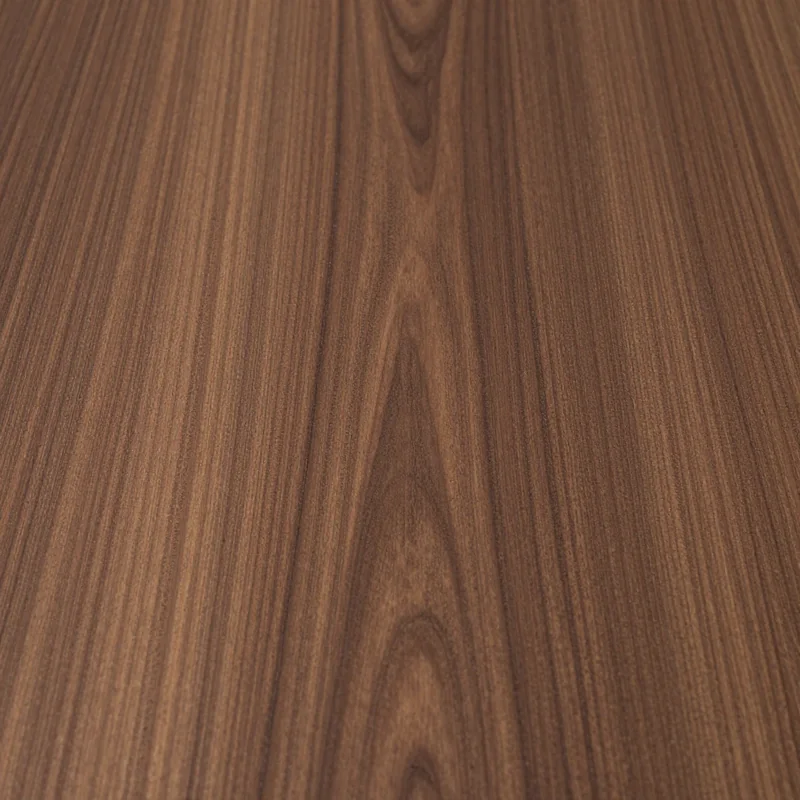
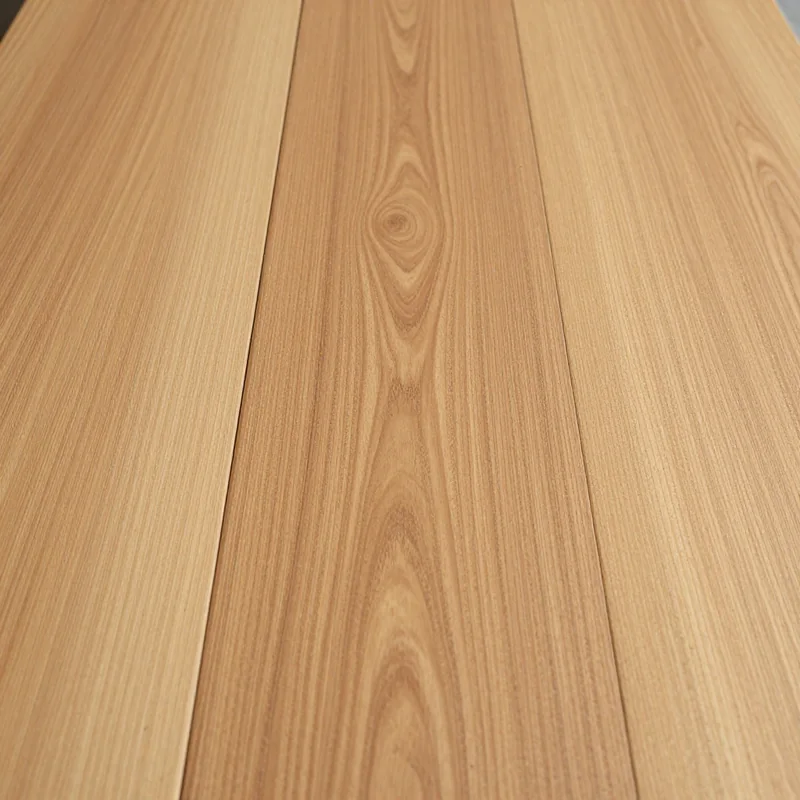
  • Laminated chipboard sample with a wood decor for the partitions, shelves and doors of a built-in wardrobeLaminated chipboardclass E1, 16–18 mm, 40+ decors
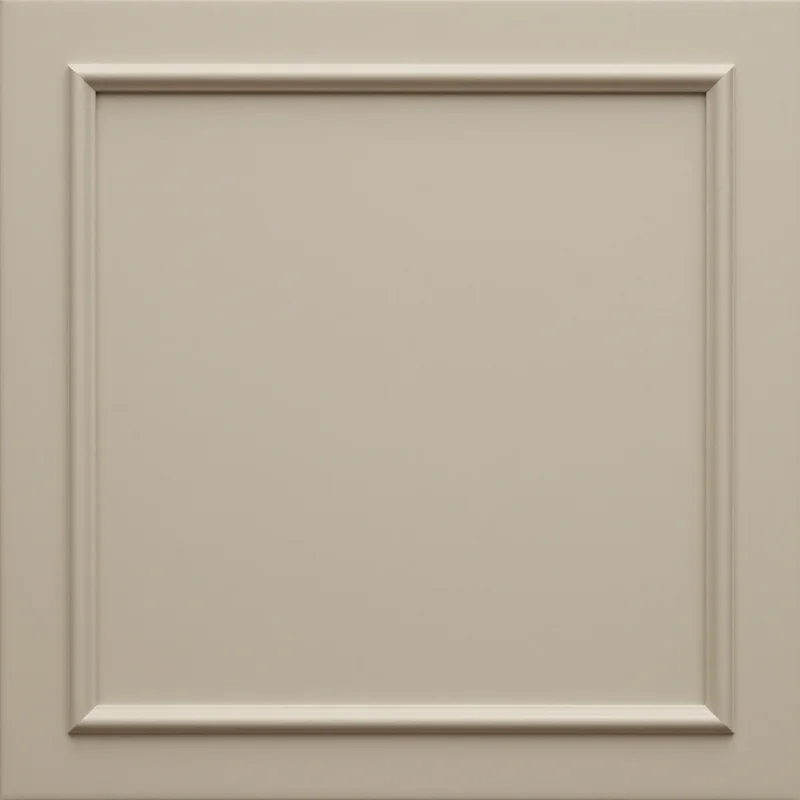
  • Sample of a PVC film-wrapped MDF door for a hinged built-in wardrobeFilm-wrapped MDFmilling, patina
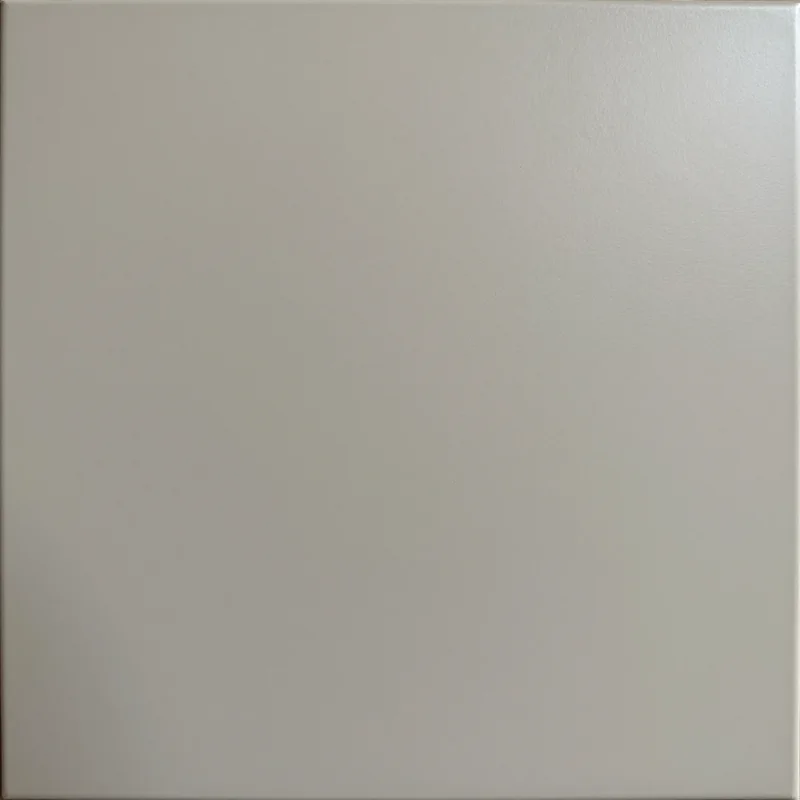
  • Sample of a smooth MDF door in matt enamel for a built-in wardrobeEnamelled MDFany RAL colour, matte or gloss
  • Sample of a natural veneer door with visible wood grain for a built-in wardrobeVeneeroak, walnut, ash
  • Sample of solid oak with a warm grain pattern for classic wardrobe doorsSolid oakoil or lacquer
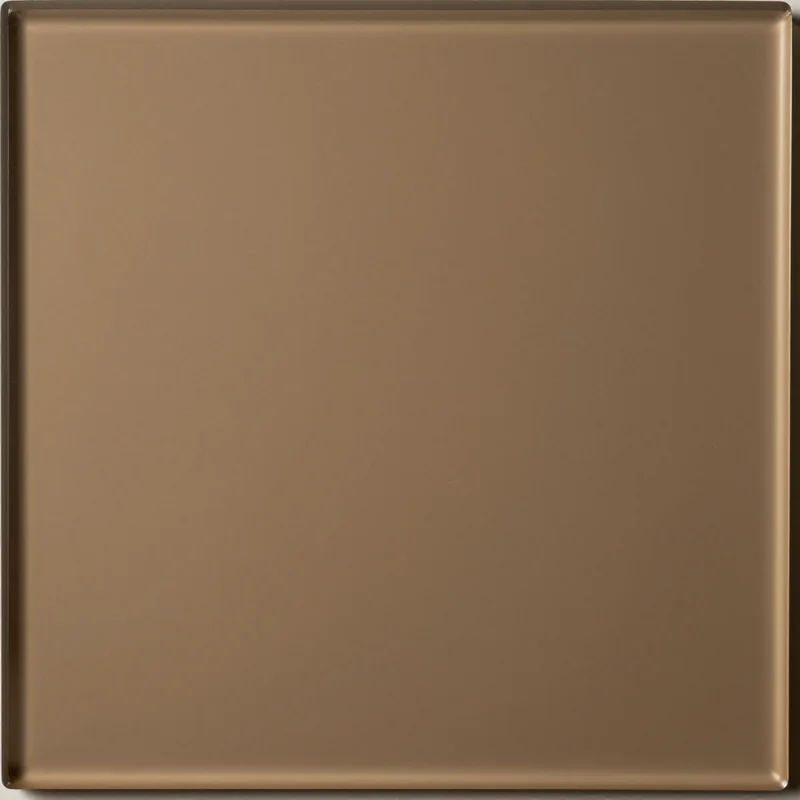
  • Sample of mirror and lacobel for the doors of a sliding or hinged built-in wardrobeGlass and lacobeltempered

10Article

How to Plan a Built-In Wardrobe from Renovation to Installation

Temirzhan Nurpeisov, Furniture assembly carpenter
Author
Temirzhan NurpeisovFurniture assembly carpenter
Published
Updated

A custom built-in wardrobe in Almaty is made for one specific niche, wall recess or corner. The walls, floor and ceiling replace part of the carcass, and the doors sit flush. Three things decide the result: the renovation stage, the niche geometry and the door type. We measure free and show a 3D design first.

How a built-in wardrobe differs from a freestanding one

A built-in unit leans on the walls of the room, while a freestanding wardrobe stands on its own. Board consumption, the look against the wall, installation and what happens when you move all follow from that difference.

Which parts the niche walls replace

A freestanding wardrobe is a box with six sides: two side panels, a top, a base, a back panel and the doors. In a built-in design the room itself takes over several of these parts. The niche walls act as side panels, the ceiling becomes the top, the floor becomes the base, and the wall behind serves as the back panel if it is dry and straight. What is left to cut from board is the partitions, shelves, filler strips and doors. Fewer parts mean less cutting and less edging, which is why a built-in option is usually cheaper than a freestanding one of the same width. There is a condition, though. The walls have to hold fixings, because shelves and door tracks are mounted straight onto them. A plasterboard partition is reinforced in advance with timber or plywood blocking. Without it, a loaded shelf will gradually start to sag together with the sheet it hangs on.

Built-in and freestanding side by side

Built-in and freestanding side by side
FeatureBuilt-inFreestanding
Sides and backthe walls of the roomits own board panels
Look against the wallflush, no gapsgap at the side and on top
Moving housestays in the apartmentis taken apart and moves with you
Requirements for the nichestraight, solid wallsany walls will do
Installationfixed to walls, floor and ceilingbox assembled on site

When built-in pays off and when it does not

  • An existing niche: this is exactly where a built-in wardrobe comes out inexpensive, because three sides of the box are already in place.
  • A wall-to-wall recess: no side panels are needed, only doors, partitions and the interior.
  • A rented apartment: a freestanding wardrobe moves with you, while a built-in one stays with the landlord.
  • Plasterboard without blocking: a separate box puts its load on the floor rather than on a thin partition.
  • Renovation within the next year: if the floor or ceiling is due to be replaced soon, a freestanding unit is easier to take out.

When to order a built-in wardrobe during renovation

A built-in wardrobe is tied to the finishing work more closely than any other furniture. Its top meets the ceiling, its bottom meets the floor and its sides meet the walls, so the order of work decides whether it fits without gaps.

Before or after the finishing work

The measurement is taken once the walls and floor are finished but before the stretch ceiling and skirting boards go in. By then the walls should be levelled and skimmed, and the laminate or tiles laid. Otherwise the height of the niche changes by the thickness of the floor covering, and the wardrobe will not fit. It is installed on the finished floor, not on the screed: laminate laid around a finished box would press against the partitions and could not expand freely. Paint inside the niche is finished before installation, since a brush will not reach in afterwards. If the renovation is already completely done, that works too. In that case the wardrobe is fitted to the existing finish, and the gaps at the ceiling and walls are closed with filler strips in the colour of the doors.

Stretch ceilings and timber blocking

A stretch ceiling and a built-in wardrobe are planned together. The ceiling membrane is held by a profile around the perimeter of the room, and above the wardrobe that profile has nothing to grip. So before the ceiling is installed, a timber batten is fixed along the line of the future doors. Both the ceiling profile and the top door track are attached to it. The second route is to install the wardrobe first and stretch the membrane up to its top. The third case is when the ceiling is already in place. Then a gap of at least one centimetre is left between the wardrobe and the membrane and covered with a decorative strip. The wardrobe is never placed tight against the membrane, because the film sags slightly over time and starts to rub against the doors. The height used for the calculation runs from the finished floor to the future ceiling level, not to the concrete slab.

Floor, skirting and sockets

  • Skirting boards: they are not fitted inside the niche, otherwise the wardrobe ends up standing away from the wall by their thickness.
  • Underfloor heating: no heating circuit is laid under the wardrobe, because constant warmth dries the board from below.
  • Sockets and switches: any that would end up behind the doors are moved before the walls are skimmed.
  • Lighting: the cable to the sections is run inside the wall before finishing, not over the finished doors.

A built-in wardrobe for a niche with uneven walls

A niche in an apartment is almost never a true rectangle. Walls lean off vertical, corners are not quite square, the ceiling height varies, and all of it becomes visible once the doors sit tight to the opening.

How deviations are covered

There are three ways to deal with a deviation, and the choice depends on its size. Up to two or three centimetres, a filler strip is enough. It is trimmed to the curve of the wall during installation, so no gap remains. If the deviation is larger, a false panel is fitted: a narrow vertical piece in the colour of the doors that squares up the opening. The partitions inside still stand strictly level, so the doors run straight even though the wall next to them wanders. A sloping floor is corrected with adjustable feet under the plinth. For sliding doors this is critical. The top and bottom tracks must be parallel, otherwise a door will roll open on its own. That is why at the measurement we check not only the width but also the plumb of every wall, the floor level and both diagonals of the opening.

What hides in the niche and gets in the way

  • Electrical panel: it gets its own small door or a removable shelf, because access is always needed.
  • Water risers and meters: they are boxed around, and the inspection hatch must still open.
  • Ventilation grille: it is never closed off with a solid panel, otherwise the wardrobe will smell damp.
  • Hidden pipes and cables: fixing points are checked against the wiring and plumbing layout so the drill does not hit them.

Hinged doors, sliding doors or a mirror for a built-in wardrobe

Doors are chosen separately from the structure: the same niche works with hinges and with a sliding system. The decision depends on the clearance in front of the wardrobe, what you keep in it and the light in the room.

When hinged doors are more convenient

Hinged doors open a whole section at once, so you see the full wardrobe in one look. There is no dead zone behind a neighbouring door inside, and no floor track for the vacuum cleaner and slippers to catch on. All you need is clearance in front. A door 45–50 cm wide opens past 90 degrees, so the passage should be at least 60–70 cm. Another argument for hinges is easy maintenance: a soft-close hinge is adjusted with a screwdriver in three directions in a couple of minutes. Door width is kept within 60 cm, so the hinges are not overloaded and the door does not droop. Where there is no room to swing a door open, sliding doors are the answer, and we cover those in detail on the page about built-in sliding-door wardrobes.

Where a mirrored door helps the room

A full-length mirrored door replaces a separate dressing mirror and makes a narrow room look wider. It works best in a hallway and in a bedroom without a large window, where the reflection adds light and depth. Not everyone likes a mirror facing the bed or the front door, so we check its position in the 3D design before the order goes to the workshop. We apply a shatterproof film to the back of the mirror, so if the glass cracks, the pieces stay on the film. If a mirror across the whole wall feels like too much, only one door out of three is mirrored. Another option is satin mirror or lacobel, which reflect light more softly and show fingerprints less.

Built-in corner wardrobes and awkward spaces

A corner, the slope under a staircase or a narrow recess by the window are the places where ready-made furniture leaves empty gaps. A built-in design follows the shape of the room and uses them completely.

Which corner shape to choose

Which corner shape to choose
ShapeWhere it fitsWhat to know
L-shapedbedroom, room from 12 m²two runs of rails, a blind corner
Trapezoidhallway, corner by the doorangled front, corner left open
Curvedcorridor, narrow passagesliding doors on an arc, complex track

What to do with the blind corner

An L-shaped wardrobe has a zone where the two runs meet that you cannot reach by hand. It is not filled with full-depth shelves, because things simply get lost there. It is better to put a diagonal rail or a rotating shelf there, or to give the corner over to suitcases and seasonal items you take out a couple of times a year. The doors at the junction also need attention. If both runs have hinged doors, the corner doors must not hit each other, so in the design they are spaced apart or an open section is placed in the corner. The angle between the walls is almost never exactly 90 degrees, so it is measured along both edges and filler strips are planned on both sides.

Under the stairs and by the window

The space under the stairs in a private house or a two-level apartment is a ready-made niche with a sloping top. The sections are divided by the steps. The tall part gets a rail for coats, and the low part gets full-depth drawers that hold a vacuum cleaner and shoes. A recess between the window and the wall is closed with a wardrobe running wall to wall. No side panels are needed, only shelves, doors and one partition. By the window, the reveal must stay clear so the sash opens fully without catching the wardrobe door. If there is a radiator under the window, the wardrobe is set back from it. Warm air constantly hitting the board dries the edging over time and warps the doors, and a gap of a few centimetres solves that.

Built-in wardrobes for the bedroom, kids' room and hallway

The structure stays the same, but the interior and doors change from room to room. Here is what we take into account in the three most common places for a built-in wardrobe in Almaty apartments.

Bedroom and kids' room

In a bedroom, a built-in wardrobe usually takes the wall opposite the window or a niche by the door. Quiet matters here: soft-close doors and drawers, closed sections for bed linen, and a top cabinet up to the ceiling for duvets and suitcases. In a kids' room the task is different, because the wardrobe grows with the child. The lower rail is set at a height the child can reach alone, and a few years later it is moved higher using the ready-drilled holes in the partitions. Lower drawers are made without protruding handles, and doors get soft-close hinges so little fingers do not get pinched. For a kids' room we cut the carcass and shelves from E1-class board with edging on every exposed edge. A mirror there is fitted only with safety film and above play height.

Hallway, entrance and living room

In a hallway a wardrobe often lacks depth, and the niche may be only 35–45 cm. In that case the rail is fitted crosswise on a pull-out holder, and shoes go into a lower section with angled shelves. Next to the front door, an open niche with hooks and a seat for the jacket you will wear again tomorrow is handy. This option is described in detail on the page about built-in hallway wardrobes. In the living room a built-in wardrobe can frame the wall around the TV or turn a niche into a home library: closed sections below, open shelves or glass above. Depth for books is 30–35 cm, for equipment and files from 45 cm. One wall then handles storage for the whole living room.

Built-in wardrobes in brief

What to remember before you order

  • A custom built-in wardrobe costs less than a freestanding one of the same width when the niche walls are straight and can hold fixings.
  • The measurement is taken after the finished floor and walls, and a stretch ceiling is agreed in advance through a timber batten.
  • Wall deviations are covered with filler strips and false panels, while the electrical panel and inspection hatches stay accessible.
  • Hinged doors need a 60–70 cm passage, and the back of a mirror gets a shatterproof film.
  • The blind corner of an L-shaped wardrobe goes to a rotating shelf or rarely used things.

11FAQ

FAQ about built-in wardrobes

Didn’t find the answer? Message us — a manager replies, not a bot.

Ask on WhatsApp
01How much does a custom built-in wardrobe cost in Almaty?

The price of a built-in wardrobe is calculated per linear metre and depends on the type: hinged doors, sliding doors, a mirror or a corner layout all cost differently, and lighting and the pull-down rail are priced separately. Prices by type are in the price list above on this page, and you can estimate the total in the calculator. We fix the exact amount in the contract after measuring the niche.

02How long does it take to make a built-in wardrobe?

From 10 days: a hinged niche wardrobe or a recess wardrobe takes 10 days, sliding 12, mirrored and wall-to-wall 14, corner and premium interior 16. With enamelled MDF doors it takes 20–30 days. The lead time goes into the contract.
03What does the price per linear metre include?

Laminated chipboard partitions and shelves, a hanging rail, doors of the chosen type and soft-close hardware. Niche measurement and the 3D design are free. Lighting, the pull-down rail and enamelled MDF doors are priced separately and listed in the price list.

04Do you charge for measurement and the 3D design?

No. We measure anywhere in Almaty for free and prepare the 3D design in 1–2 days. Changes before approval are free too.

05Can I change the interior of a built-in wardrobe later?

Yes. Shelves and rails sit on partitions with a row of holes, so you can move them up or down. We add drawers, baskets and a pull-down rail later: we come, measure the section and fit them.

06Do you make built-in wardrobes with lighting?

Yes, the LED section lighting switches on when the door opens. It is a separate option, and its price is in the price list above on this page. Tick it in the calculator to see the total straight away.

07What warranty does a built-in wardrobe have?

We give a 24-month warranty on the product under the contract. Blum mechanisms carry the manufacturer's 25-year warranty.

08How do I pay for the order?

A 50 % prepayment when signing the contract, the remaining 50 % after installation and the acceptance certificate. We accept cash, cards, Kaspi and bank transfer for companies.

09Do you deliver and install?

Yes, our crew handles both delivery and assembly. In Almaty and up to 30 km, delivery is free from a certain order amount, and the exact terms are in the “Delivery and payment” section. A built-in wardrobe is usually installed in one day, and we take the packaging with us.

10Where can I see the doors and tracks in person?

In the showroom at 115/60 Abylai Khan Avenue: samples of laminated chipboard, mirrors, lacobel, enamel and sliding-door tracks. Open Mon–Sun from 10:00 to 20:00.

12Reviews

MEBLIX built-in wardrobe reviews

4,9

average rating
on Google and Zoon

See all reviews
MEBLIX showroom on Abylai Khan Ave

13Showroom and workshop

Touch the samples for built-in wardrobes in our showroom

200+ fronts and materials, Blum and Hettich hardware to try in person. The workshop is in the same building.

Address
115/60 Abylai Khan Ave, Almaty
Hours
Daily 10:00–20:00
Phone
+7 705 625 00 03

14Other types

What else we make besides built-in wardrobes