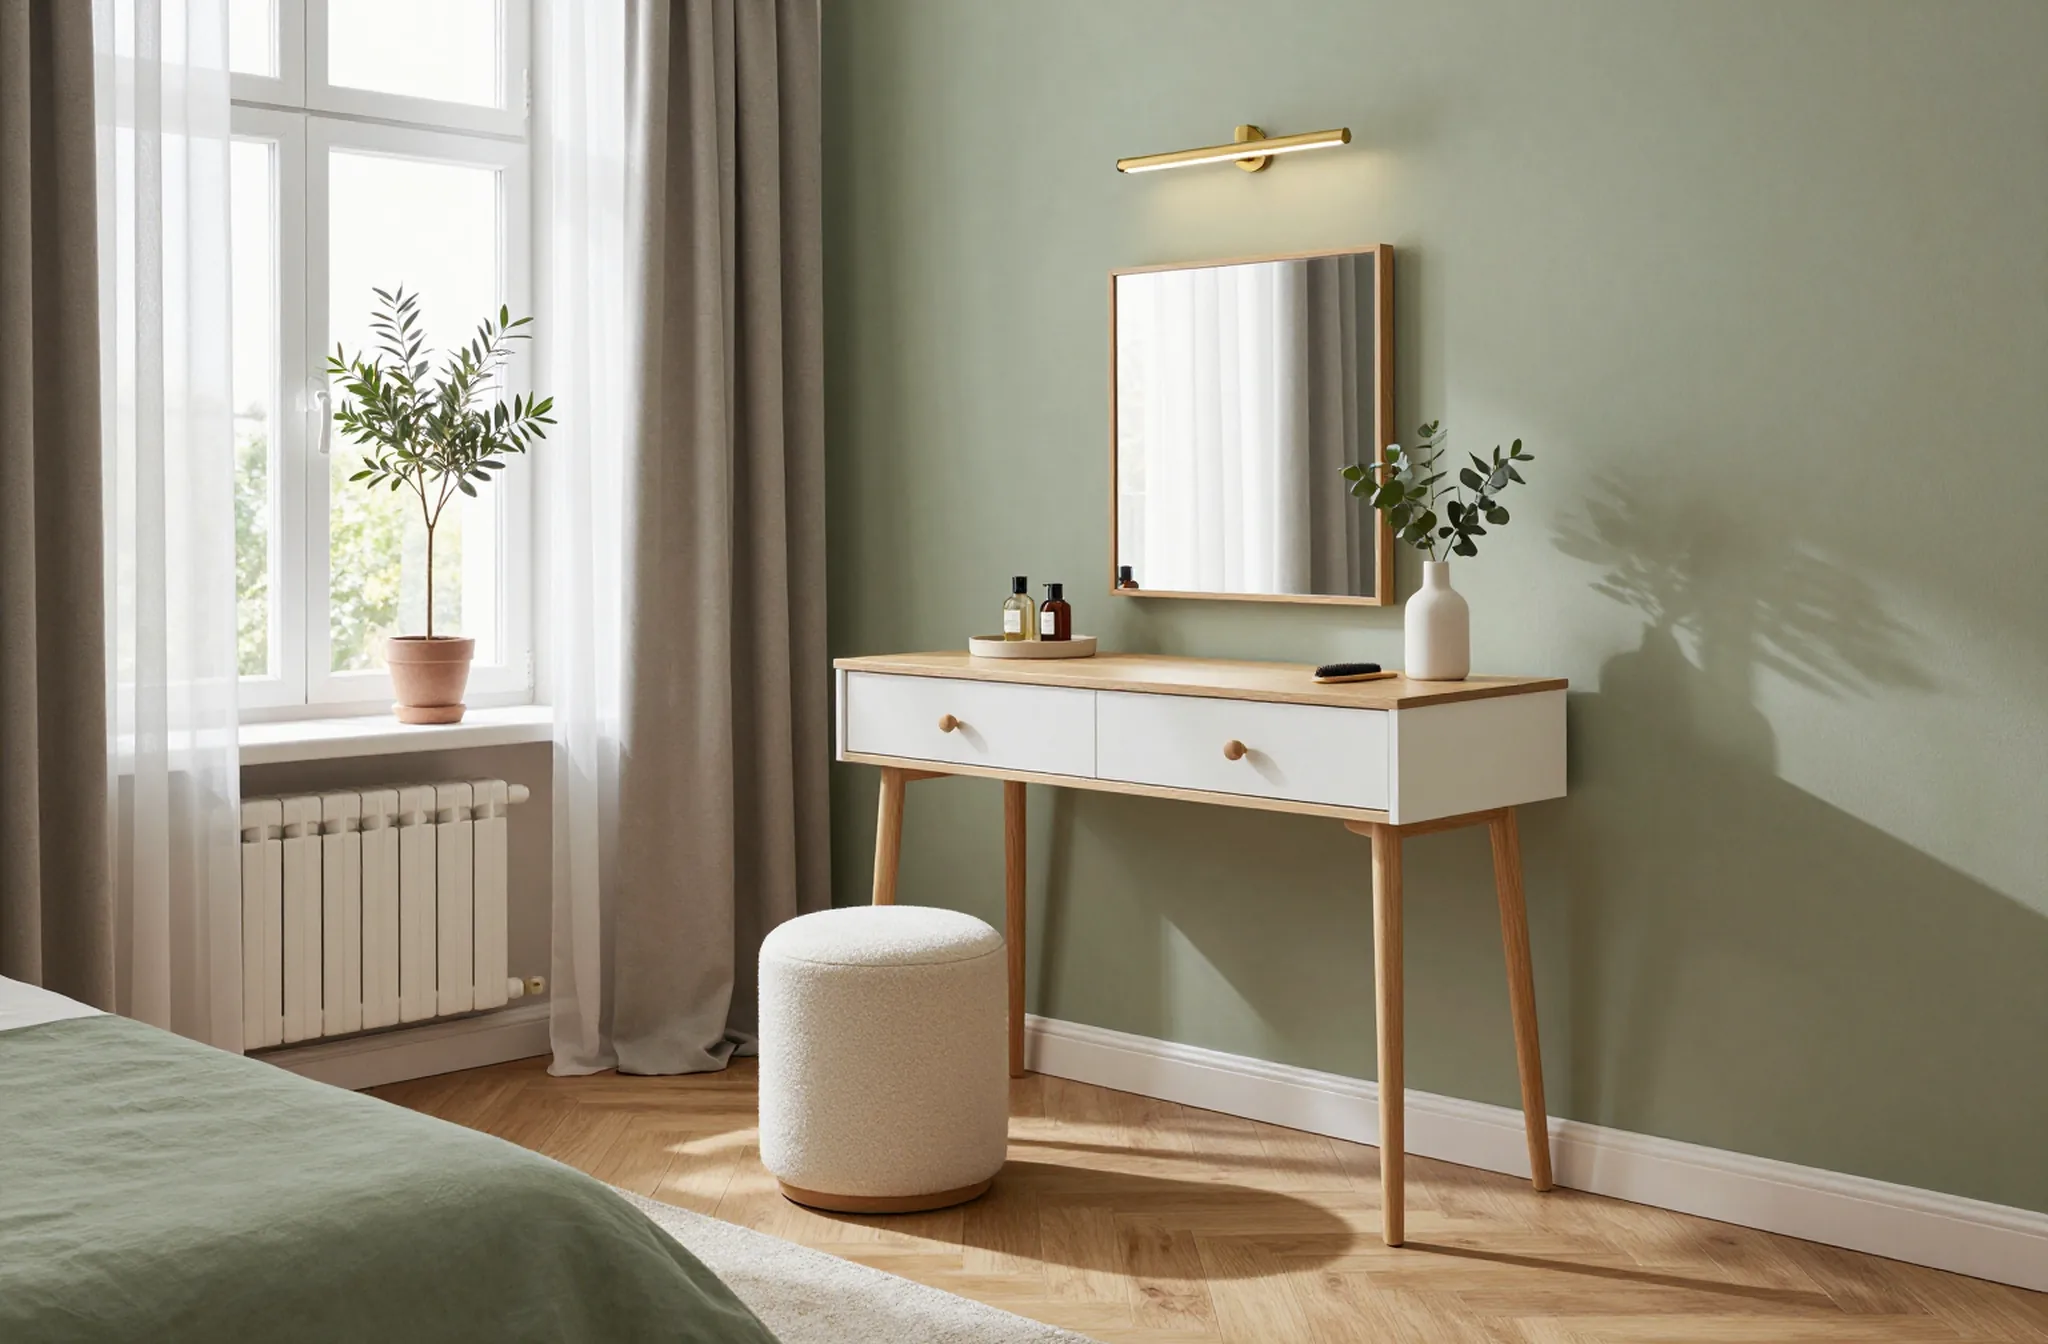
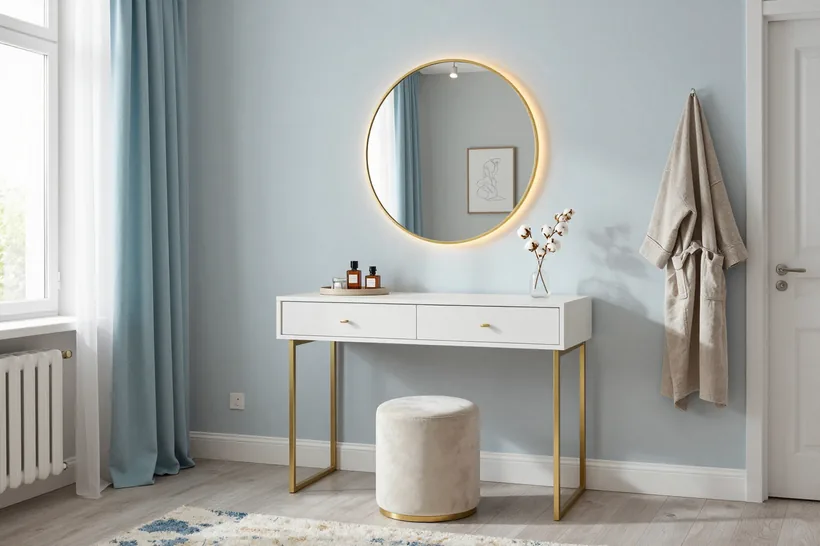
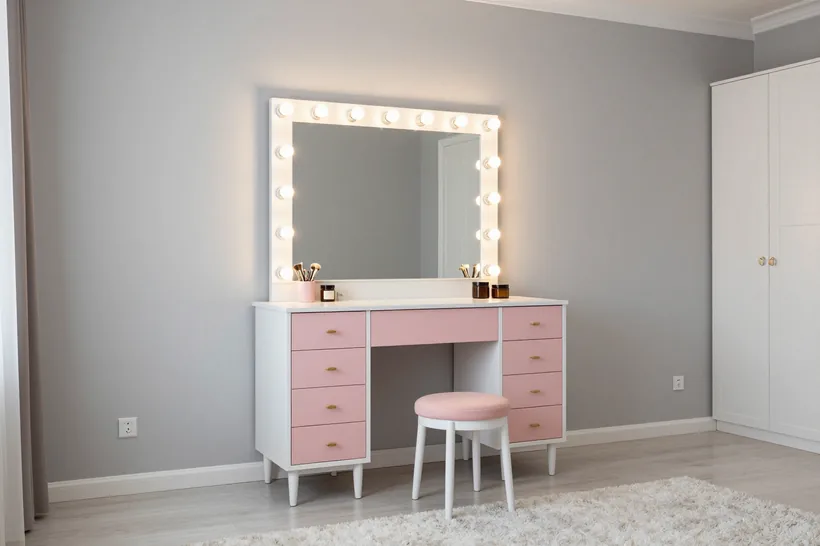
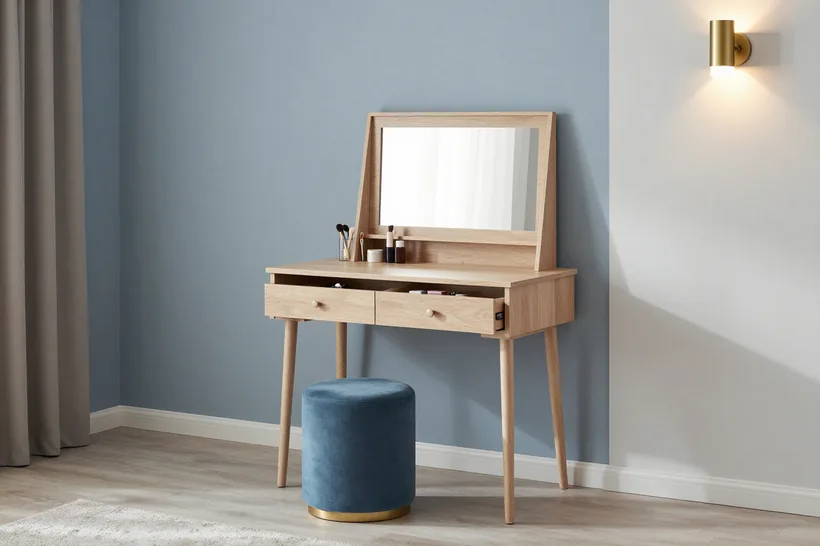
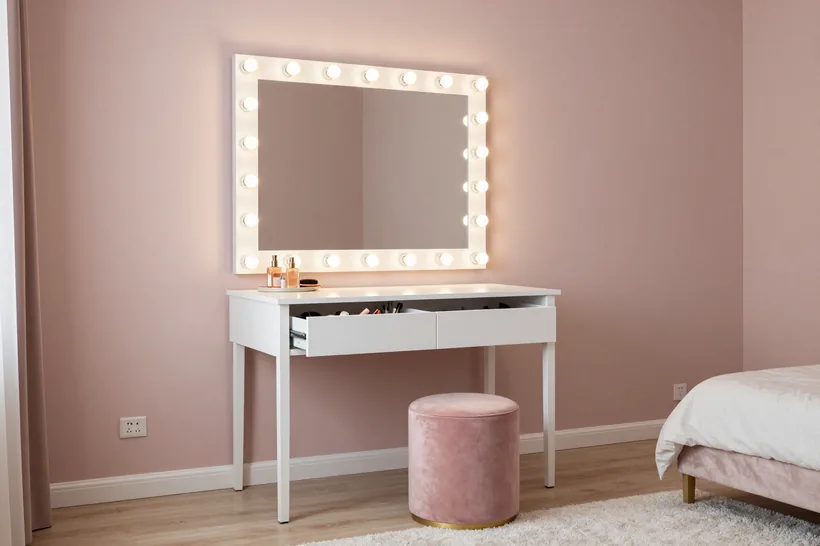
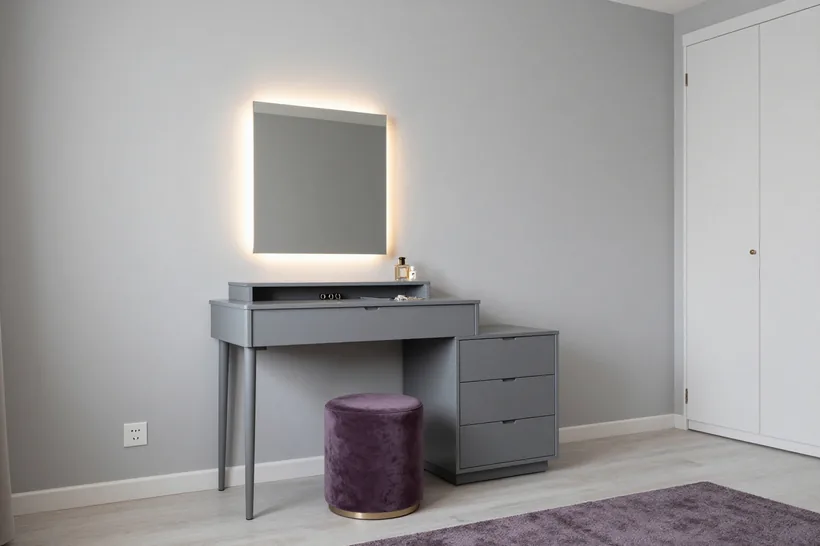
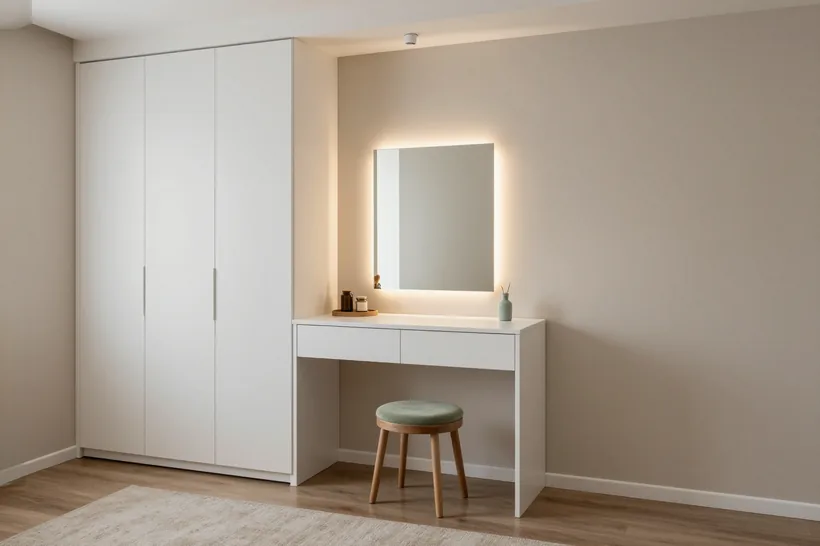
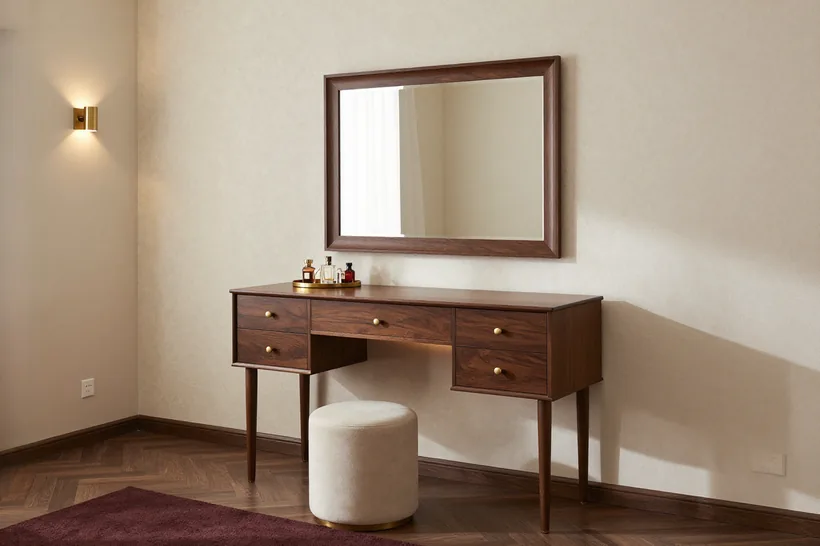
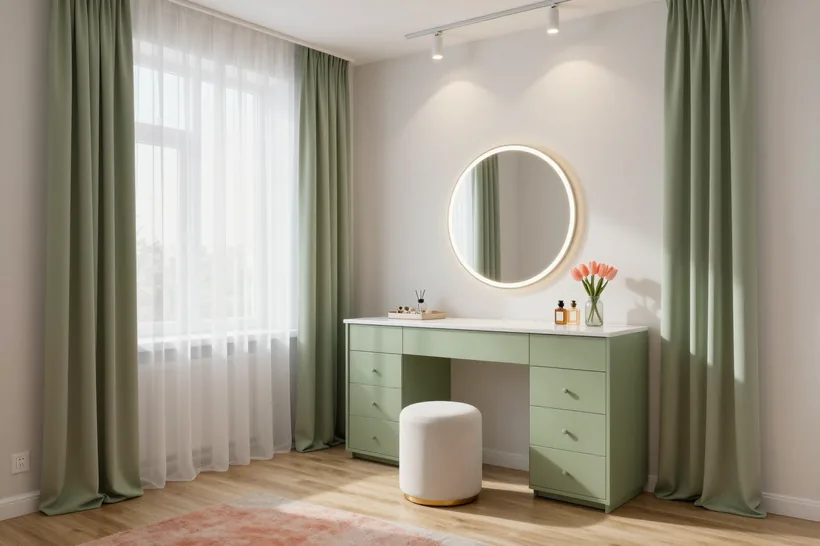
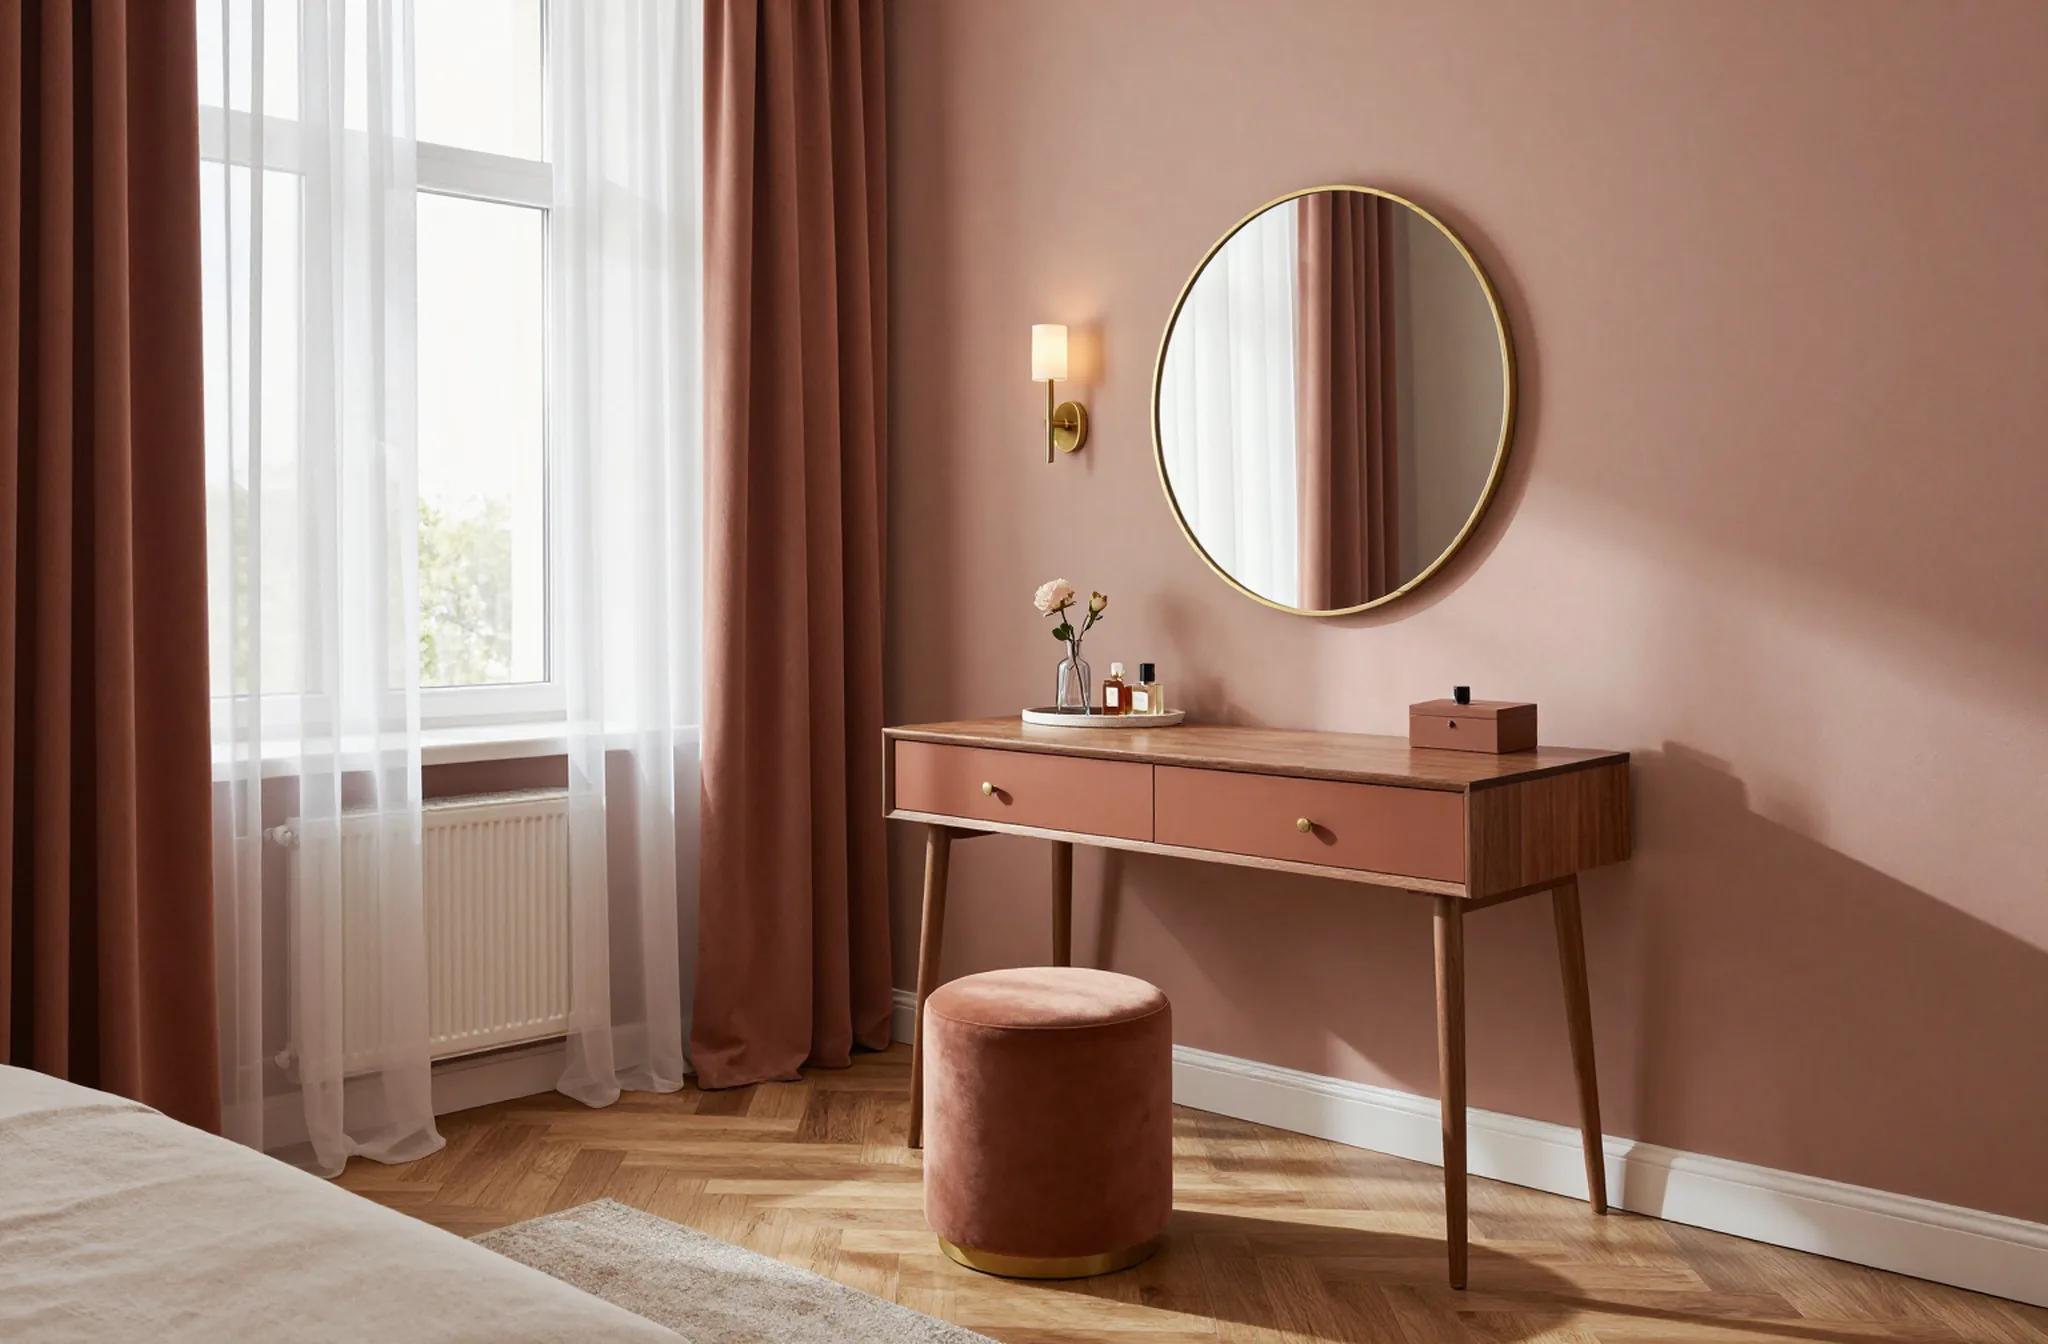
We design a custom dressing table at MEBLIX to fit the size of your bedroom, niche or non-standard wall. We work as a direct manufacturer: free measurement, 3D design in 1–2 days, production in our own 600 m² workshop in Almaty, installation by our own crews. 24-month warranty on the item under the contract, Blum hardware with a 25-year manufacturer's warranty.
Ergonomics decide whether you are comfortable sitting at the table every day: height, depth and countertop overhang are tied to your seating position and the height of the stool. During the measurement we measure both before drawing up the design.
What table height is comfortable for makeup and seated work
- Height from the seating position: we raise the countertop so that your elbows rest freely and don't reach upward, while your shoulders stay relaxed.
- Mirror at eye level: we set the top edge of the glass along your line of sight when seated, otherwise you have to hunch over the countertop.
- Stool height: we match the bench to the countertop, while your knees fit under it freely, without being pinched.
- Supports and plinth: we adjust the height with them, so the finished item can be raised or lowered to suit your seating position.
- Check at the measurement: we measure both your seating position and the height of your stool rather than taking average sizes from a catalog.
- Check before installation: a test assembly in the workshop shows how the countertop will sit relative to the mirror and the bench.
Depth and countertop overhang so your knees don't press against it
We calculate depth from the seating position: the countertop should leave room for your knees and at the same time not eat up the passage in a small bedroom. We make the carcass along the wall and set the overhang separately — the countertop projects forward relative to the carcass just enough for your legs to fit freely and not press against the front. In a narrow bedroom it is not reducing the depth that wins but precisely this parameter: the seating position stays free, and the carcass does not extend into the room. At the measurement we lay off the carcass depth from the wall and, separately, the countertop projection, so the stool does not block the passage to the wardrobe. If you need custom furniture, we design the dressing table for your seating position and the dimensions of the room. For shorter residents of Almaty we more often raise the countertop by 2–3 cm using the plinth, and for taller ones we increase the overhang, and the seating position stays free.
How to build the table into a small bedroom or niche
In a small bedroom we more often make a built-in table in a niche or in line with the wardrobe, with a handleless system, while the front does not catch in the passage. We assemble the built-in model to the actual dimensions of the niche, aligning with the wardrobe in one line along the front. We fit the drawers with push-to-open and Blum soft-close: press — it opens, it closes by itself, and the handles do not protrude into the passage. The built-in option saves not so much floor area as the passage — open drawers and hinged fronts stop getting in the way of movement. At the measurement we record the depth of the niche, the height of the windowsill and the line of the wardrobe, then the item fits without gaps and without a step. Such a table is convenient to combine with neighboring bedroom elements — a chest of drawers and a wardrobe.
Why shelves and drawers in a dressing table sag and how we make the construction rigid
We look at where sagging comes from in ready-made tables and what changes when an item is designed for a real load rather than for a showroom.
Where sagging of shelves and drawers comes from
Sagging appears where a thin board supports a long shelf and a drawer runs on weak slides. Ready-made furniture is designed for average weight: bottles, brushes, cosmetics. As soon as heavy jars or a hairdryer are placed on the shelf, a 16 mm laminated chipboard panel with a span of 70 cm starts to flex, and a drawer with 25 kg slides sags at the front edge when fully extended. The second source is the cabinet side: if the hardboard back panel is not connected to the sides, the carcass skews diagonally and the fronts become misaligned. The third is moisture: a swollen edge loses rigidity and fasteners work loose. The first thing to sag is not the shelf itself but the slide mounting point—so rigidity is calculated from the joint, not from board thickness.
Stiffening ribs and load distribution in our design
- Stiffening ribs: a glued-in strip or double shelf along the bottom edge supports a span from 70 cm without sagging.
- Back panel: rigidly connected to the sides, so the carcass does not skew diagonally under the weight of drawers.
- Center support: a post or partition divides a long section into two spans and takes load off the middle.
- Mounting points: we install slides on dowels and minifixes into the board body, not into the thin edge.
- Calculation: at the 3D design stage we clarify what will stand on the shelf and select the thickness of Egger and Kronospan boards.
Which hardware holds drawers and hinges more reliably
- Blum slides: with soft-close and full extension, they hold the stated weight and the drawer front edge does not sag.
- Blum hinges: with soft-close and three-plane adjustment—front misalignment is corrected on site.
- Boyard: working hardware for internal drawers and sections where a reinforced joint is not needed.
- Hettich: an alternative for hinges and slides if the project is built for a specific series.
Which materials to choose for a dressing table and how to protect it from moisture
Materials for a table are chosen not by catalog but by load, humidity in the bedroom, and the appearance of the front. Below is what we use for the carcass, how we seal the edges, and where rattan is appropriate.
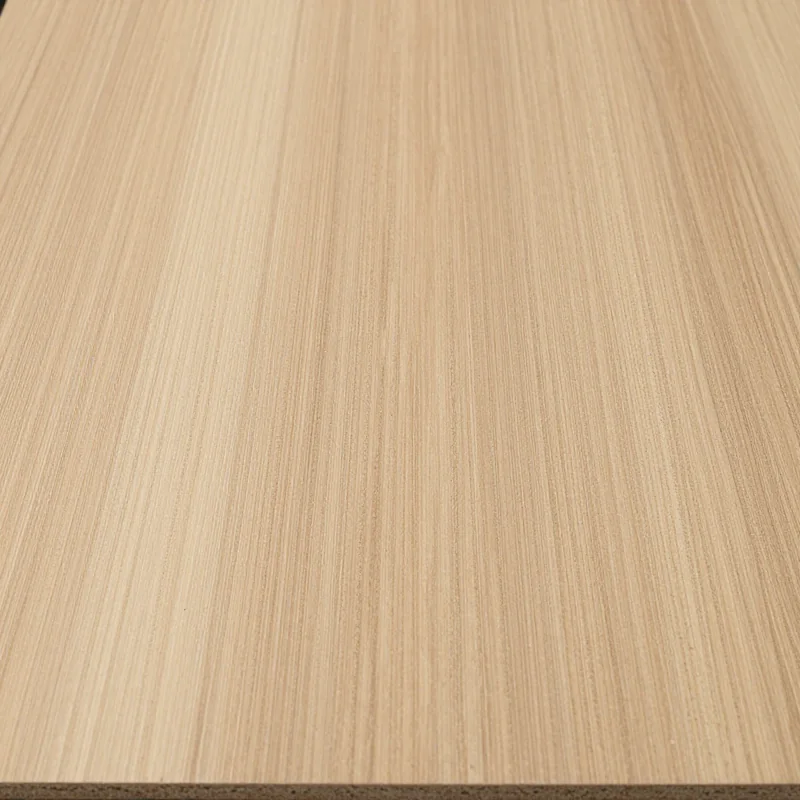
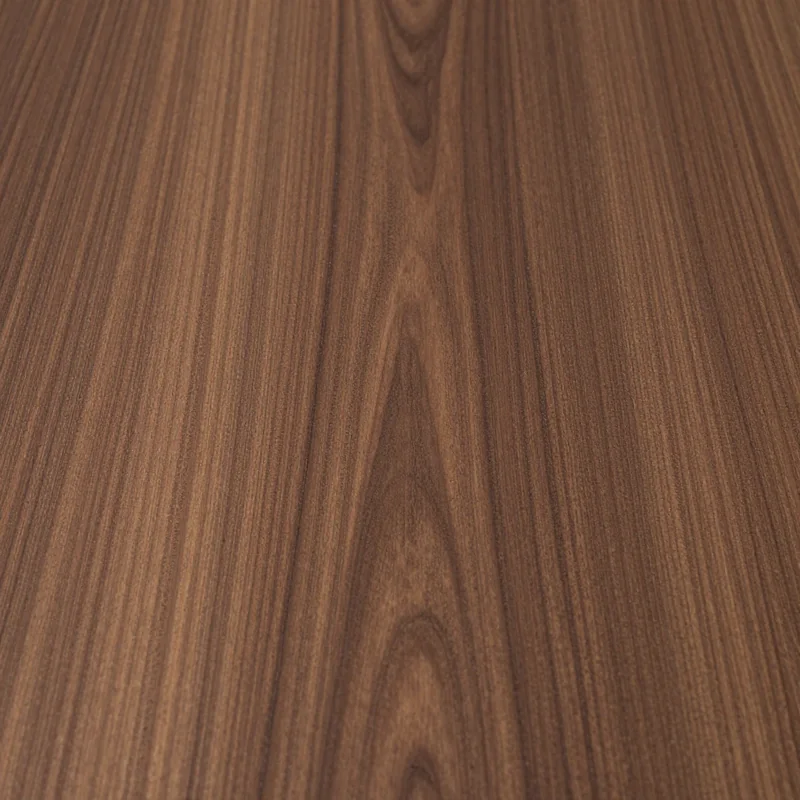
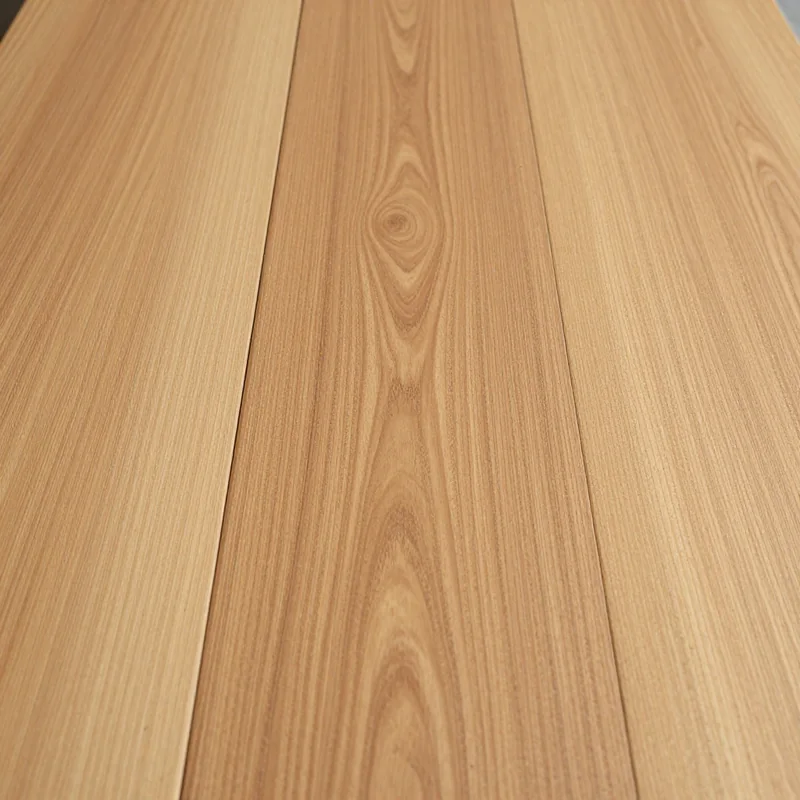
Egger and Kronospan boards, MDF and solid wood in the table
materials by purpose and performance in the table| Material | Where we use it | What it provides |
|---|
| Egger and Kronospan boards | Carcass, shelves, sides | Even geometry, resistance to loads |
|---|
| MDF | Fronts, countertop for painting | Clean milling, dense edge |
|---|
| Solid wood | Fronts and countertop | Natural texture, repairability |
|---|
| Rattan | Front inserts | Lightness and open pattern |
|---|
Moisture-resistant edge and protection from moisture
We edge all around the parts, including the hidden ends, so that moisture from the air and from cosmetics does not get into the board. On the countertop and shelves under the bottles we use moisture-resistant edging with a tight fit, and we glue the joints of the parts so that no open cuts remain either on the front or on the back. A humidifier and a spray bottle of water are the main sources of risk near the item: there the end dries slowly and absorbs drops longer than in a dry corner of the bedroom. In the bedroom humidity is rarely critical, but spilled liquid on the countertop is more dangerous than the air — that is why edging and end protection matter more than the board class. The workshop practice is simple: we do not send a part with an open cut against the wall to installation, even if it is not visible.
Custom rattan dressing table
- Weaving on the fronts: the inserts give an open pattern and visual lightness without weighing down the bedroom.
- Load-bearing carcass made of board: we keep the frame, shelves and sides made of board; the weaving carries the texture, not the load.
- Fitting the insert into the carcass: we seat it in a groove with a gap for seasonal movement, otherwise it starts to shift.
- Combination with solid wood: weaving works well paired with solid wood and MDF when you need a warm front without a solid flat surface.
- Caring for the weaving: we remove dust from the cells with a soft brush, wipe with a damp cloth rarely and without soaking the joints.
How to order a dressing table for a curved wall or into a niche without gaps
A gap at the wall is the most common reason for disappointment in ready-made furniture. We explain where it comes from and how we eliminate it at the project stage, not during installation.
Why a ready-made table ends up with a gap at the wall
- Wall not level: a ready-made item is designed for a flat surface, and in panel buildings a vertical deviation occurs in almost every apartment.
- Gap at the countertop: even with a slight deviation the back edge does not fit flush, and a strip remains.
- A skirting board does not help: the cover closes the joint at the bottom, but the countertop line stays open at the top.
- Overlay strip: a decorative corner hides the gap but protrudes above the surface and collects dust.
- Sealant along the joint: silicone darkens and peels over time, and removing it without a trace is difficult.
How we fit the table to a curved wall during measurement
- Point-by-point measurement: we take the wall deviation at several points and build it into the project — the junction follows the wall contour.
- 3D design: free measurement and 3D design in 1–2 days show how the countertop will sit against the real wall.
- Junction template: we design the back edge of the countertop along the traced contour, not along a standard straight line.
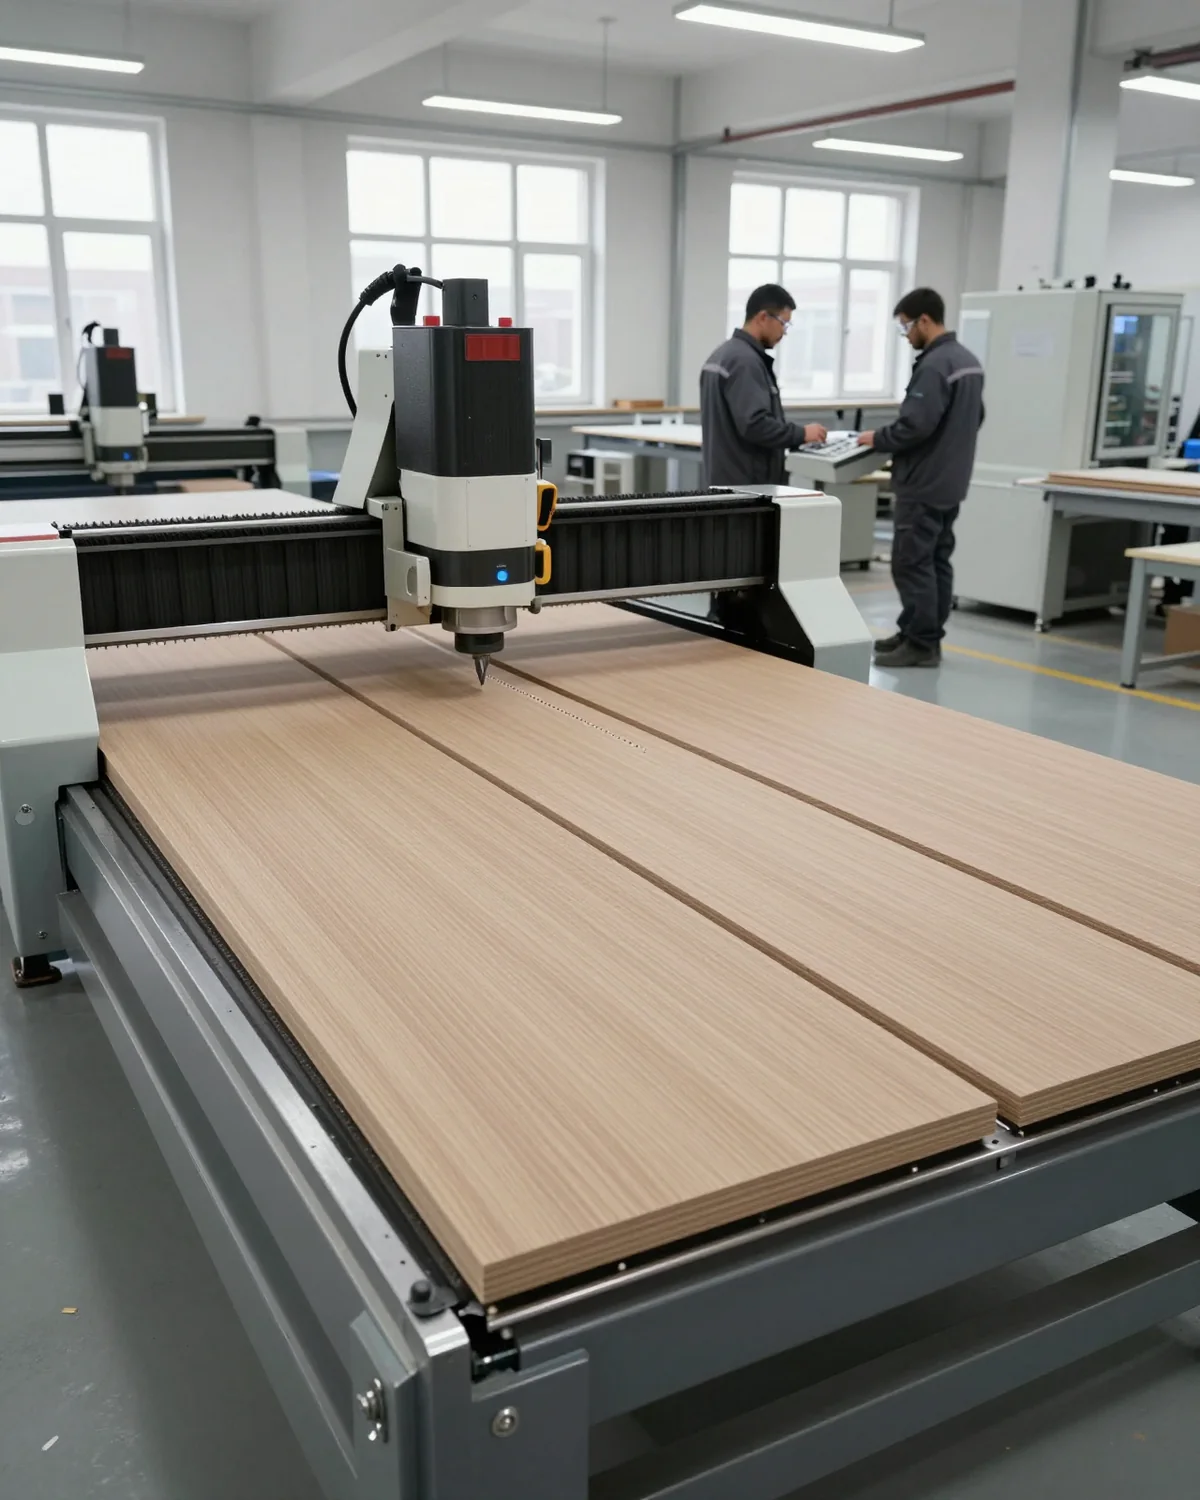
- 600 m² workshop: cutting and edging are done on our equipment, so we make a non-straight edge to the project size.
- Control assembly: before shipping we assemble the item in the workshop and check the junction against the drawing.
Built-in into a niche and aligned flush with the wardrobe
We design a built-in vanity unit for a niche together with the adjacent wardrobes so that the fronts and countertop line up in height and depth. During the measurement we record the width of the opening, the depth of the niche and the position of the adjacent carcass — these dimensions go into a single drawing where the vanity and the wardrobe are treated as one structure. We select the fronts from Egger and Kronospan boards of the same collection so that the shade and pattern do not diverge at the joint between the two carcasses. Fitting to the wall and aligning in a single line are done in the design, not by trimming on site: this way the joint comes out tight without cover strips or sealant, and the line of the fronts does not drift. If the vanity and the wardrobe are ordered separately, the geometry almost never matches — a single drawing removes this risk before cutting even begins.
How ordering a vanity unit from a direct manufacturer works, from measurement to installation
We show the journey of the item from the first measurement to the signed acceptance report, so you can see at which stage the risk of a mismatch with the design is removed and who is responsible for each step.
Free measurement and 3D design in 1–2 days
Measurement is free with us, and we prepare the 3D design in 1–2 days so that you see the vanity in your bedroom before production starts. The measurement specialist records the geometry of the room, checks the floor level and the position of the sockets, and the designer transfers this data into a drawing with the real dimensions of the niche. The visualization shows how the item will sit relative to the window, the bed and the wardrobe, where the edge of the countertop will run and at what height the mirror will be. A custom vanity unit differs from a ready-made one precisely at this stage — you agree on the fit for your height instead of adjusting the stool to someone else's standard. The 3D design is useful not for its picture but because depth, countertop overhang and mirror height are agreed on it — these parameters are not redone later.
Manufacturing in our own workshop and trial assembly
- Cutting: we cut Egger and Kronospan boards according to the project maps so that the parts of one section match in texture.
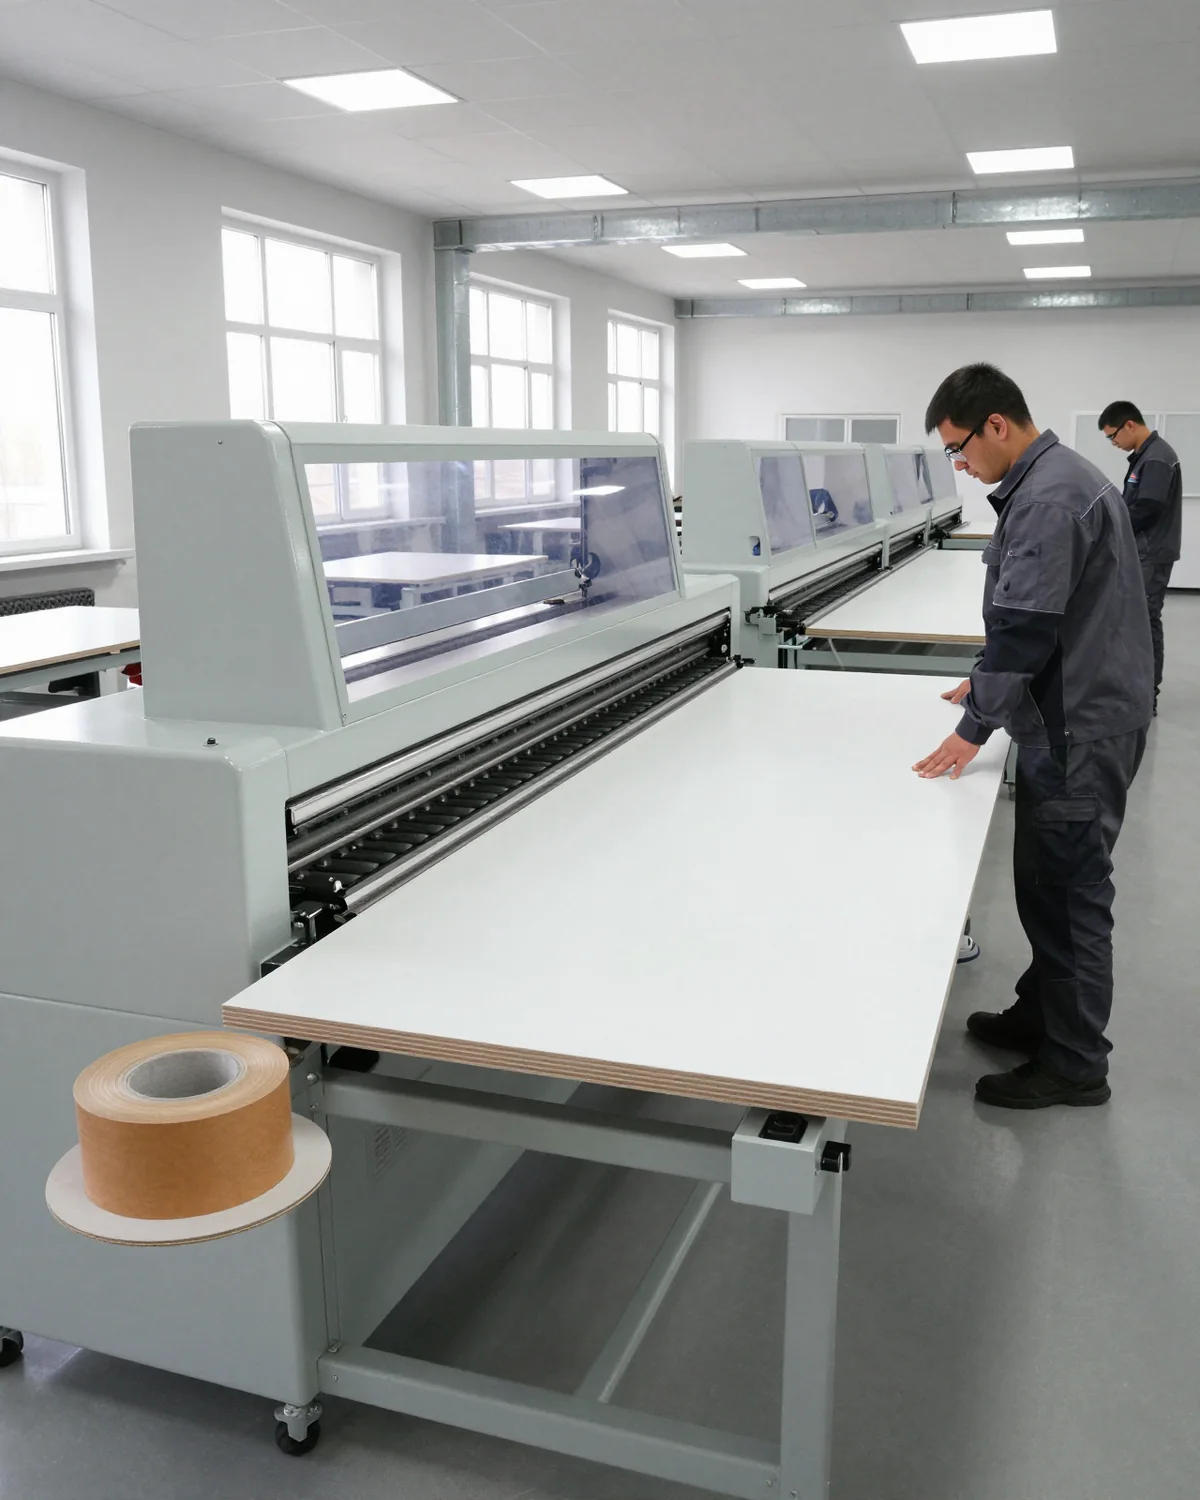
- Edge banding: we seal the ends with moisture-resistant edge banding — it protects the board from swelling near the sink and in the bathroom area.
- Painting: the fronts and carcass are painted in the workshop, not on site, so dust and drips do not get into the bedroom.
- Trial assembly: before shipping we assemble the item completely, check the movement of the drawers on Blum and Hettich and that the holes match.
- What the assembly catches: we detect mismatched holes and drawer movement before leaving for the site, not after installation.
Installation by our own crews and an acceptance report after setup
- Our own installers: our crew arrives at the site knowing the specific project, not an outside team with a generic drawing.
- On-site installation: the crew levels the carcass, pulls the joints with the wardrobe into a single line and connects the mirror lighting.
- Checking with you present: you open every drawer, check the smoothness of movement and how the countertop meets the wall before signing.
- Acceptance report: we sign the document after installation, when the item is in place and the remarks are closed.
- Lead times and rush orders: production lead times depend on the item and material and are stated in the price list on this page — a rush order is possible.
Warranty, payment and working directly with the workshop
The terms of the deal are set out in our contract: warranty on the item, payment procedure, acceptance after installation. A direct workshop is responsible for all stages itself, so obligations do not get split between the seller and production.
24-month warranty on the item and 25 years on Blum hardware
The item comes with a 24-month warranty under the contract, and Blum hardware carries a 25-year manufacturer's warranty. We fix the terms in a document, not in words: you receive a contract with the obligations spelled out and a signed acceptance certificate. We install Blum hardware on drawers and hinges where the load is daily, and use Hettich and Boyard mechanisms in the remaining assemblies. We handle warranty requests through our own workshop, without forwarding them to subcontractors. The warranty is valid only with proper use, so during handover we show you how to load the drawers and shelves to avoid skewing: heavy items closer to the stiffening ribs, light ones in the center. On the dressing table with a mirror, we separately check the fastening of the doors and adjust them to your seating position.
Payment under the contract and cashless work
- 50% prepayment: paid under the contract before the item goes to cutting; the amount depends on the configuration and material.
- Second payment: you pay the balance when signing the acceptance certificate, once installation is complete and the result has been inspected.
- Cashless: we work with legal entities and individuals on a cashless basis and prepare documents at every stage.
- Acceptance certificate: we sign it only after installation, once the joints, drawers and fastenings have been checked.
- Prices in the price list: prices for each option are shown in the price list on this page — the total depends on the sizes, board and hardware.
A direct manufacturer instead of an intermediary
- Own 600 m² workshop: cutting, edge banding, painting and control assembly all happen on one site, with nothing outsourced.
- Our own installation crews: installation is done by our craftsmen, not by hired subcontractors brought in for a specific order.
- One point of responsibility: measurement, design, production and installation are handled by one team, so there are no disputed joints between contractors.
- Experience and volume: 13 years working in the city and 3 500+ completed projects, including 900+ kitchens and 800+ wardrobes.
- No reselling: we don't resell ready-made furniture, so the configuration and materials are agreed directly with production.
- Single responsibility for the joint: with an intermediary, blame for a gap between the countertop and the wall gets spread between the seller and the workshop, while with a direct manufacturer it rests with one party at every stage.
The bottom line on dressing tables
We've put together a short set of rules that determine the outcome of an order: comfortable seating at the table, structural rigidity, how the material behaves, and how precisely it fits the walls of the room.
- Height and depth: calculated from your seating position and height, not from a standard size in a catalog — otherwise your back tires after just ten minutes of makeup.
- Rigidity: sagging of shelves and drawers is solved with stiffening ribs and the runner mounting assembly, not with board thickness.
- Material: chosen for the load and humidity, and the edge is sealed around the entire perimeter of the parts, including hidden ends.
- Uneven wall: the gap is eliminated in the design at the measurement stage, not by trimming during installation when the board has already been cut.
- Process: transparency from measurement to acceptance certificate removes the risk of a mismatch with the design — you see the item before installation.