
Short answer
Acceptance of custom-made furniture takes place after installation: you inspect the item together with the team, check the mechanisms in operation, and verify everything against the project. We sign the acceptance report after installation, and the second half of the payment is made after signing, so any remarks can be calmly written into the report before that.
How acceptance of custom-made furniture works
Accepting a custom-made item is not just one signature at the end of the day, but several checks along the way from the workshop to the apartment. Let's break down what they consist of and who is responsible for what.
What checks make up the acceptance process
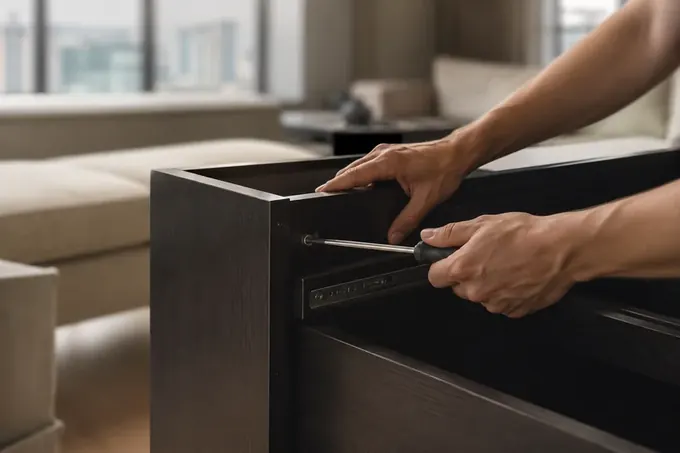
Acceptance of custom-made furniture at our company consists of two checks: a control assembly in the workshop and an inspection at the site after installation. During the control assembly, the craftsman assembles the item completely, hangs the fronts, checks the movement of the drawers and the operation of the mechanisms, and then disassembles it for delivery. This way, most production defects stay in the workshop: a part with an edge defect or an inaccurate size is replaced before shipping, not in your kitchen. At the site, our team handles the installation, and afterwards you inspect the already assembled and secured structure, including appliances, countertop, and lighting. Only after this inspection is the acceptance report signed. You see the item as you will use it and decide whether everything has been done according to the project. Do not postpone the inspection to "later, when we unpack the boxes": on installation day, the team is still on site, and minor issues like a gap between the doors are fixed immediately with a single screwdriver.
Stages from workshop to signature
| Stage | Who checks | What is checked |
|---|---|---|
| Control assembly | workshop craftsman | dimensions, edge, mechanism operation |
| Delivery | team and customer | packaging integrity, number of packages |
| Installation | team | level, wall mounting, adjustment |
| Inspection | customer together with the team | fronts, mechanisms, appliances, internal parts |
| Signing the report | customer and contractor | inspection results and list of remarks |
Why it is better to inspect with the team present
It is most convenient to inspect the furniture set while the installers are still on site: they will immediately explain what can be adjusted on the spot and what requires a replacement part. A gap between fronts, a sagging door, a stiff drawer, or a lift mechanism that does not hold the door can be fixed by adjustment in a few minutes. The team will show you where the adjustment screws are on the hinge, and you can tighten them yourself in a year. A chip, scratch, or a part in the wrong finish cannot be fixed this way—they are recorded, and the part is remade. If you inspect without the contractor, in the evening, under poor lighting, some questions will remain unanswered, and some you simply will not notice until the next morning. Agree in advance which family member will be present at the acceptance and make decisions on remarks, so you do not have to postpone the signing. Ask the team to demonstrate each mechanism by hand and repeat the movement yourself—this makes it easier to notice the difference between normal operation and a defect.
How to prepare for the installation team's arrival
A calm acceptance begins even before installation: with a ready room, clear passage, and documents at hand. Let's go over what to do in advance so the inspection takes less time.
What the room should be like before installation
Understanding how to accept furniture after assembly is easier if the room is already prepared for the team's arrival: walls are leveled and painted, the floor is laid, the backsplash tile is installed or its place is marked according to the project. Sockets, water and sewage outlets, and the exhaust duct must be where they are shown in the 3D design that we prepare after a free measurement. Built-in appliances should be brought in advance so that the installers can immediately check their fit into the modules and the gaps. It is better not to touch the windowsill, radiator, and wall protrusions after measurement: any change alters the dimensions laid down in the project. Clear the passage from the door to the installation site, arrange for the elevator and parking — we handle delivery in Almaty and up to 30 km with our own team, and the vehicle needs somewhere to park. If renovation is still ongoing, postpone the installation: construction dust settles in hinges and guides, and an accidental blow from a stepladder to a fresh front will later have to be recorded in the acceptance report.
What to keep at hand during the inspection
- Contract and specification: use them to verify the dimensions, decor, front finish, and hardware brand of each module.
- 3D design: a file on your phone or a printout helps quickly check the layout, module order, and handle placement.
- Level and tape measure: a short spirit level and a tape measure show carcass skew and gap differences more accurately than the eye.
- Flashlight: a phone beam directed along the surface reveals scratches, film waves, and unpainted areas on the edges.
- Phone for photos: a photo of each remark with a general view helps later find the right part without arguments.
- List of questions: write down in advance which components and places concern you so you can ask the team on site.
- Painter's tape: small marks at the places of remarks will keep you from losing them while you walk around the kitchen or walk-in closet.
How to inspect in good light
It is best to inspect the fronts during the day, in natural light from the window, and then again with the under-cabinet and overhead lighting on. Daylight honestly shows the shade of the decor and the difference between parts from different sheets, while a side beam from a flashlight reveals scratches and waves on gloss. Under a warm lamp, light and gray fronts seem identical, although next to the window they may differ noticeably. Before inspection, ask the installers to remove the packaging and film from the fronts, wipe the surface with a dry cloth — drilling dust hides minor defects. Inspect each front from arm's length and at an angle, not just straight on. Glare on gloss and matte spots on enamel are most noticeable from the side. If installation finishes in the evening, arrange to sign the acceptance report the next morning: this gives a better chance to see everything that will be visible to you every day.
Carcass, fronts, and edge banding in good light
The inspection goes from general to specific: first geometry and fastening, then face surfaces and edges, and finally the contents of the cabinets. This order helps avoid missing small details.
How to check the evenness of the carcass
Checking furniture during installation starts with geometry: the lower modules must be level, and the line of the upper cabinets must run in one straight line along the entire wall. We set the carcasses on adjustable legs and check the level lengthwise and crosswise, so on an uneven floor the kitchen does not wobble and the countertop sits without gaps. Place a level against the countertop and the bottom of the wall cabinets, and use a tape measure to compare the distance from the floor to the top line at the beginning and at the end of the row. A tall pantry unit is checked vertically: if it leans forward, the door will open by itself or slam. Wall modules must be fixed to the wall, not just resting on a rail — try gently pulling the cabinet toward you. It should not shift or creak at the fixing. If the wall in the apartment is out of plumb, ask to be shown how the crew compensated for it, because the gaps of the fronts in the upper row depend on this.
Fronts, edges and banding up close
- Gaps: the gaps between adjacent fronts must be even along the entire height, without a wedge at the top or bottom.
- Chips and scratches: inspect the corners and edges, where the part is most often caught when carrying and hanging.
- Banding: it must fit without a gap, bubbles or traces of glue, and at the corners it must not catch fabric.
- Decor: adjacent fronts of the same series match in tone and pattern direction, and the wood texture runs in one direction.
- Finish: painted and film surfaces must have no drips, bubbles, blistering or unpainted areas.
- Handles: they sit on one line along the entire row, hold firmly and do not turn when opening.
Shelves, rails and fittings inside the wardrobes
Inside the wardrobes we leave the shelves, rails and baskets in the positions specified in the design, and we check them before handover. Open each module and see whether all the shelves are in place, whether the shelf supports wobble and whether the wardrobe rail is level. The fittings inside the carcass are covered with caps in the decor color, and the back panel must sit tight, without a gap at the floor and ceiling of the wardrobe. In the module under the sink, check the cutouts for the pipes: their edges are covered, and the siphon does not press against the bottom. There should be no shavings, banding offcuts or drilling debris left inside. The bottoms of the drawers and the shelves are wiped before handover so that drilling dust does not settle on the dishes. Pull-out baskets, the dish rack and the drawer organizers are also part of the order, so check them against the specification: such details are easy to forget while your attention is on the fronts.
Mechanisms, countertop and appliances in operation
Moving parts are checked by hand, not by eye: a door may look straight and still close with a bang. This section covers hinges, drawers, lift mechanisms, the countertop and built-in appliances.
How to check each unit
| Component | How to check | Standard |
|---|---|---|
| Hinges | open and close each door | closes without a slam, the gap stays the same |
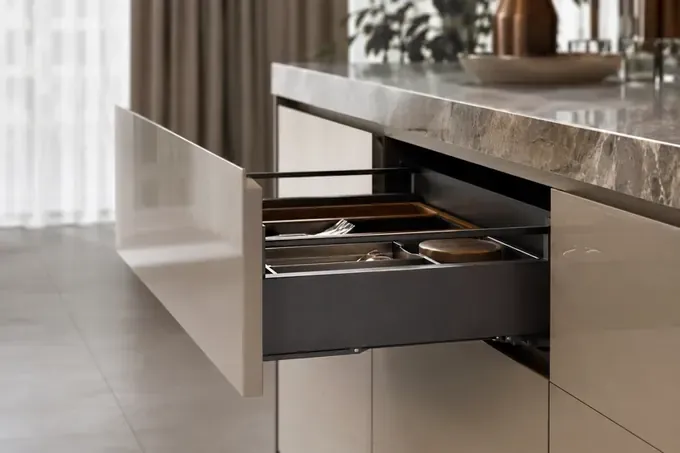
| Drawers | pull out fully, add a load | smooth travel, no skew or squeak |
| Lift mechanisms | stop the door halfway | holds its position, does not drop or spring up |
| Soft-close | close the door or drawer with a sharp push | pulls in gently and does not bounce back |
| Push-to-open | press the front at different points | opens from a light touch |
| Sliding doors | run them along the full length of travel | roll evenly, do not come out of the track |
Countertop, sink and built-in appliances
We install the countertop level and seal the joints and cutouts so that water cannot get into the cut edge of the board. Run your palm along the joint between the two parts of the countertop: there should be no step, and the sealant should lie in a continuous even strip with no gaps. Look at the cutouts for the sink and the hob — their edges are sealed, and the appliances sit level and do not wobble. Above the hob, check that the extractor works and that its housing does not catch on the wall cabinets. If the sink was connected on the day of installation, fill the bowl with water and let it drain while looking under the module with a torch: the trap and connections should stay dry. Switch on the built-in appliances for at least a minute: the oven and dishwasher doors open without catching on the neighbouring fronts and handles. Check the fridge behind a furniture door the same way — the panel opens together with the appliance door and fits tightly when closed.
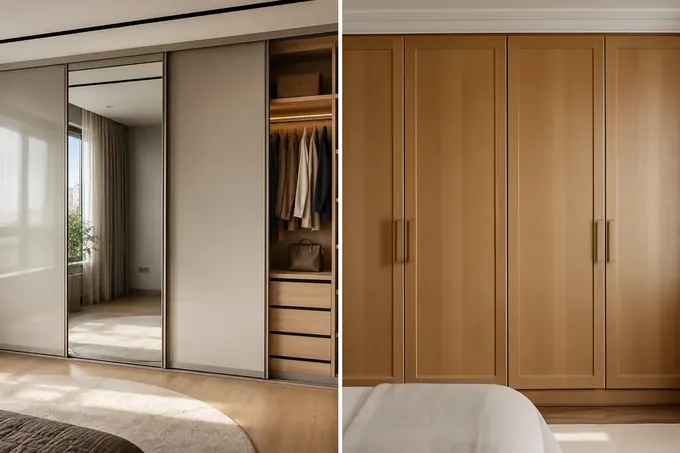
How to inspect a sliding wardrobe
We inspect the sliding wardrobe together with the customer on two main points — smooth door travel and a tight fit against the side panels. Roll each door along its full length: it moves without jerks, does not jump out of the top track and does not catch the neighbouring leaf. In the closed position the door fits against the side panel with no gap along the full height, and the brush seal does not stick out. The stopper holds the door in the end position, and it does not roll back on its own if the floor is slightly uneven. The bottom track should not get in the way when walking or catch the vacuum cleaner during cleaning. Check the mirror panel for chips along the edge and for the integrity of the protective film on the back. Inside, compare the fittings with the specification — shelves, rails, pull-out drawers and the pantograph, if ordered. If a door runs stiffly, ask the team to adjust the rollers on site: it takes a few minutes and requires no replacement parts.
How to fill in a furniture acceptance report
The signature on the report completes the order, so it matters what information it contains. We break down the contents of the document, how to record remarks and how it differs from a delivery note.
What information the report records
The furniture acceptance act confirms that the item has been manufactured and installed under the contract, and that the customer has inspected it and agrees with the result or has noted any remarks. We sign the act after installation, once the furniture set is assembled, secured, and all mechanisms are adjusted. The document lists the items under the contract, and if any shortcomings remain on site, they are recorded in a separate list. It is convenient to number each item on the list so that its resolution can later be marked next to the number. An act with remarks is normal practice: the signature confirms the work performed, and the contractor resolves the recorded shortcomings afterwards. Without a record, any chip noticed a week later becomes a dispute over whether it occurred during installation or appeared later. A record in the act removes this question: the shortcoming is documented on the day of installation and signed by both parties. Before signing, read the act in full and check the list of items against the contract, and even if there are no remarks, still take the time for a full inspection — the signature is given once.
How to record remarks
- Location: specify the module and part so that any technician can find it, for example “upper cabinet above the sink, left door”.
- Issue: state exactly what the shortcoming is — a chip on the corner, a gap wider than the others, a drawer that closes with a bang.
- Photos: photograph each remark close up and in a general view, and save the files together with a copy of the act.
- Method and lead time: next to the remark, note what will be done — adjustment or replacement of the part — and when we will return to the site.
- Resolution mark: once the shortcoming is fixed, it is marked next to its number in the same list and also signed.
- Signatures: both parties sign below the list of remarks; otherwise the list can easily be disputed or lost.
How the act differs from the delivery note
The delivery note confirms only that the required number of packages was delivered to the site on the given date without visible damage to the packaging. It says nothing about the assembled item: a chip under the film or a part of the wrong size is not visible at this stage. The act is signed later, after installation and inspection, and it confirms the result — the assembled furniture set in the configuration specified in the contract. Confusing the two documents is risky: a signature on the delivery note “without remarks” does not mean that you have accepted the work and agreed to all the details. If, during unloading, you see that a box is crushed or torn, open it in the driver's presence and note the damage immediately. Photos of the crushed packaging next to the vehicle will also be useful if a chipped part is found inside. And postpone the decision on accepting the item itself until the end of installation, when it can be opened, touched, and tested in operation.
Payment, warranty, and documents after signing
After the act is signed, the order moves to another stage: the final settlement and the warranty period begin. Let us explain what happens with payment, what the warranty covers, and which papers to keep.
When the second half of the payment is made
Our payment is split into two parts: a 50 % deposit before production and the remaining 50 % after signing the acceptance certificate. This arrangement benefits the customer: before signing, you inspect the finished item on site and decide whether everything is to your satisfaction, and only then make the final payment. The money for the item passes fully to the contractor only once you have seen the result. We also work by bank transfer, so the second part can be paid by invoice without a trip to the office. If the certificate lists any remarks, the terms for them are recorded in the same document, and both parties can see what still needs to be done. A minor remark that is resolved by adjustment is usually fixed on the spot and no longer appears in the certificate. The lead time for each item is shown in the price list on the item page, and a rush order is possible by arrangement. Keep a copy of the certificate next to the payment document: together they confirm that the work has been accepted and fully paid for.
Warranty on the item and hardware
We provide a 24-month warranty on the item under the contract, and its terms are set out in the contract itself. Blum hardware additionally carries the manufacturer's 25-year warranty, while Hettich and Boyard have their own terms, which are clarified for each specific series. Warranty covers issues with how the item was manufactured and assembled, such as edge banding coming loose or a drawer that no longer closes flush. The more thoroughly the certificate is filled in, the easier it is later to distinguish a manufacturing defect from everyday damage, so anything noticed during inspection is written down right away. Hinges and drawers sometimes need their adjustment screws tightened over time — this is normal maintenance, not a breakdown. The team will show you during installation how this is done, and the tool needed is the simplest kind. If something stops working, photograph the unit and report it, identifying the module the same way as in the certificate.
Which documents to keep
- Contract with the specification: it records the sizes, decor, front finish and hardware brand of each module.
- Signed certificate: together with the list of remarks and a note that they have been resolved, it confirms the acceptance date.
- 3D design: the file will come in handy if, a few years later, you decide to add a module to the same kitchen set.
- Appliance manuals: the documentation for the oven, hob and dishwasher is needed for their own warranty.
- Payment documents: keep the invoice and confirmation of payment for both parts next to the certificate.
- Photos after installation: an overall shot of the kitchen and photos of the internal modules help with any warranty question.
Summary: how to accept furniture and not rush the sign-off
A short guide for those waiting for a kitchen or wardrobe installation and wanting to accept the finished order calmly, without rushing or unnecessary arguments with the contractor.
- Preparation: by the time the team arrives, the renovation is finished, the appliances are in place, and the contract, specification and design are close at hand.
- Light and order: fronts are inspected in daylight and under side light, checking the geometry first, then the surfaces and the contents of the cabinets.
- Mechanisms: every door, drawer, lift and appliance is tested in operation, repeating the movement with your own hands.
- Remarks: everything found is recorded in a report with the exact location, photos and the way it will be fixed, signed by both parties.
- Signature: the report is signed after a full inspection, not during unloading, and a delivery note does not replace acceptance of the work.
- Documents: the contract, report, design and post-installation photos are kept together, as they make it easier to resolve warranty issues and order additional modules.
Article updated 10 September 2026Calculate kitchen price All blog articles