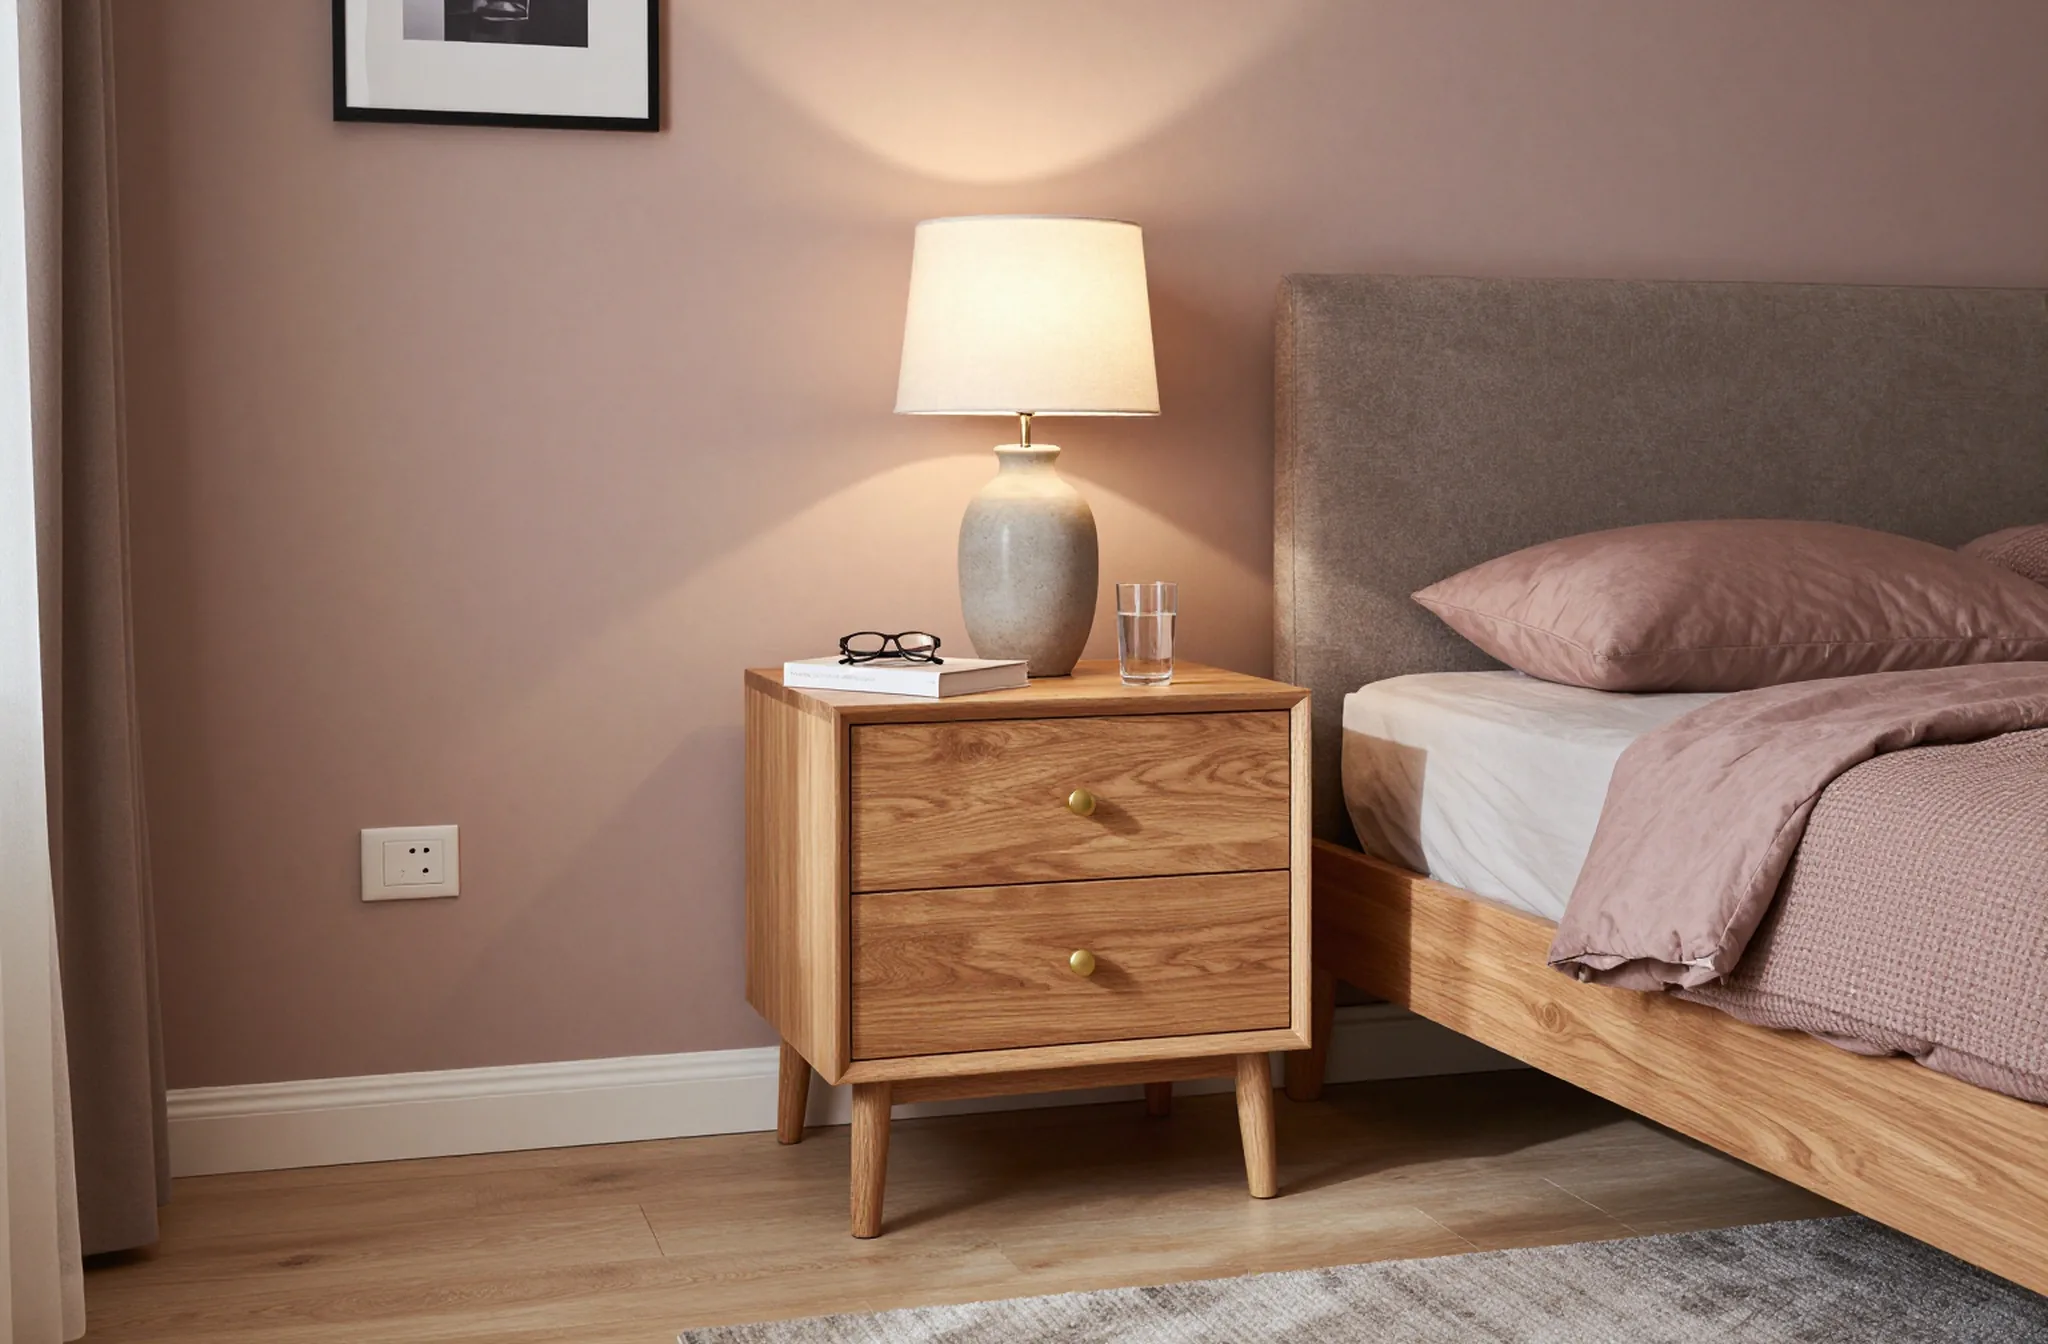
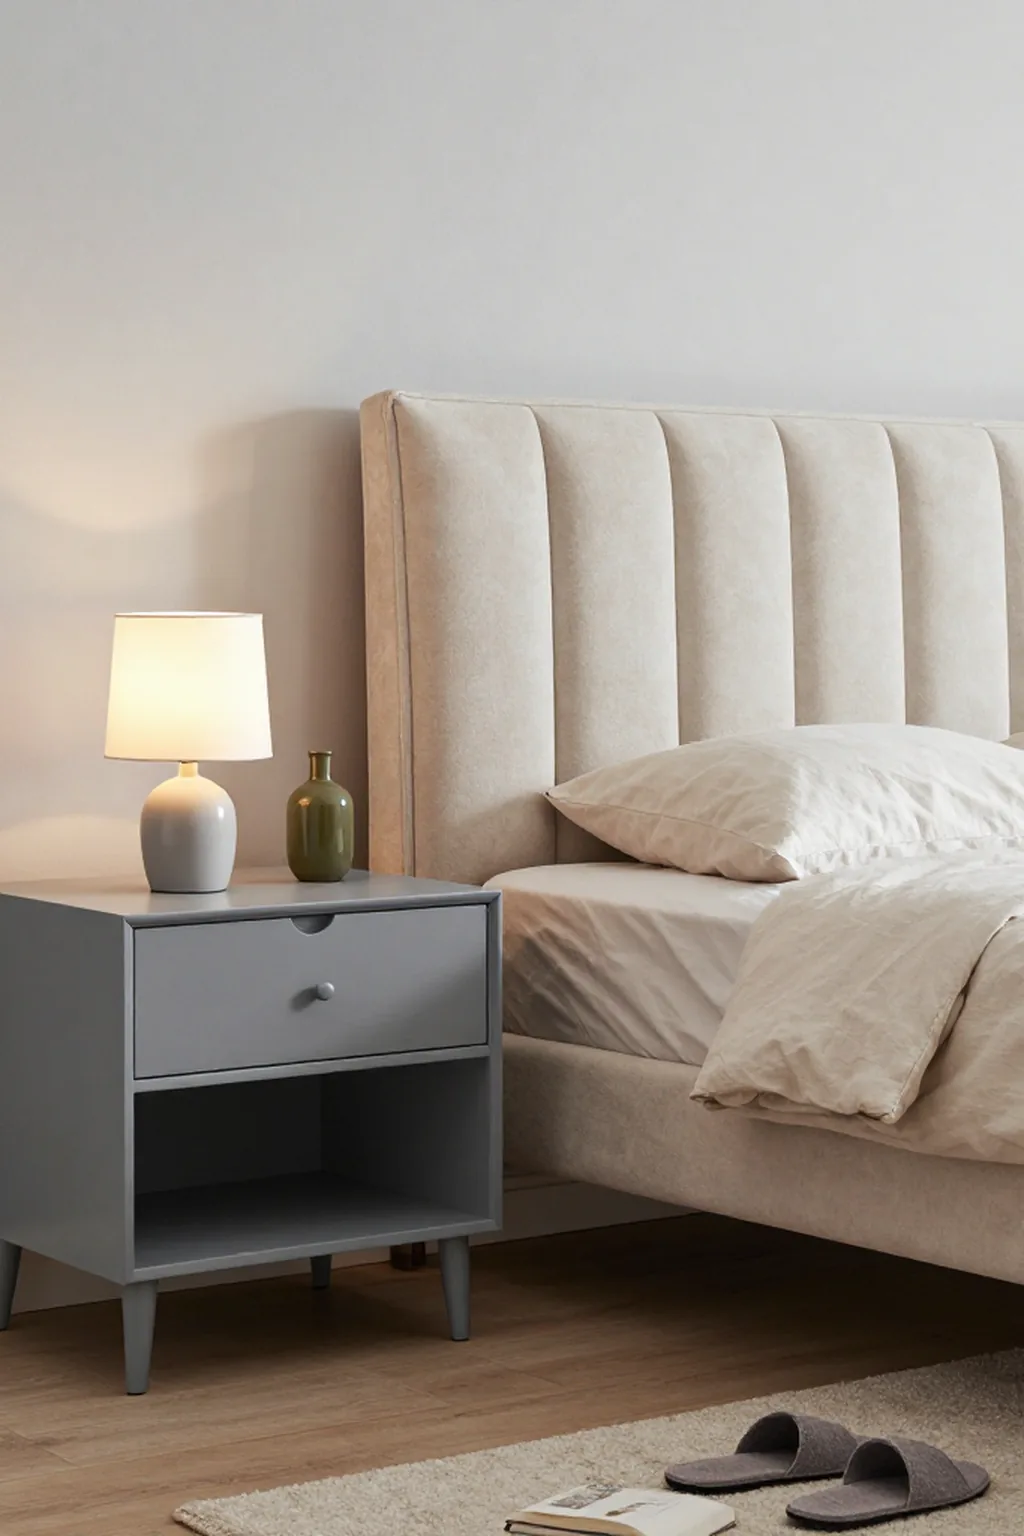
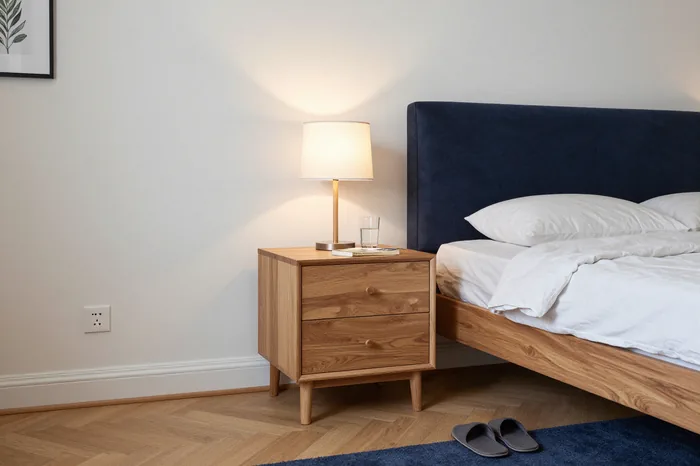
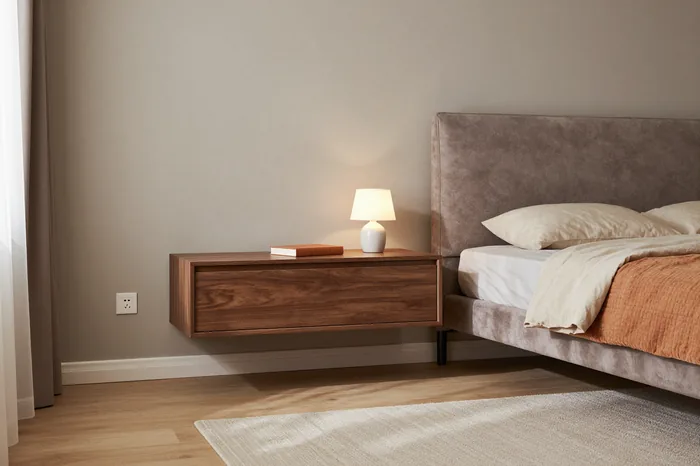
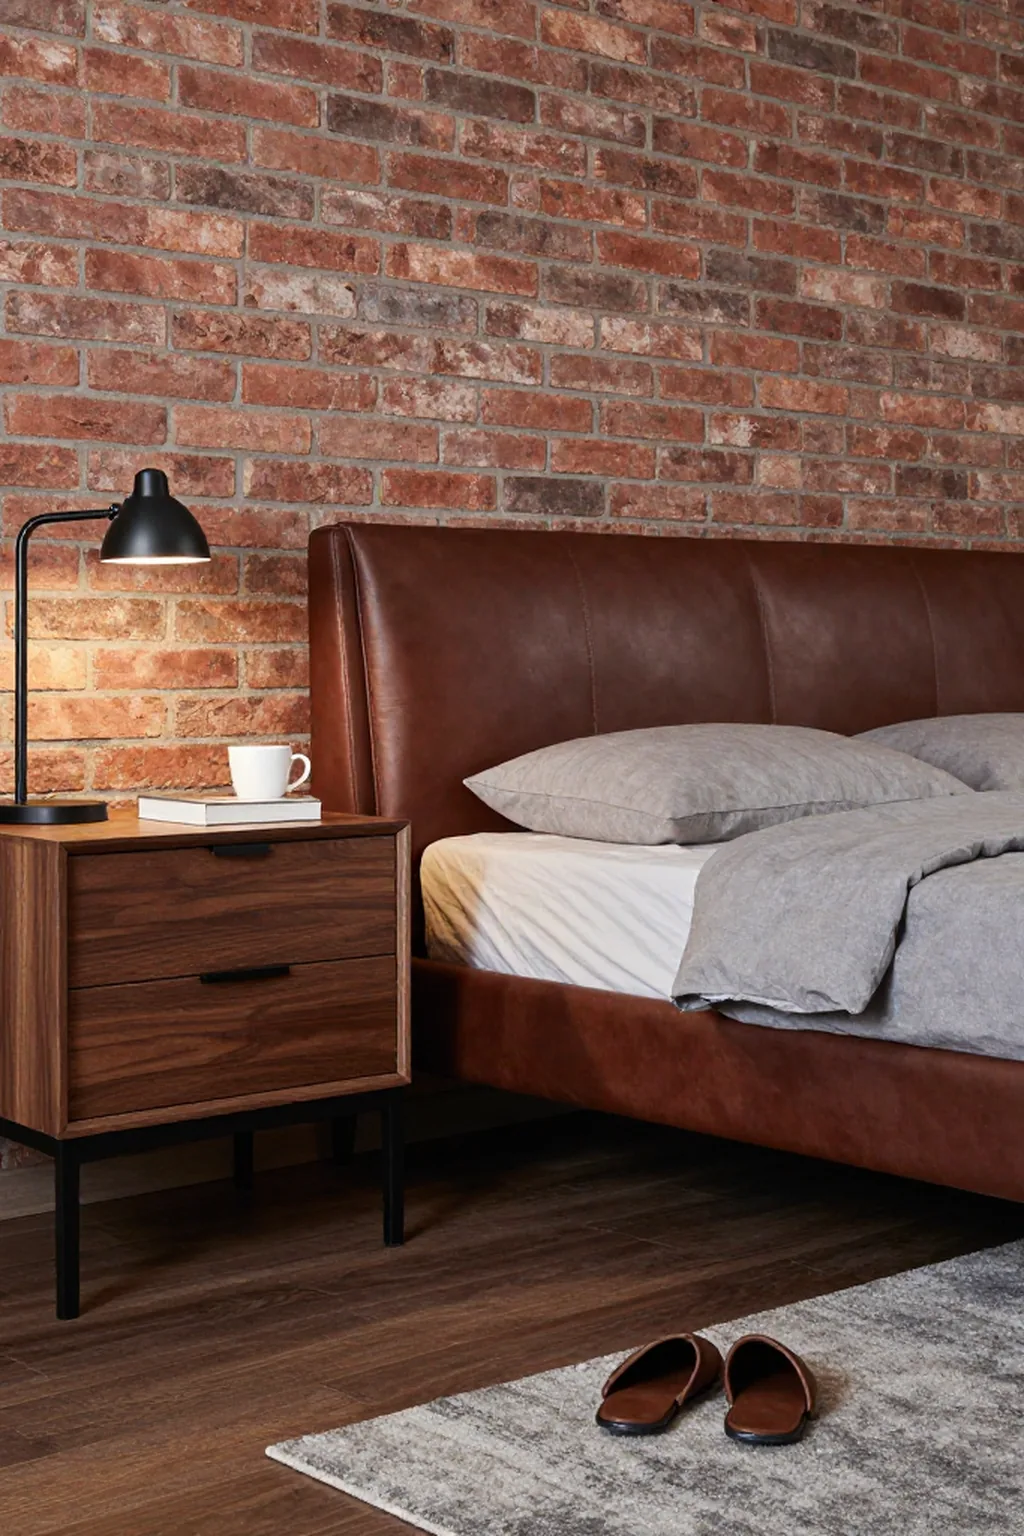
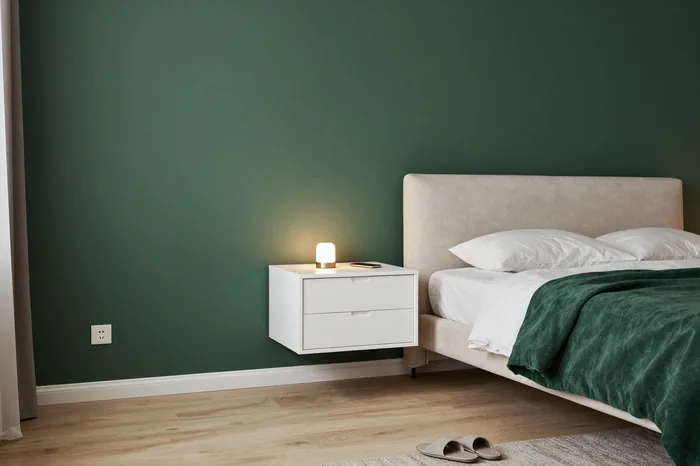
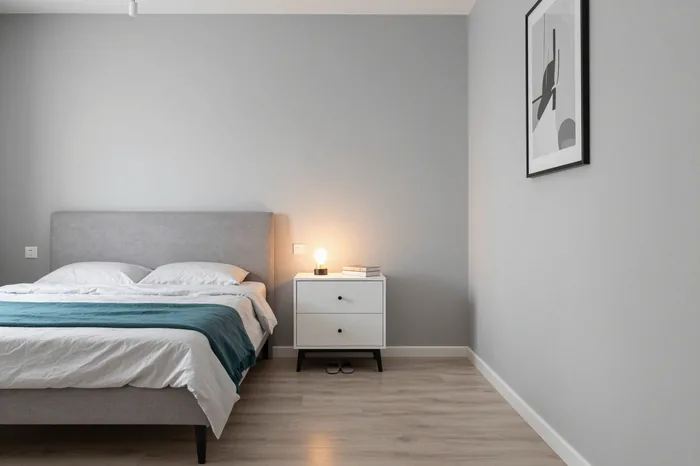
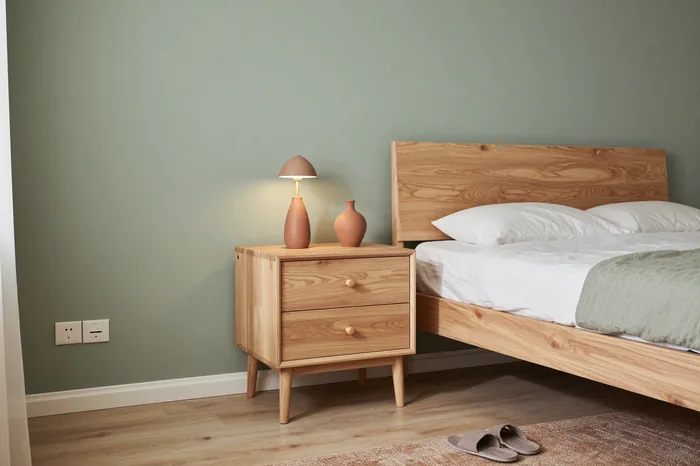
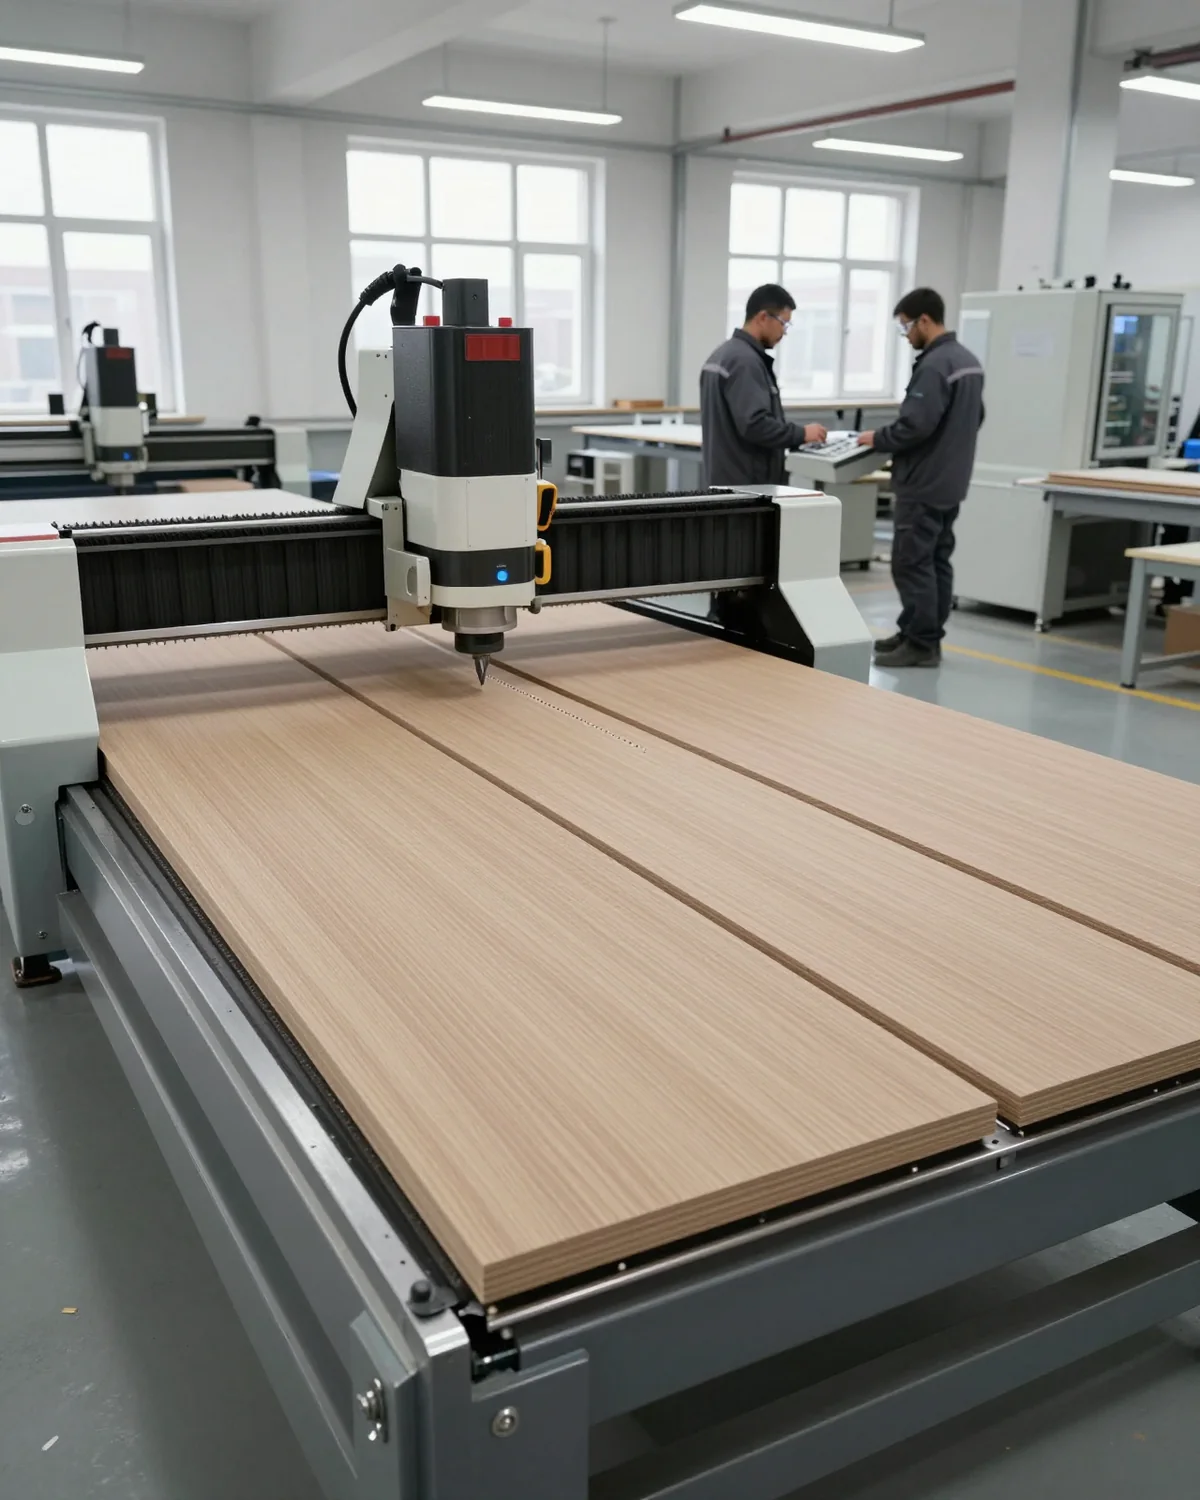
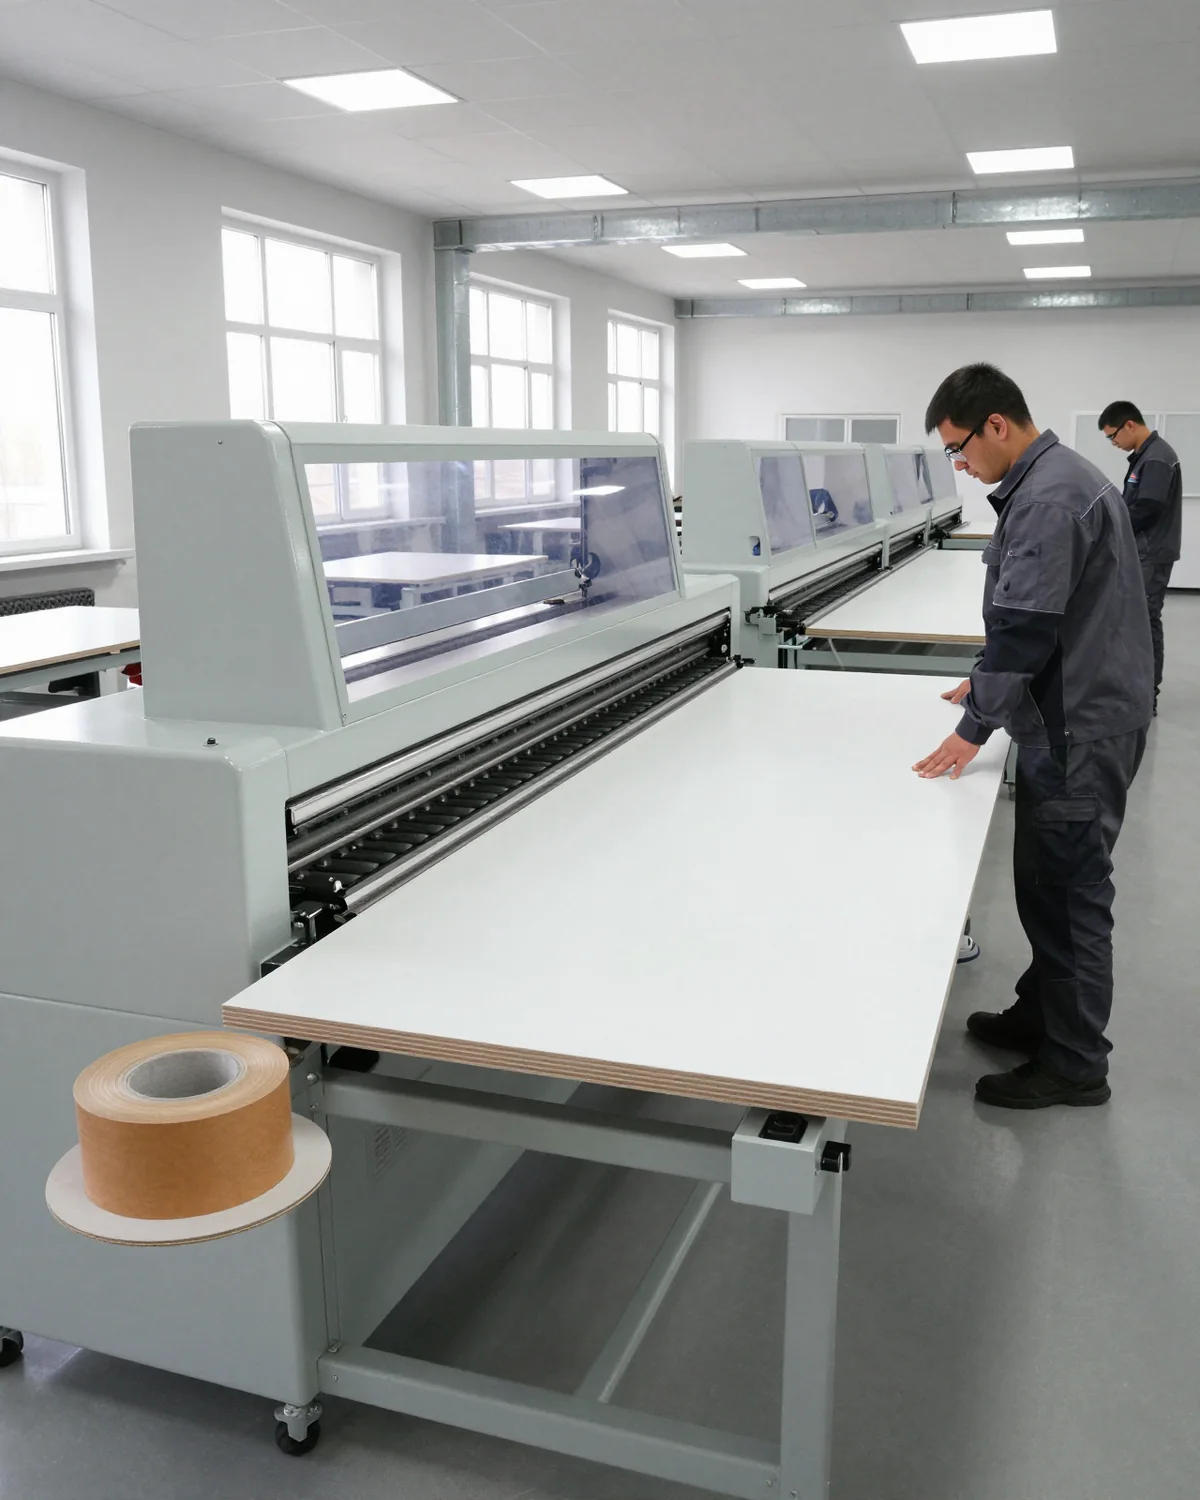
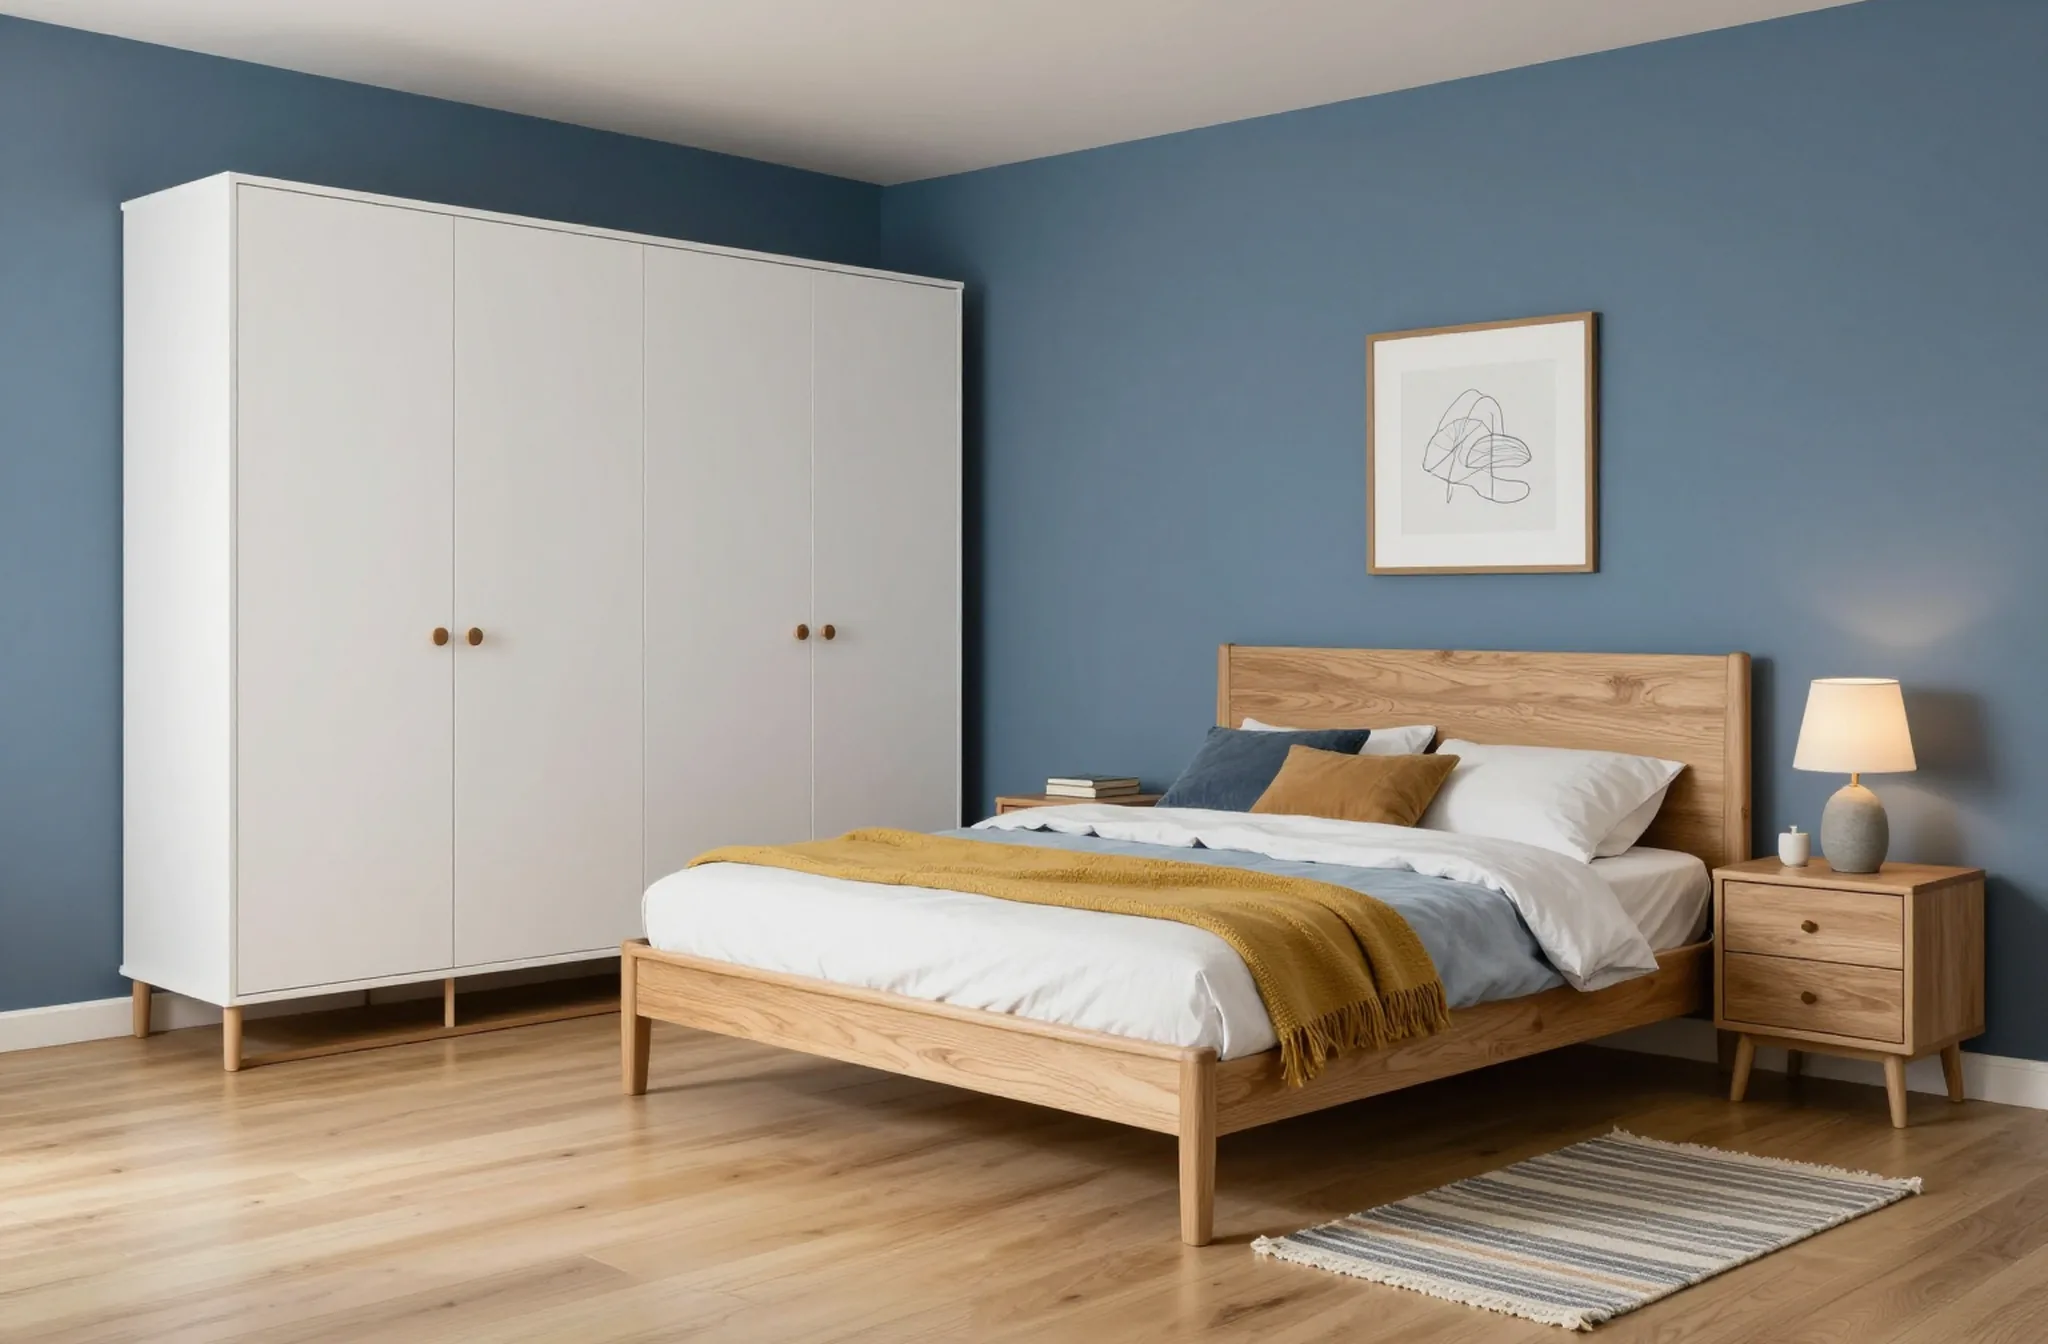
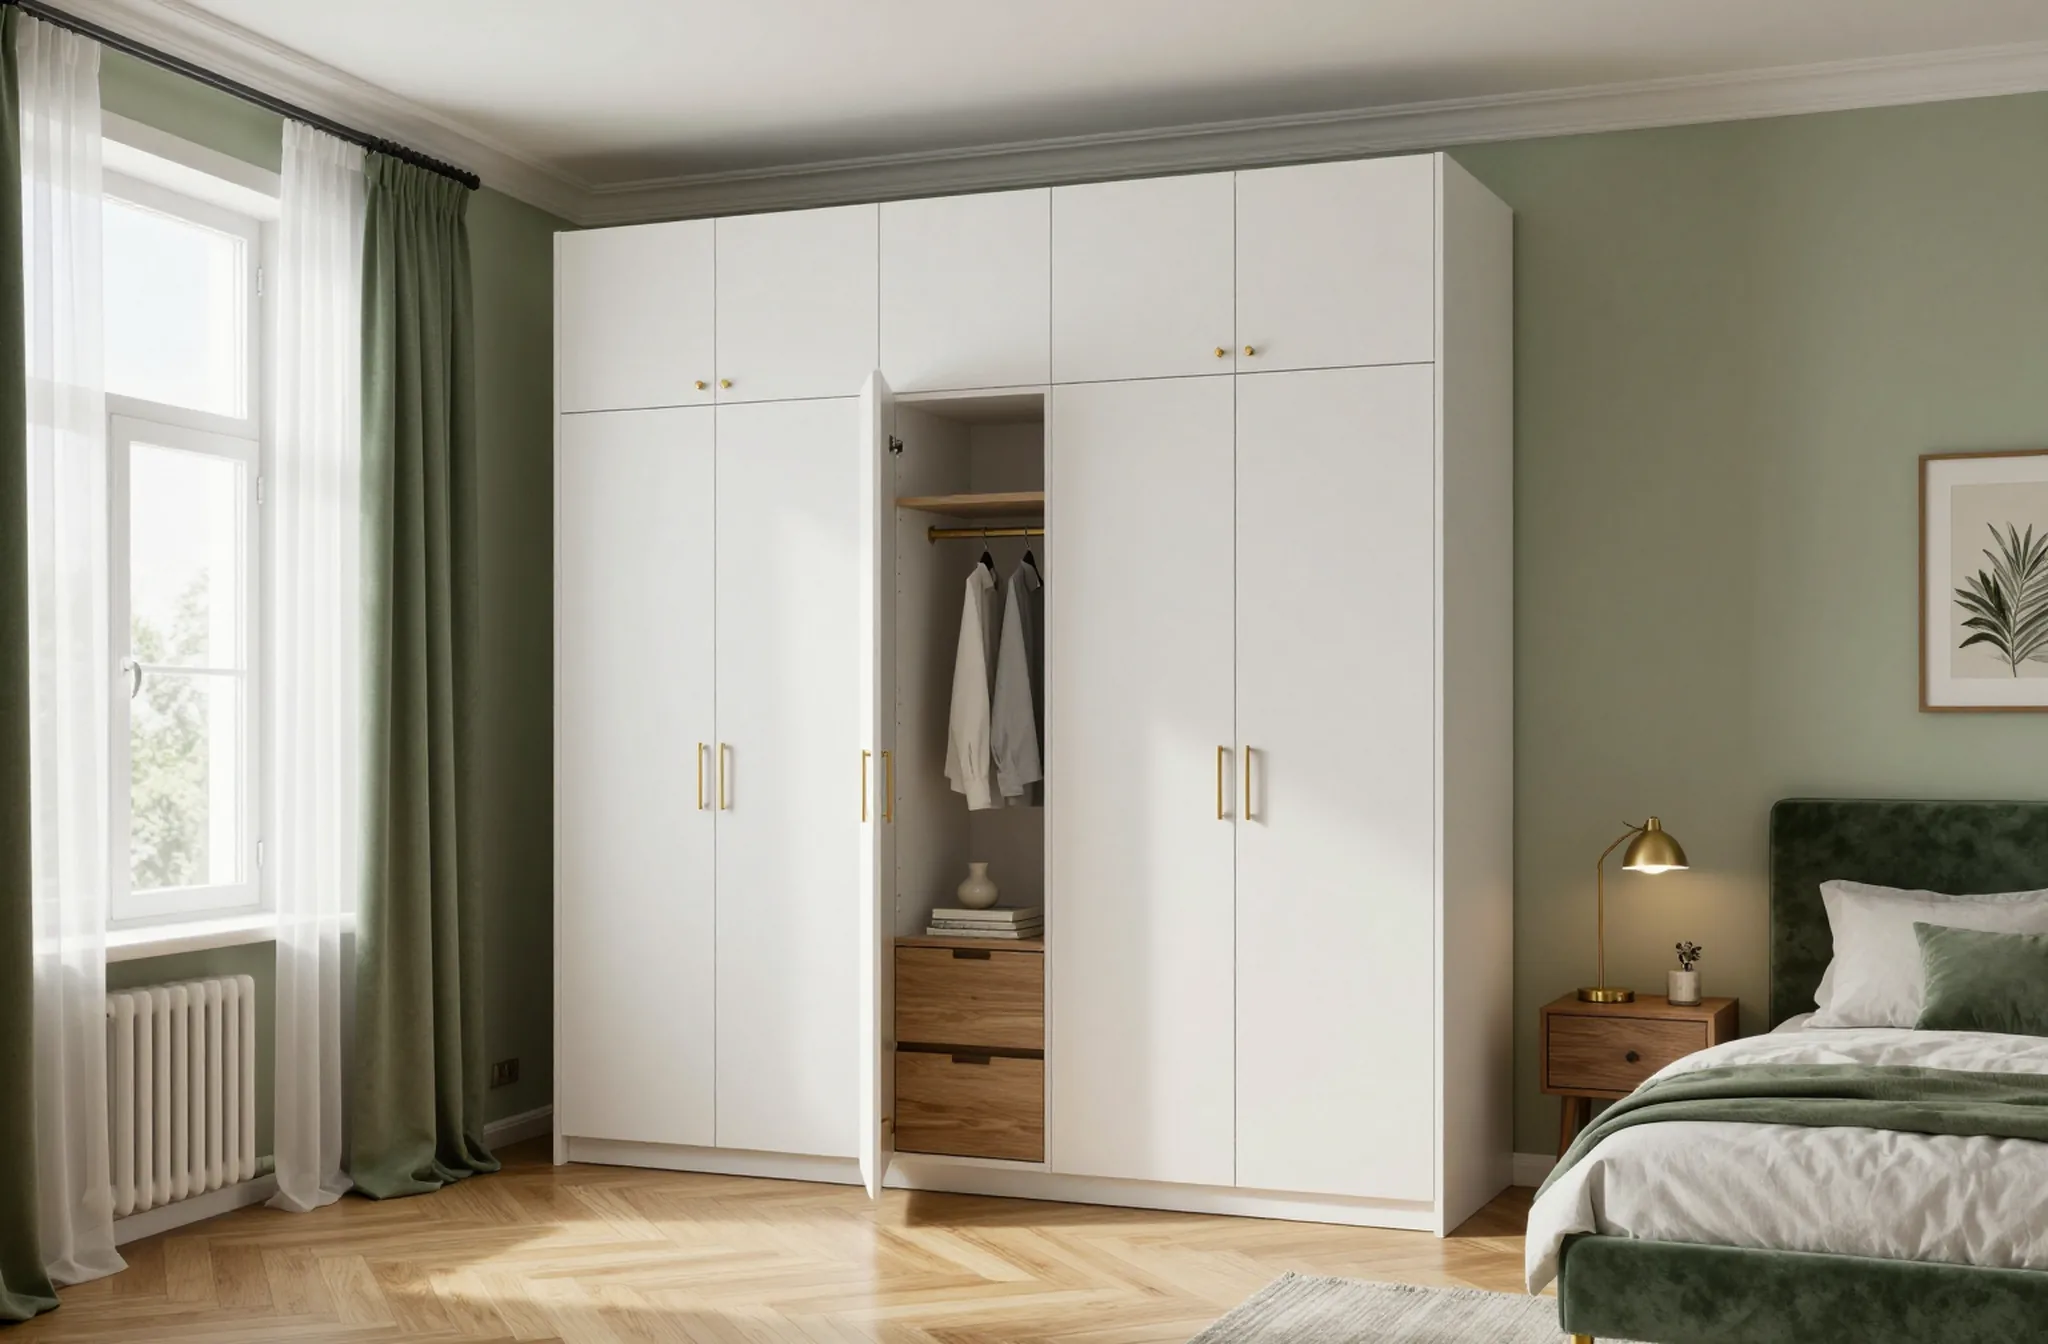
A custom bedside table from MEBLIX is built to the exact height of your bed and mattress, the actual line of your wall and any niche you want to use. We measure on site, prepare a 3D project in 1–2 days, cut and edge the parts in our own 600 m² workshop, then install with our own crews.
A bedside table works only when measured against the bed, not a catalogue grid. We record the mattress line, frame height, wall line and floor, then build the piece to those numbers.
What height should a bedside table be next to the mattress
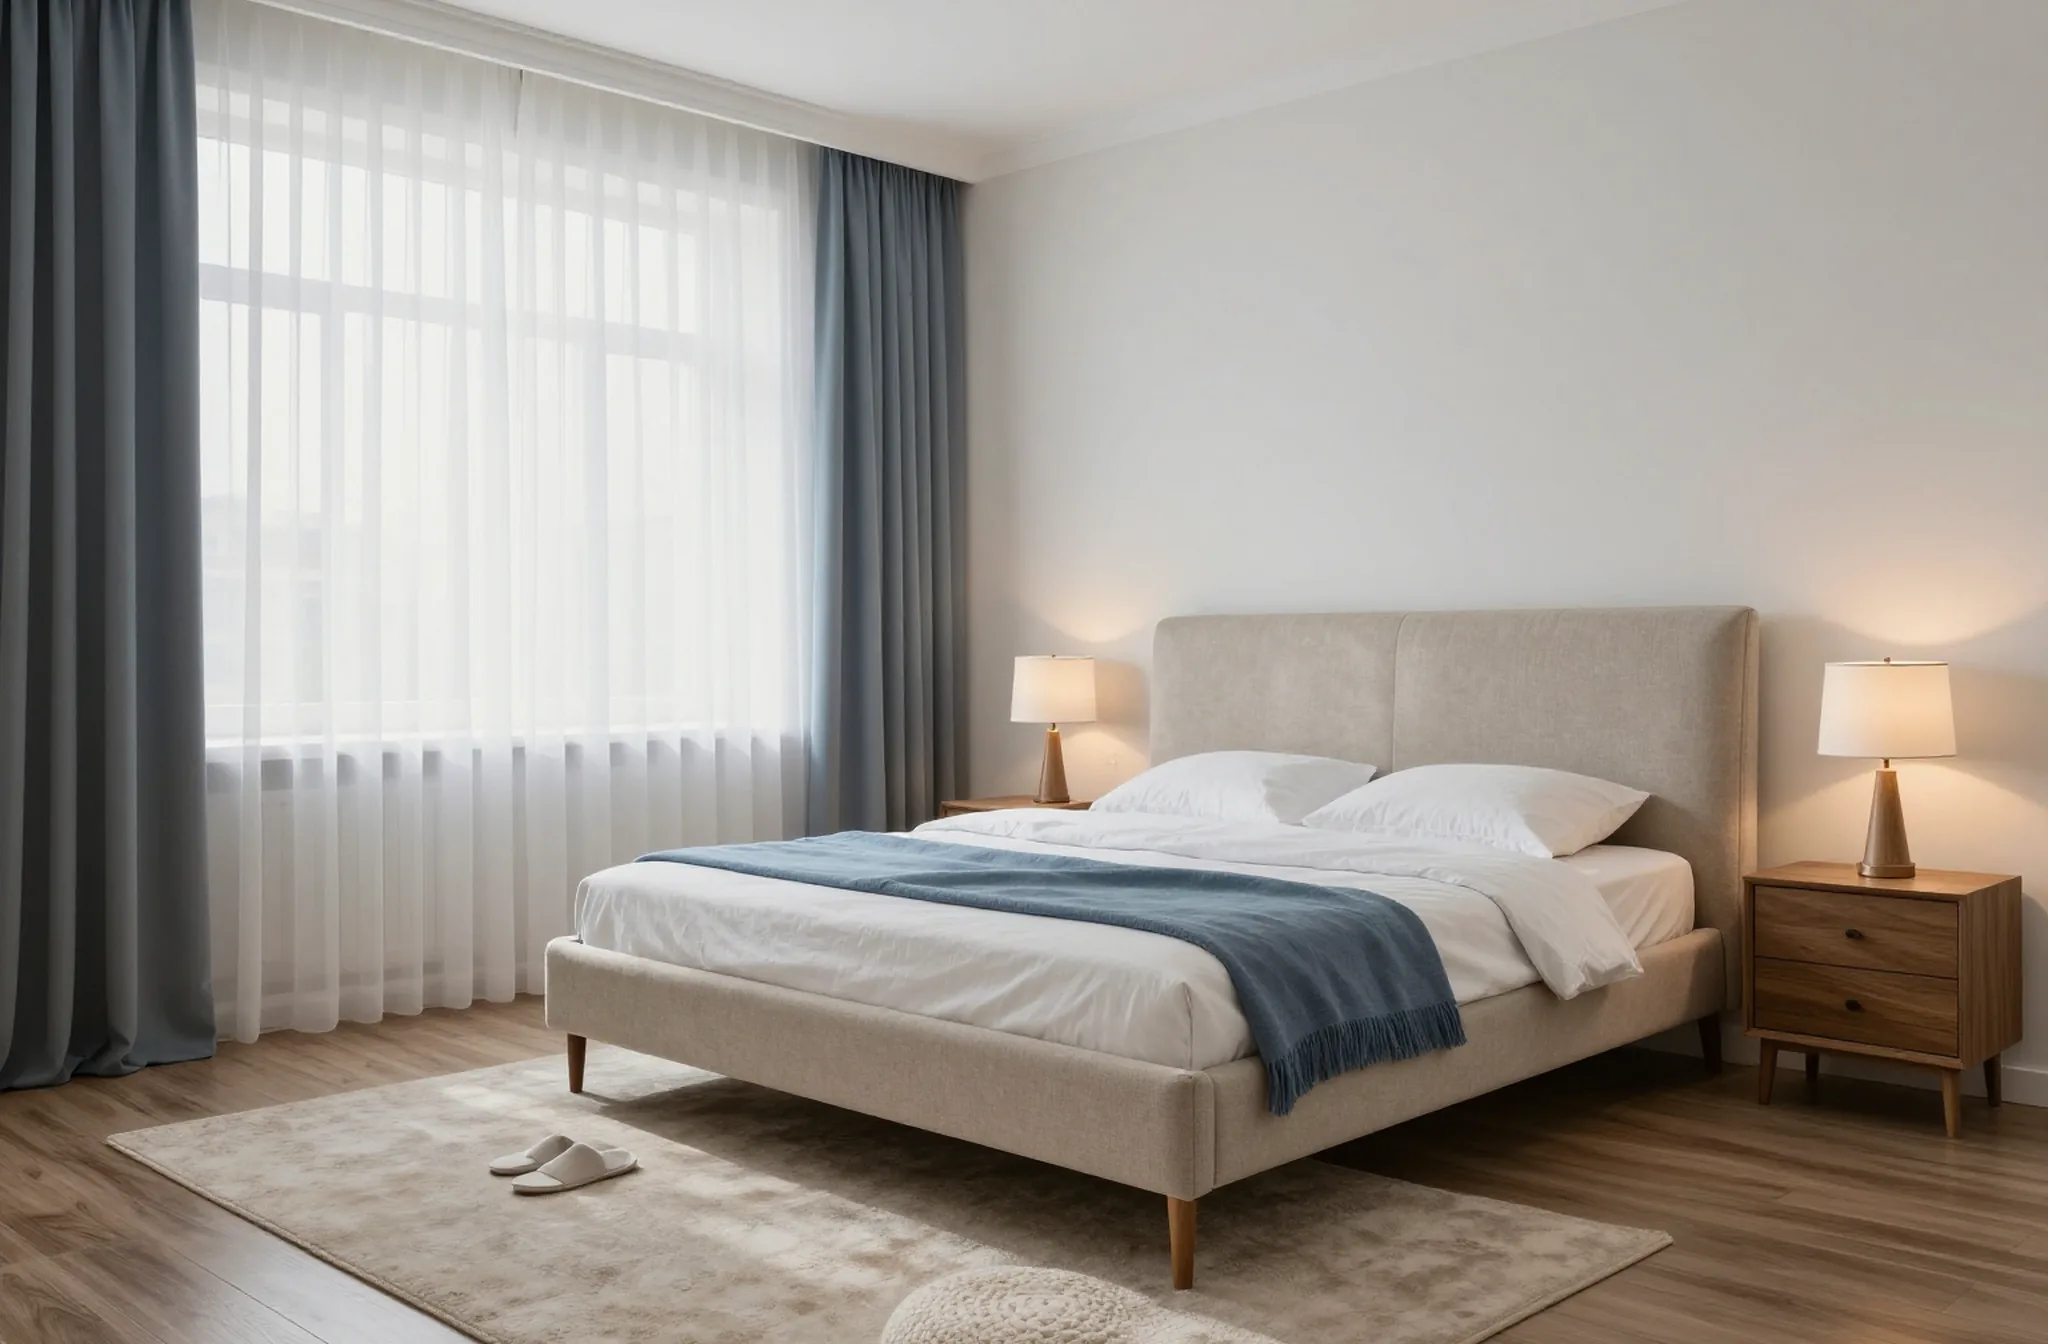
We set the surface level with the sleeping platform or 20–30 mm above it, so a lamp and a phone sit within easy reach when you are lying down. That figure differs by frame and mattress thickness, so it is taken on site with the bed assembled. A floor-standing model then gets its legs or plinth cut to that figure, while a wall-hung body is fixed at the same line. Too low a surface forces you to reach down and knock things over; too high a one hides the mattress edge and looks bulky, so the number is fixed against the actual frame, never guessed from a standard.
How wide and deep a bedside table fits your bedroom
We size the width to the free space between the bed and the nearest surface or wardrobe and the depth to what you actually store, so the table never blocks a passage or a drawer. A body of 400–450 mm in width takes a lamp, a book and a glass without crowding the frame, while depth is driven by the contents: a shallow drawer for a charger and glasses, a deeper one for linen. In compact flats the passage matters more than storage volume, so a shallower body with one deep drawer often beats a wide model. We make these tables to order against the real dimensions of the room.
How the free measure and 3D project work
- Measure on site: we record sleeping platform, frame, wall line and floor level with the bed assembled.
- Height fixed to the bed: the surface sits level or 20–30 mm above, noted on the drawing.
- 3D project in 1–2 days: see exact shape, drawer layout and proportions before cutting.
- Approval before cutting: every approved dimension is what the workshop produces, so the result matches the plan.
Fitting a bedside table to an uneven wall or a niche
A factory table meets the plaster at one point and leaves a gap along the rest. We plan the back edge from the real surface, so a custom bedside table closes flush.
Why a ready-made table leaves a gap at the wall
A factory table is cut to a perfect rectangle, while plaster in most flats runs out of plumb by a few millimetres over a metre, so contact happens at one corner only. The opening then widens toward the other end, collects dust and traps small items behind the body. A recess is rarely square either, so a rectangular carcass stands proud at one side and leaves a shadow at the other. The skirting board makes it worse: the body either cuts into it or stops short. A ready-made panel carries no allowance to trim, so the installer can only push it closer or leave the opening as it is.
How we cut a table to the actual wall line
We transfer the plaster line onto the project and cut the back and side panels to that line, so the table meets the surface along its whole length instead of touching it at one point. The technician takes the outline at the free measure, marks the high and low points of the plaster, and the drawing carries that curve into the cutting list. In our own 600 m² workshop the panels are cut and edged on the same pass, with PVC edge sealing the trimmed rear so moisture cannot reach the board core. A scribed back panel costs less than moving a wall and hides small floor unevenness at a skirting board.
Using a niche for cables, a charger and a lamp
- Open niche in the body: a rear recess keeps the phone, charger and small lamp off the top without pushing the unit outward.
- Cable channel: a routed channel behind the panel carries the lamp lead down to the socket, invisible once assembled.
- Socket access: niche depth lets the plug be reached by hand and the lead bend without strain.
- Flush closing: the channel is cut before assembly, so the rear sits tight with no gap.
- Lamp clearance: niche height matches the lamp base, so the shade clears the top and the switch stays reachable.
Materials and fittings for a bedside table that resist sagging and sticking
Sagging shelves and sticking fronts come down to board grade, edge sealing and running gear, not bad luck with a model. Here is what we specify inside a custom bedside table.
Which board and edge keep the body from swelling
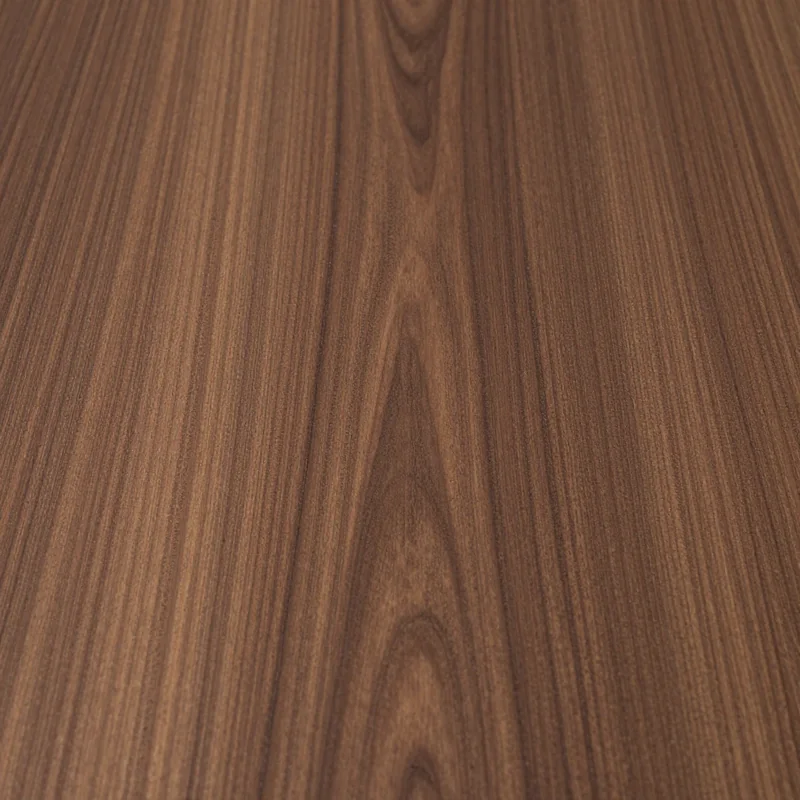
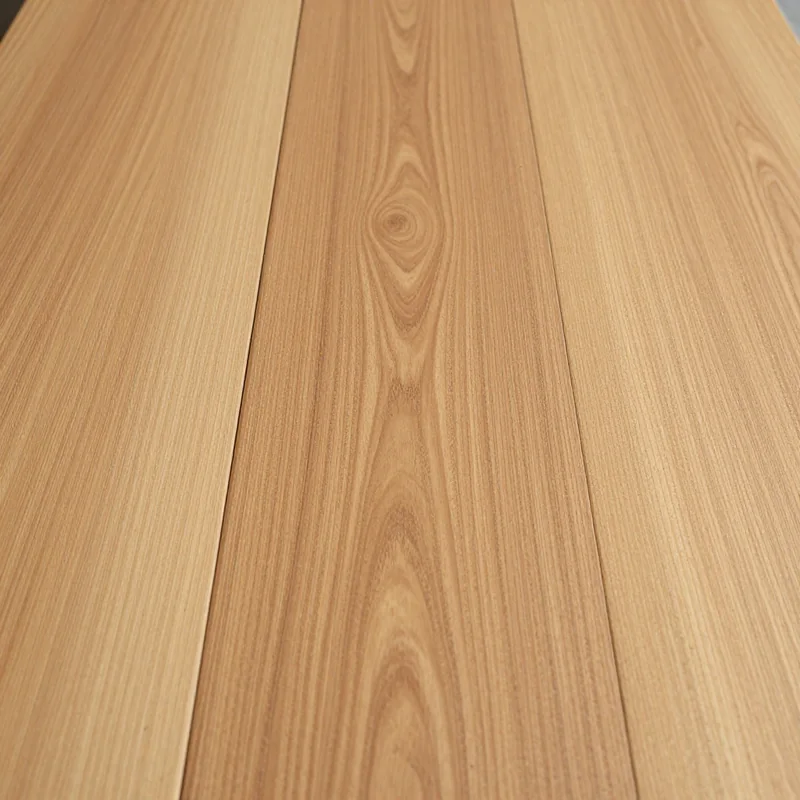
We build the body from Egger and Kronospan boards with a sealed PVC edge on every visible and hidden cut, so moisture from a glass or a wet cloth does not reach the raw core. The laminated face of both brands resists daily wiping, while the exposed chipboard core at a cut is the weak point that swells first. That is why we seal the back panel, the shelf fronts and the box cuts as carefully as the facade. Our own workshop handles cutting and banding under one roof, so a fresh cut never sits open for days. The seal, not the board alone, decides whether a table survives a spilled glass.
Why drawer bottoms sag and how we prevent it
- Thickness matched to size: wide boxes get thicker base panels, so books and laptops do not bow them.
- Support on all four sides: the base sits in a groove on every edge, not hanging free.
- Runners under load: full-extension slides carry a filled box without tilting, keeping the base flat.
- No oversized single box: deep storage splits into two shallower units, not one wide sagging one.
- Control assembly: we load each unit before delivery and check the base for flex.
Which fittings keep drawers and doors moving smoothly
Hardware types and where each one goes| Fitting | What it does | Where we use it |
|---|
| Blum runners | smooth full-extension glide | drawers |
|---|
| Blum hinges | soft-close door swing | hinged fronts |
|---|
| Soft-close dampers | silent closing | boxes and doors |
|---|
| Push-to-open | opens without a handle | handleless fronts |
|---|
| Hettich, Boyard | alternative hardware lines | on request |
|---|
A bedside table can be floor-standing, wall-hung or built into the headboard
There are three ways to place a bedside table, differing in mounting, open floor space and ease of cleaning, which affect daily use.
When a floor-standing table is the right choice
- No drilling: the cabinet stands on its own base, so no wall anchor carries the load.
- Full load capacity: a lamp, books and a loaded drawer rest on the body itself.
- Movable layout: when the bed moves to another side, the piece moves with it.
- Rented flats: the safer option where drilling is not allowed or the surface build is unknown.
- Made to measure: built to your bedroom's actual dimensions, so the top meets mattress height.
How a wall-hung table is fixed and why it saves floor space
A wall-hung table is fixed with a hidden bracket, leaves the floor clear for cleaning and makes a small bedroom feel larger. The bracket sits inside the cabinet body, so from the side you see only the panel and the shadow gap beneath it. The fixing has to reach a solid substrate, which we check first. On the free measure visit our fitter tests the build — concrete, block or plasterboard on battens — and only then confirms a floating design. On a hollow partition we either anchor into the studs or recommend a floor-standing version. That check takes minutes and prevents a table that sags at one corner a season later.
Building tables into the headboard and matching the set
Comparison of the three mounting options| Option | Fixing | Best for |
|---|
| Floor-standing | stands on its own base | rented flats, movable layout |
|---|
| Wall-hung | hidden bracket in the body | small bedrooms, easy cleaning |
|---|
| Built into headboard | integrated with the bed frame | one-piece bedroom design |
|---|
A bedside table made by the workshop, not resold from a warehouse
A bedside table can pass through many hands or through none at all. Here is what changes when the same workshop measures, builds and assembles the piece.
What changes when the workshop makes your table
We are a direct manufacturer, so the measure, the 3D project, the cutting, the edging and the assembly all happen in our own 600 m² workshop in Almaty, with no middle party between you and the bench. Each board comes off the saw, gets its edge glued and trimmed, then moves to the paint booth and the control bench without leaving the building. A seller who only forwards your drawing to an outside factory cannot see or correct any of that. When one team owns every step, a change agreed at the project stage reaches the saw the same week instead of being lost between a seller and a factory.
Why we assemble the table in the workshop first
- Full trial build: carcass, top and drawers go together on the bench as they will stand in your room.
- Drawer travel: each runner is opened and closed under load to confirm the front clears the body.
- Gap check: doors and drawer fronts set to even gaps, hinges adjusted before packing.
- Strip and label: the proven unit is taken apart and every part marked to its position.
How our experience in the city shows in the result
We have worked here for 13 years and completed more than 3 500 projects, including 900+ kitchens and 800+ wardrobes, so the typical plaster, floor and pipe layout of local flats is familiar to us. Walls that bow by a few centimetres, skirting boards that stop a carcass from sitting flush, heating pipes rising where a table is meant to stand — we plan for these at the drawing stage. That experience shows in small decisions, such as leaving room for a skirting board or routing a cable around a pipe, that a first-time maker discovers on site. It is why the finished piece meets the plaster without a filler strip.
Installation, handover and warranty
From paperwork to handover, each step keeps the final check in your hands, and a defined guarantee stays with the table after the crew leaves.
How the order and payment are structured
We work by contract with a 50 % prepayment and the remaining 50 % paid once you sign the acceptance act, and we accept bank transfer. The paperwork fixes the drawing, the board and edge colours, the Blum, Hettich or Boyard fittings and the delivery terms, so the piece you receive matches the 3D project you approved. The first half covers the boards and the cutting schedule in our 600 m² workshop; the balance is settled when the installed unit has passed your inspection. Holding the second half until that point keeps the final check in your hands, because the money moves only when you have seen the finished product in place.
What the installation crew does on site
- Delivery: our transport brings the packed table across the city and up to 30 km out, threshold confirmed on the delivery page.
- Placement: the crew sets the piece beside the bed and checks height against the mattress.
- Levelling: adjustable feet or wall brackets level the body, so drawers run true on sloping floors.
- Fixing: wall-hung and headboard-built versions are anchored with fasteners matched to the substrate.
- Final check: every drawer pulled out, every door tested, gaps inspected before the crew leaves.
What the acceptance act and warranty cover
- Handover document: sign only after installation, having opened each drawer and checked gaps against the plaster.
- Product term: 24 months under the agreement, covering body, edges and assembly.
- Blum fittings: hinges, lift mechanisms and drawer runners carry a 25-year manufacturer term from Blum.
- Notes on the document: anything recorded there is corrected under the same terms, so fixes are scheduled.
- Later requests: the signed copy and terms stay with you as reference.
The bottom line on bedside tables
A bedside table works for years when size, wall line and hardware are settled before cutting. Below are the points that decide daily performance.
- Height: measure against the mattress in place, not a catalogue, before choosing a table.
- Wall line: an out-of-plumb surface needs a scribed back panel, not a straight unit leaving a skirting gap.
- Board and edge: thickness plus a sealed edge decide whether the body survives spills and stays free of swelling.
- Drawers: bottoms and runners carry daily load, so match both to drawer size, not cheapest fitting.
- One pair of hands: a direct workshop keeps measure, project, cutting and installation together, so the piece matches the drawing.