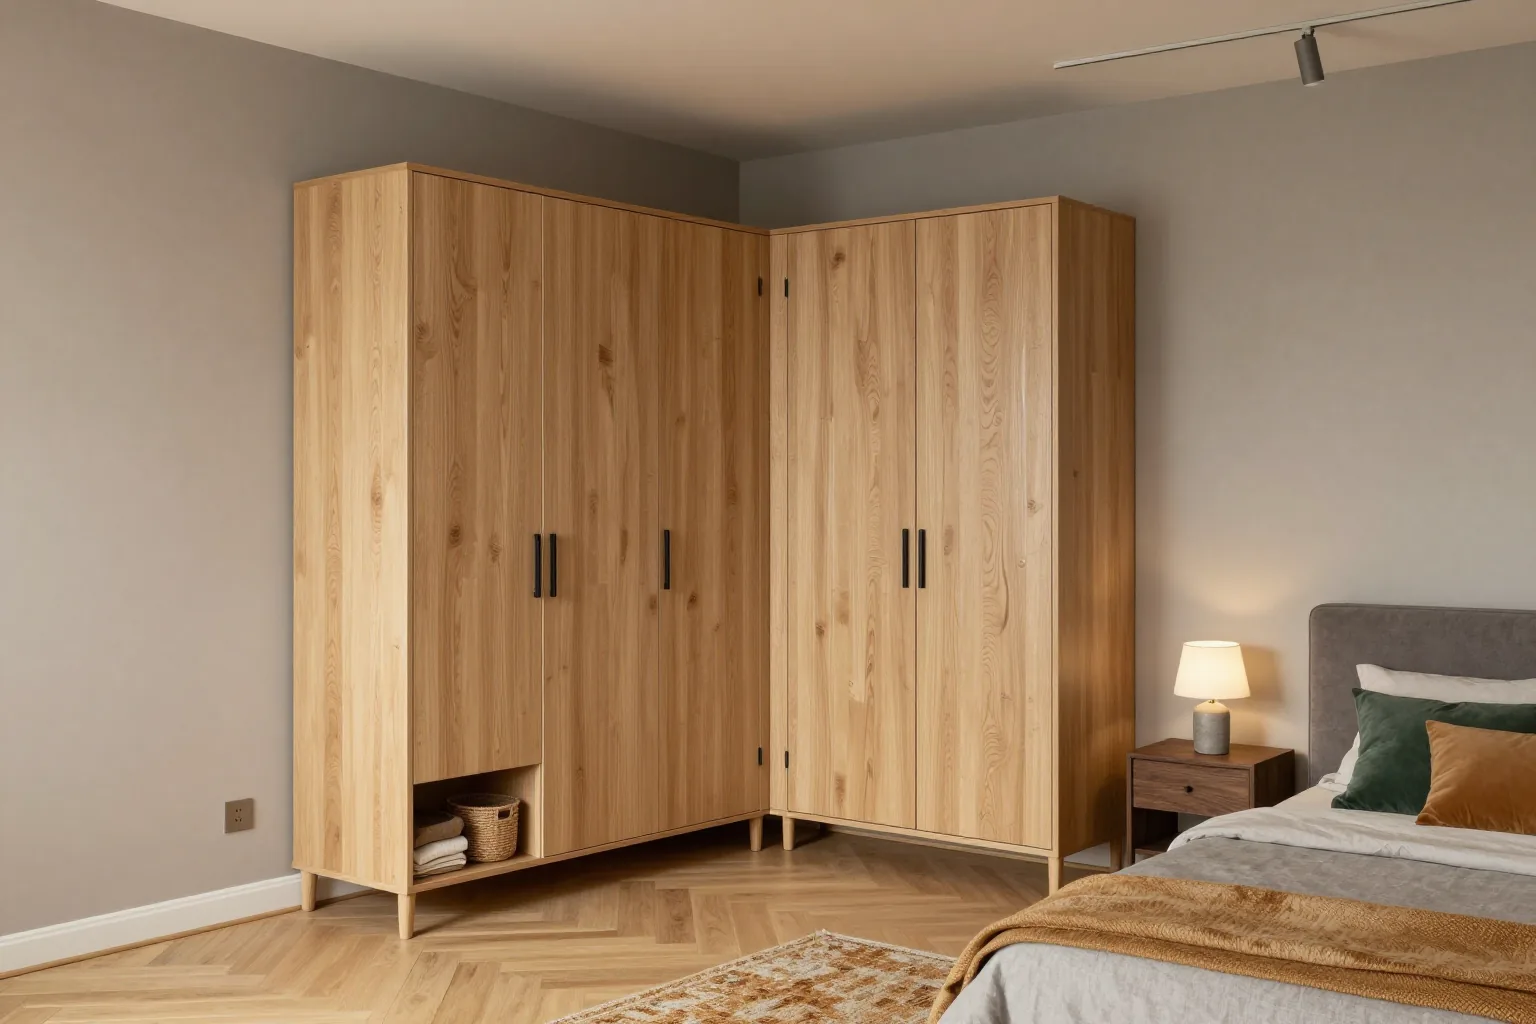
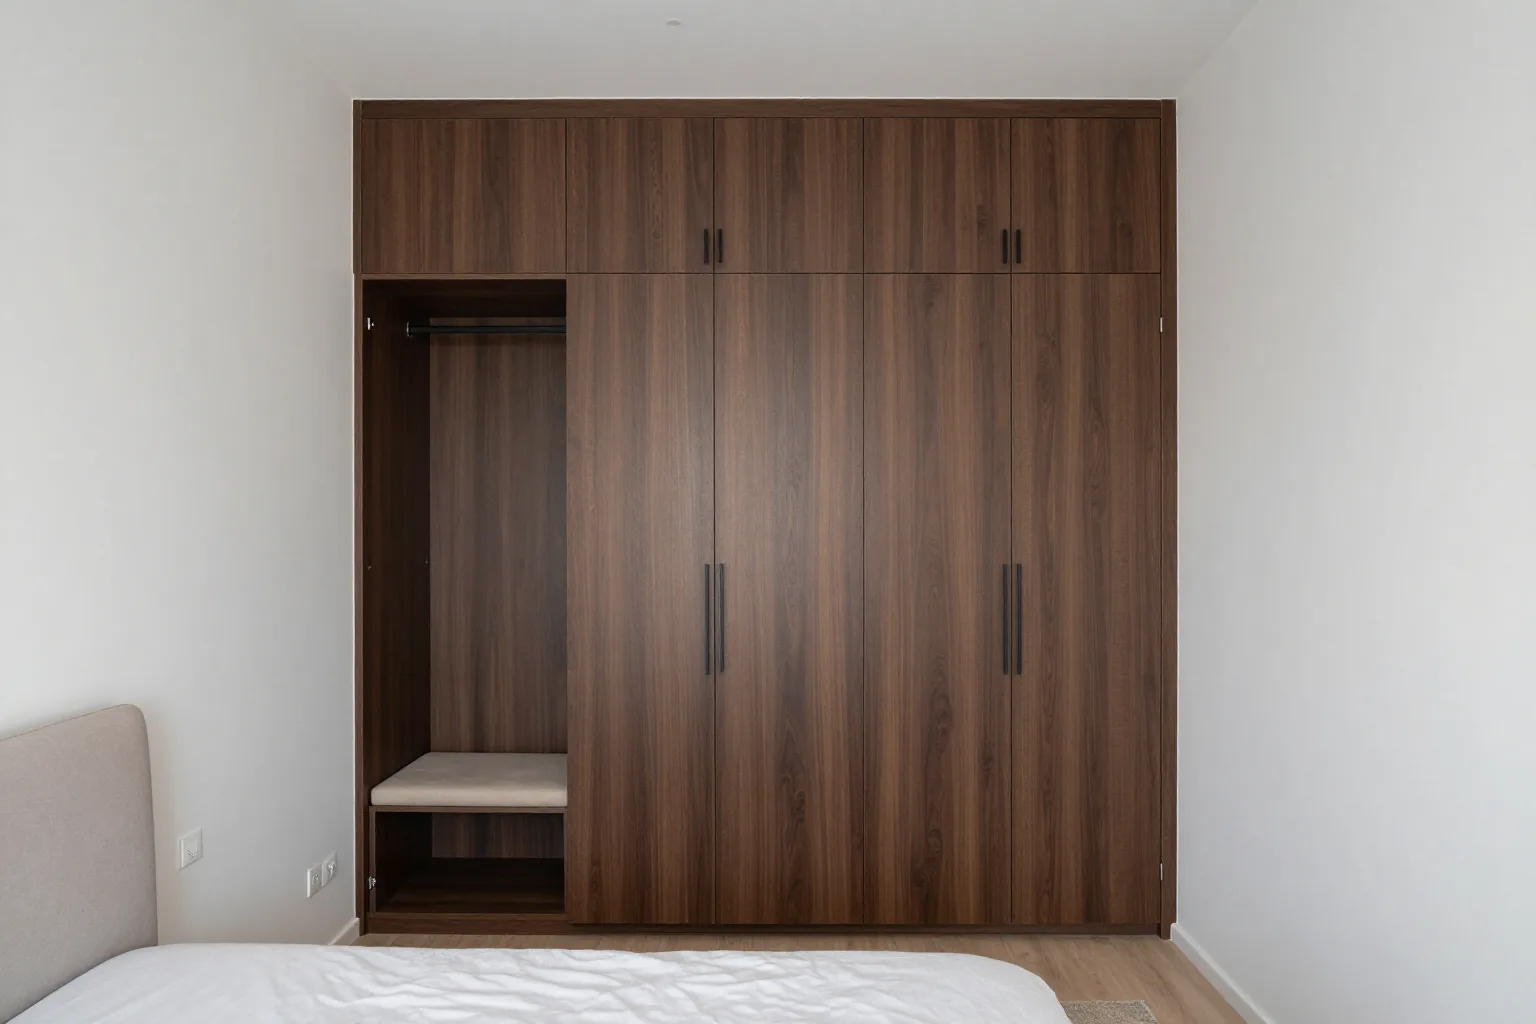
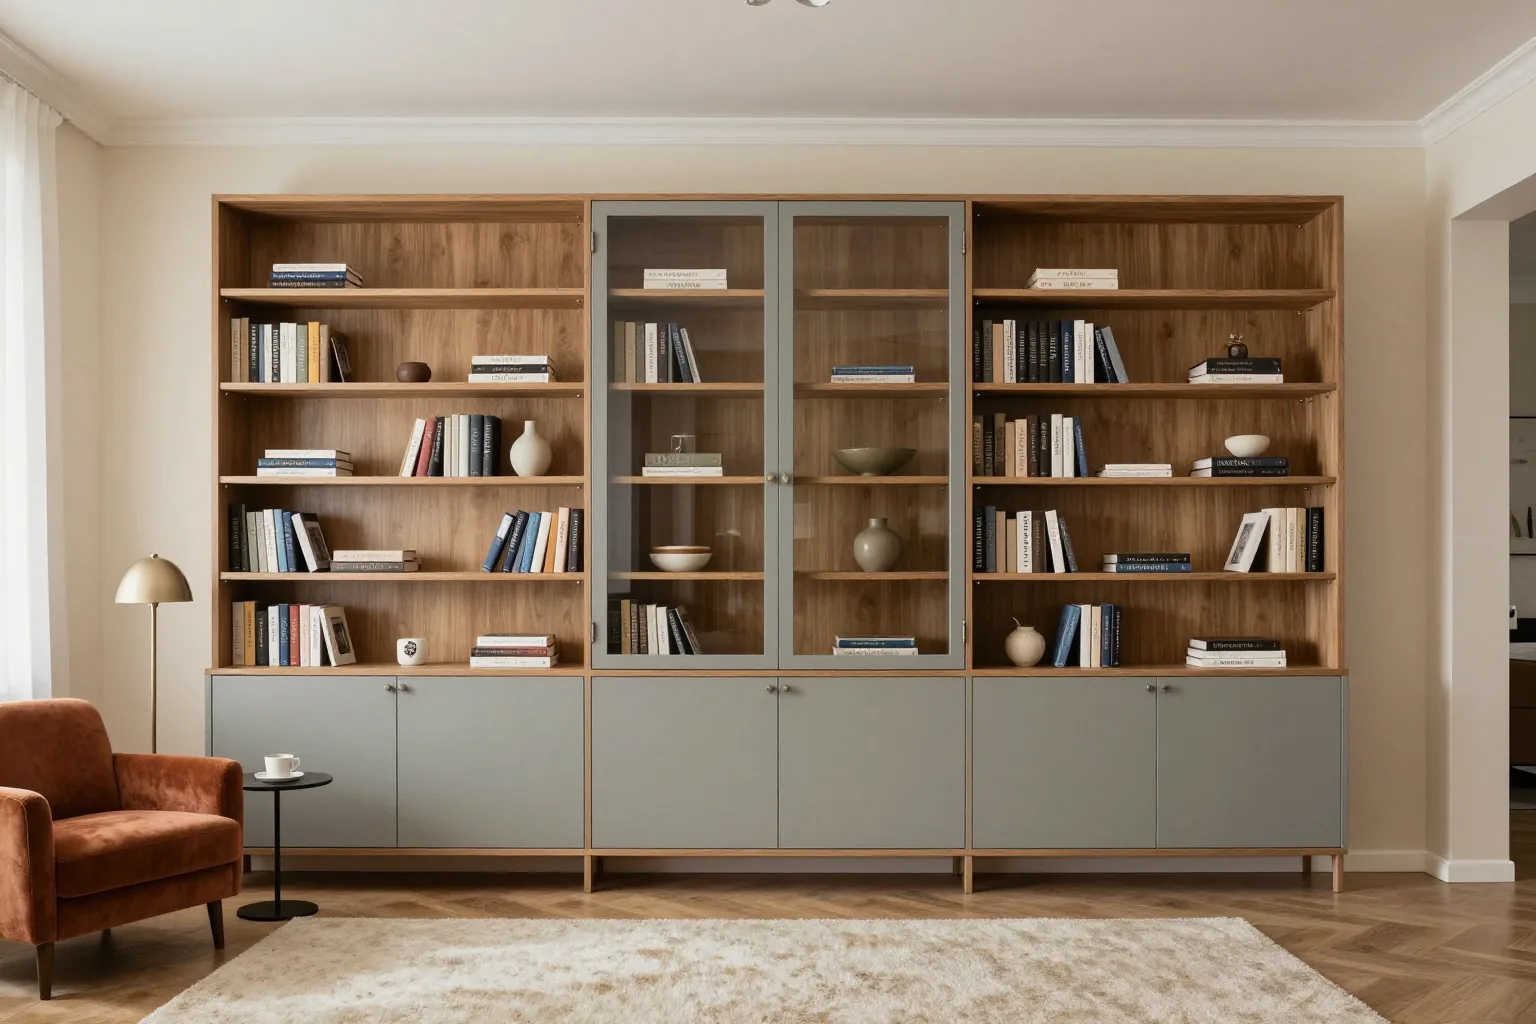
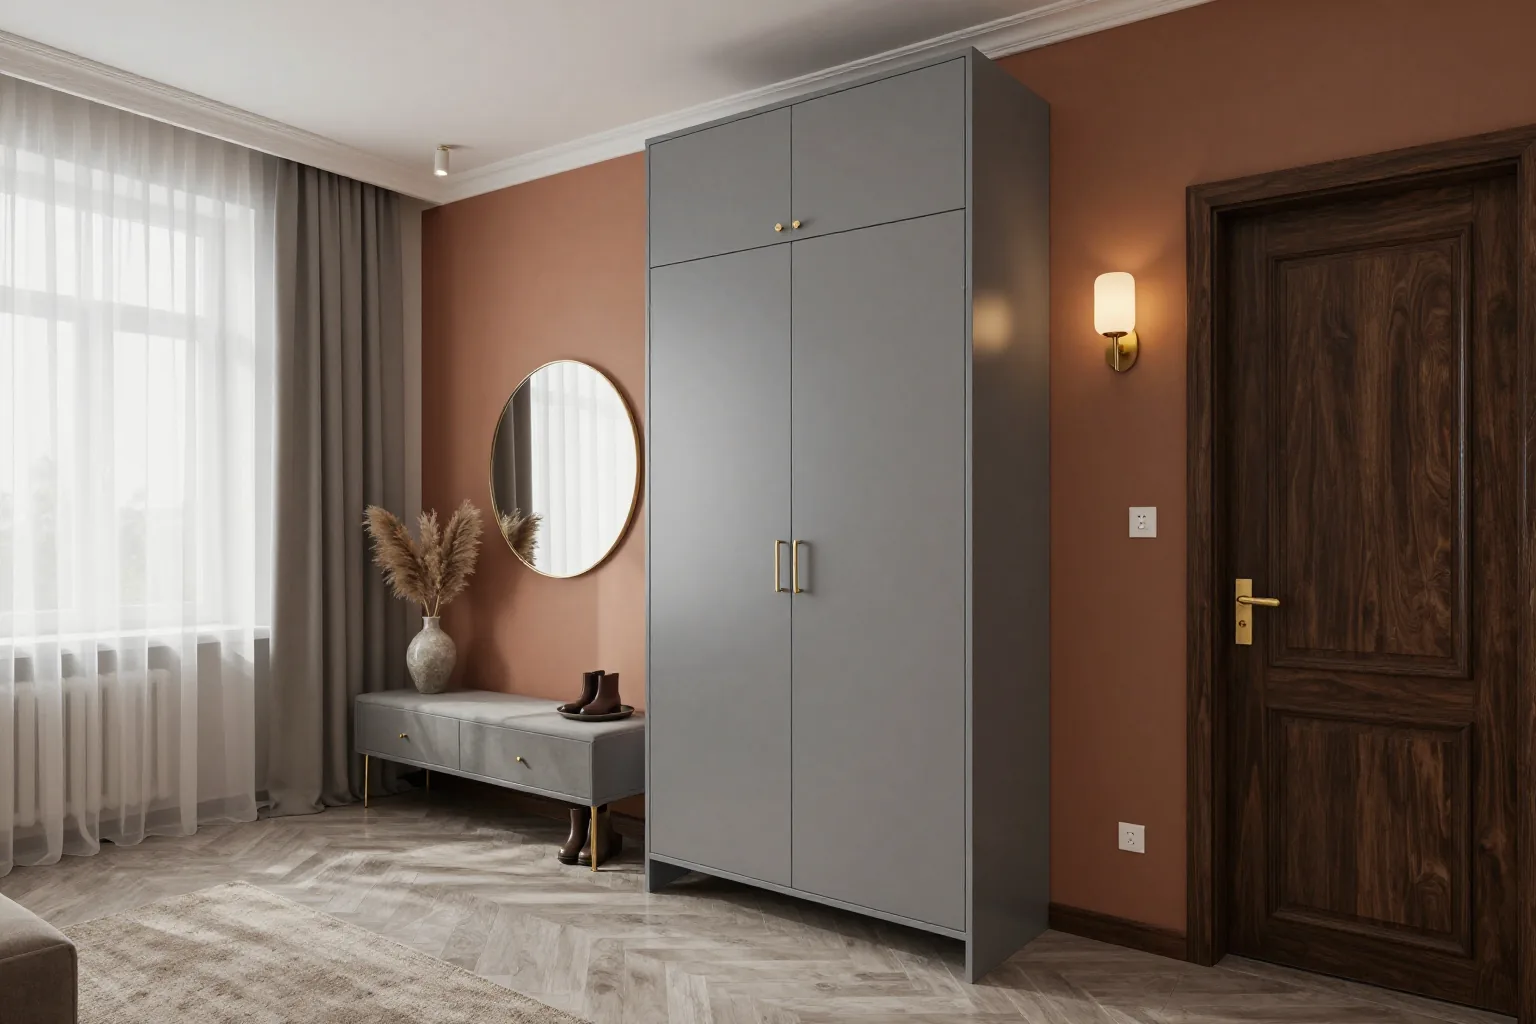
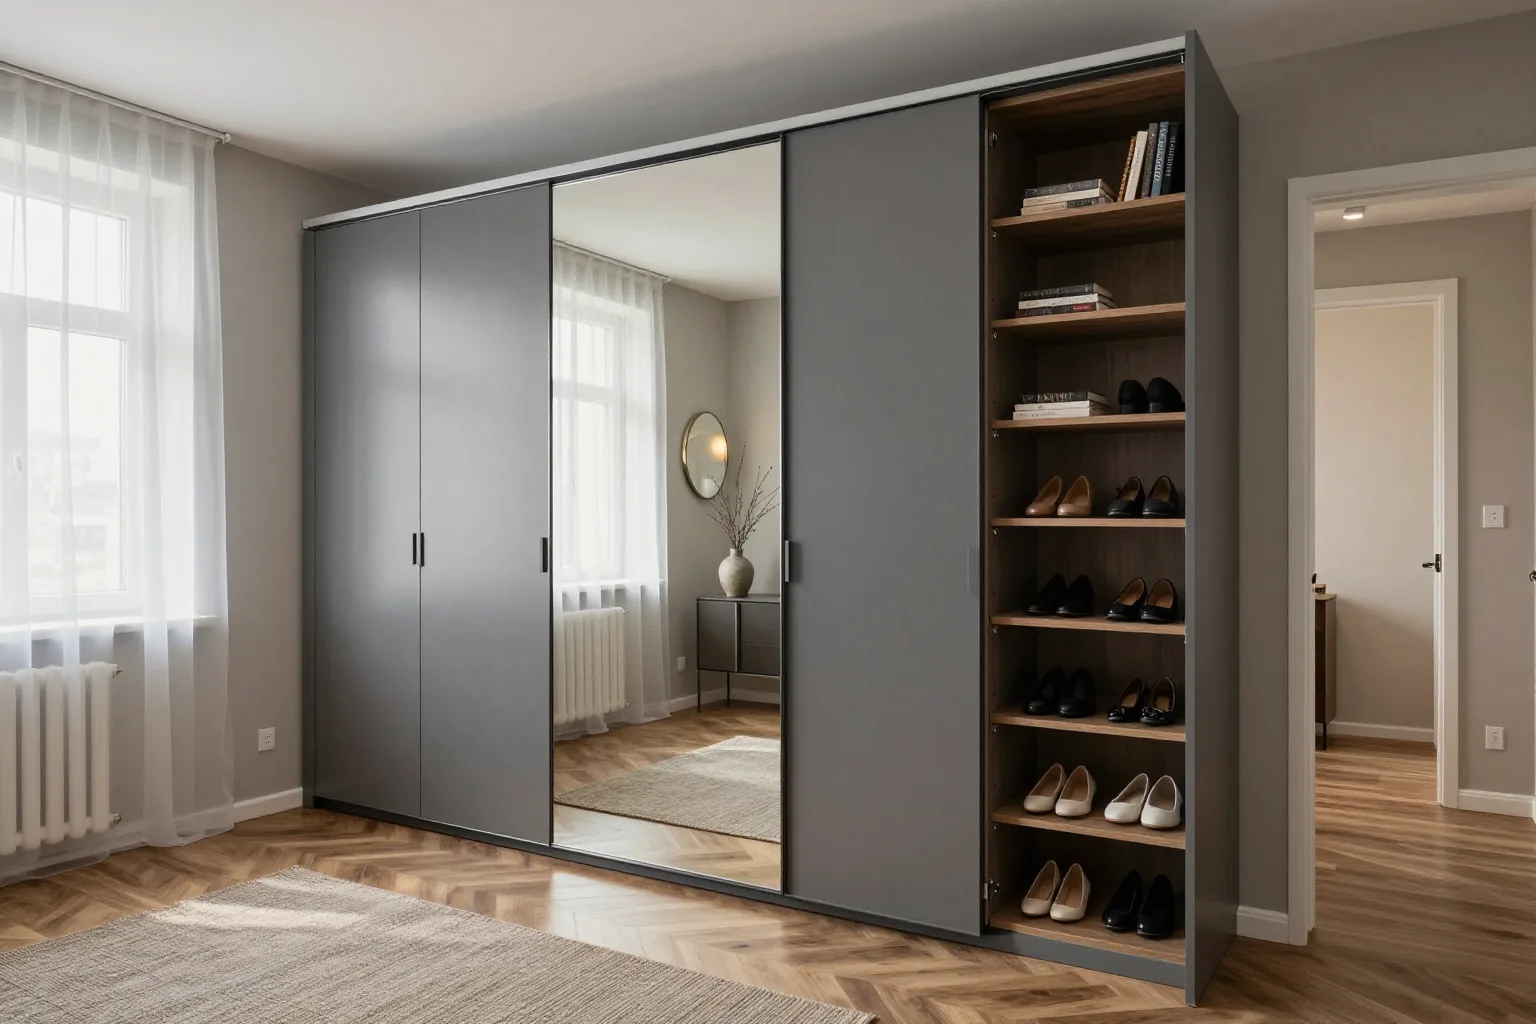
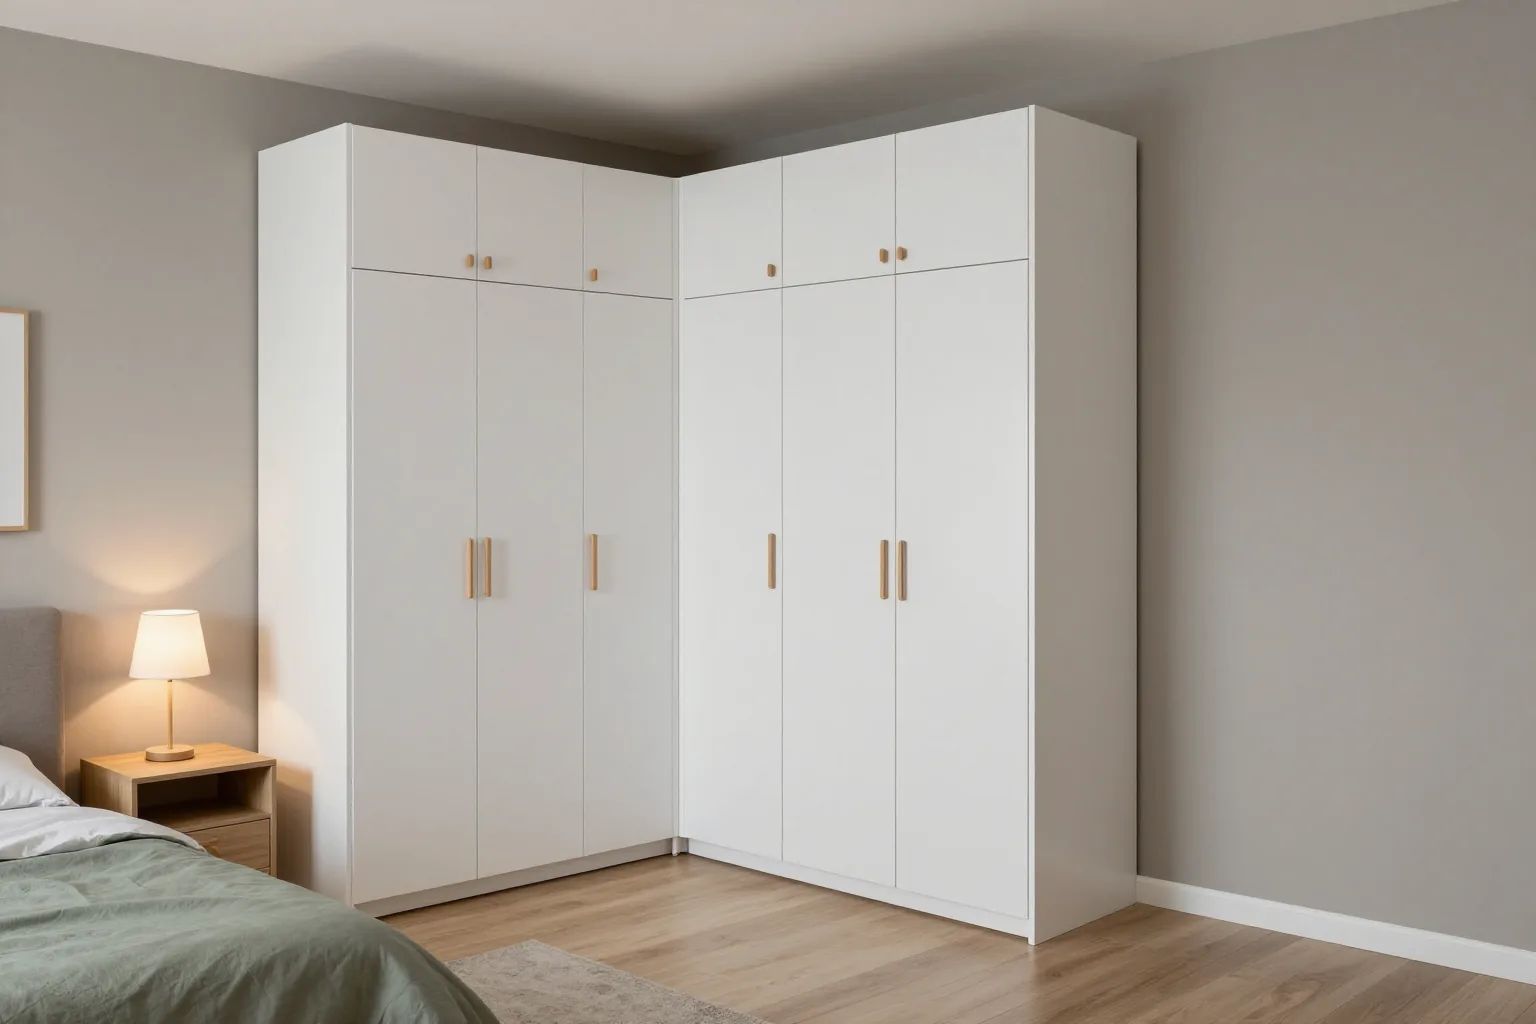
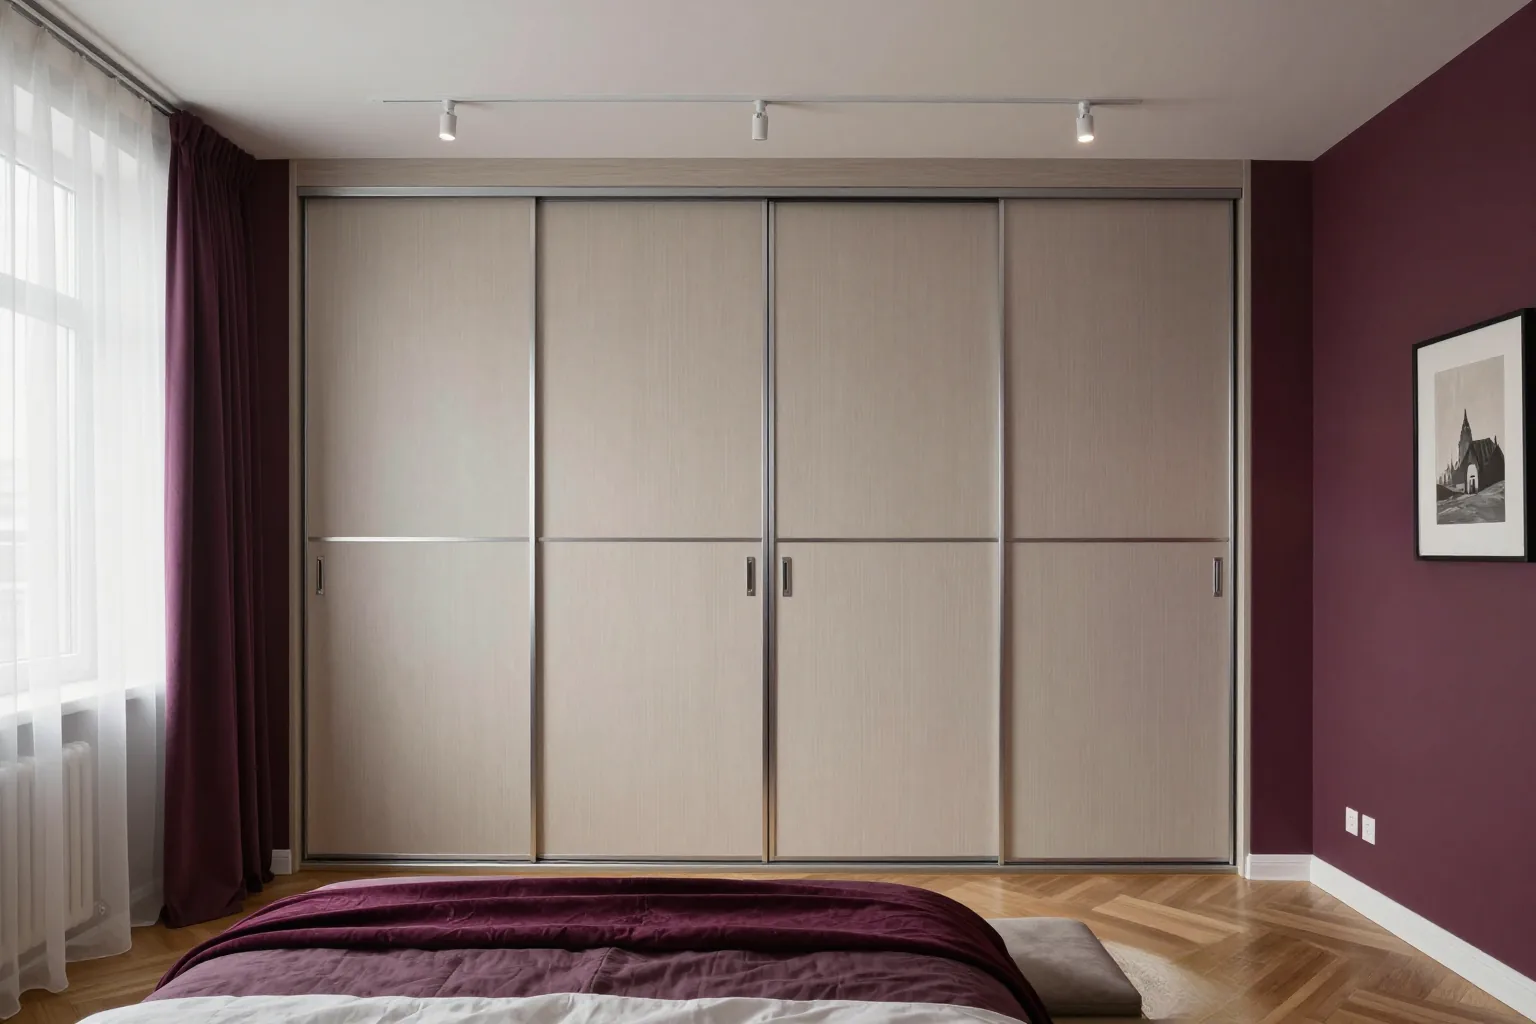
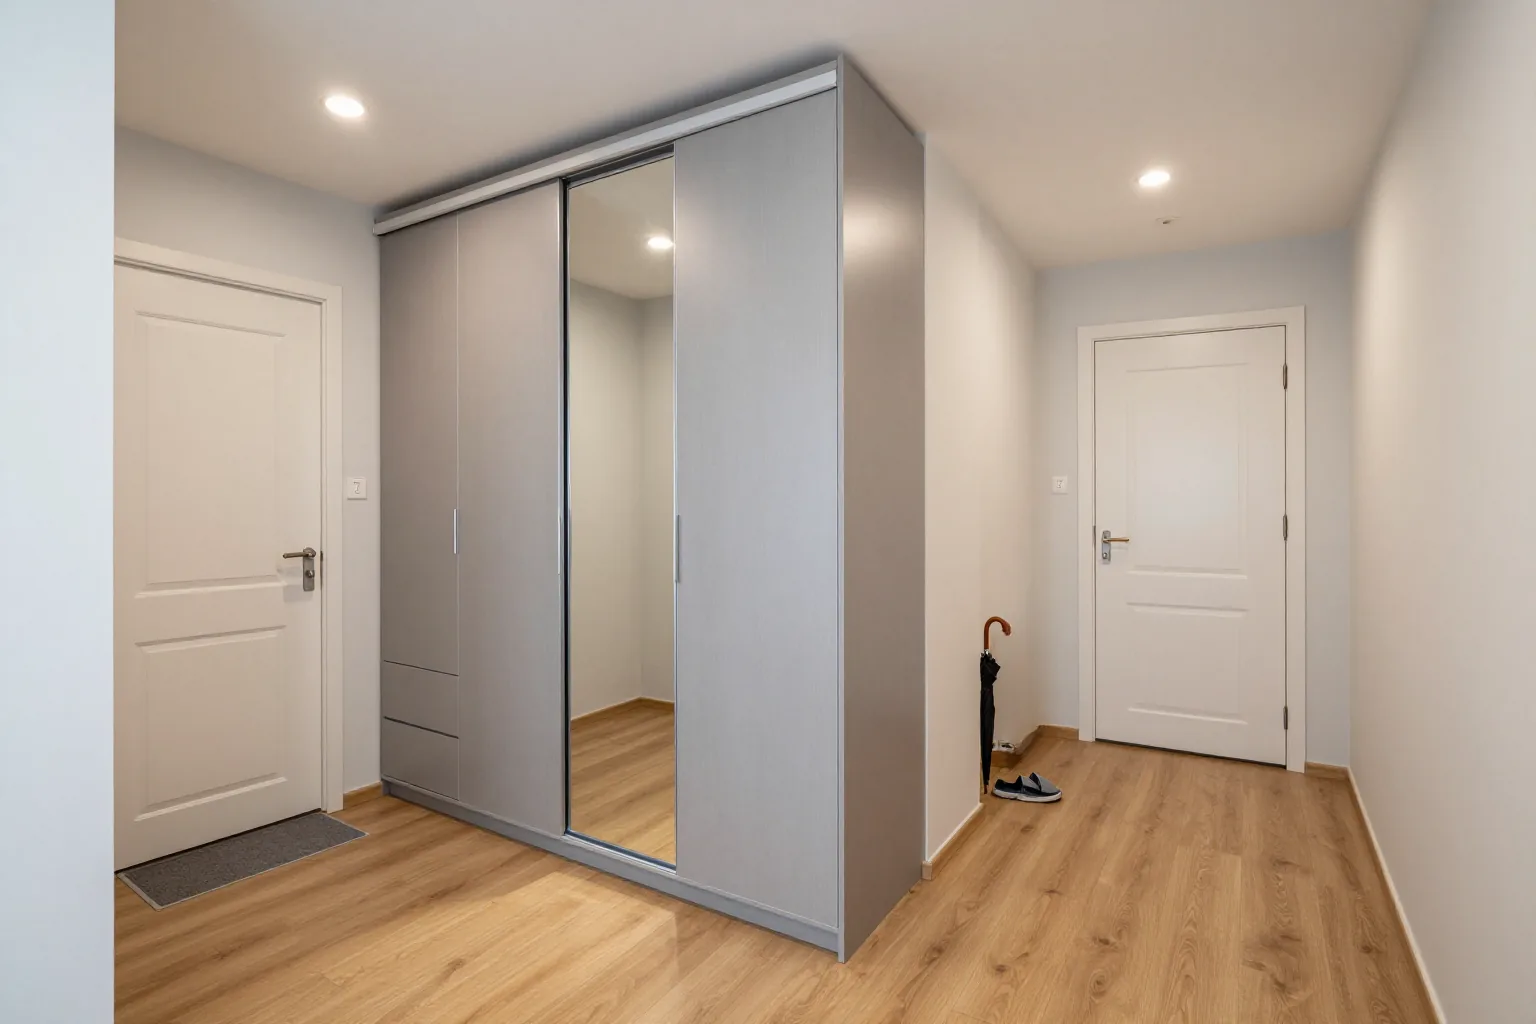
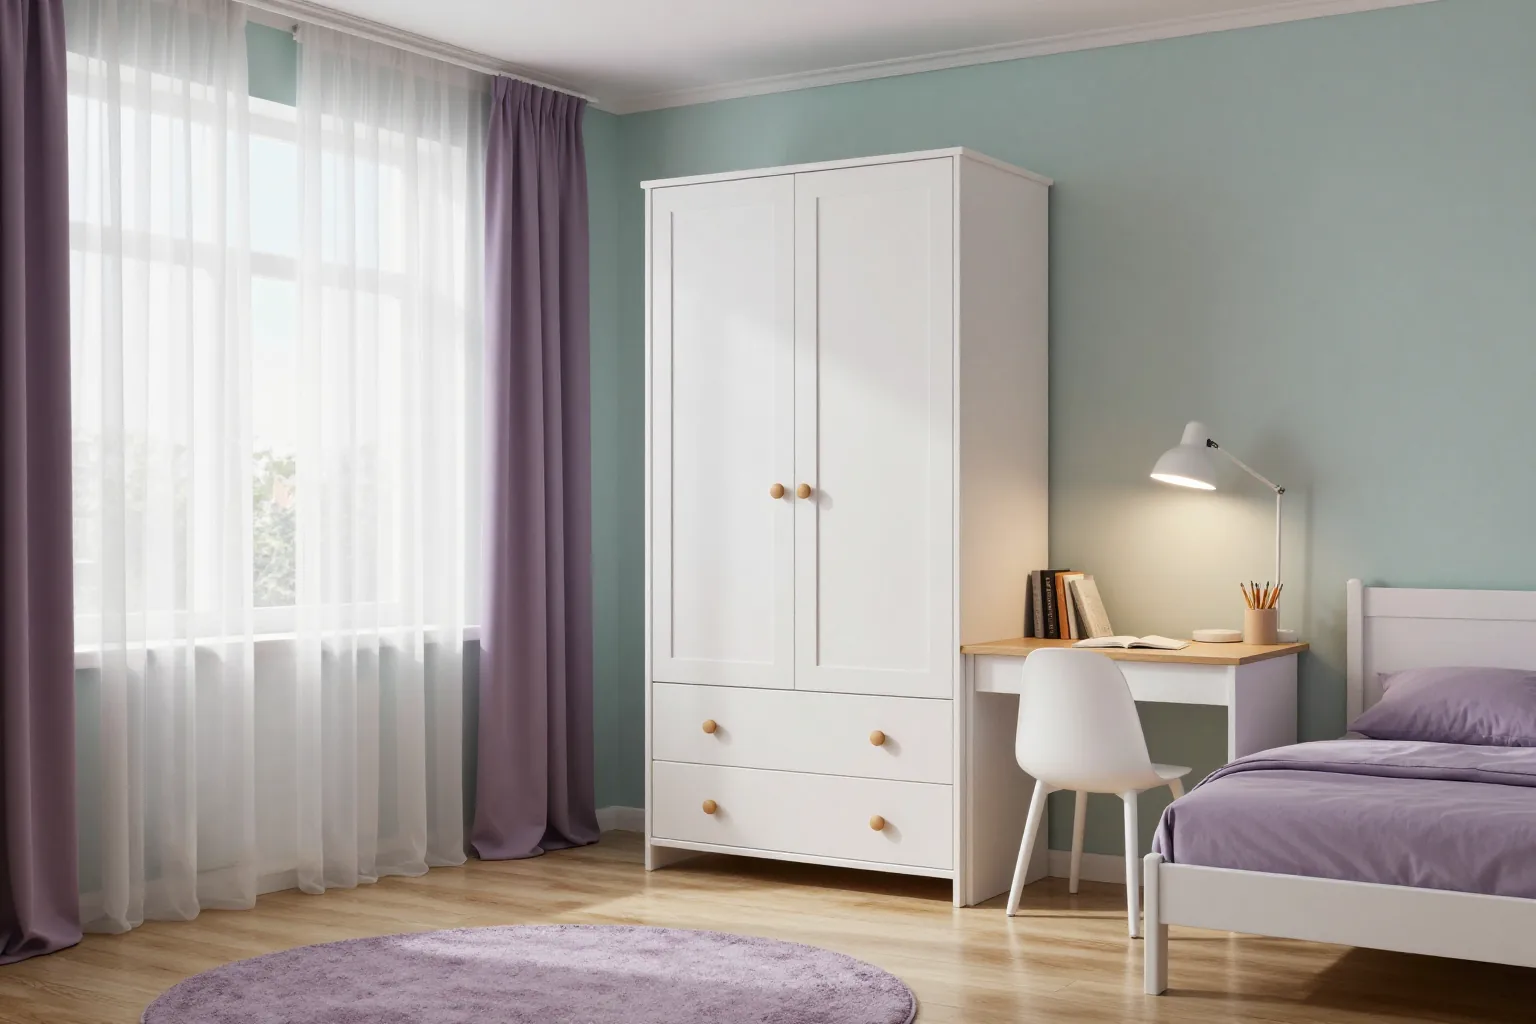
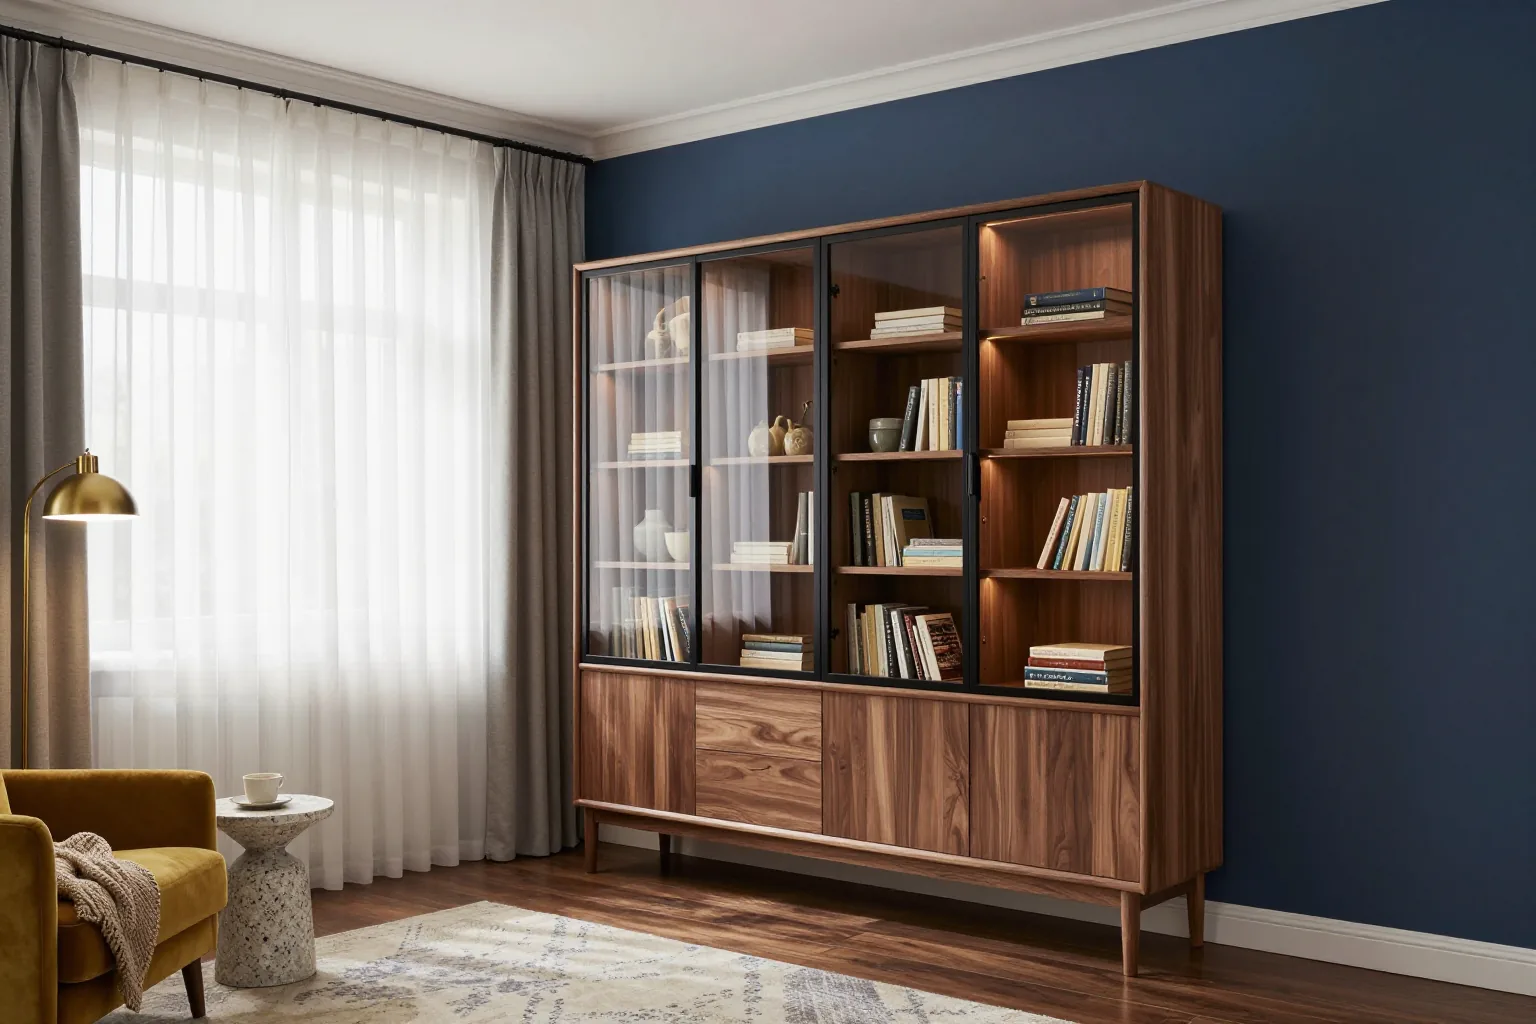
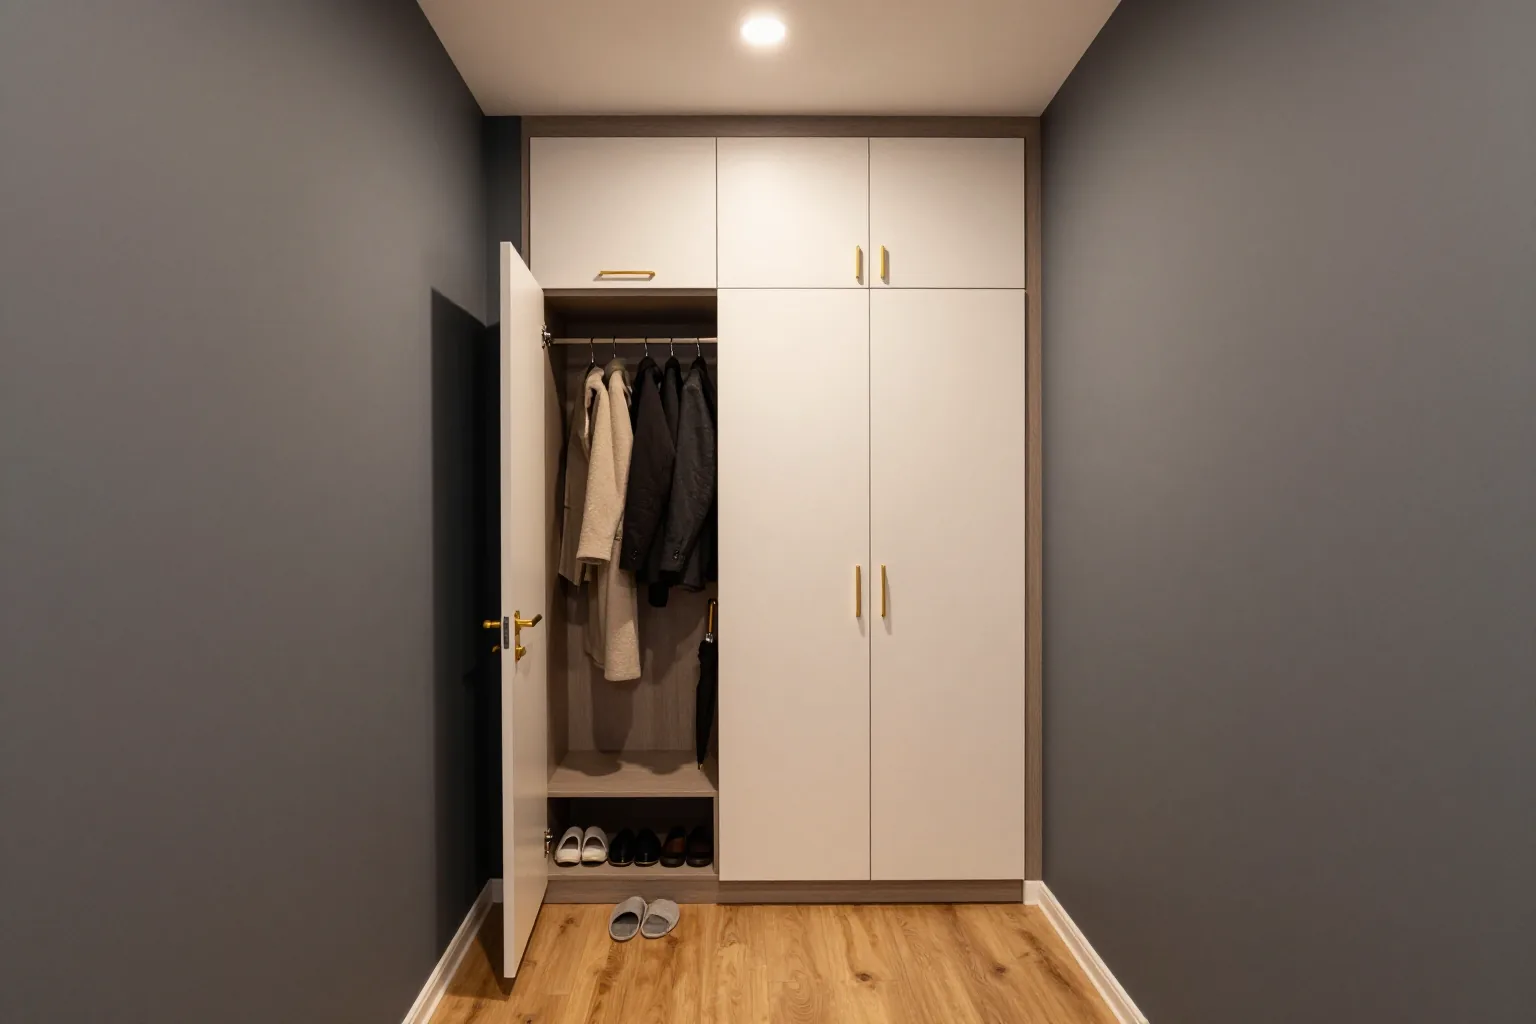
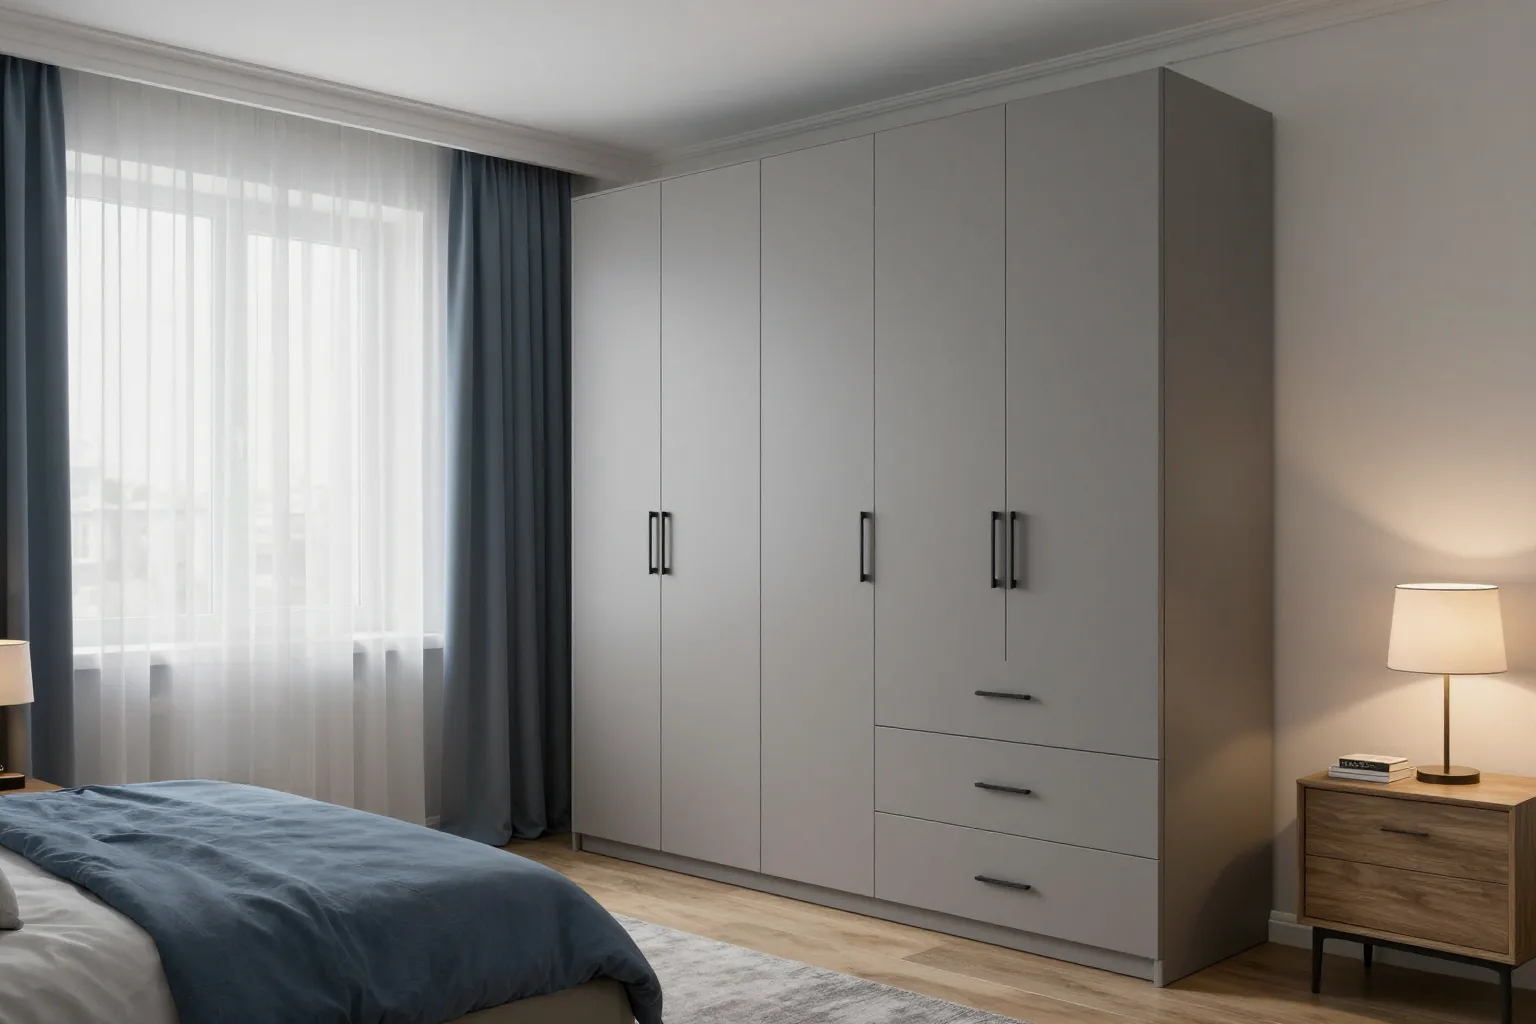
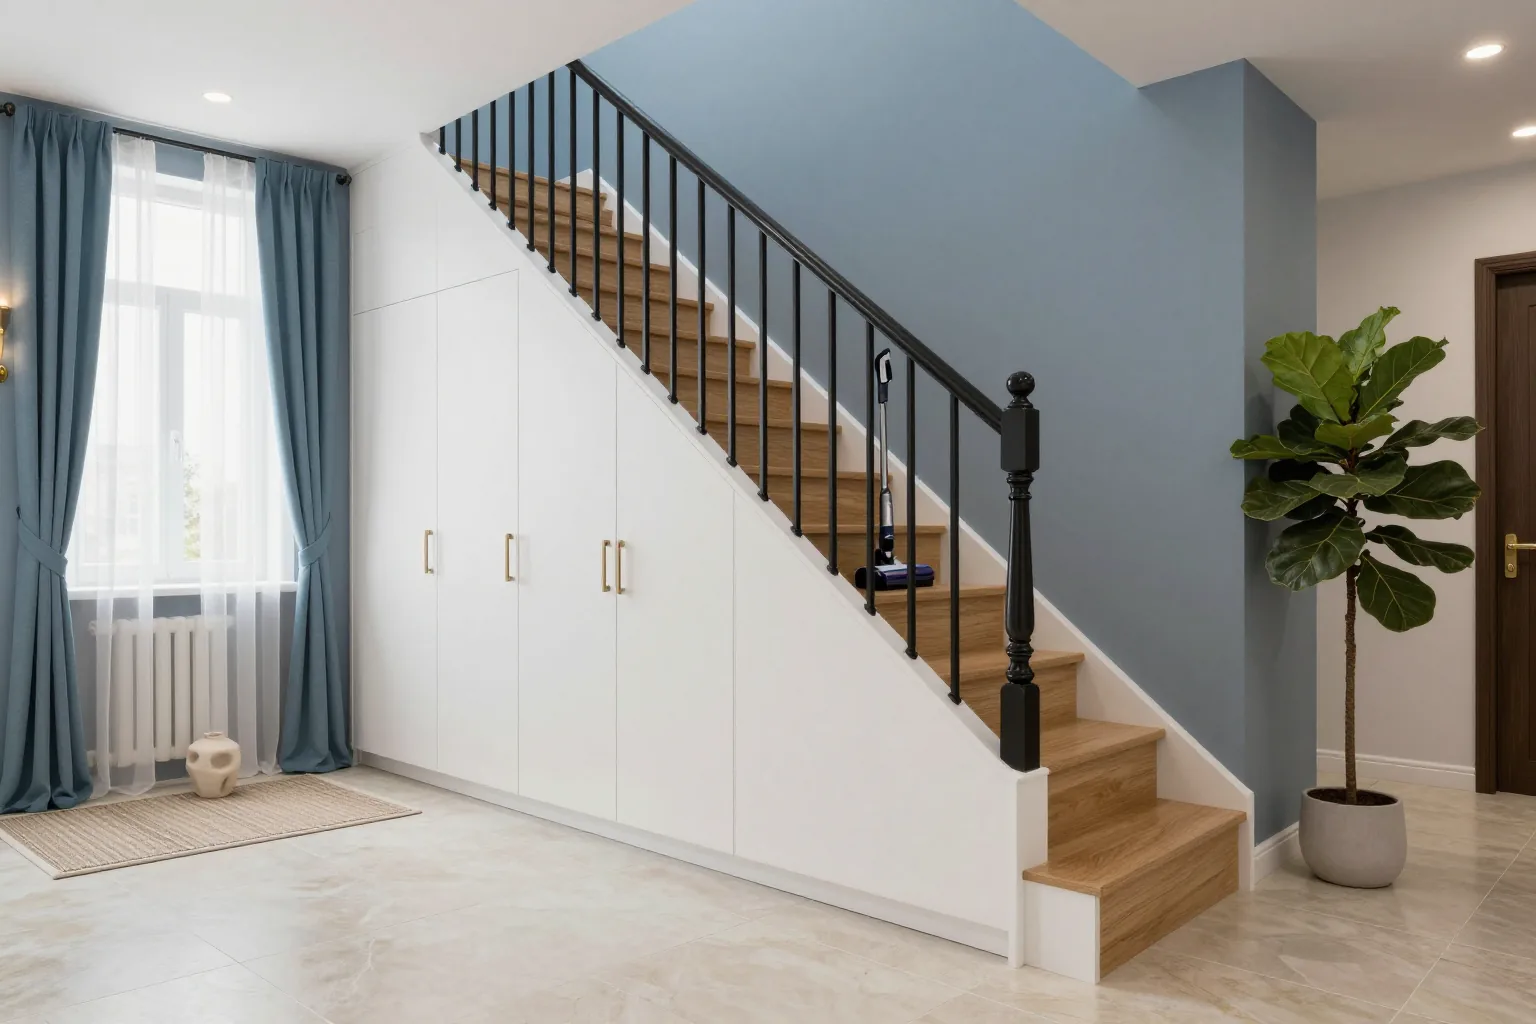
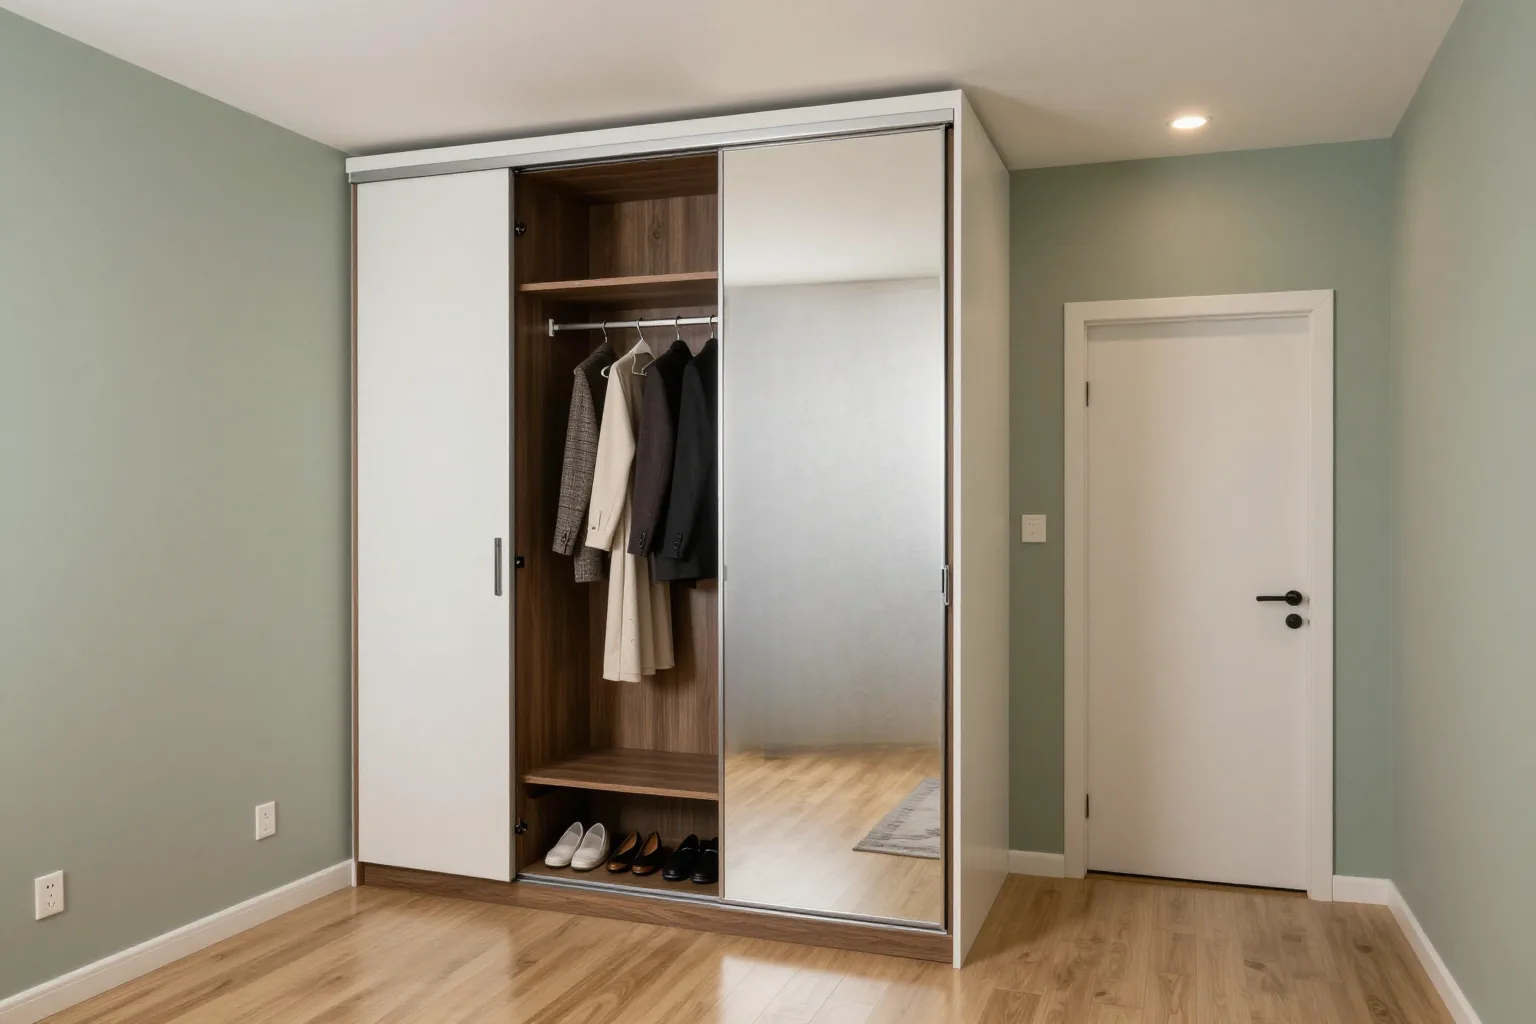
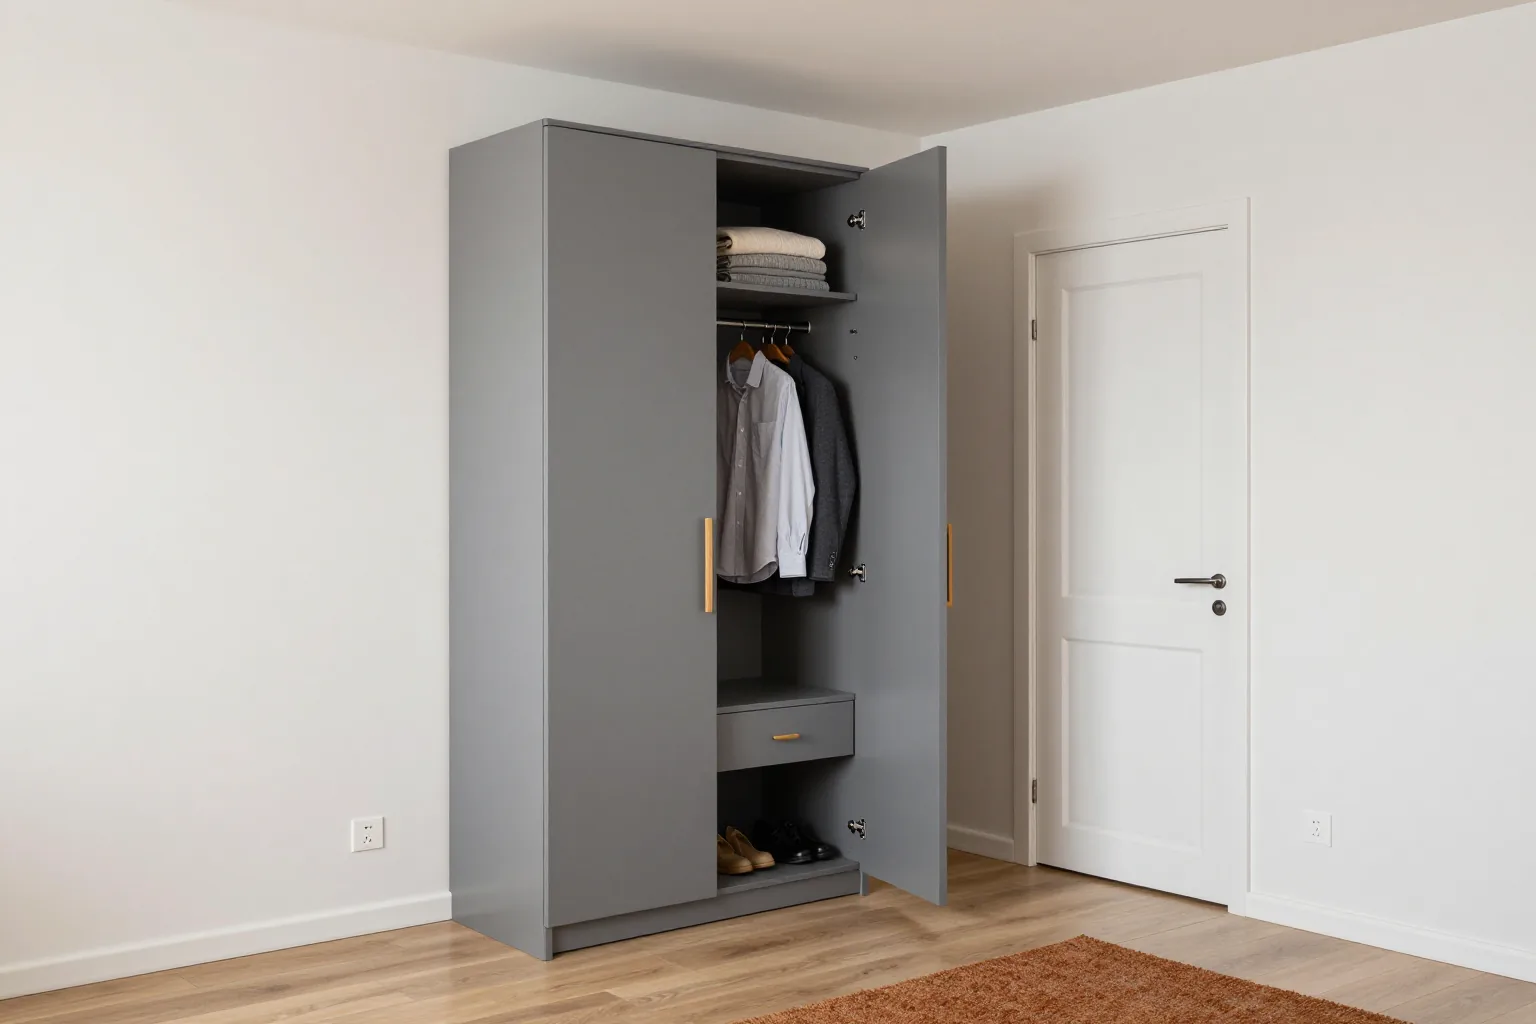
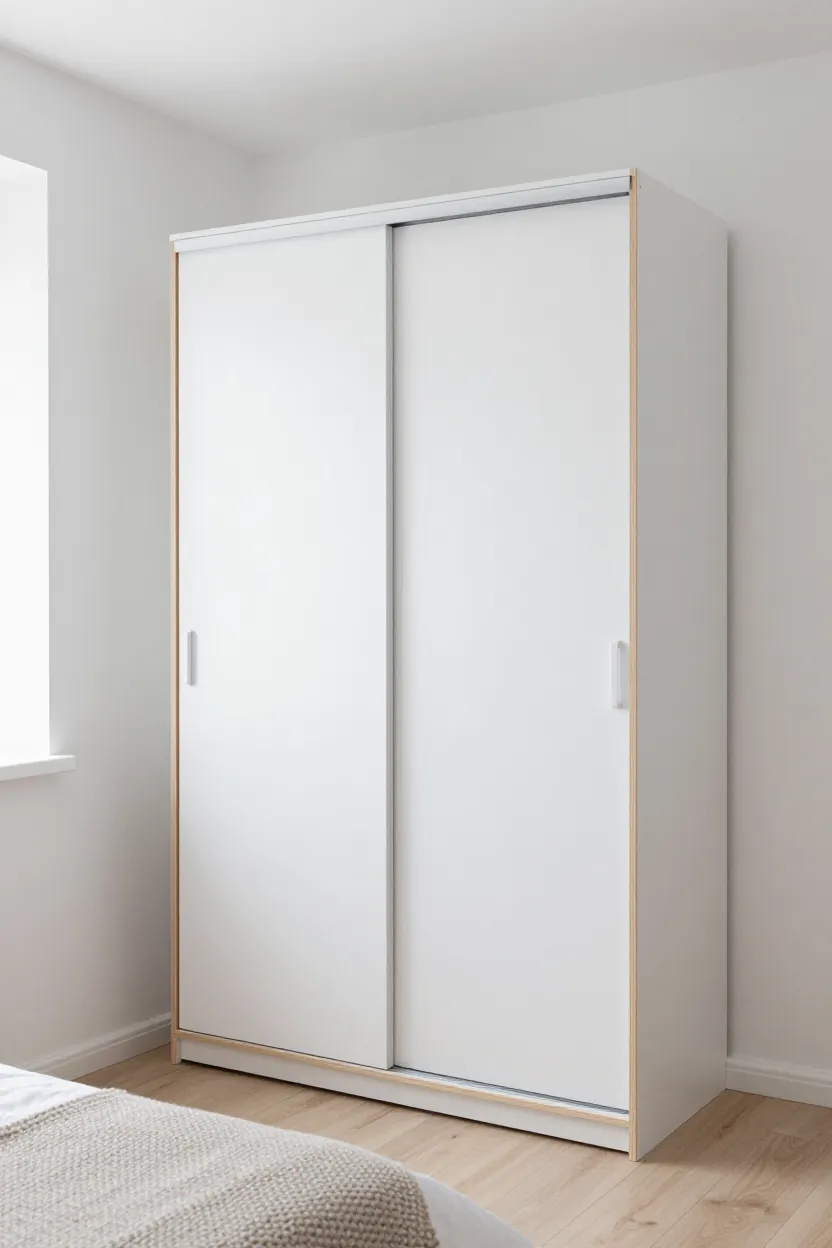
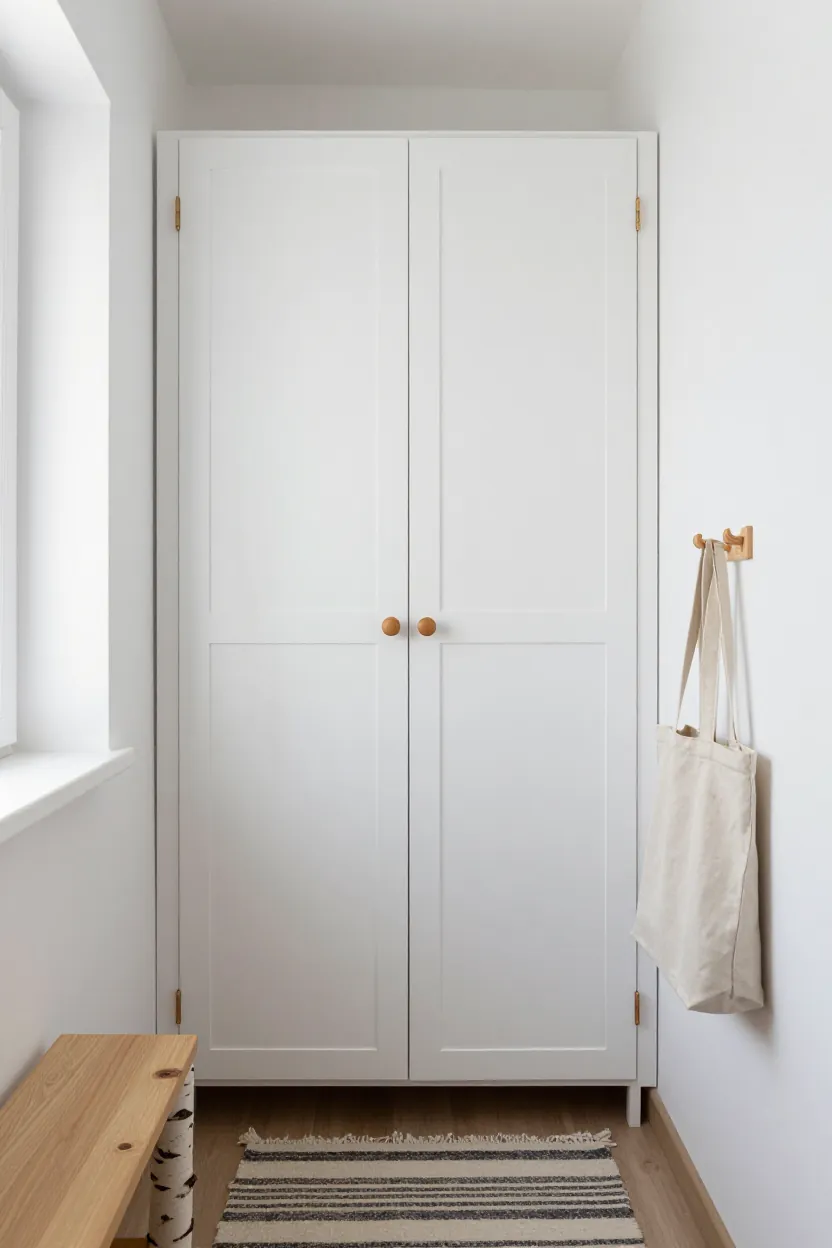
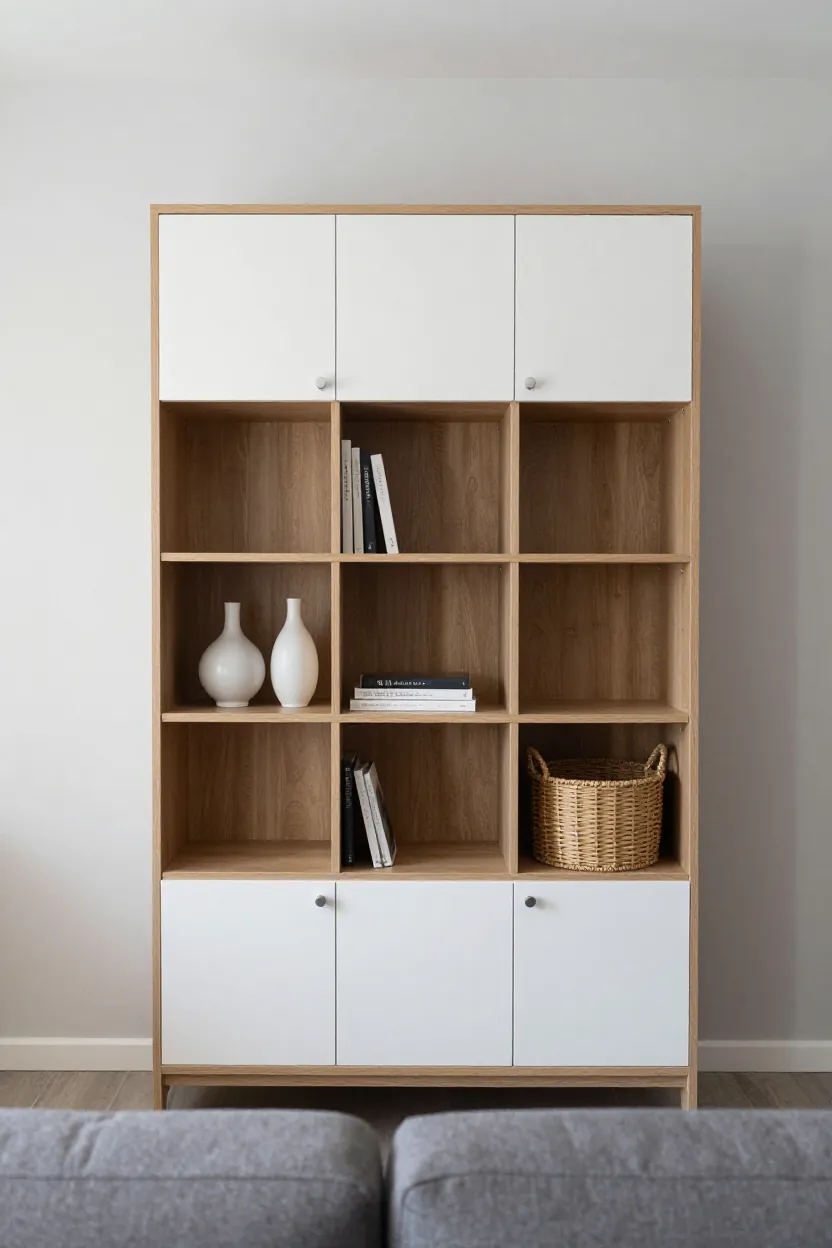
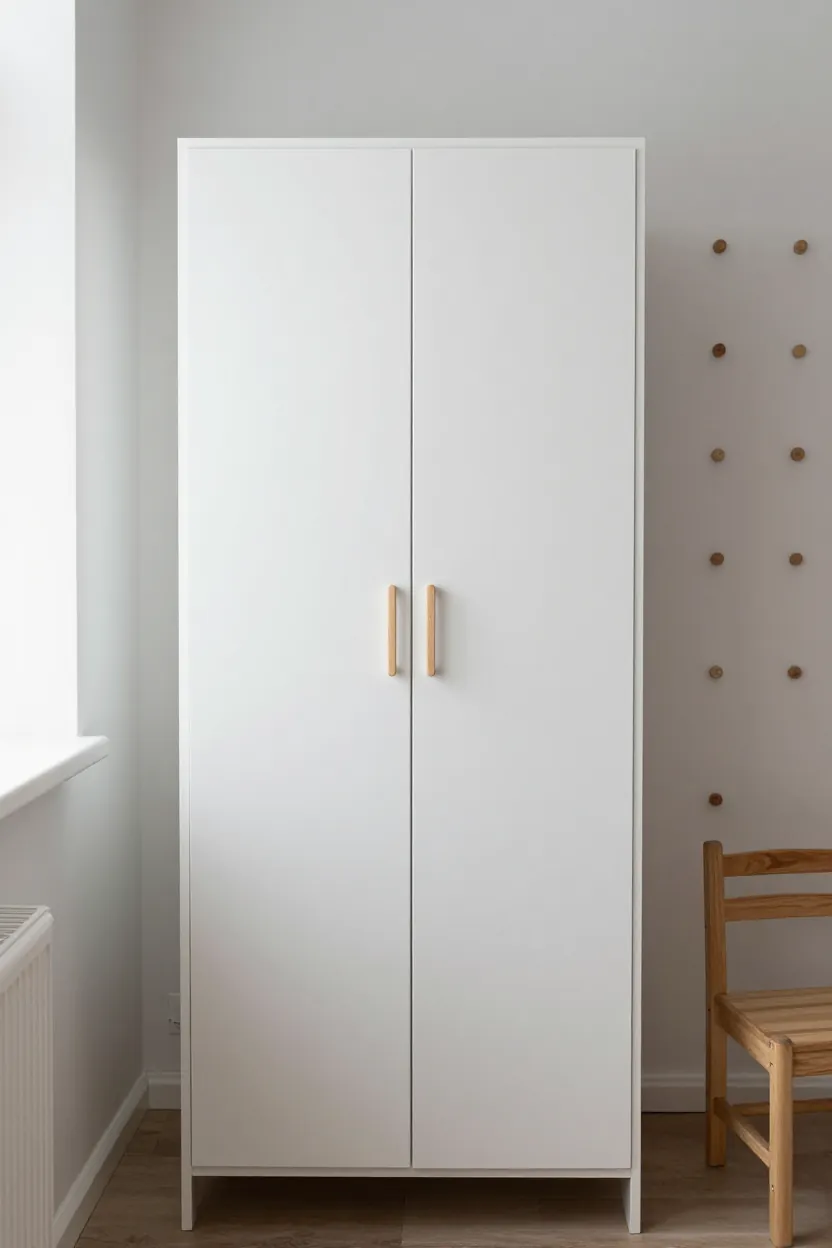
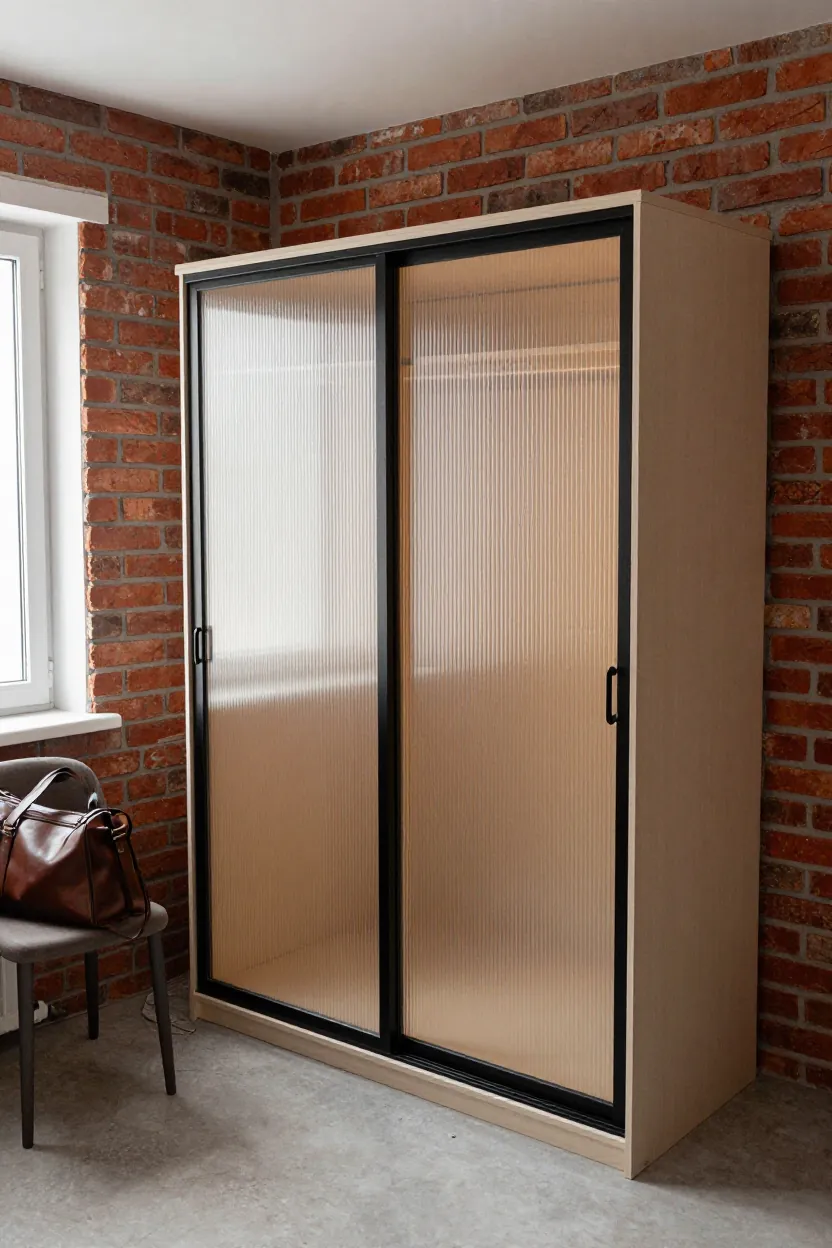
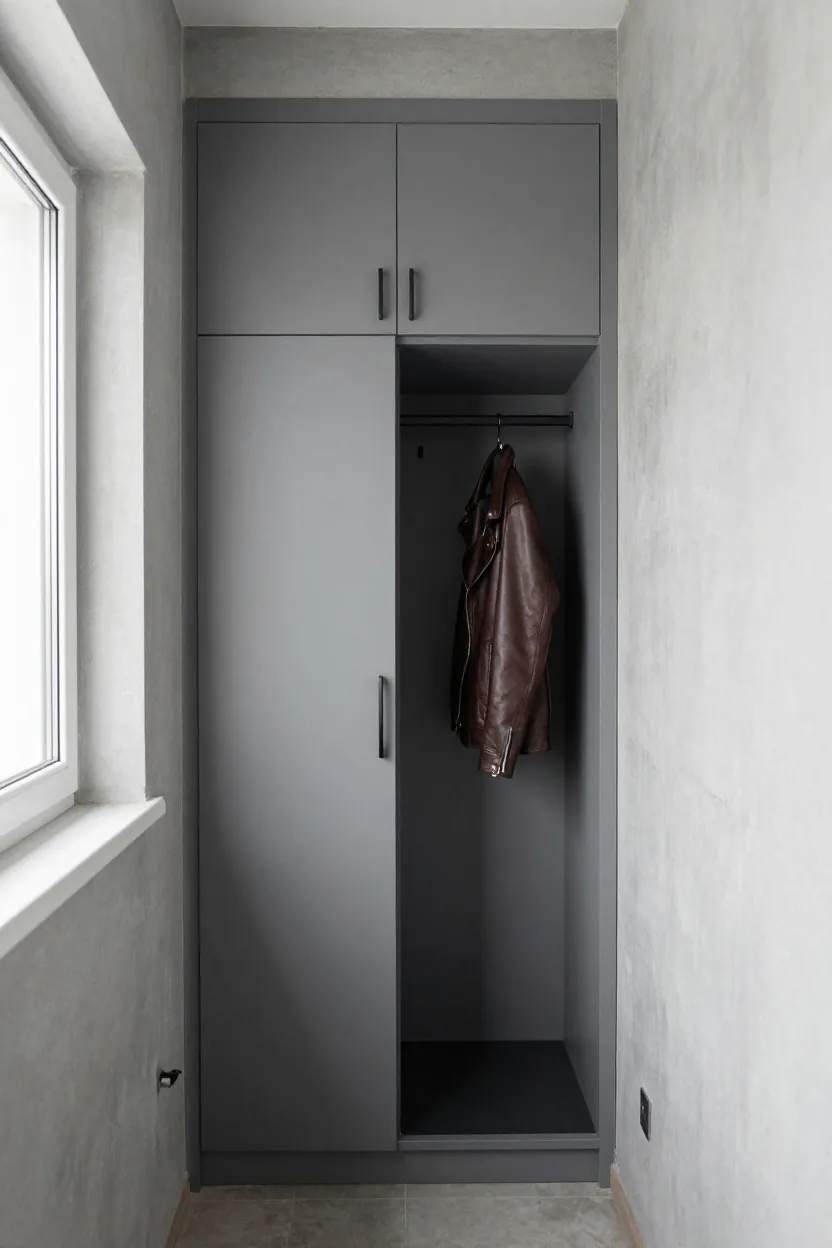
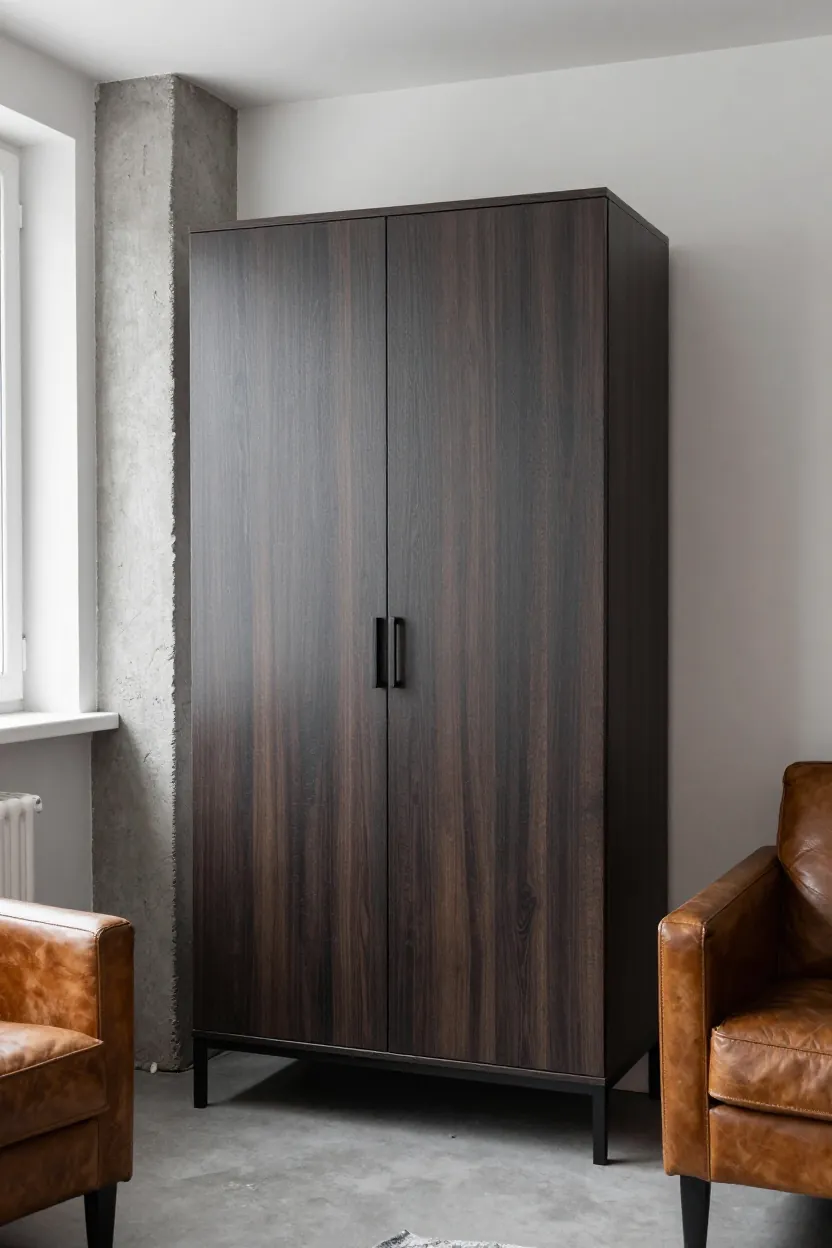
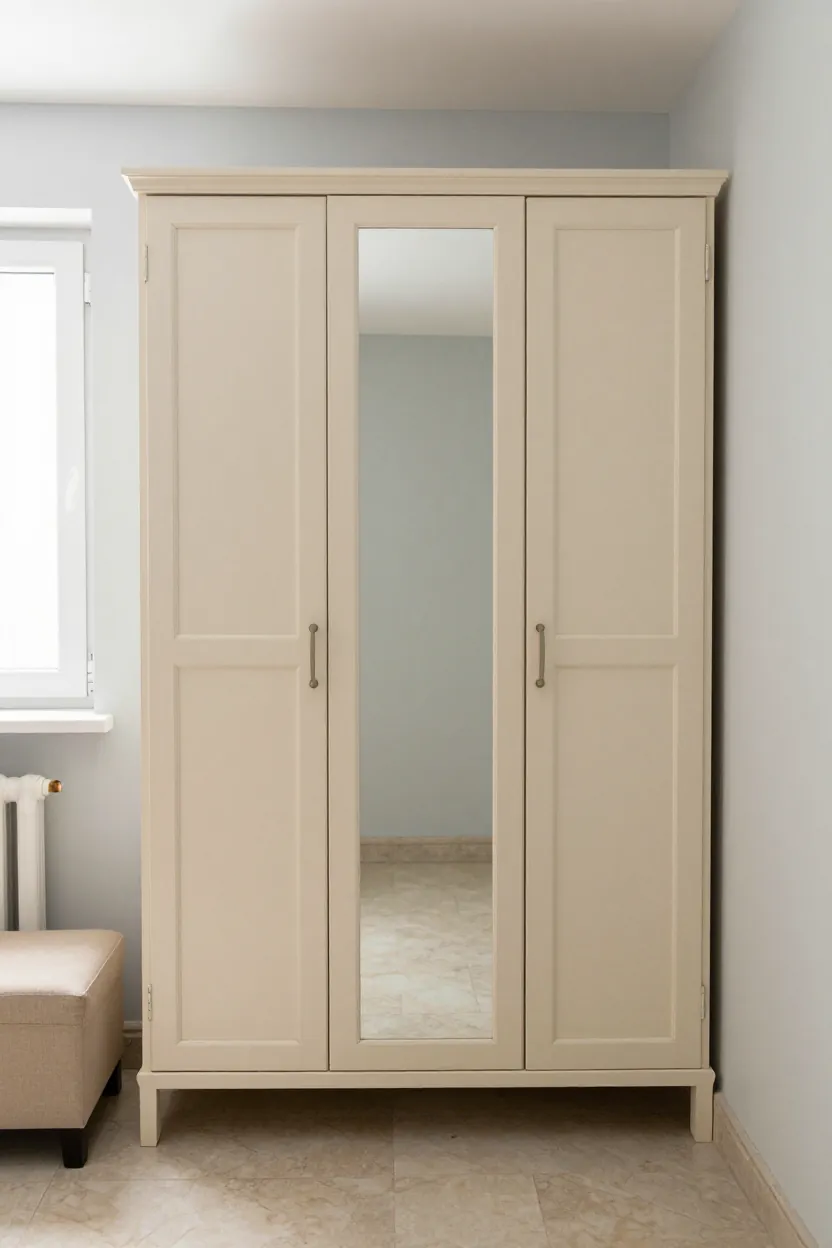
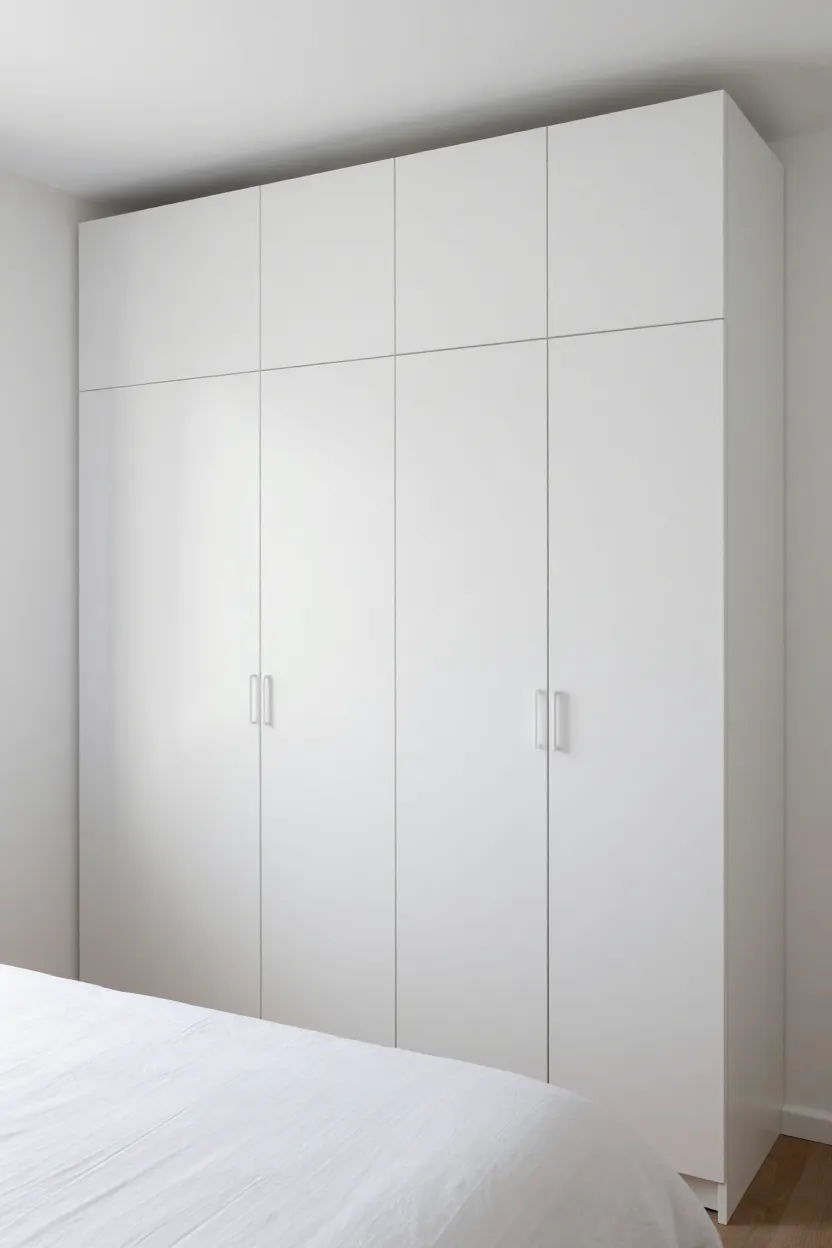
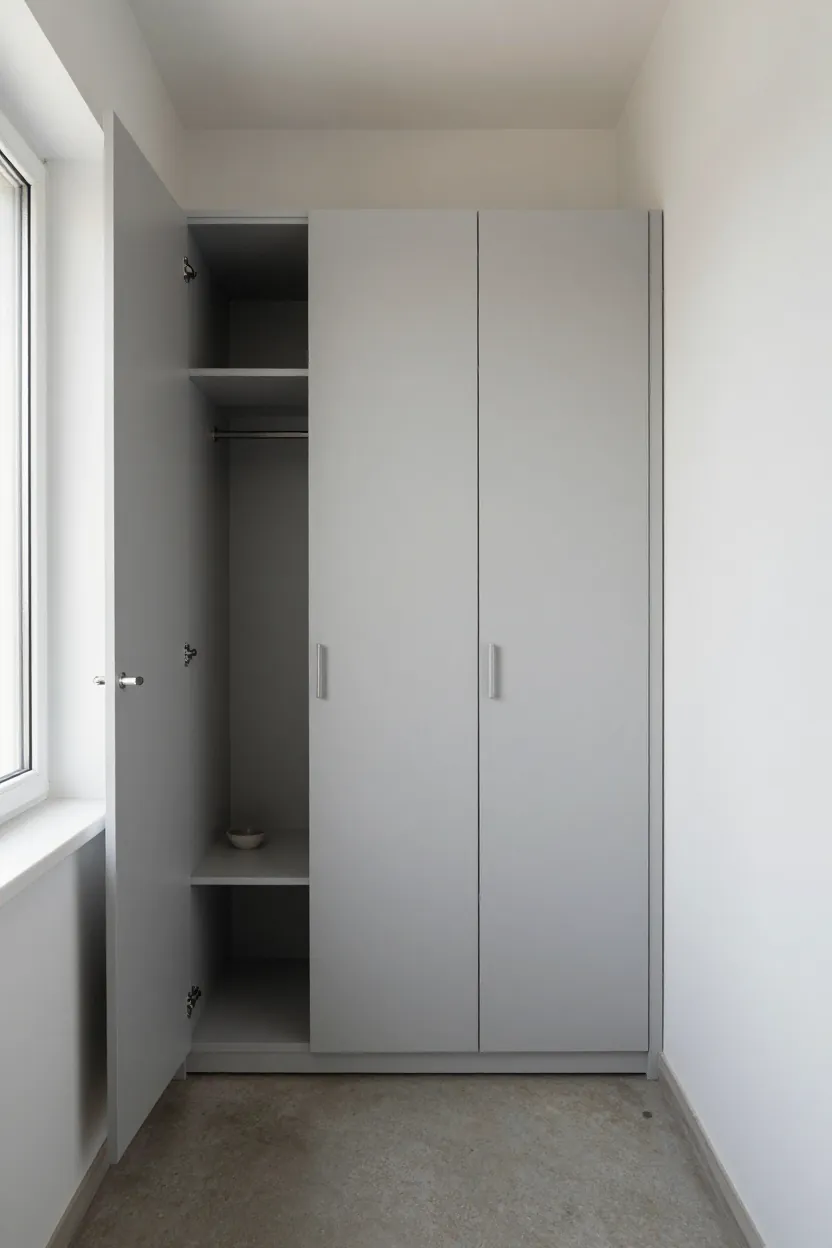
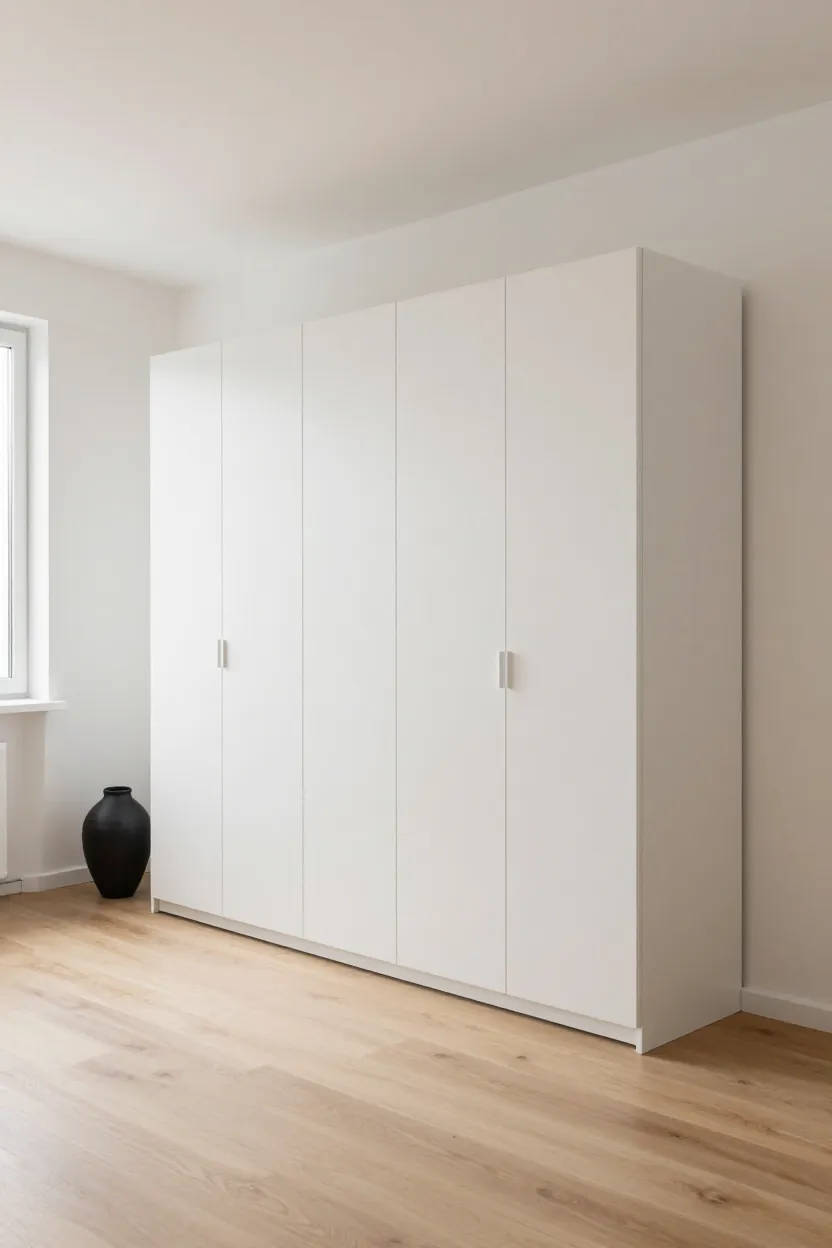
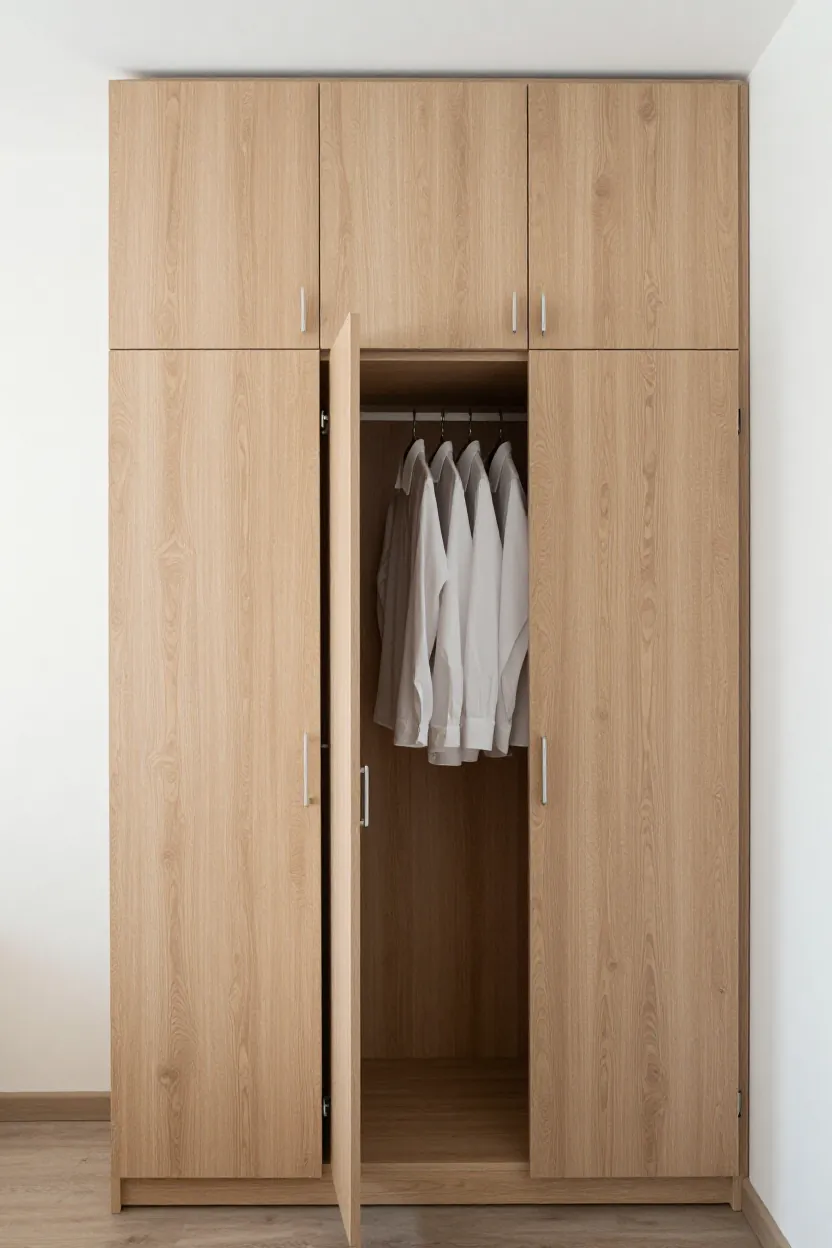
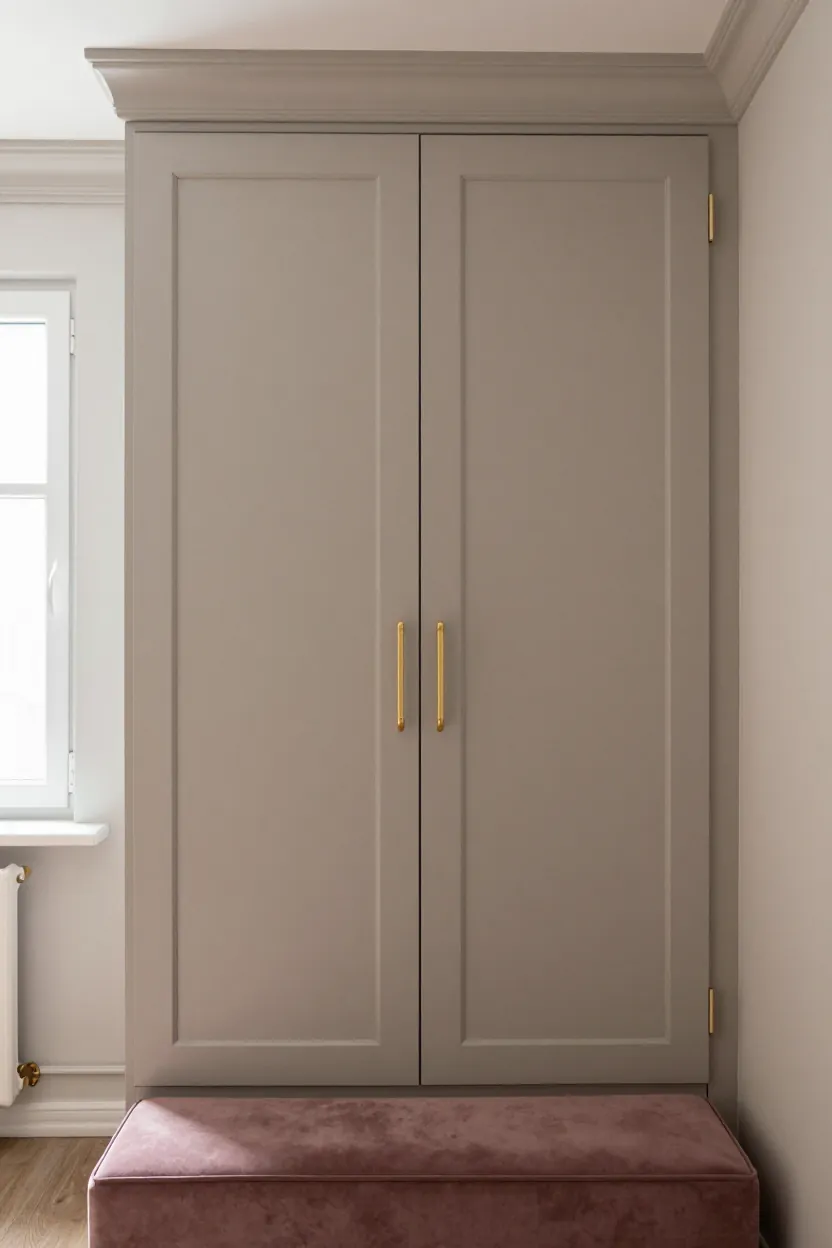
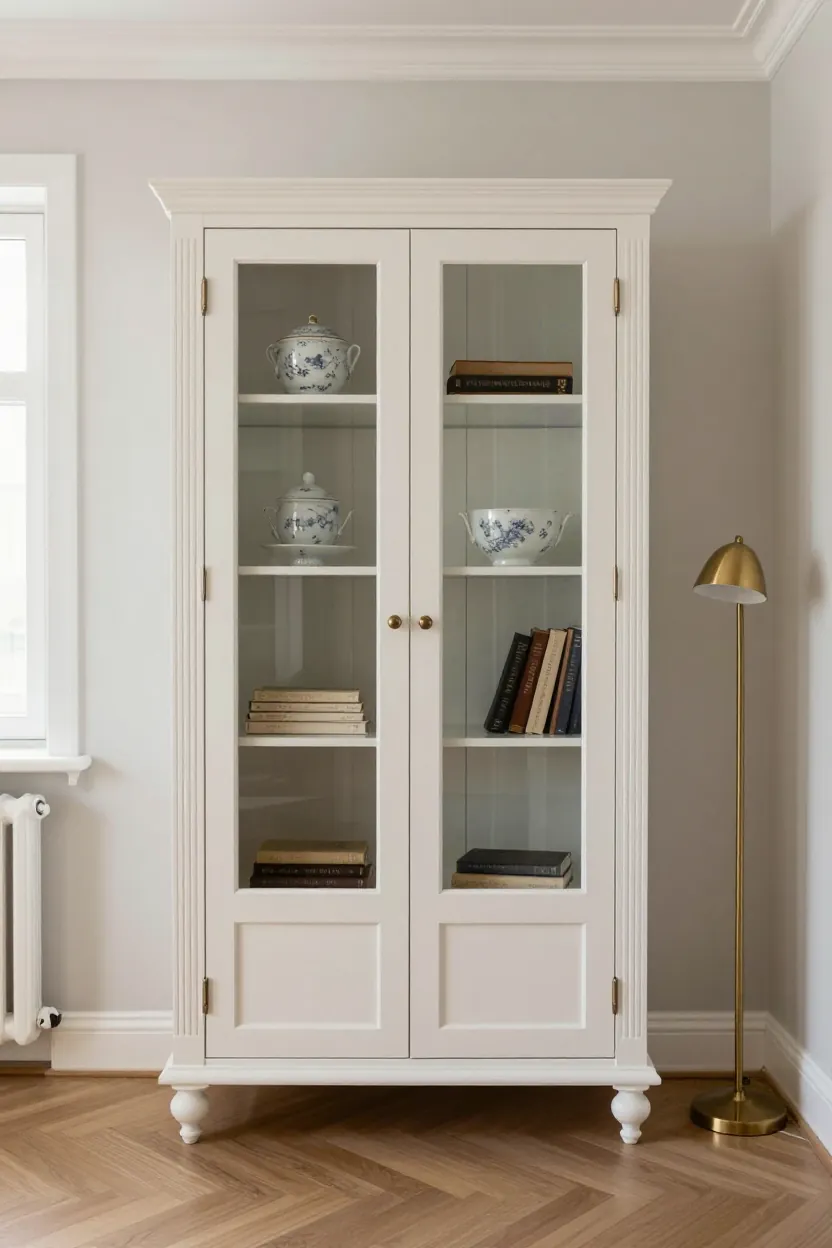
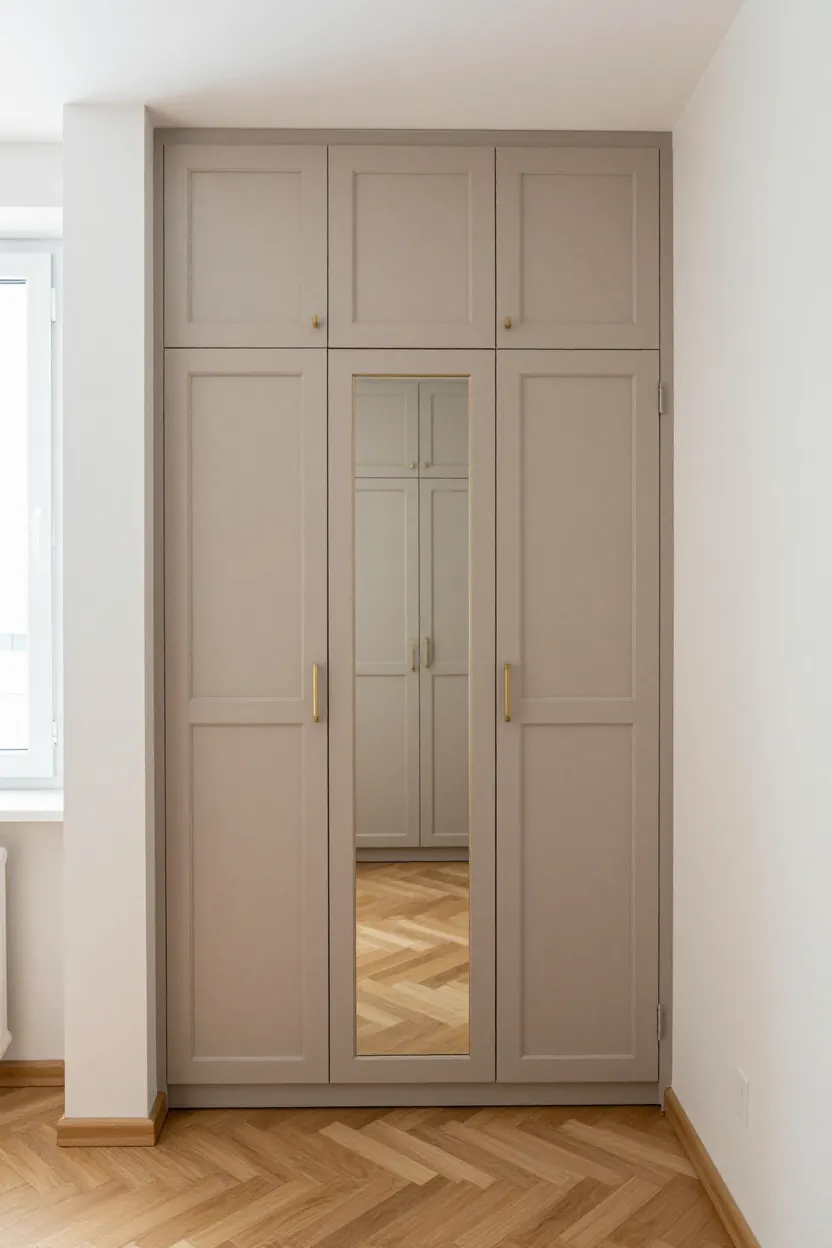
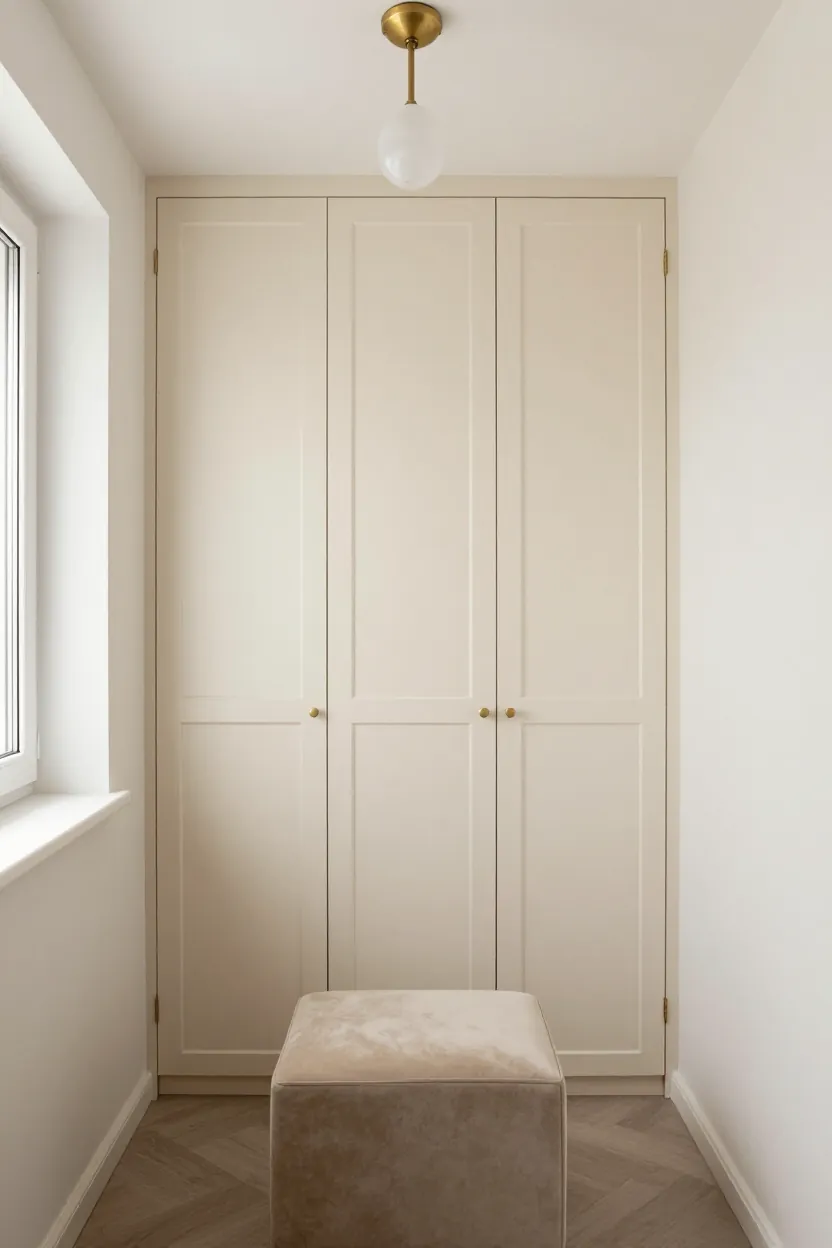
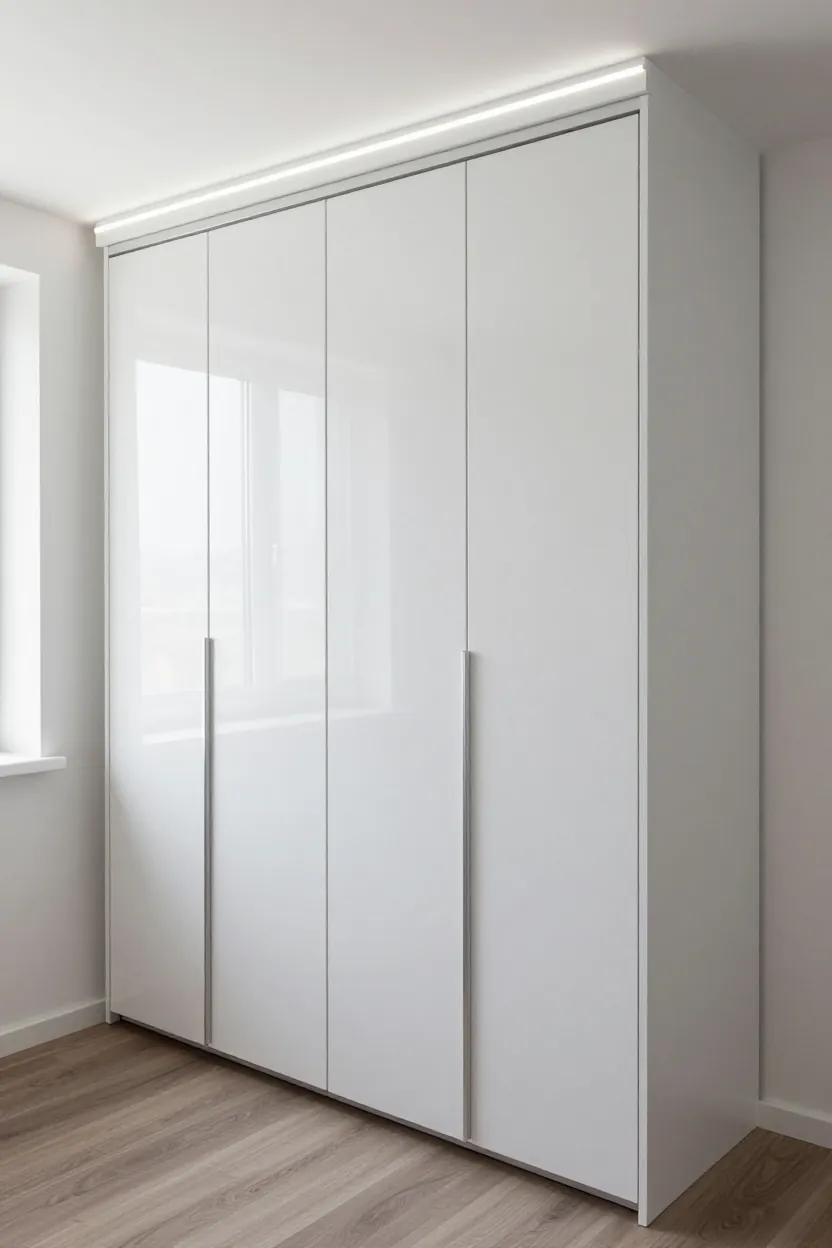
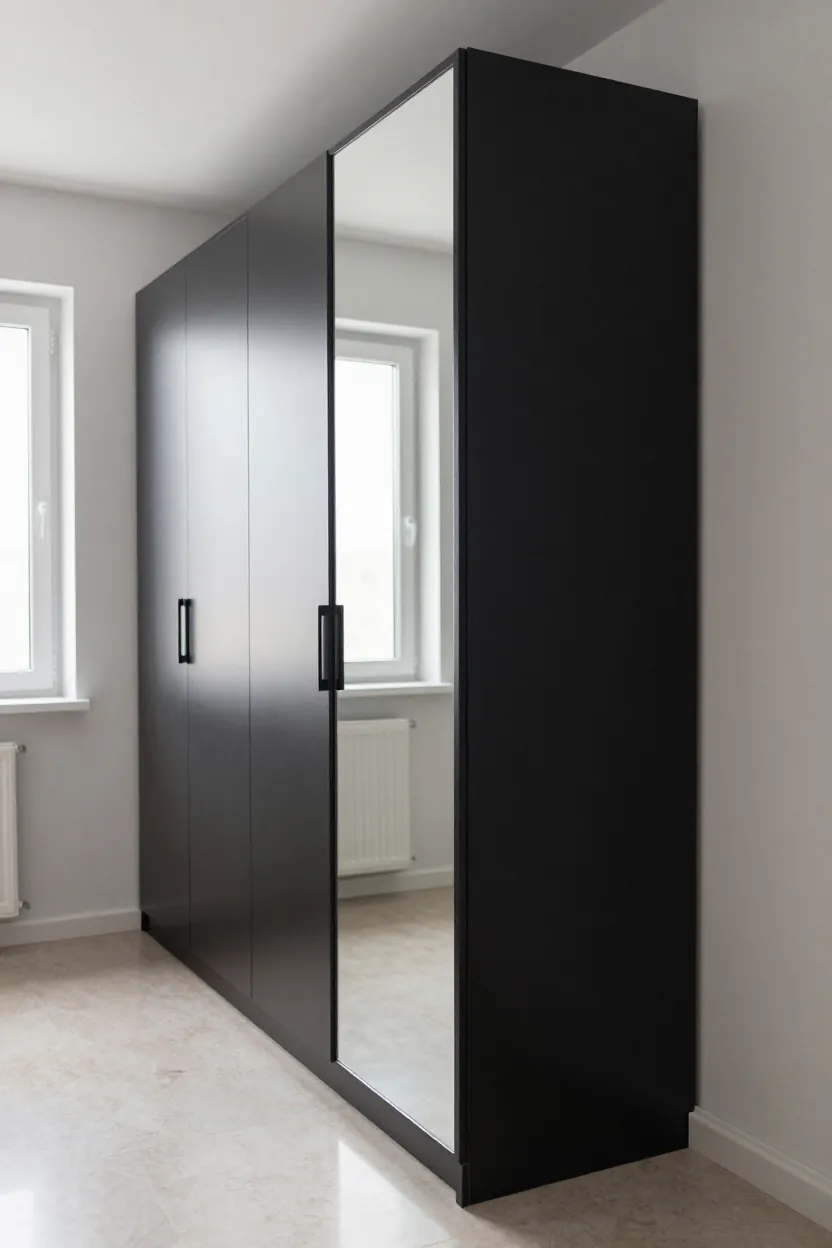
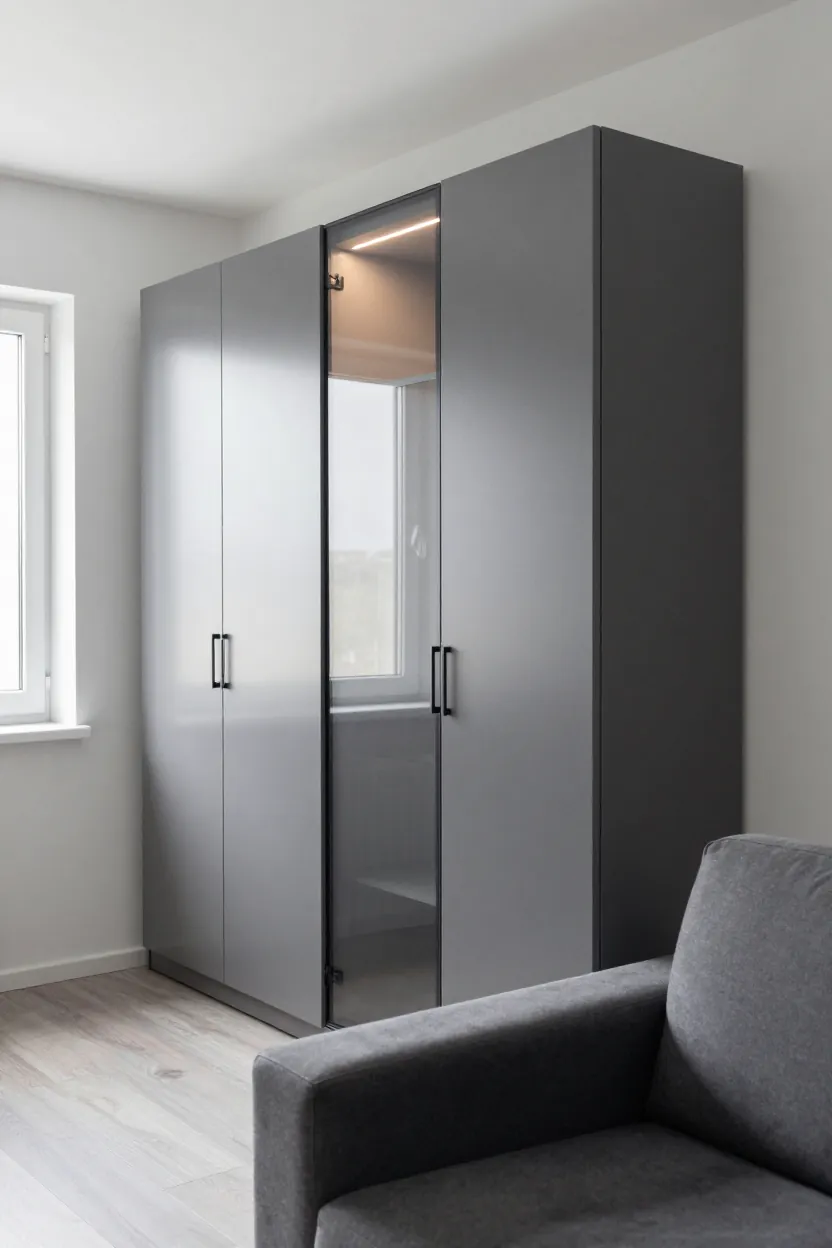
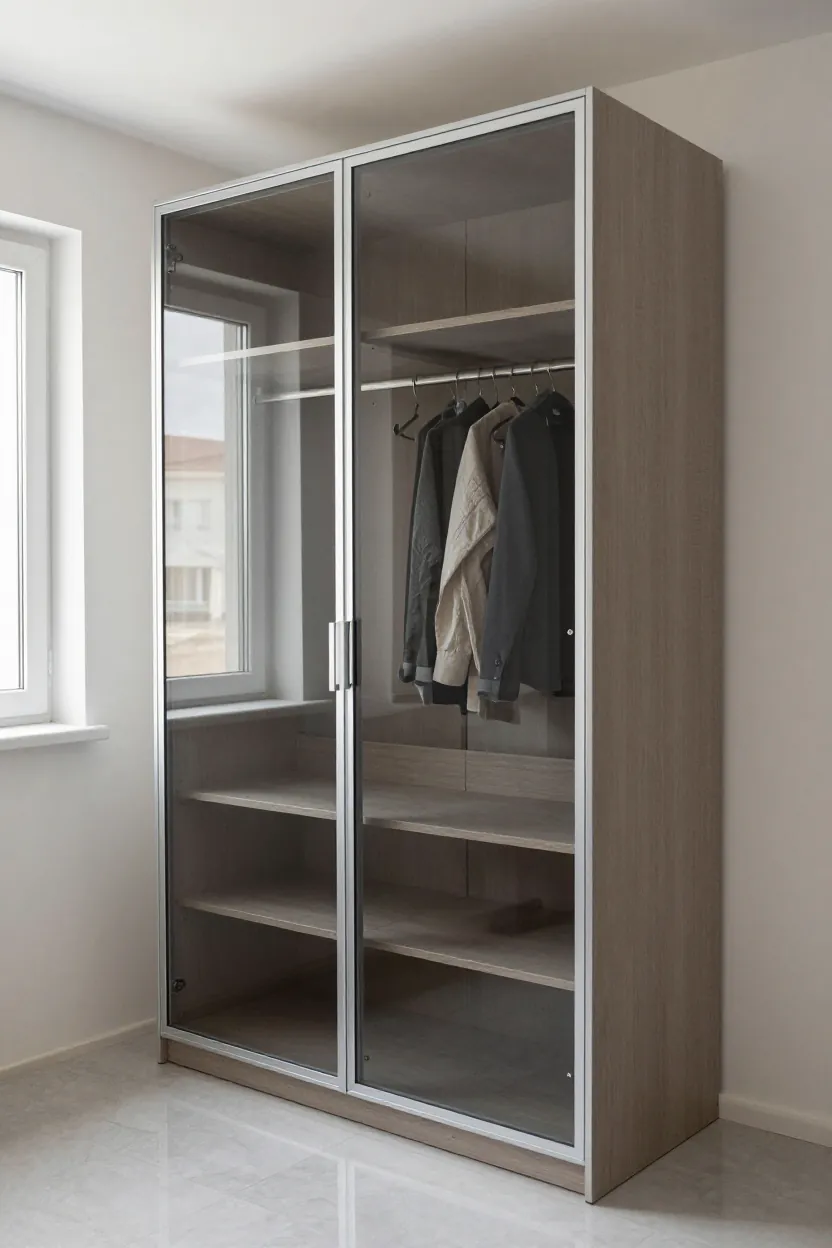
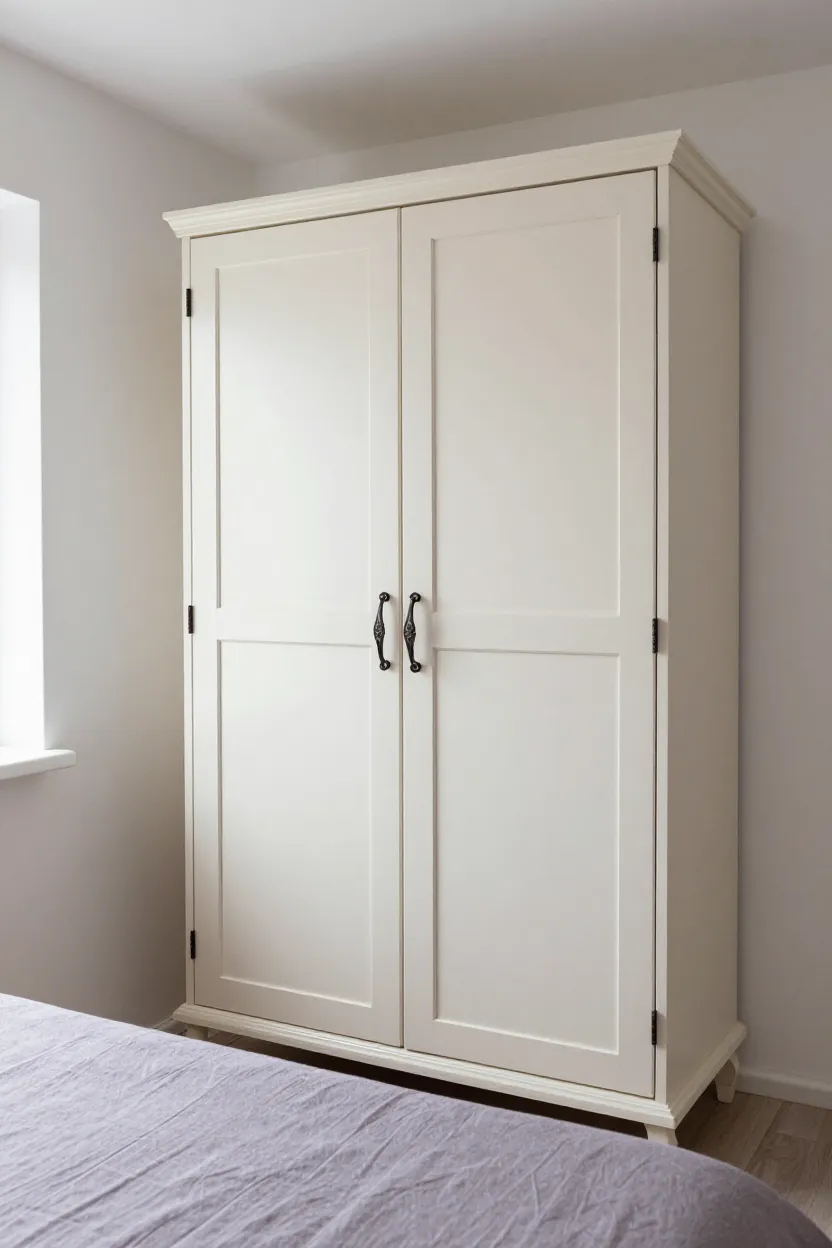
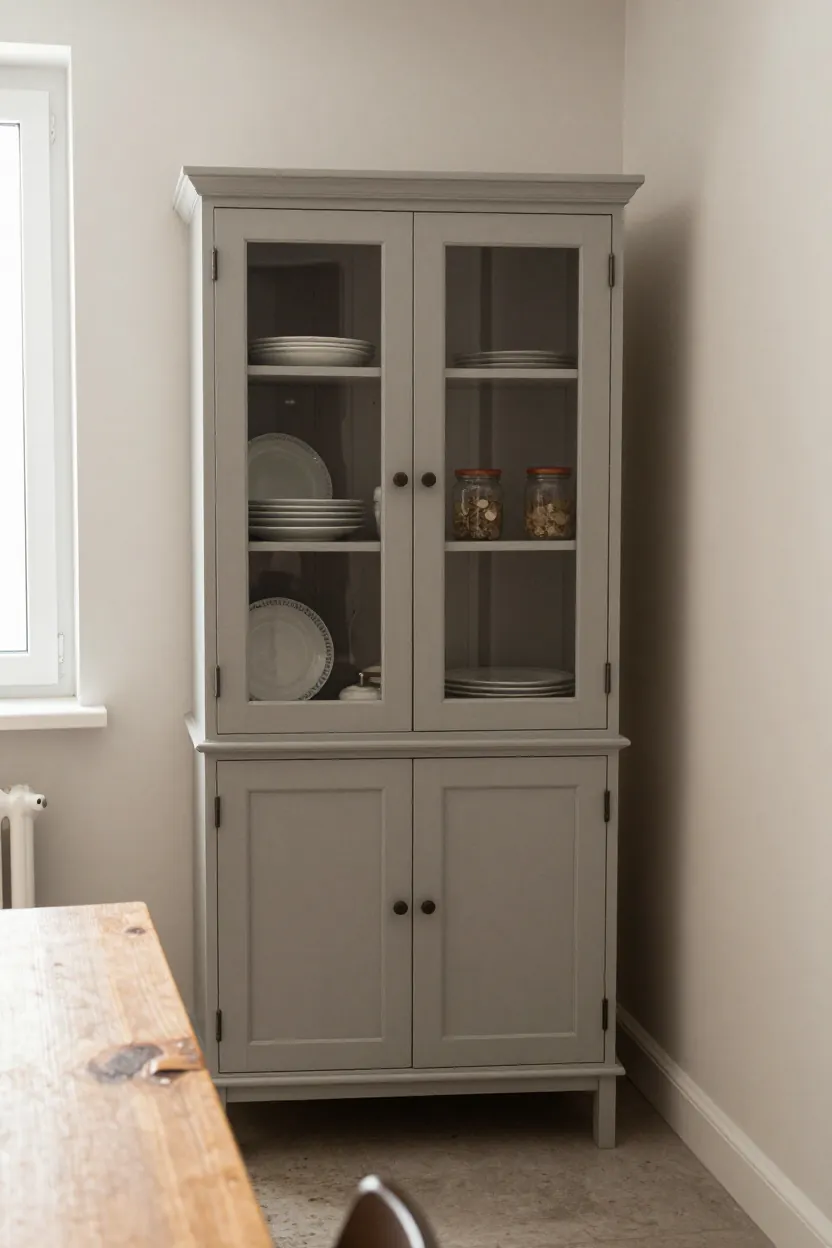
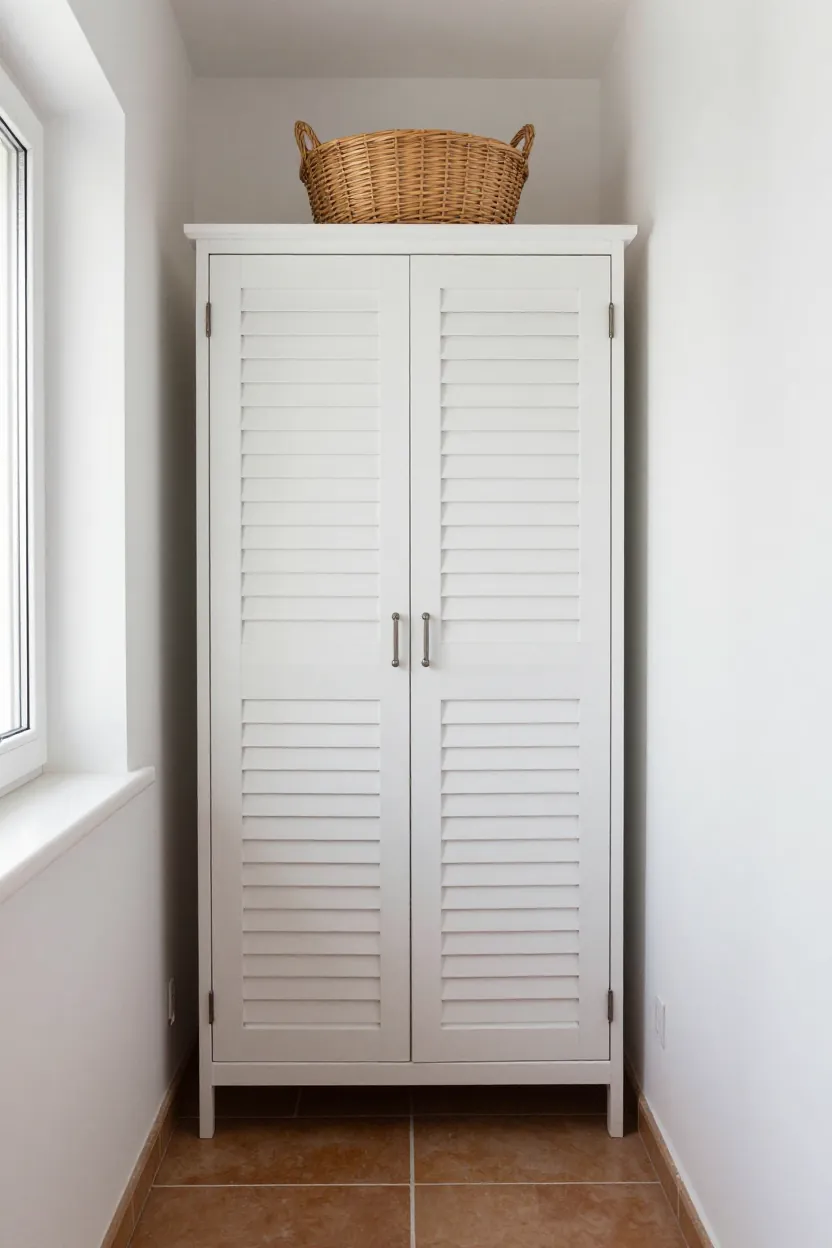
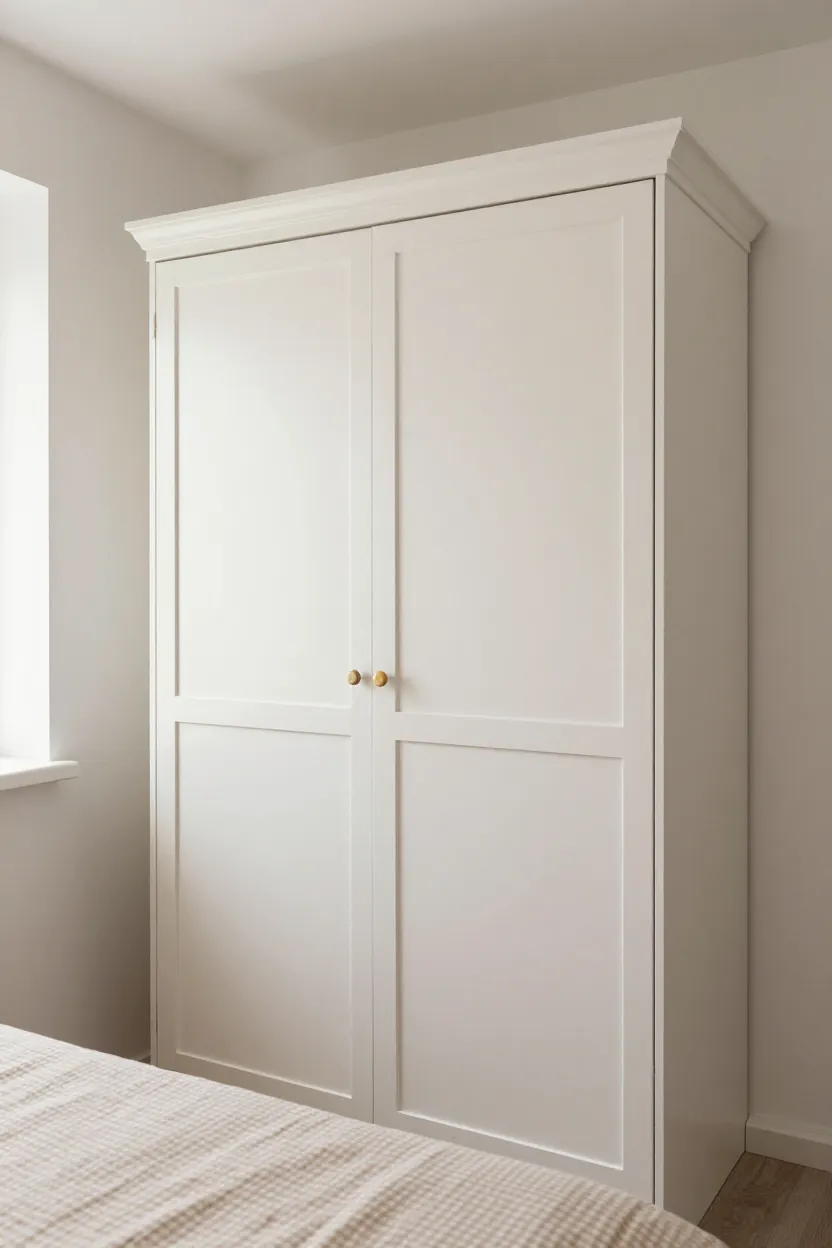
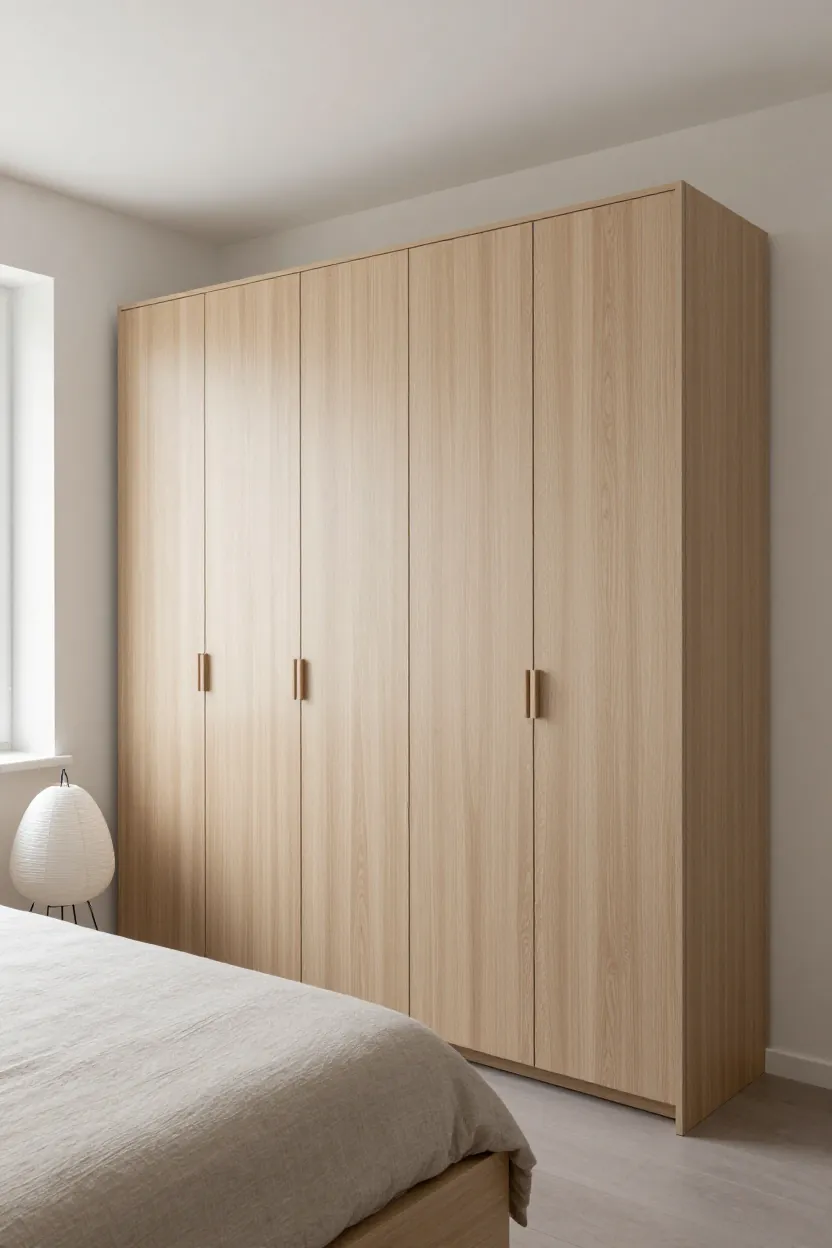
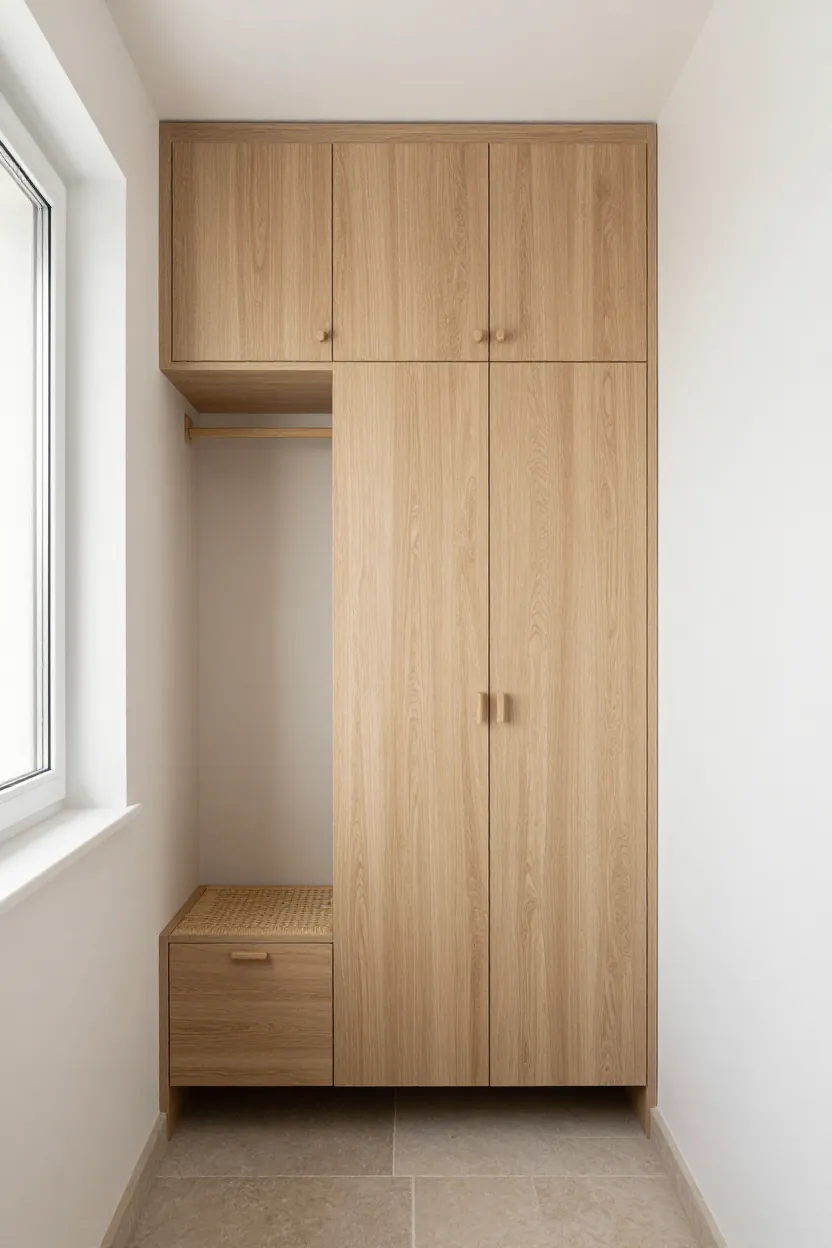
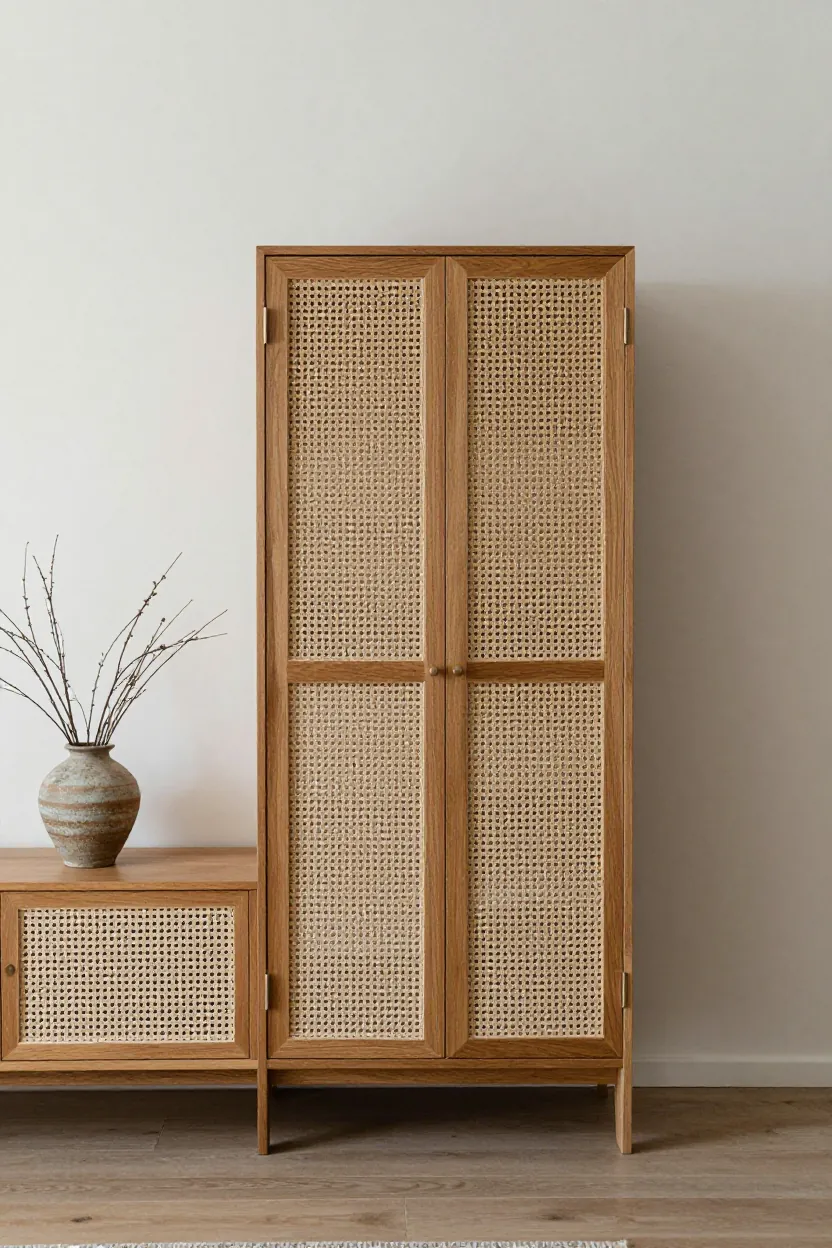
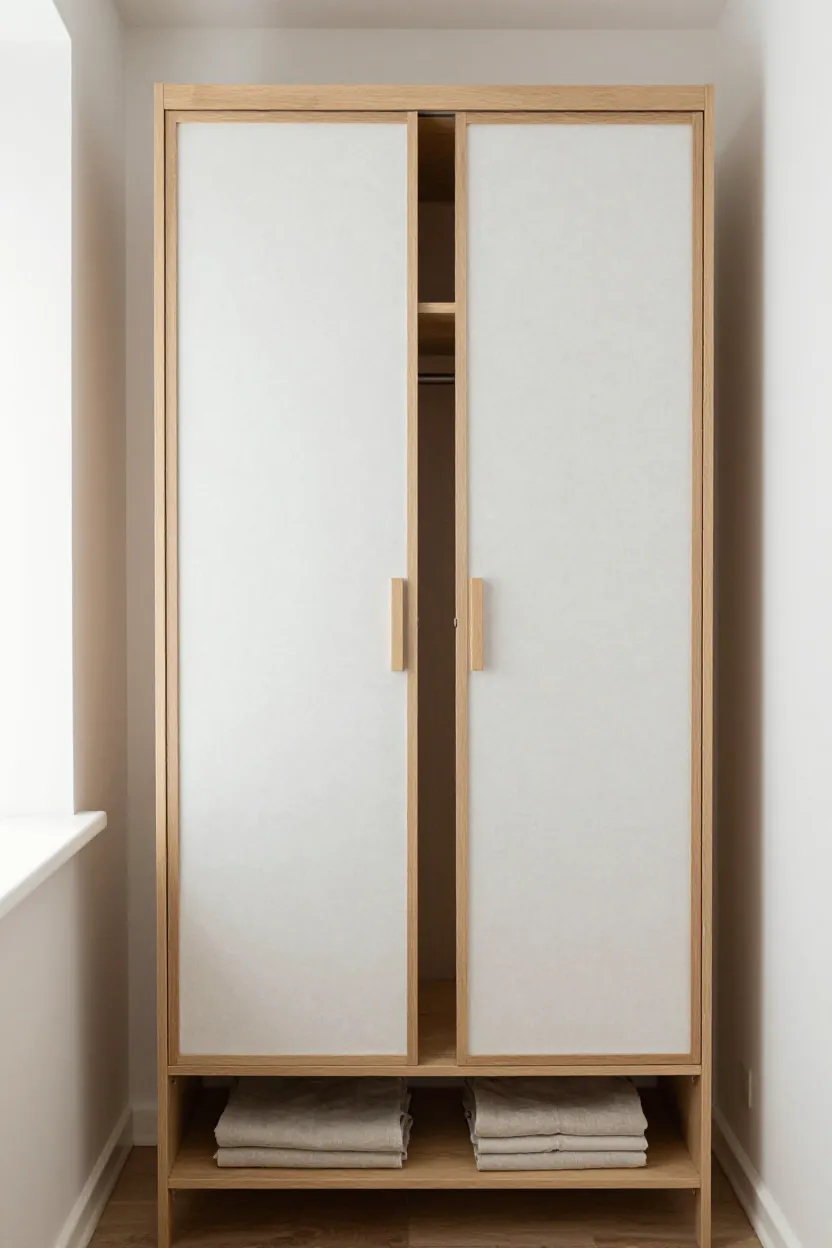
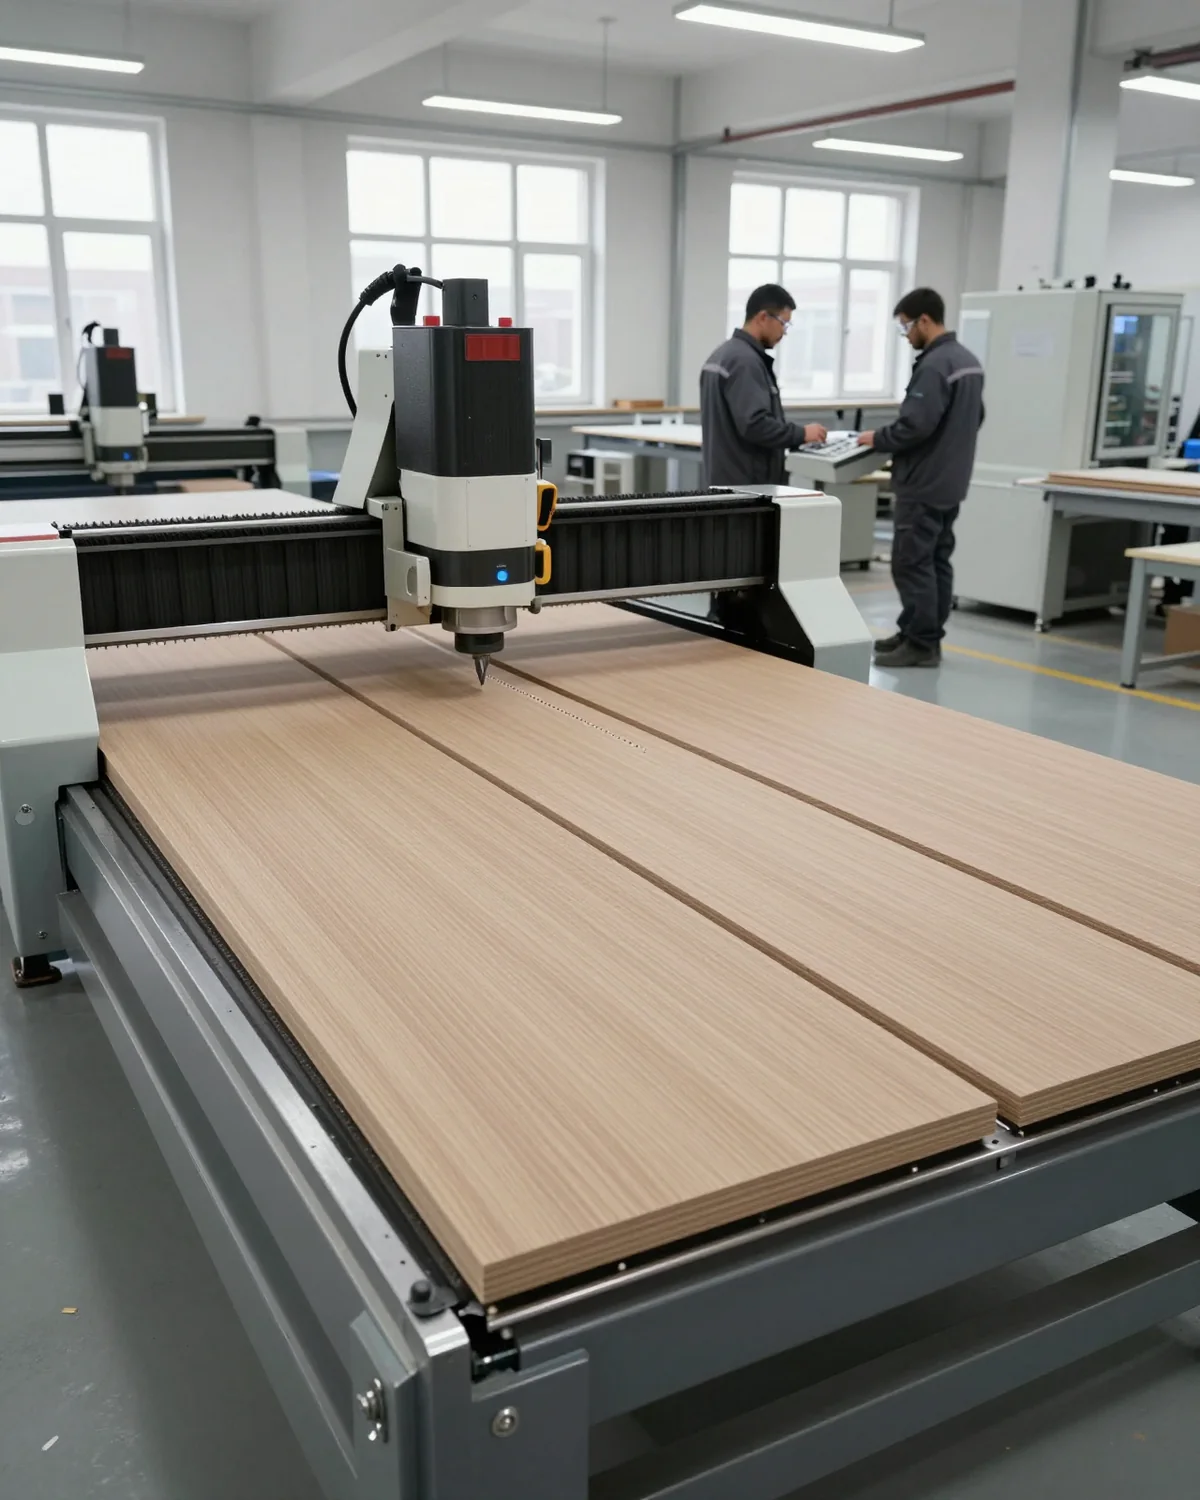
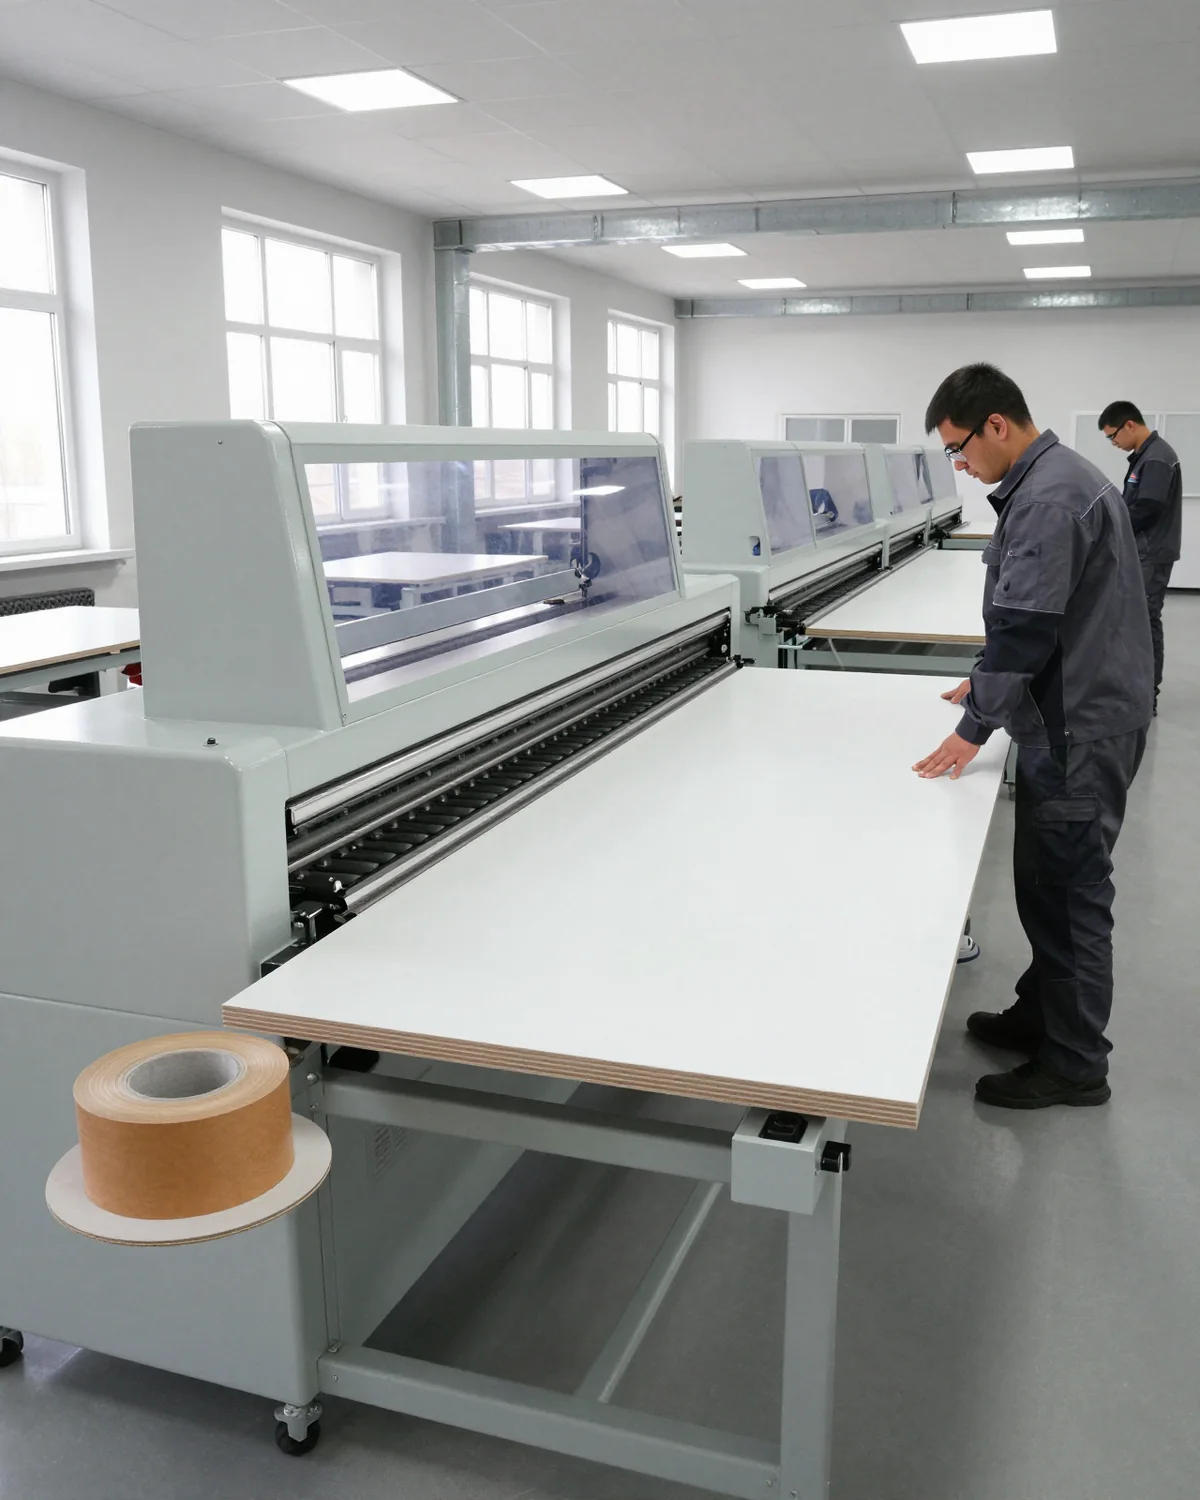
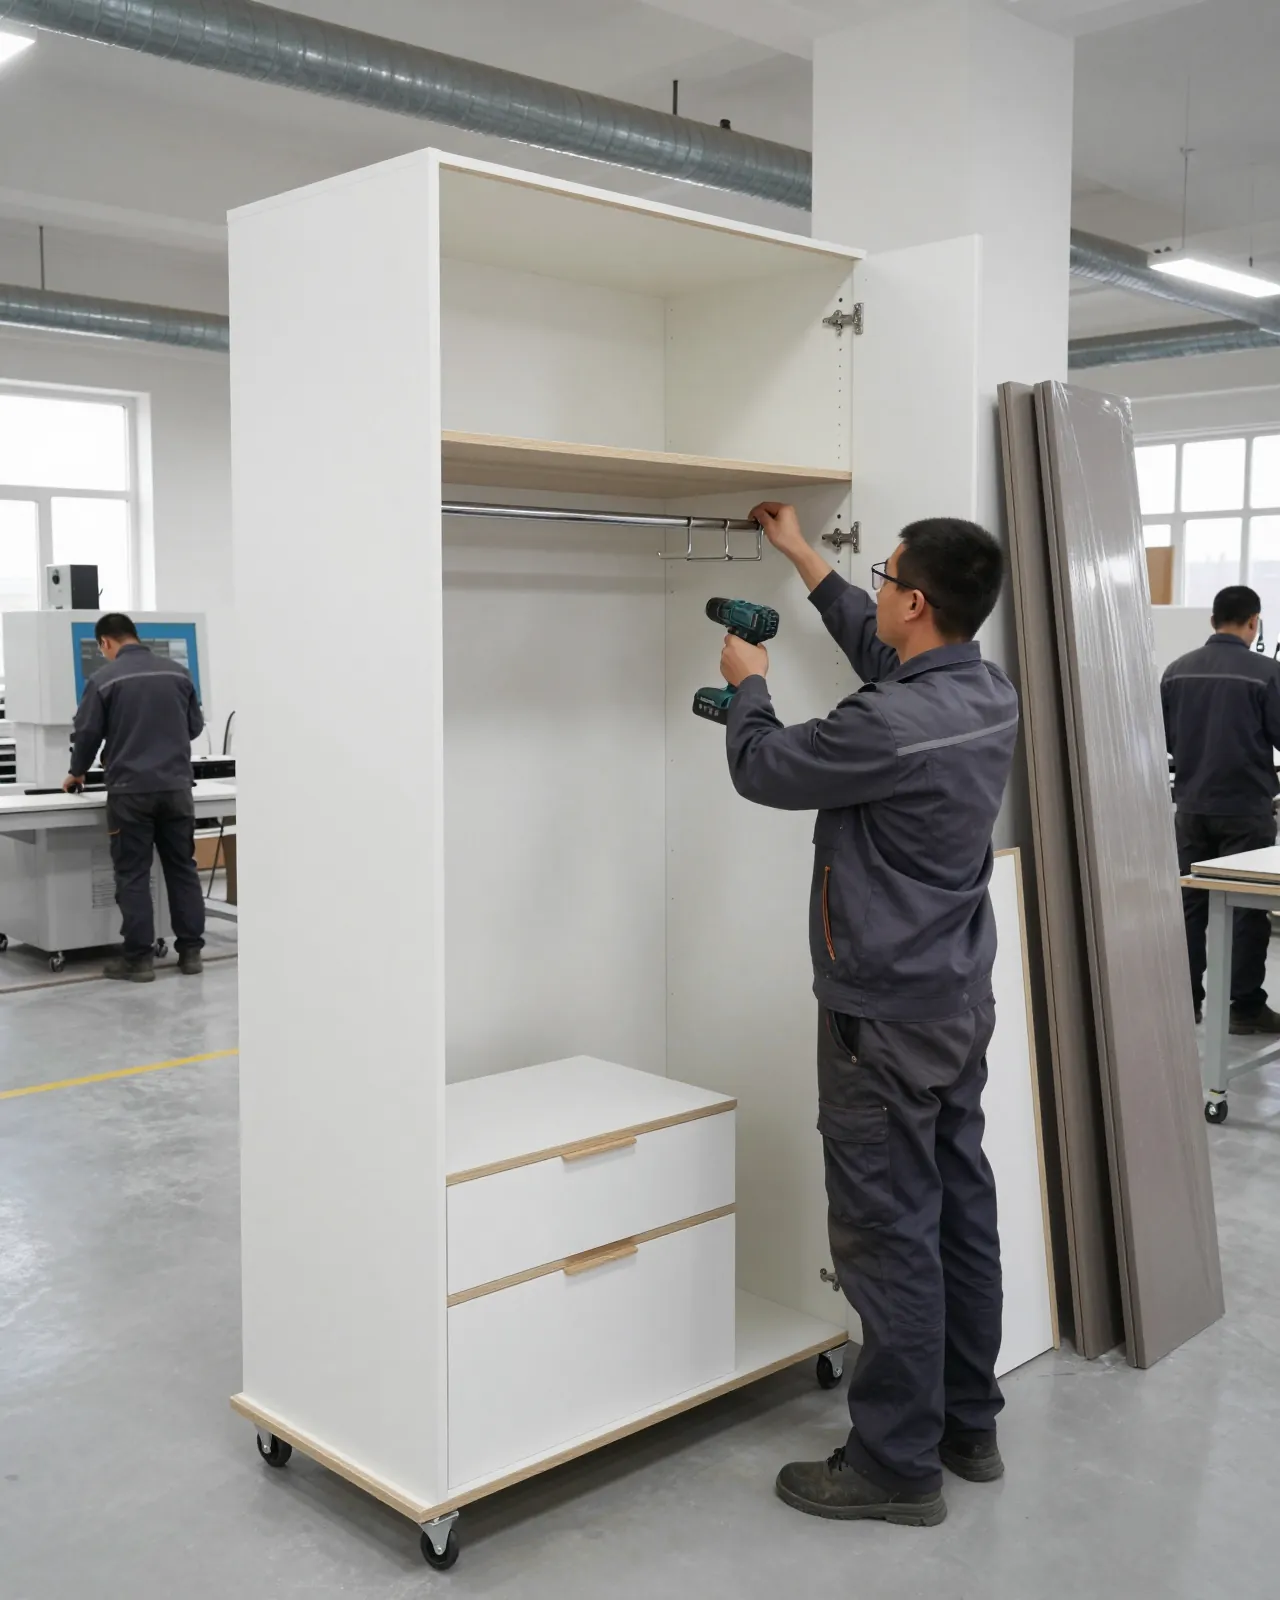
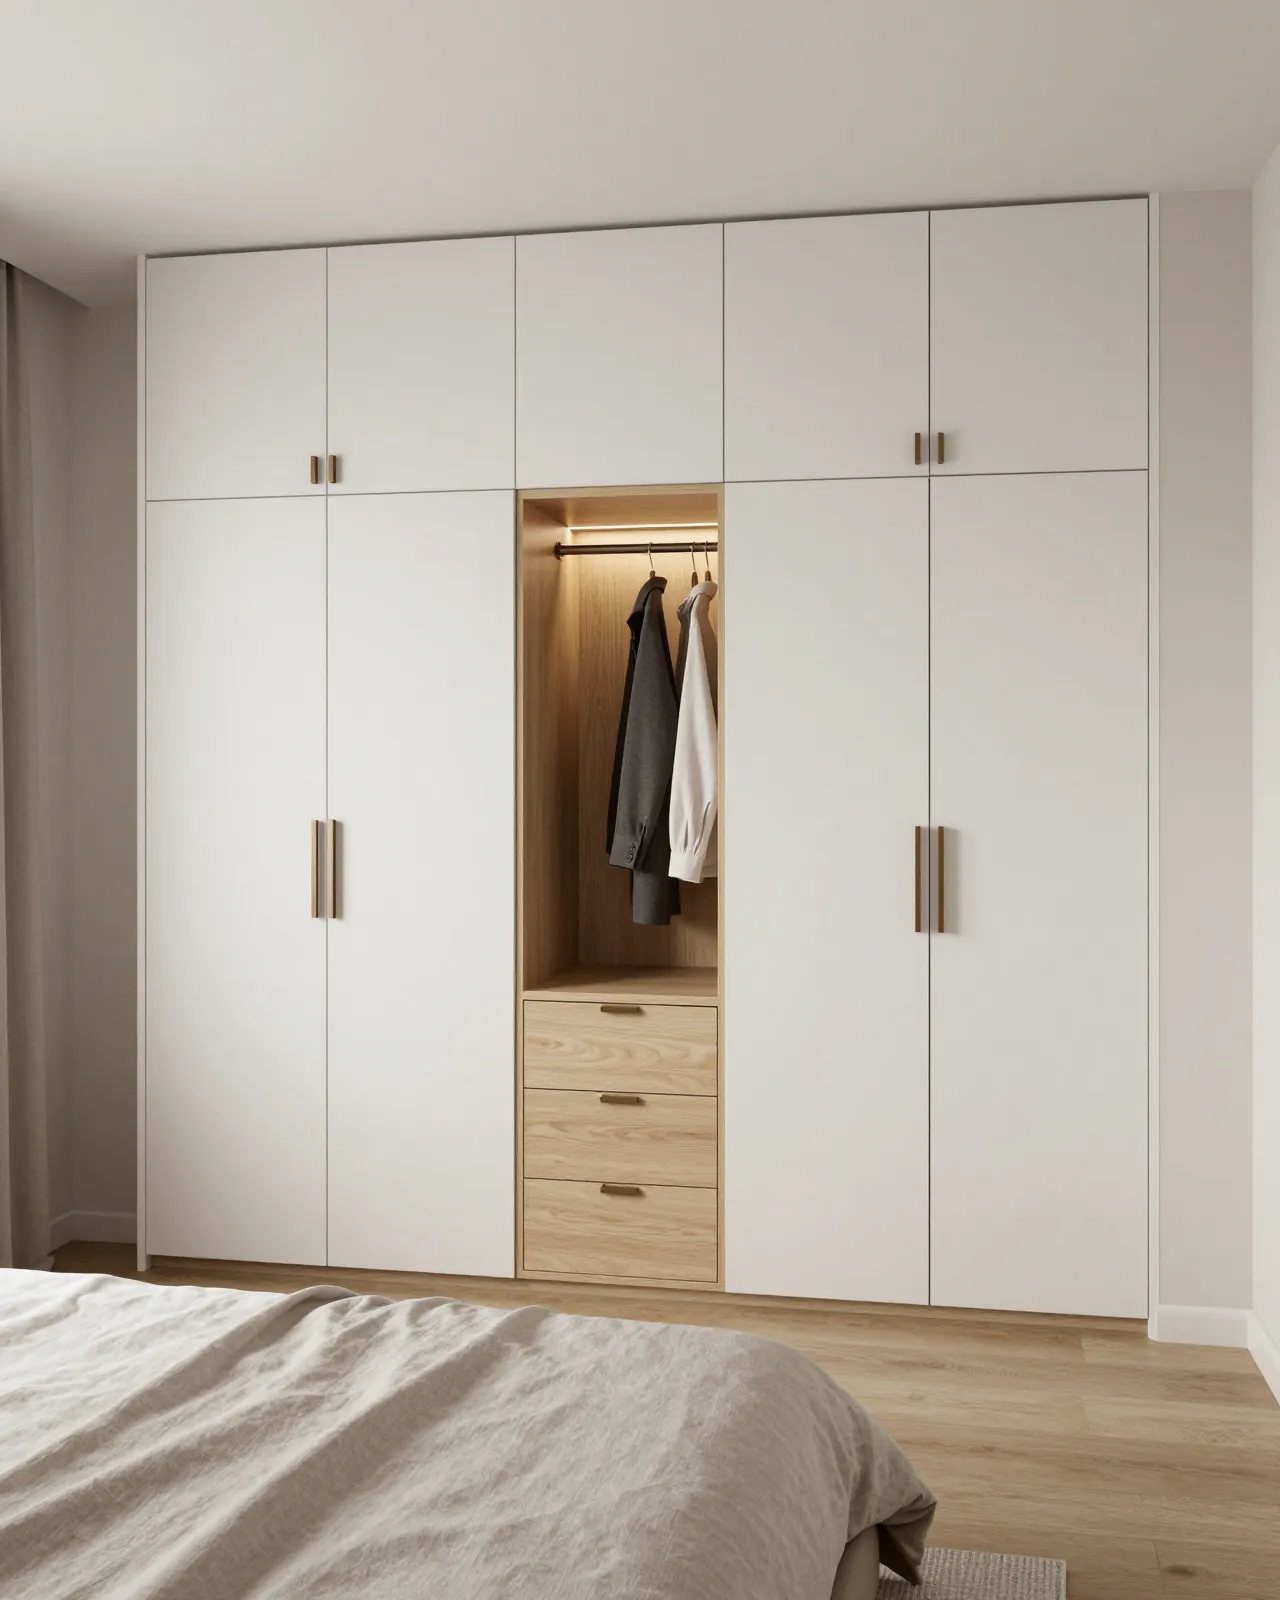
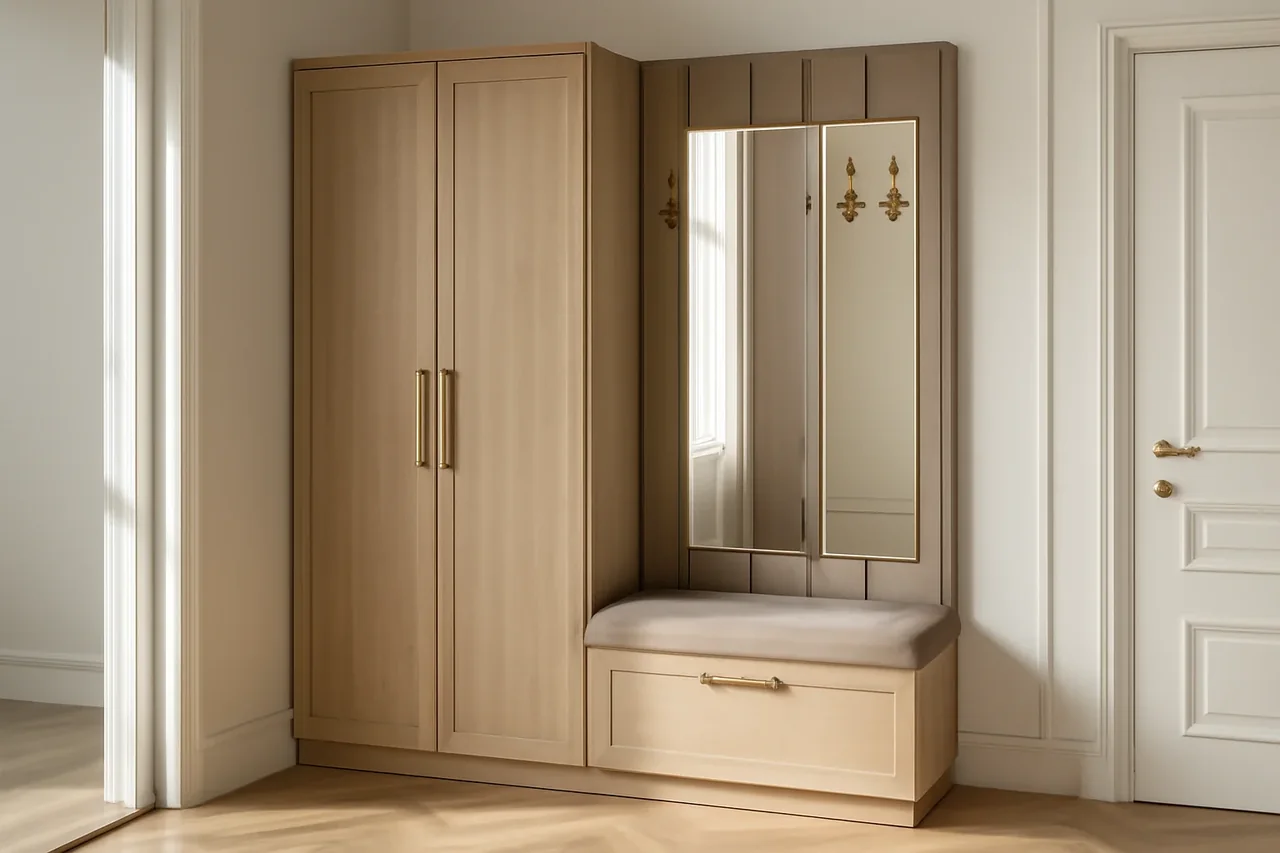
At MEBLIX we design custom wardrobes in Almaty from a survey of your wall and from what you actually own: we work out the rails, shelves and drawers, choose the door widths and fix the tall carcass to the wall. The measurement visit and 3D design are free, the design is ready in 1–2 days, and the contract warranty is 24 months. Prices and lead times are in the price list above.
A wardrobe is designed from the wall, not from a catalogue. Before you contact a furniture maker, it helps to take five measurements and note anything that could stop the carcass sitting flush against the wall.
Five measurements of the wall and opening
- Width at three points: at the floor, at one metre and just under the ceiling, because walls in older buildings can be a centimetre or two out.
- Height at three points: left, centre and right, as floor slabs and screed are rarely perfectly level.
- Free depth: from the wall to the nearest door, bed or window, so the wardrobe doesn't block the way through or stop anything opening.
- Diagonals of the opening: if they differ by more than a centimetre, the corner is out of square and the carcass will need a filler strip.
- Nearby doors and windows: note which way the room door and the window open, so they don't hit the wardrobe fronts.
What stops a wardrobe sitting flush
- Skirting boards: they push the carcass a centimetre or two off the wall, so the skirting is removed or the side panel is notched.
- Sockets and switches: if they end up behind the wardrobe, they are moved before installation or left reachable through a cut-out in the back panel.
- Radiators: the wardrobe is set back from the radiator, otherwise warm air dries out the board and the clothes on the nearest shelves.
- Underfloor heating: it's best not to lay it under a wardrobe at all, and if it's already there, the carcass stands on legs with an air gap.
- Stretch ceilings: leave a gap above the wardrobe or fit a mounting batten so the top front doesn't touch the ceiling film.
Why a wardrobe is sized to the narrowest point
A wall that is 240 cm wide at the floor can be 238 cm under the ceiling. A trifle? No. Build the carcass to the larger figure and it won't go into the opening; build it to the smaller one and you get a two-centimetre gap you can see from the doorway. That's why a made-to-measure wardrobe is sized to the narrowest and lowest point of the opening, and the difference is closed with a filler strip in the front colour. On our free measurement visit in Almaty, the designer takes the same points with a laser measure, but having your own figures in advance lets you discuss the layout and door widths straight away (and honestly saves a couple of days of messages). Straight walls are rarer than you'd think. A wardrobe is designed from the narrowest point of the opening, and any gaps are closed with strips.
How to plan rails, shelves and drawers
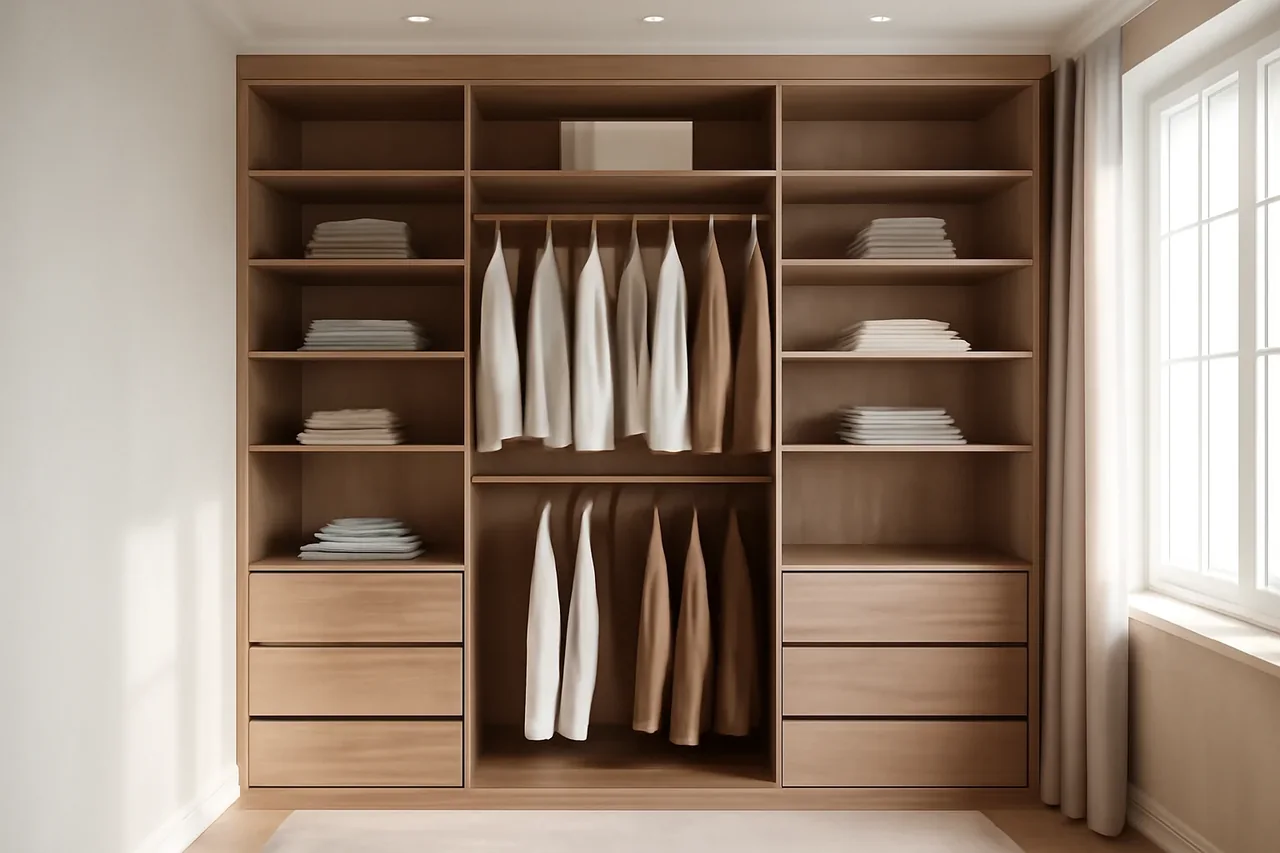
The interior is planned from your belongings, not from a pretty diagram. First estimate how much hangs, how much is folded and what you reach for every day, and only then draw the sections.
Section heights for different things
Section heights for different things| Items | Section height | Where in the wardrobe |
|---|
| Coats, dresses, raincoats | 150–170 cm | a separate full-height section |
|---|
| Shirts, jackets, skirts | 100–110 cm | two rails one above the other |
|---|
| Trousers on a trouser rack | 60–70 cm | under a short rail |
|---|
| Folded jumpers and T-shirts | 30–35 cm between shelves | middle tier, at eye level |
|---|
| Underwear and socks | 15–25 cm drawer | bottom tier, within easy reach |
|---|
| Suitcases and duvets | 40–60 cm | top cupboard under the ceiling |
|---|
How much rail a family needs
The easiest way to work out rail length is by hangers. Count the hangers in use now, add some for seasonal clothes and multiply by 3–4 cm, which is roughly what one hanger with a shirt takes up; a down jacket needs more. Forty hangers come to about one and a half metres. Too much? That's just one rail across two sections. We design custom clothes wardrobes so that short items hang in two tiers: two rails of 100–110 cm one above the other nearly double the usable length without making the wardrobe any wider. Long clothes need their own section, but one 50–60 cm wide is usually enough (in our view, making it wider is a common mistake, and the space ends up empty). Rail length comes from the number of hangers, not from the width of the wall.
Where drawers go and where shelves go
- Drawers: they go in the bottom tier, no higher than waist level, two per person for underwear, socks and everyday small things.
- Shelves: spaced about 35 cm apart; on shelves deeper than 45 cm things get lost, so a deep wardrobe is split into drawers or baskets.
- Shoes: the bottom shoe shelf is separated from hanging clothes by a partition, so coat hems don't touch the soles.
- Top cupboards: these are for suitcases, duvets and seasonal clothes, everything you need less than once a month.
How many doors a wardrobe needs and how wide
The number and width of doors is chosen before the shelves. The doors decide which section opens fully, where the drawers go and where the carcass partitions run.
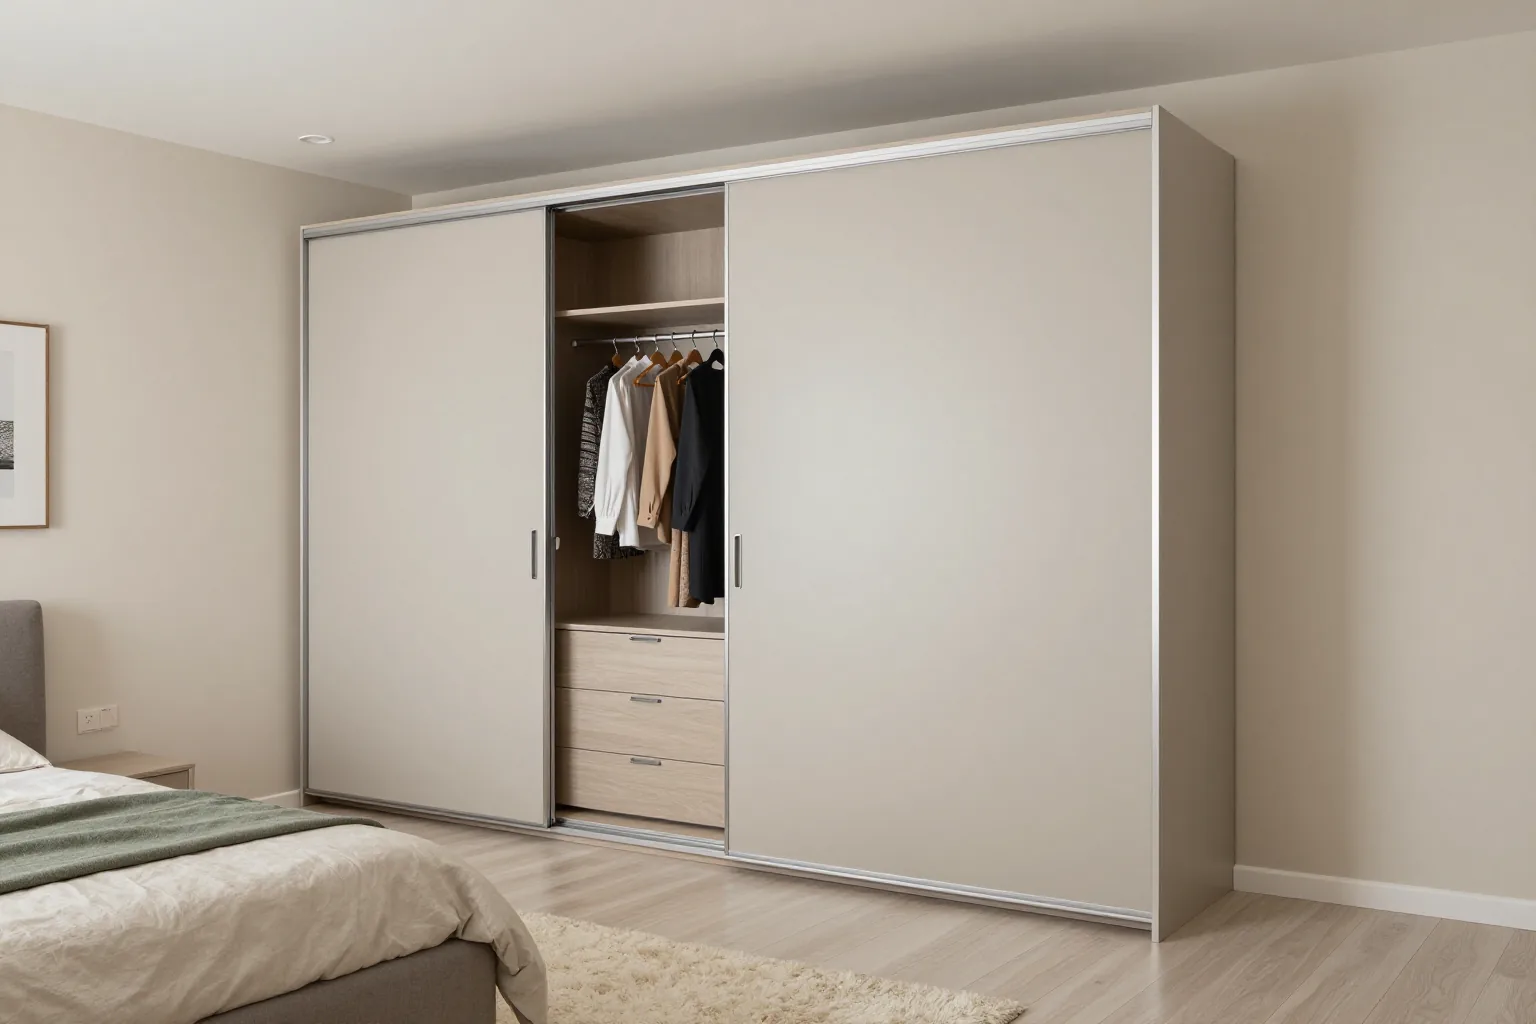
Why one section of a sliding wardrobe is always closed
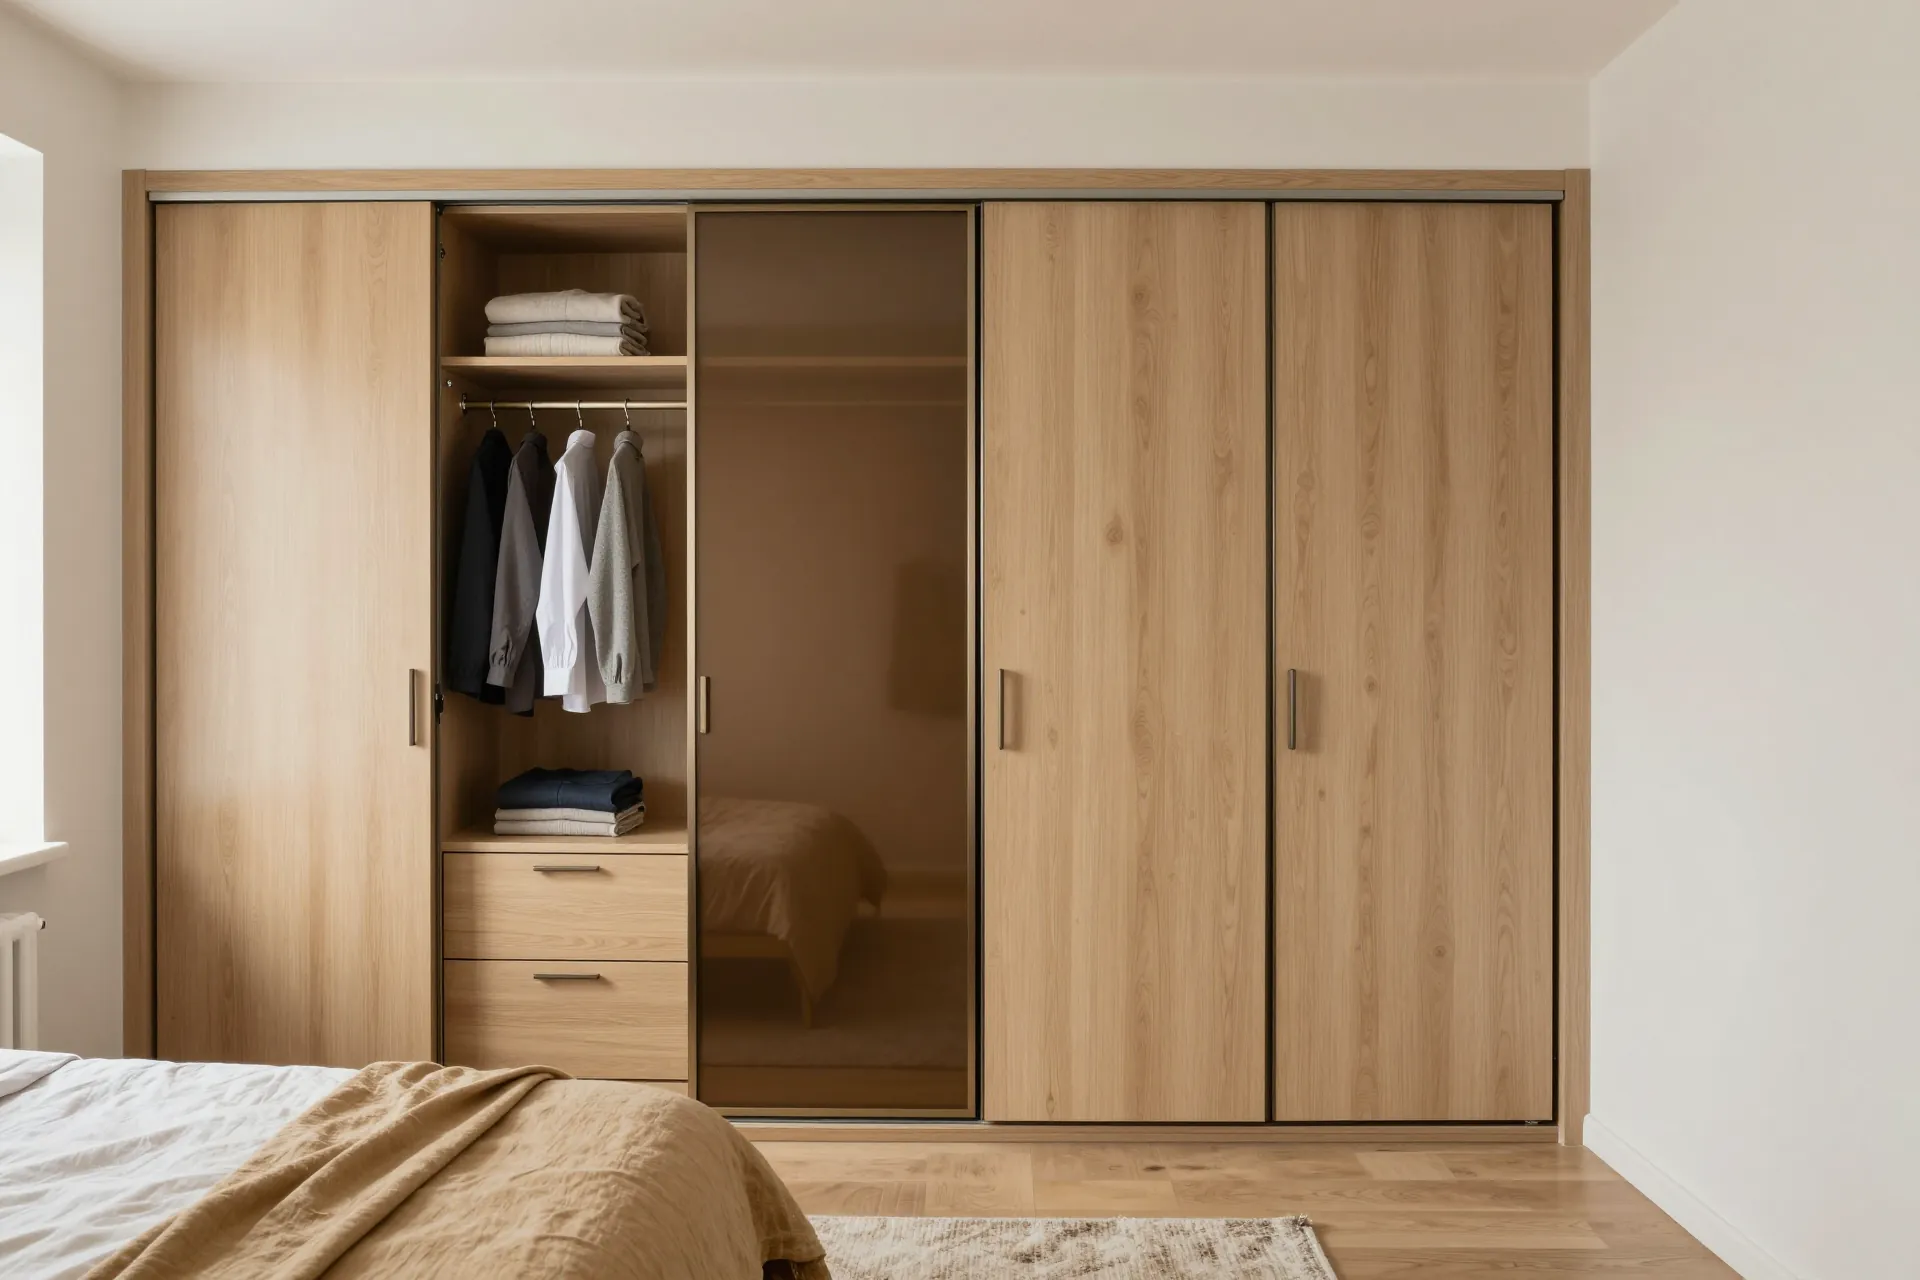
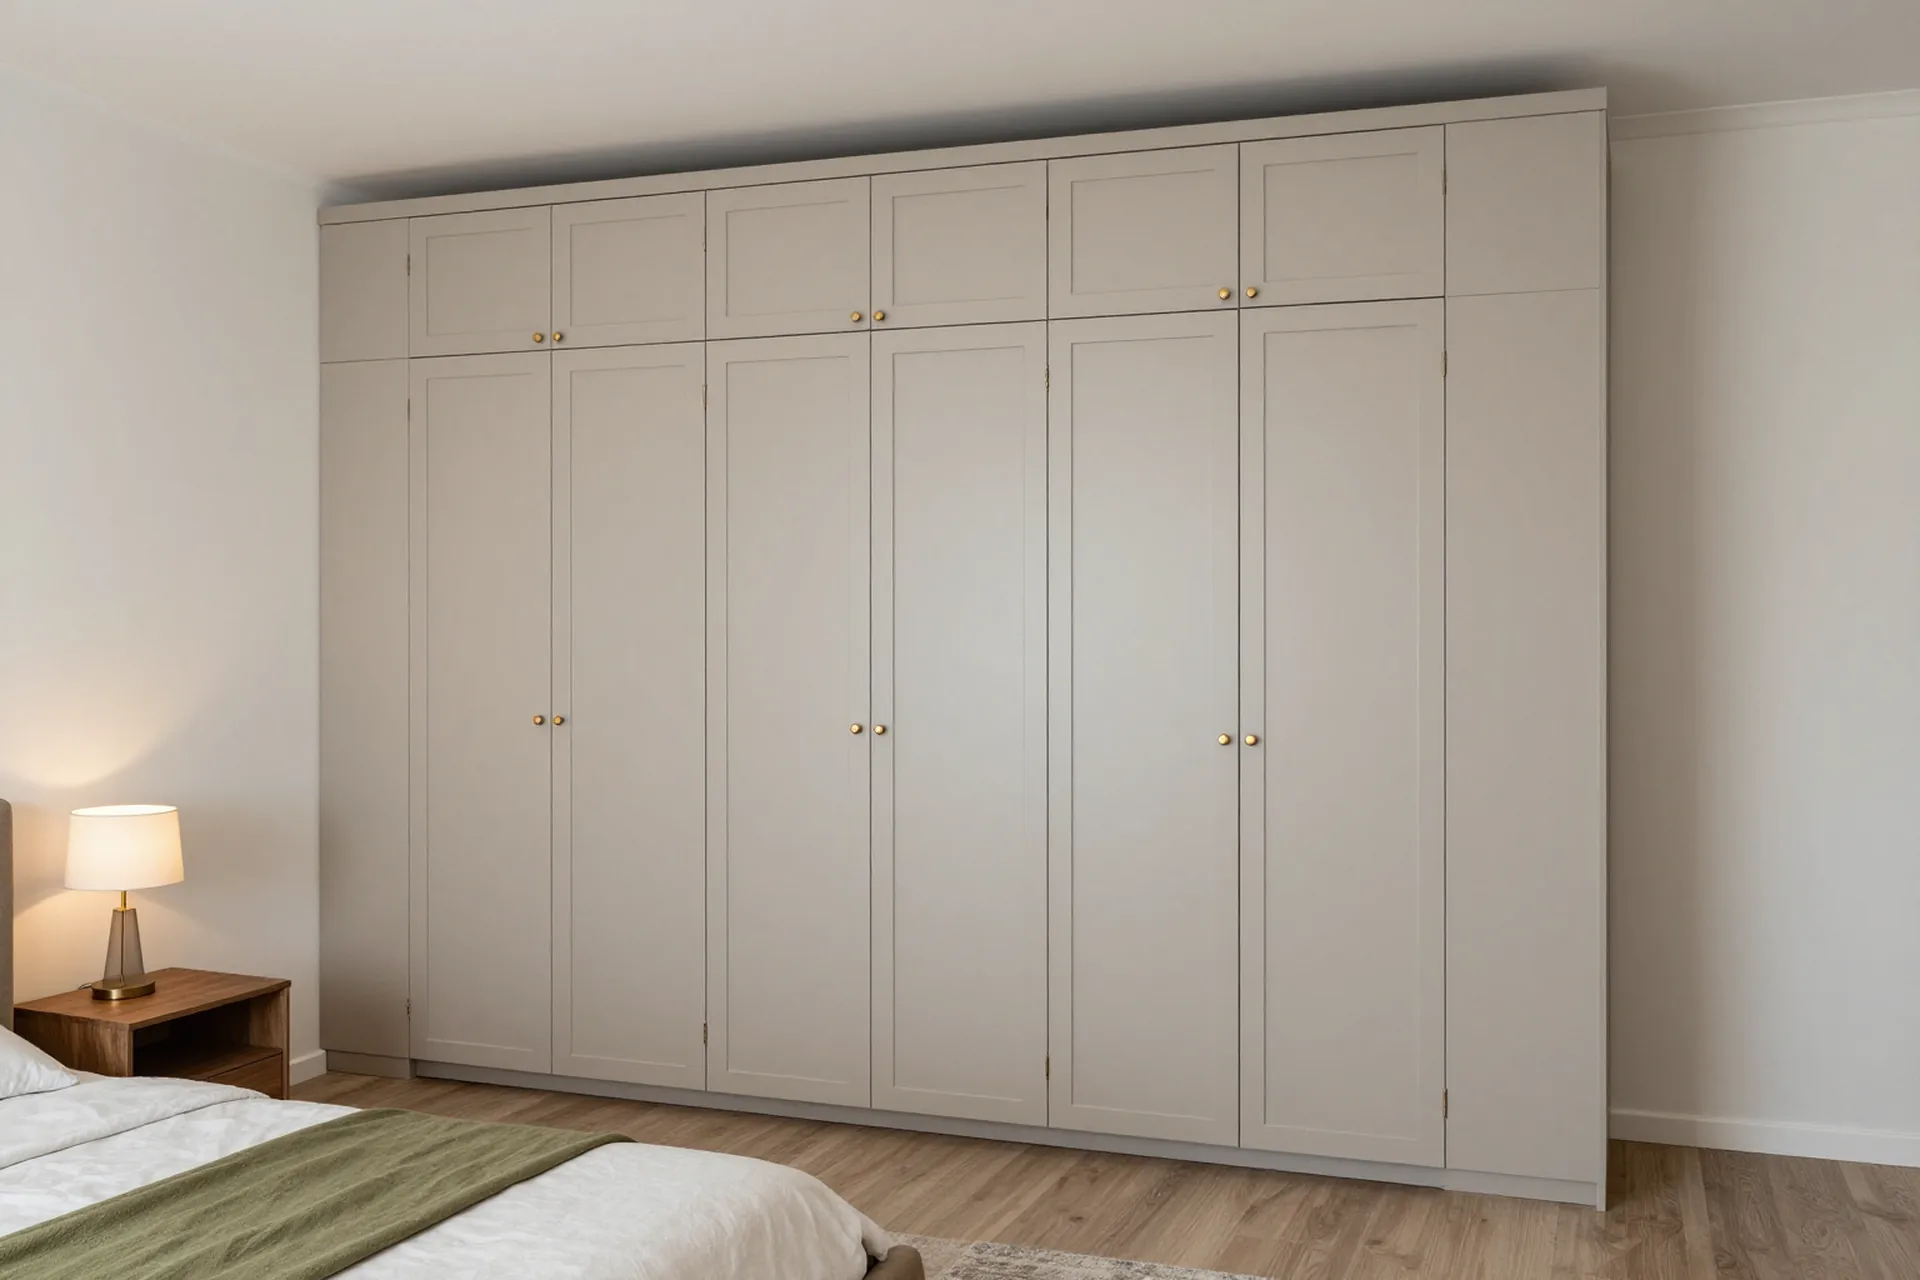
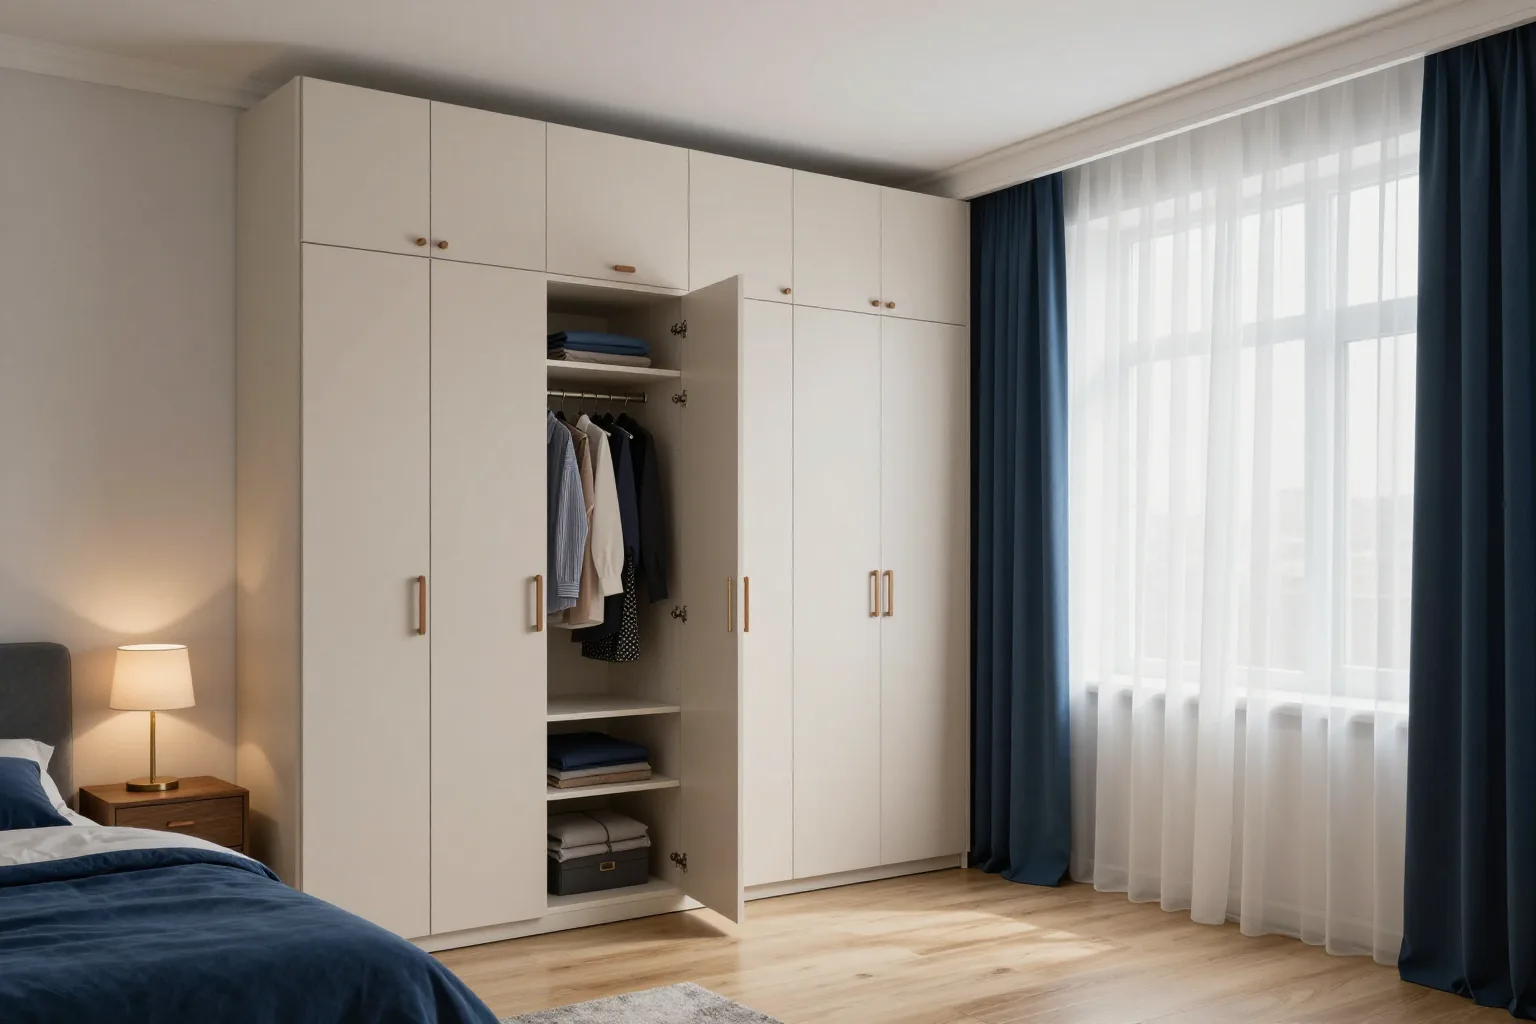
Sliding doors run on two tracks and, when open, slide one behind the other. The consequence is simple. On a two-door sliding wardrobe you can reach about half the width at once, on a three-door one about a third; this is how the system works, and it goes into the drawing before any shelves are chosen. A carcass partition is placed exactly behind each door joint. Then every section opens fully. Custom cabinet wardrobes with hinged doors are simpler: a 40–60 cm door opens its whole section, but you need clear space in front equal to its width. Any wider? Hinged doors are usually not made wider than 60 cm, because a heavy door loads the hinges and needs adjusting more often over time. Carcass partitions go behind the door joints, and drawers behind a door that opens fully.
How many sliding doors for the wardrobe width
How many sliding doors for the wardrobe width| Wardrobe width | Doors | Width of one door |
|---|
| 120–180 cm | 2 | 60–90 cm |
|---|
| 180–270 cm | 3 | 60–90 cm |
|---|
| 240–360 cm | 4 | 60–90 cm |
|---|
How to arrange sections behind the doors
- Drawers in a sliding wardrobe: they are set back from the side panel, otherwise the drawer front hits the frame of the closed door and won't pull out.
- Long-clothes section: it goes behind an end door, so you don't have to reach for coats through the middle of the wardrobe.
- Mirrored door: it goes on the brighter side, and in a narrow room opposite the window, so the reflection adds light.
- Soft-close: it matters most on sliding doors wider than 80 cm, because a heavy door without it bangs into the side panel.
How to fix a wardrobe to the wall in Almaty
Almaty lies in a seismic zone, so a tall wardrobe is fixed to the wall here even if it stands steadily. The fixings are chosen for the wall material during the measurement visit.
Why a tall wardrobe is fixed to the wall
A 2.4–2.7 m wardrobe with top cupboards is a tall, narrow box. With duvets and suitcases on the top shelves, the centre of gravity moves up, and a strong tremor can make the carcass sway and tip forward. The Almaty emergency department openly advises fixing large furniture to the walls: a falling wardrobe is dangerous in itself and can also block the way out. That's why tall custom wardrobes in Almaty should always be fixed to the wall, not only in kids' rooms. This isn't overcaution. Is it difficult? No. Two or three fixings under the top panel are invisible after installation. A wardrobe standing between the walls of an alcove is fixed too: the side walls stop it falling sideways, but not forwards. In Almaty, any wardrobe taller than a person is always fixed to the wall, with fixings chosen for the wall material.
Fixings for different walls
Fixings for different walls| Wall | What it's fixed with | What to watch |
|---|
| Concrete, monolithic | anchor or expansion plug | don't drill above sockets and switches |
|---|
| Brick | plug for solid or hollow brick | don't fix into the mortar joint |
|---|
| Aerated concrete block | aerated concrete plug or chemical anchor | an ordinary plug just spins |
|---|
| Plasterboard | into a metal stud or mounting batten | never into bare board |
|---|
What else reduces the risk in a tremor
- Heavy things low: packed suitcases, boxes of books and crockery stay in the bottom tier, and only light things go up top.
- Top cupboard doors: hinged doors up high get soft-close hinges or a catch, so a tremor can't swing them open.
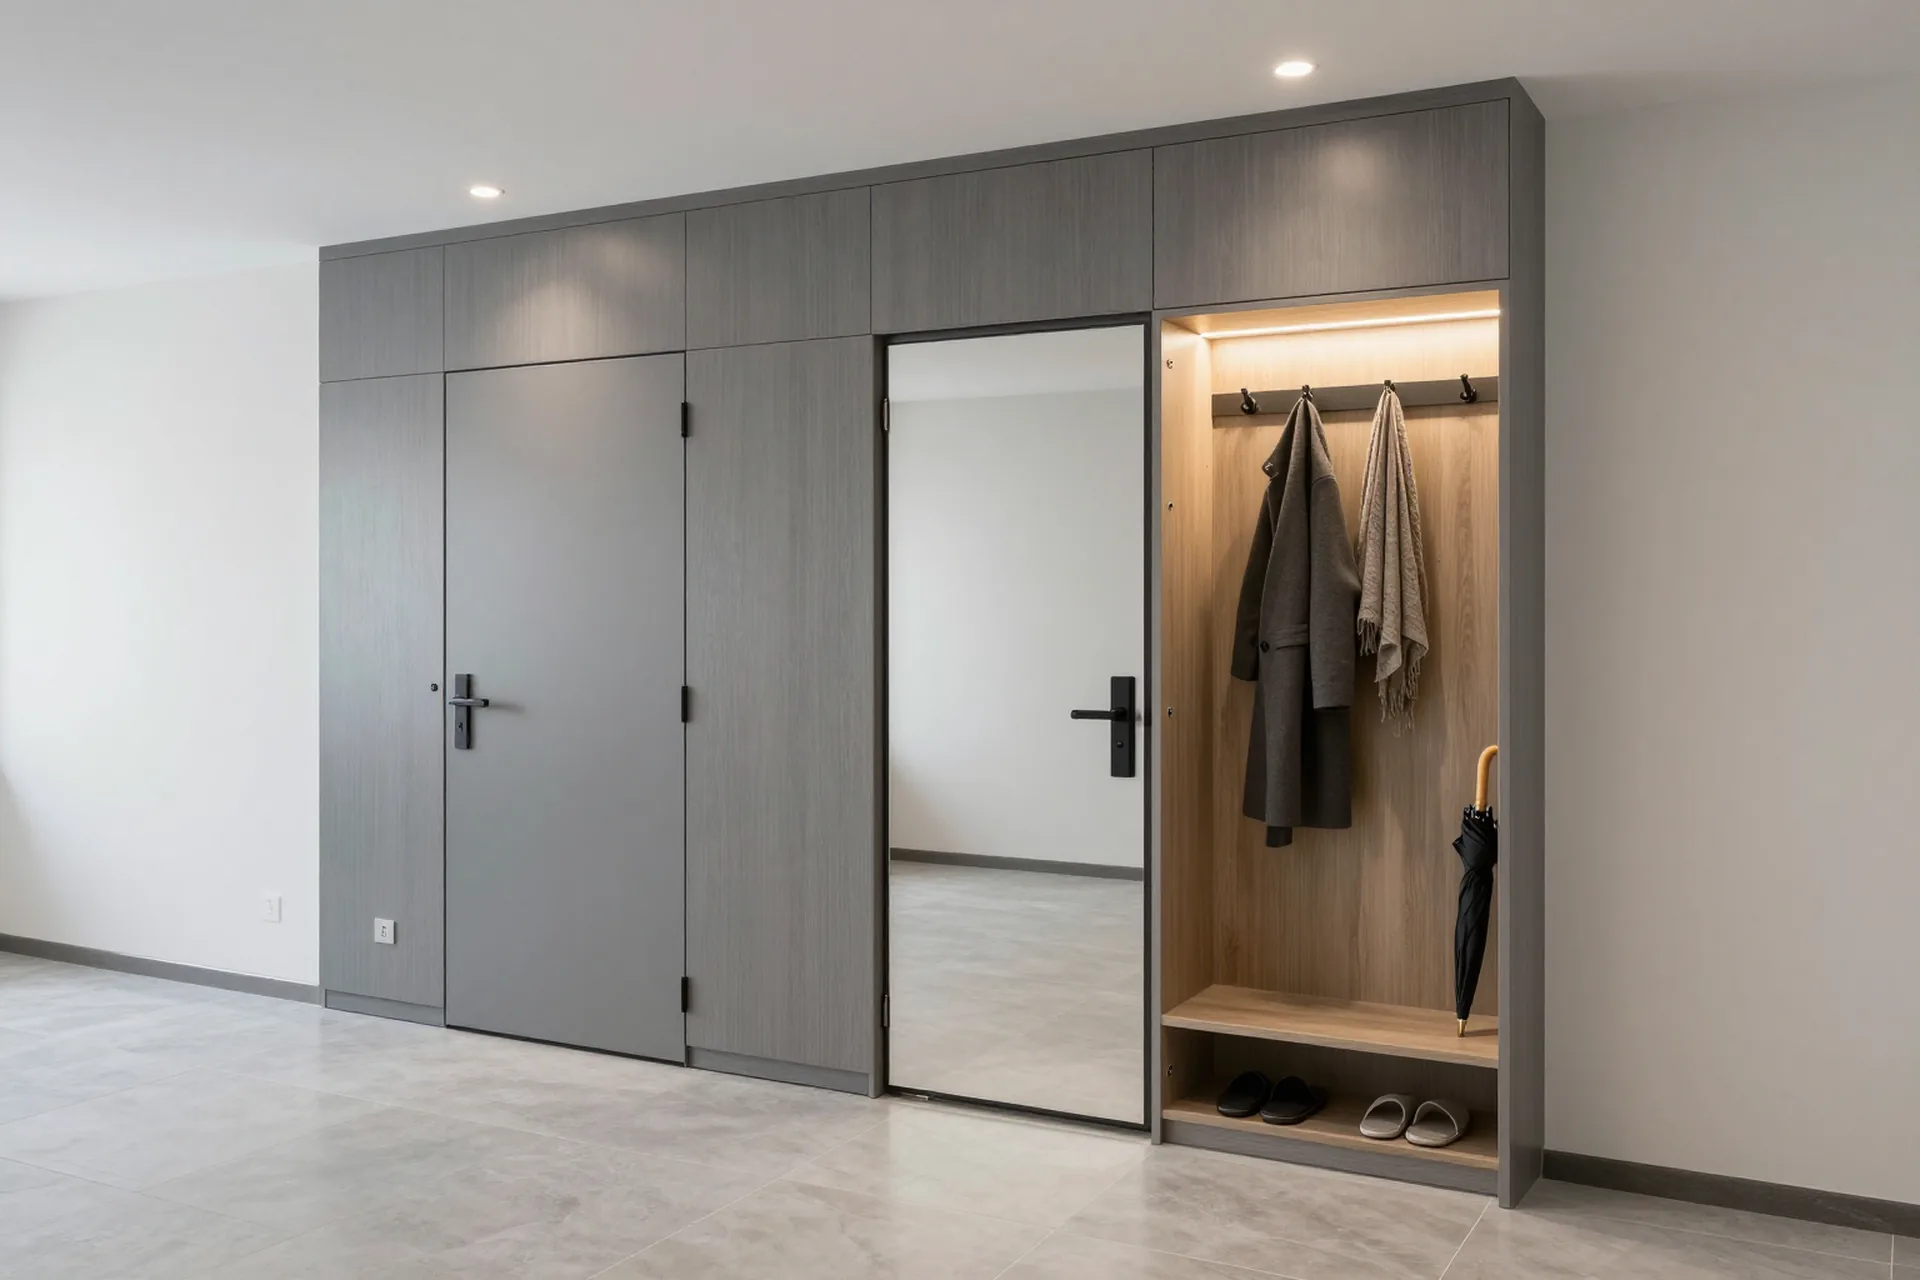
- Way out: a hallway or corridor wardrobe is planned so that even its open doors don't block the path to the front door.
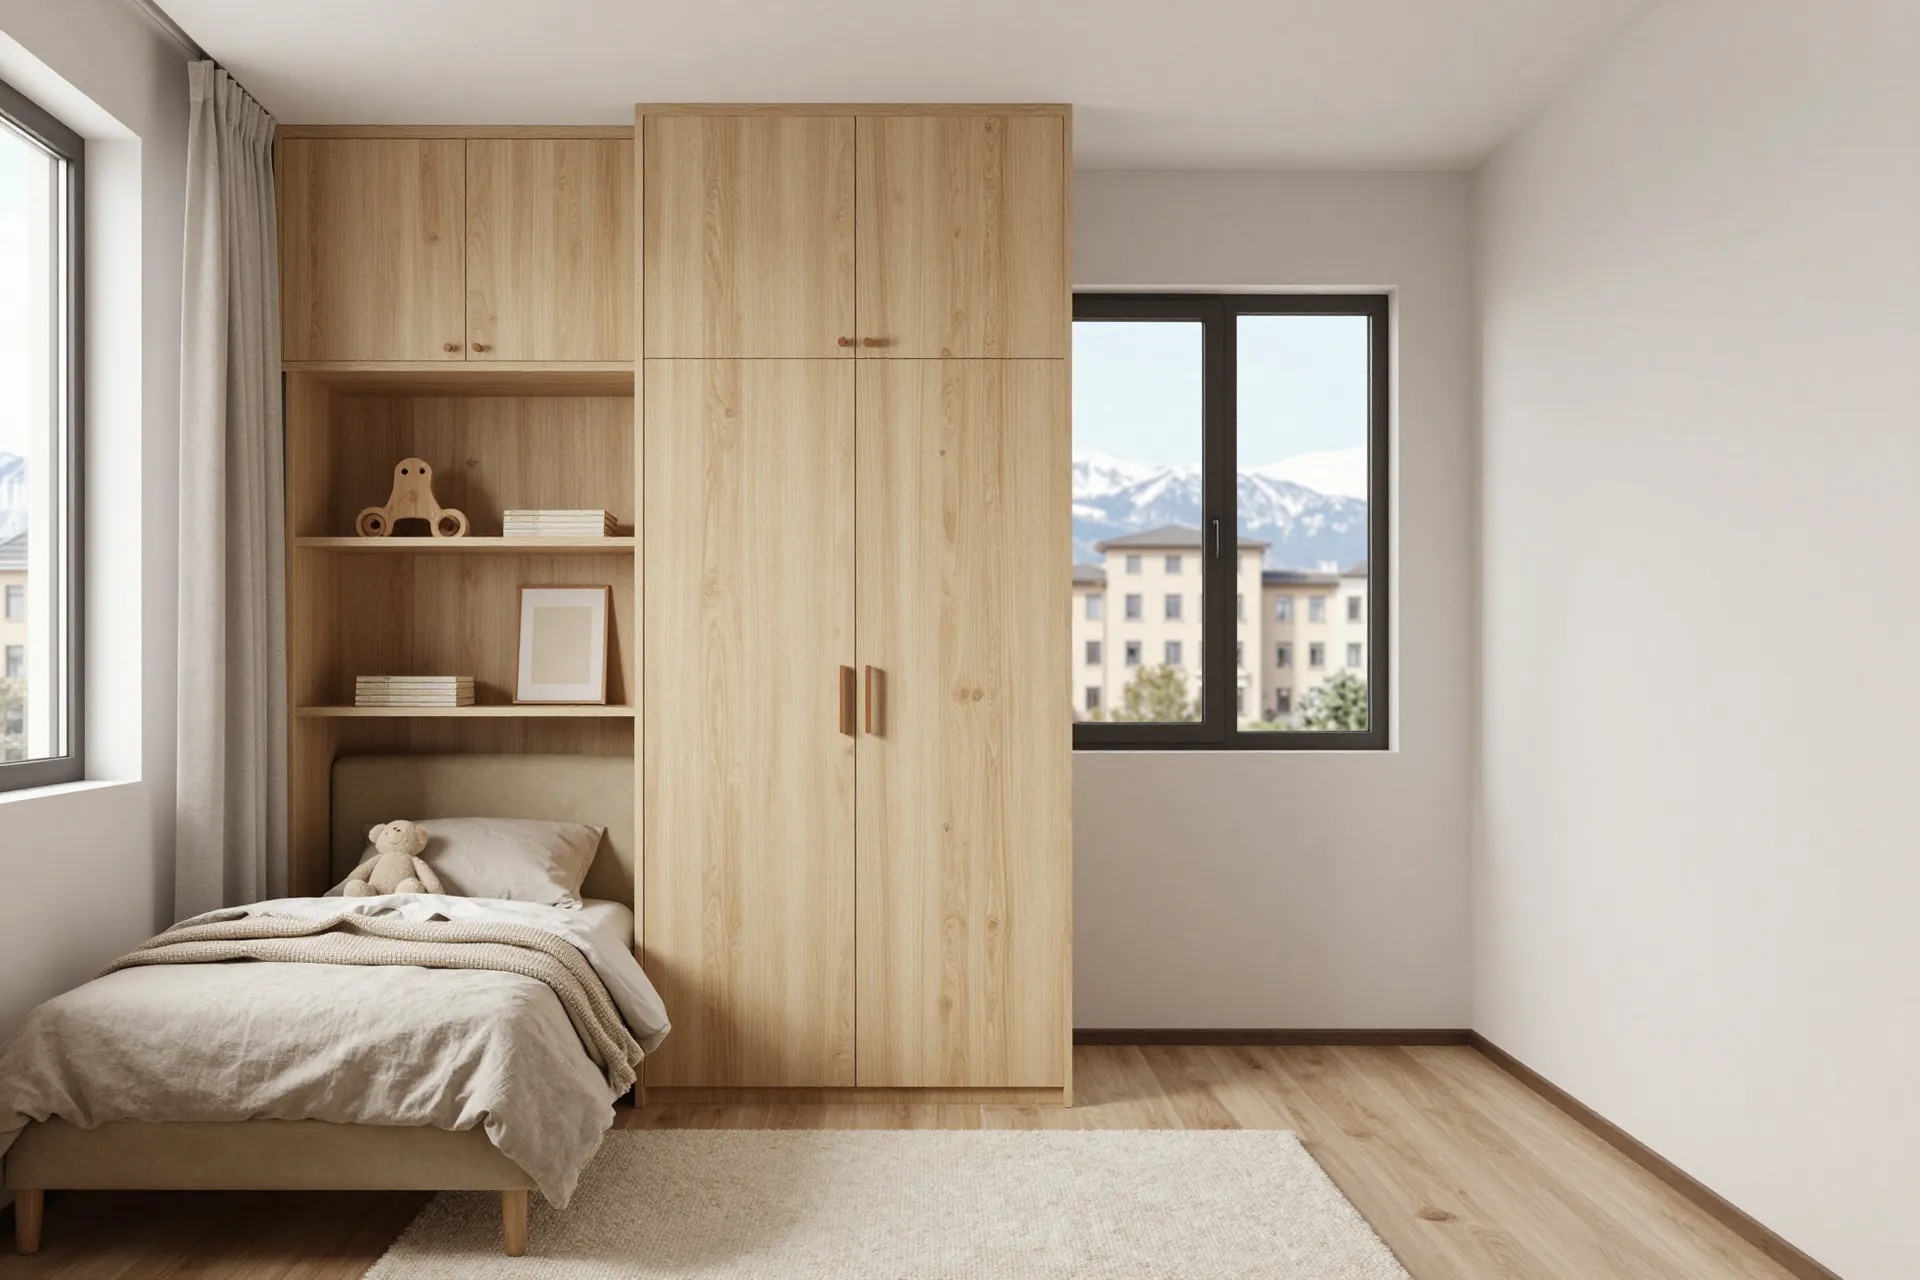
- Beds: a tall wardrobe never stands at the head of a bed, and in a kids' room it is fixed to the wall in any case.
Where you can safely save money
When people search for a custom wardrobe price, they hope for a single figure, but a wardrobe is priced by what goes into it. The totals for standard sizes are in the price list above; here is what moves them.
Five things that move the price
- Front area: a wardrobe is priced by the width and height of its doors, so a floor-to-ceiling one costs more than a lower one of the same width.
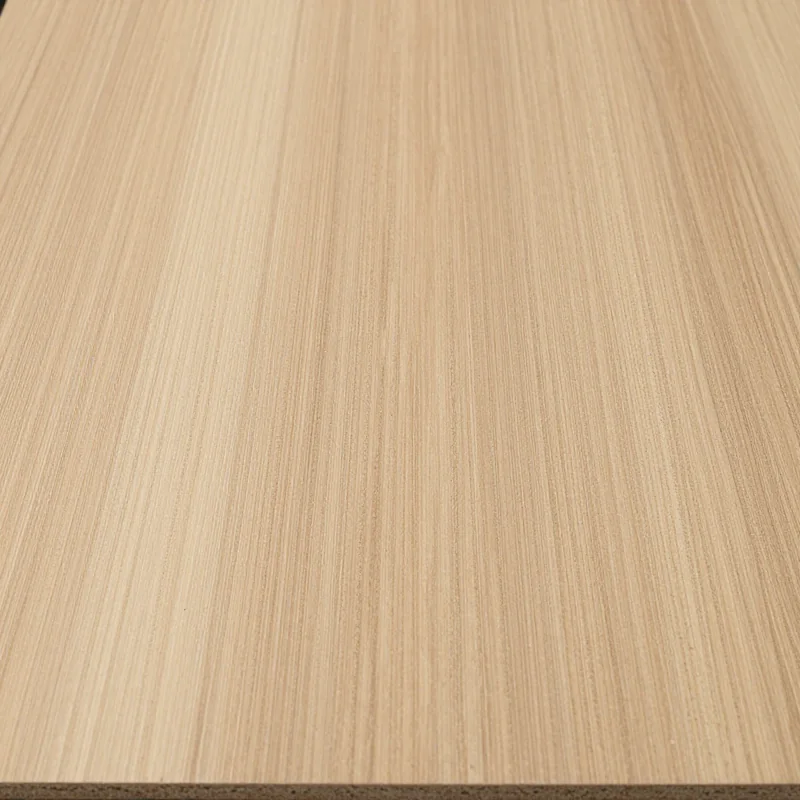
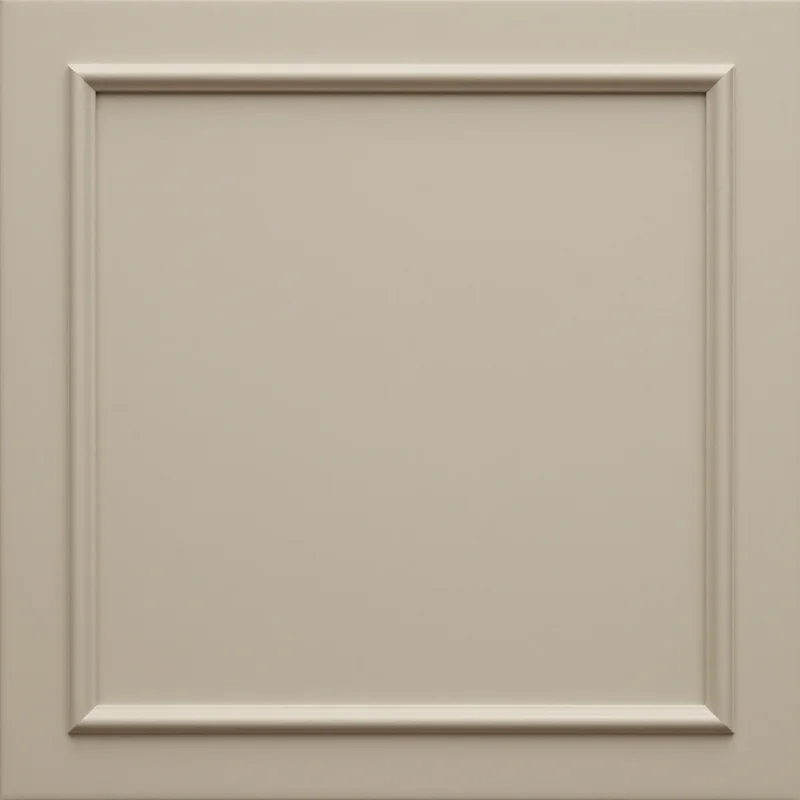
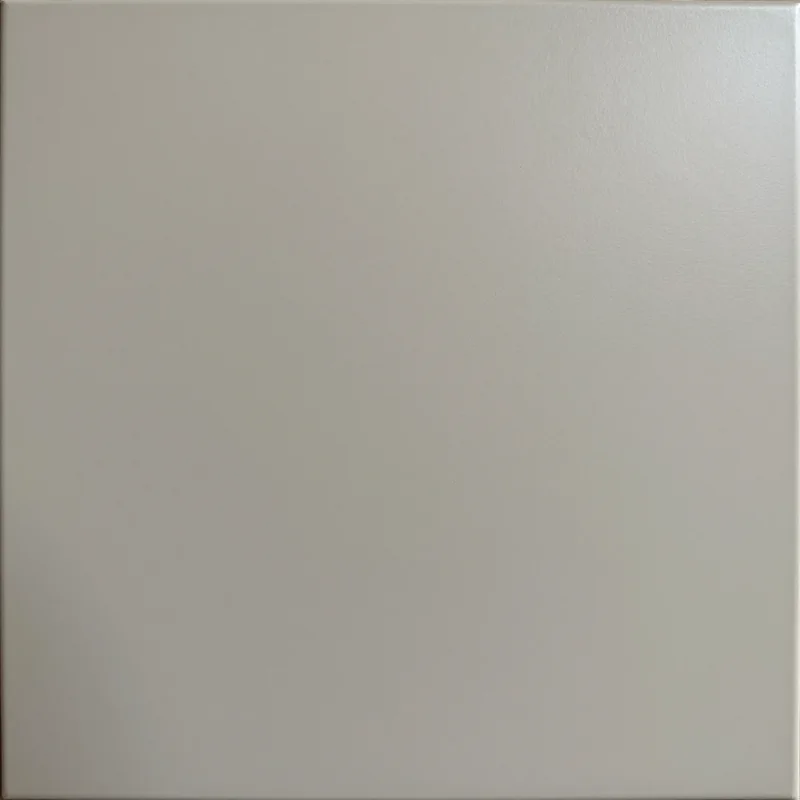
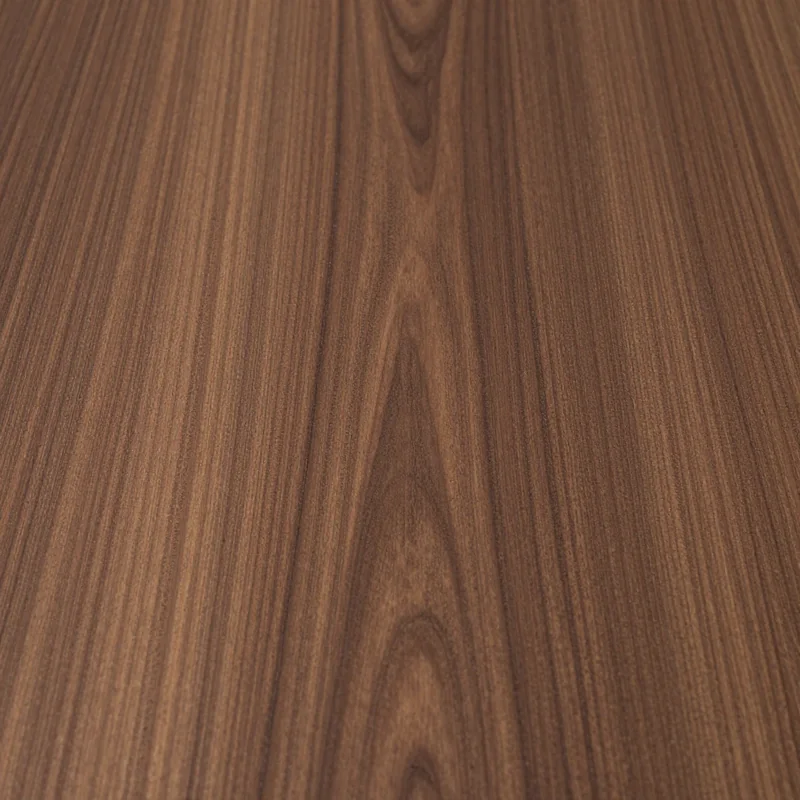
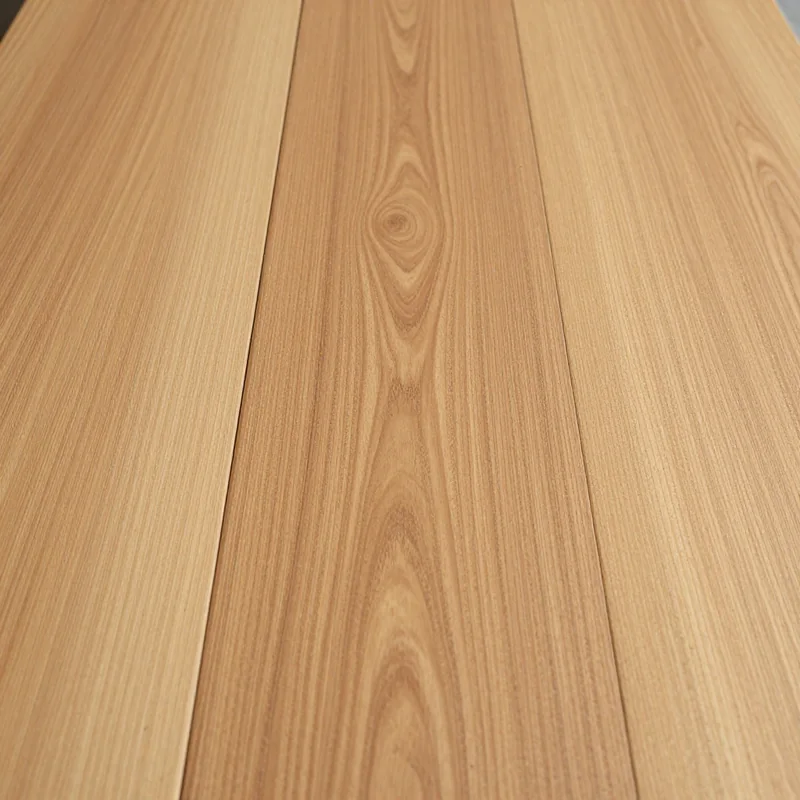
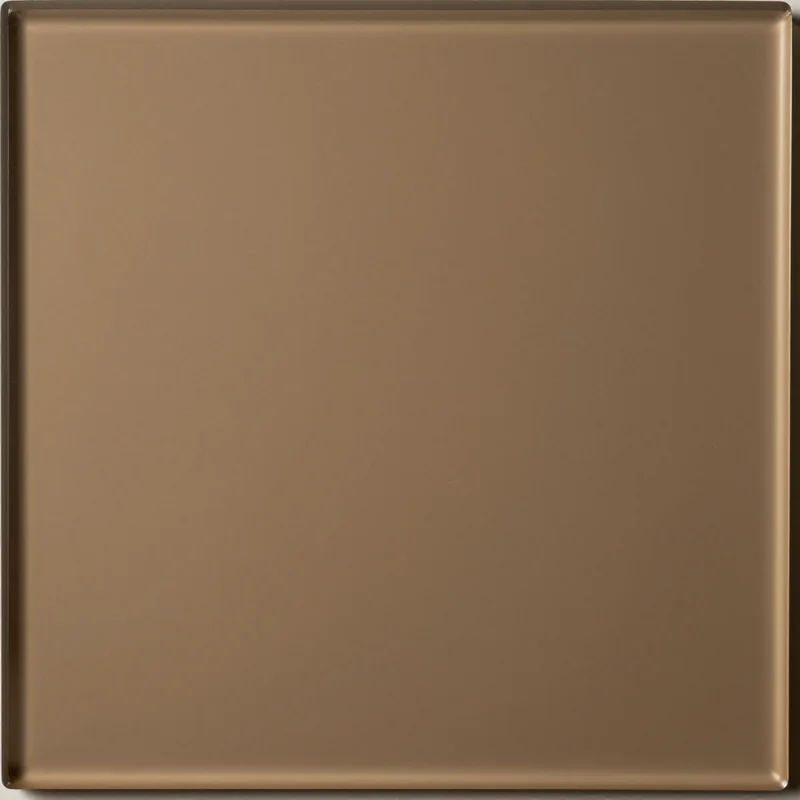
- Front material: chipboard is cheaper than foil-wrapped MDF, foil is cheaper than enamel, and veneer and solid wood cost more than everything else.
- Door system: sliding doors need a track and rollers, hinged doors need hinges, and mirror or glass adds to the cost of a door.
- Pull-out parts: every drawer, basket and trouser rack comes with its own runners, and ten drawers cost noticeably more than shelves.
- Hardware: hinges and runners of different classes differ in service life, quietness and price, even though they look almost the same.
Where you can save
It makes sense to save on what you see, not on what works. Start with the fronts. Chipboard fronts in a bedroom last just as well as enamel and are easier to look after, while enamel can be kept for the living room, where the wardrobe is on display and guests notice it. Drawers are expensive. Fit two instead of five and put the rest on shelves and in baskets: the price difference is noticeable, the difference in convenience hardly at all. One mirrored door instead of three also brings the estimate down. And the whole wall? You don't have to fill it: a section that will stand empty costs the same as one you need. This is how custom wardrobes come out affordable without losing quality, by changing what goes in rather than skimping on board and hinges. Save on fronts and the number of drawers, but never on door hardware, edging or wall fixings.
What not to save on
Door hardware is the first thing to fail. A sliding roller that starts sticking after a year turns every morning into a small fight with the door, and no handsome front makes up for that. Blum hinges and runners carry a 25-year manufacturer's warranty, which is a direct answer to how long the mechanics will last. Next comes edging. A 2 mm PVC edge on every visible edge protects the board from moisture and chips near the floor, where the vacuum cleaner knocks against it; a thin edge looks the same but starts peeling at the corners after a couple of years. The third is fixing the tall carcass to the wall: anchors and brackets cost next to nothing compared with the wardrobe. Door mechanics, edging and fixings decide how long a wardrobe lasts more than the front material does.
How to check a wardrobe after installation
Buying a custom wardrobe is half the job; the other half is checking it on installation day. It takes about fifteen minutes, and it's best done before you sign the acceptance certificate.
What to check on installation day
- Gaps between doors: the gaps are even all the way up, the doors sit in one plane and don't catch on each other.
- Sliding door travel: the door runs without jerks or knocks, doesn't jump off the bottom track and comes gently to a stop at the side.
- Drawers: each one pulls out fully, closes by itself with the soft-close and doesn't touch a door frame or the next drawer.
- Edging and edges: no chips, bubbles or peeling on visible edges, and the edging colour matches the board.
- Cut-outs and joins: the cut-outs for skirting and sockets are neat, and the gap to the ceiling is closed with a strip.
- Wall fixing: the tall carcass is fixed, and the wardrobe doesn't rock if you pull the top towards you.
What can be adjusted and what counts as a defect
A crooked door looks worse than it is. Hinges on hinged doors adjust in three directions and sliding rollers adjust for height, and the installer sets them in a few minutes in front of you; a drawer that doesn't quite reach the soft-close is fixed on the spot too. A defect looks different. Chipped board, mismatched front shades, scratches on a mirror or a section of the wrong size are defects, and making custom wardrobes without them is the maker's duty, not something to haggle over. They go into the certificate. We fix such defects under the warranty, which runs for 24 months under the contract. The second half of the payment is made after the acceptance certificate, so take your time going through the list before you sign (ideally in daylight, as a shade mismatch doesn't show under a lamp). Misaligned doors are adjusted on site, while chips, shade mismatch and wrong sizes are manufacturing defects covered by the warranty.
How to make a wardrobe last longer
A wardrobe doesn't wear out as a whole, but in five or six parts that work every day. Most of them can be looked after in ten minutes without a technician.
A wardrobe's weak points
A wardrobe's weak points| Part | Sign | What to do |
|---|
| Bottom sliding track | door jerks and knocks | vacuum the track, wipe the rollers |
|---|
| Hinges on hinged doors | door has dropped and catches the next one | tighten the hinge adjusting screw |
|---|
| Long rail | sags in the middle | add a middle support |
|---|
| Edging near the floor | a corner is lifting | glue it straight away, before moisture gets in |
|---|
| Mirrored front | streaks, dark spots near the edge | clean without ammonia, don't pour onto the edge |
|---|
Caring for sliding doors and mirrors
The bottom track of a sliding wardrobe is the biggest dust trap in the flat. Sand and pet hair pack into the groove, the roller starts to bounce, and within a few months the door runs in jerks. The cure is a vacuum cleaner with a narrow nozzle once a month. That's it. The rollers don't need oiling, as oil only collects dirt. A mirrored front is cleaned with a soft cloth and an ammonia-free cleaner, with the liquid applied to the cloth, not the mirror: if it runs down to the edge, the silvering there darkens over time. Wardrobe manufacturing builds the service life into the board and hardware, but how many years the doors keep running quietly depends a lot on this simple habit. And if a door still knocks after cleaning, a technician will reset the rollers under the warranty. Most wardrobe "breakdowns" are dust in the track and loose hinges, which take ten minutes to sort out.
When to call a technician
- A sliding door drops out of the track: a top roller or stopper has shifted, and adjusting it yourself will only make things worse.
- A drawer no longer closes with the soft-close: usually a runner has shifted, and it is set by marking, not by eye.
- The carcass creaks when you open the doors: the connectors have worked loose or the wardrobe has settled on an uneven floor, and it needs re-levelling.
- A chip or crack in a mirror: such a front is replaced completely, because a small chip spreads over time.
Wardrobes and cabinets in brief
Five points worth keeping in mind from the first measurement to the final check on installation day.
Five takeaways
- Measuring: a wardrobe is sized to the narrowest and lowest point of the opening, and skirting, sockets and underfloor heating are noted in advance.
- Interior: rail length comes from the number of hangers, short clothes hang in two tiers, and drawers go in the bottom tier.
- Doors: sliding doors are 60–90 cm wide, carcass partitions sit behind the door joints, and hinged doors are no wider than 60 cm.
- Fixing: in Almaty a tall wardrobe is always fixed to the wall, with fixings chosen for concrete, brick, aerated block or plasterboard.
- Savings and handover: save on fronts and the number of drawers, not on hardware and edging, and check the wardrobe before signing the certificate.