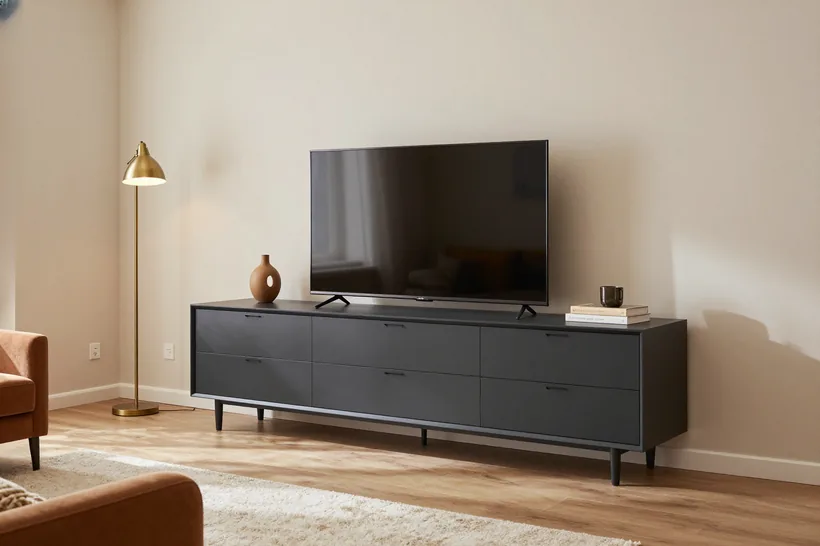
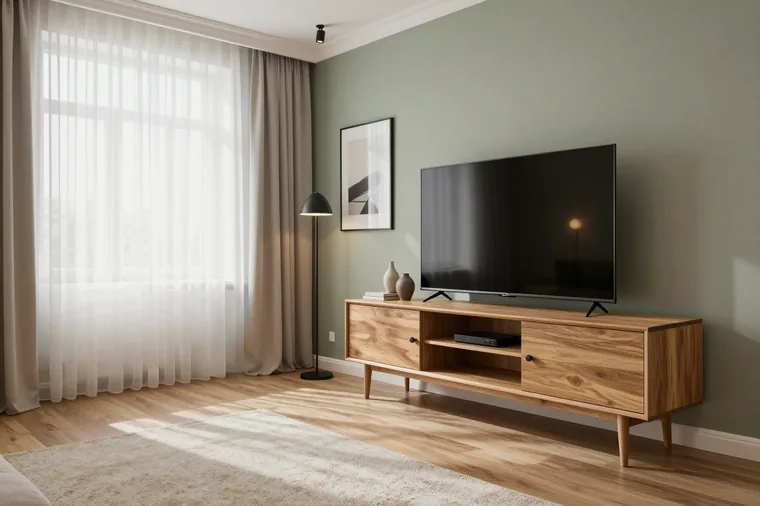
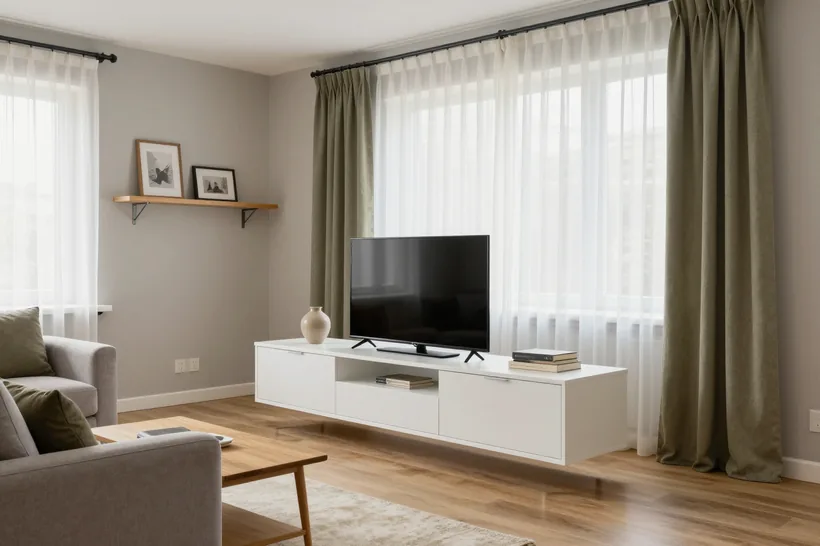
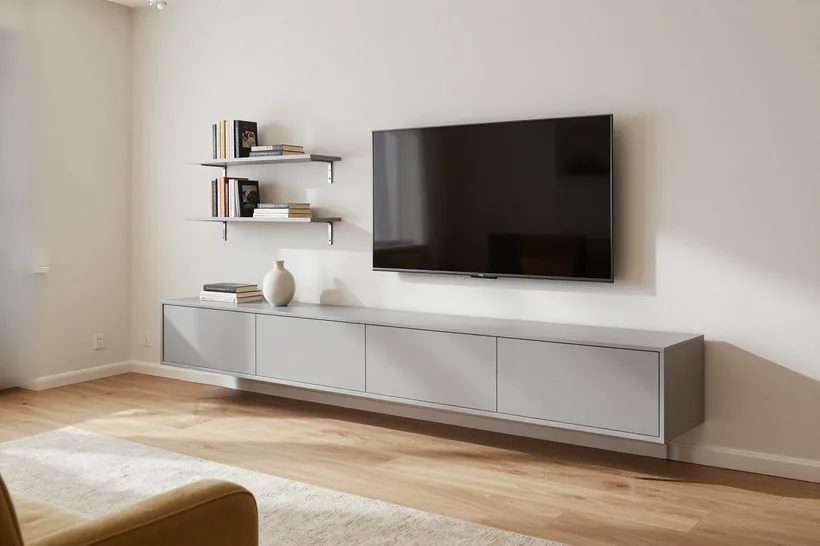
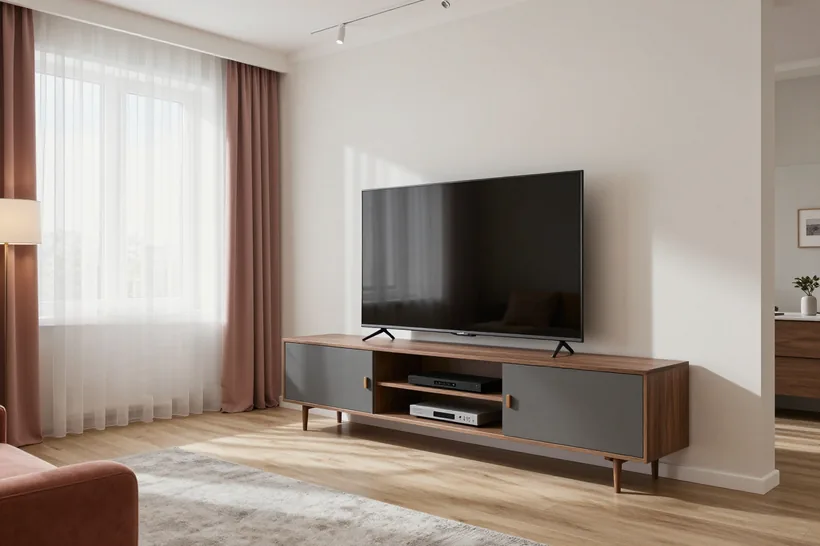
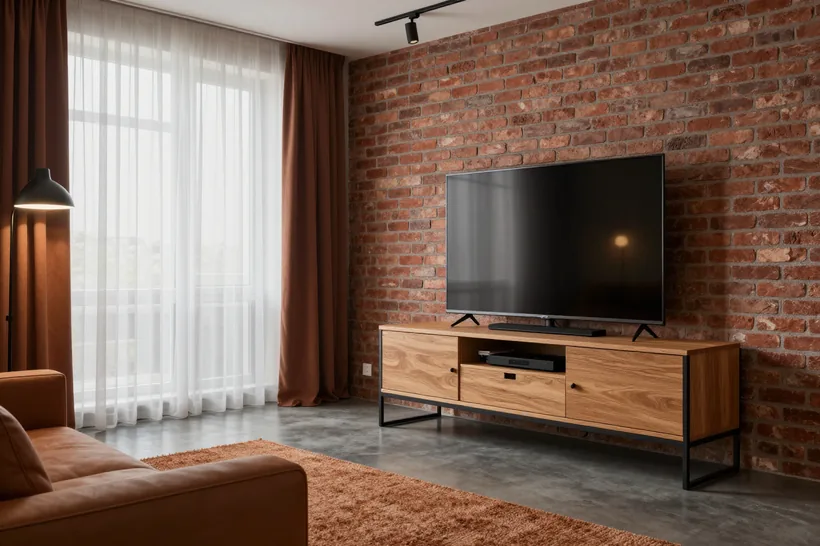
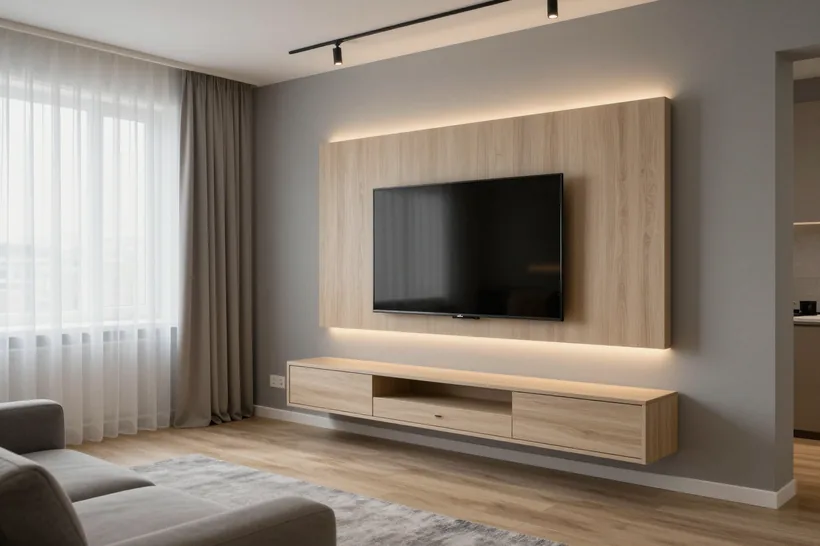
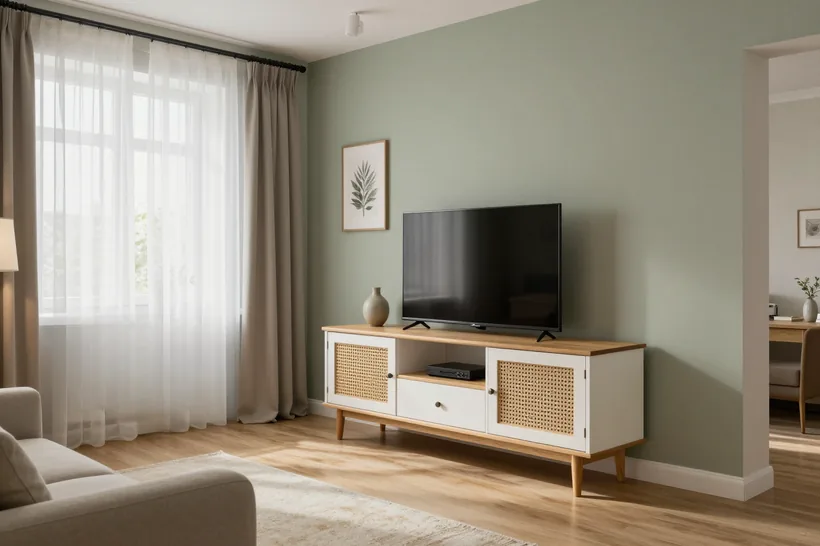
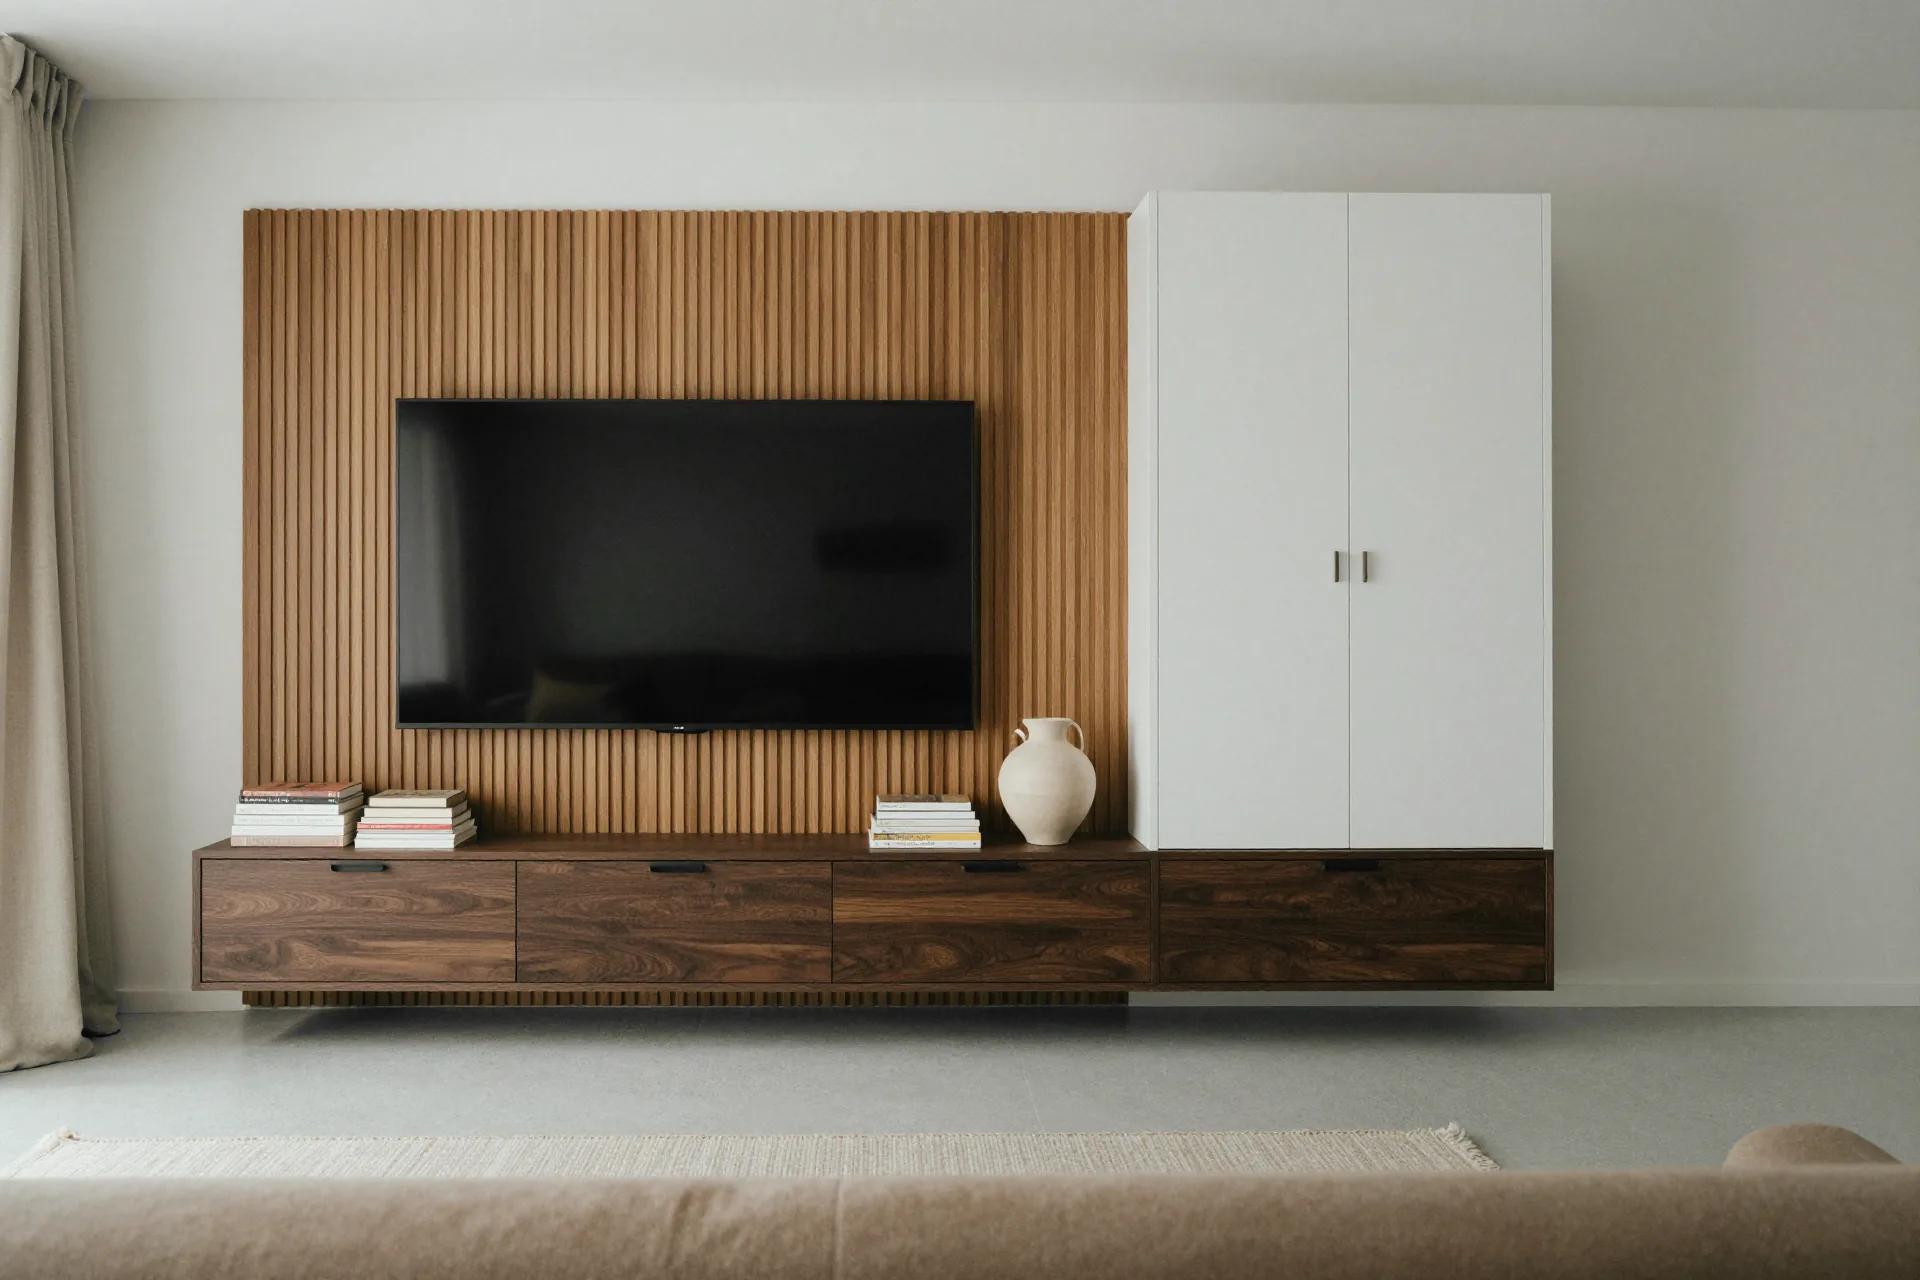
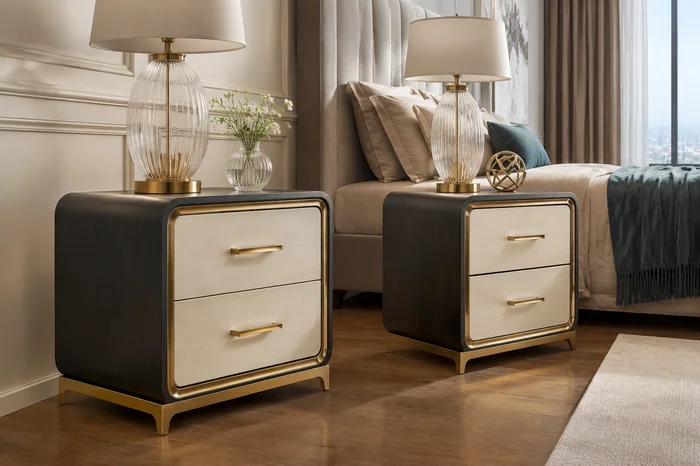
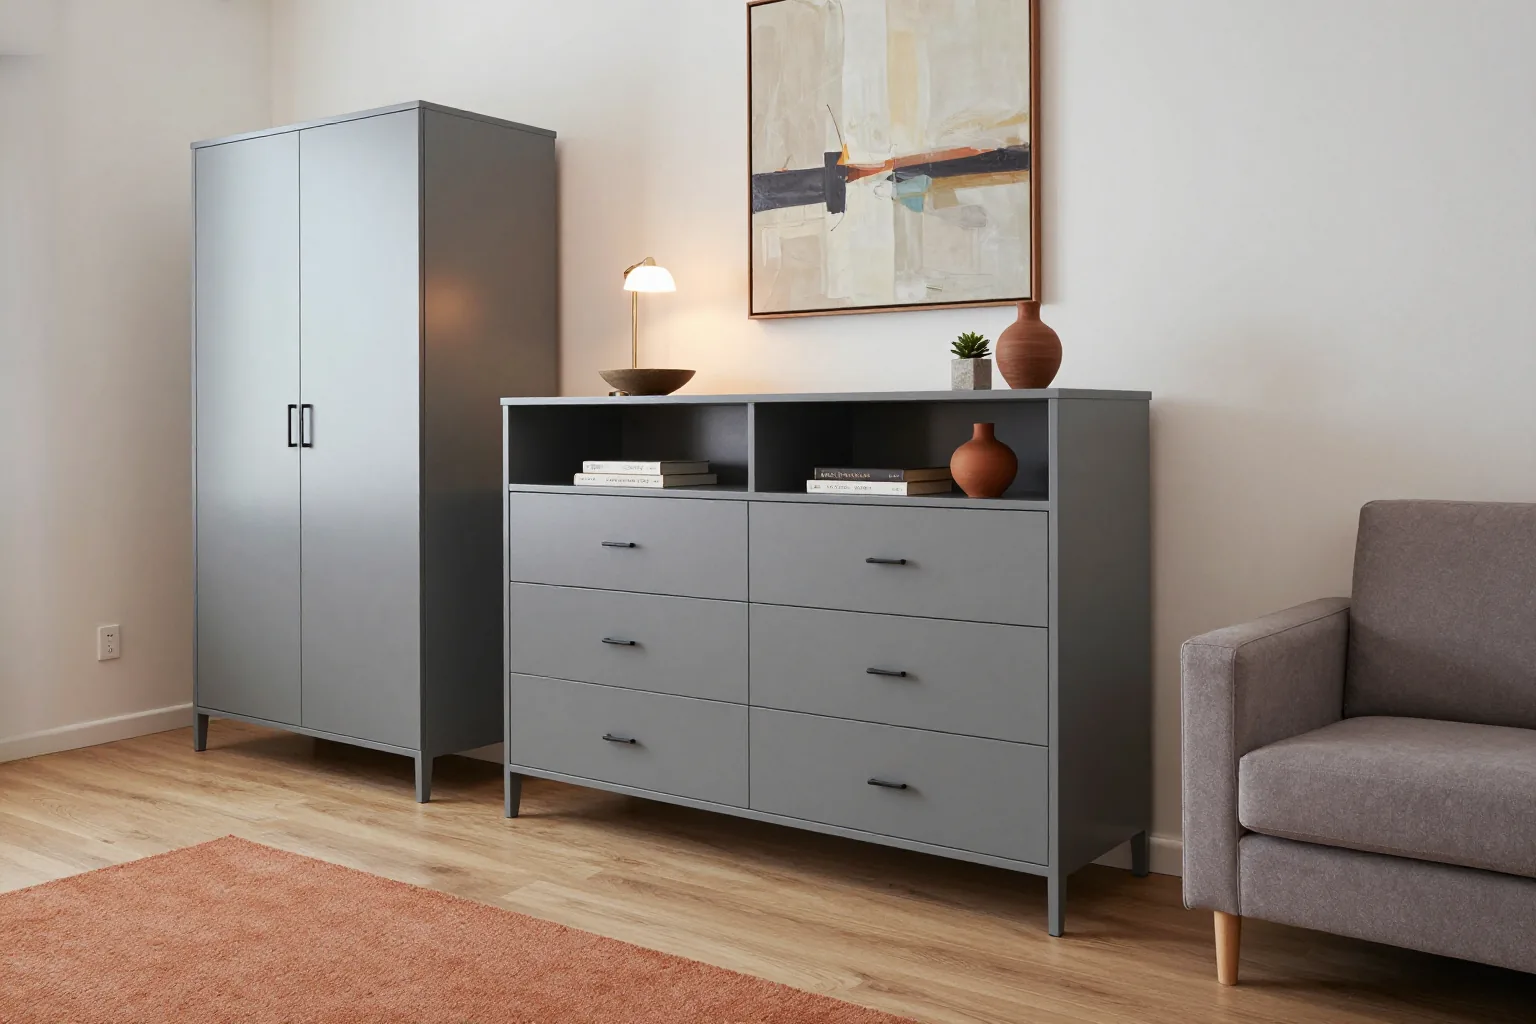
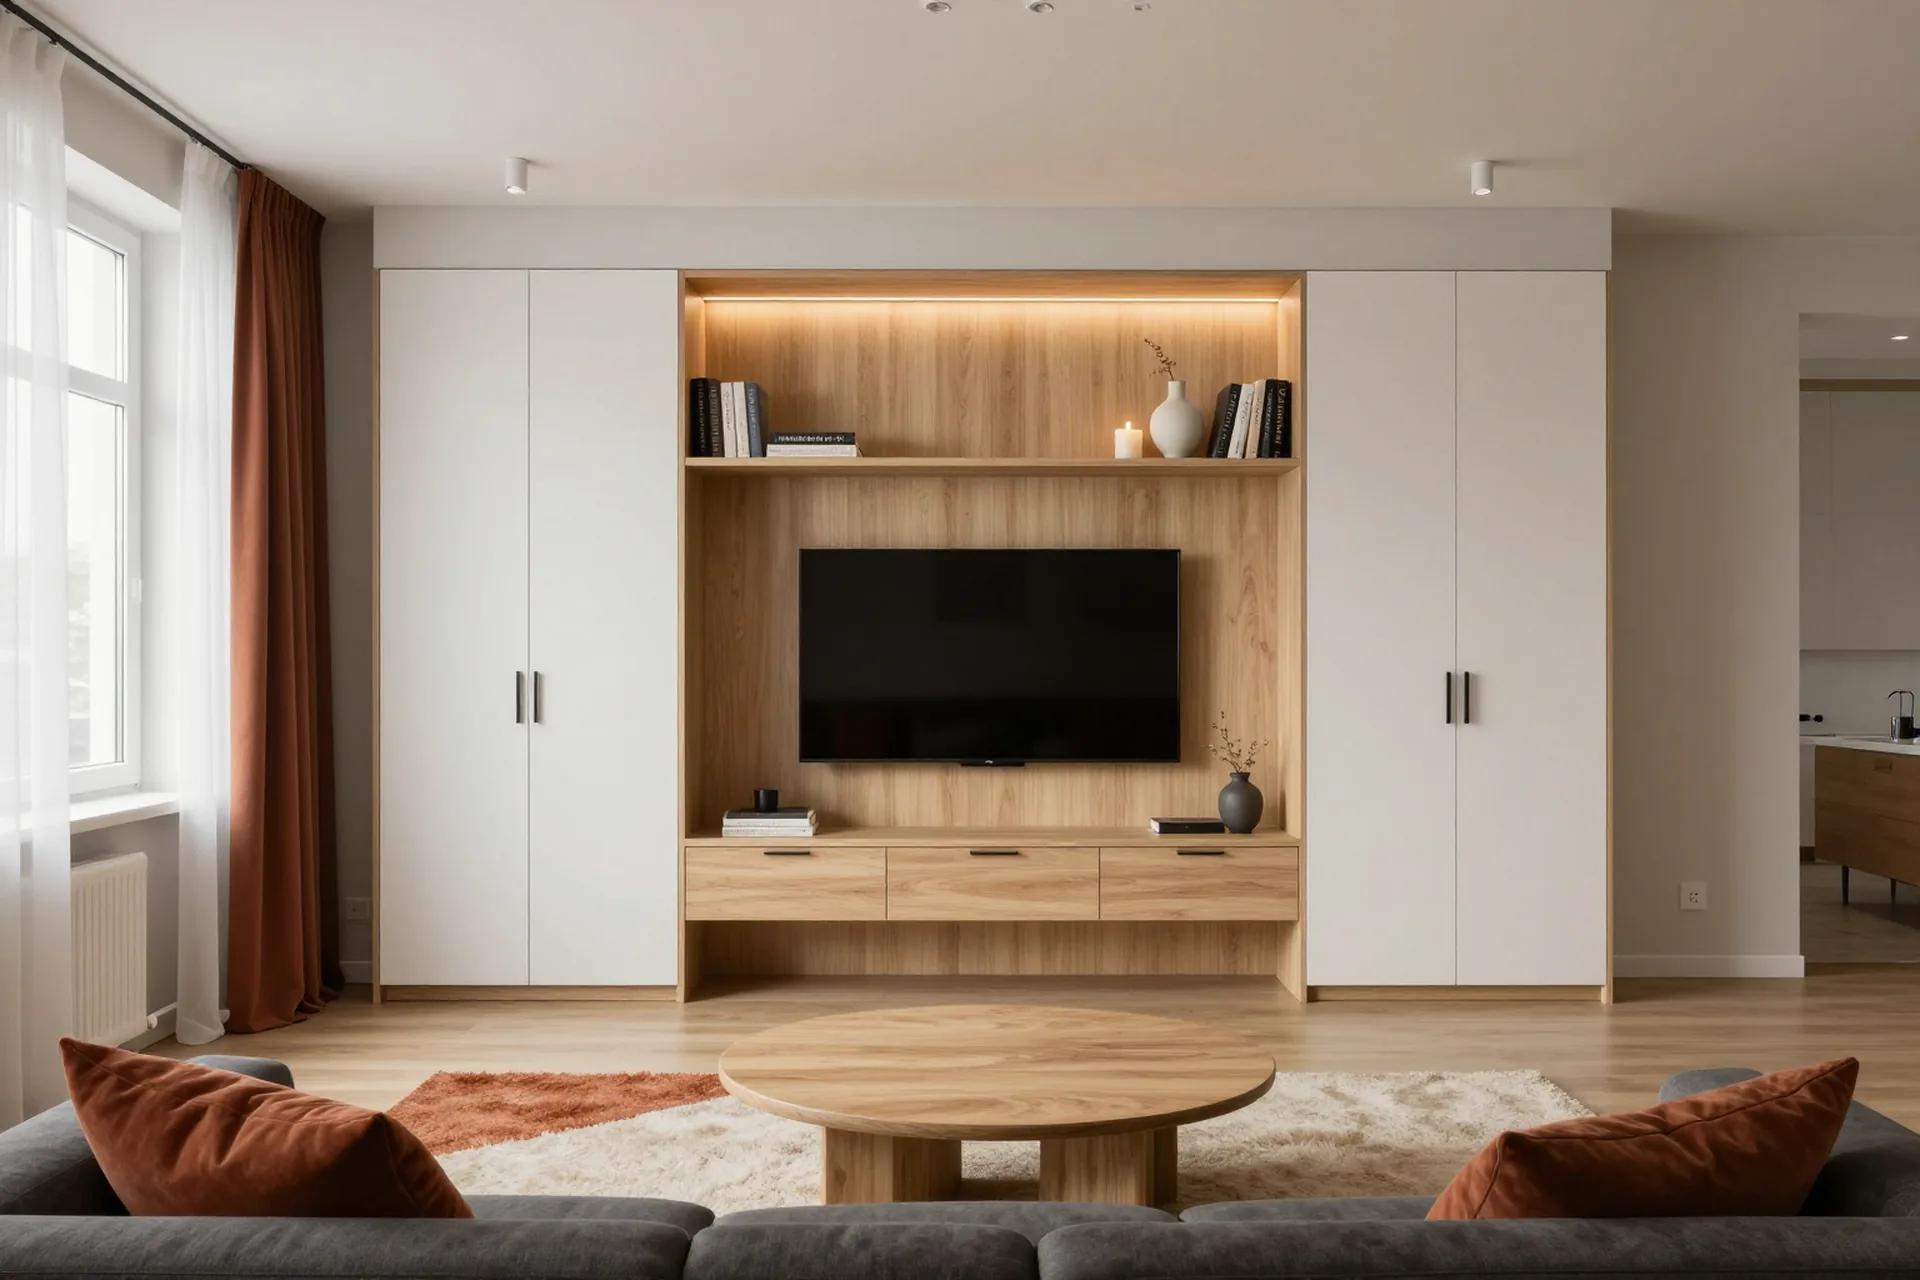
Custom TV stands at MEBLIX have been made in Almaty since 2013 in our own 600 m² workshop. We design the structure for the screen diagonal and the weight of the equipment, account for the load on the countertop, build in ventilation and concealed wiring, and fit it to uneven walls. Free measurement and 3D design, installation by our own crews, 24-month warranty under the contract.
A made-to-measure cabinet starts not with a picture but with the dimensions of the room and the equipment. We explain what versions exist, how to take measurements for a niche, and how the carcass fits against an uneven wall.
What versions of a TV stand exist
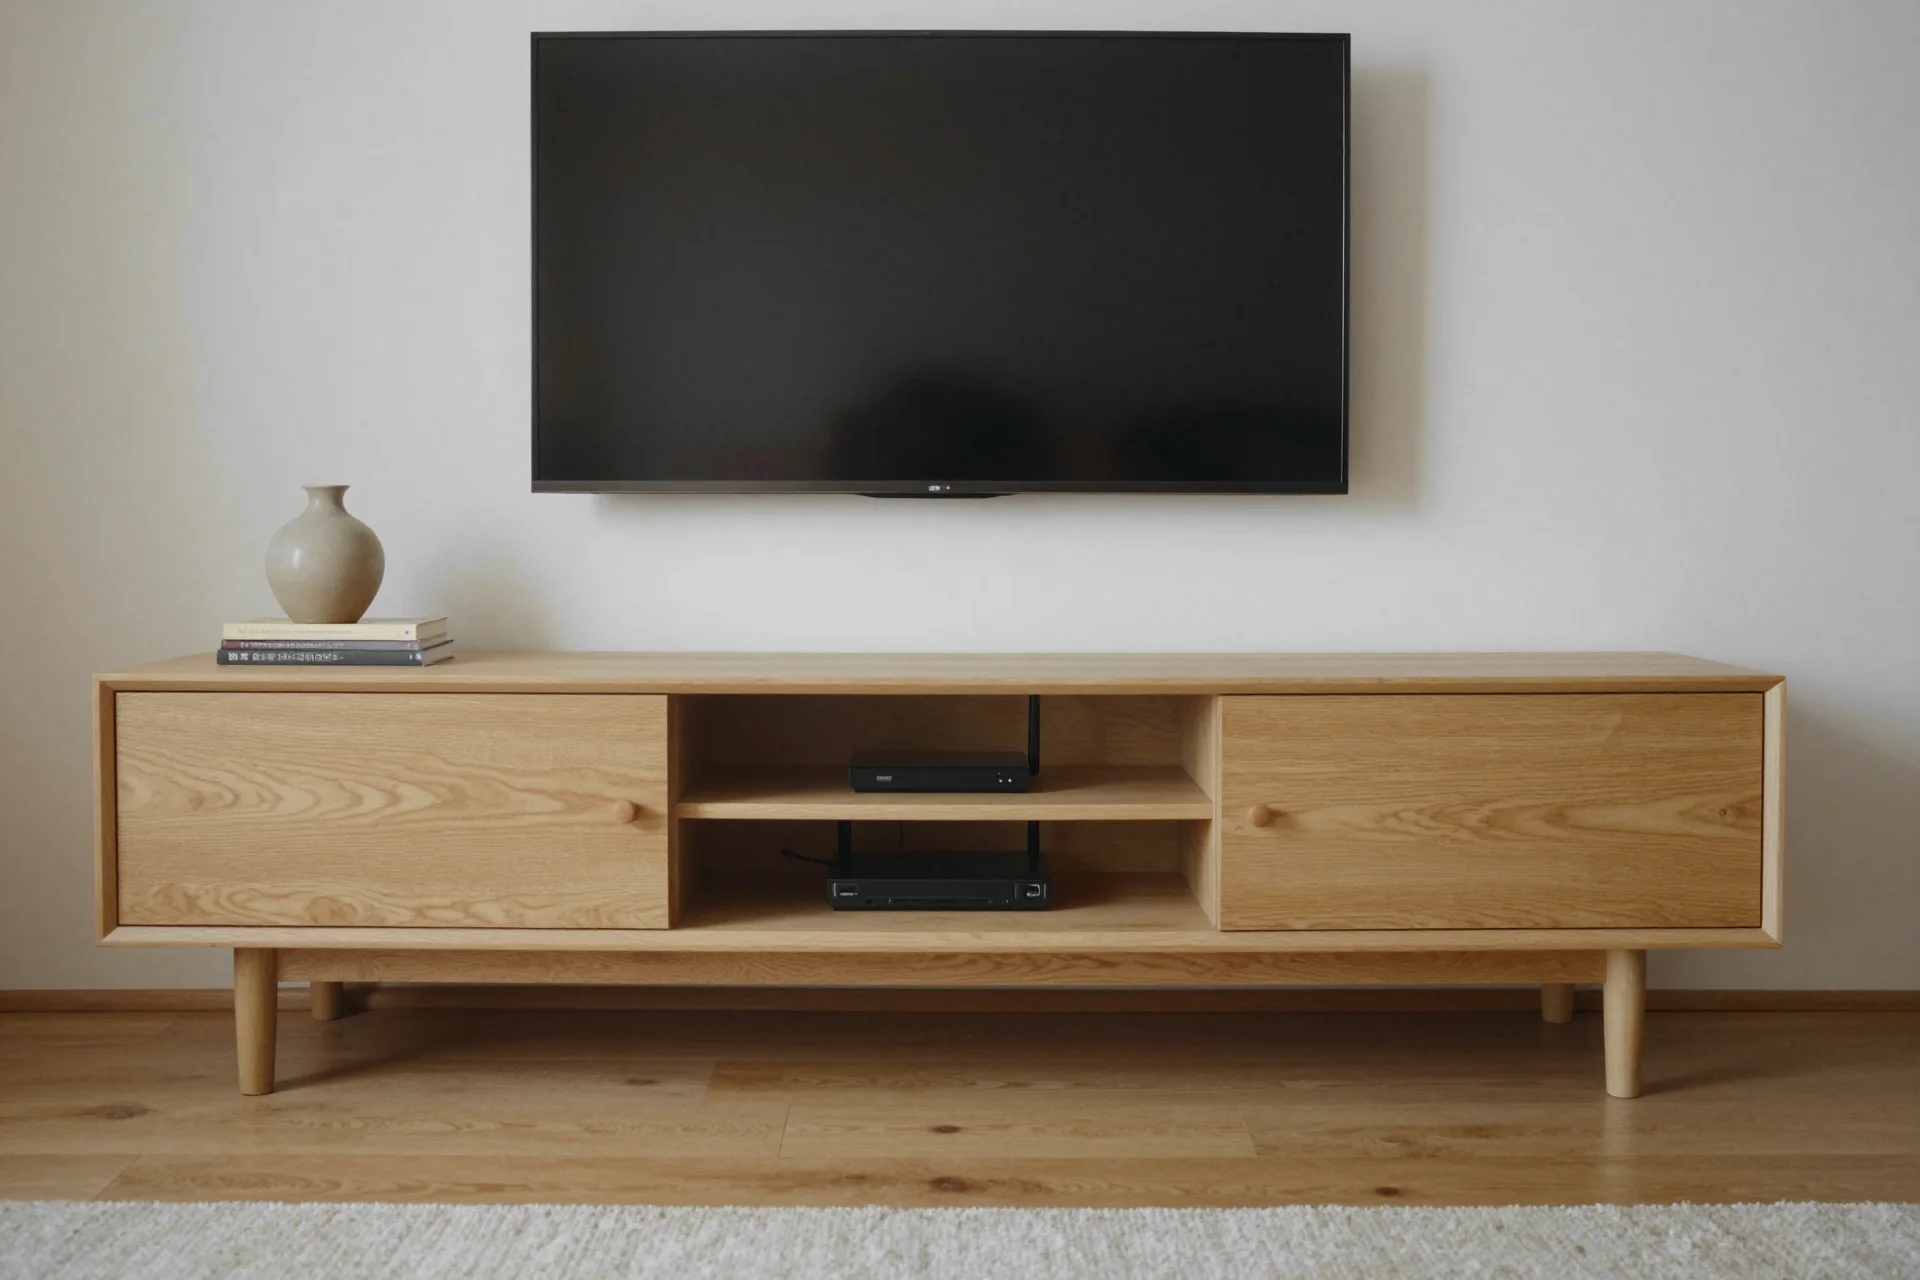
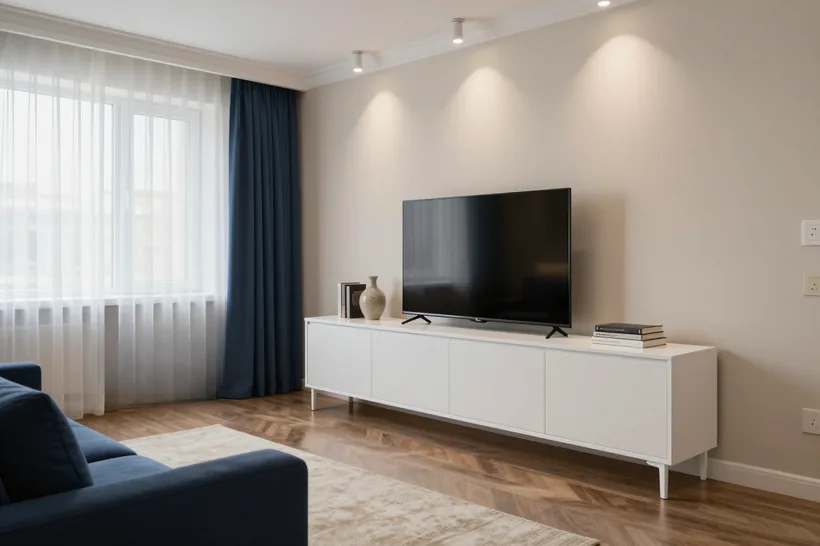
- Floor stand: an open structure on adjustable supports, suitable for a narrow TV zone and a minimalist interior.
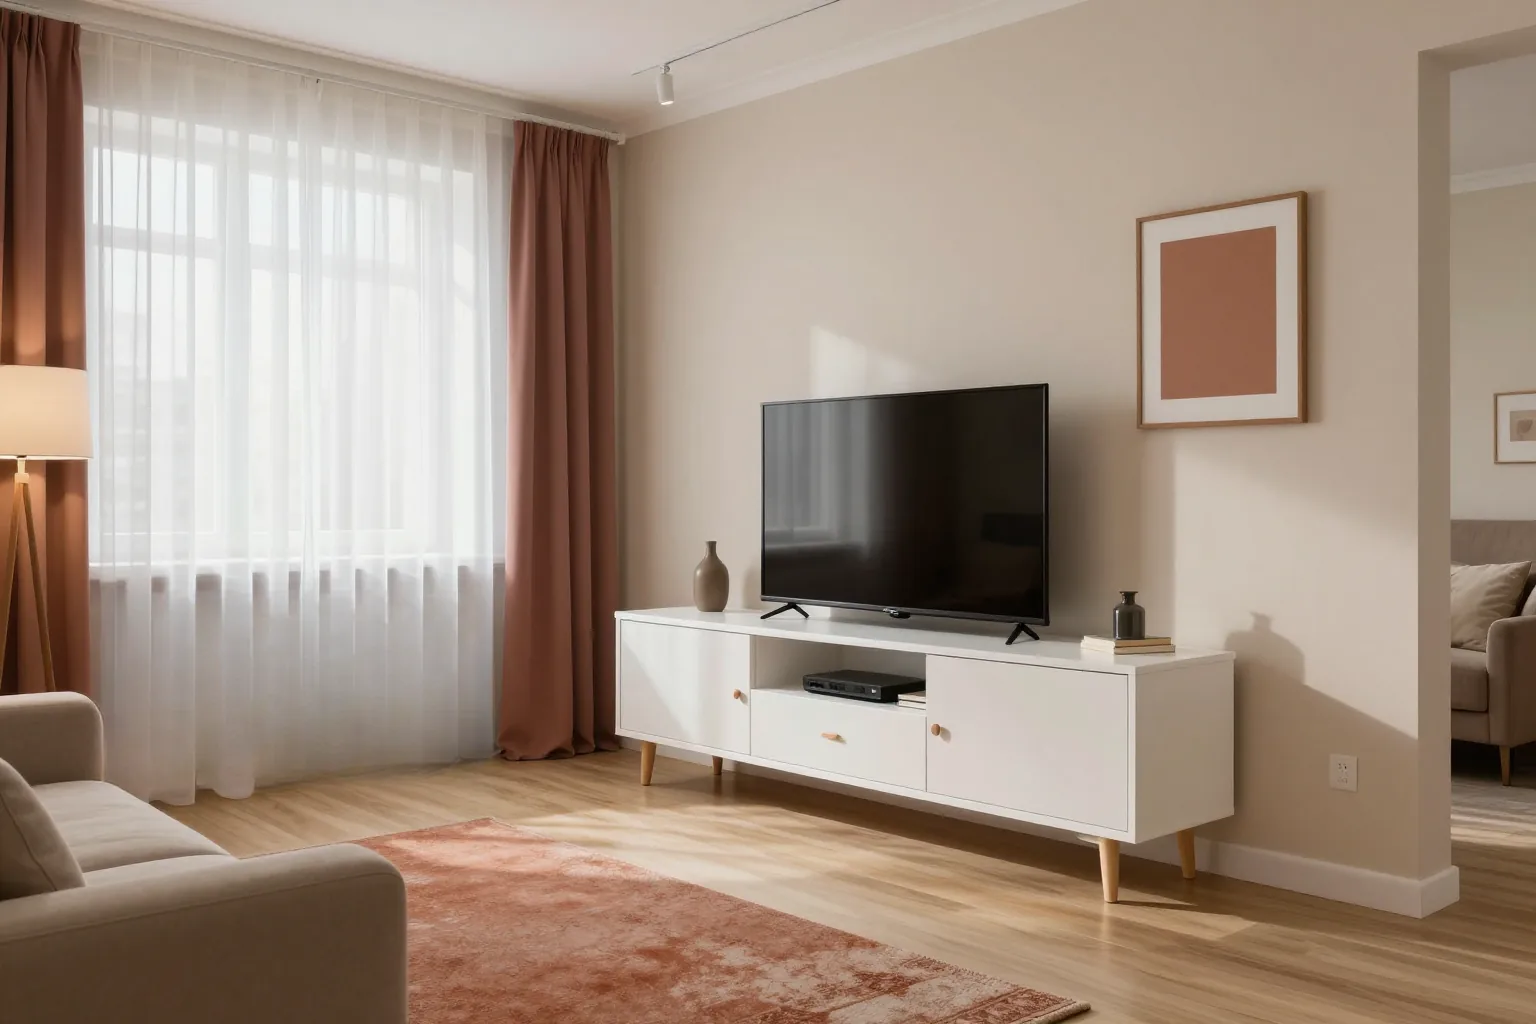
- Cabinet with storage sections: closed compartments for the set-top box and cables, drawers on Blum or Hettich, an open shelf for equipment.
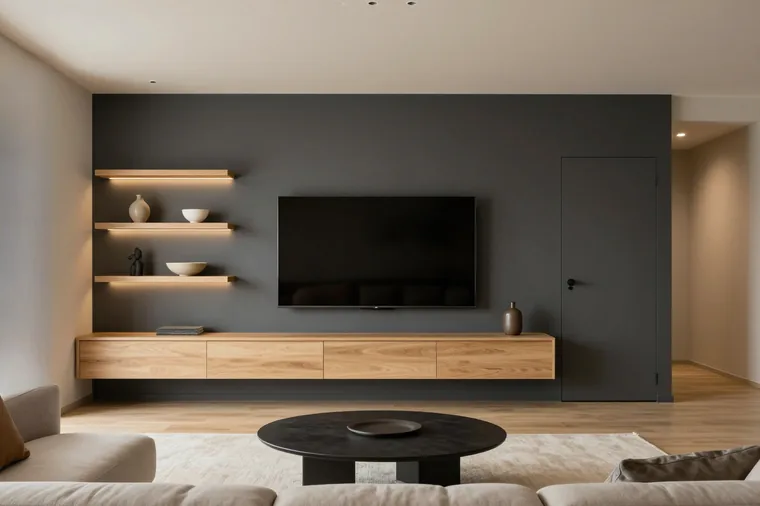
- Built into the TV zone or niche: the carcass joins with the panel and shelves, covers the niche entirely and does not protrude beyond its boundaries.
- Combined: a stand for the screen plus wall-mounted modules on the sides, when the length of the wall needs to be filled completely.
How to take measurements for a niche and non-standard length
The measurement specialist takes the width, height and depth of the niche at several points, as well as the depth for equipment and cables — with this data the carcass fits without gaps. Free measurement and 3D design take 1–2 days, and during this time we show how the item will fit into the room, taking into account the skirting board, windowsill and sockets. For a non-standard length we take not one figure but three: along the floor, in the middle and near the ceiling — walls rarely give the same result. Depth is planned for the bulkiest piece of equipment plus a margin for cables: if the set-top box sits flush against the back wall, the cables are pressed and the connector overheats. A custom TV stand is designed from these measurements, not from a standard size in a catalog, so the structure fits into the niche without on-site trimming.
How the cabinet fits against uneven walls
We fit the carcass to uneven walls with compensation gaps and on-site trimming, so no gaps remain between the item and the wall. During measurement we check the deviation along the entire height: even a 10–15 mm skew produces a visible gap if the panels are made strictly rectangular. The rear edge of the countertop and side panels is made with an allowance, and during installation we trim it along the actual wall line — this way the joint is closed without decorative trims. Adjustable supports compensate for floor unevenness, not just wall unevenness: without them the structure skews and the drawers start to jam. A custom TV stand in Almaty is designed for a specific room, so compensation gaps are calculated in advance rather than adjusted by eye.
Load, sagging and choosing a cabinet for the screen diagonal
Most often the buyer asks whether the shelf will hold a large screen and whether it will sag after a year. We explain how we calculate the load, how we reinforce the countertop, and at what height to place the cabinet.
How we calculate the load on the countertop for the weight of the TV
We calculate the load on the countertop based on the weight and diagonal of the TV and build in a safety margin so the top shelf doesn't sag even under a large screen. The calculation includes the weight of the unit itself, the soundbar and the set-top box that usually stand nearby, not just the screen alone. Then we look at the span length between supports: the wider the section, the more the middle of the countertop works in bending. For an 18 mm board, a span over 900 mm is critical; for 25 mm, over 1200 mm. The weight is distributed not through the center but through the supports and stiffening ribs: if the item is long, without an intermediate support the middle of the countertop bears the bending load most of all. That's why in the design of a long made-to-measure TV stand we build in a hidden support or rib right away — reworking a finished item costs more than planning for it on the drawing.
How we reinforce the countertop against sagging
We reinforce the countertop with stiffening ribs and intermediate supports, so it holds its shape under the weight of the equipment. A rib is a vertical strip of the same board or a metal profile screwed to the underside of the countertop and tied to the side panels. On long models we fit two or three ribs at a spacing of about 400–500 mm, and in the center an adjustable support that compensates for an uneven floor. The ribs go not only at the edges but also under the area where the TV and equipment stand — that's where the load is greatest, rather than evenly along the whole length. In our workshop such assemblies go through a test build before shipping, so any sag shows up at the assembly stage, not in your living room. If you're planning heavy speakers or an aquarium on the countertop, tell us at the measurement — we'll build in the margin right away.
What height of TV stand to choose for watching
The height is chosen so that the center of the screen is roughly at eye level for a seated viewer — that way your neck doesn't get tired during long viewing. In practice that's 90–110 cm from the floor to the center of the screen when sitting on an average-height sofa, and the exact figure depends on the seat height and your posture. The height depends not only on the sofa but also on the diagonal: the larger the screen, the lower its center should be relative to your eyes, otherwise the top of the picture leaves your field of view. For a 55-inch screen a height of 40–50 cm is comfortable; for 65–75 inches, 35–45 cm, otherwise you'll be looking upward. It's easy to check: sit on your sofa and mark your eye level — that mark is your reference for the center of the screen.
Materials and hardware for a TV stand
The carcass board and the mechanisms decide whether the countertop sags under the weight of the equipment and whether the drawers work loose after a couple of years. Here's what we put into the item and why.
What material we make the carcass from
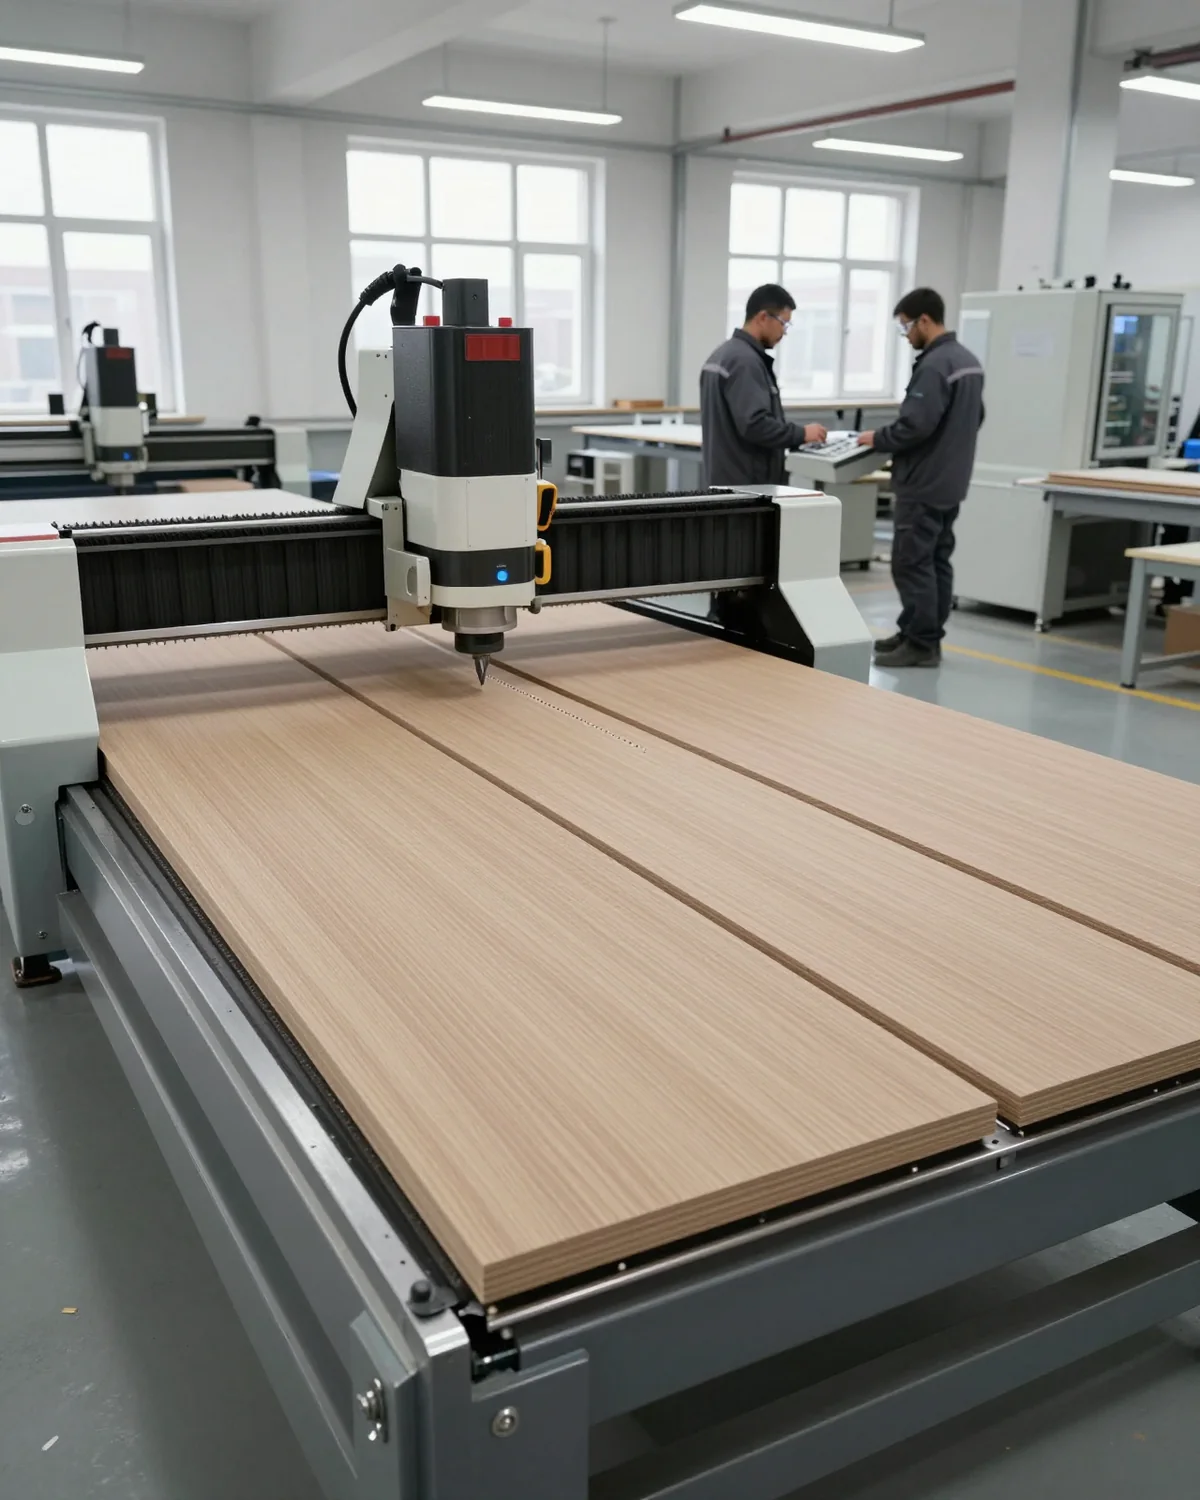
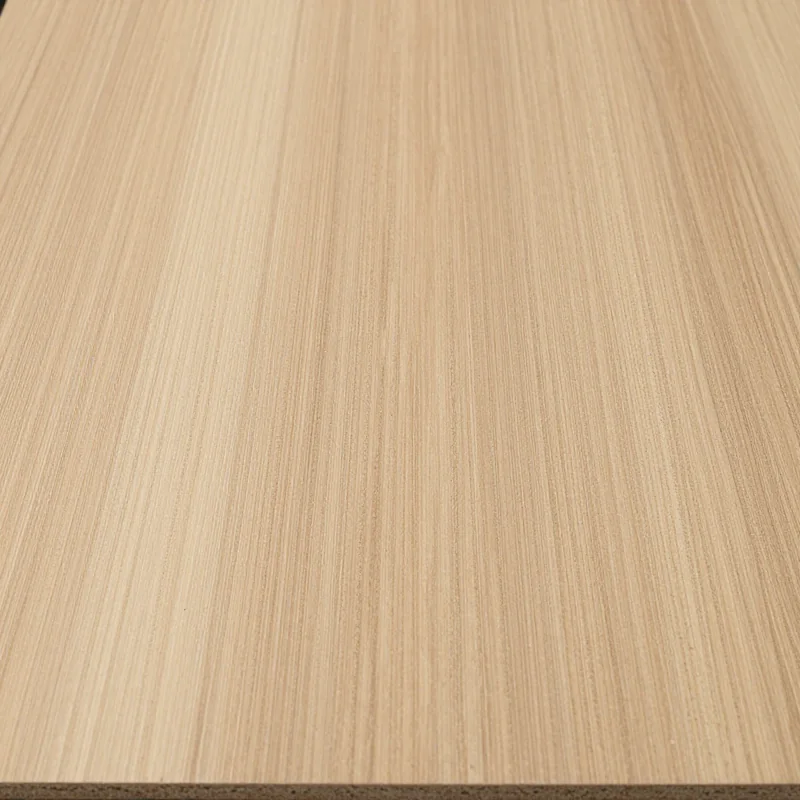
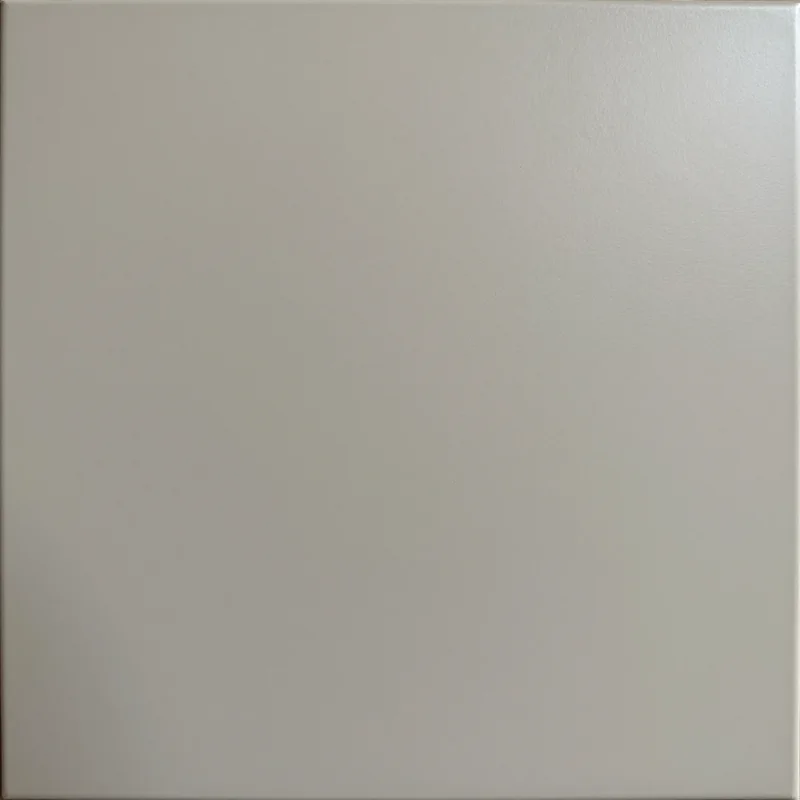
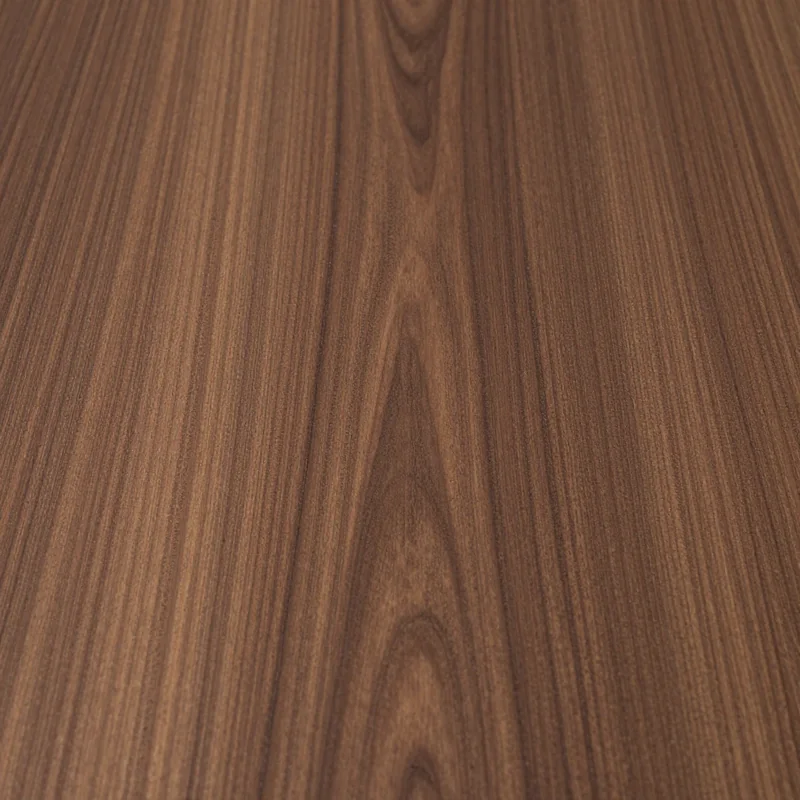
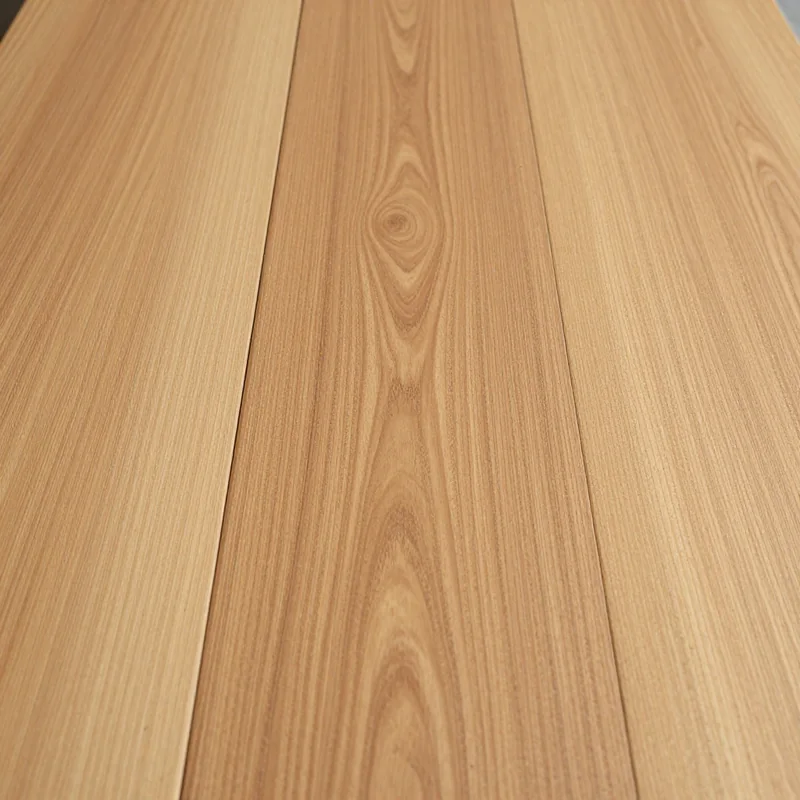
We make the carcass of a made-to-measure item from Egger and Kronospan laminated chipboard — boards that hold their shape and don't swell from moisture under normal use. The German board gives a dense, uniform structure and a wide palette of decors; the Austrian one gives an even sheet geometry, which matters for long parts without joints. We cut both materials on our own equipment in a 600 m² workshop, so the edge banding runs along the entire cut length without chips. For a TV stand, not only the board brand matters but also the edge banding: an open end absorbs moisture fastest, so we seal all visible and hidden cuts in the workshop, not on site during installation. Before shipping we check every part in a test build — that way gaps and skews show up before the carcass ends up in your room.
What hardware we fit on drawers and fronts
We fit Blum, Hettich and Boyard mechanisms on drawers and fronts, and Blum carries a 25-year manufacturer's warranty. Blum covers concealed runners and soft-close hinges, Hettich covers pull-out systems for deep drawers, and Boyard covers basic runners and hinges for simple sections. Components are selected for the weight of the front and how often it is opened: on a wide, heavy drawer a cheap mechanism works loose first, and replacing runners on an already assembled piece means taking off the countertop. A soft-close mechanism extends the life of the unit because it absorbs the impact of the door against the carcass. In our experience, the drawers that get replaced most often are the ones not rated for the weight they carry — which is why at the design stage our technicians calculate the load on every section instead of picking components by eye.
Comparing options by material and hardware
three configurations by board, mechanisms and countertop rigidity| Option | Carcass | Hardware | Countertop reinforcement |
|---|
| Basic | Kronospan laminated chipboard | Boyard | at the edges |
|---|
| Standard | Egger laminated chipboard | Hettich | at the edges and under the TV |
|---|
| Maximum | Egger laminated chipboard | Blum | ribs along the full length |
|---|
Ventilation, wiring and equipment inside the cabinet
Equipment in a closed carcass heats up, and the cables behind the back panel tangle into a knot. We show how ventilation, hidden wiring and lighting are handled in a custom cabinet at the design stage.
Why equipment needs ventilation gaps
We provide ventilation gaps in the back panel so the set-top box and console do not overheat in an enclosed space. Both devices give off heat even in standby mode, and in a sealed carcass the hot air has nowhere to go. The openings are made both at the bottom and at the top: cool air comes in through the lower one, heated air leaves through the upper one, and a working temperature is maintained inside. In our workshop experience, electronics in a closed carcass without gaps run at their limit and fail sooner. We agree the position of the openings with the design — they must not fall on the visible front face. If a receiver or amplifier sits inside, we calculate the gap for it separately, because such devices run hotter than a set-top box. Venting hot air upward extends the life of the electronics more noticeably than any extra fan.
How we hide cables in cable channels
We hide the wiring in cable channels and openings in the dividers, so no tangle of wires is left behind the carcass. A cable channel is a closed duct inside the carcass that carries the cable from the socket to the set-top box, router or charger. Openings in the dividers connect the compartments, and the cable takes the shortest route without bending over an edge. The channels are planned before cutting: drilling an assembled carcass can hit an edge band or a stiffening rib and weaken the structure. At the 3D design stage we show where the cable will come out and where the socket will go, so nothing has to be re-drilled during installation. Exposed cables behind the back panel collect dust and get in the way when you need to reach the socket. Routing the runs in advance saves the installation crew time and keeps the carcass strong.
Can lighting be added to a cabinet
We plan the lighting at the design stage so the cable to it runs inside the carcass rather than along the wall. The LED strip is mounted under the top shelf, in a niche or along the bottom overhang — it lights the floor and doesn't glare while you watch. It's more convenient to run the power supply to a separate compartment next to the equipment: that way the unit doesn't get in the way of the drawers and can be replaced without dismantling anything. The cable from the strip to the power supply is routed in the same cable channel as the rest of the wiring, so only the strip itself stays visible. Controls are brought out to a button or sensor on the side panel. A made-to-measure TV stand with lighting is assembled on the same principle as one without it — the only difference is the channels and the power point. A separate power supply extends the life of the strip: it stays accessible for replacement.
The order journey from measurement to installation and acceptance
A TV stand order is made up of a clear sequence of steps — from the first measurement to signing the acceptance form. We break down each stage so you can see what happens and when.
How an order starts and what the 3D design includes
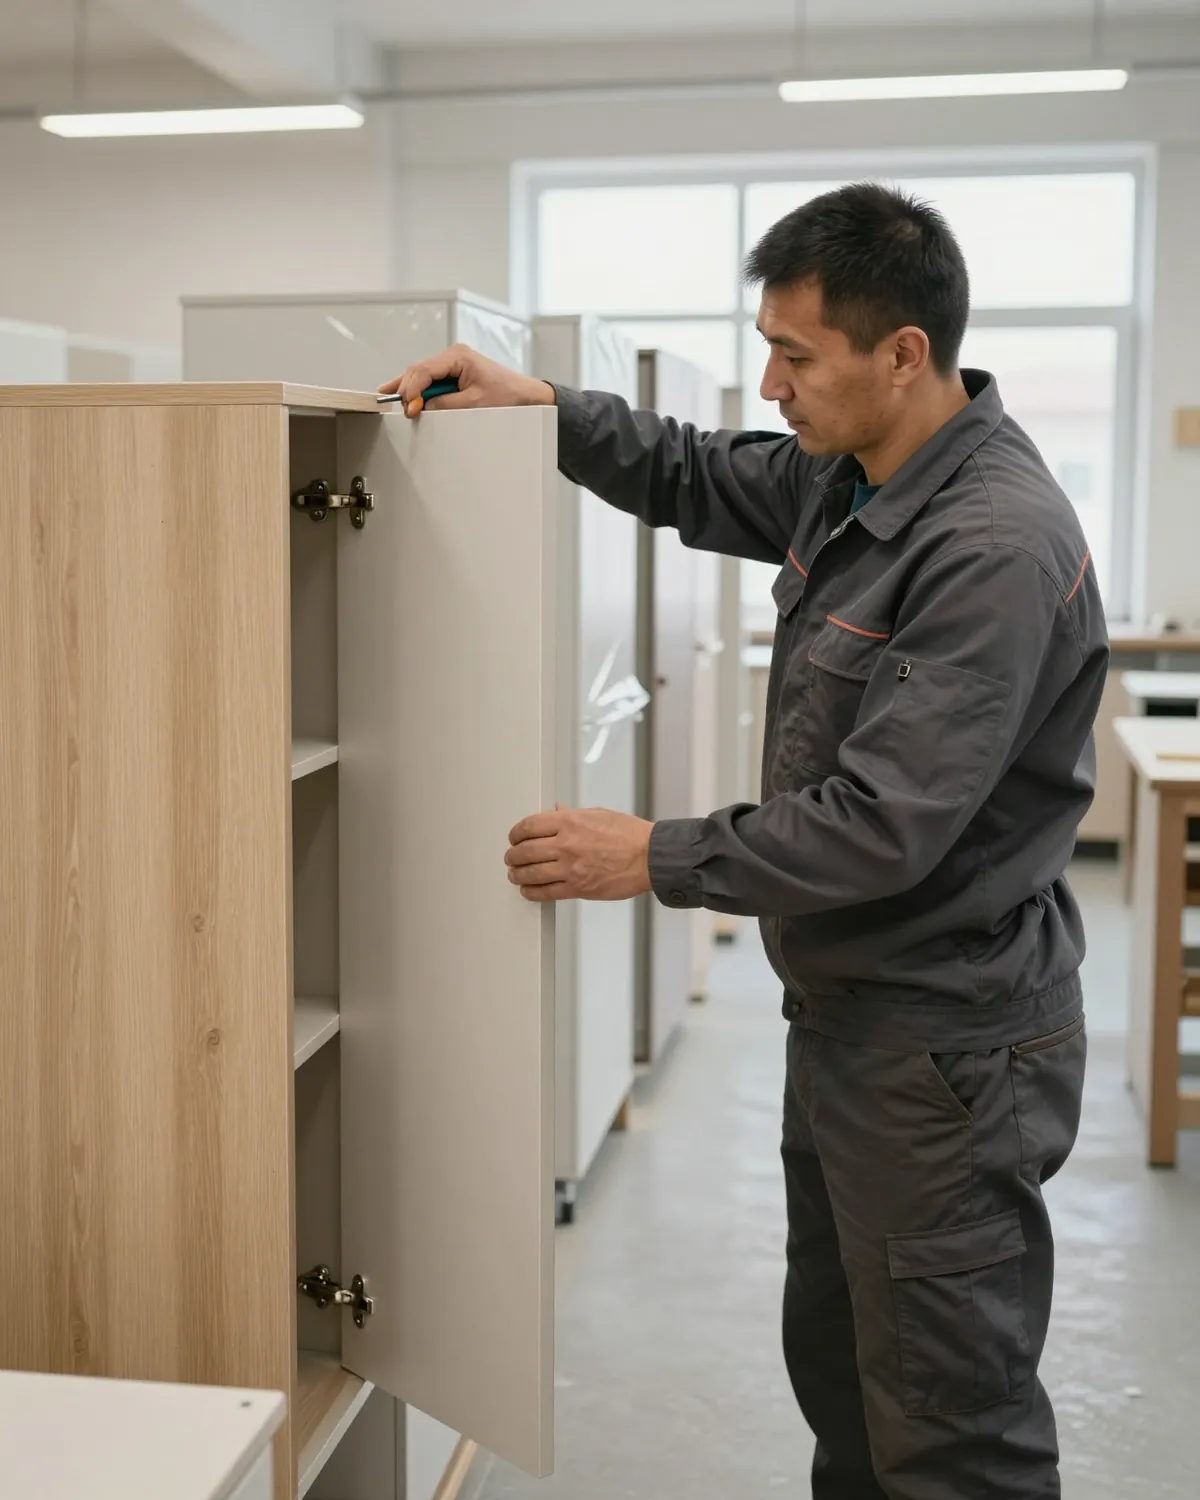
An order starts with a free measurement and a 3D design within 1–2 days, showing how a made-to-measure TV unit will fit into a specific wall and niche. Measurement specialists record the length and depth of the opening, the wall height, the position of sockets and equipment outlets, and the clearances to neighbouring objects. MEBLIX technicians transfer this data into the design: they show the carcass to scale within the room, the sections for the equipment, the opening direction of the fronts, and the space for the cable channel. The design confirms not only the look but also the depth of the sections, the countertop thickness for the screen's weight, and the placement of cable channels and ventilation gaps. Changes at this stage cost less than reworking a finished carcass — which is why the design is signed off before production starts.
How we make the carcass in the workshop
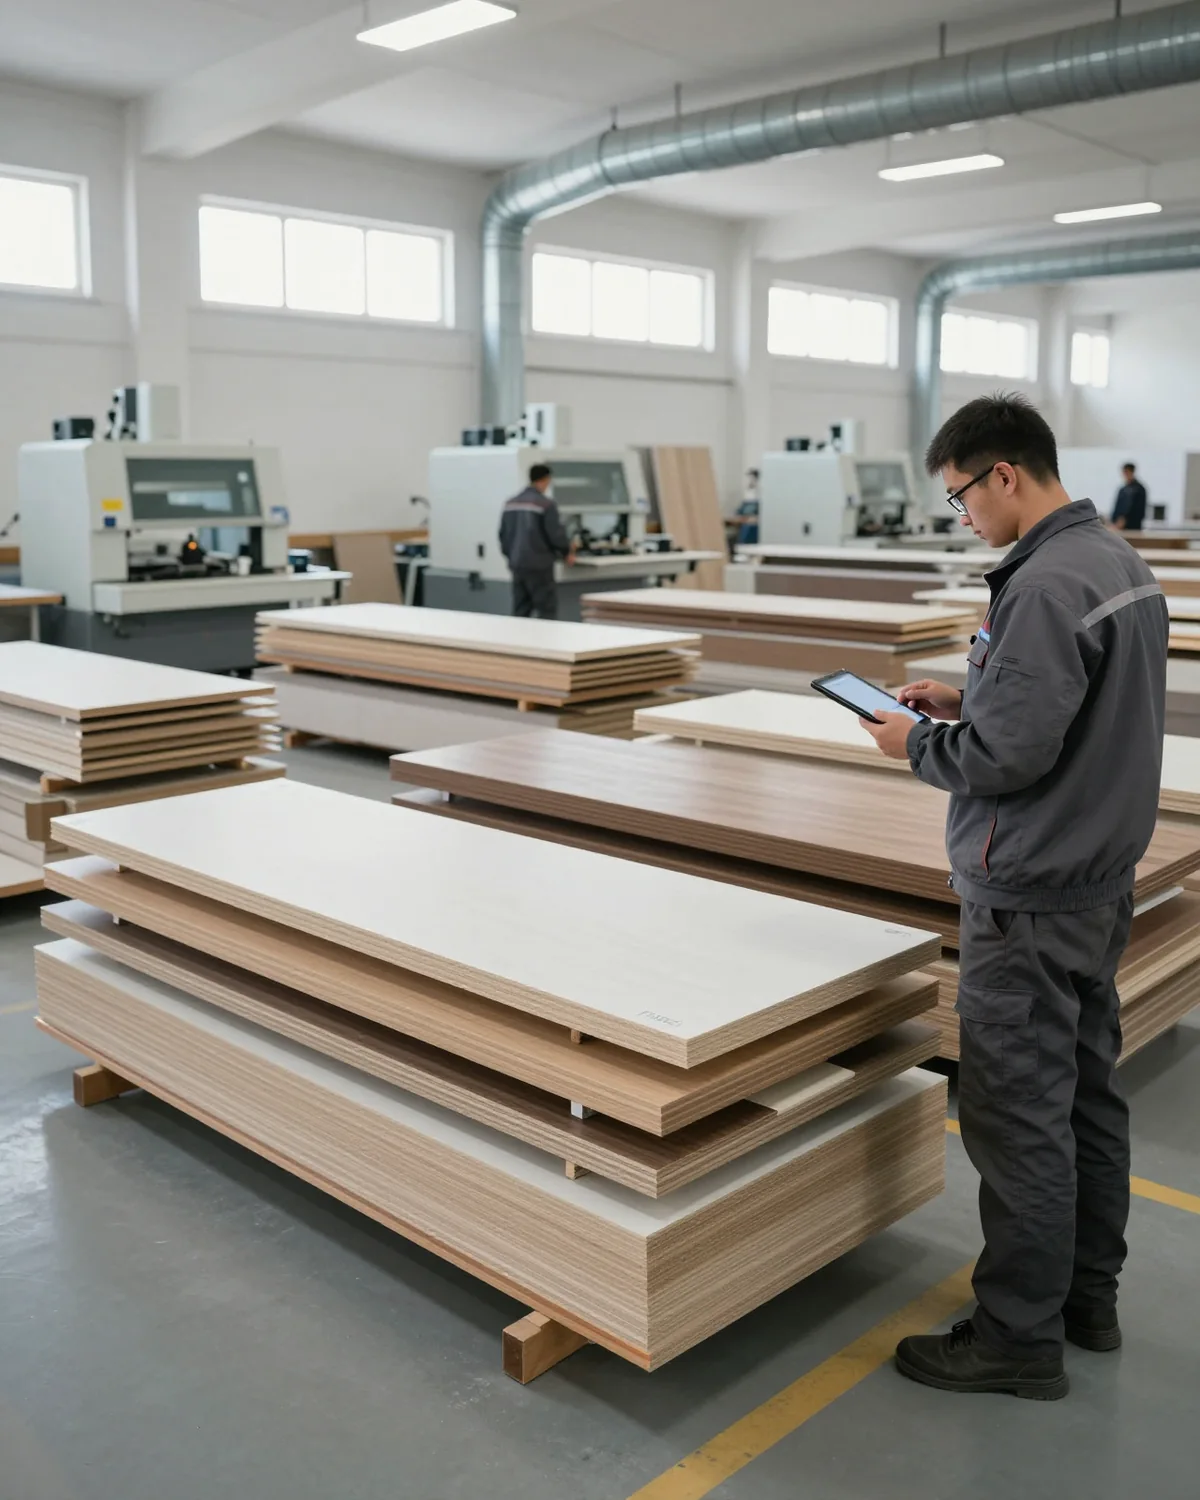
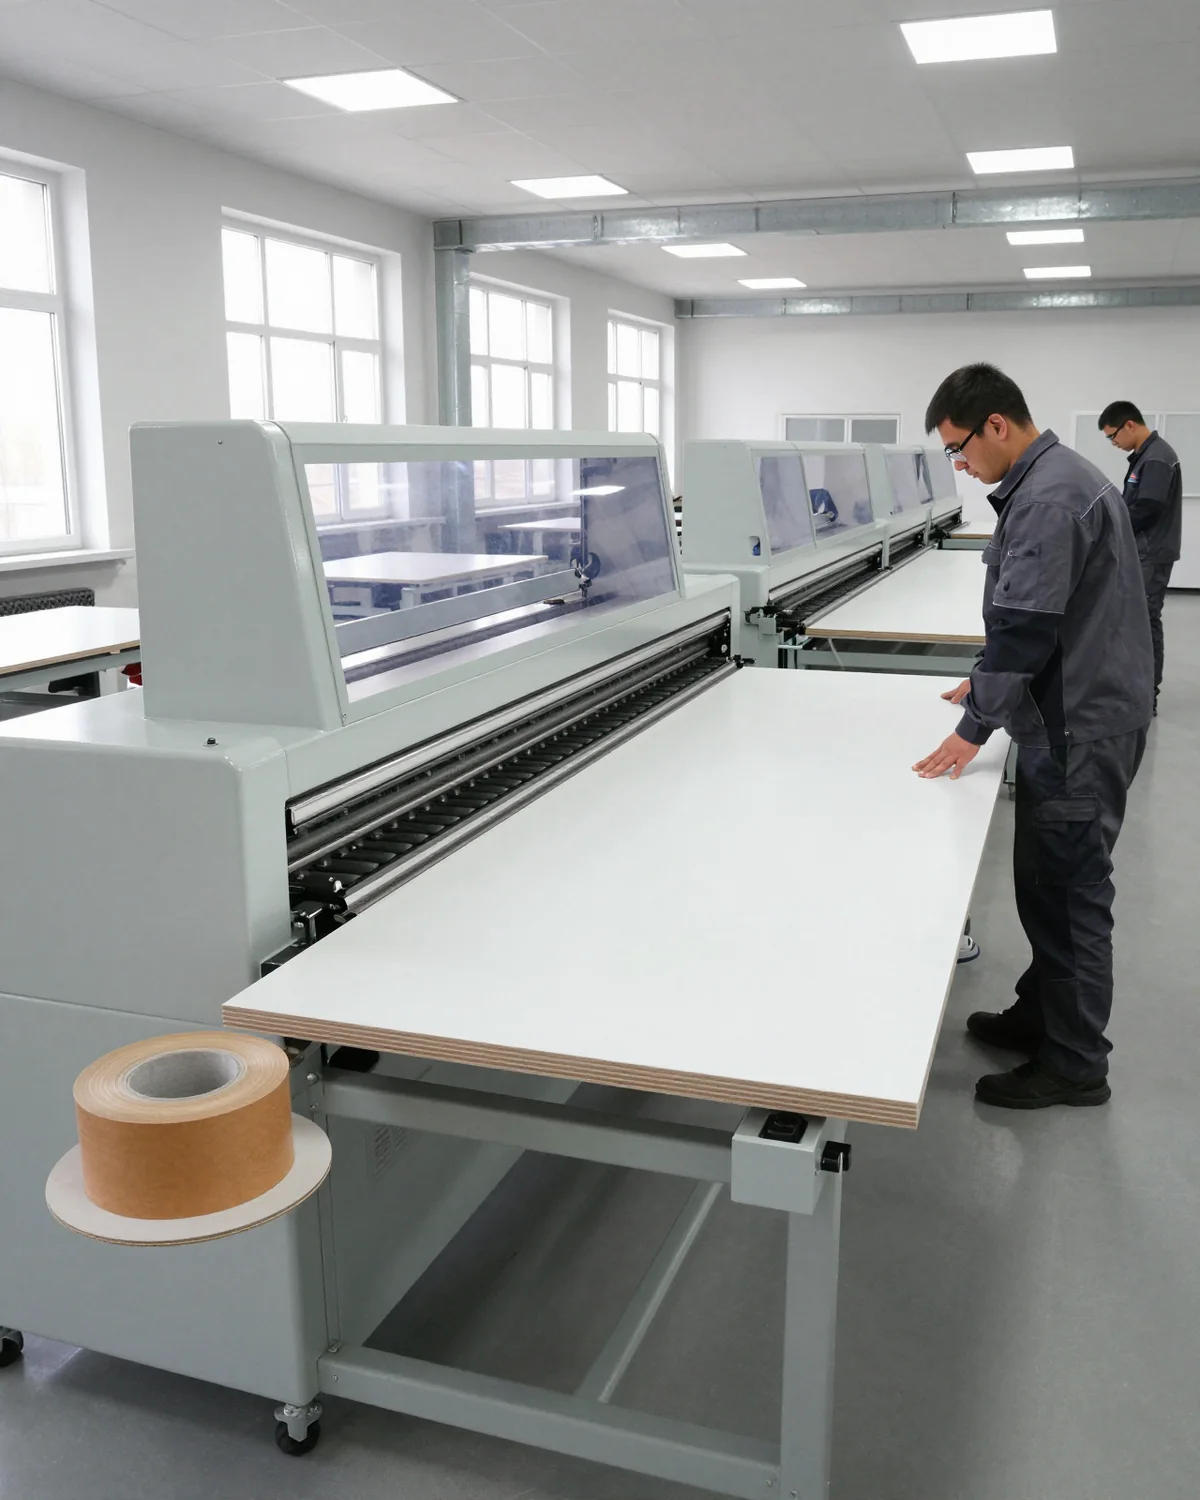
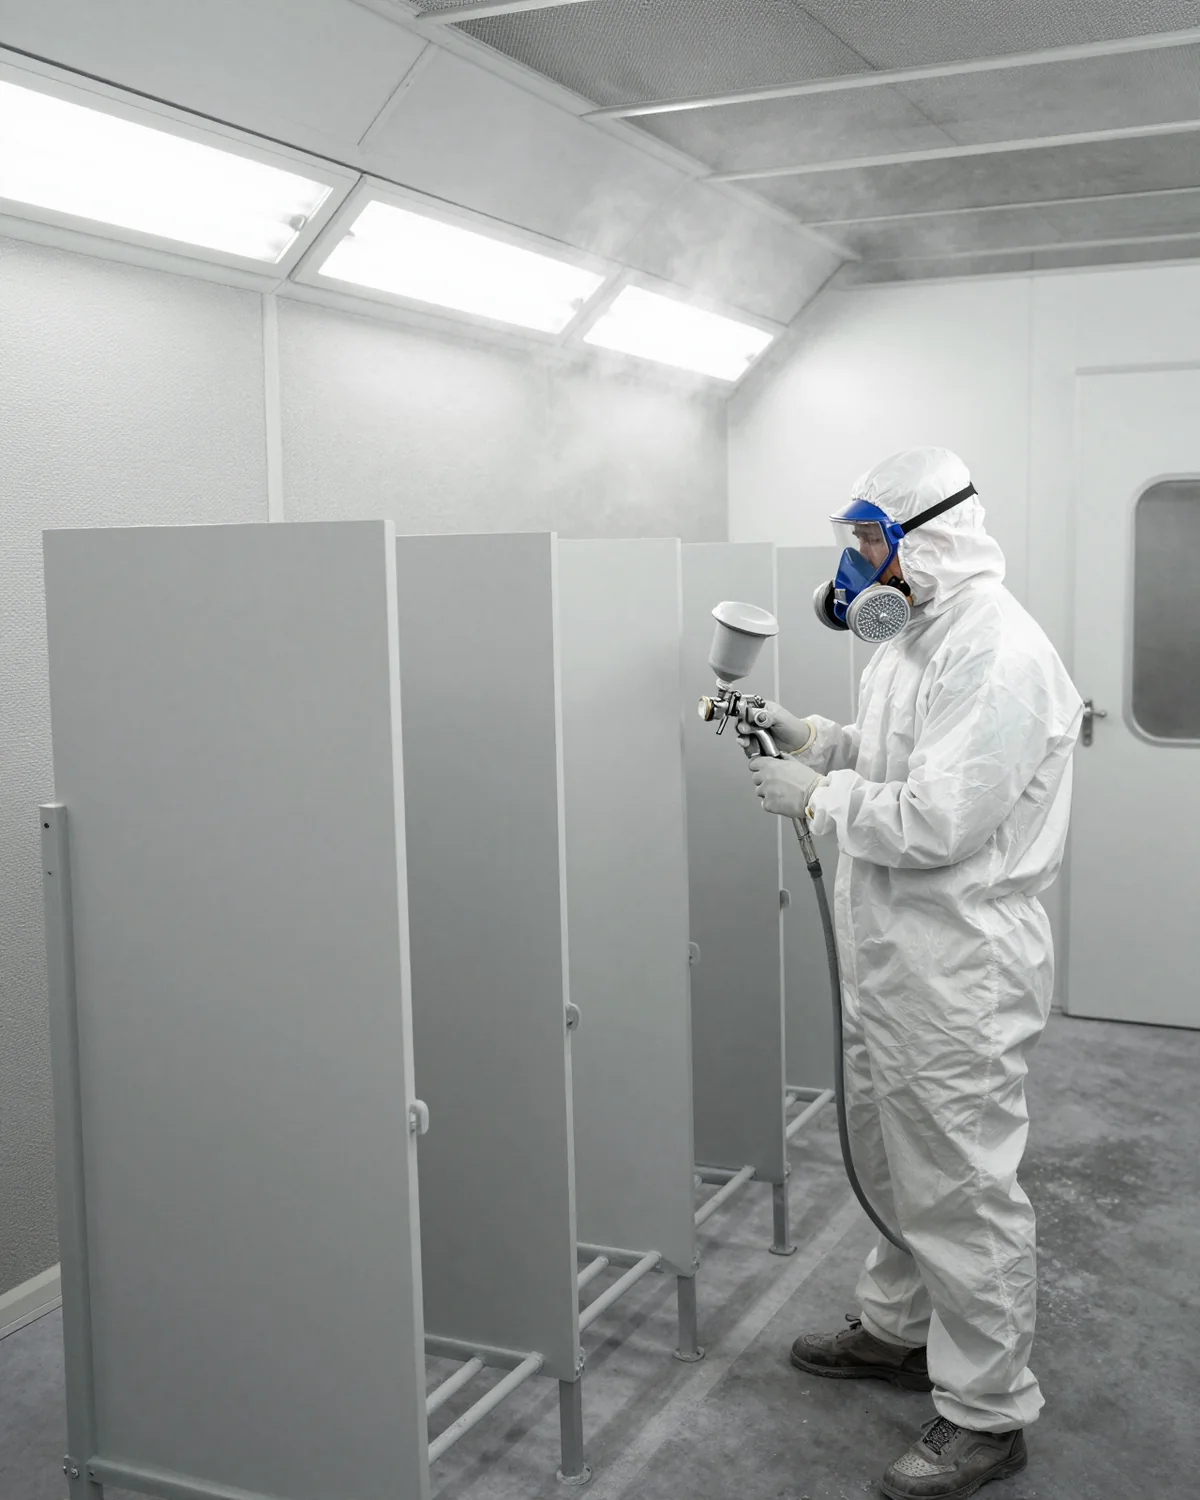
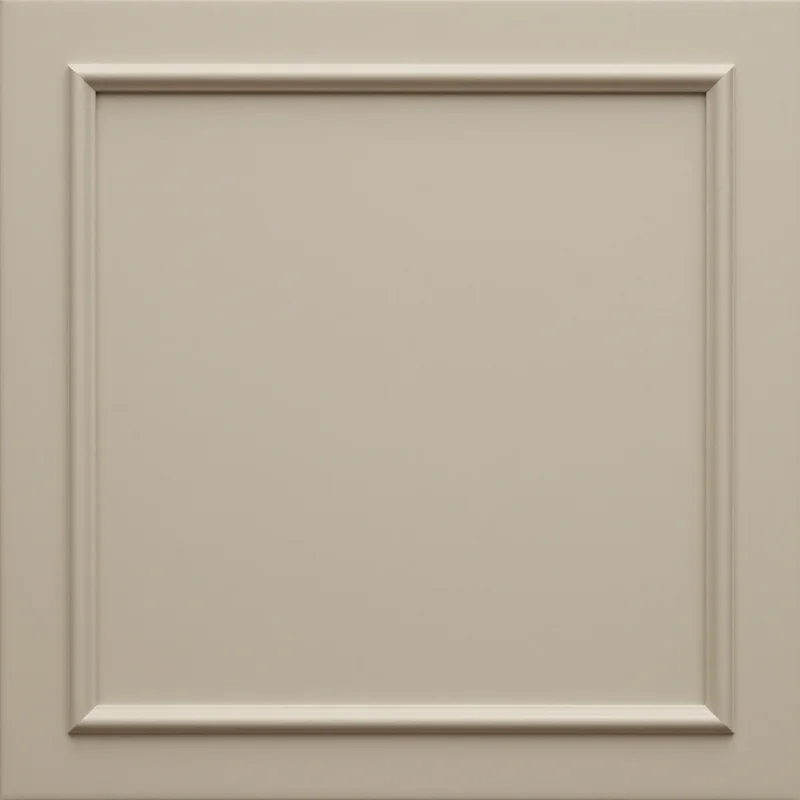
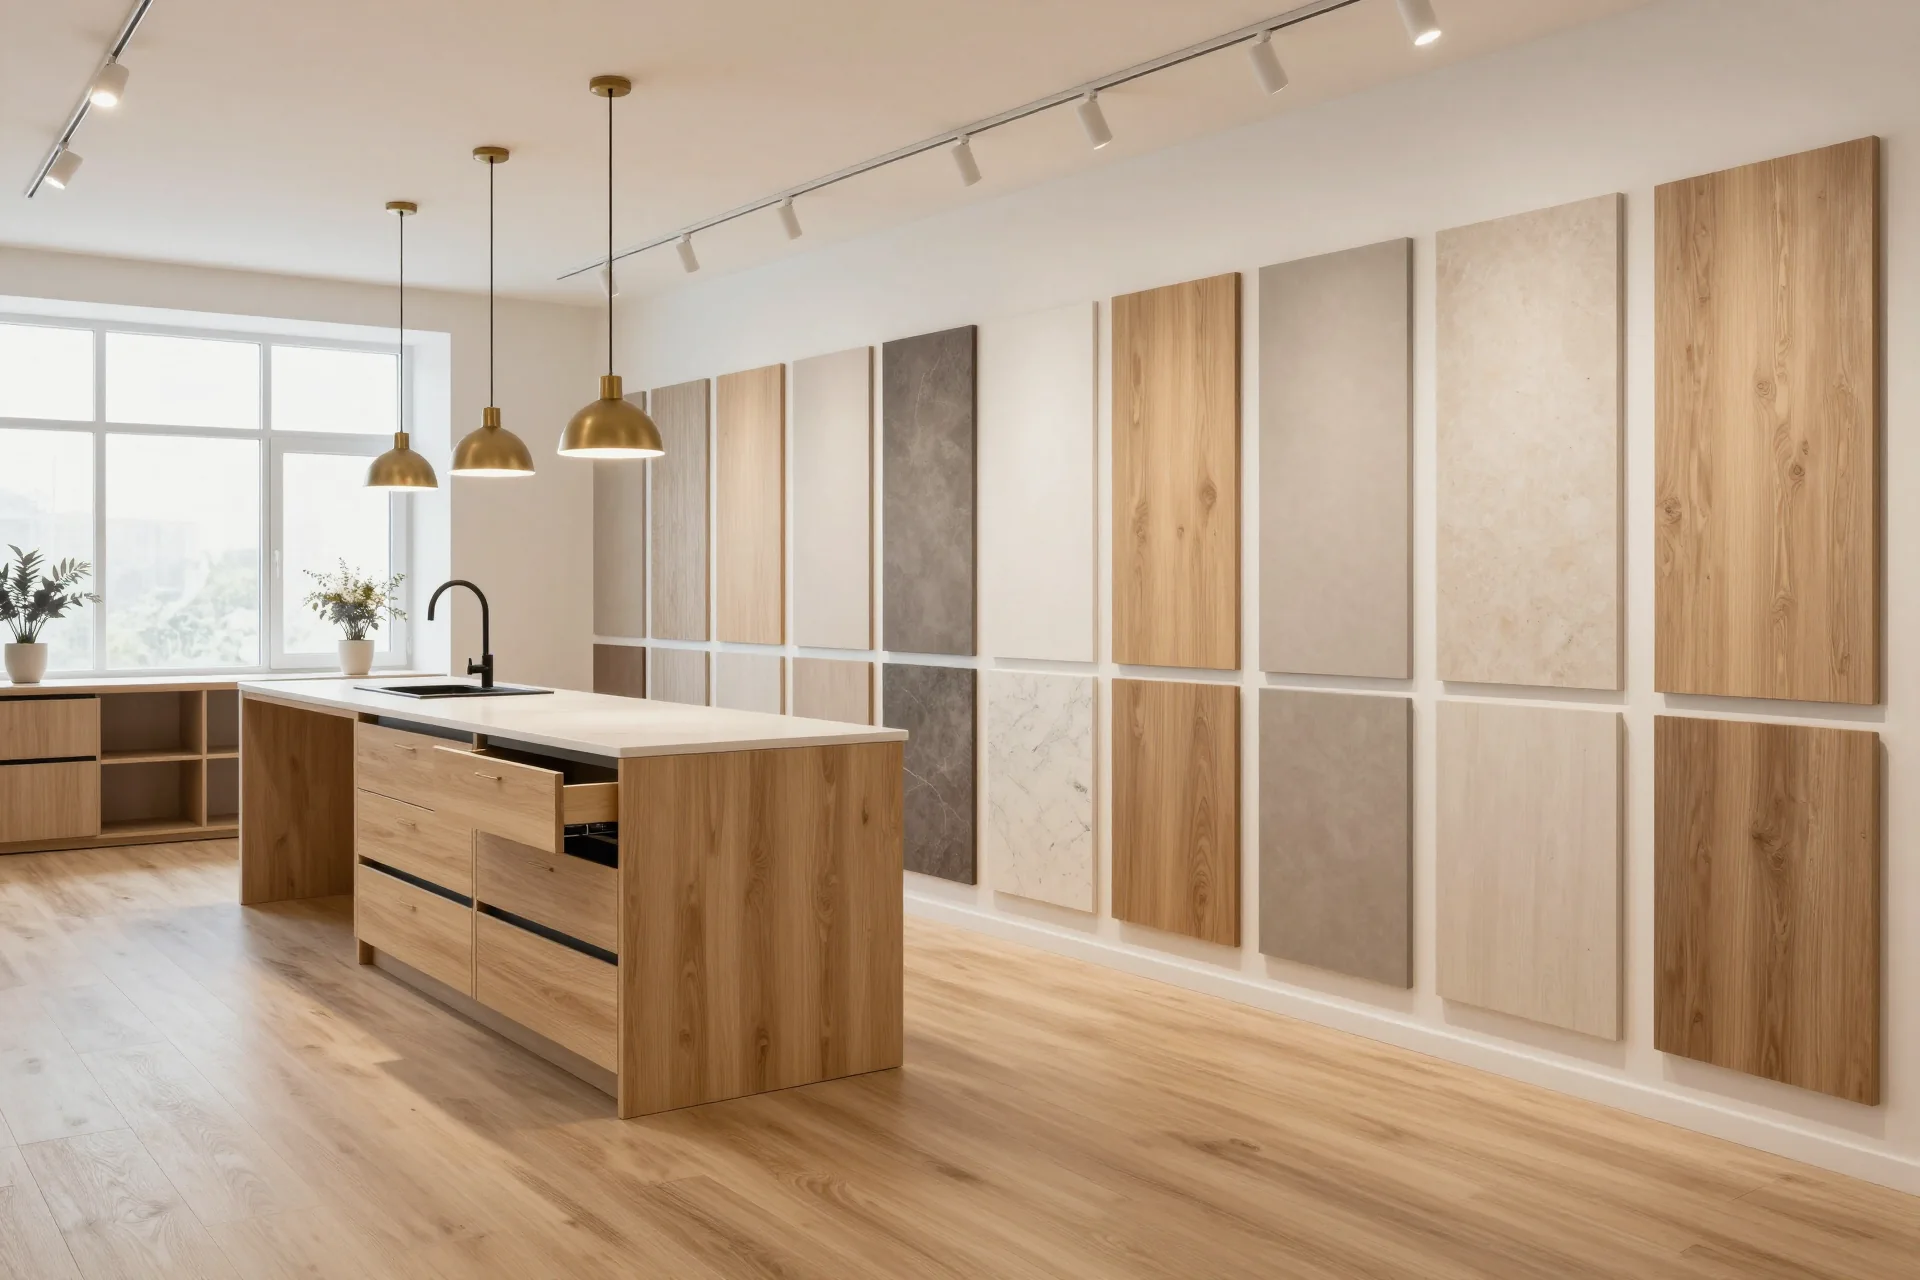
We manufacture in our own 600 m² workshop — cutting, edge banding, painting and a test assembly before dispatch. Egger and Kronospan boards are cut to the project's cutting maps, and the edge is applied on a machine so the end face sits flush with the surface, with no step or gap at the joint. Fronts are painted in a spray booth, and Blum, Hettich and Boyard hardware is fitted to pre-drilled holes — the soft-close mechanisms and drawer runners are adjusted for the weight of the contents. Before dispatch the carcass is fully assembled: this is how the gaps between fronts, the smoothness of movement and the alignment of all parts along the edge are checked. The test assembly in the workshop catches errors before the team goes on site: on location there's no need to trim parts or redo the junctions to an uneven wall. Lead times for each option are in the price list on this page, and rush orders are also possible.
How installation, delivery and acceptance work
Installation is carried out by our teams, and we sign the acceptance form after installation; delivery within the city and up to 30 km is free for a large order. Payment works in two steps: a 50 % deposit, and the remaining 50 % after the acceptance form is signed. The team levels the carcass, fixes it to the wall, routes the cable channels for the equipment and checks the movement of the drawer sections with soft-close. The form is signed only after the junction to the wall, the operation of the mechanisms and the fronts have been checked — so all remarks are recorded before the order is closed. The item carries a 24-month warranty under the contract, and Blum hardware carries a 25-year manufacturer's warranty. Beyond 30 km, delivery is charged extra; the threshold for a large order is on the Delivery and payment page.
The bottom line on TV stands
We have gathered in one place the key decisions that determine how long a TV cabinet will last and whether it will fit right the first time.
- Measurement instead of a sketch: a custom model is designed for a specific wall and niche, not adjusted to a standard drawing with gaps at the edges.
- Load capacity for the screen: the top panel is calculated for the weight and diagonal of the TV, and long shelves are reinforced with stiffening ribs against sagging.
- Carcass made of Egger or Kronospan laminated chipboard: sealed edge banding holds its shape and protects the board from moisture under normal use.
- Ventilation and wiring in the design: clearances for appliances and cable channels are planned at the drawing stage, not drilled into the finished carcass after assembly.
- Acceptance after installation: the order is completed with a signed acceptance form confirming the fit against the wall and the operation of the hardware.