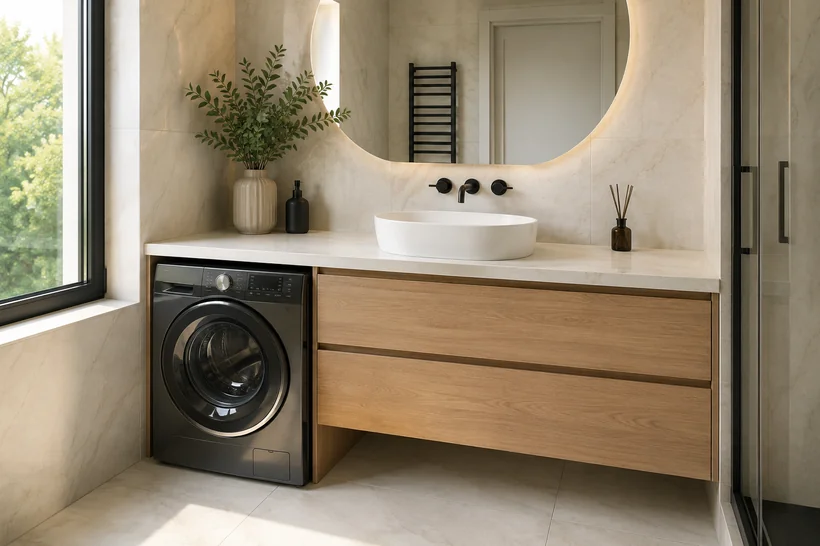
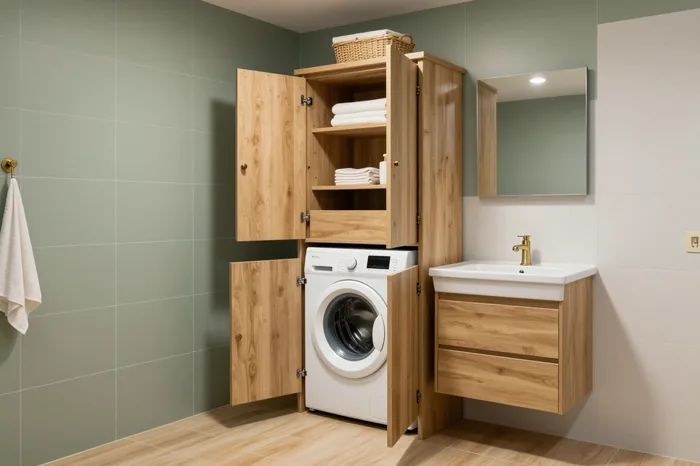
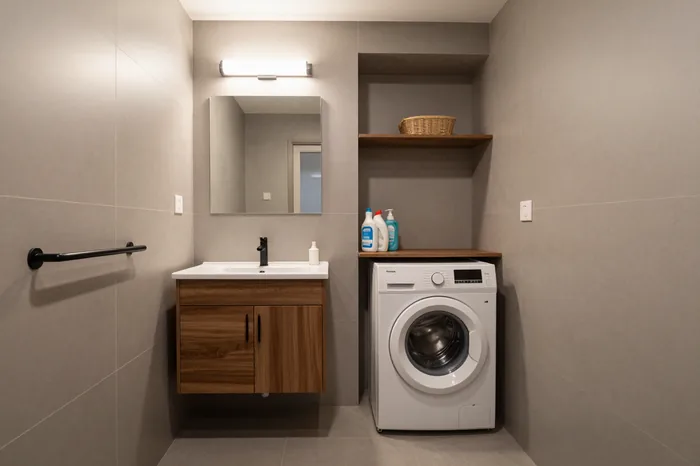
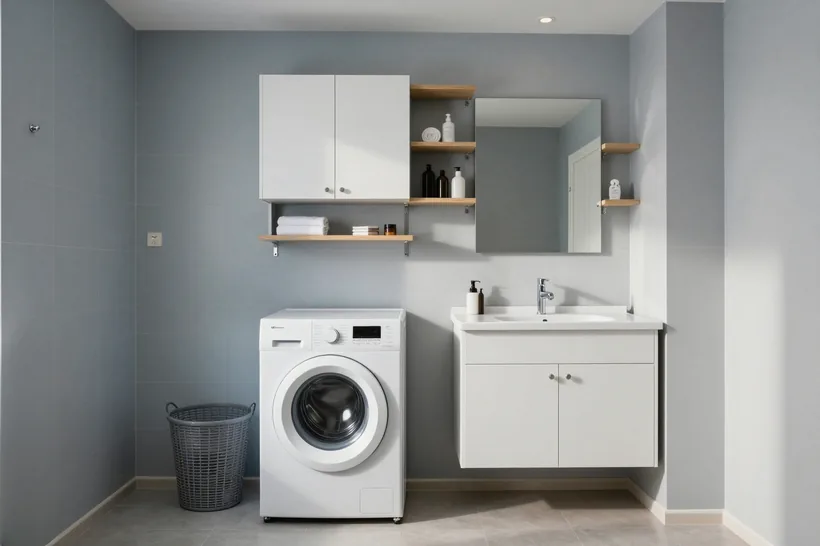
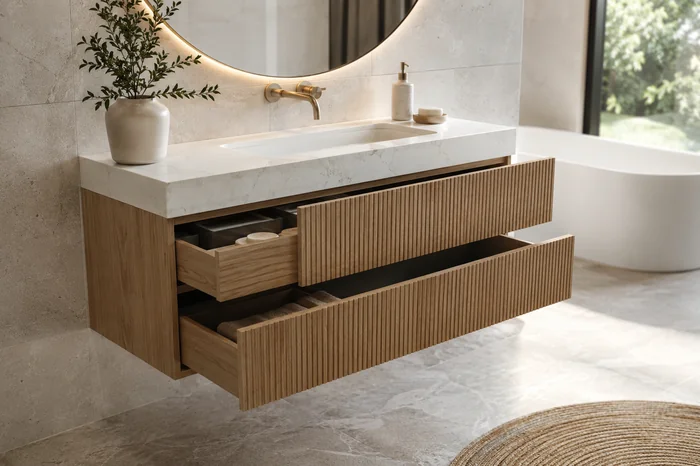
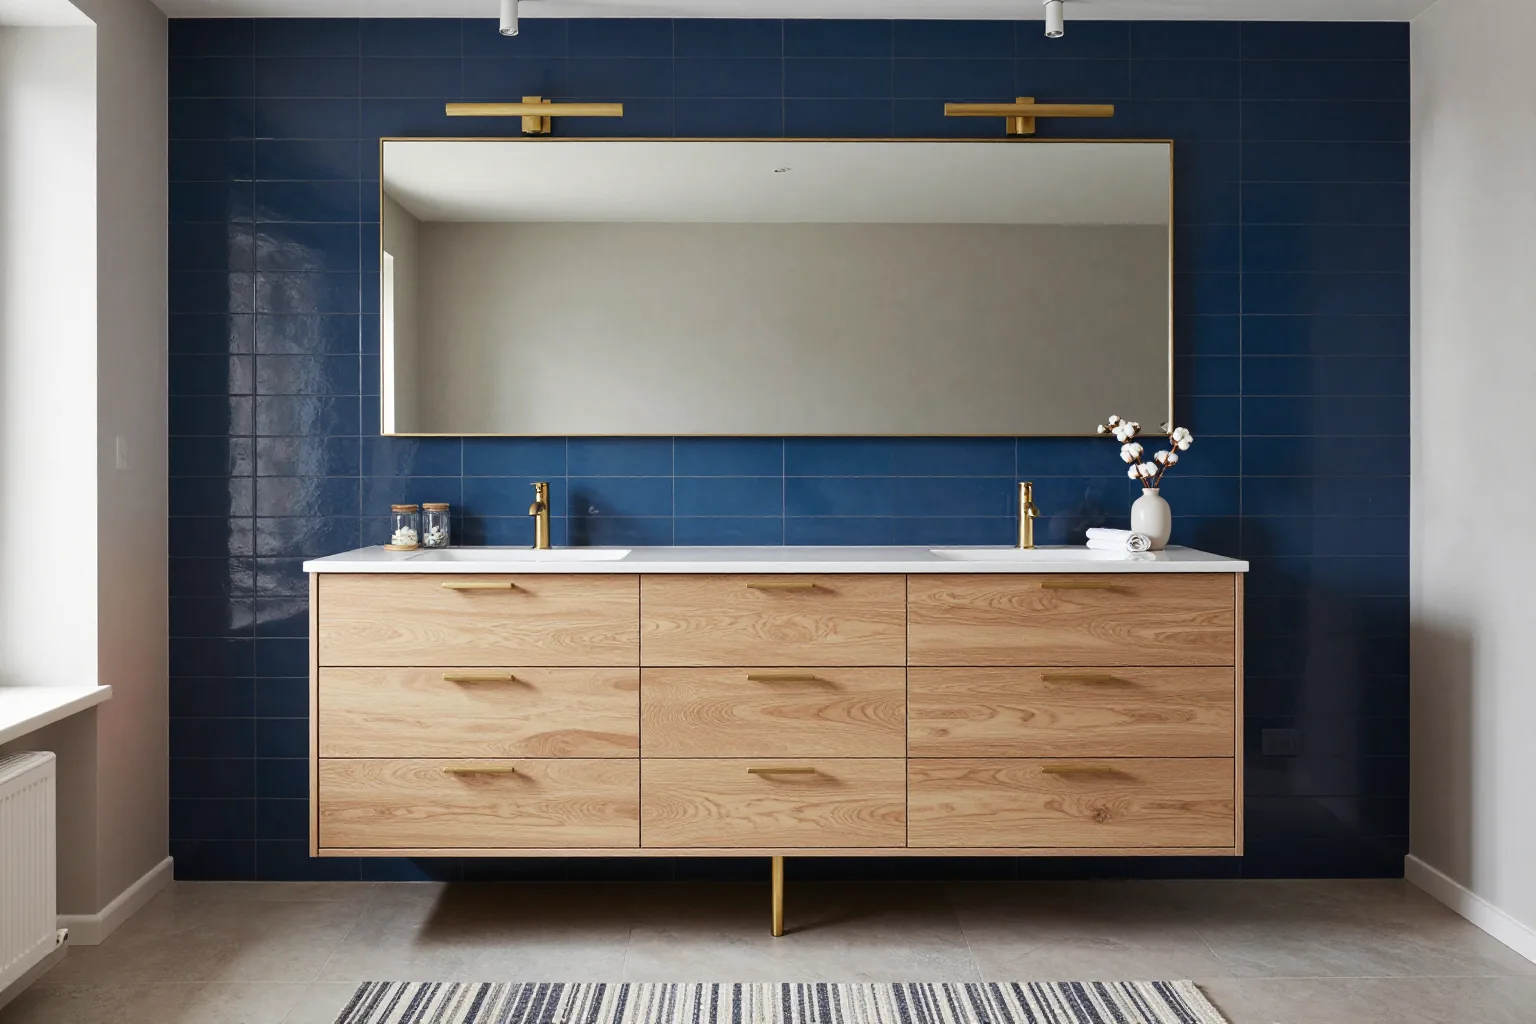
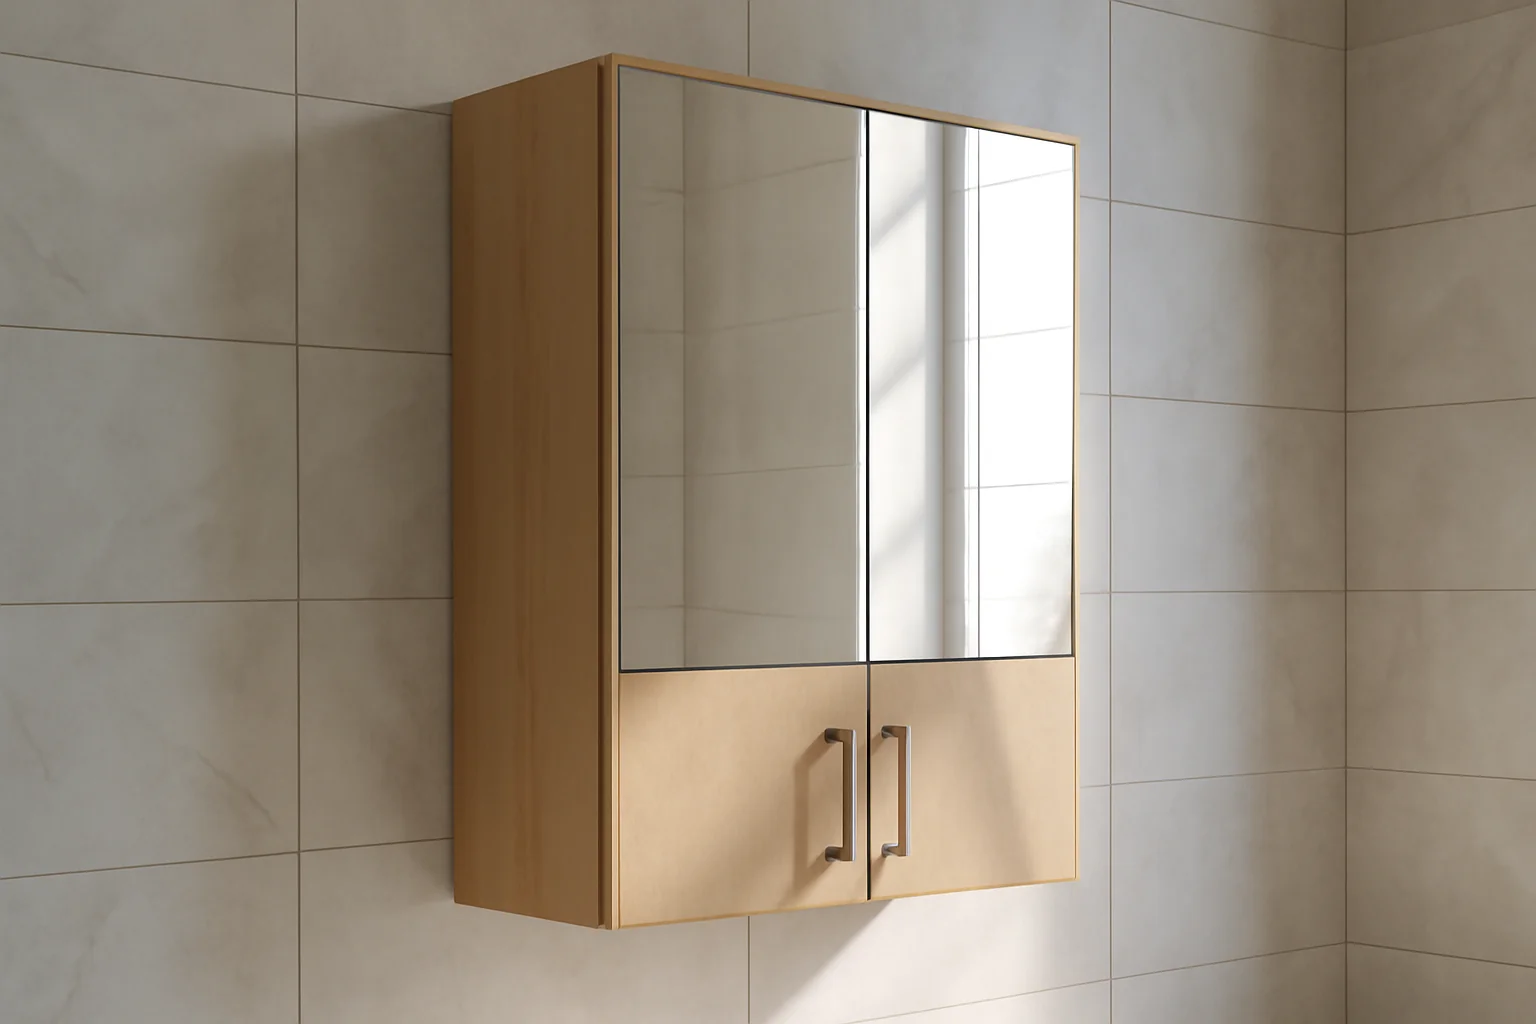
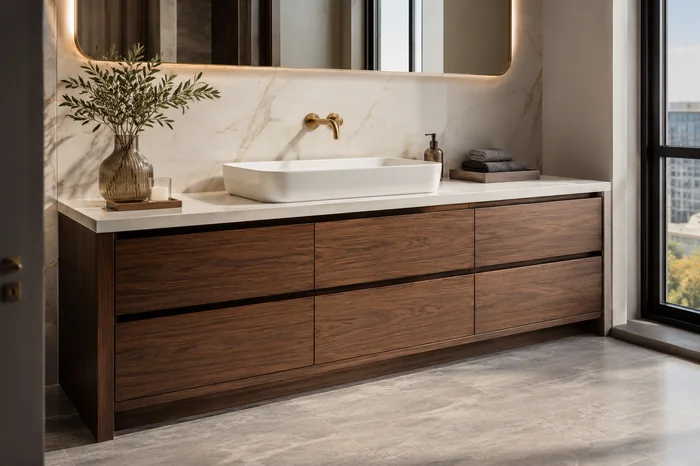
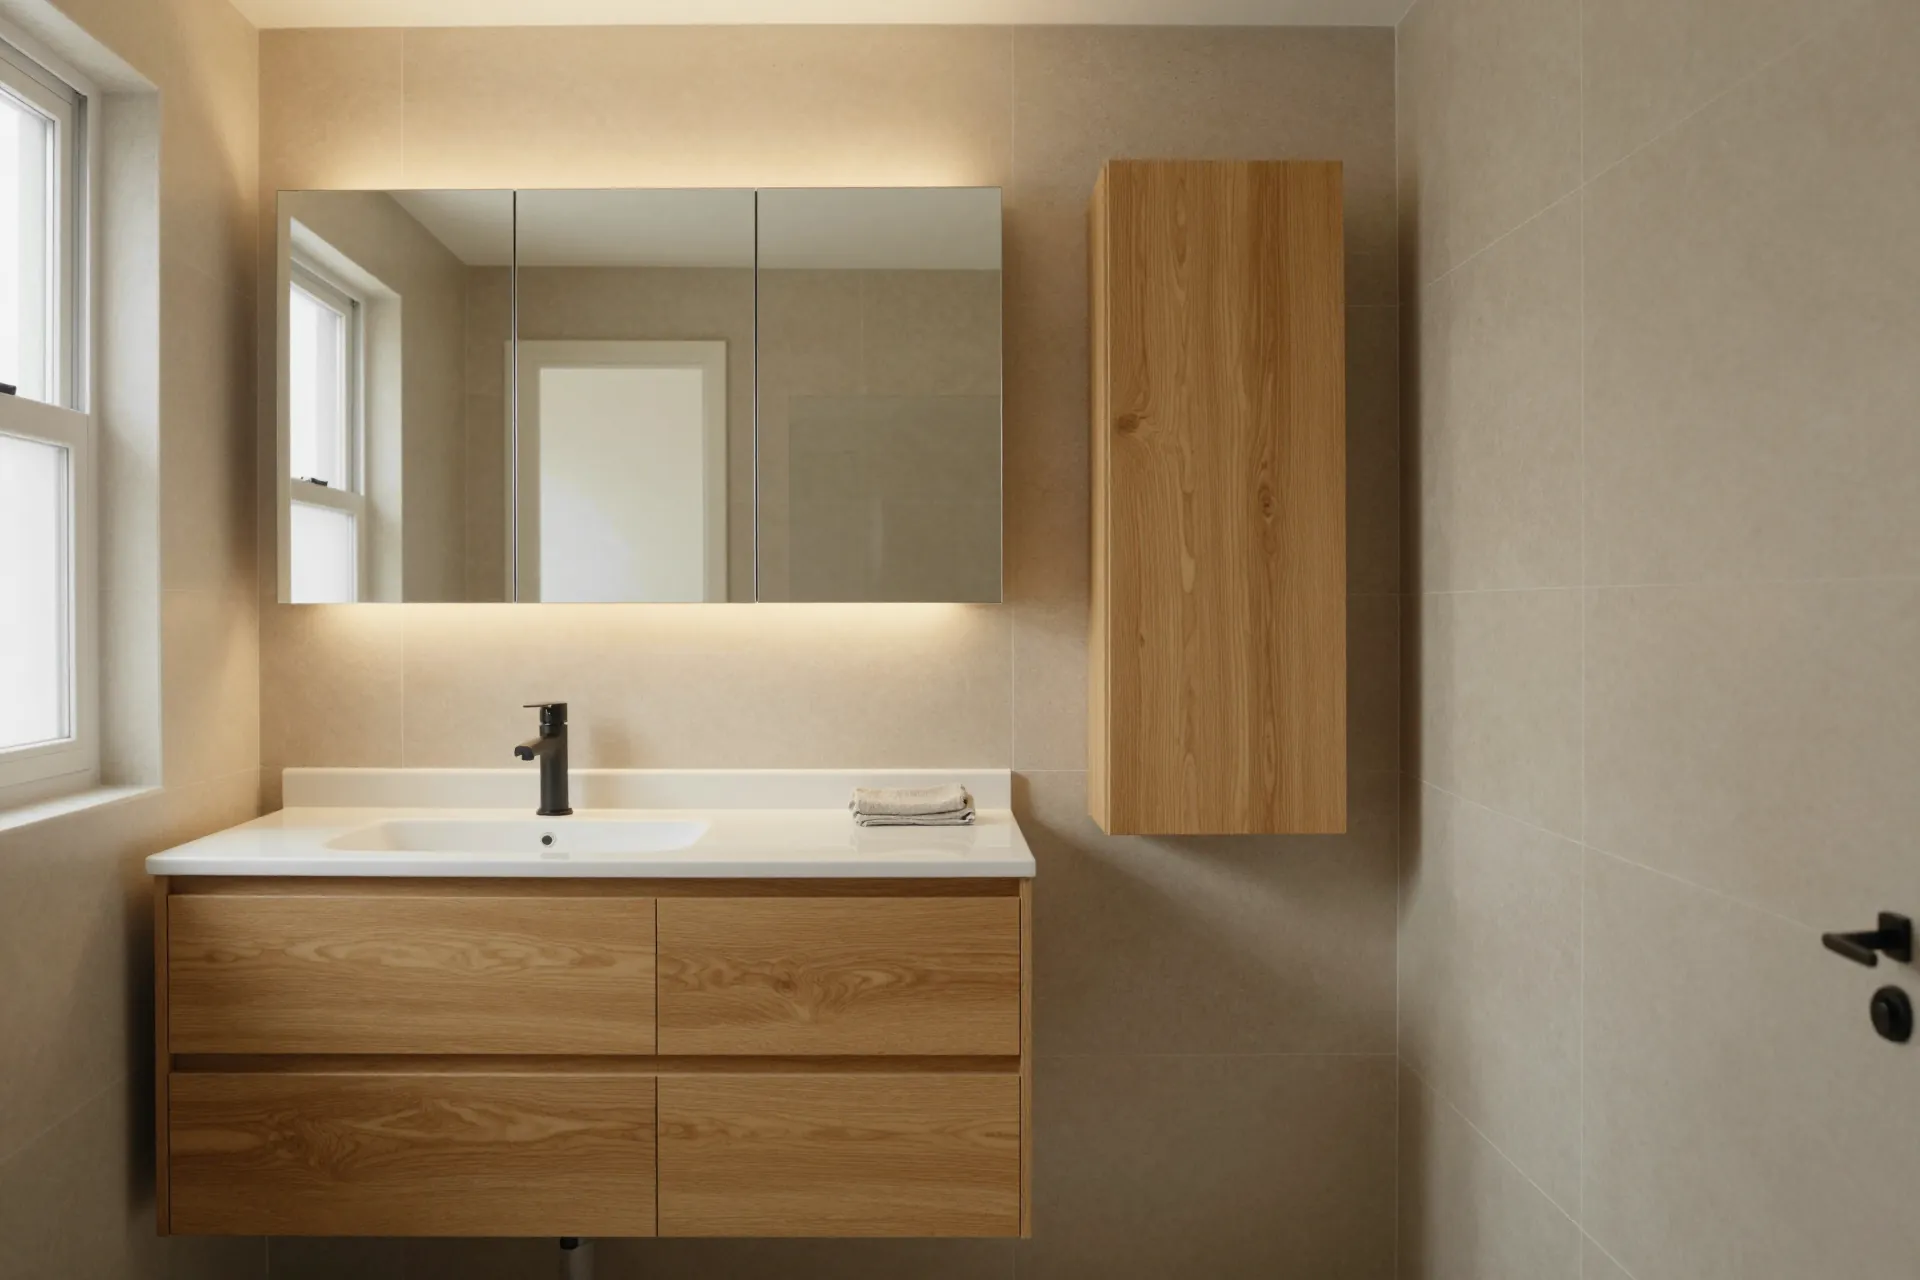
A custom washing machine vanity is built to the exact dimensions of your appliance and bathroom, not a catalogue size. We measure the space, design a 3D project, manufacture the body in our own workshop and install it with our own crews. Moisture-resistant boards and Blum fittings are used.
A washing machine vanity is not a shelf placed over an appliance. It is a body with calculated clearances, a load-bearing top and service access. Here are the three layouts that work and what decides the choice between them.
Three layouts for fitting a washer and a sink into one run
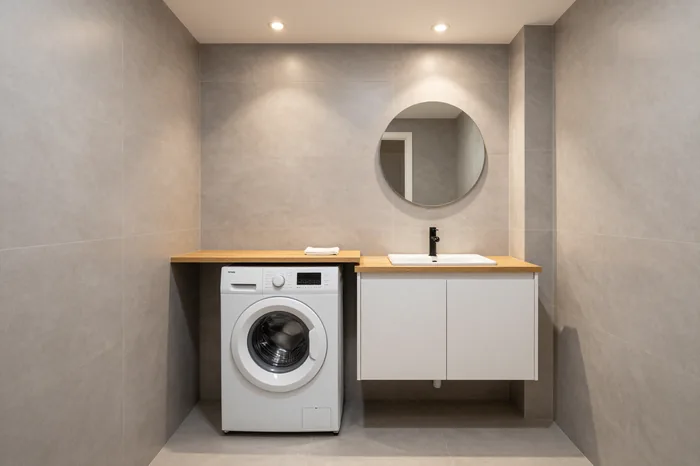
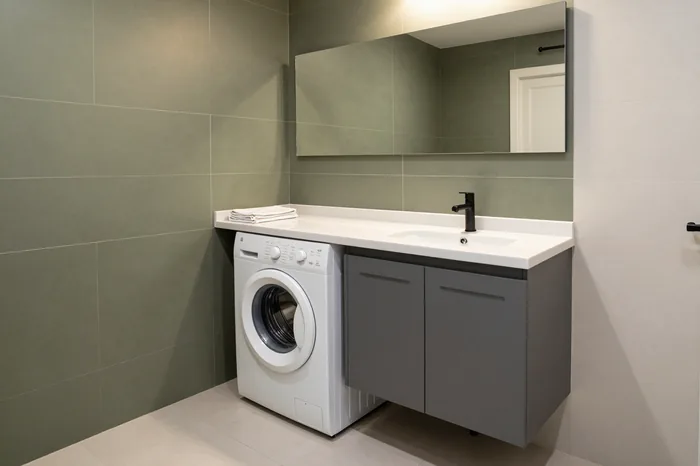
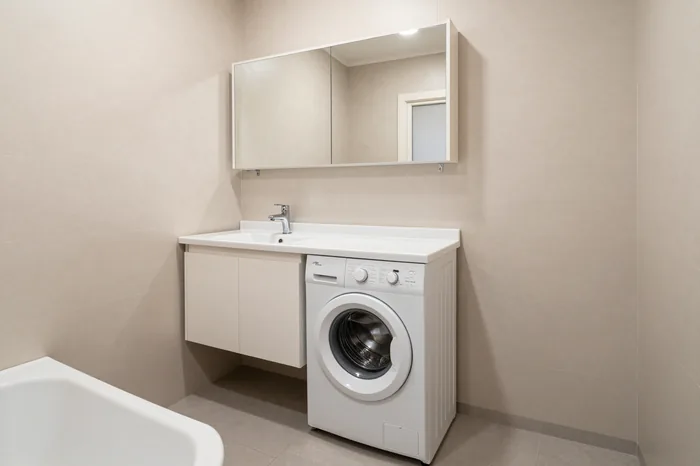
- Sink directly above the machine: the most compact option, with the bowl set into the top and the unit sliding in below on its own feet.
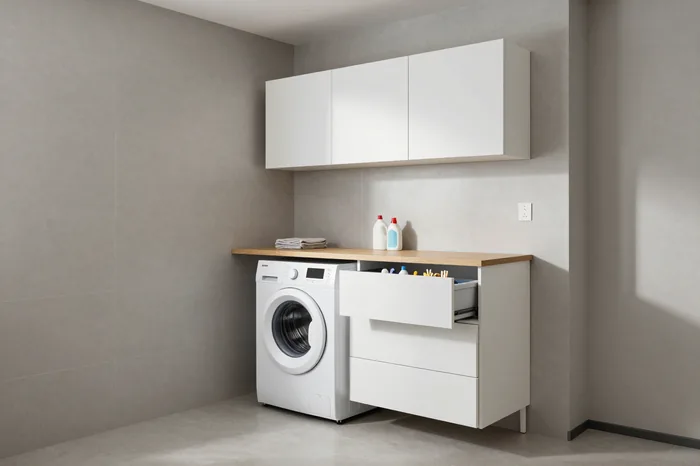
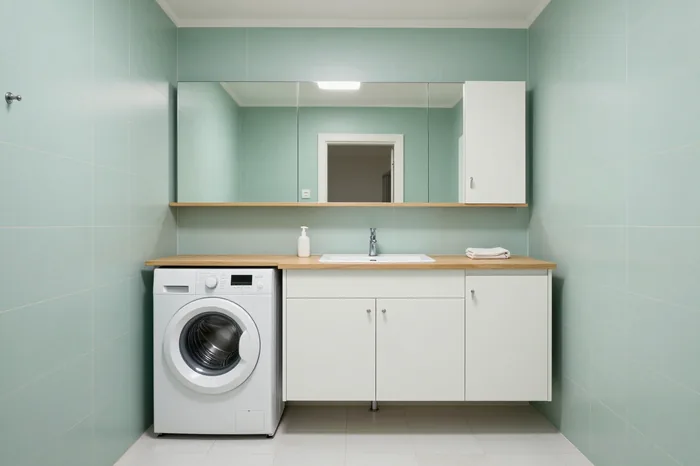
- Separate bay beside the sink cabinet: two bodies joined by one continuous countertop, so each section is levelled and serviced on its own.
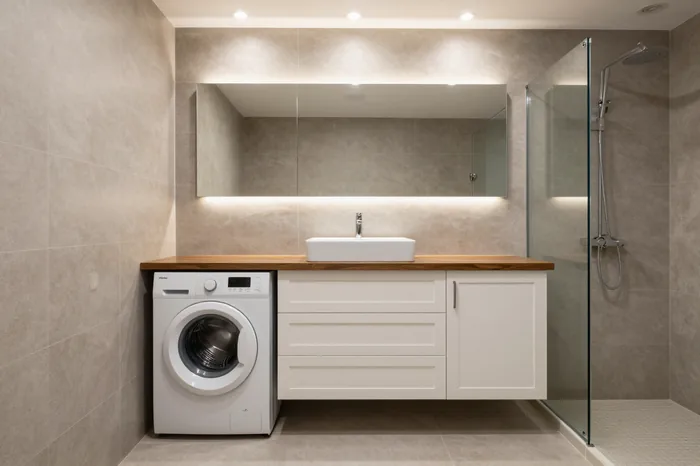
- Single combined carcass: a bespoke washing machine vanity from our workshop that holds the bowl and the machine in one body, with a shared base and one front line.
What height works for the countertop and the machine underneath
We set the countertop height around the machine first and the comfortable working height second, because a unit that does not fit under the top cannot be fixed later. The carcass is drawn to the exact dimensions of the specific model — its width, depth and lid clearance — rather than to a nominal size. A built-in unit needs a few centimetres of air above it and a top that stays level across the whole run, so the bowl sits flush and the machine still slides in and out without scraping the frame. The working surface then follows from that figure, not the other way round. Check the manual before the drawing is signed off: the clearance above the lid matters more than a taller cabinet.
Freestanding, wall-hung or on a plinth
We recommend a plinth or adjustable legs for any body that carries a washer, and reserve wall-hung designs for the sink-only sections of the run. The machine vibrates on spin, so the support has to reach the floor and be levelled to it — a hung cabinet transfers that movement into the wall and the fixings. Adjustable legs handle the slight slope that most bathroom floors in Almaty have, and a recessed base hides them while keeping the front line clean. Brackets and fixings still tie the body to the wall for stability, but they carry no appliance weight. On an uneven floor, level the base first and set the carcass on it — shimming a hung unit never removes the movement.
Depth, siphon and the sink-over-washer rule
Depth is the one dimension that decides whether a basin can sit above a washer at all. Below is the rule we work to and what it means in practice.
How much shallower the washer must be than the sink
We plan the appliance to sit noticeably shallower than the sink above it, so the trap and the supply lines have room behind the machine instead of pressing against its back panel. In a body built for a 60 cm unit we leave a service zone at the rear for the drain hose, the water inlet and the shut-off valves, then set the bowl forward of that zone. The rim and the loading door then line up on one plane, which is what keeps the run looking deliberate rather than bolted together. If the two depths match, the siphon ends up ahead of the unit and the cabinet has to grow outward — which eats floor space in a small bathroom.
What the countertop over a washer actually carries
The top over a machine is a working surface, so we support it on the side panels and a rear rail rather than on the appliance itself. A slab spanning a 60 cm opening with a bowl cut into it needs a continuous bearing edge along both sides, and the back rail takes the load where the cut-out and trap sit. On our bathroom vanities the board is Egger or Kronospan, cut and edged in the workshop, with the ceramic fixed down through the same structure. Nothing should rest on the lid — the worktop has to bridge over it with a gap, otherwise the unit's own vibration is transmitted straight into the surface and the seal around the sink.
Matching body depth to appliance depth
How the three depths stack up| Element | What we allow for |
|---|
| Appliance | Cabinet depth plus service gap |
|---|
| Sink bowl | Set ahead of the trap zone |
|---|
| Cabinet body | Deepest of the two, plus door thickness |
|---|
| Worktop | Overhang past the front line |
|---|
Moisture-resistant materials and edge protection
A bathroom is a wet zone, and a vanity body survives there not because of a special board but because of sealed edges and protected cut faces. We build to that logic, and here is what goes into the body.
Which boards we use for a bathroom body
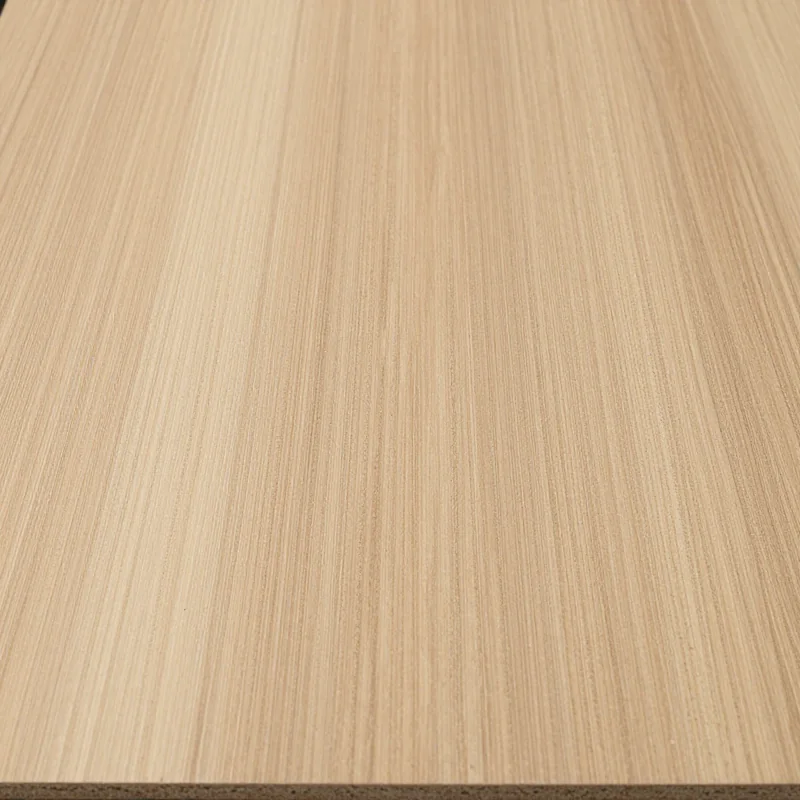
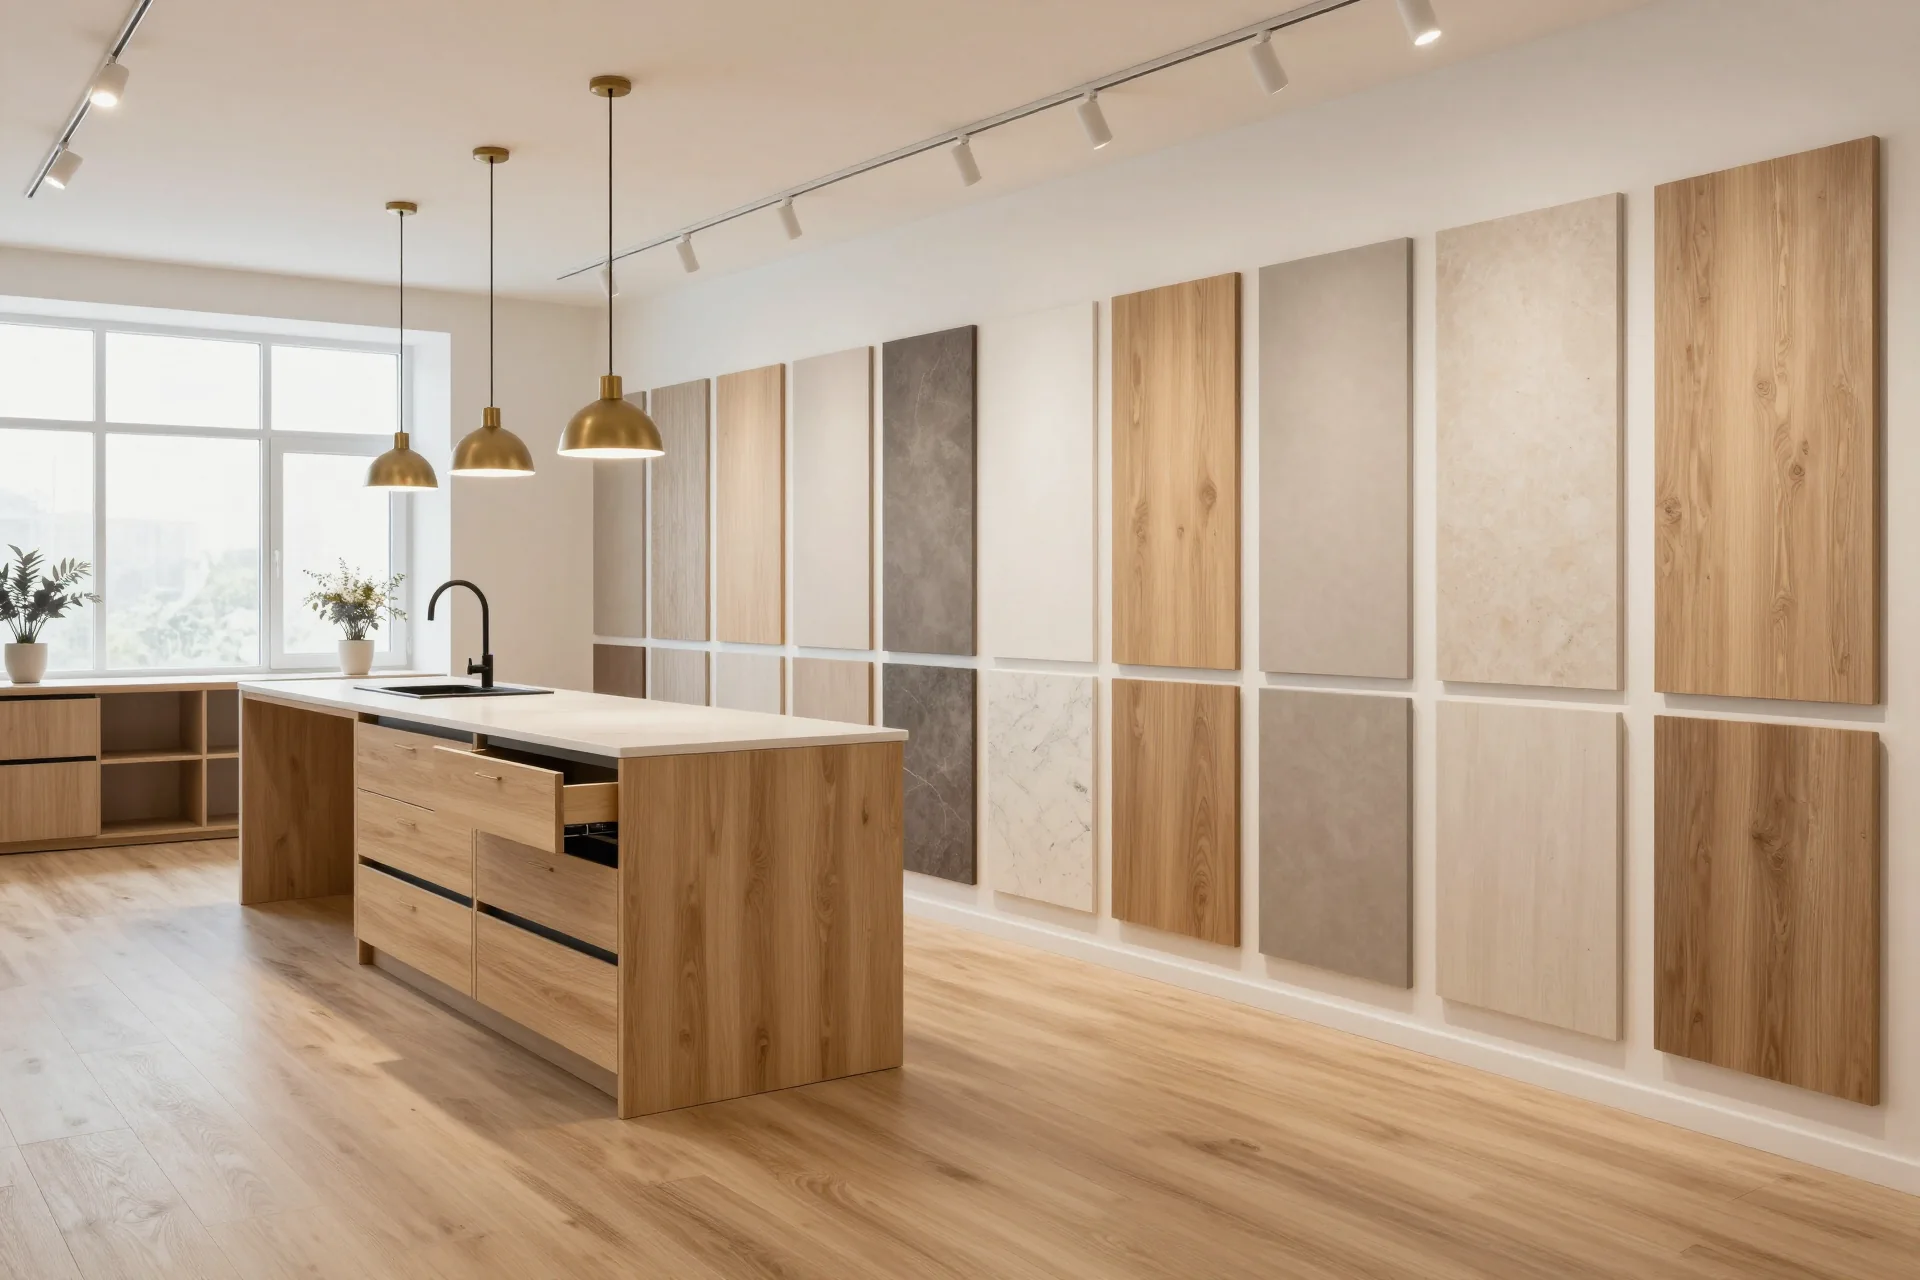
We build bathroom bodies from moisture-resistant Egger and Kronospan boards, and we pick the wet-zone grade rather than standard furniture board for the carcase. The panel carries the load of the countertop, the sink and the machine beside it, so the core has to hold its shape when the room stays humid for hours after every shower. Egger and Kronospan both make a moisture-resistant line with a denser core and a lower swell rate than the standard chipboard used in dry rooms. We specify that grade for the sides, the base and the plinth, and keep the standard board for parts that never meet water. The board itself is only half the answer — an unprotected cut edge will swell long before the face of the panel shows any damage.
Why the edge banding decides how long the body lasts
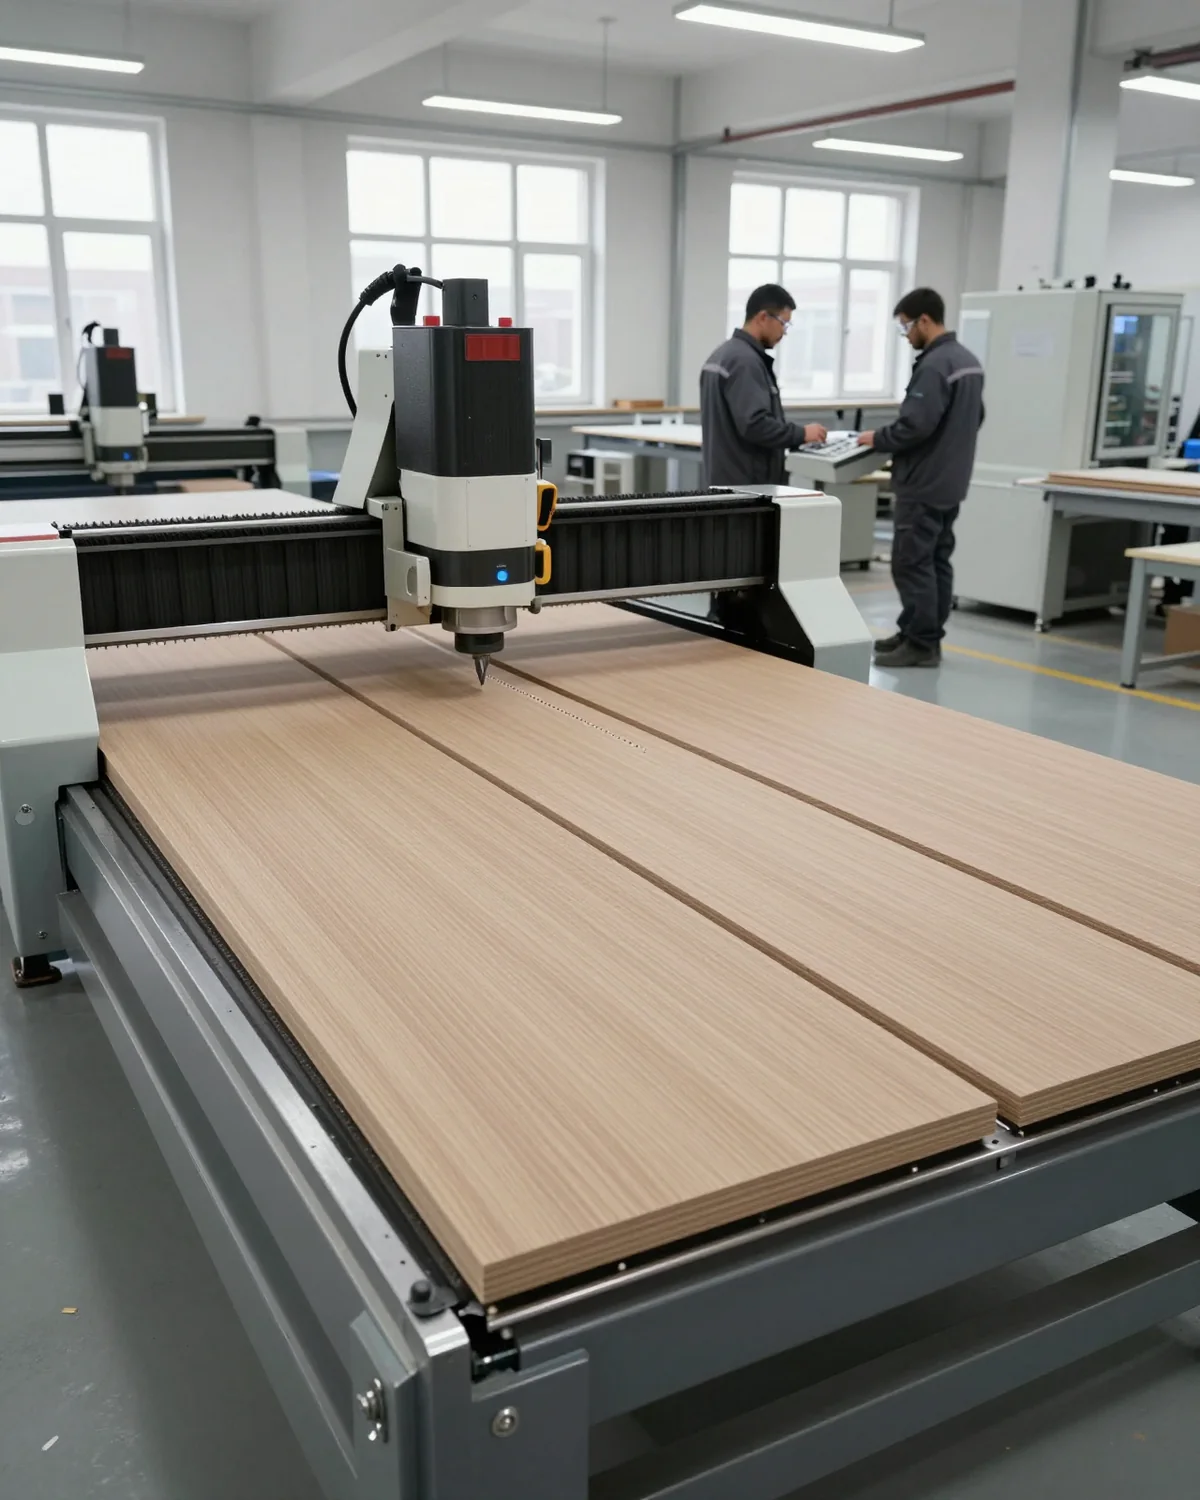
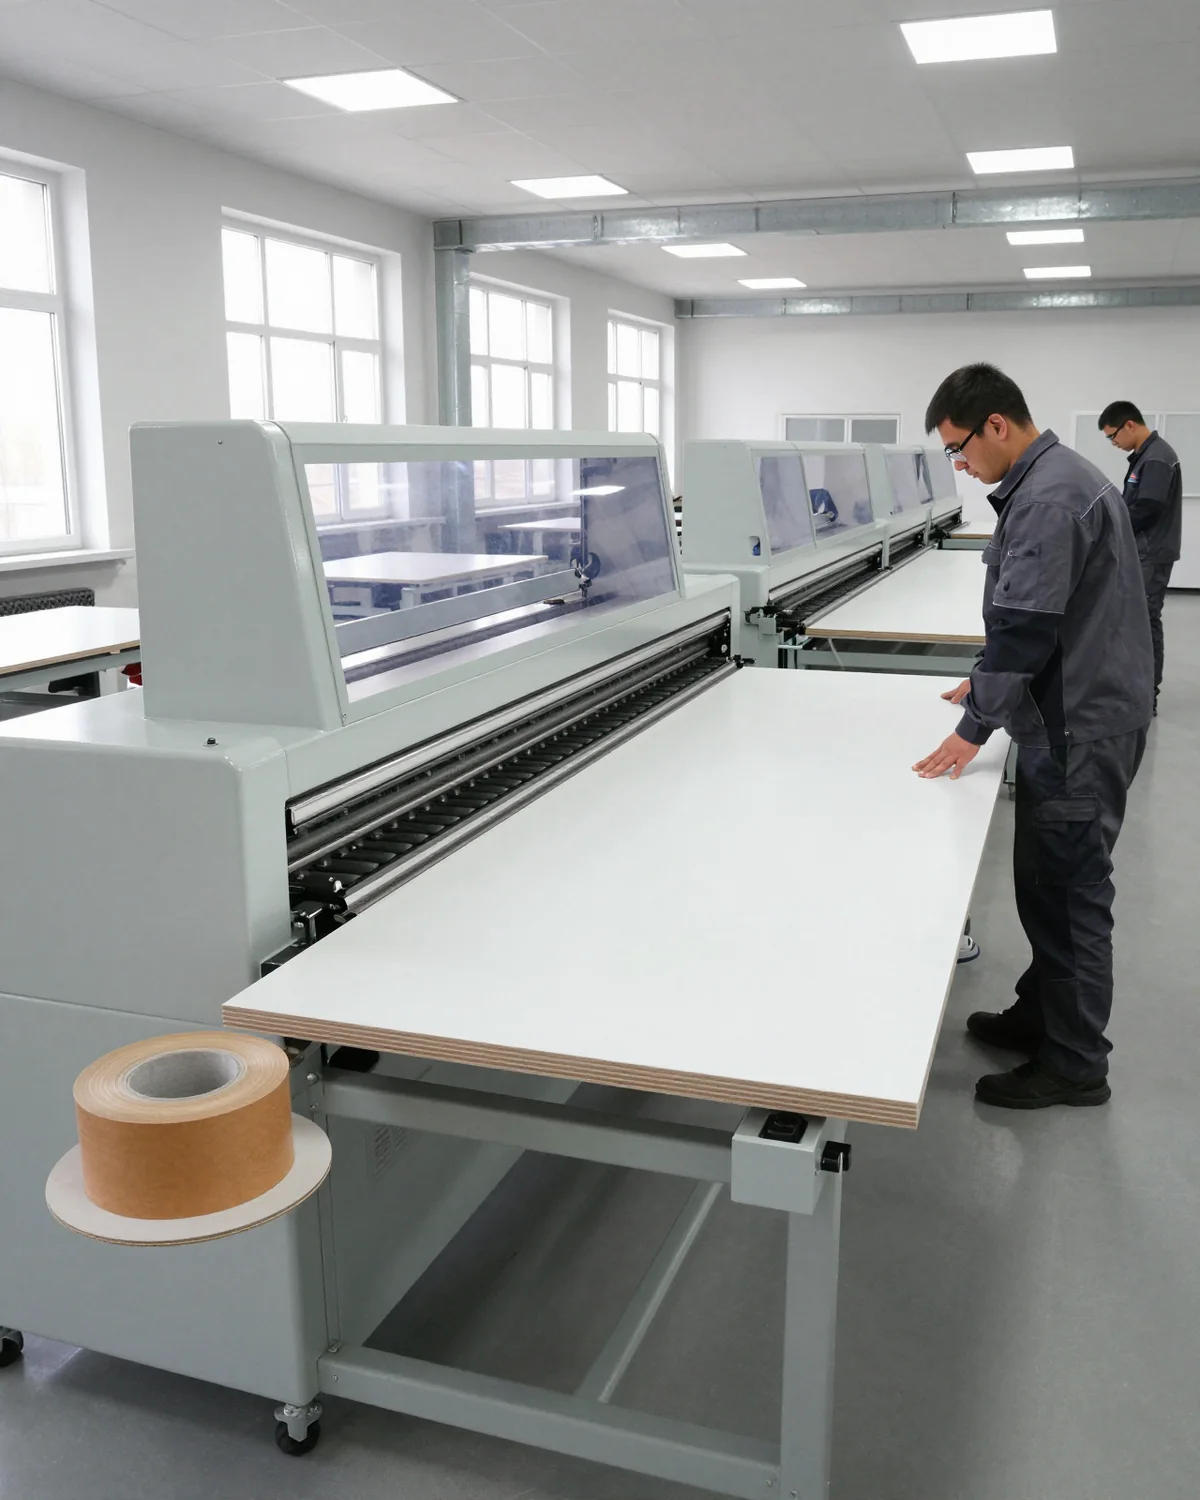
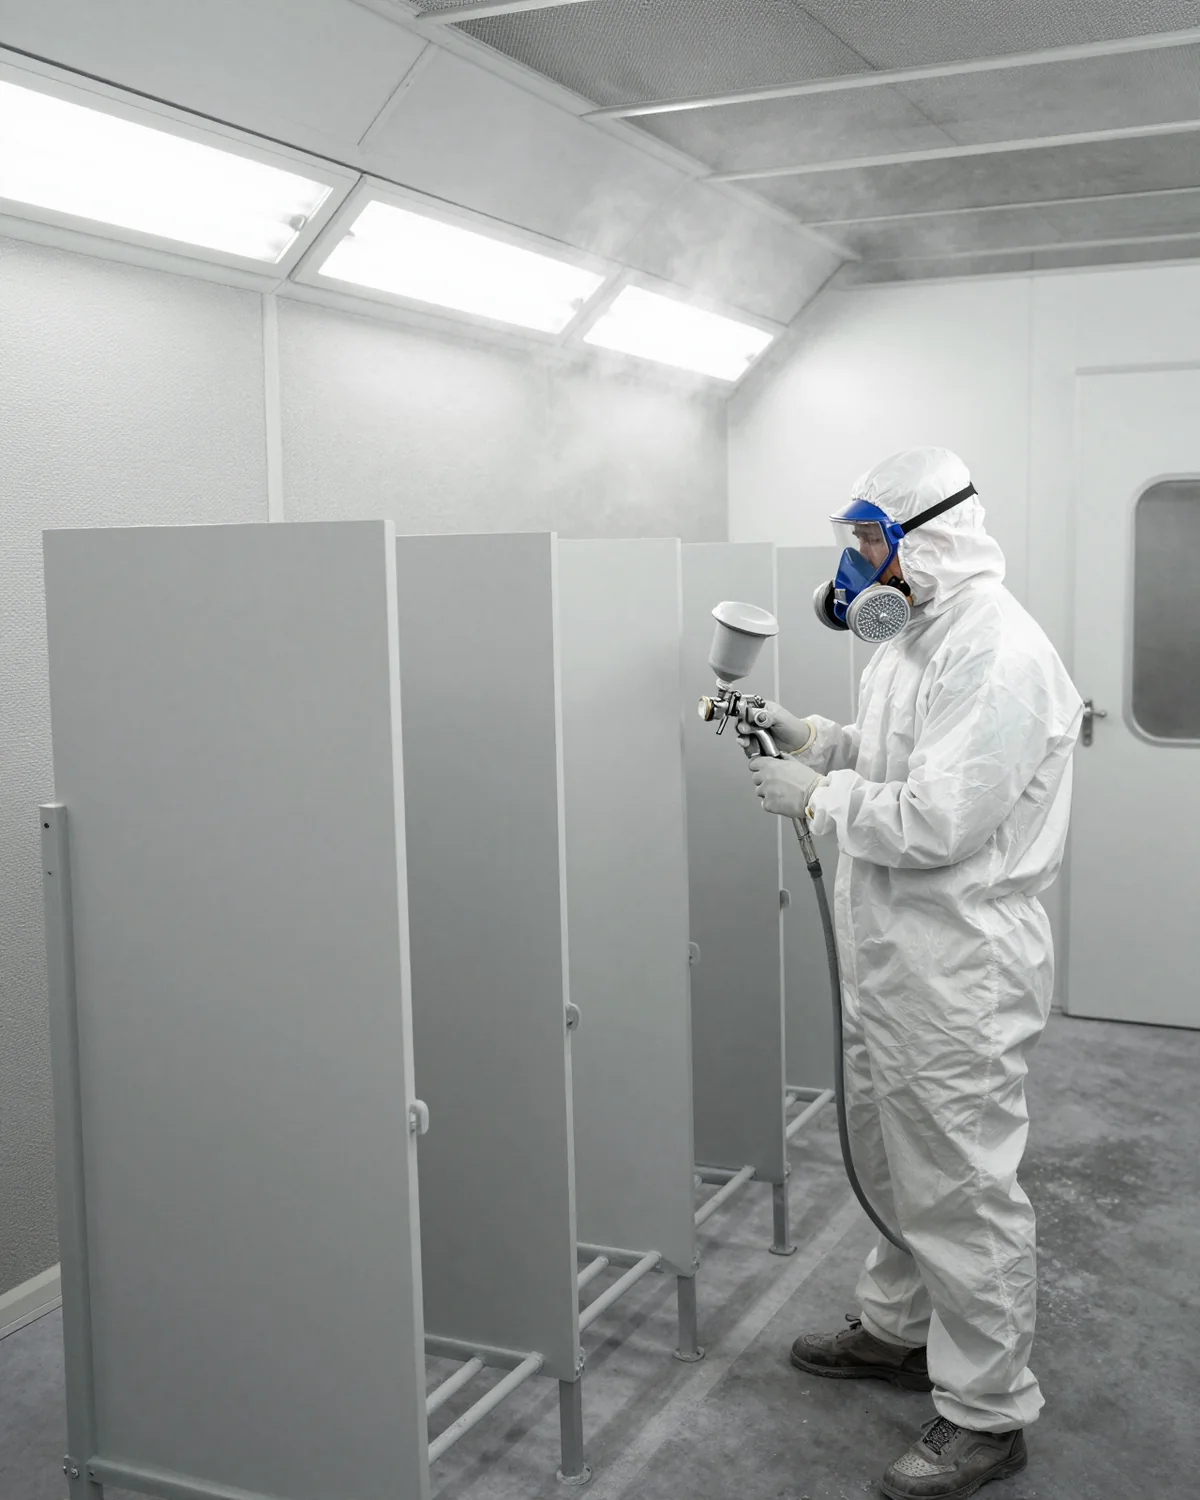
Every cut edge on a bathroom body gets banded in our workshop, because the raw core is where water gets in first. A panel cut for the machine opening, the siphon and the pipe entries exposes bare chipboard, and that exposed core absorbs moisture far faster than the laminated face. Our own 600 m² workshop does the cutting, the edge banding, the painting and a control assembly before anything ships, so the banding is applied in-house and inspected at the same bench. We band the visible edges and the hidden ones alike, and we seal the cut-outs around pipes rather than leaving them raw. Pay attention to the edges you cannot see — the underside of the top, the back of the plinth and the cut-outs for pipes are the places that fail first.
Fittings that survive steam and daily use
- Blum hinges and lift systems: we fit Blum on the doors and the flap above the machine, and the manufacturer backs these mechanisms for 25 years.
- Drawer runners: Blum runners carry the drawers, with Hettich and Boyard as alternatives when a project calls for a different specification.
- Warranty split: the 25-year cover applies to Blum hardware specifically — it protects the mechanism, not the board the screws go into.
Ventilation, access and hiding the plumbing
A washer sealed inside a cabinet has to breathe and stay serviceable. Here is how we plan the gaps, the reach to the filter and the space the hoses need.
The gap and airflow a washer needs inside a cabinet
We leave a service gap around the appliance and keep the bay open at the back and top so damp air does not sit against the machine. In our designs the washer stands off the side walls by a working gap, and the top of the bay stays open toward the room rather than closed with a lid. That path lets warm, moist air from a spin cycle escape instead of settling on the housing. A sealed bay traps condensation on the cold metal of the washer, and that moisture then works on the nearest board edges. When we plan a custom washing machine vanity, the airflow route is drawn before the layout, not after. On the models we fit, the rear needs a few centimetres of open space for the inlet and drain to sit without a sharp bend.
Reaching the door, the detergent drawer and the filter
The face of the washer stays fully accessible in our designs, and the filter hatch is reachable without removing a part. A front-loading door needs room to swing, so we keep the countertop overhang shallow enough that the door opens past ninety degrees. The detergent drawer pulls straight out, which means nothing fixed — no handle rail, no decorative strip — should sit in that line. The filter is the part most often blocked by a fixed panel, so we mark its position on the drawing while the plan is still flexible. Check the filter position before the layout is fixed — on some models it sits low and off-centre, and a side wall can end up right opposite it. A small hinged or lift-out hatch in the plinth solves this without breaking the run of the facade.
Where the hoses, valves and trap go
We hide the supply hoses, valves and trap behind a removable false panel, so the plumbing is out of sight but still serviceable. The supply valves sit in the bay beside the machine, reachable by hand once the cover is lifted away, and the drain hose runs to the trap with a gentle fall rather than a loop that holds water. A panel that is screwed shut is worse than no panel at all — it has to come away without tools when a hose needs replacing. In our workshop the false front is cut and edged like the rest of the body, then checked in the control assembly before the unit ships. We keep the shut-off valves where a hand can reach them, because a supply that cannot be closed in a hurry turns a small leak into a floor of water.
Ordering washing machine cabinets from measurement to installation
A ready-made cabinet does not adapt to the room — the room has to adapt to it, and it rarely does. Here is how we account for an uneven surface and the appliance, and how the order runs.
Fitting tight to walls that are not straight
We measure the actual wall line at several points and cut the body to follow it, so the cabinet meets the surface without a filler strip of gaps. The survey records the deviation at the floor, at counter height and at the top, because a partition can lean one way at the bottom and the other way above. Panels are then trimmed to those figures in our own workshop, and the visible side is set to the tightest point of the run. A deviation of a couple of centimetres over the length is normal in Almaty apartments — it only becomes a problem when the body is ordered to a nominal size. Ask for those figures to be written into the drawing, not just discussed on site.
Made to measure against a ready-made cabinet
Catalogue unit against a body built to your room| Ready-made | Made to measure |
|---|
| Fixed catalogue width and depth | Shell built around your washer |
|---|
| Filler strips close the gap | Side panel cut to the wall line |
|---|
| Filter access decided by the factory | Filter and valve access planned in |
|---|
| Sink opening pre-cut to one size | Opening cut for your basin and tap |
|---|
From measurement to the signed acceptance act
- Free measurement and 3D project: we visit, take the wall and appliance figures and show the layout in 1–2 days.
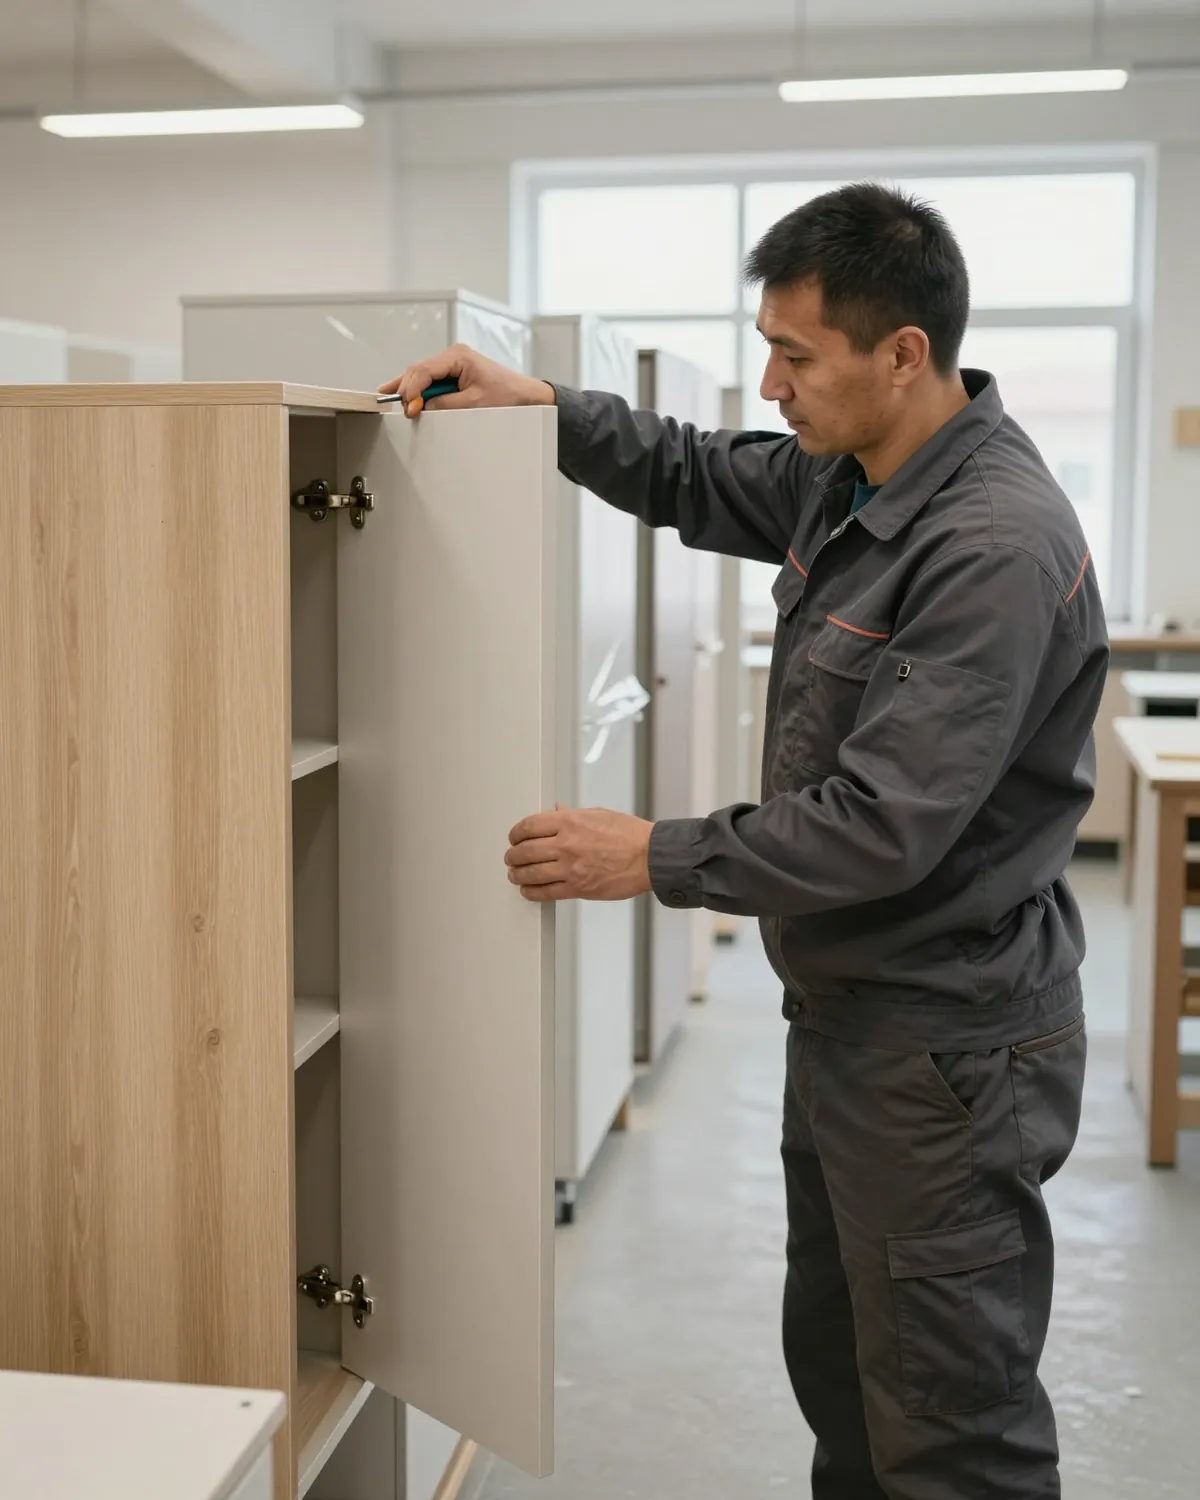
- Manufacturing in our own 600 m² workshop: cutting, edge banding, painting and a control assembly before shipping.
- Installation by our own crews: the team that built the piece sets it in place and connects it.
- Acceptance act after installation: you check the fit, the doors and access, then sign.
- Warranty of 24 months under the contract: the terms sit in the same document you sign.
The bottom line on washing machine cabinets
A vanity built around a washer comes down to a handful of decisions — layout, materials, airflow and fit — and each one is settled before cutting starts, not after.
- Appliance size against basin size: the machine must sit shallower than the bowl above it so the worktop clears the lid and the hoses stay reachable.
- Board and edge protection: moisture-resistant board with sealed edges on every cut, since steam attacks exposed cores first.
- Airflow and service access: a ventilation gap, a free path to the filter and a reachable detergent drawer, planned into the cabinet rather than cut in later.
- Wall survey: measure at several points along the run, because walls in flats across the city rarely read straight over a full length.
- Signed acceptance after installation: check door alignment, drawer travel and the gap around the machine before the act is signed and the balance is settled.