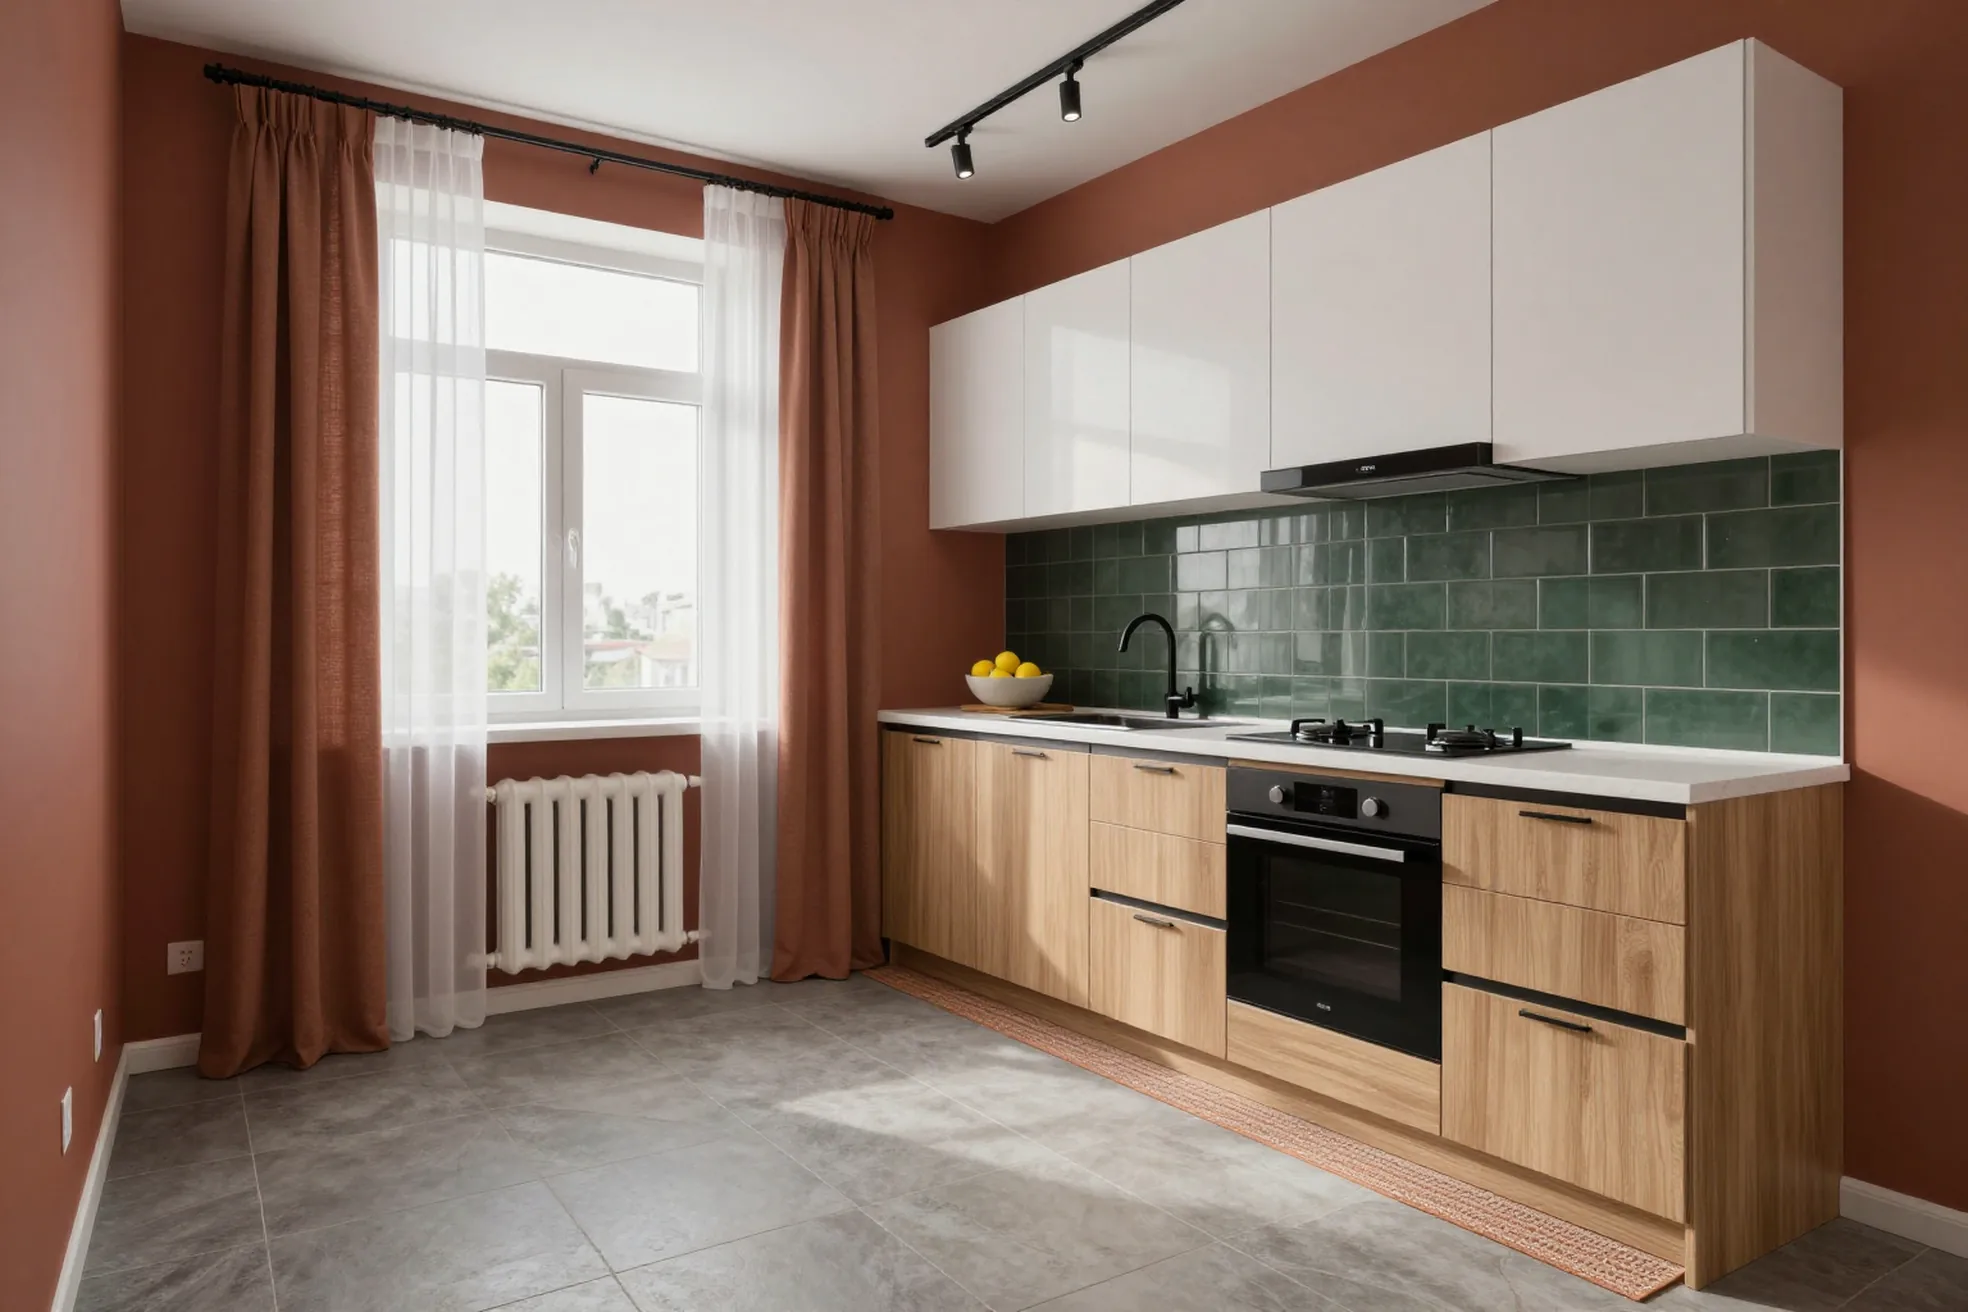
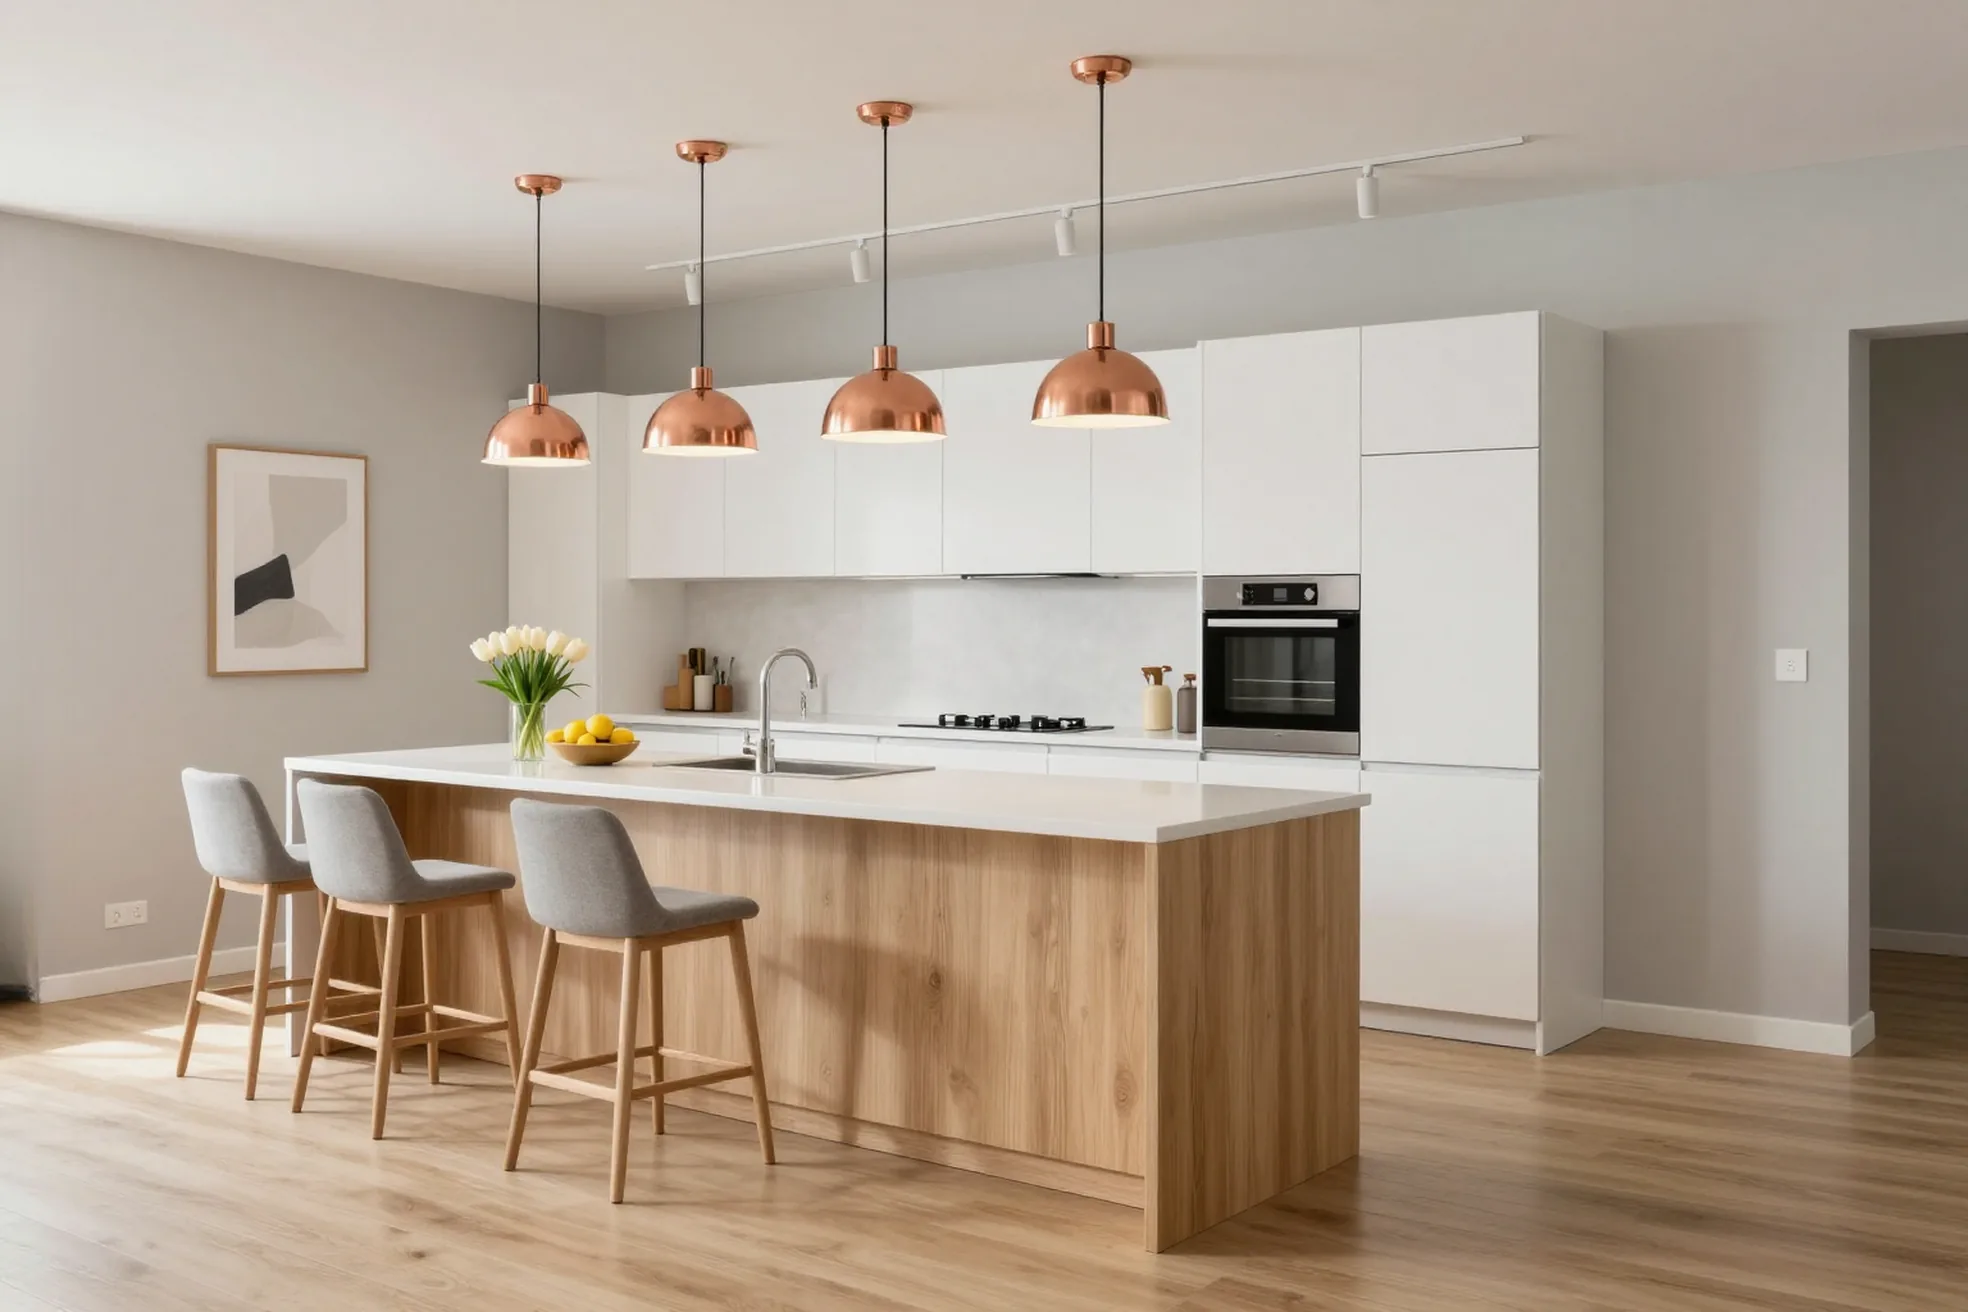
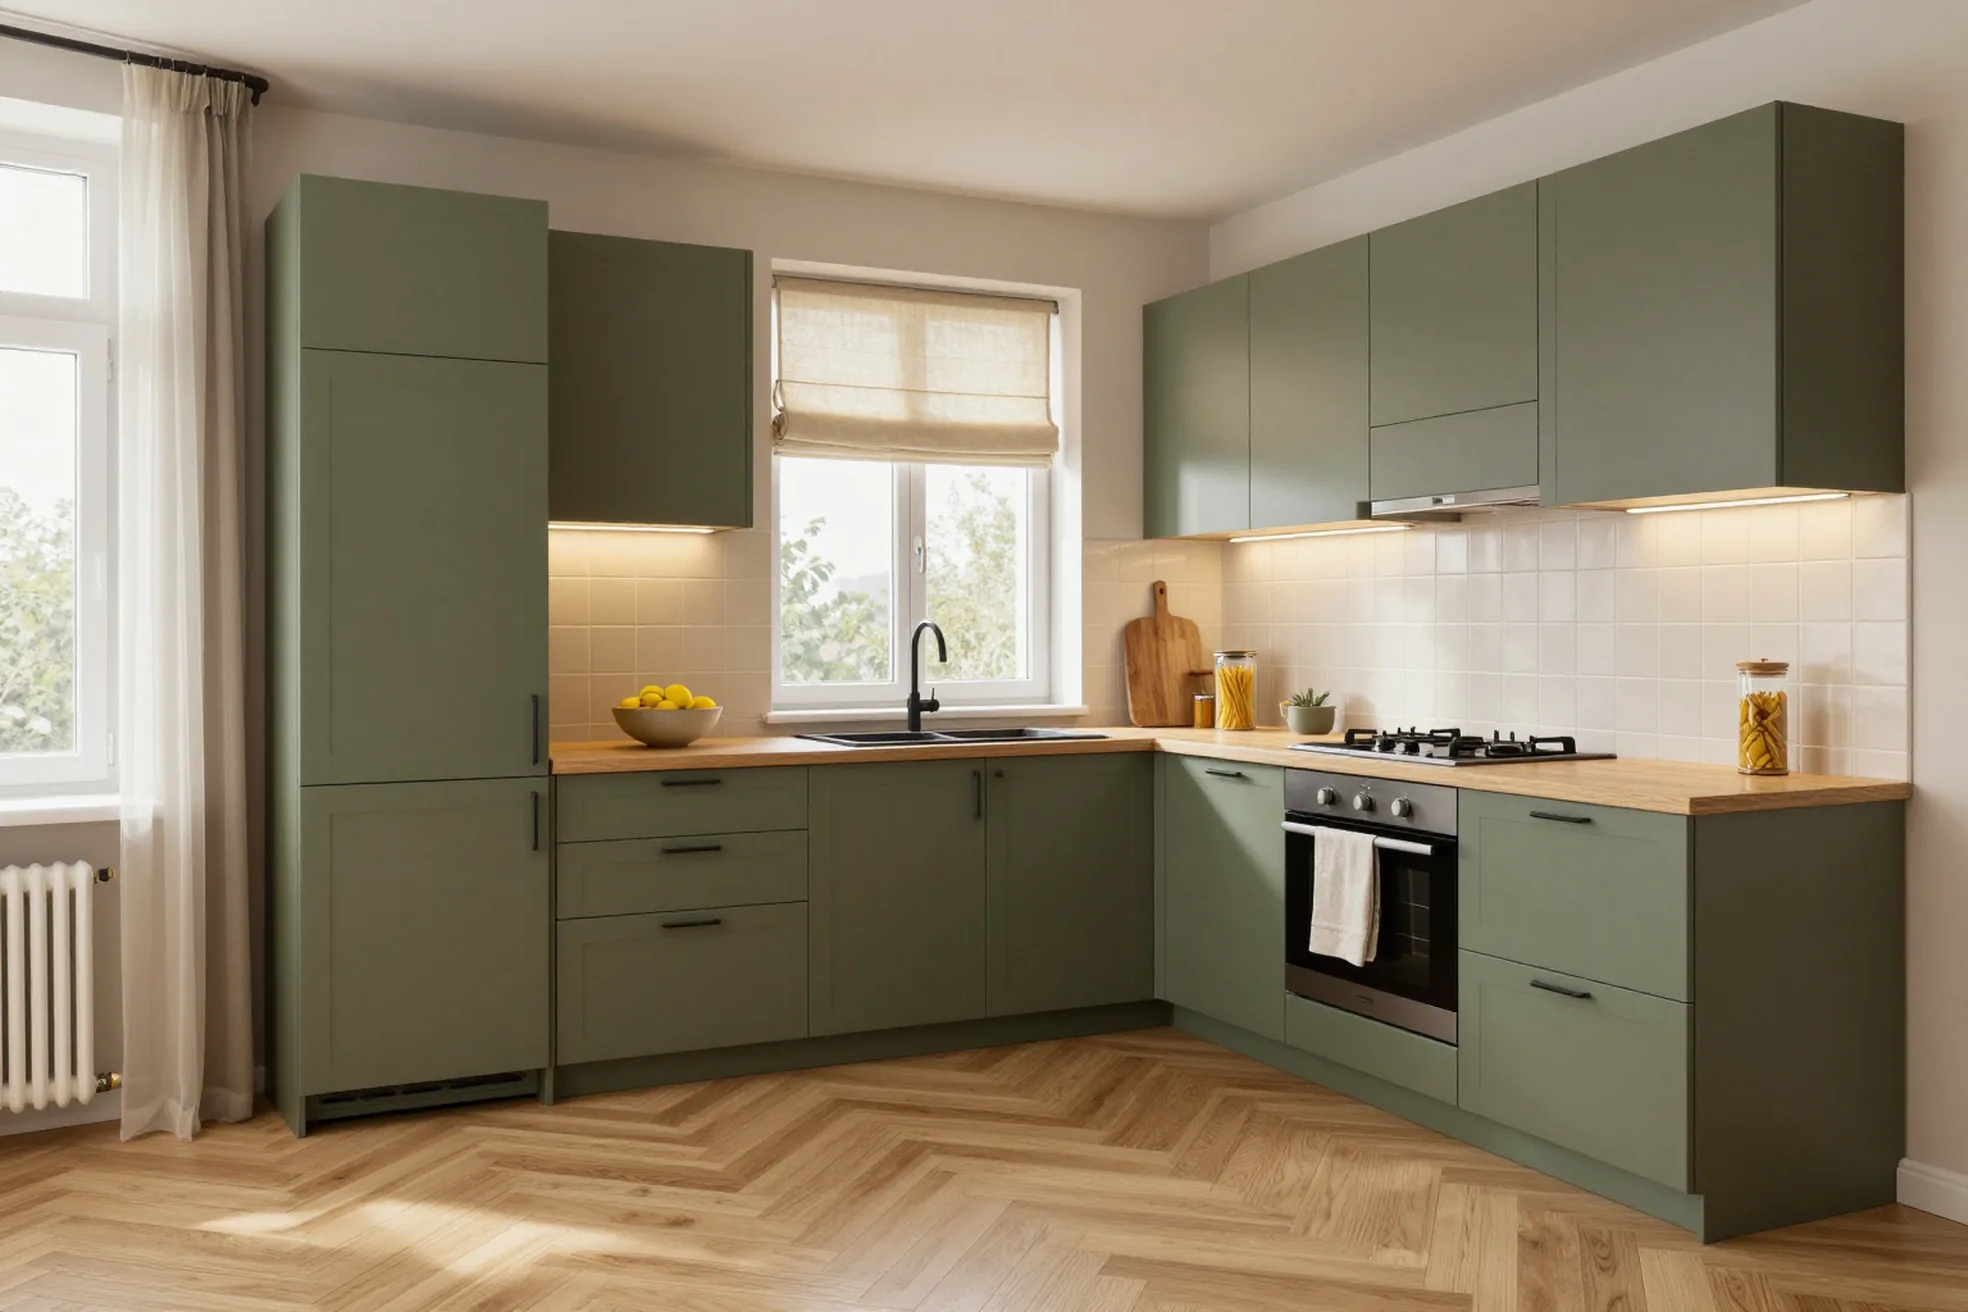
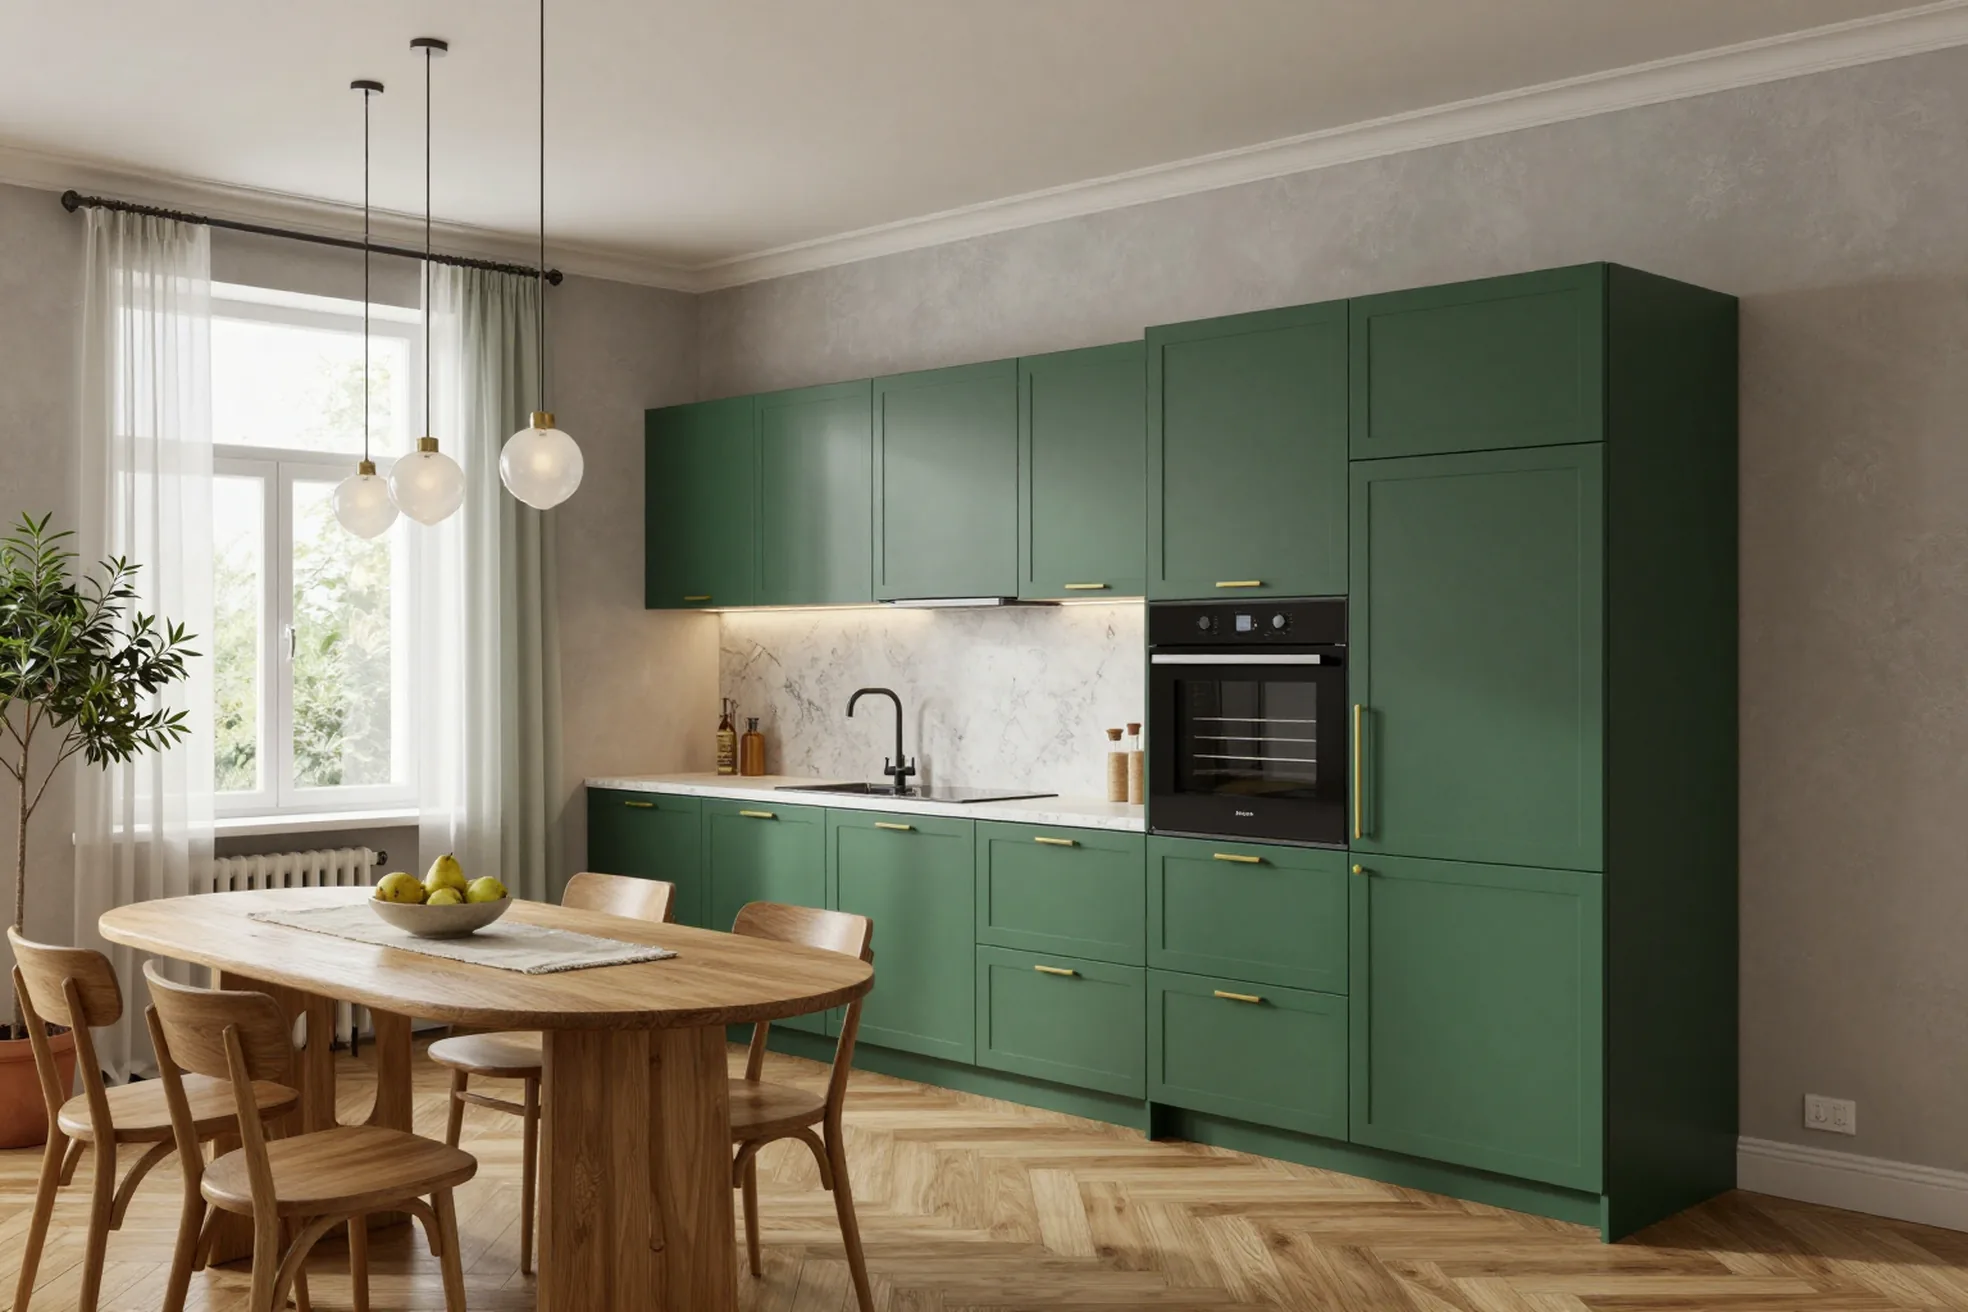
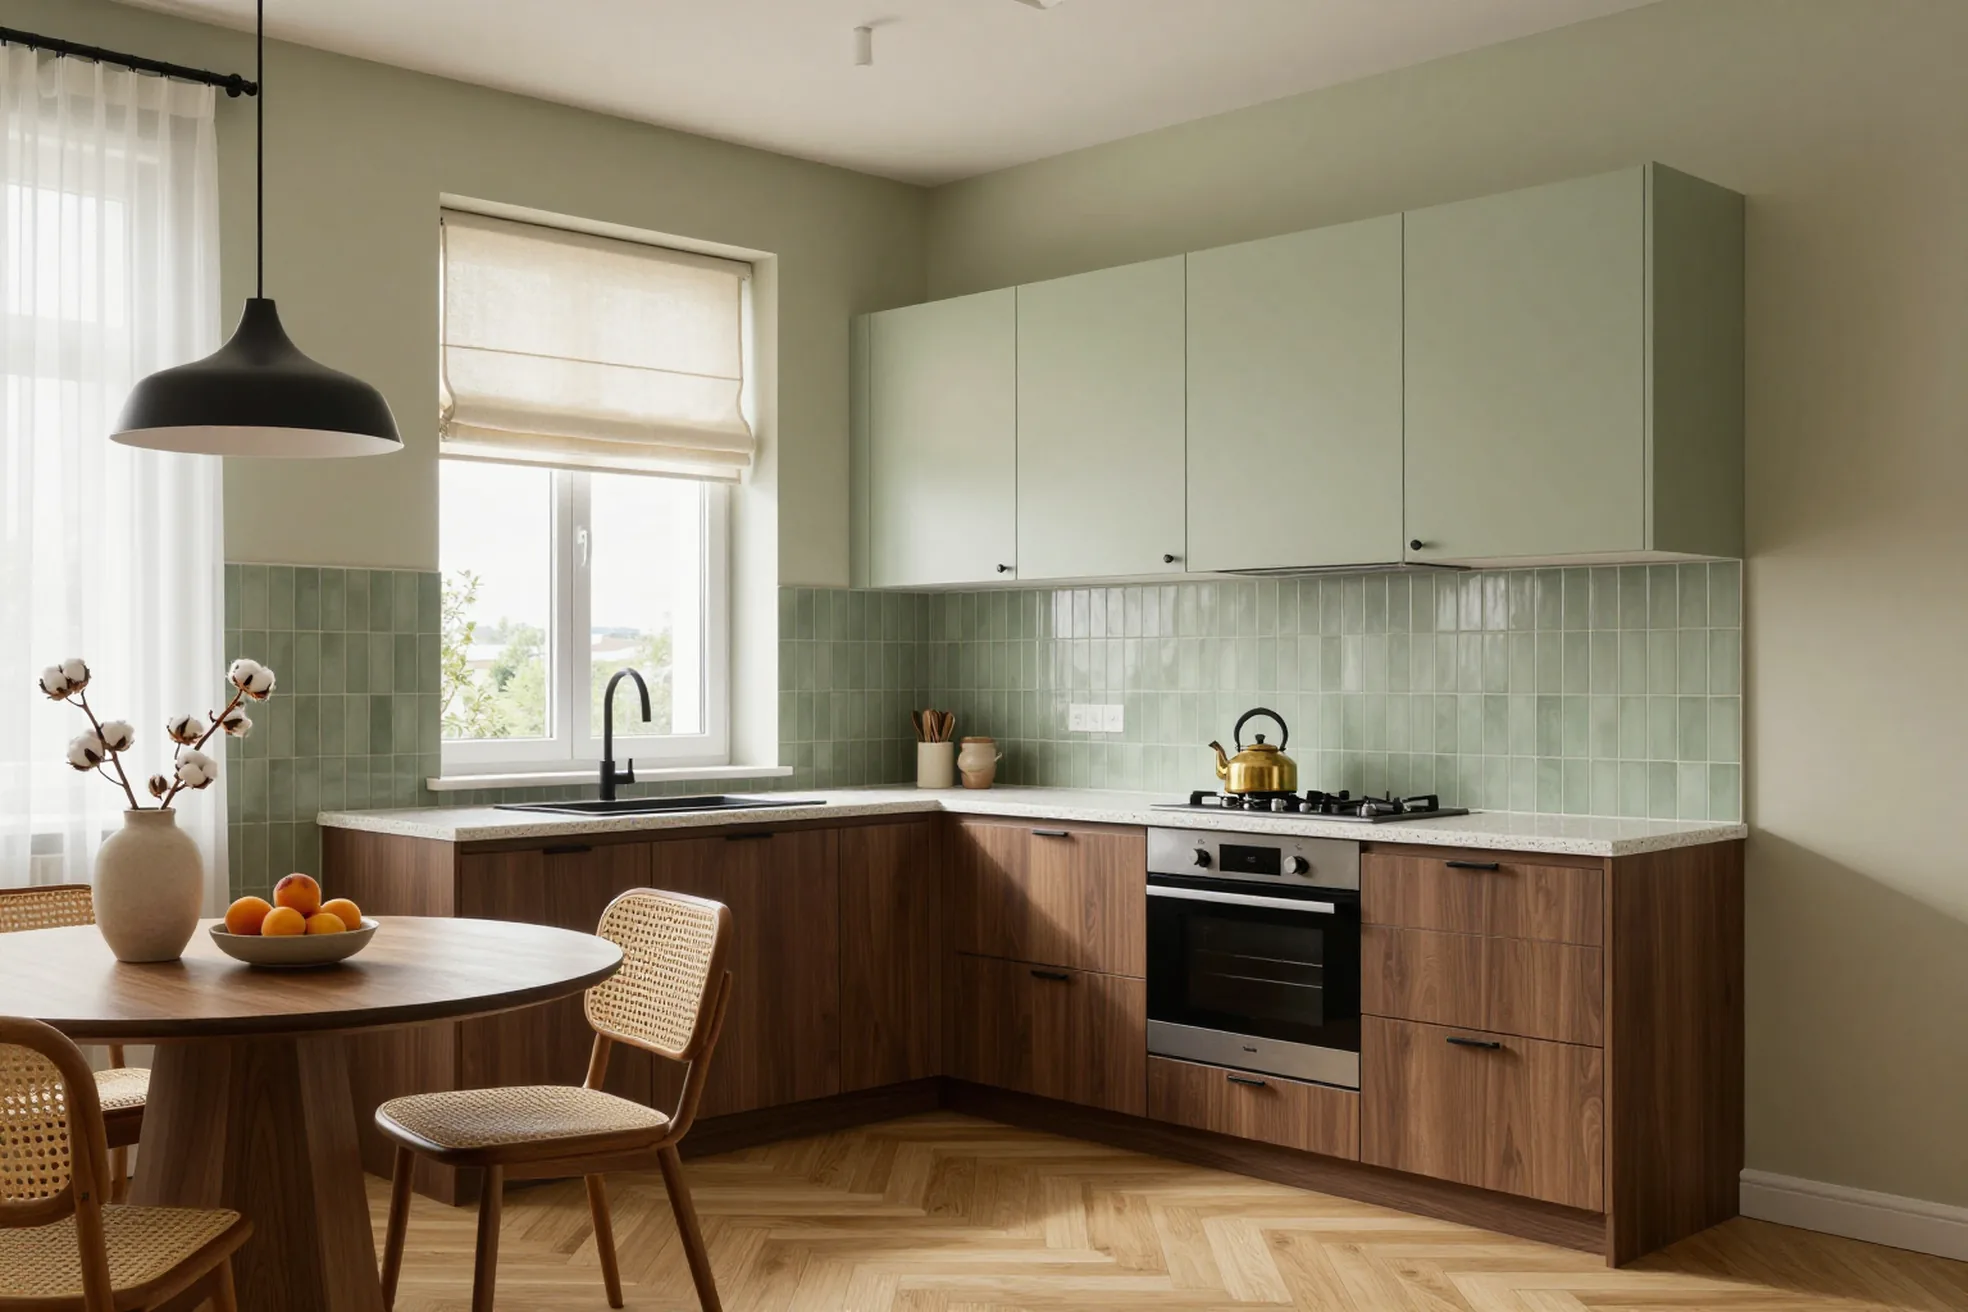
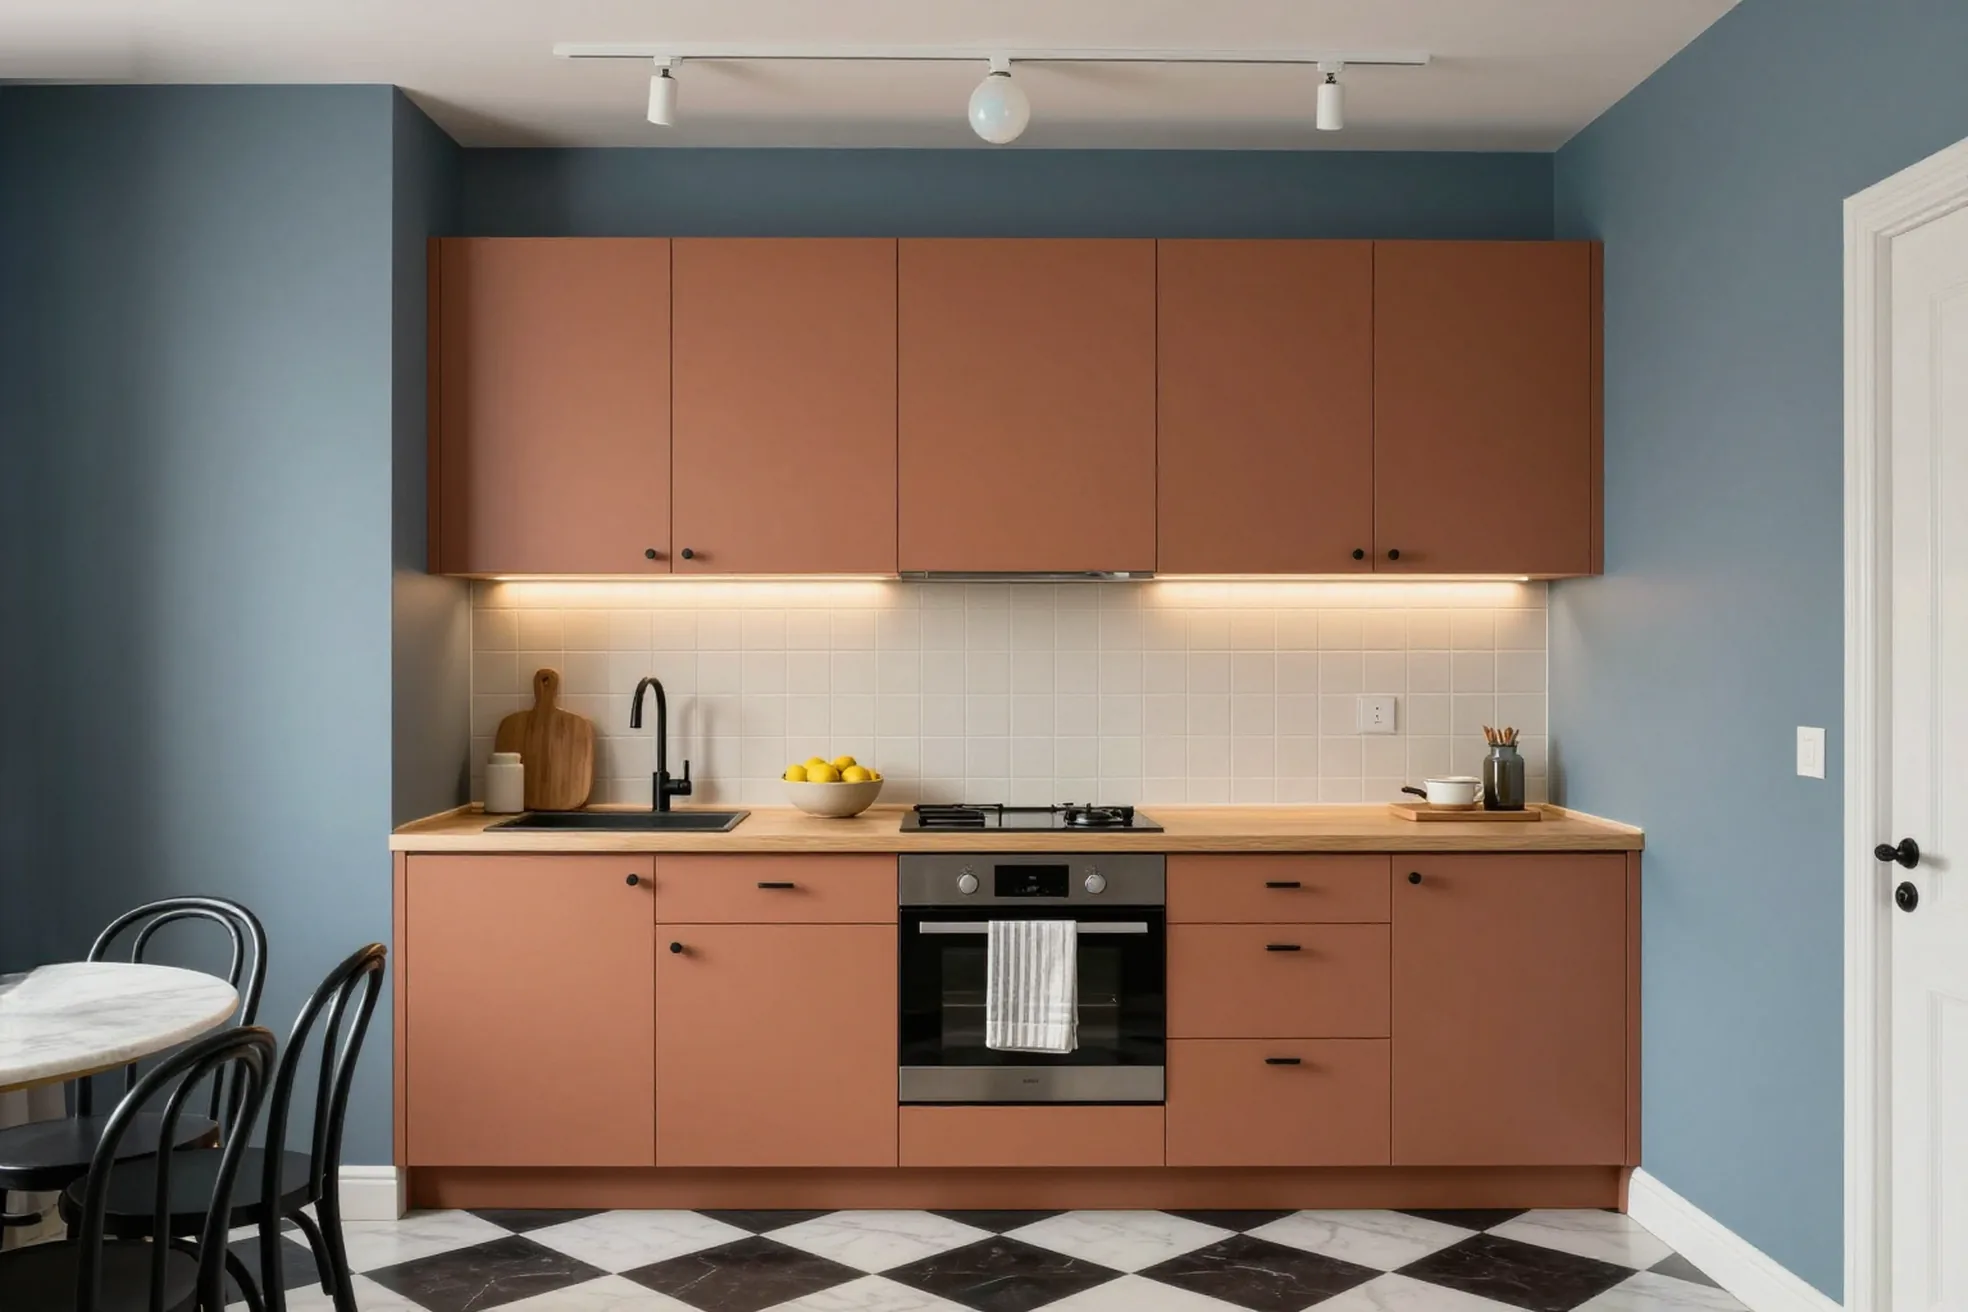
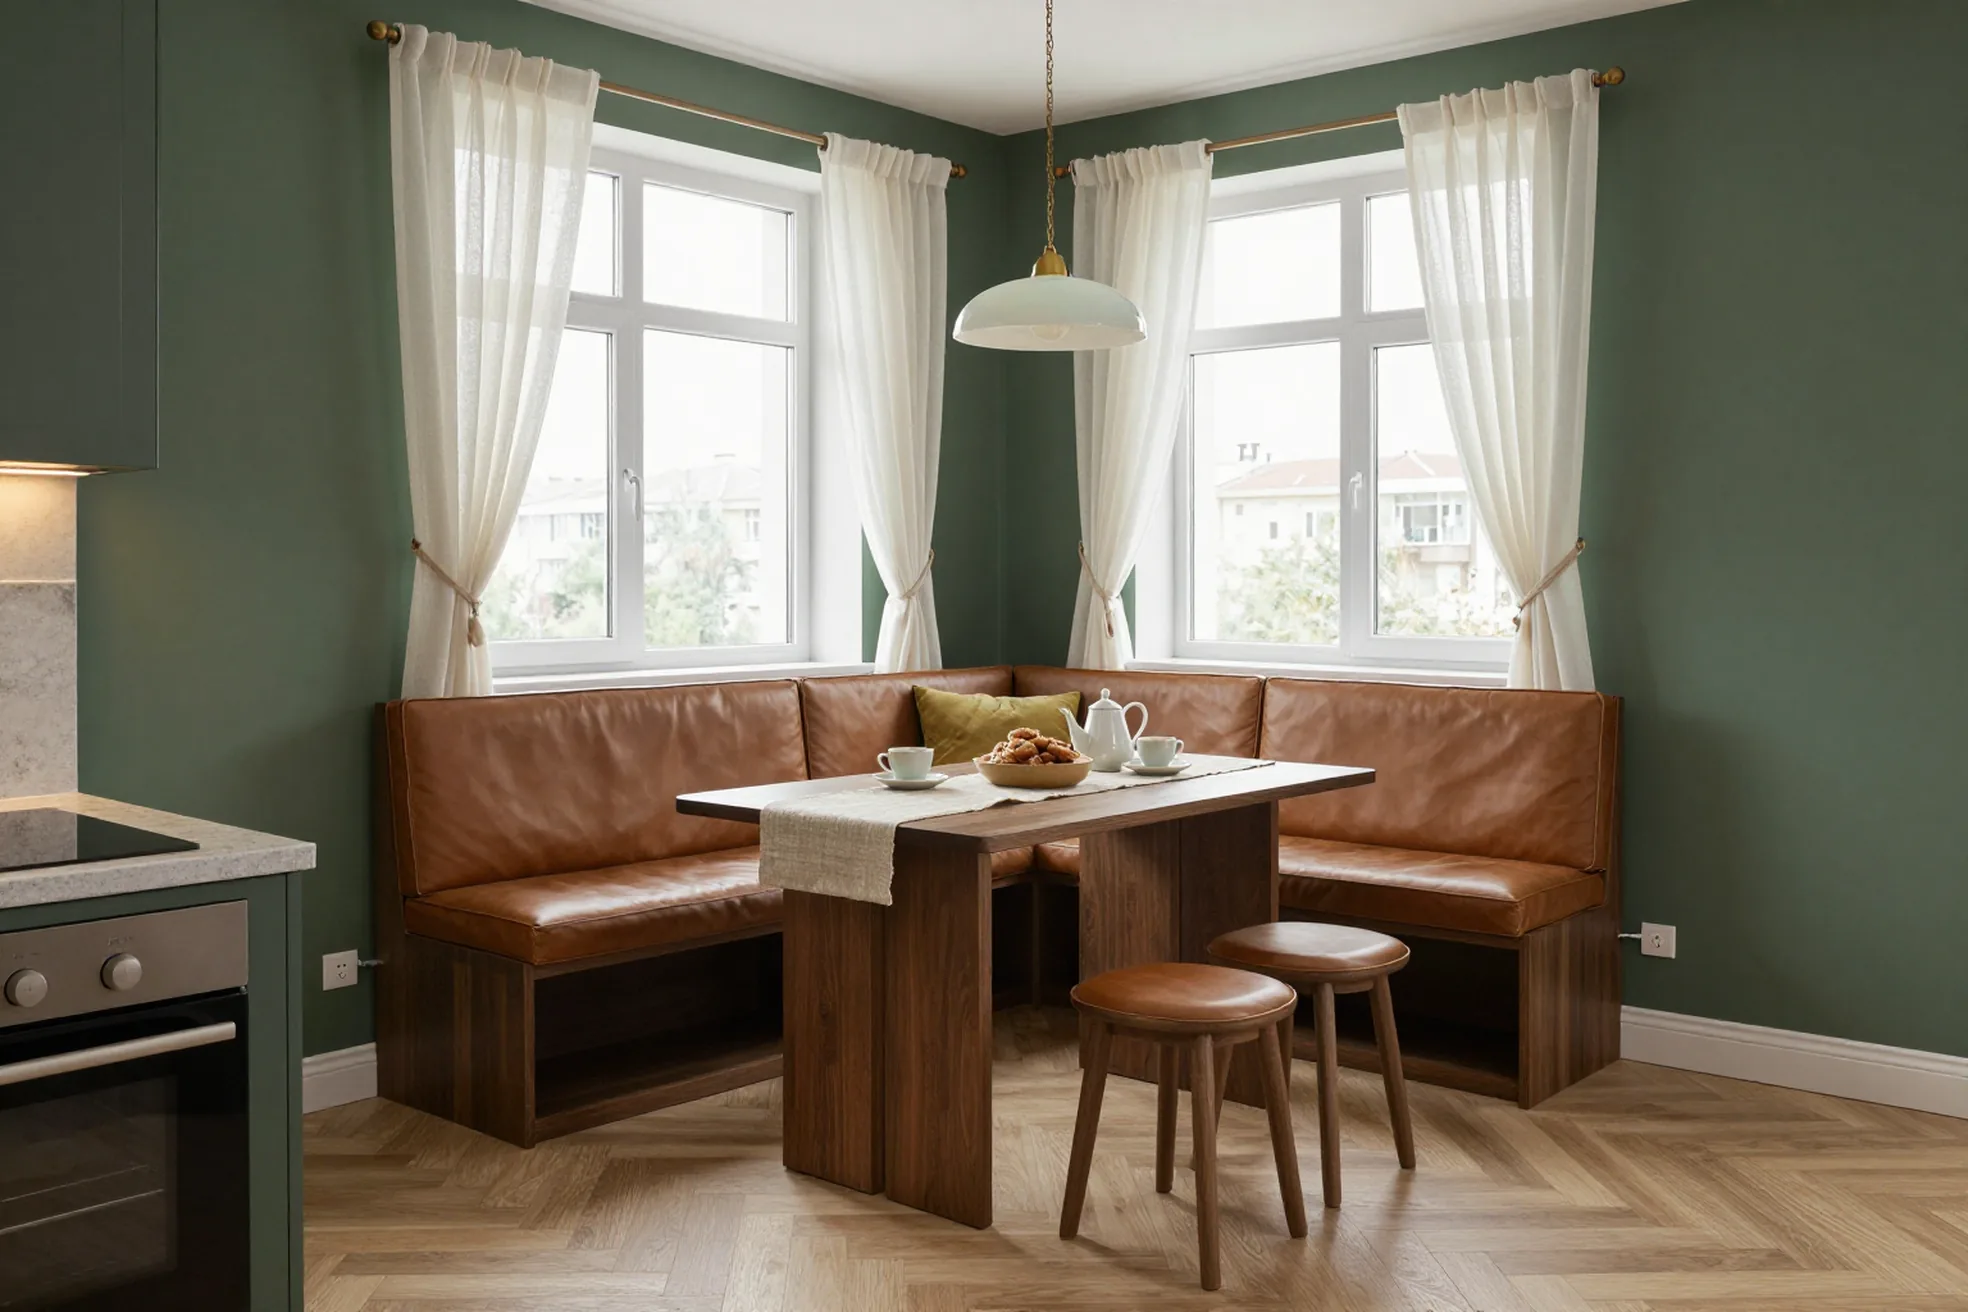
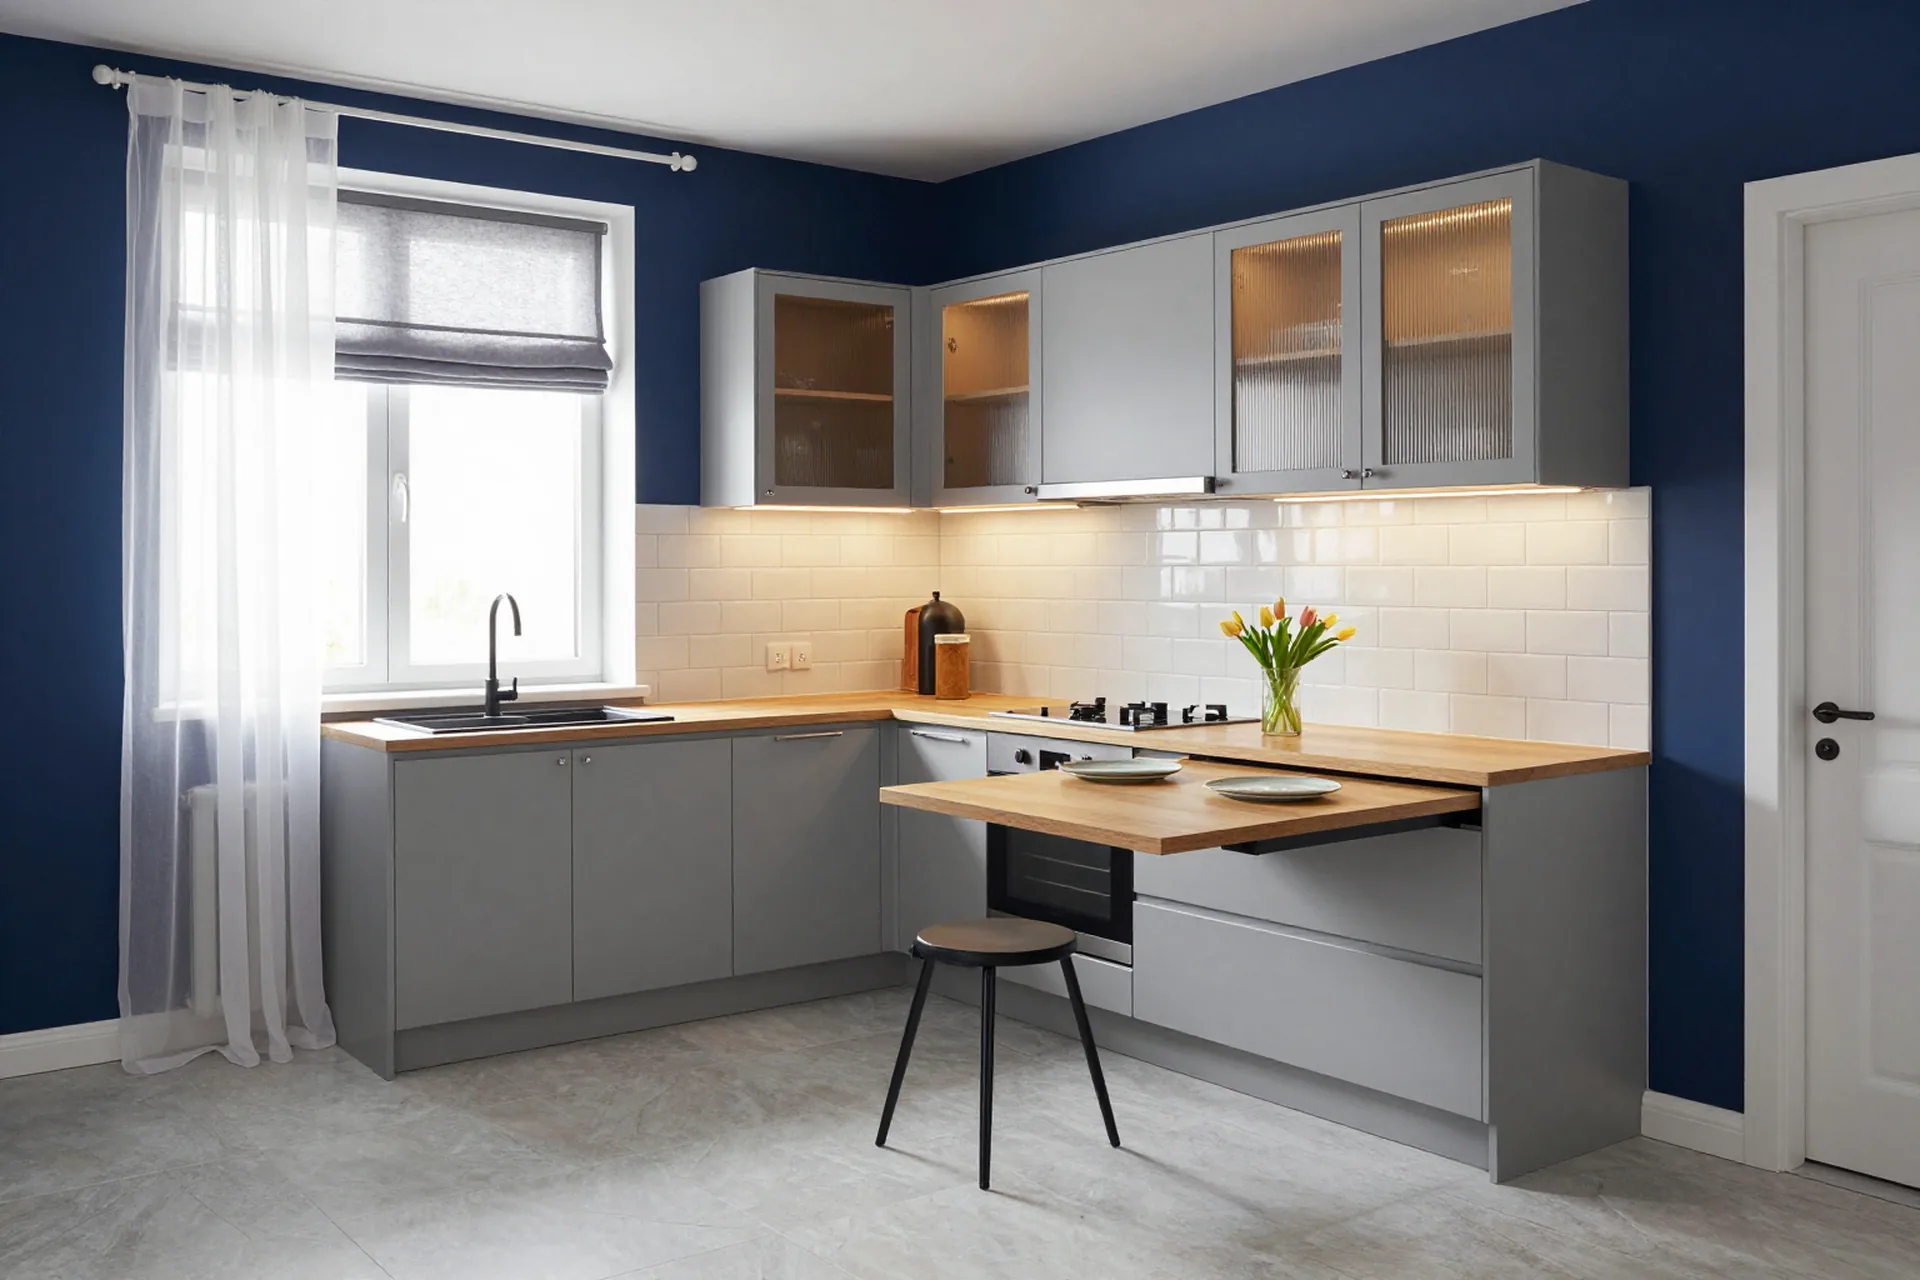
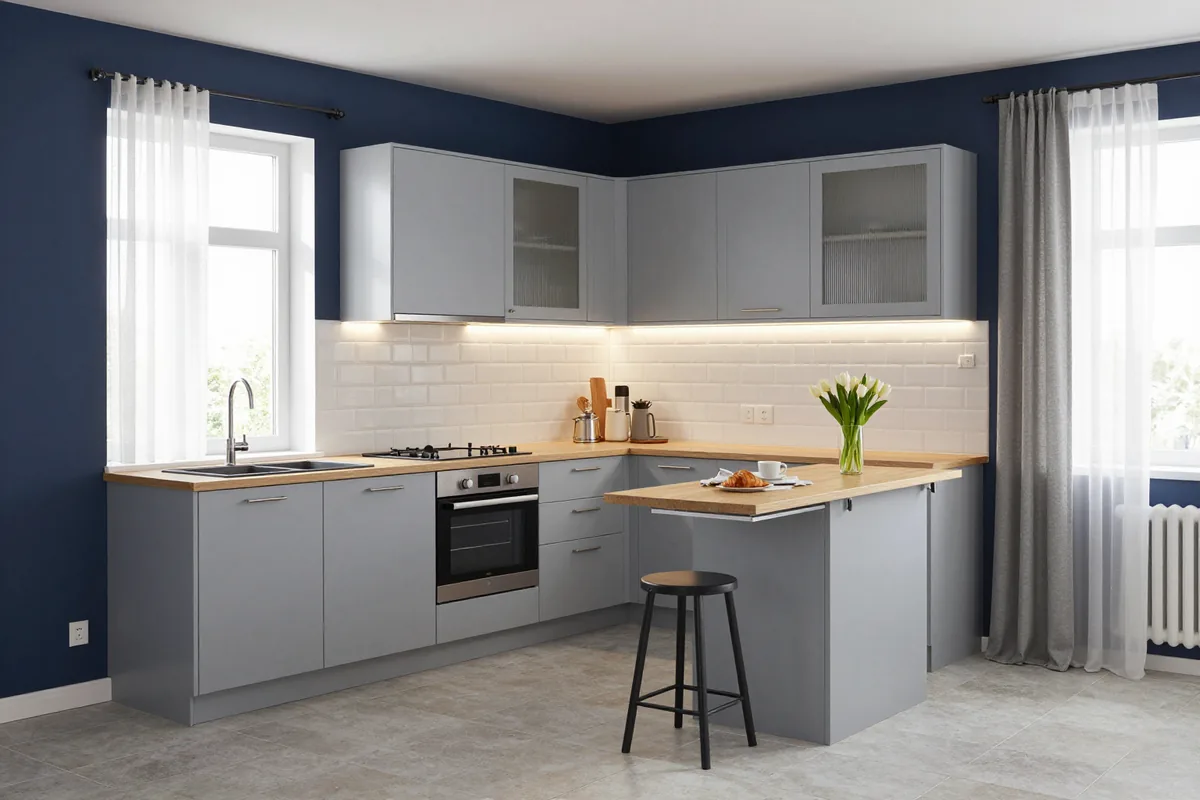
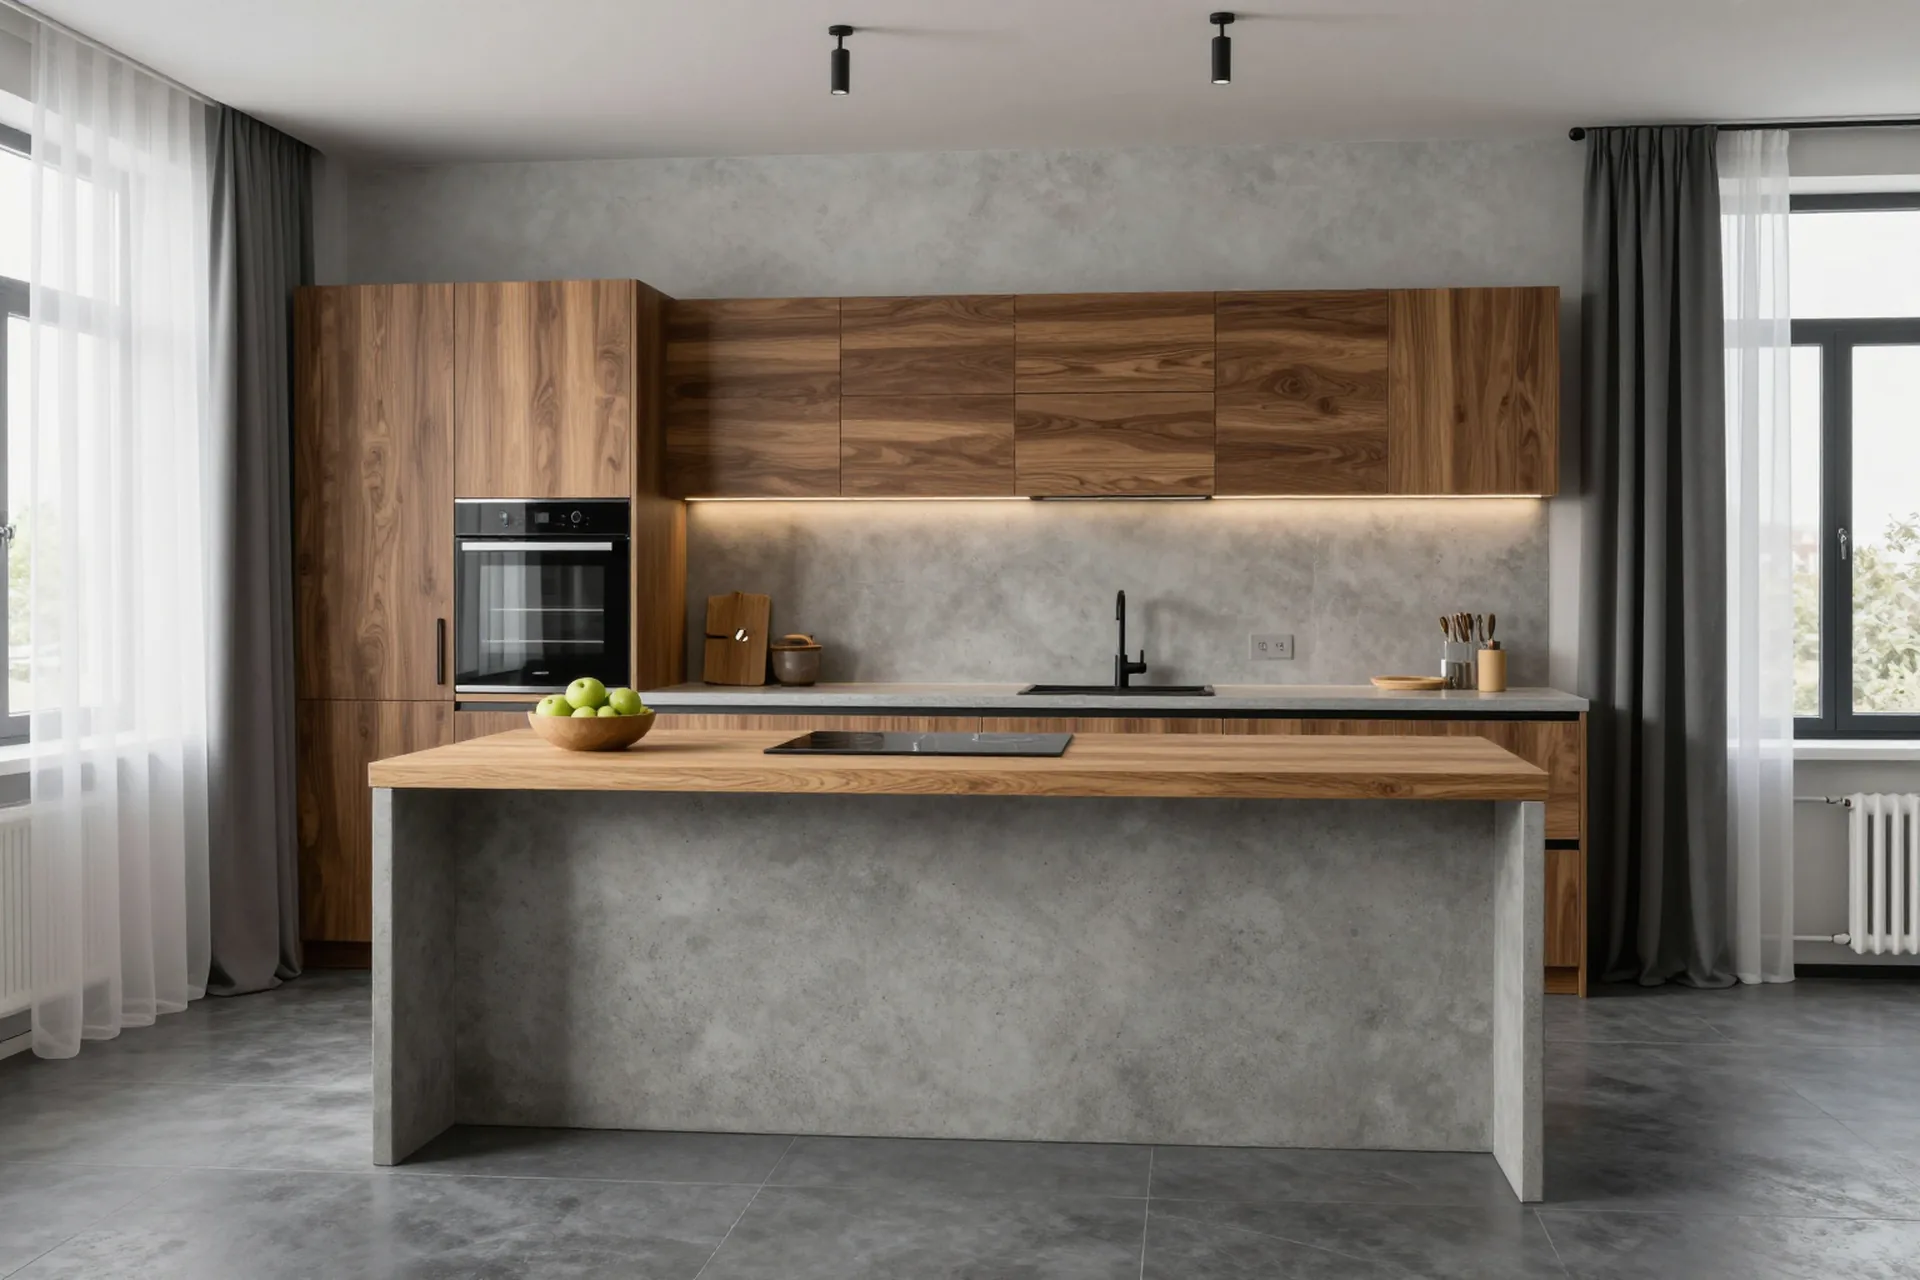
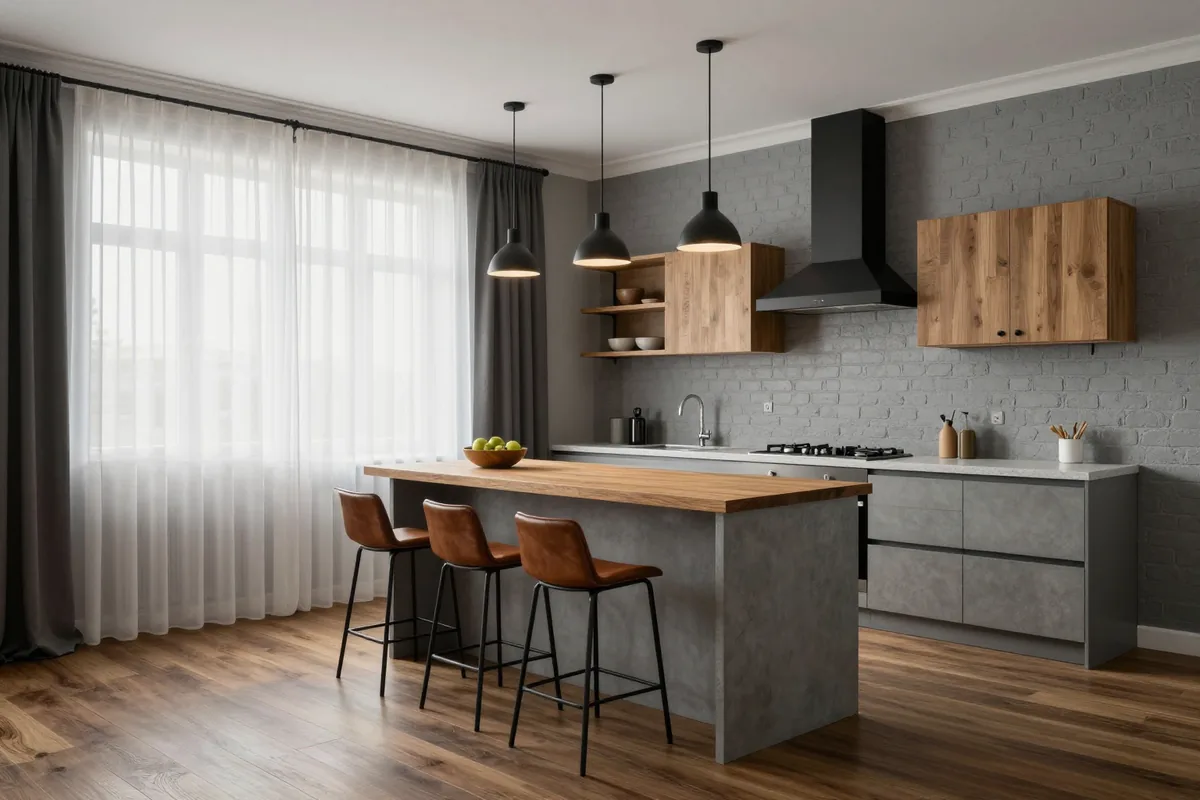
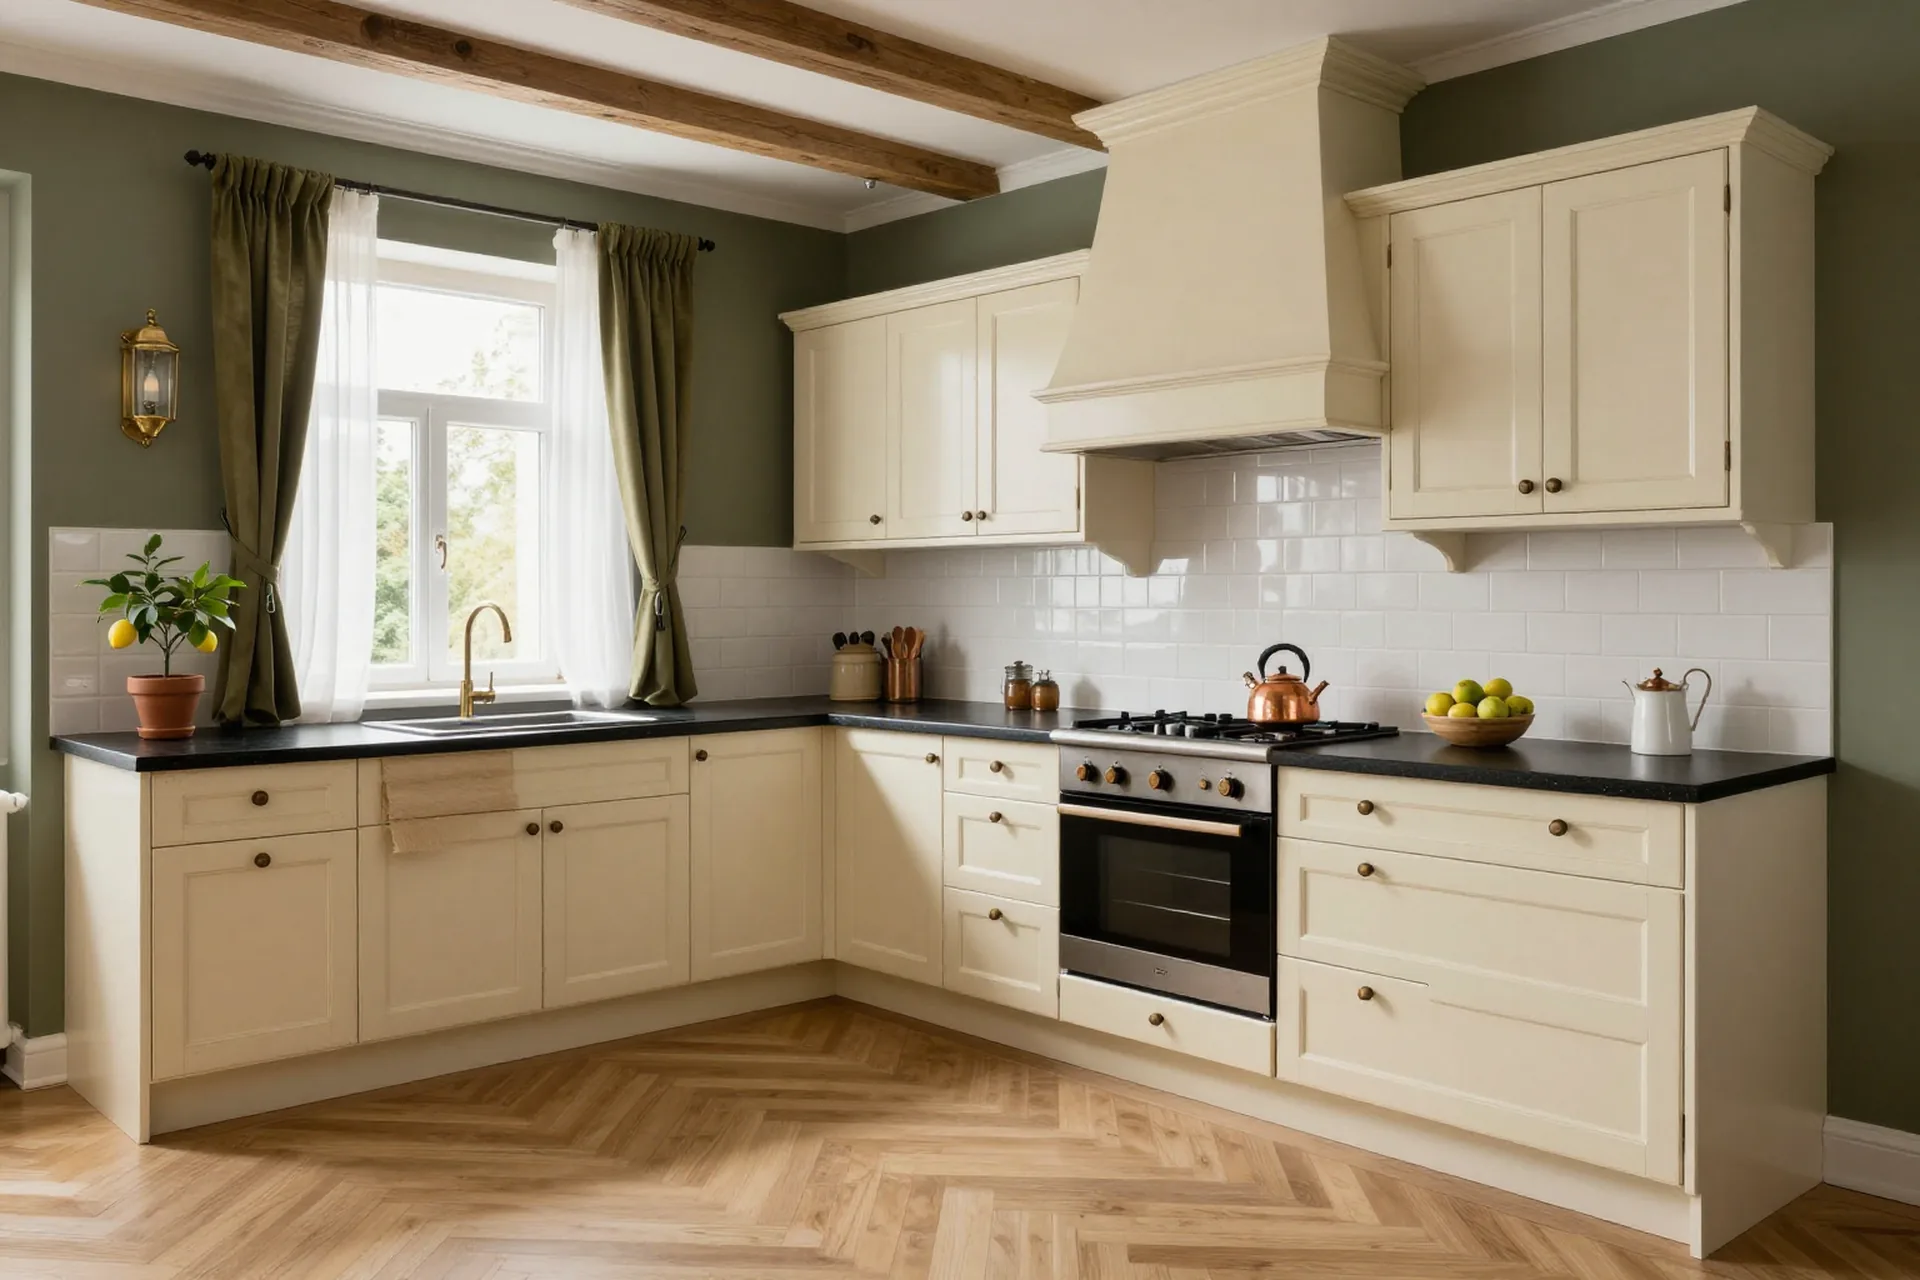
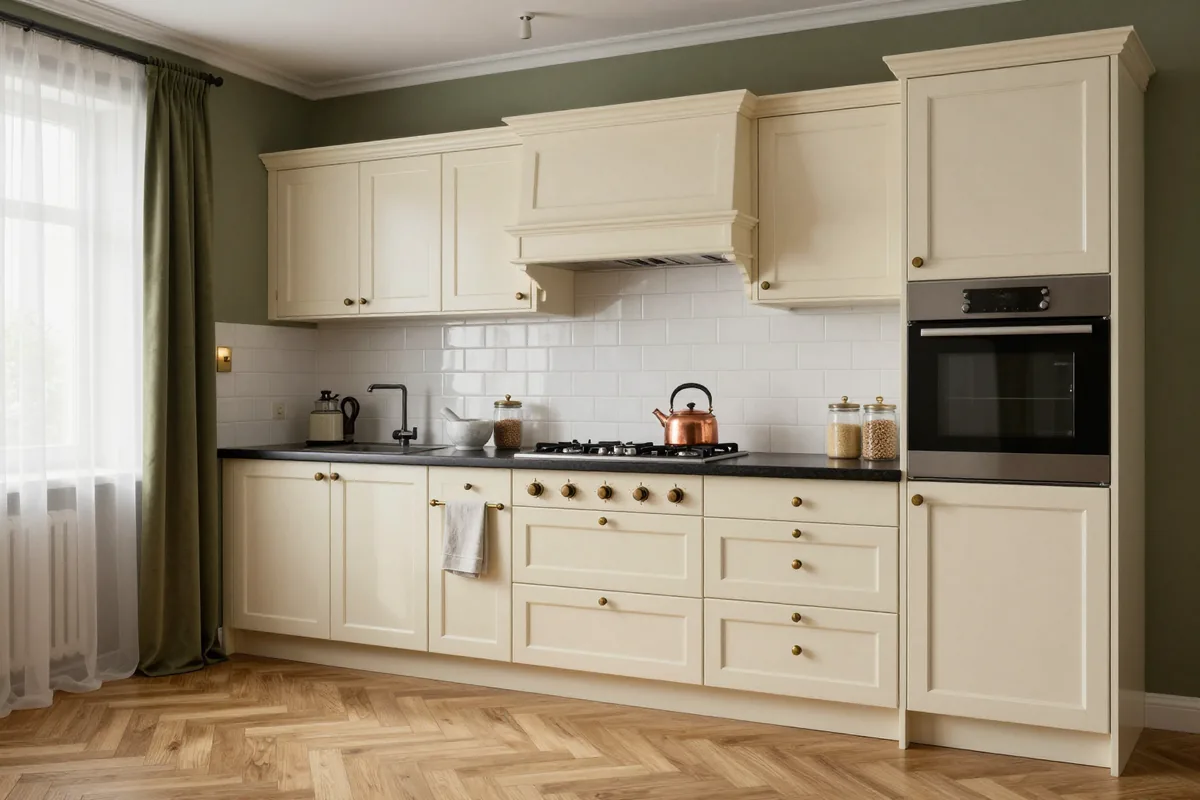
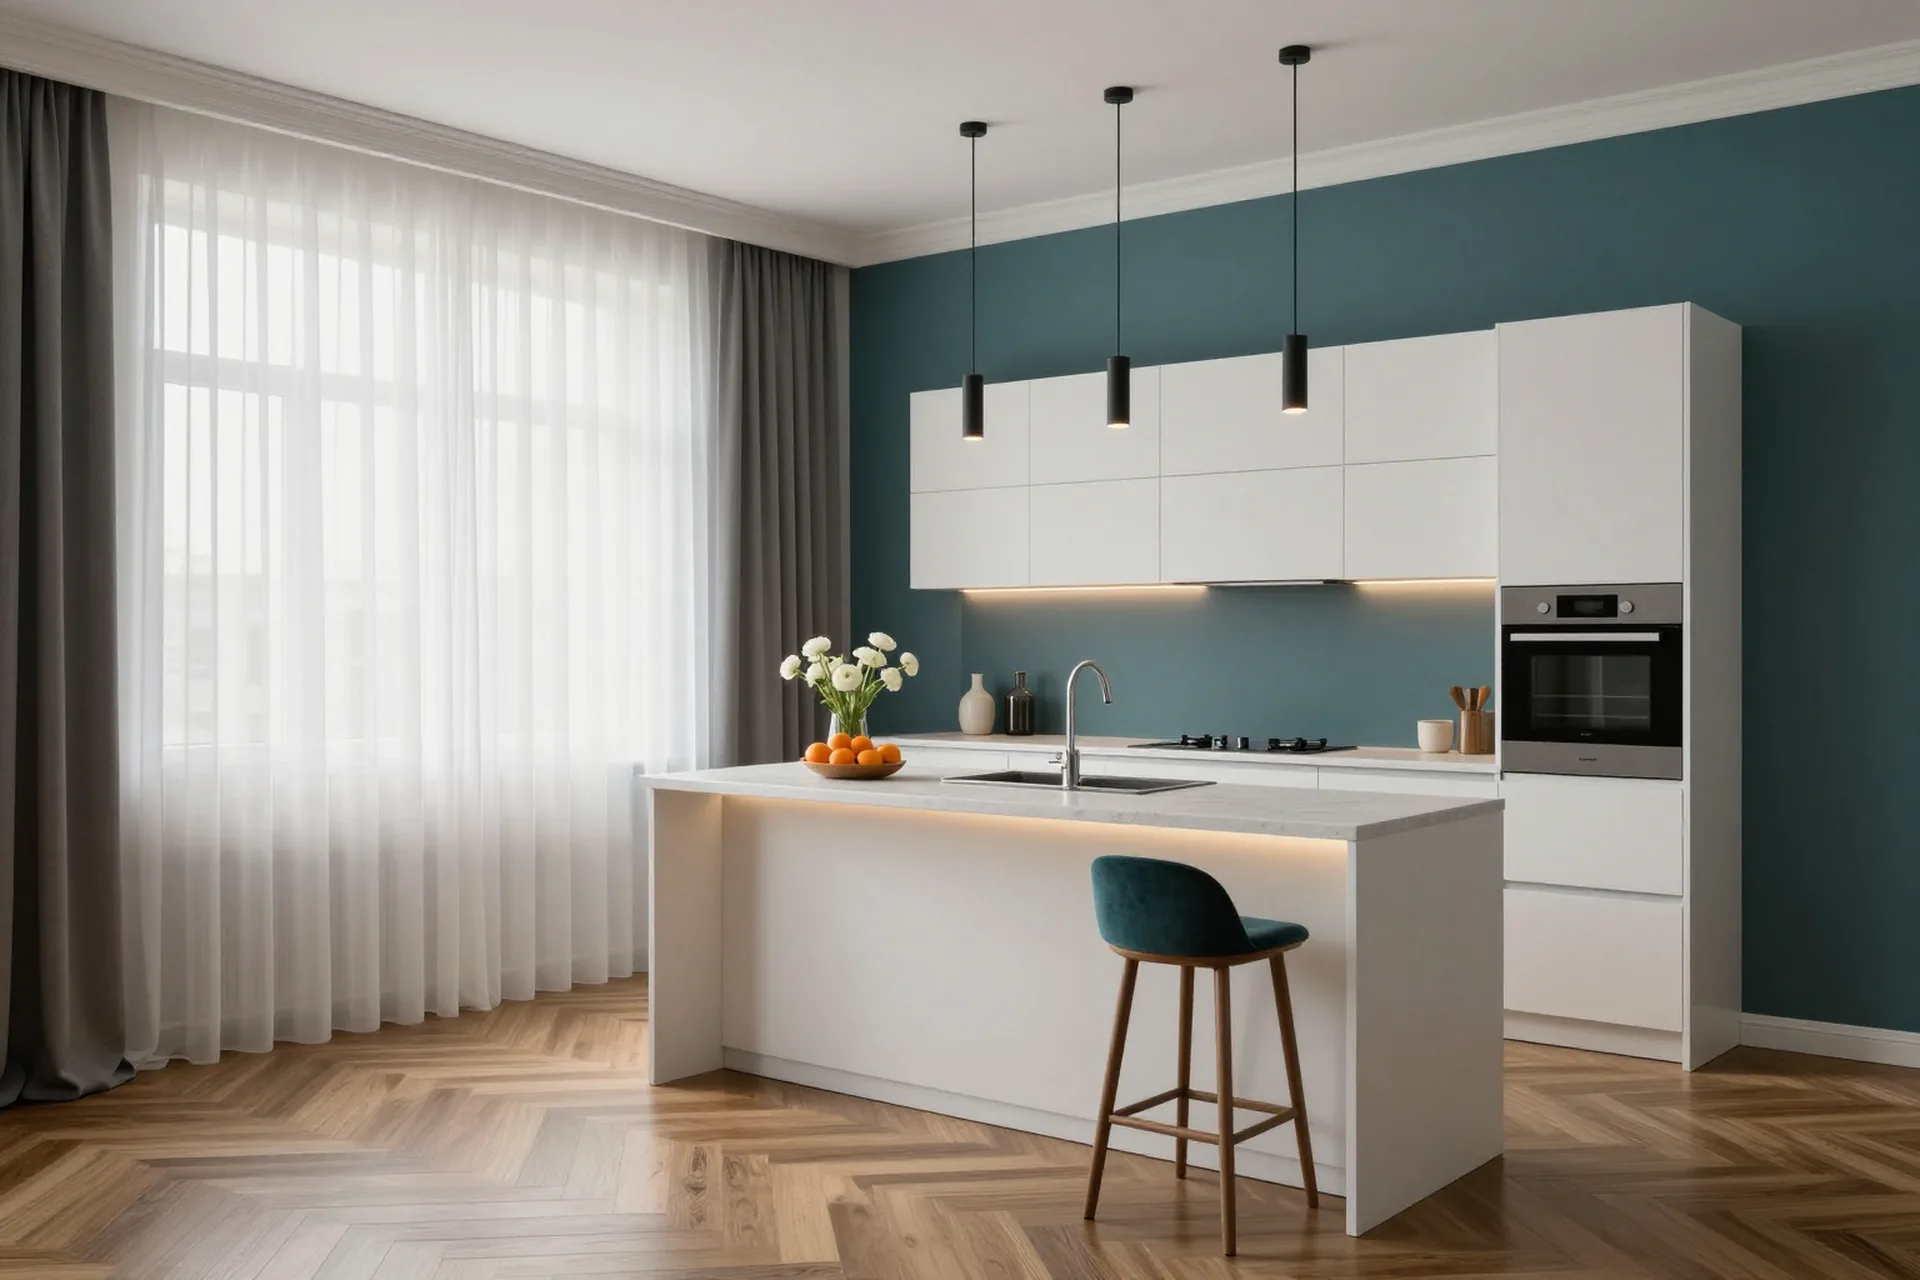
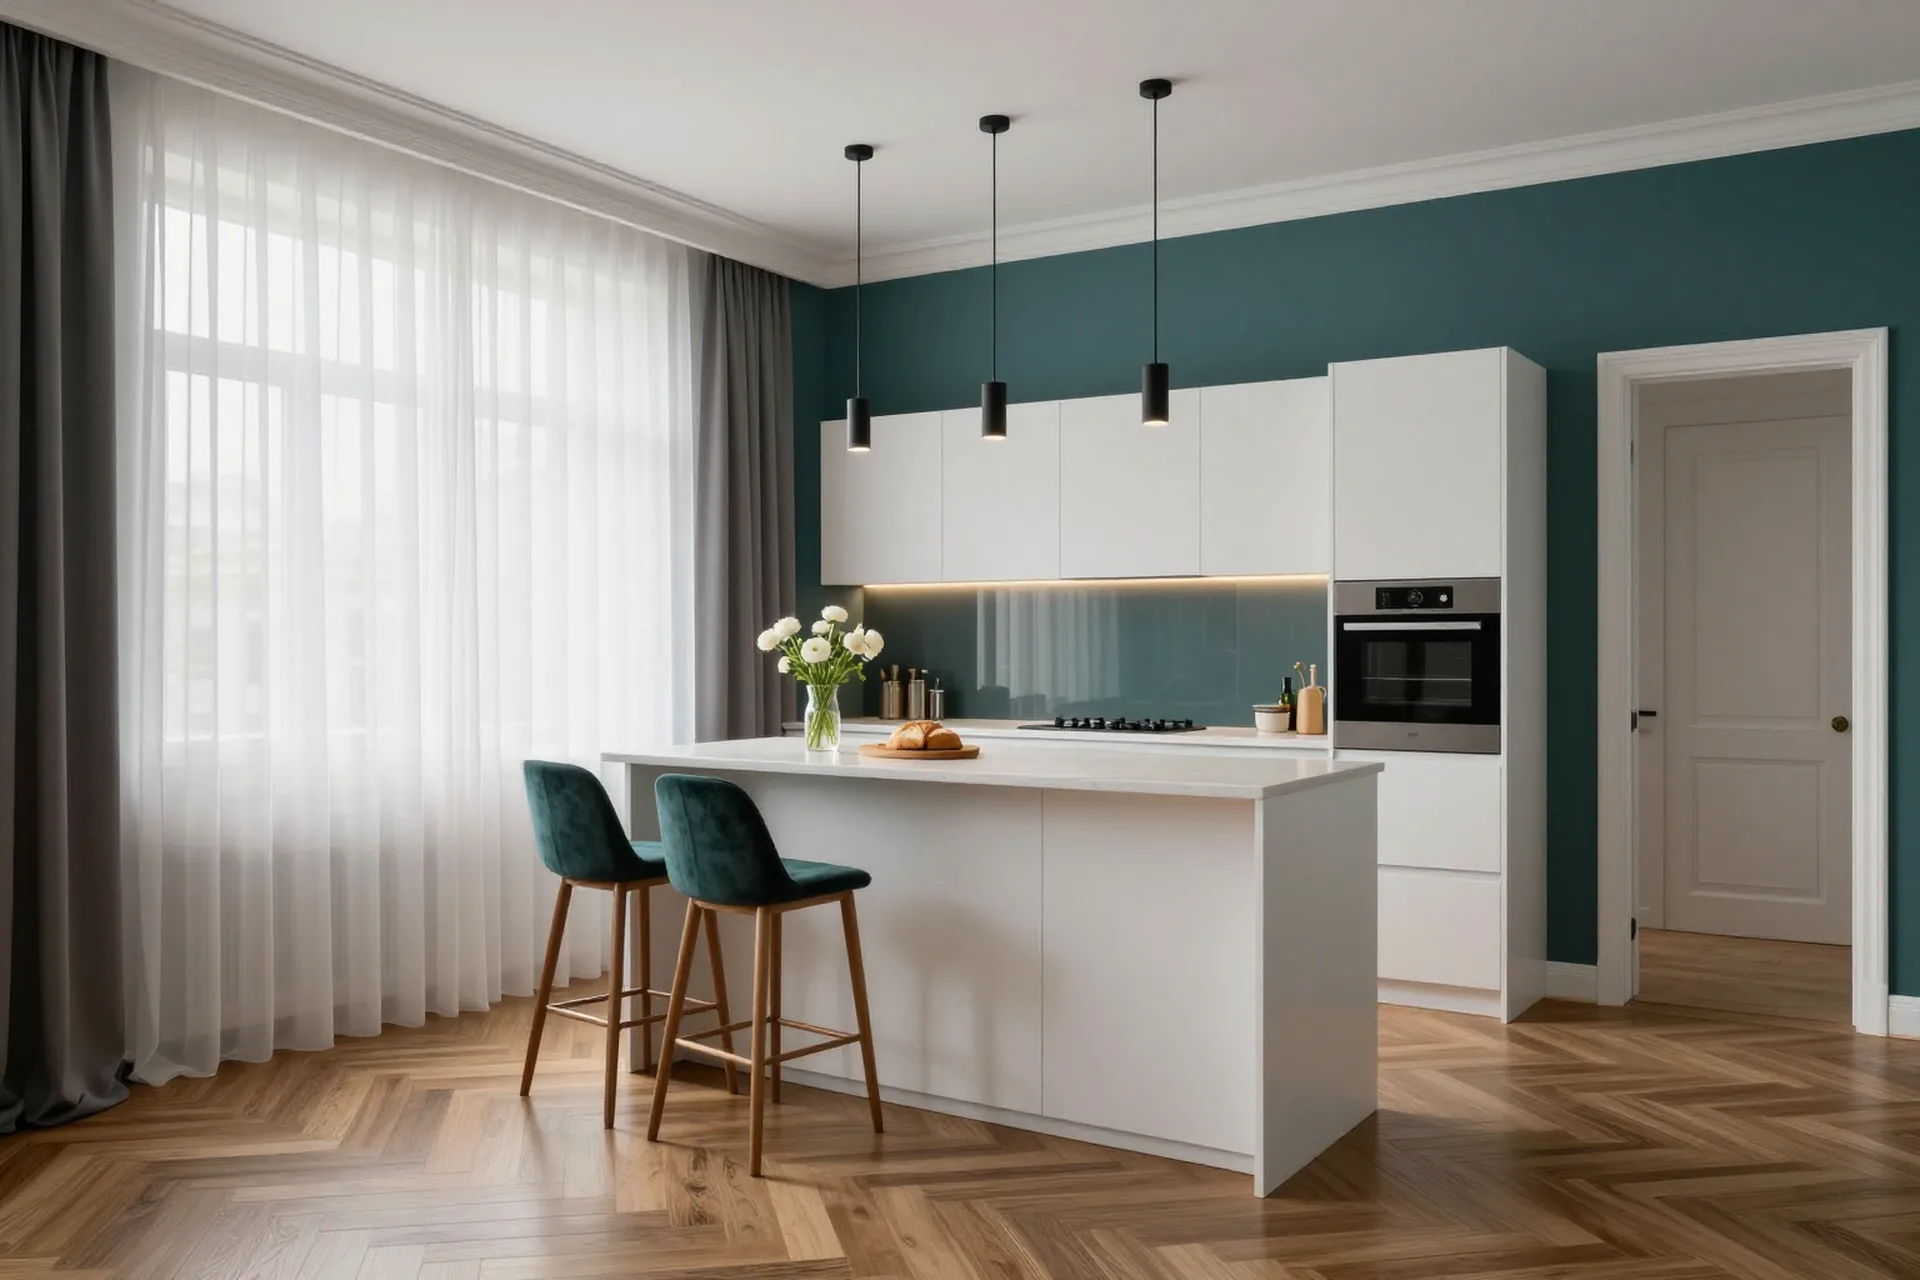
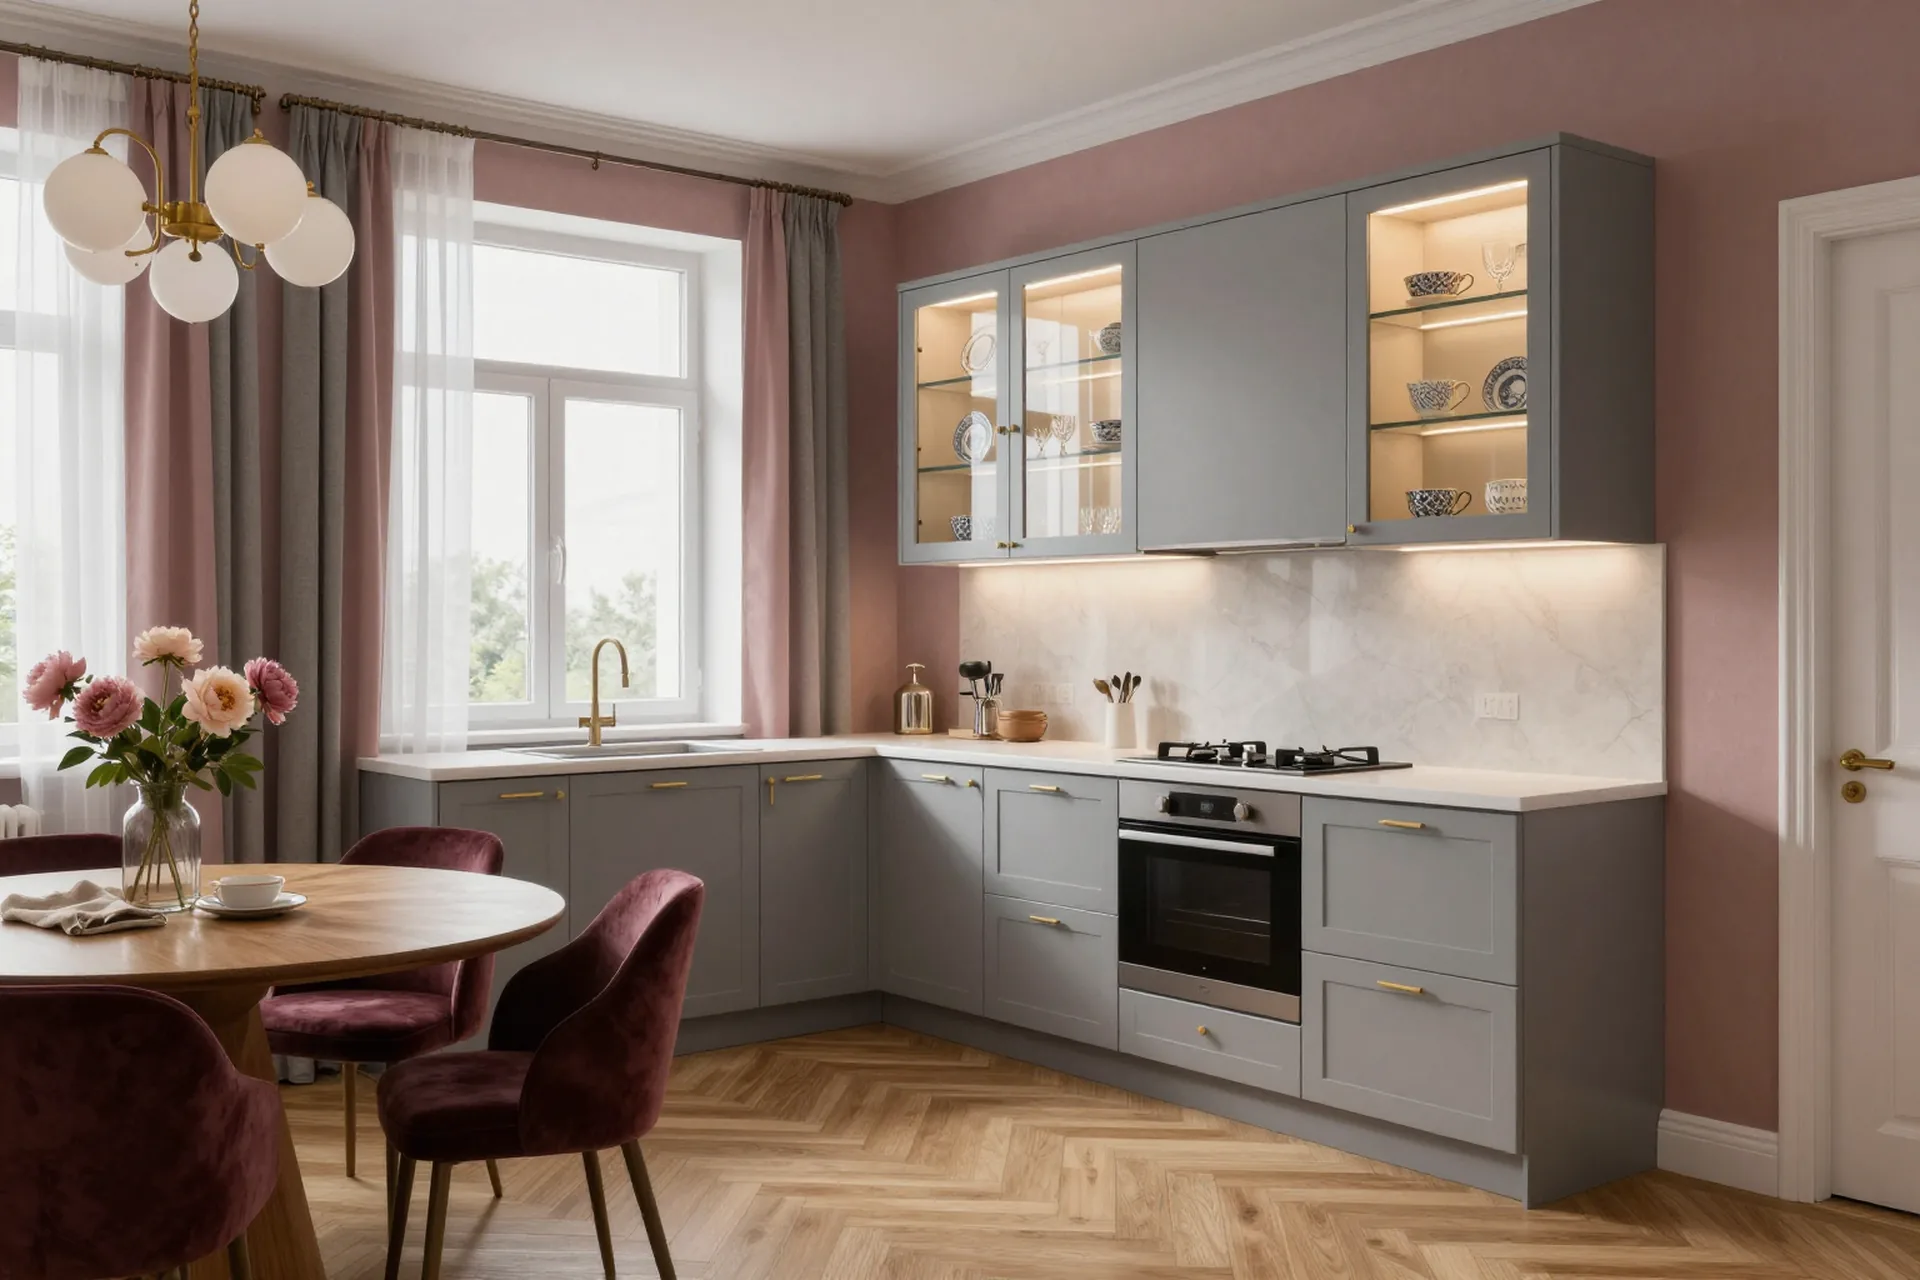
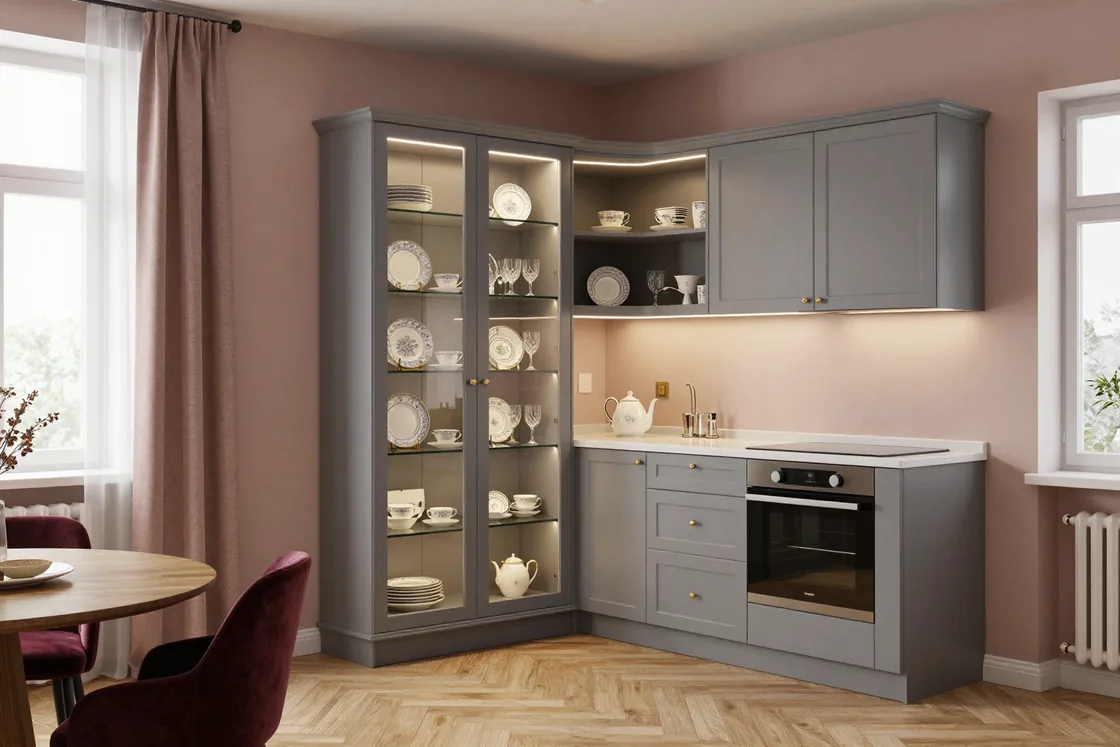
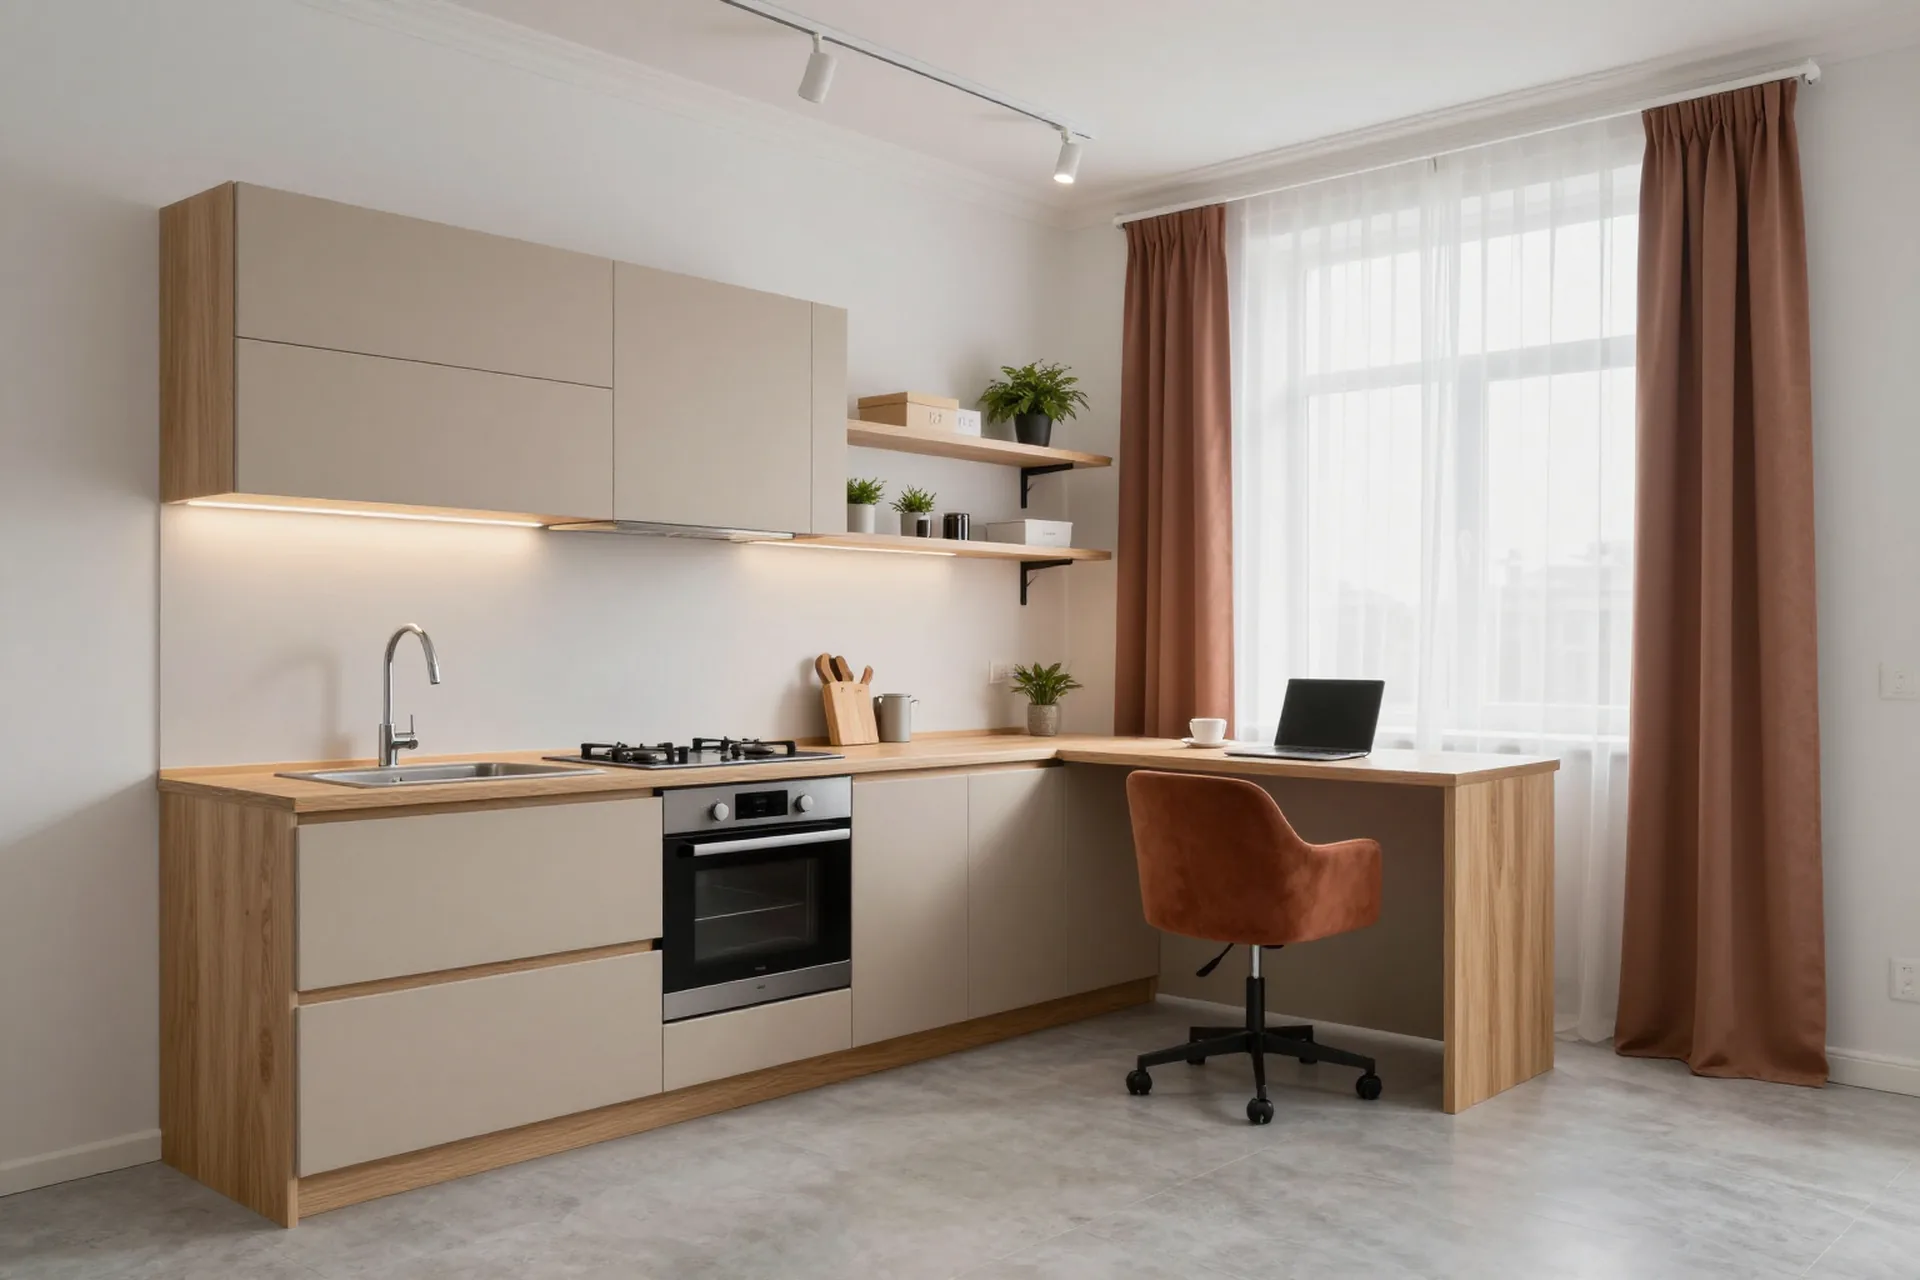
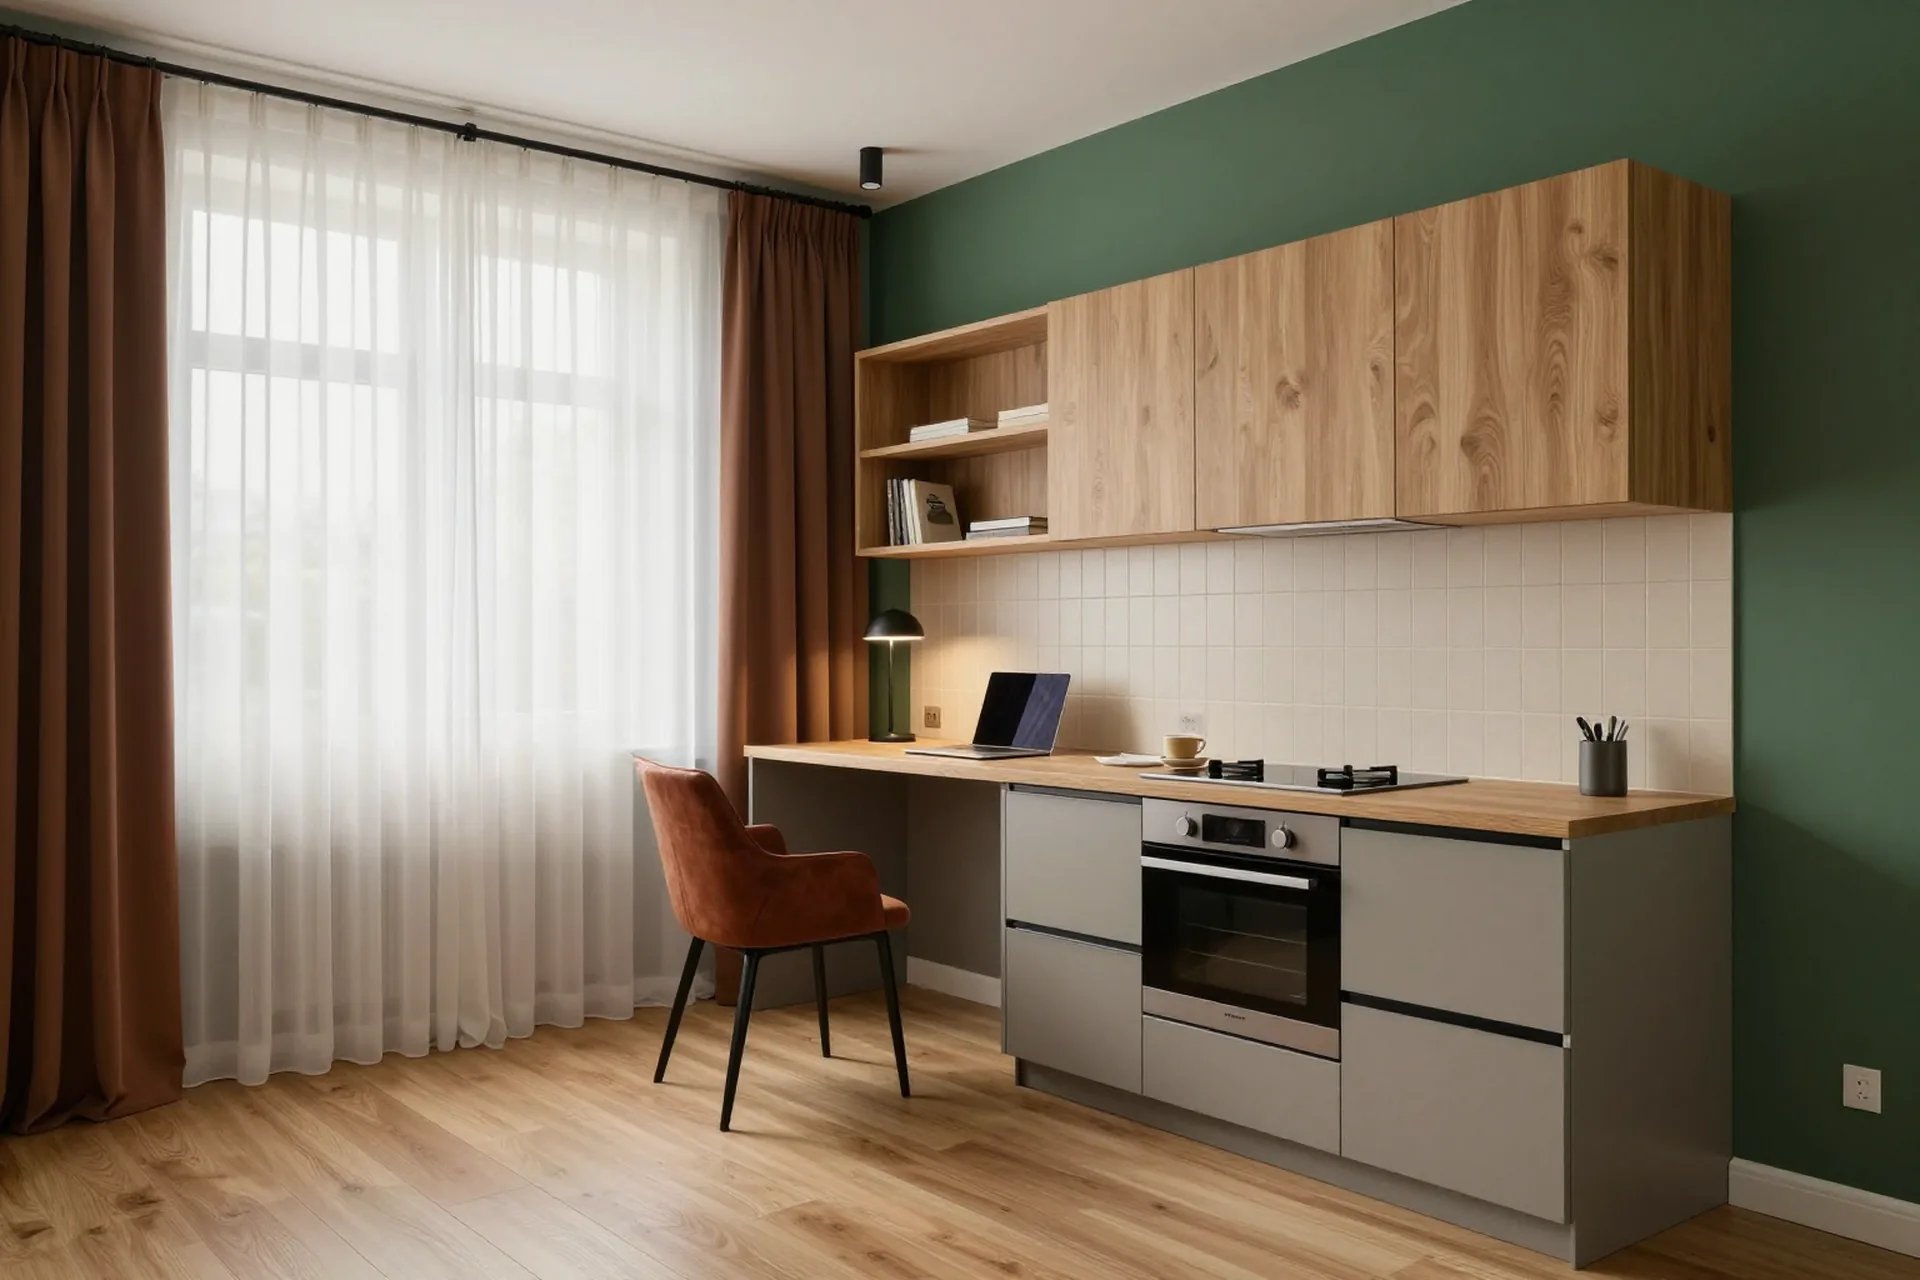
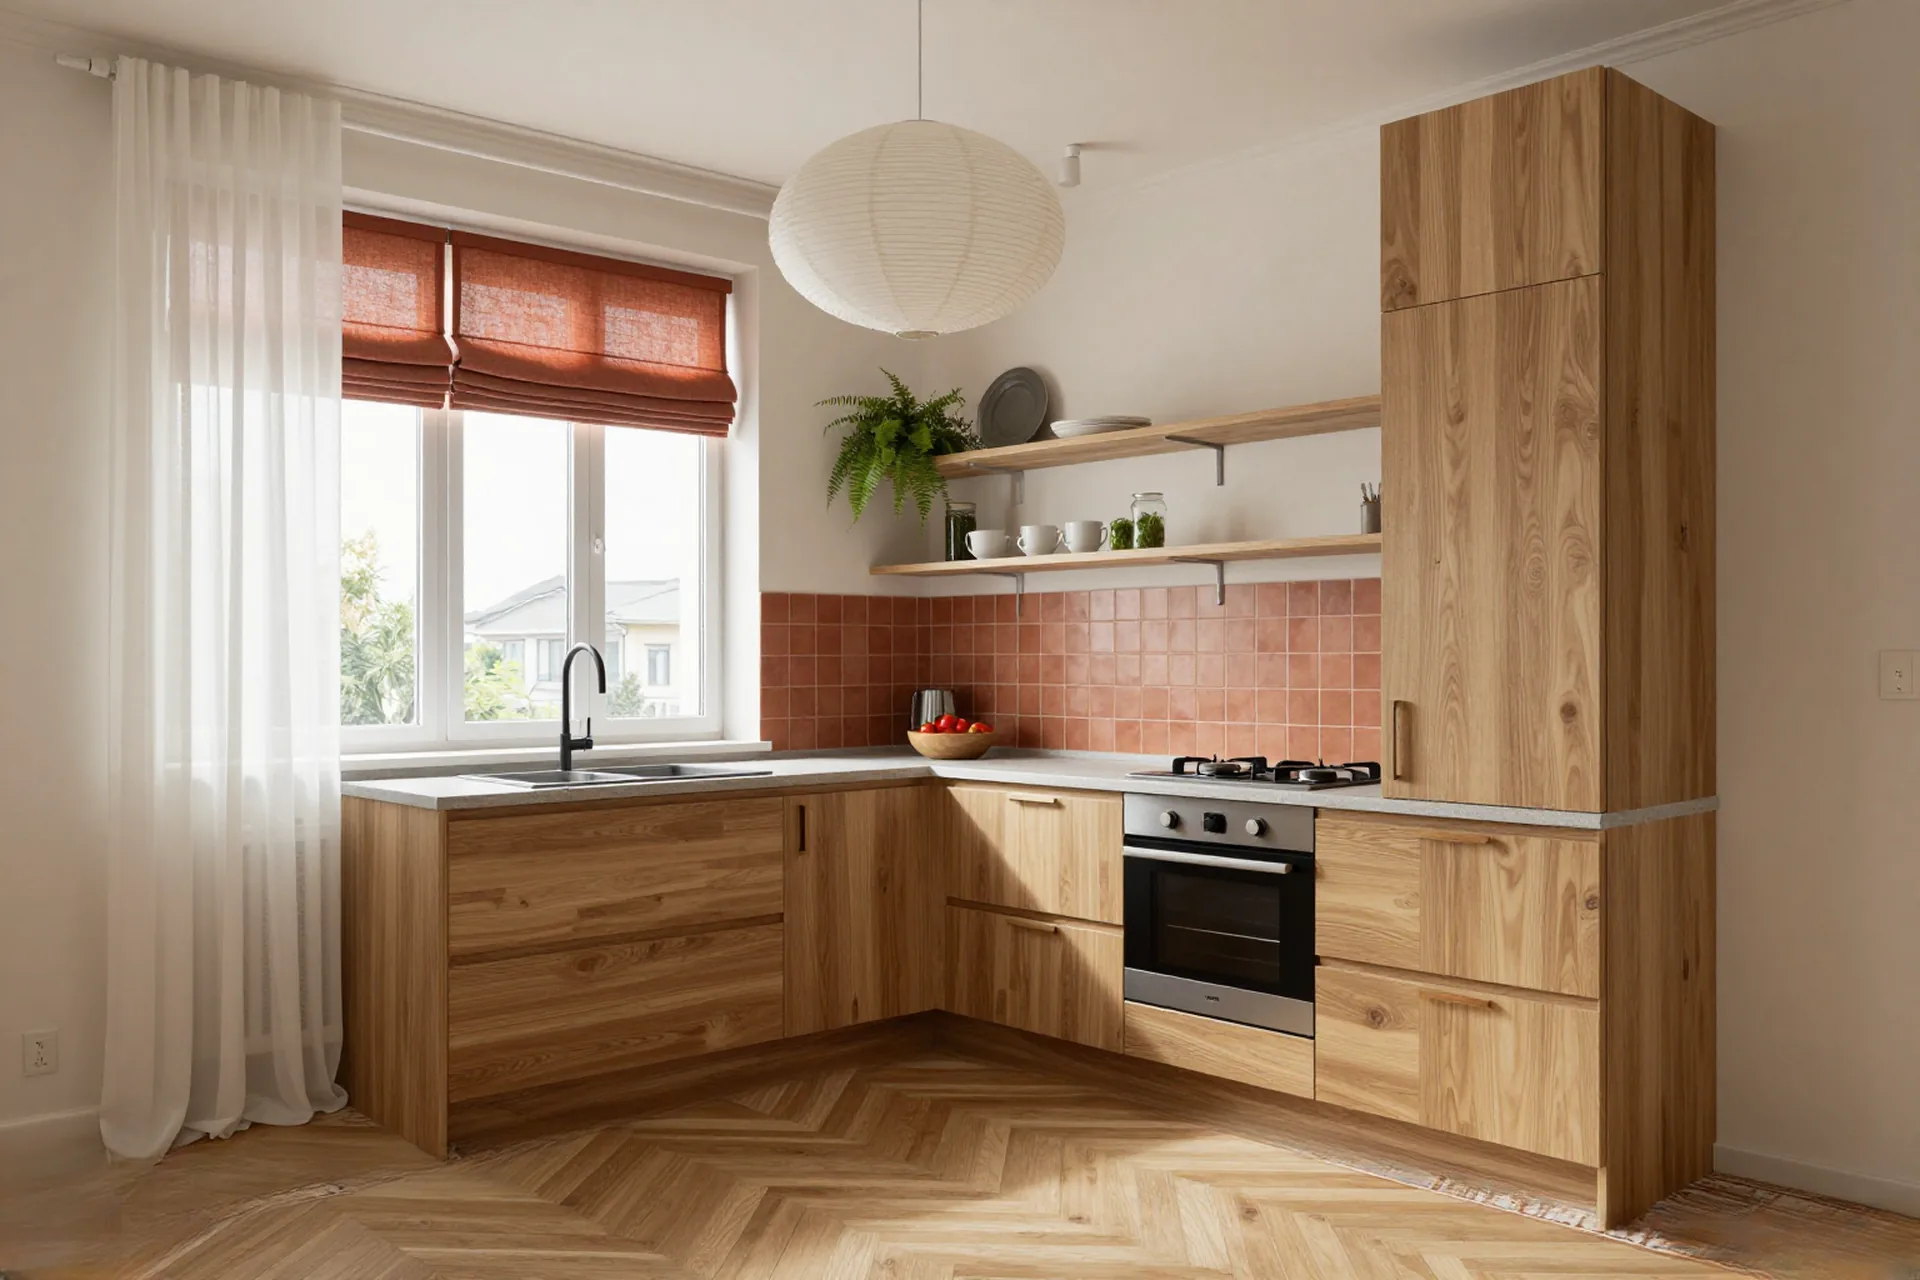
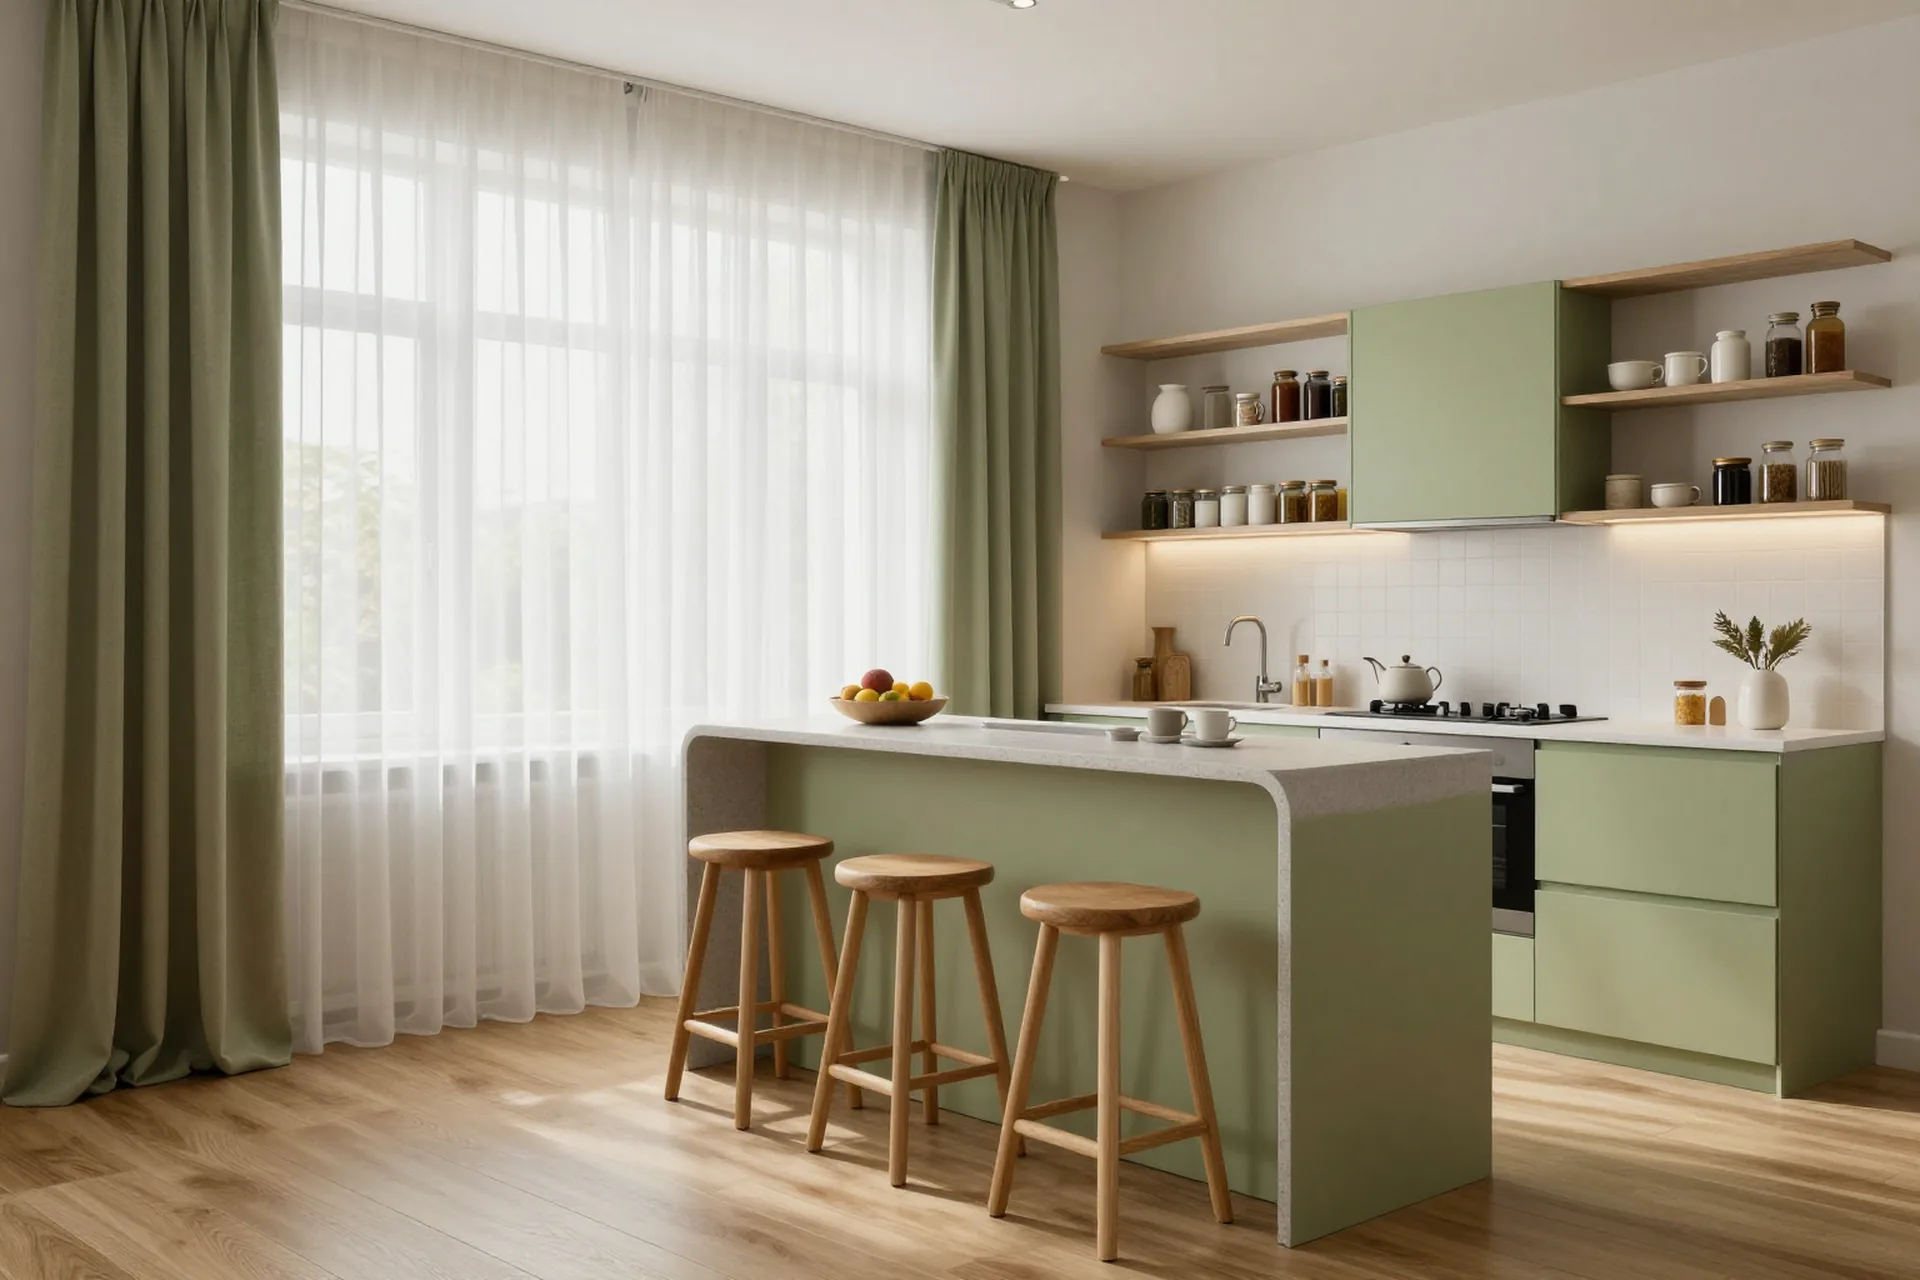
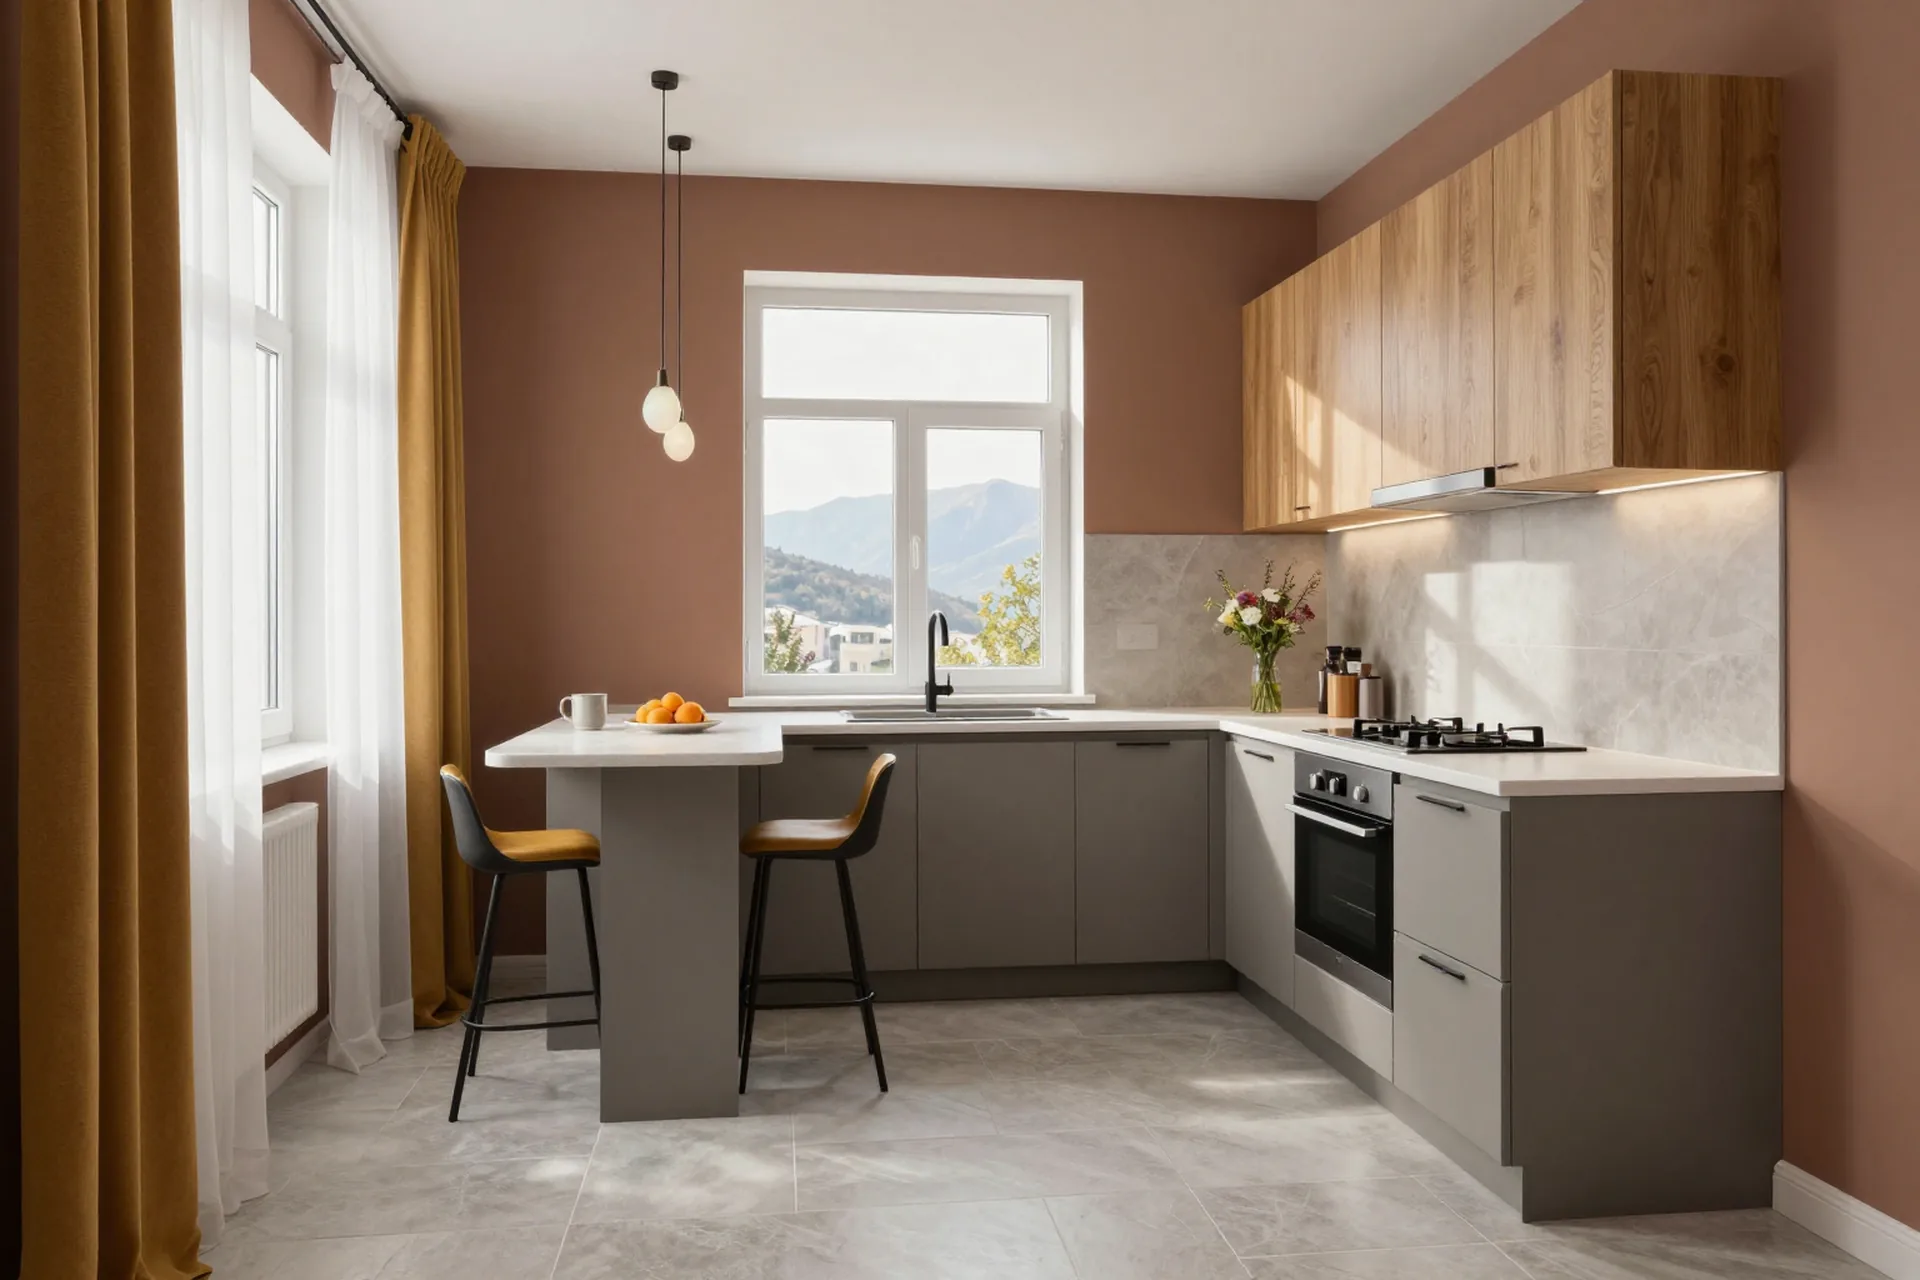
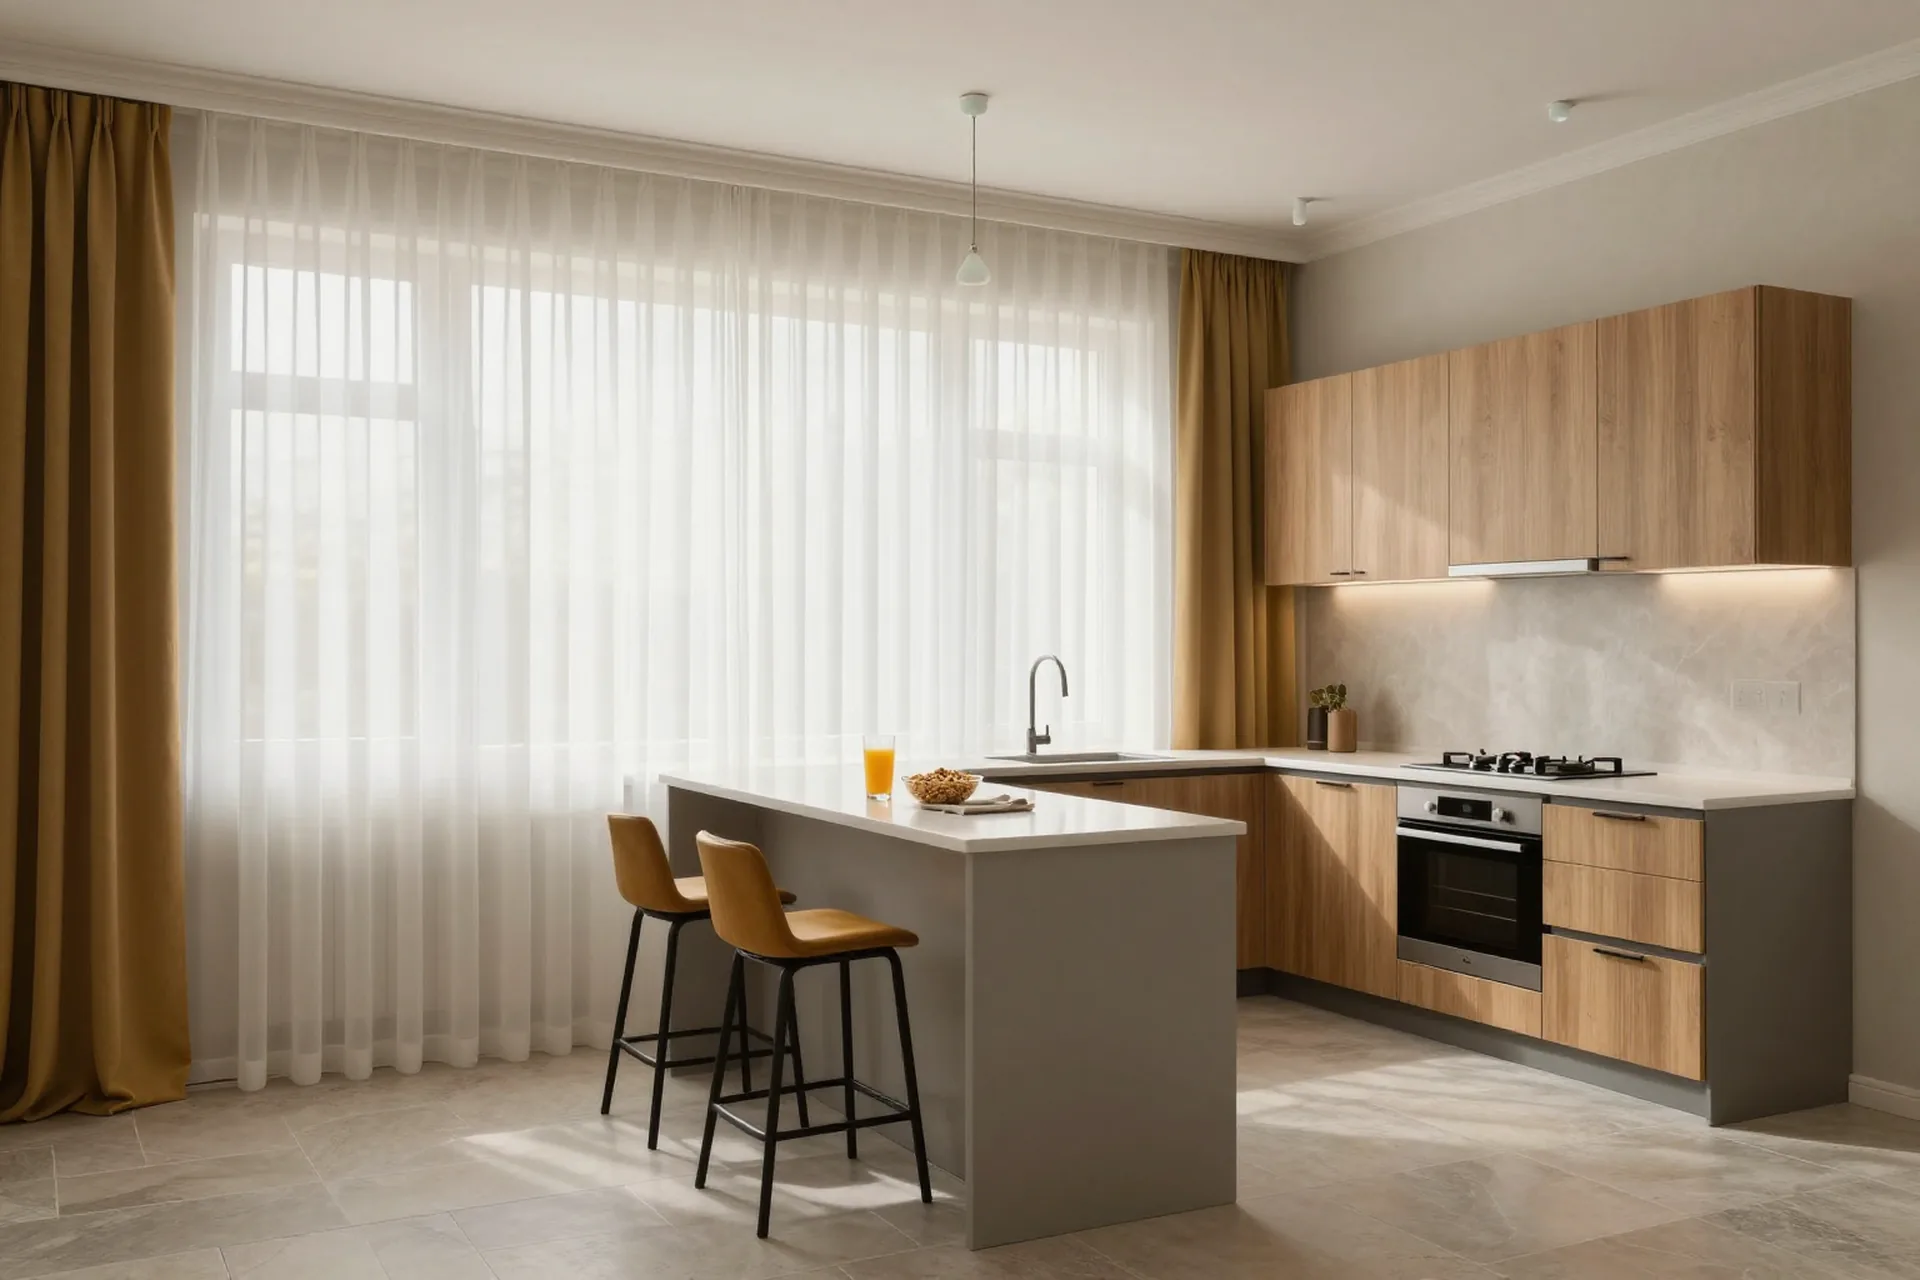
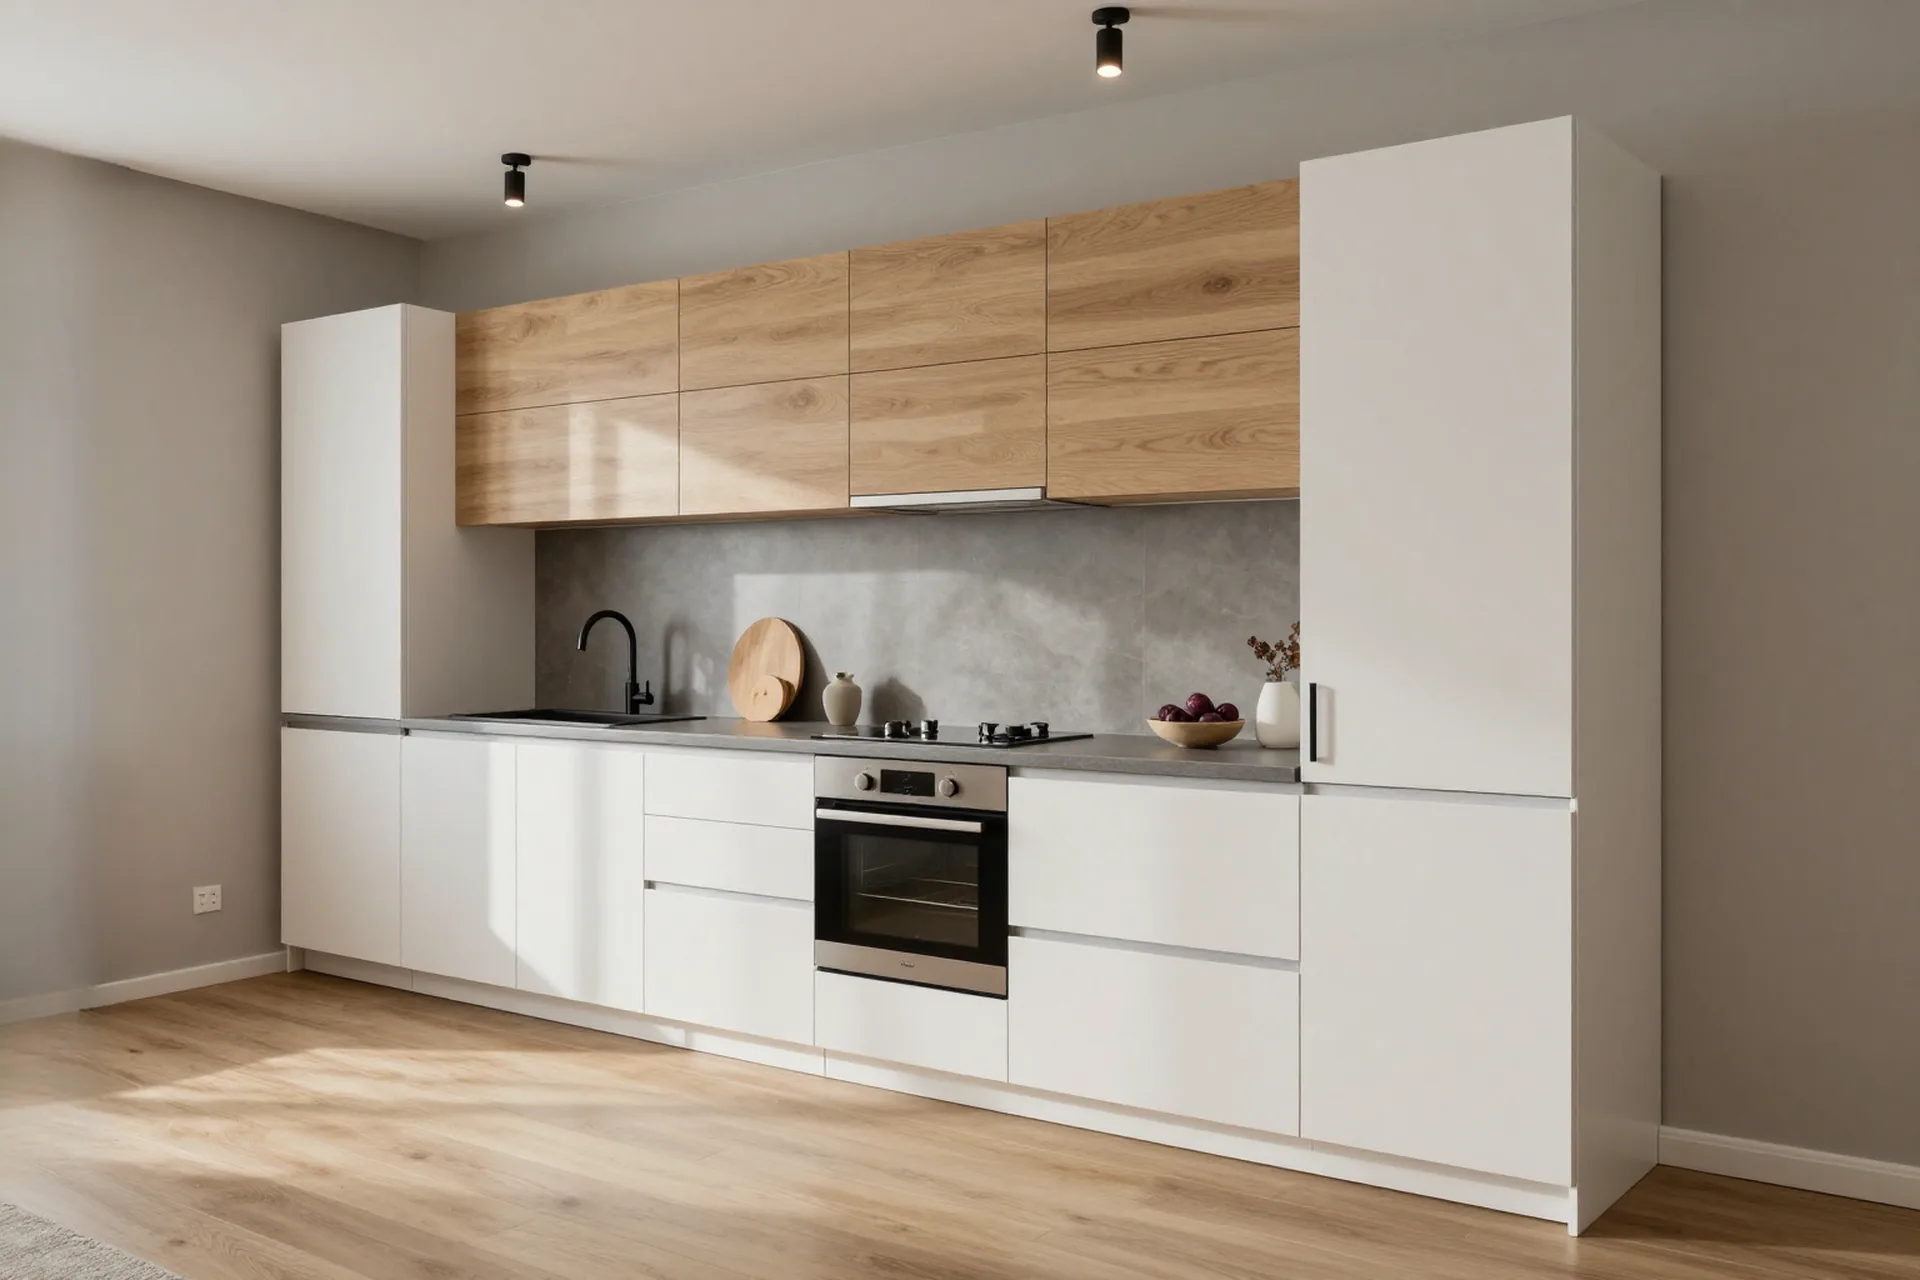
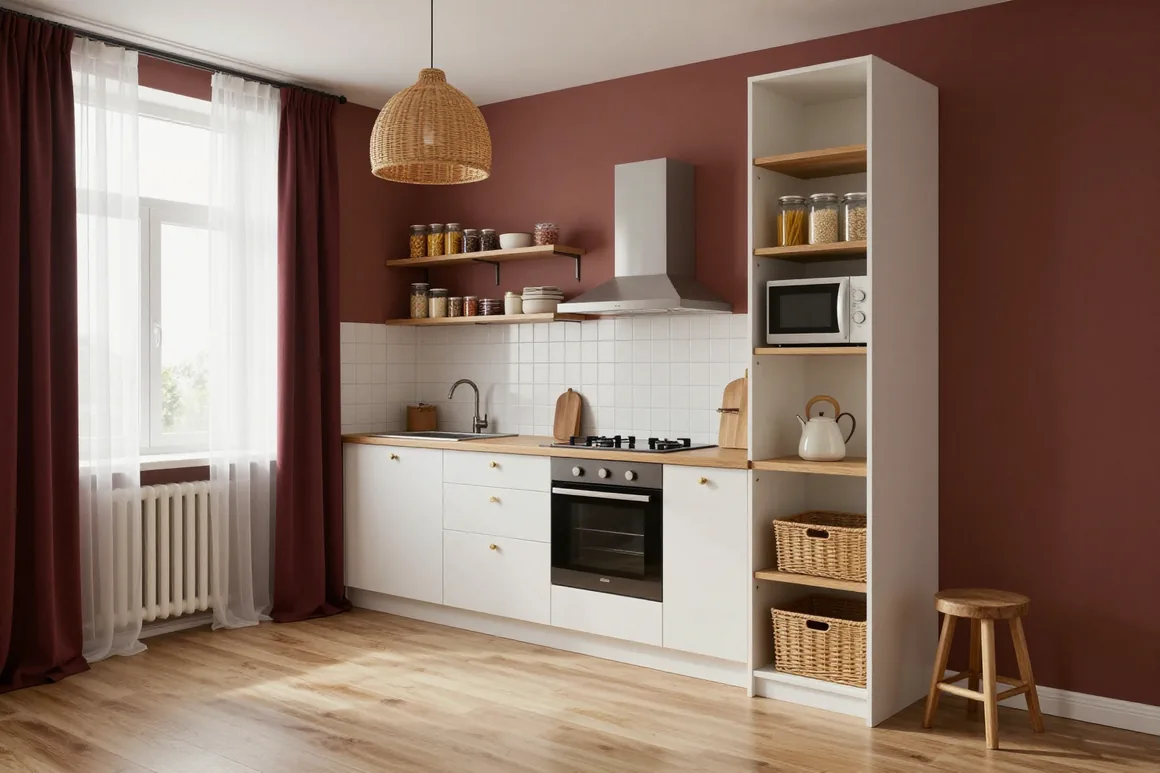
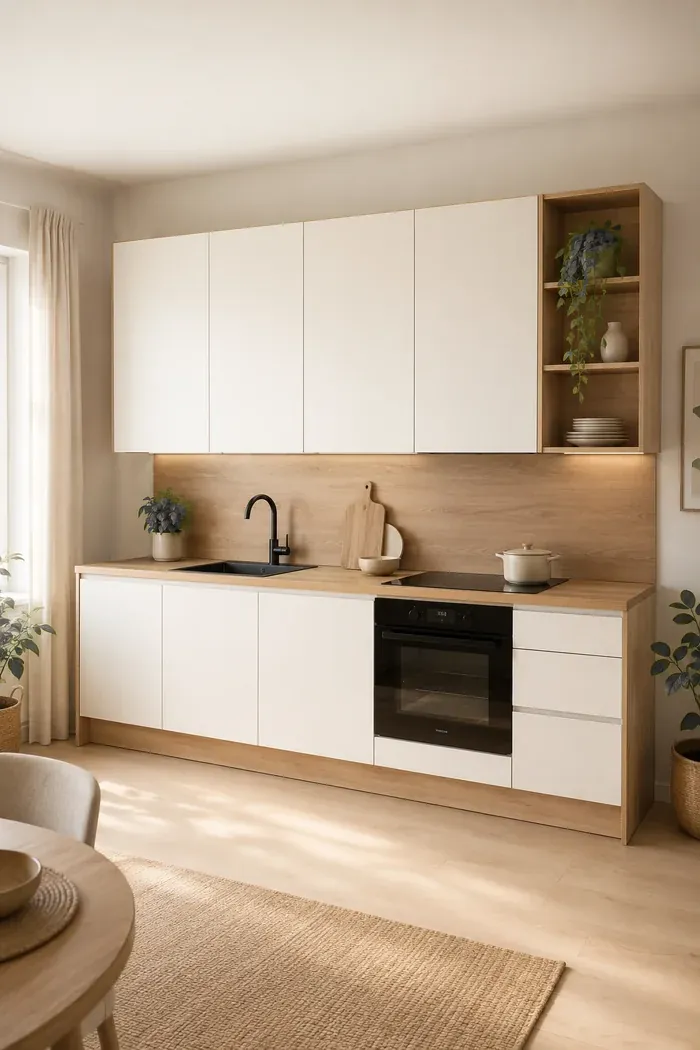
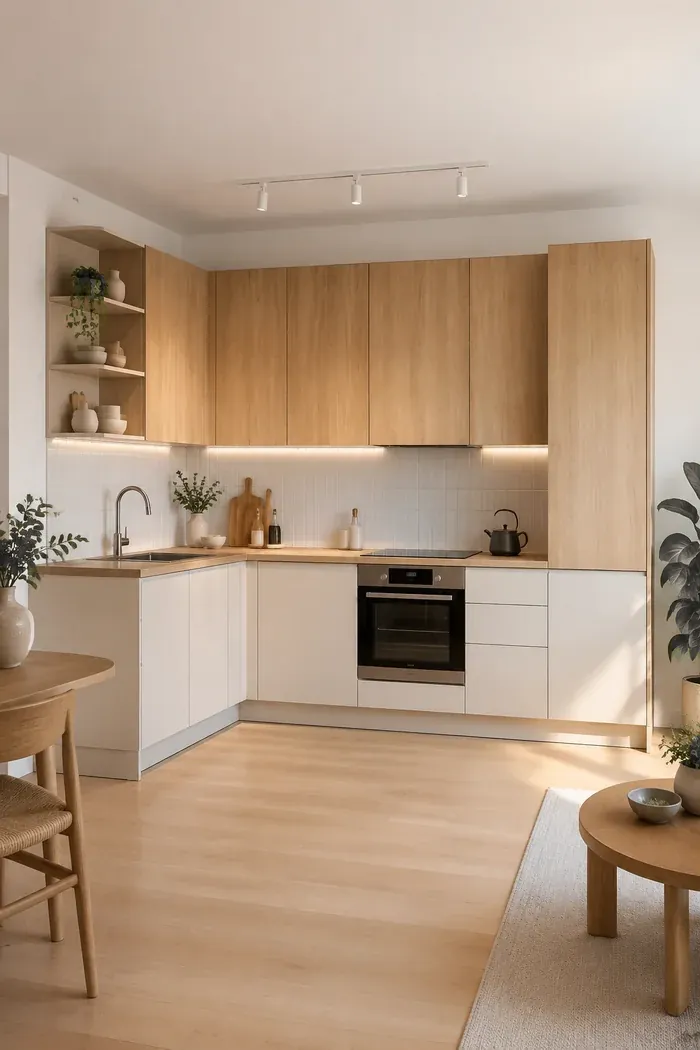
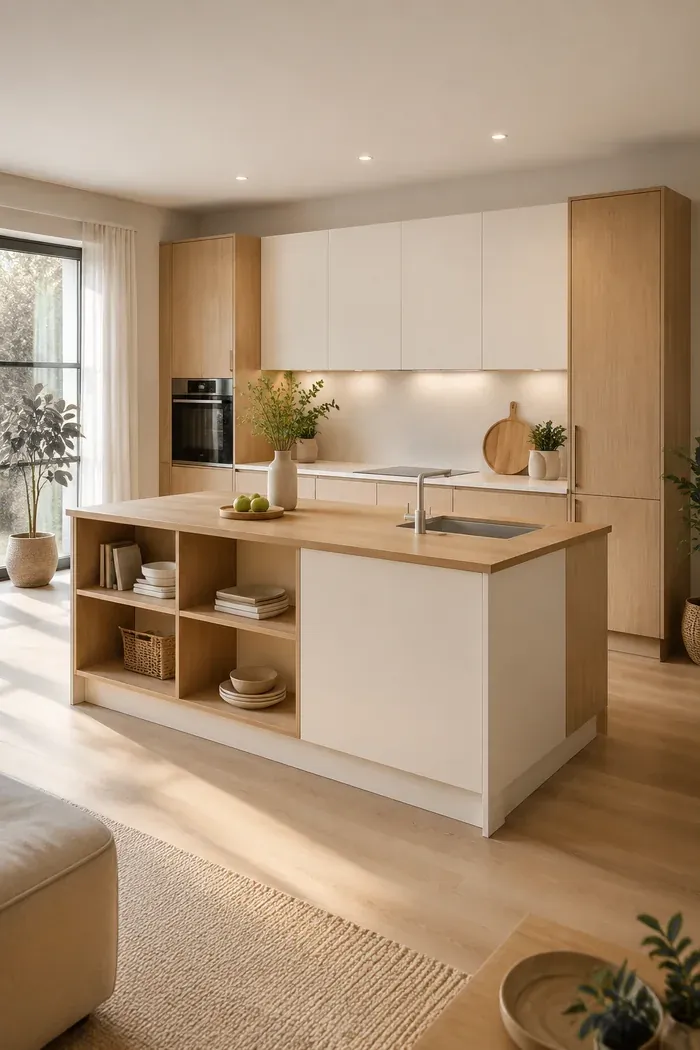
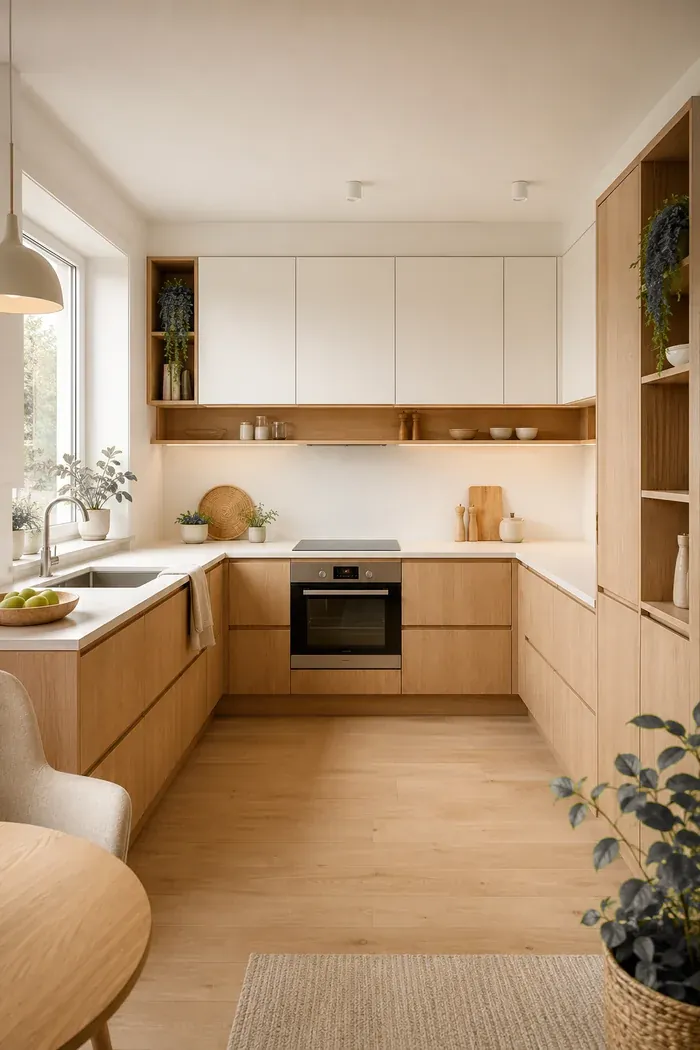
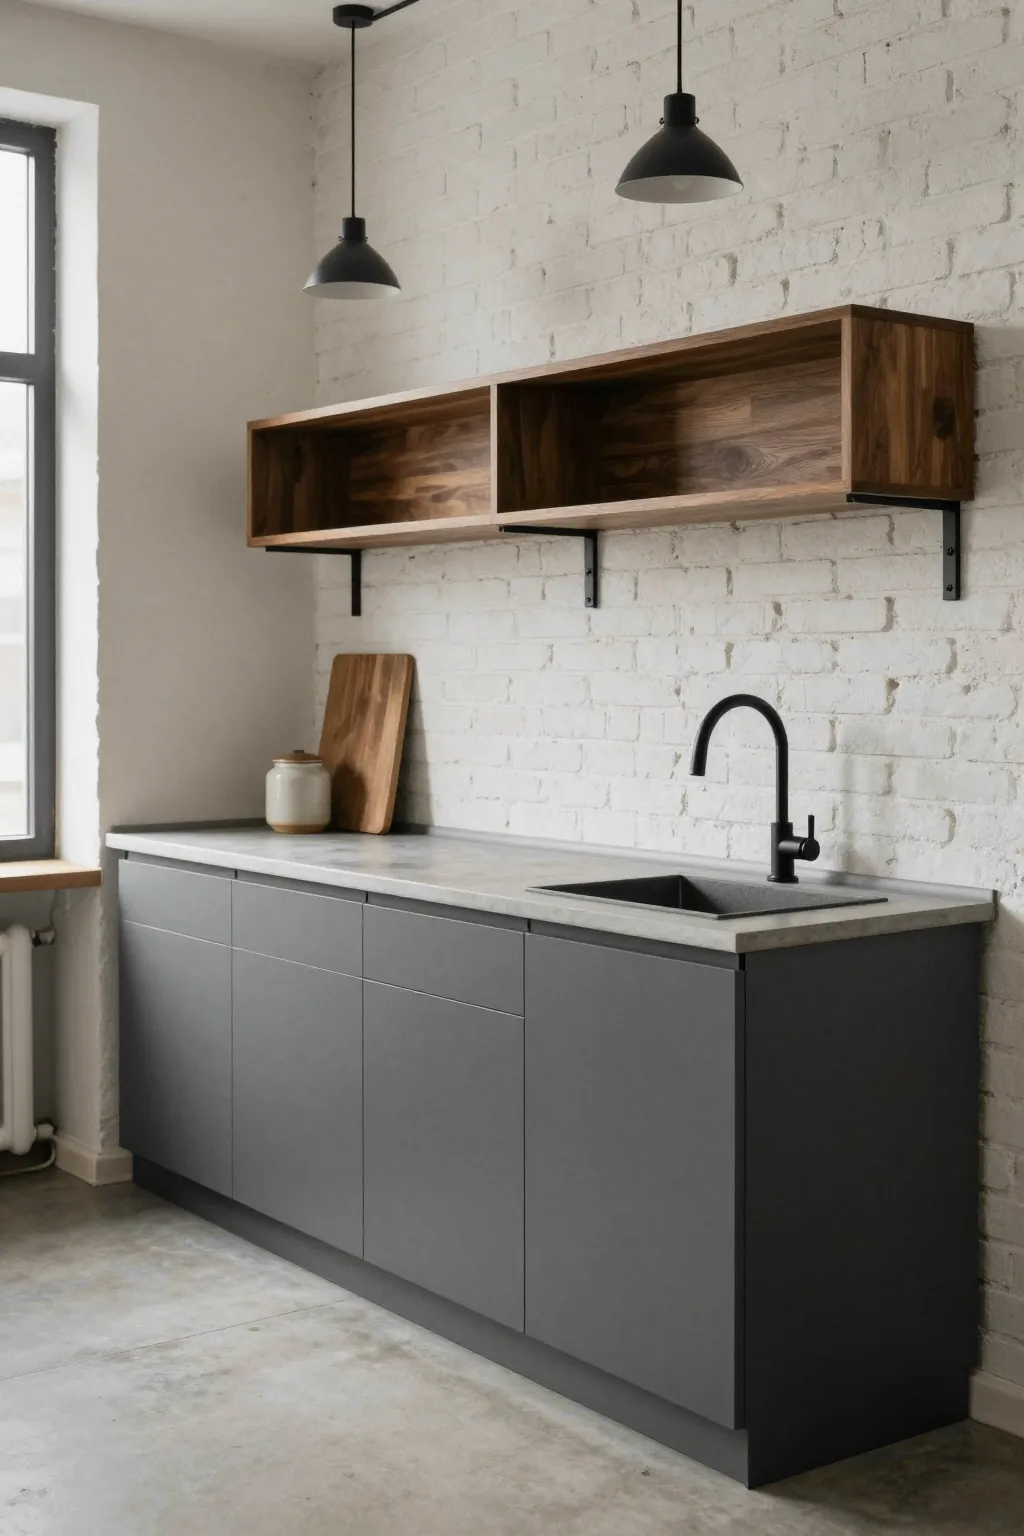
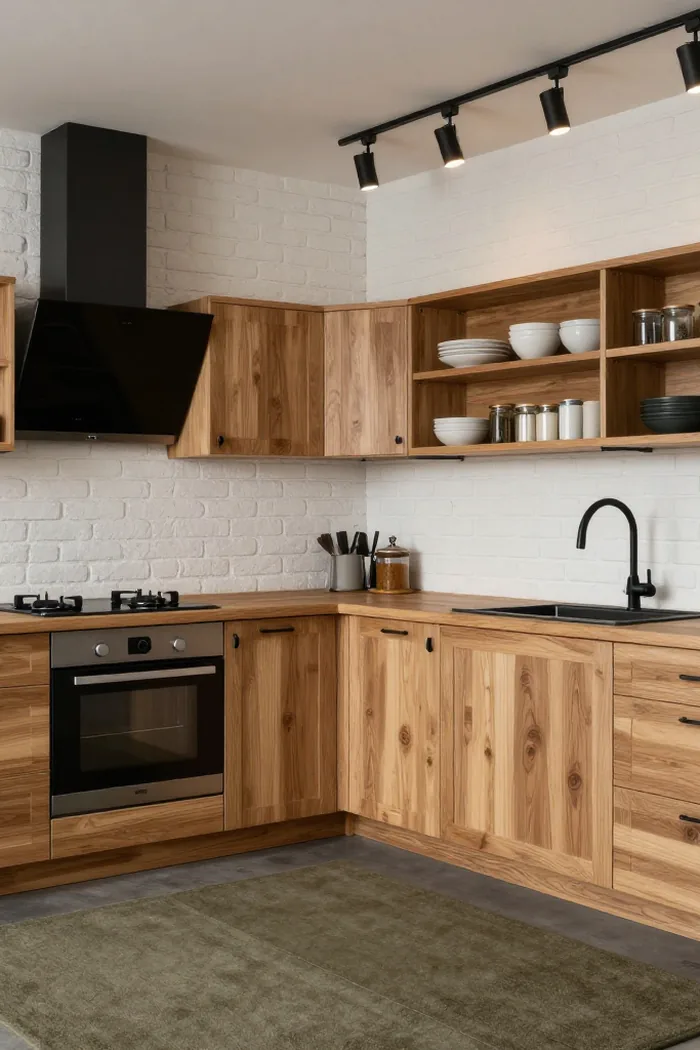
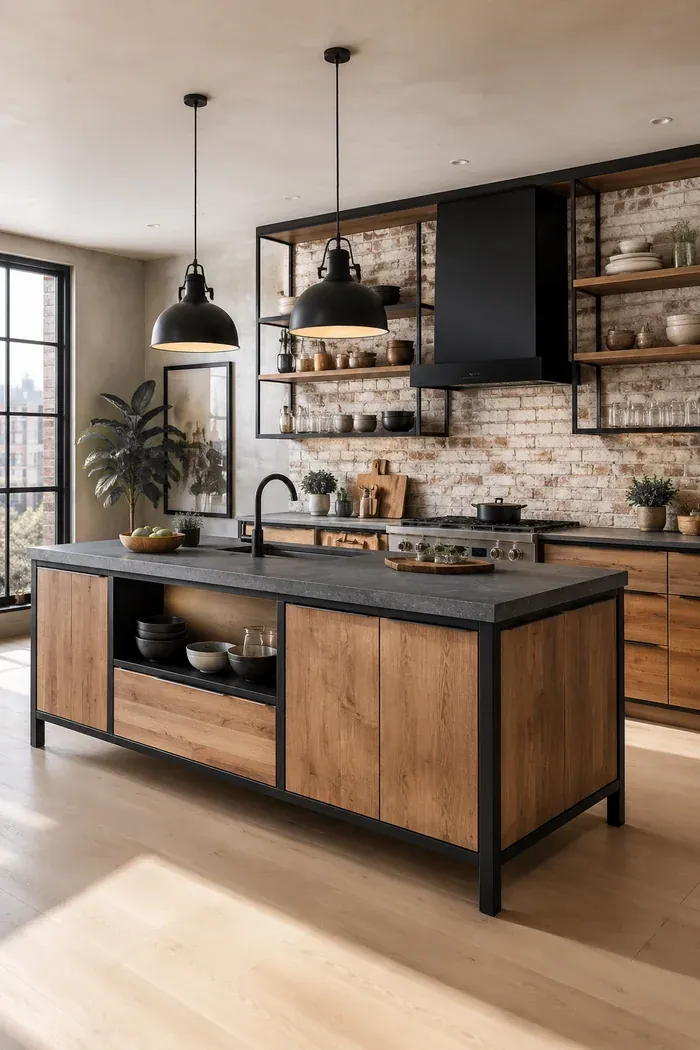
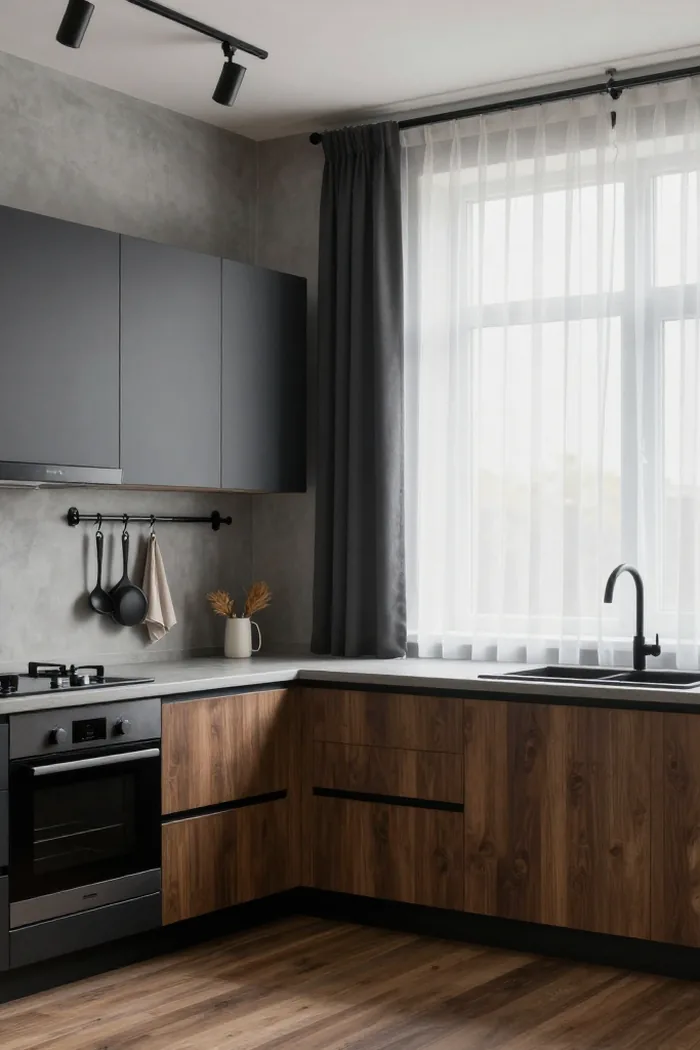
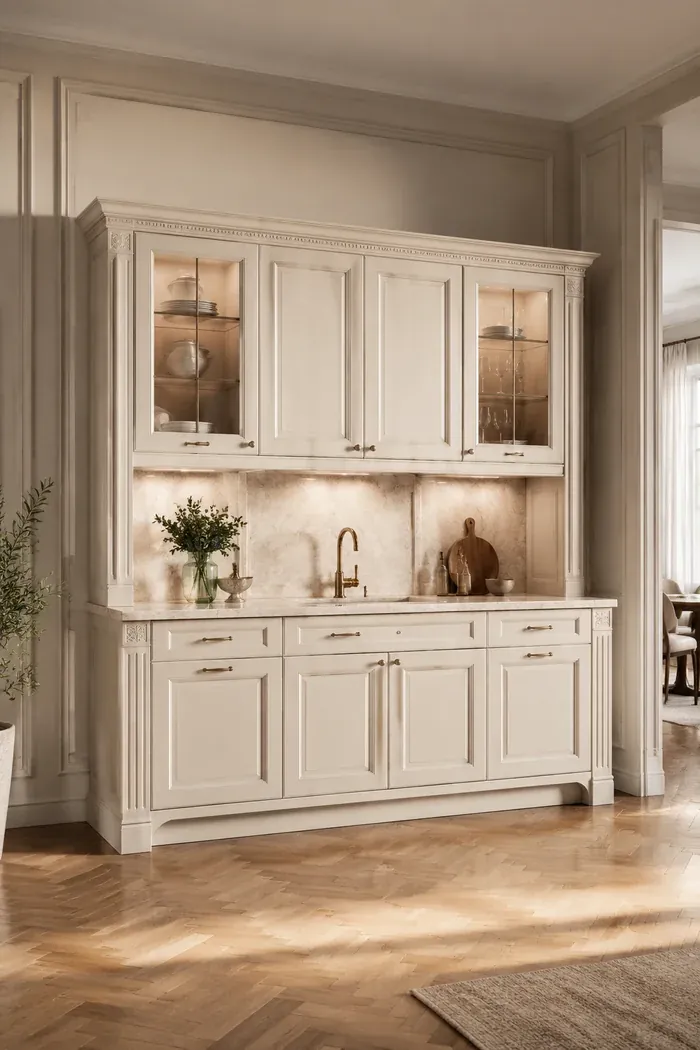
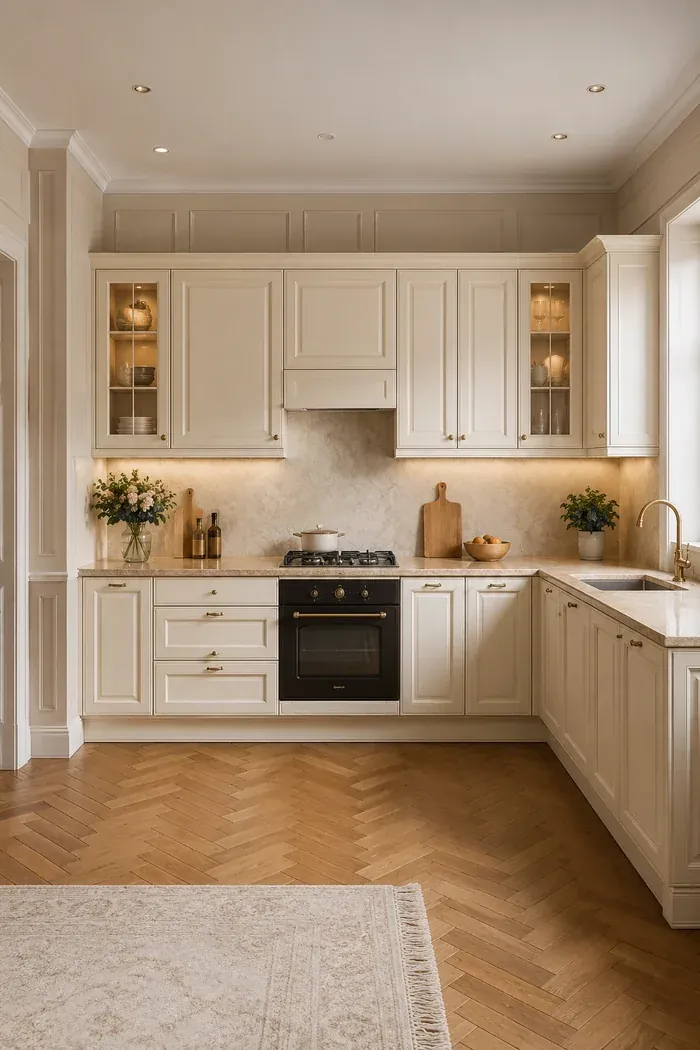
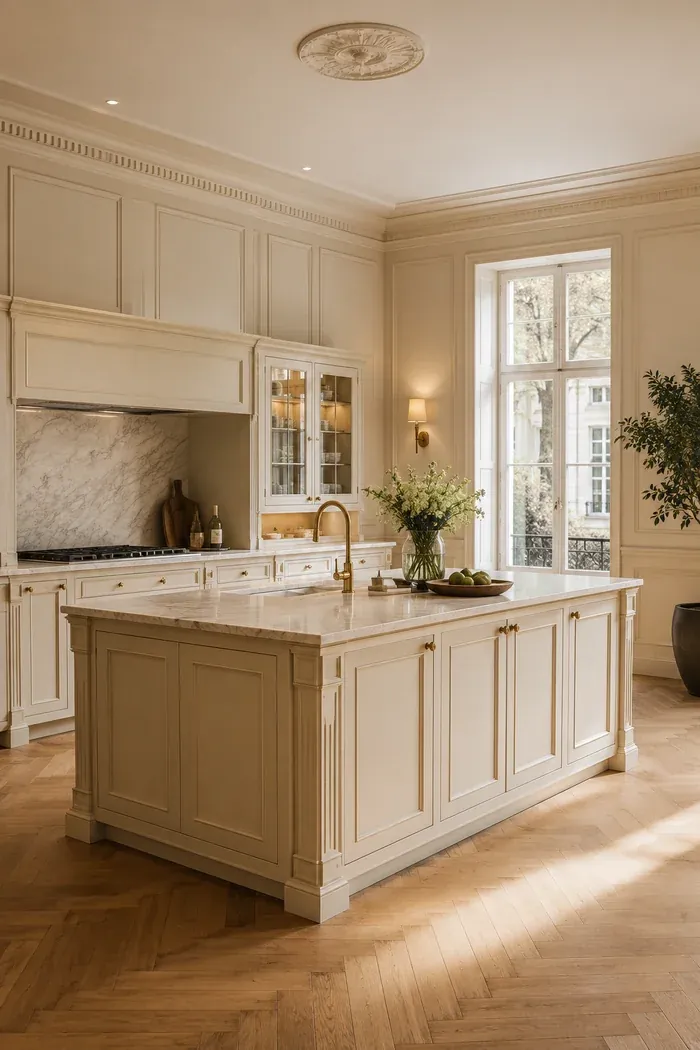
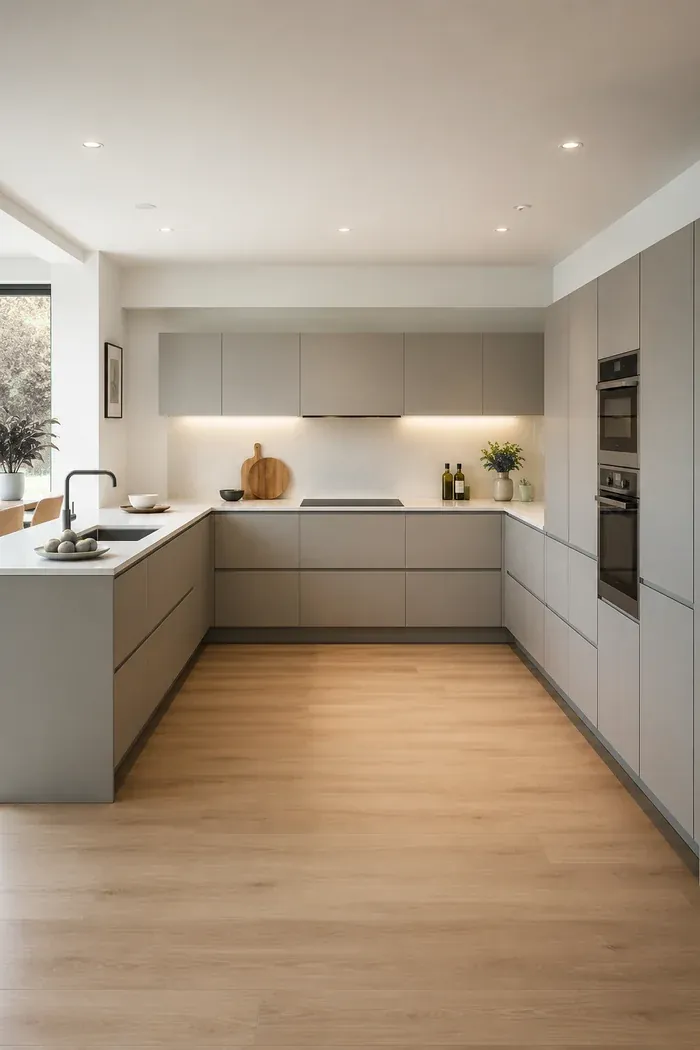
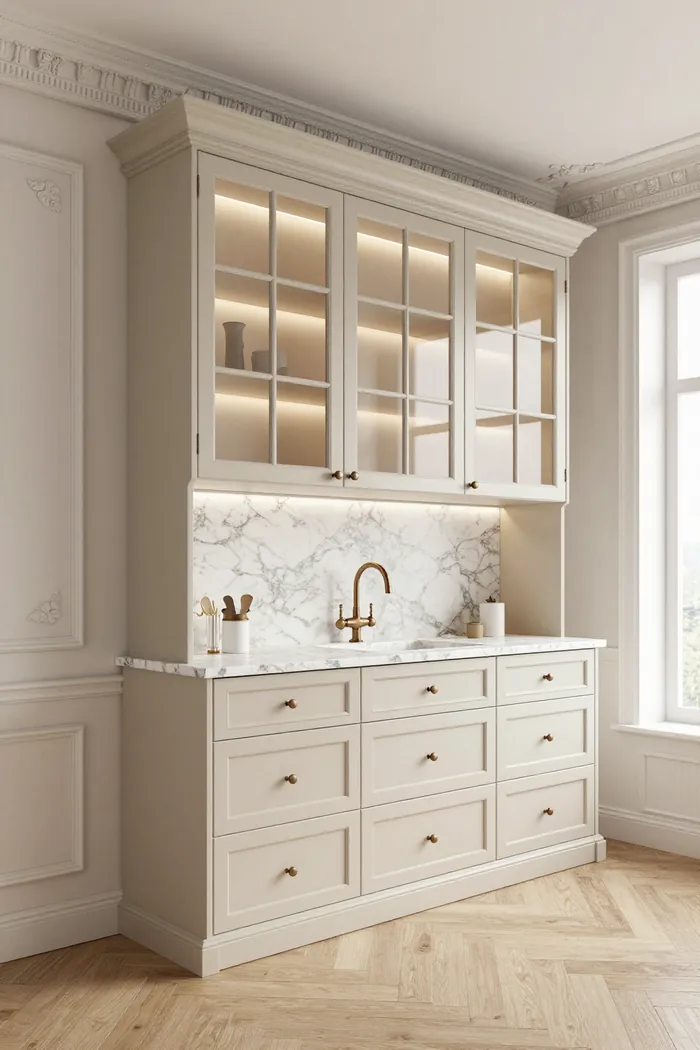
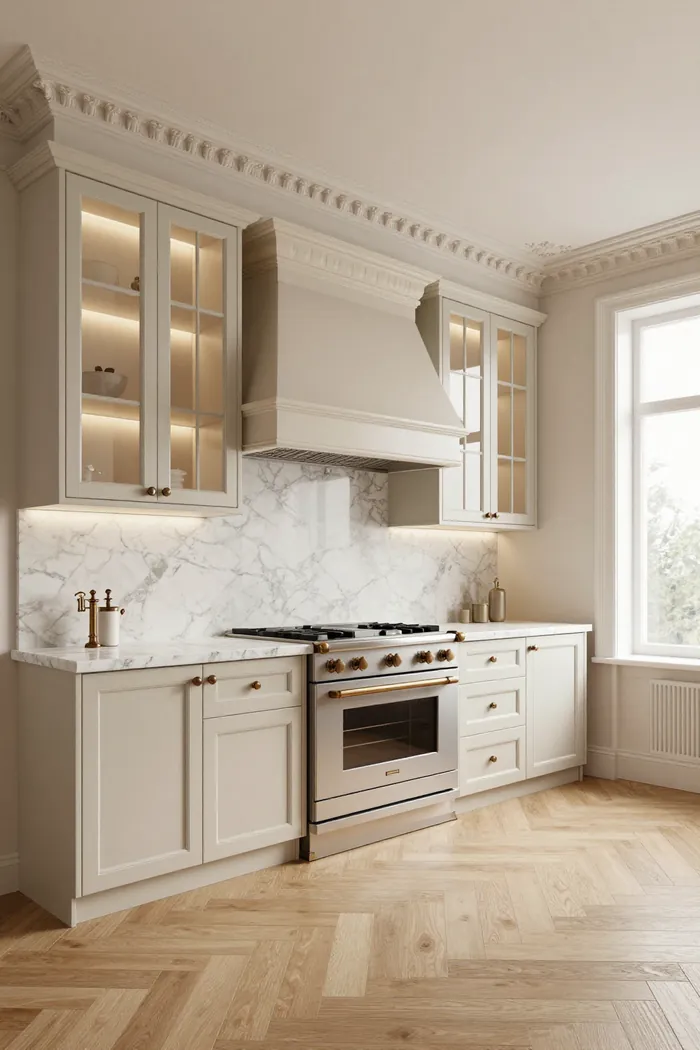
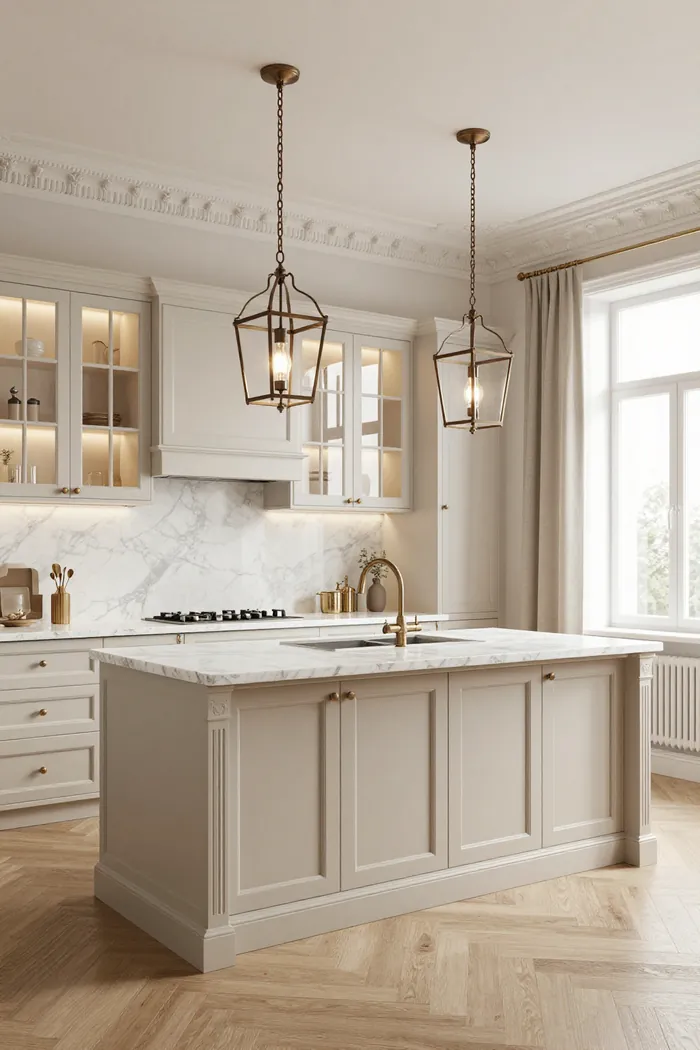
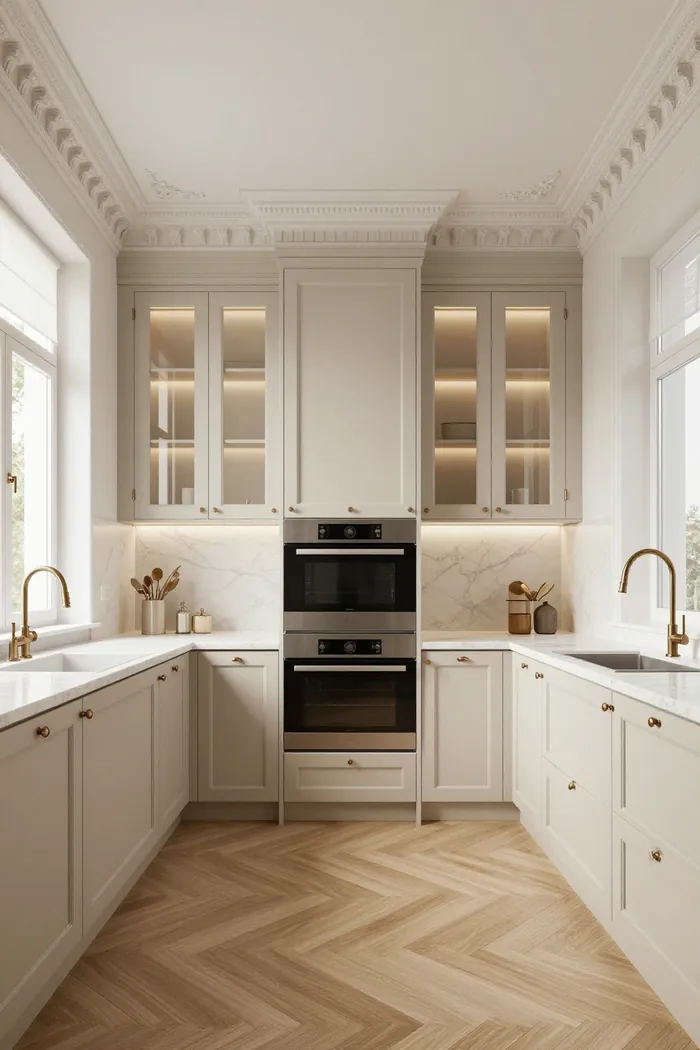
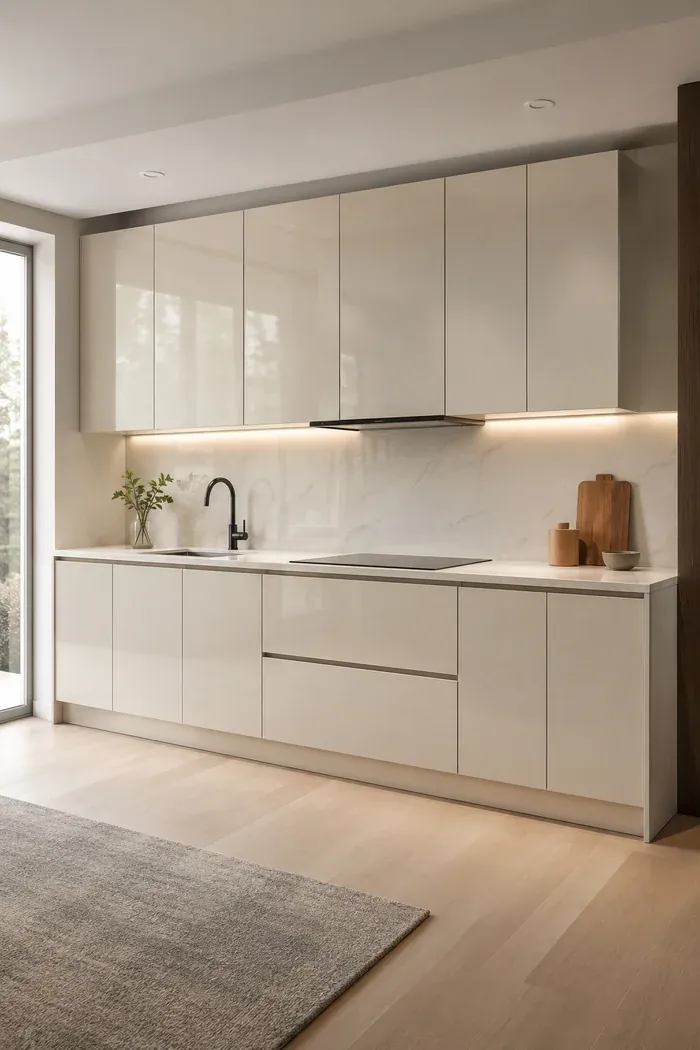
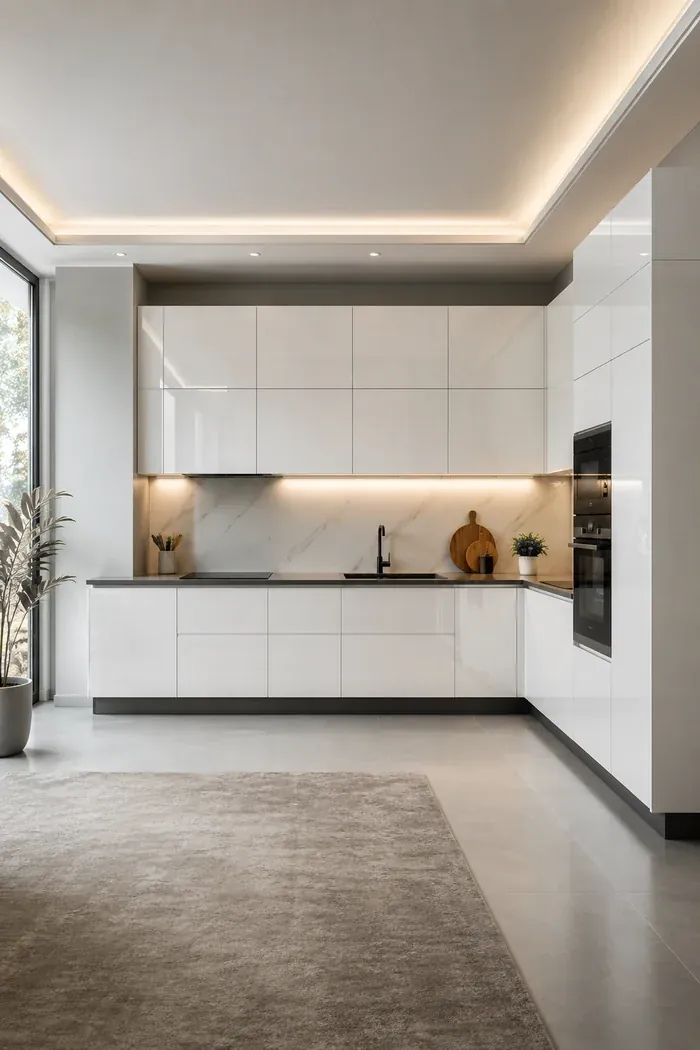
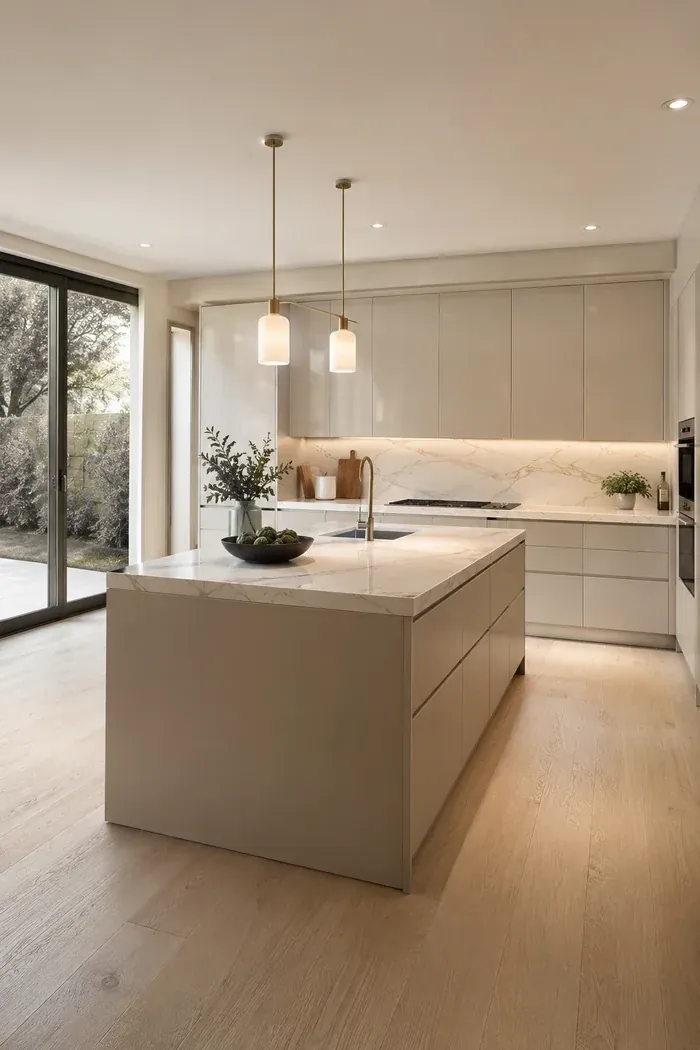
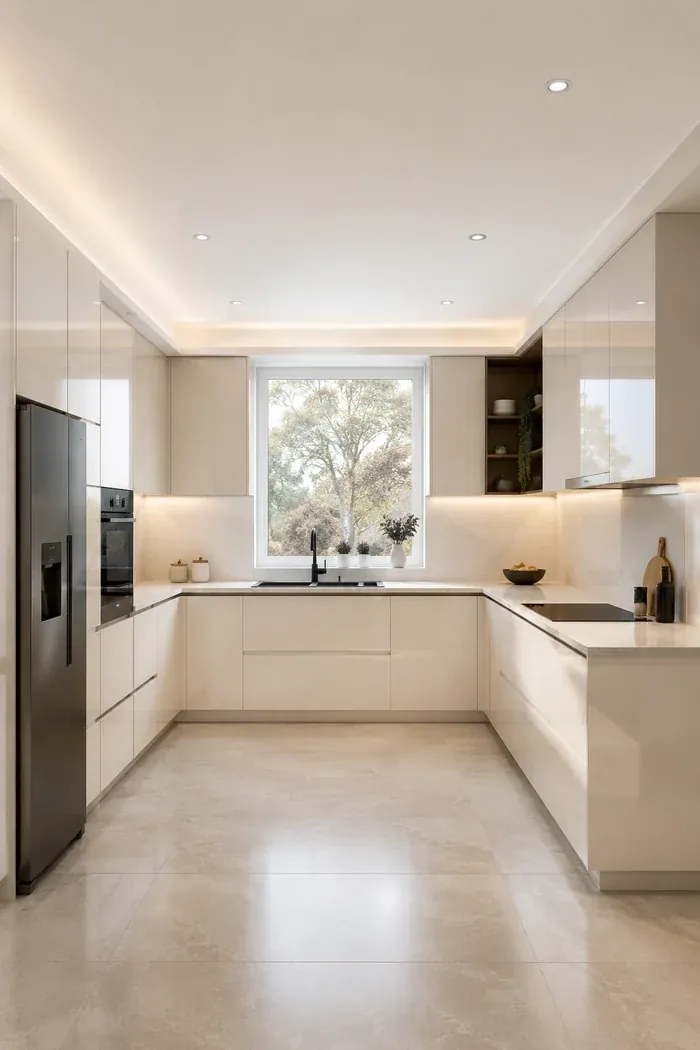
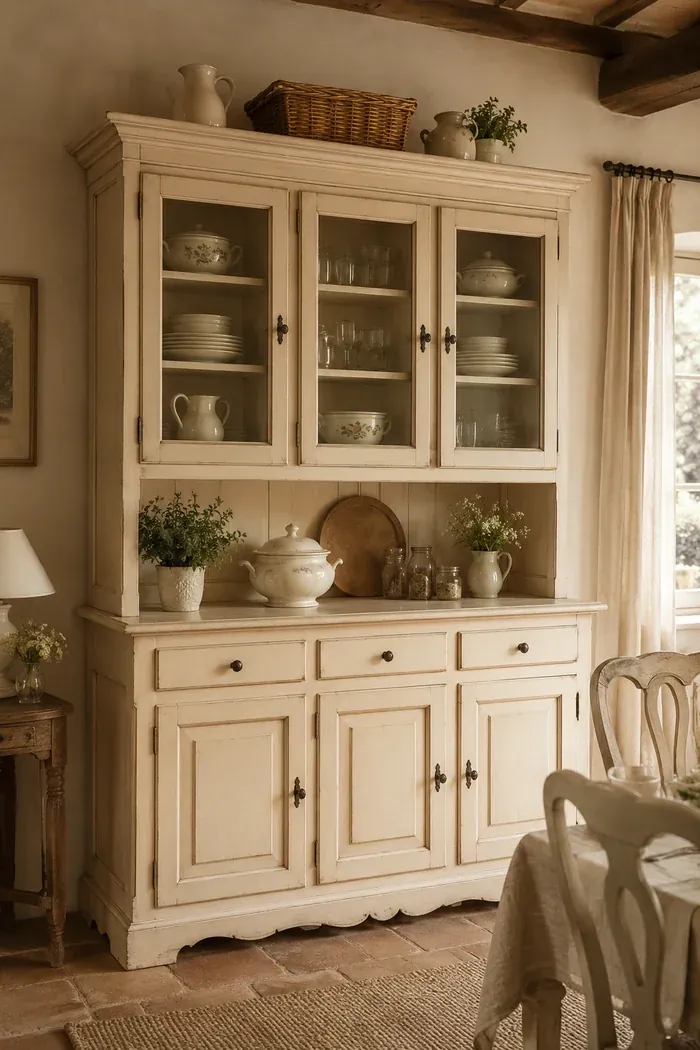
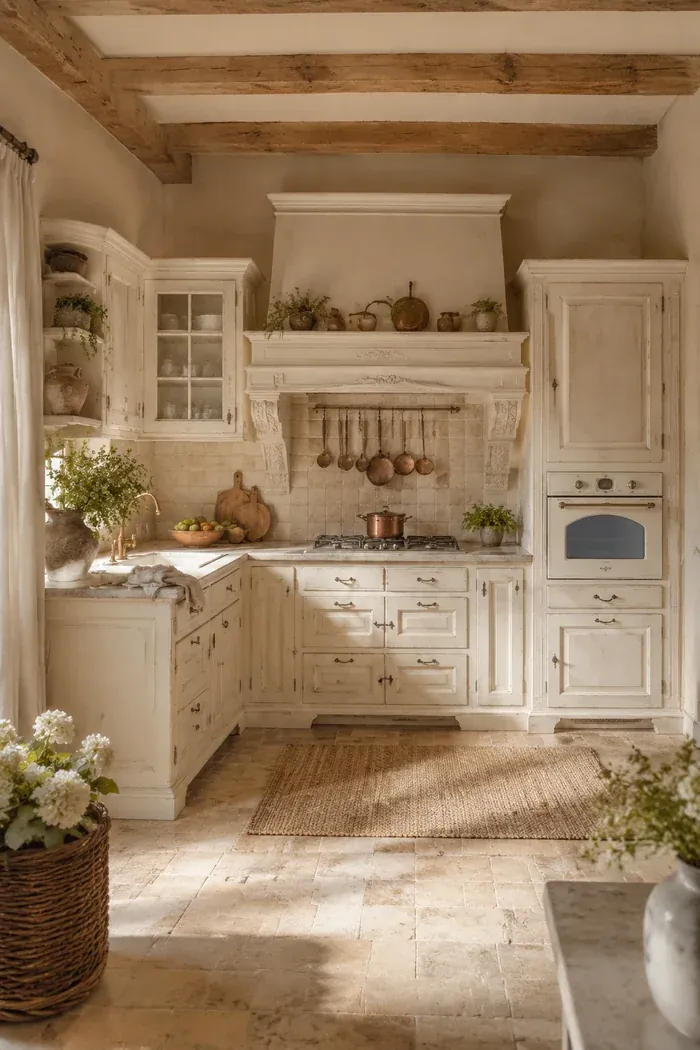
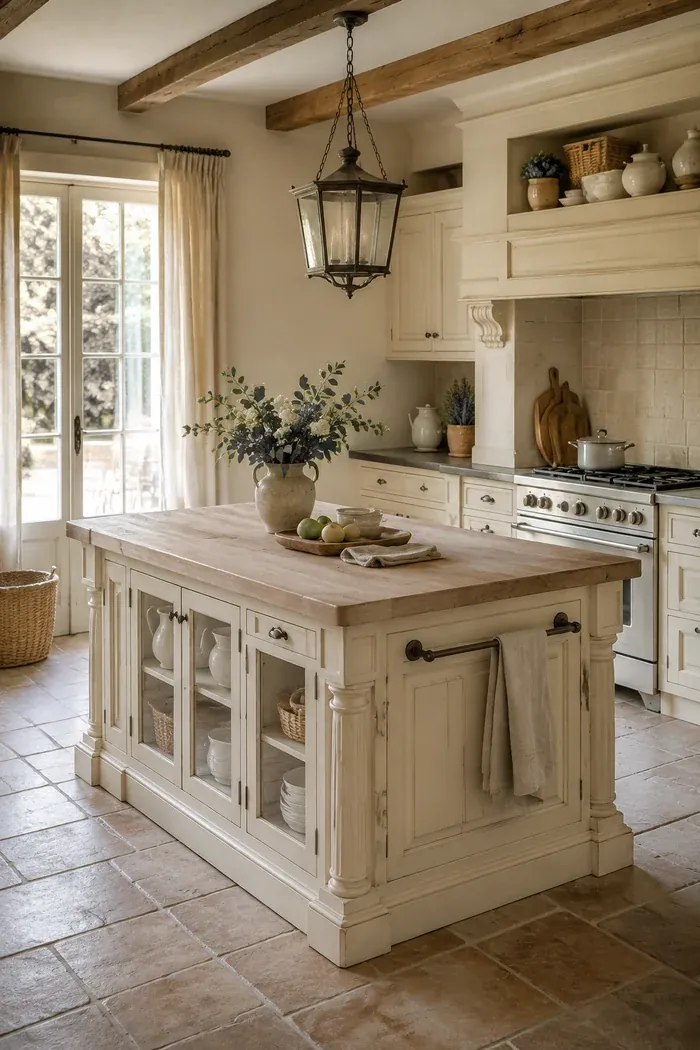
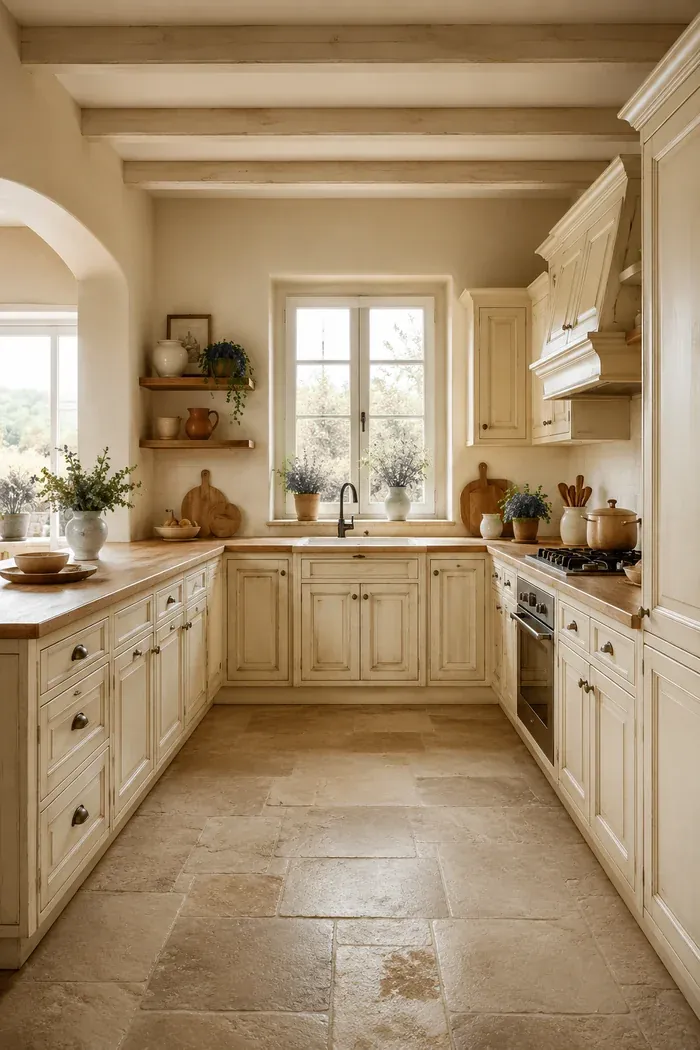
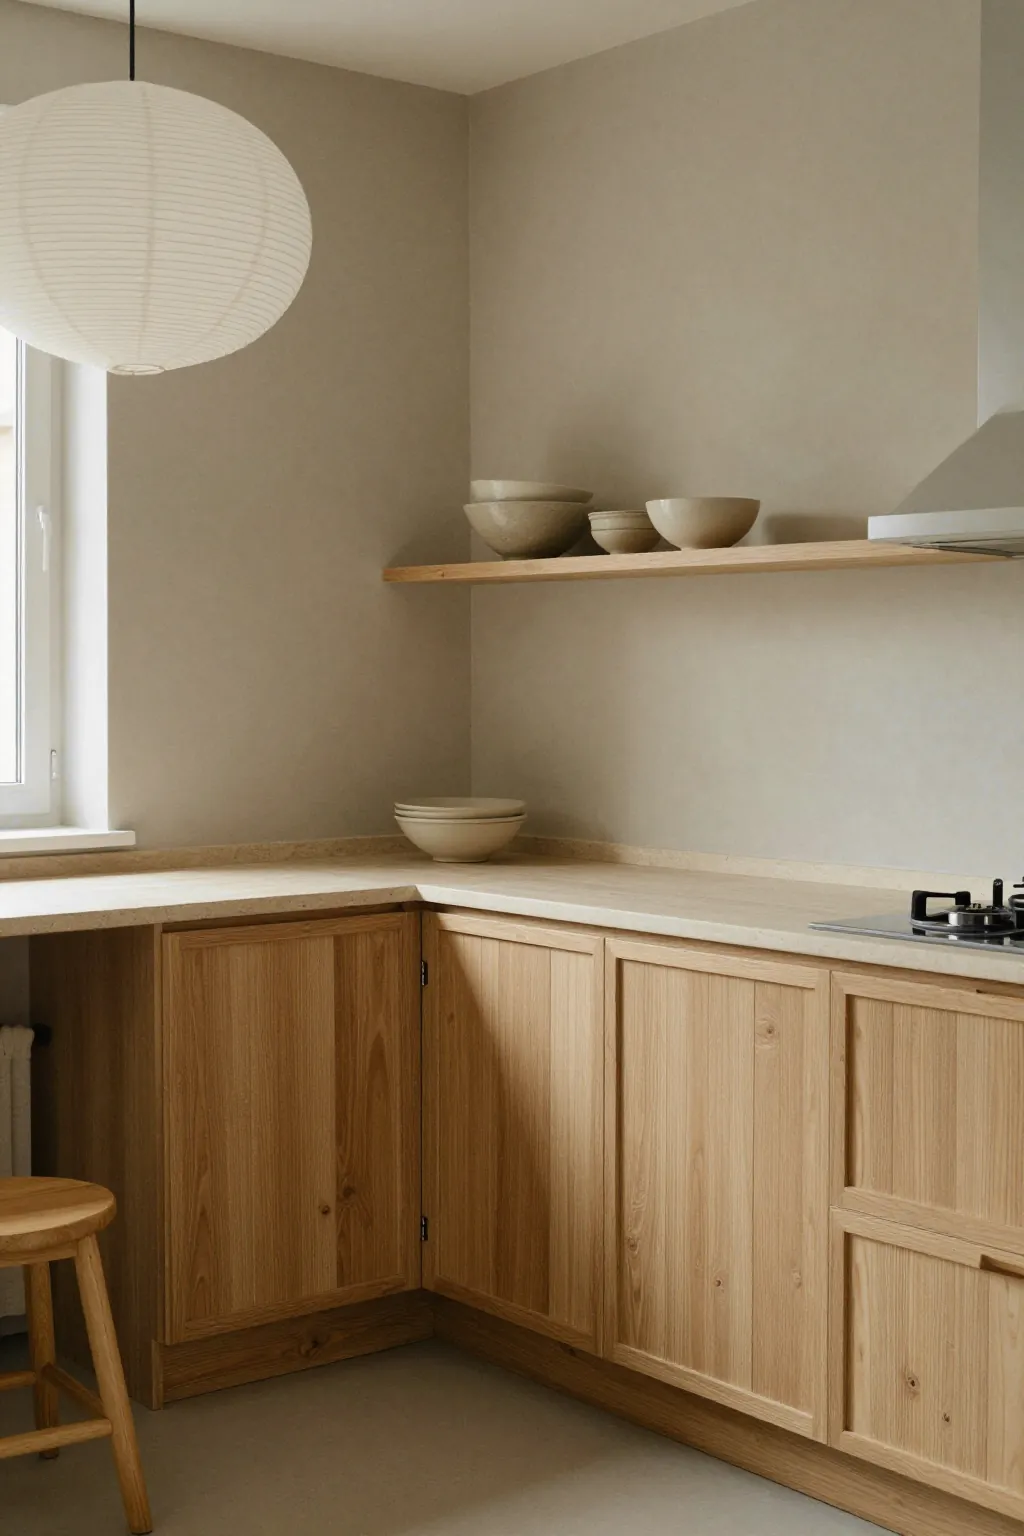
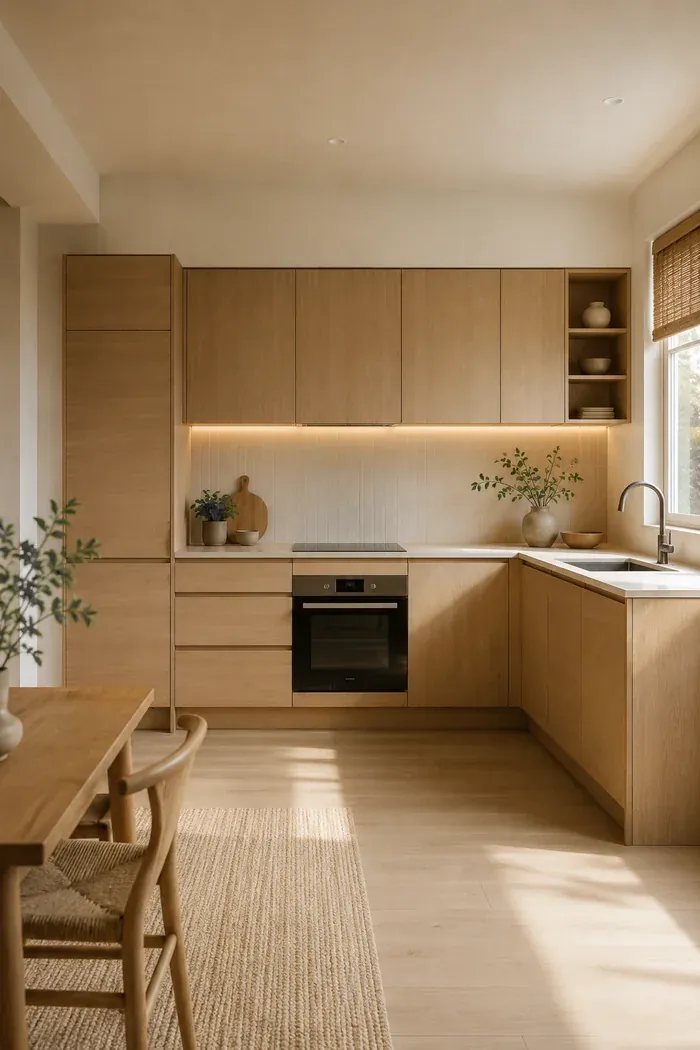
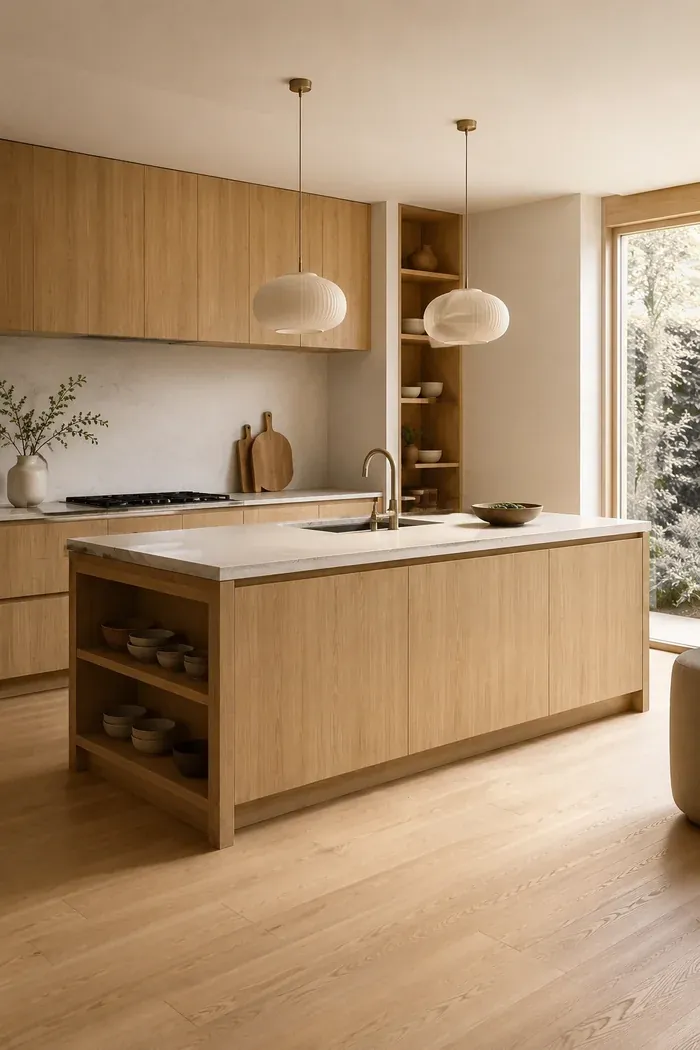
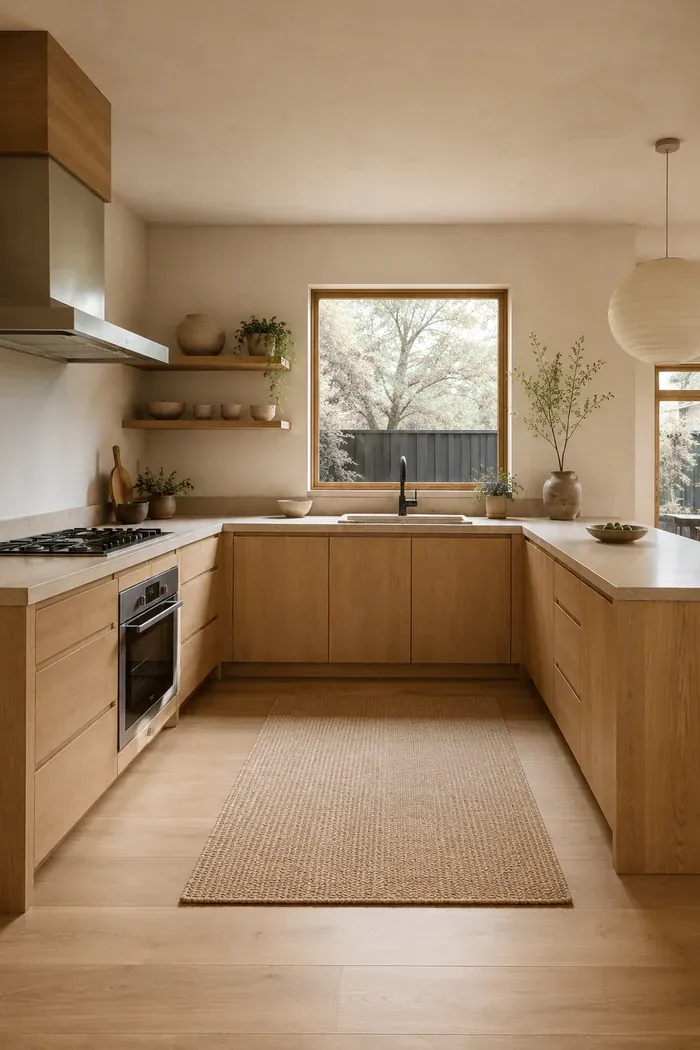
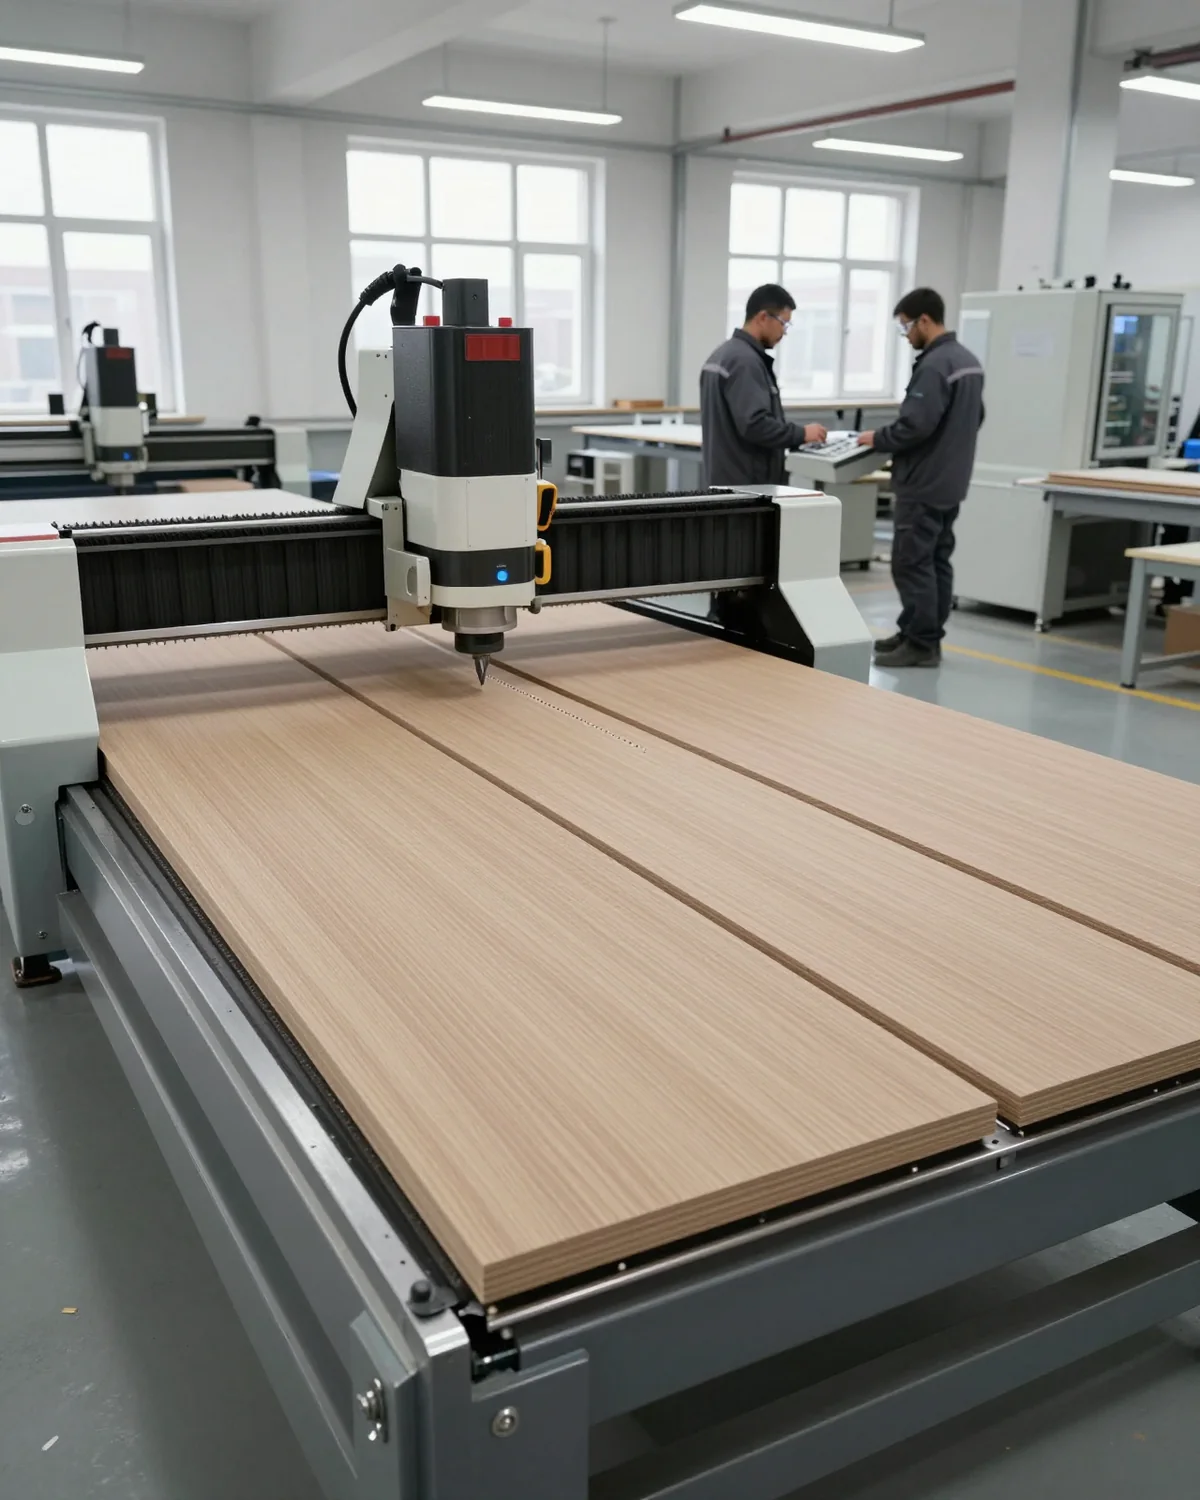
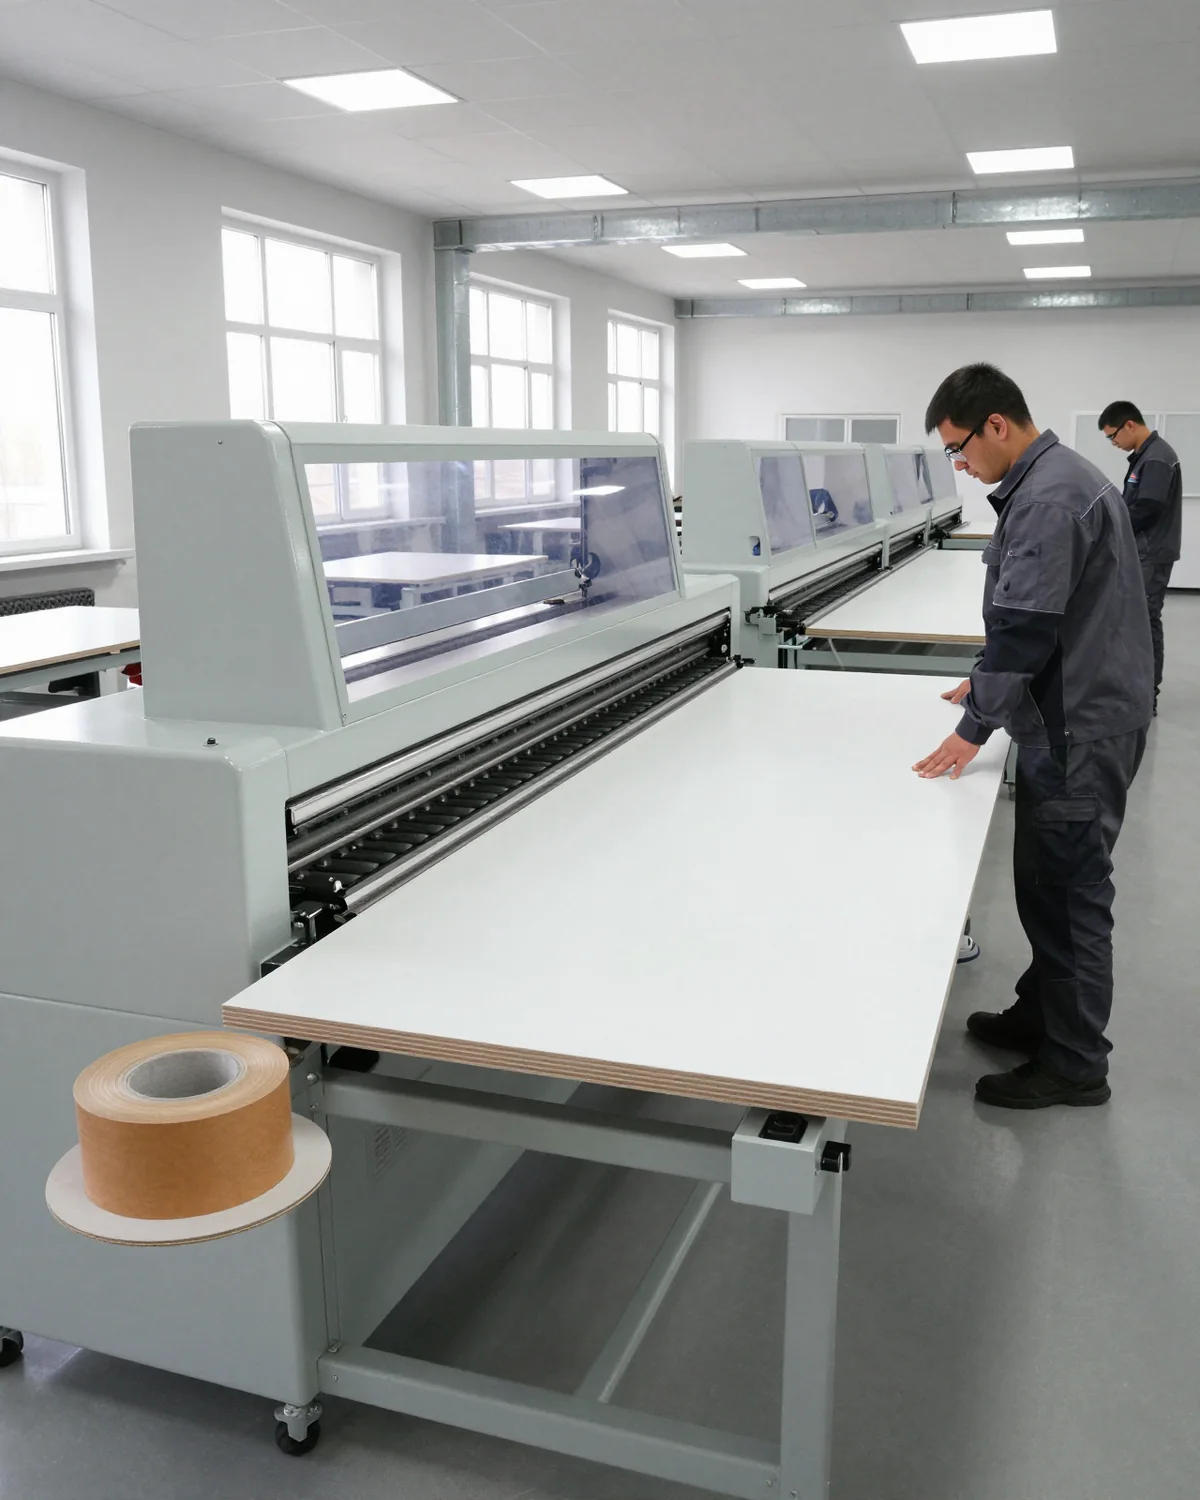
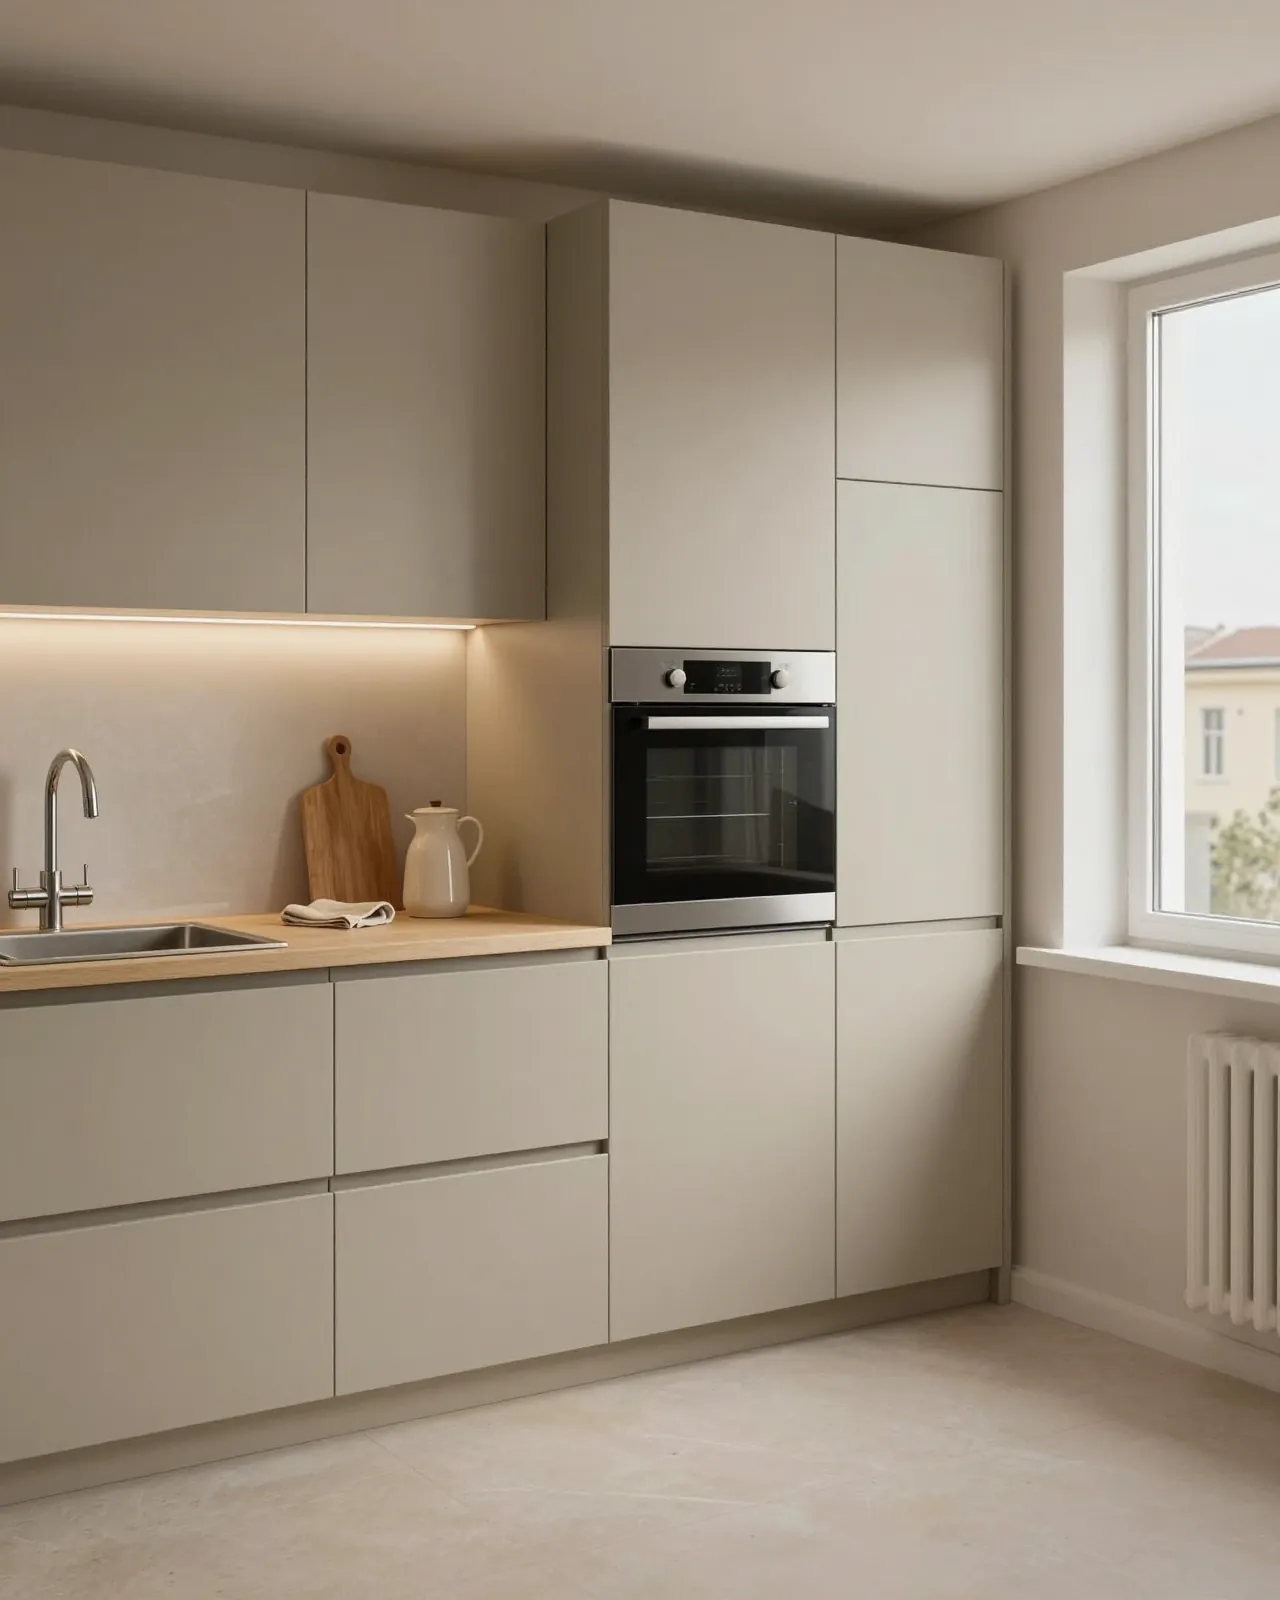
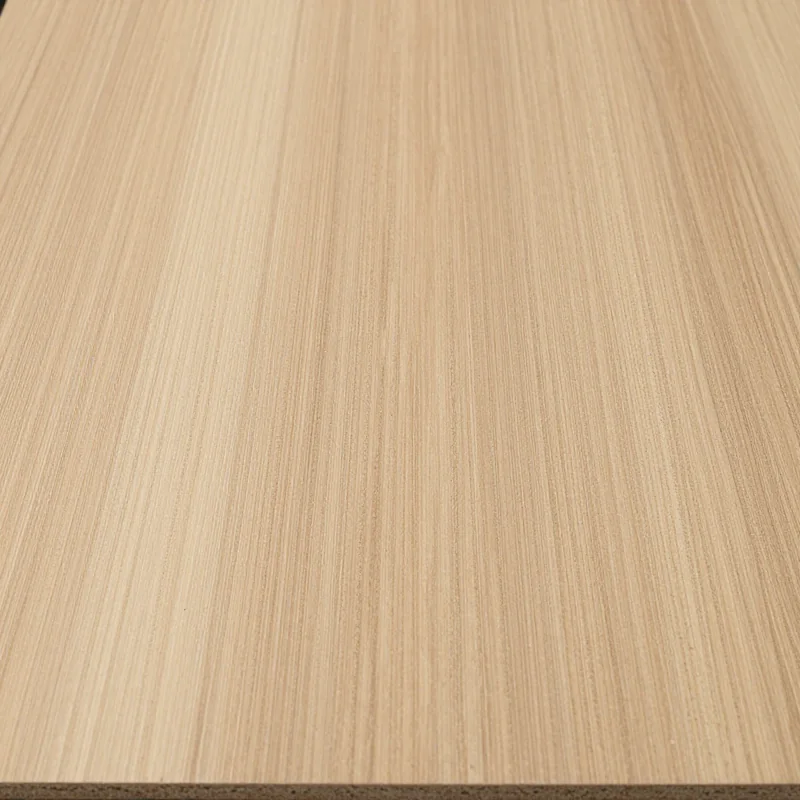
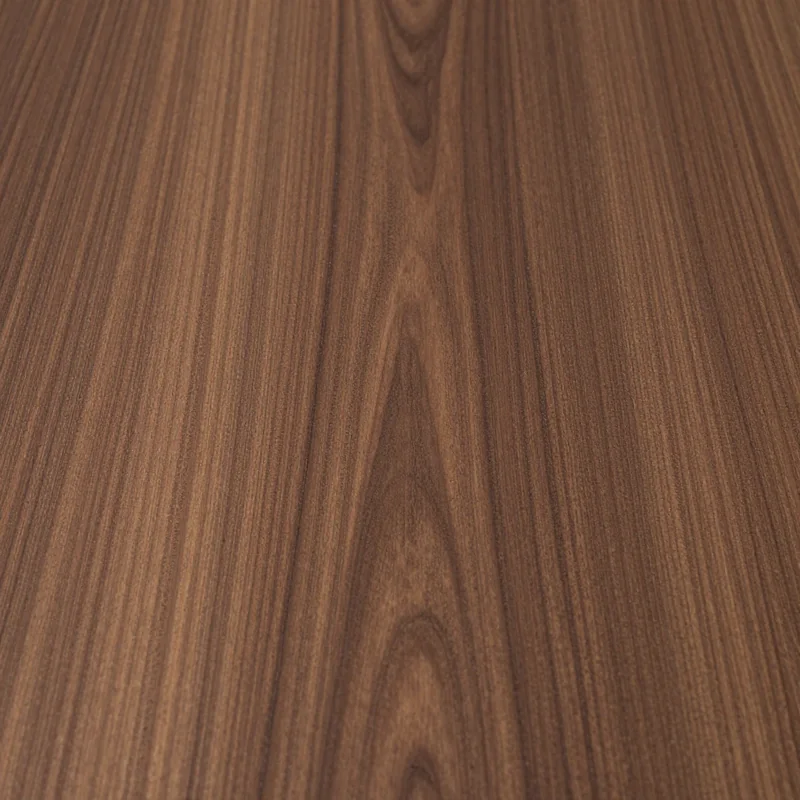
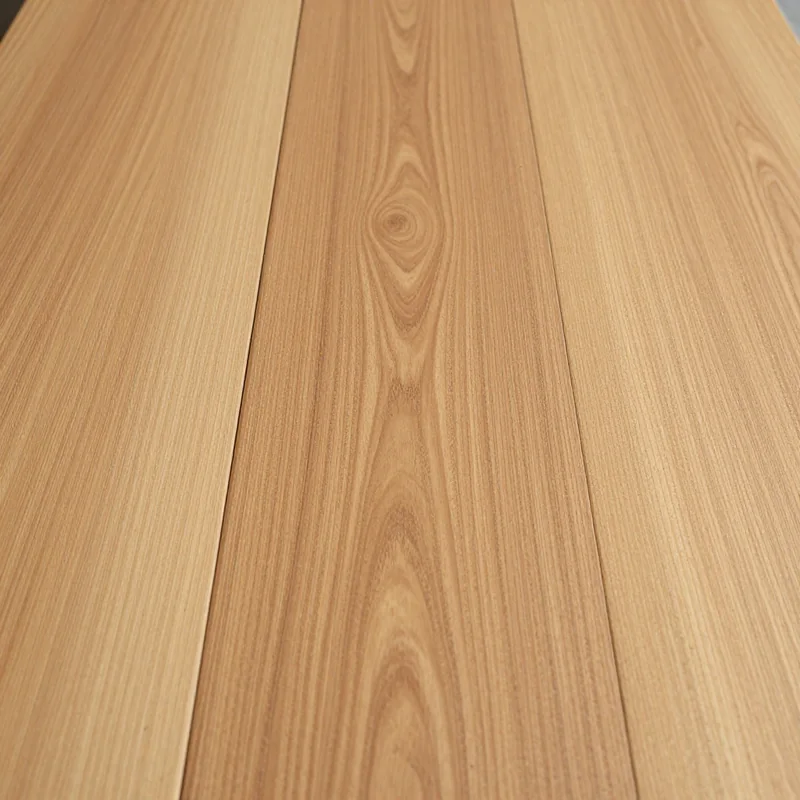
A custom kitchen in Almaty is planned around three things: your height, where the water and gas points are, and what you need to store. At MEBLIX we start with a free measurement visit, prepare a 3D design in 1–2 days, and write the price, lead time and 24-month warranty into the contract. Guide prices and lead times for each kitchen type are in the price list above.
A kitchen is measured once the walls and floor will no longer change size. Earlier is too early, later is expensive: the splashback and sockets would have to be redone to fit the finished units.
At what stage of the renovation to measure
Measure after the walls are plastered and levelled, the screed is poured and the finished floor is laid. Don't tile the splashback yet. Why? The splashback covers the strip between the worktop and the wall cabinets, and its height is only known after the 3D design. If the renovation has only just started, the measurer comes twice: first to decide where to bring out the water, gas and sockets, then to measure the finished walls. A custom kitchen is built from that second, final measurement, because a gap against a crooked wall would otherwise eat exactly the centimetres you ordered a made-to-measure kitchen for. Our measurement visit anywhere in Almaty is free, and the 3D design is ready in 1–2 days, showing straight away where the splashback will go. Workshop dimensions are taken from levelled walls and the finished floor, and the splashback is done after the worktop is fitted.
What to decide before the measurer arrives
- Hob: gas or electric, because this determines the height of the cooker hood, the position of the duct and a separate power line for the hob.
- Sink: one bowl or two, by the window or in the corner, since this sets the width of the base unit and the place for the dish rack.
- Fridge: freestanding or built into a tall unit, and which way its door opens next to a wall or window.
- Ceiling: stretch or painted, and its final height if the wall cabinets will run all the way up.
- Lighting: whether you want an LED strip over the work zone, so the electrician can run the cable under the wall cabinets before the finishing.
Heights and walkways that fit your height
Standard units are designed for average height, but you cook at your own. So heights are worked out for whoever stands at the hob most often, and walkways for how many people cook at the same time.
Kitchen height guidelines
Kitchen height guidelines| Element | Guide | Depends on |
|---|
| Worktop | 85–90 cm for a height of 160–170 cm | elbow height minus 10–15 cm |
|---|
| Bottom of wall cabinets | 45–60 cm above the worktop | height and type of hood |
|---|
| Hood over an electric hob | 60–75 cm | the hood model's manual |
|---|
| Hood over a gas hob | 75–85 cm | the model's manual and gas regulations |
|---|
| Oven in a tall unit | 60–80 cm from the floor | height, so you don't have to bend |
|---|
| Bottom of the microwave | 110–140 cm from the floor | below shoulder level |
|---|
If family members differ in height
The worktop is set for whoever cooks most, but sometimes two people with a height difference of 20 cm or more take turns at the hob. Two techniques help. The first is different zone heights: the area by the sink is made higher so you don't bend over a deep bowl, while the hob stays at normal height, because it is easier to stand slightly above the rim of a tall pan. The second is an island or a separate baking table a few centimetres below the main run. Complicated? Not really. The key is to decide this before the 3D design, not at installation, because adjustable plinth legs only give a couple of centimetres of play. Different work-zone heights are built into the design; plinth legs only level the kitchen to the floor.
How much space to leave between runs
A walkway between two runs of cabinets for one person is about 90 cm. If two people cook together, or the dishwasher door is open, you need 110–120 cm, otherwise one person keeps waiting for the other to close a drawer, step away from the sink or take a tray out of the oven. Between the sink and the hob, leave a stretch of worktop for prep: at least 60 cm, ideally 80–90 cm. Keep the hob at least 15 cm away from a wall or tall unit. A small detail? No: without that gap a long-handled pan hits the wall and steam settles on the side of the tall unit. This is exactly where made-to-measure kitchens beat off-the-shelf units: the width of each cabinet is adjusted so filler strips don't eat into the prep area. Worktop height is set from the elbow, and walkway width from how many people cook at once.
Water, gas, ventilation and sockets before installation
Kitchen units are fitted around the services, not the other way round. Pipes, the ventilation duct and sockets are prepared before installation, ideally from a 3D design that already shows every cabinet.
Five points to prepare in advance
- Drainage: the sink goes close to the soil stack, because the waste pipe needs a constant fall, and a long pipe under the cabinets takes space from the drawers.
- Water: taps and outlets for the dishwasher and filter are placed where you can reach them through the door under the sink.
- Gas: you must not move a gas pipe or valve yourself, as this is a job for the gas service, so their positions are recorded at the measurement and the units are built around them.
- Ventilation: the hood is connected to the ventilation duct with a box or pipe, and its route is planned into the wall cabinets at the design stage.
- Sockets: above the worktop they go 10–15 cm higher than it, in blocks of three, and separate lines are run for the oven and hob.
Lighting over the work zone
General ceiling light in a kitchen shines from behind you. Your head casts a shadow right onto the chopping board, and you end up cutting almost blind, especially in the evening when it is dark outside and the pendant hangs in the middle of the room. That's why the worktop gets its own lighting. Most often it is an LED strip in an aluminium profile under the wall cabinets: the diffuser hides the individual diodes and keeps grease off the strip. The driver goes inside a wall cabinet. The switch? Easiest by the work zone, or a wave sensor, with the cable run before the finishing. The light colour is chosen together with the fronts, because cold light makes white enamel look bluish. Light the work zone separately from the ceiling, or you will cook in your own shadow.
Keeping access to pipes and meters
The gas pipe, valve and meters don't disappear when the furniture arrives. They are never sealed into a closed box. The valve needs quick access, and meters are read and replaced after inspection. So a custom kitchen works around these points differently: a removable shelf or a cut-out in the back panel above the gas pipe, a hinged front in front of the meter, and a removable plinth under the base units to reach pipes at floor level. Who came up with this? Experience. A leak under the sink is easier to spot and fix when you can reach the joint in a minute, instead of taking apart half the base run and calling a technician for one tap. The units go around the gas pipe and meters so they stay accessible without dismantling a cabinet.
Drawers, shelves and corners in the base and wall units
How much a kitchen holds doesn't depend only on its length. What matters is the type of base units, the height of the wall cabinets and how things are arranged along the route from the fridge to the hob.
Which storage goes where
Which storage goes where| Solution | Where it works | What to bear in mind |
|---|
| Pull-out drawers | base units by the hob | you can see everything to the back |
|---|
| Door with a shelf | under the sink | the trap and filter get in the way of drawers |
|---|
| Lift-up front | wall units | the door doesn't hit your head |
|---|
| Corner baskets | base corner | bring items out of the far corner |
|---|
| Third row to the ceiling | above the wall cabinets | for rarely used items, needs a step stool |
|---|
| Open shelves | above the worktop | collect dust and grease near the hob |
|---|
Three zones in cooking order
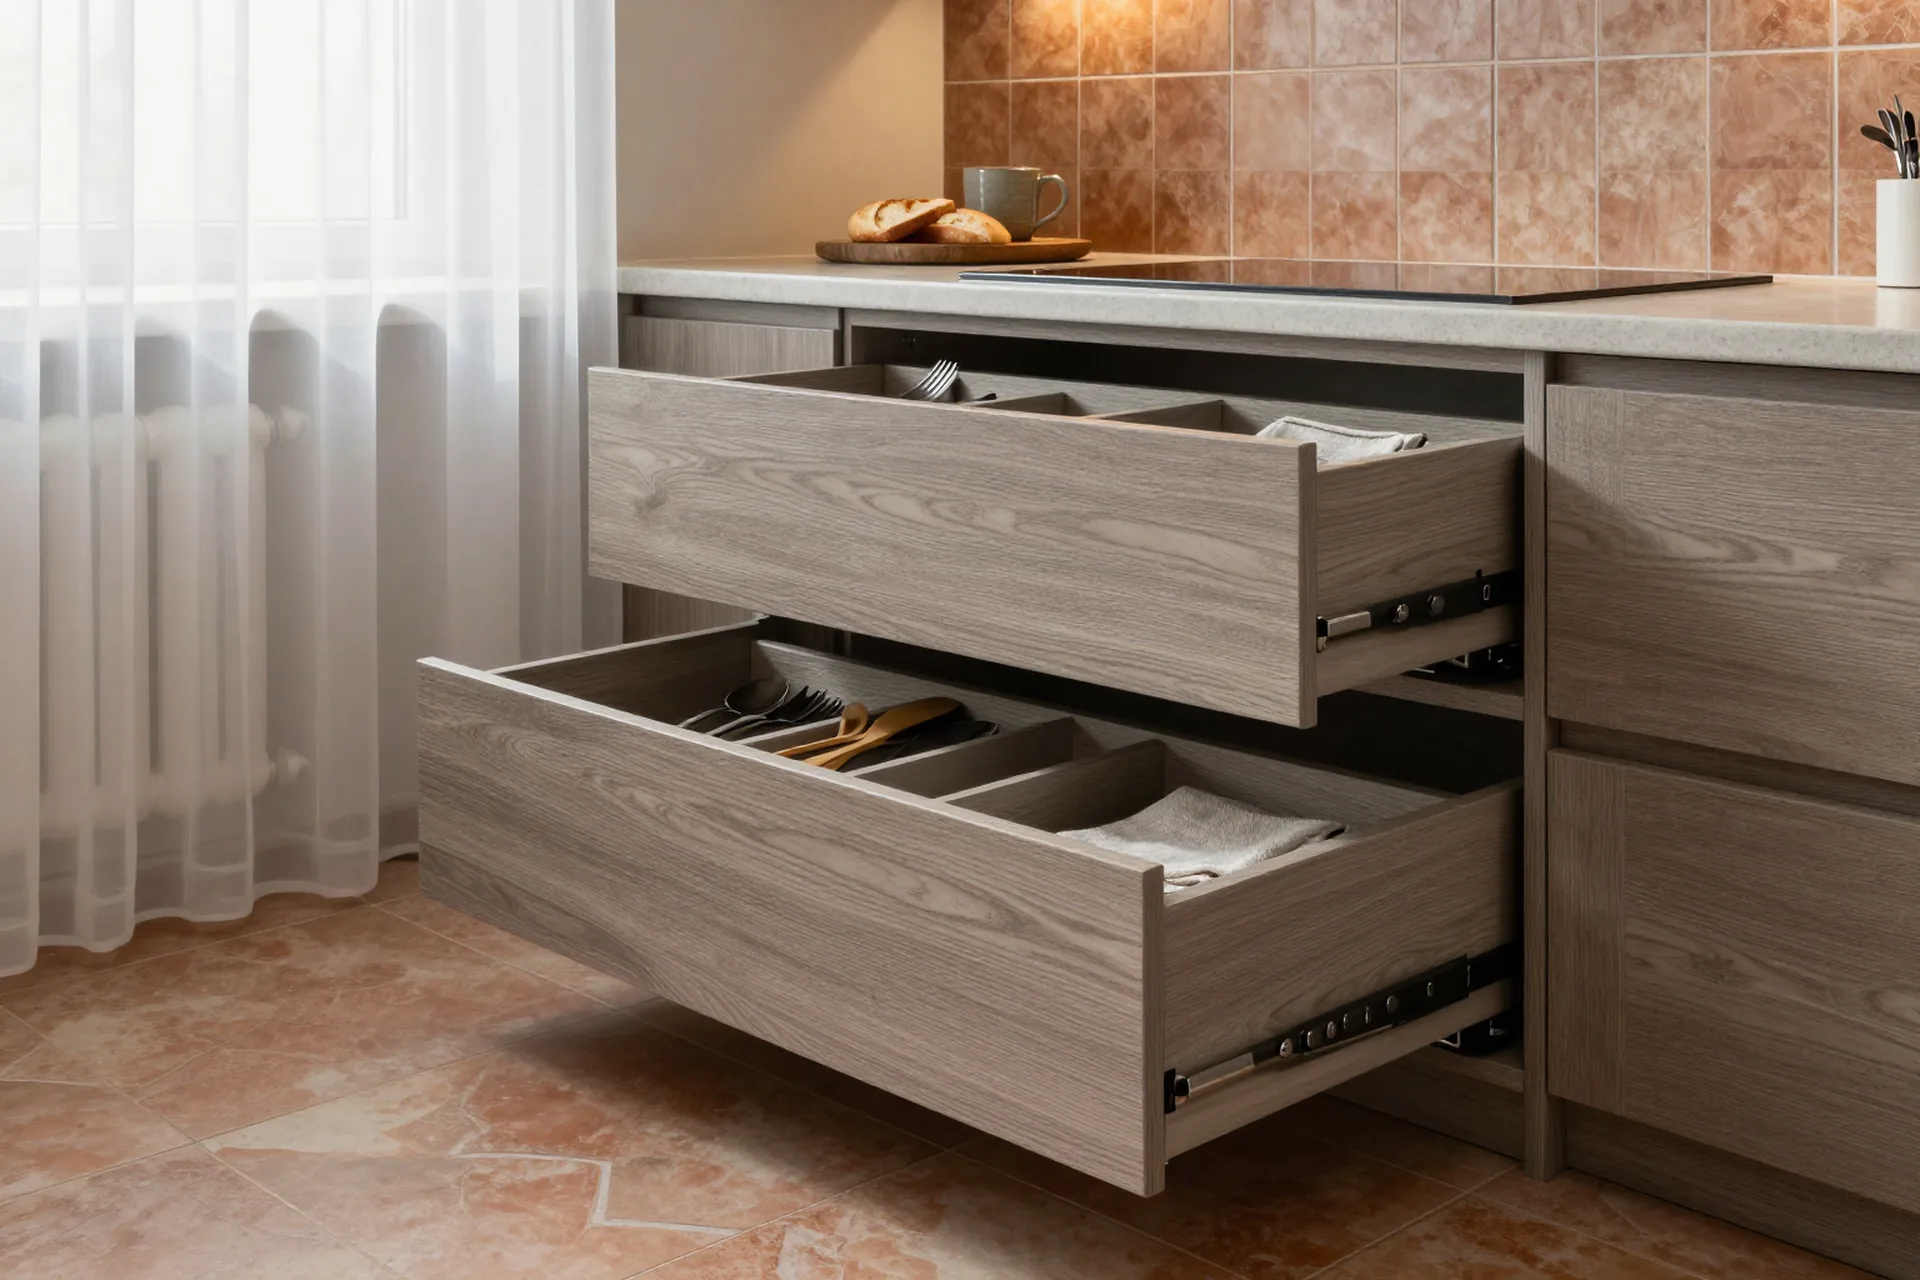
Custom kitchen units are best arranged in the order you cook, not by how the fronts look. The storage zone is by the fridge: grains, tins and containers live in a tall unit or pull-out drawers. The sink zone has the dish rack above and the bin and cleaning products below. The cooking zone is by the hob: pots and pans in deep drawers, spices and oil in a narrow pull-out within arm's reach. Convenient? Very. Food moves in one direction, from the fridge via the sink to the hob, and you never cross the kitchen with wet hands. Heavy items go low, light and rarely used ones go high. One more technologist's tip, in my view the most underrated: a single 80–90 cm drawer holds more than two 40–45 cm drawers, because it has no extra pair of sides. Build the base run from drawers and arrange things along the route from the fridge to the hob.
A kitchen in a new build and in an older building
The same design fits differently into a new residential complex and a Soviet-era building. In the first case the walls and ceiling decide; in the second, the pipes, gas and square metres.
A new build with a shell finish
A custom kitchen in an Almaty new build starts with checking the walls. They are rarely straight after the developer, so the final measurement is taken after plastering, and the gap at the wall is closed with a filler strip in the colour of the fronts. Ceilings in new buildings are often higher than 2.7 m. That's an opportunity: cabinets to the ceiling add a third row of storage, and no dust collects on top. A kitchen-living room in a new complex is a task of its own: the units are visible from the room, so fronts, handles and lighting are chosen together with the living-room furniture, and the hood is picked to be quiet enough not to drown out conversation at the table. One more thing: while the neighbours are still renovating, it is better to bring the furniture into a cleaned kitchen, or dust settles in the drawers. In a new build the design adapts to the walls and ceiling as they turned out after the renovation.
An older building with gas and little space
In older buildings the kitchen is often 5–7 m². That space has to hold a gas pipe along the wall, a cooker and sometimes a gas water heater. The heater is never hidden in a closed cabinet: it needs air and access, so a gap is left around it and the neighbouring cabinets are built exactly to its dimensions. The pipe is worked around with cut-outs in the back panels. Space is gained differently than in a new build: the fridge moves to a niche in the hallway, freeing about 60 cm of worktop, the dishwasher and oven are 45 cm wide, and the worktop continues across the windowsill. And the walls? In a brick building wall cabinets hold firmly on anchors. Plasterboard is harder: only with mounting backers installed before the finishing. In an older building the design adapts to the pipes and the floor area, not the other way round.
How to compare quotes from two workshops
When people search for "custom kitchen price", they expect one figure per metre, but behind that figure two workshops offer different kitchens. Our guide prices are in the price list above, and other quotes are easiest to compare on six points.
What to compare in two quotes
- Wall cabinet height: 72 cm and 92 cm units over the same length give different storage volume at the same price per linear metre.
- Drawers or shelves: a base run of pull-out drawers costs more than shelves behind doors, so count the drawers in each quote.
- Edging: visible edges and the area by the sink need 2 mm PVC edging, while thin 0.4 mm edging comes away from moisture sooner.
- Hardware: the quote should name the brand of hinges and runners and state soft-close, not just say "hardware".
- Worktop: material, thickness and cut-outs for the sink and hob, which are sometimes listed as a separate line.
- Installation: whether delivery, assembly, sink fitting and appliance connection are included, or will be charged after the contract.
What to ask before signing the contract
- Lead time: whether the contract states a specific date or number of working days, and what happens if it slips.
- Warranty: how long it lasts, from which day it starts, and which faults it covers and which it doesn't.
- Payment: how much is paid on signing and how much remains until installation and the signed acceptance certificate.
- Design: whether a 3D design with dimensions and materials is attached to the contract, since the kitchen is later accepted against it.
- Changes: whether you can change the front colour or handles after signing, while the order hasn't yet gone to the workshop.
Where saving money doesn't hurt the kitchen
An affordable custom kitchen comes from the layout and finish, not the carcass. Chipboard or foil-wrapped MDF fronts instead of enamel change how the kitchen looks, but the carcass lasts just as long. A straight kitchen is simpler than a corner one, with no corner unit and no second worktop joint. Some wall cabinets can be replaced with an open shelf, and complex corner mechanisms with plain shelves if that corner holds things you reach for once a month. Where not to save? On edging, hinges and runners. A swollen edge under the sink or a sagging door costs more than any difference in the quote, because they are replaced together with the neighbouring parts, sometimes the whole unit. We compare options in the 3D design and write the final price into the contract. Compare prices per linear metre only for the same specification.
Care and adjustment after installation
A kitchen doesn't wear evenly. The fronts by the hob and sink, the edging under the sink and the hinges of doors opened many times a day take the most strain.
How to clean fronts of different materials
- Foil-wrapped MDF: wipe with a soft damp cloth and soapy water, no abrasives or solvents, and keep it away from the steam of an open oven.
- Enamel: wash with a soft sponge and a neutral cleaner; don't sand chips at home, they are touched up to the RAL colour at the workshop.
- Oiled veneer: wipe with a slightly damp cloth and dry immediately, and renew the oil once the wood starts absorbing water.
- Edging by the sink: wipe water off the worktop and edges straight away, especially at joints where the edging meets the hob.
What to adjust in the first months and what the warranty covers
Our kitchen production ends with installation, adjustment of the fronts and the acceptance certificate, and the 24-month warranty under the contract runs from that day. After that, everyday kitchen life begins. In the first weeks the fronts may shift slightly as the hinges settle and the carcasses take the weight of crockery and full drawers. That's normal. A hinge is tightened with its adjustment screw in a couple of minutes, and the gaps between fronts are even again. Clean crumbs and grit out of drawer runners now and then, and check and turn the plinth legs if the floor under the kitchen is uneven or the tiles were laid with a step noticed only after installation. An edge has come away, a door sags, a mechanism has failed? That is a manufacturing defect, and a technician will come to fix it. The 24-month warranty covers manufacturing defects, while adjusting hinges is ordinary maintenance, a bit like topping up your car's tyres.
Kitchens in brief
What to remember before you order
- Measurement: custom kitchens are measured from levelled walls and the finished floor, and the splashback is done after the worktop is fitted.
- Heights: the worktop 10–15 cm below the elbow, the bottom of the wall cabinets 45–60 cm above it, walkways from 90 cm.
- Services: the sink close to the soil stack, the gas pipe and meters worked around with access, sockets in blocks above the worktop.
- Storage: build the base run from pull-out drawers and arrange things along the route from the fridge via the sink to the hob.
- Quotes: compare the price per linear metre only with the same cabinet height, edging, hardware and installation scope.