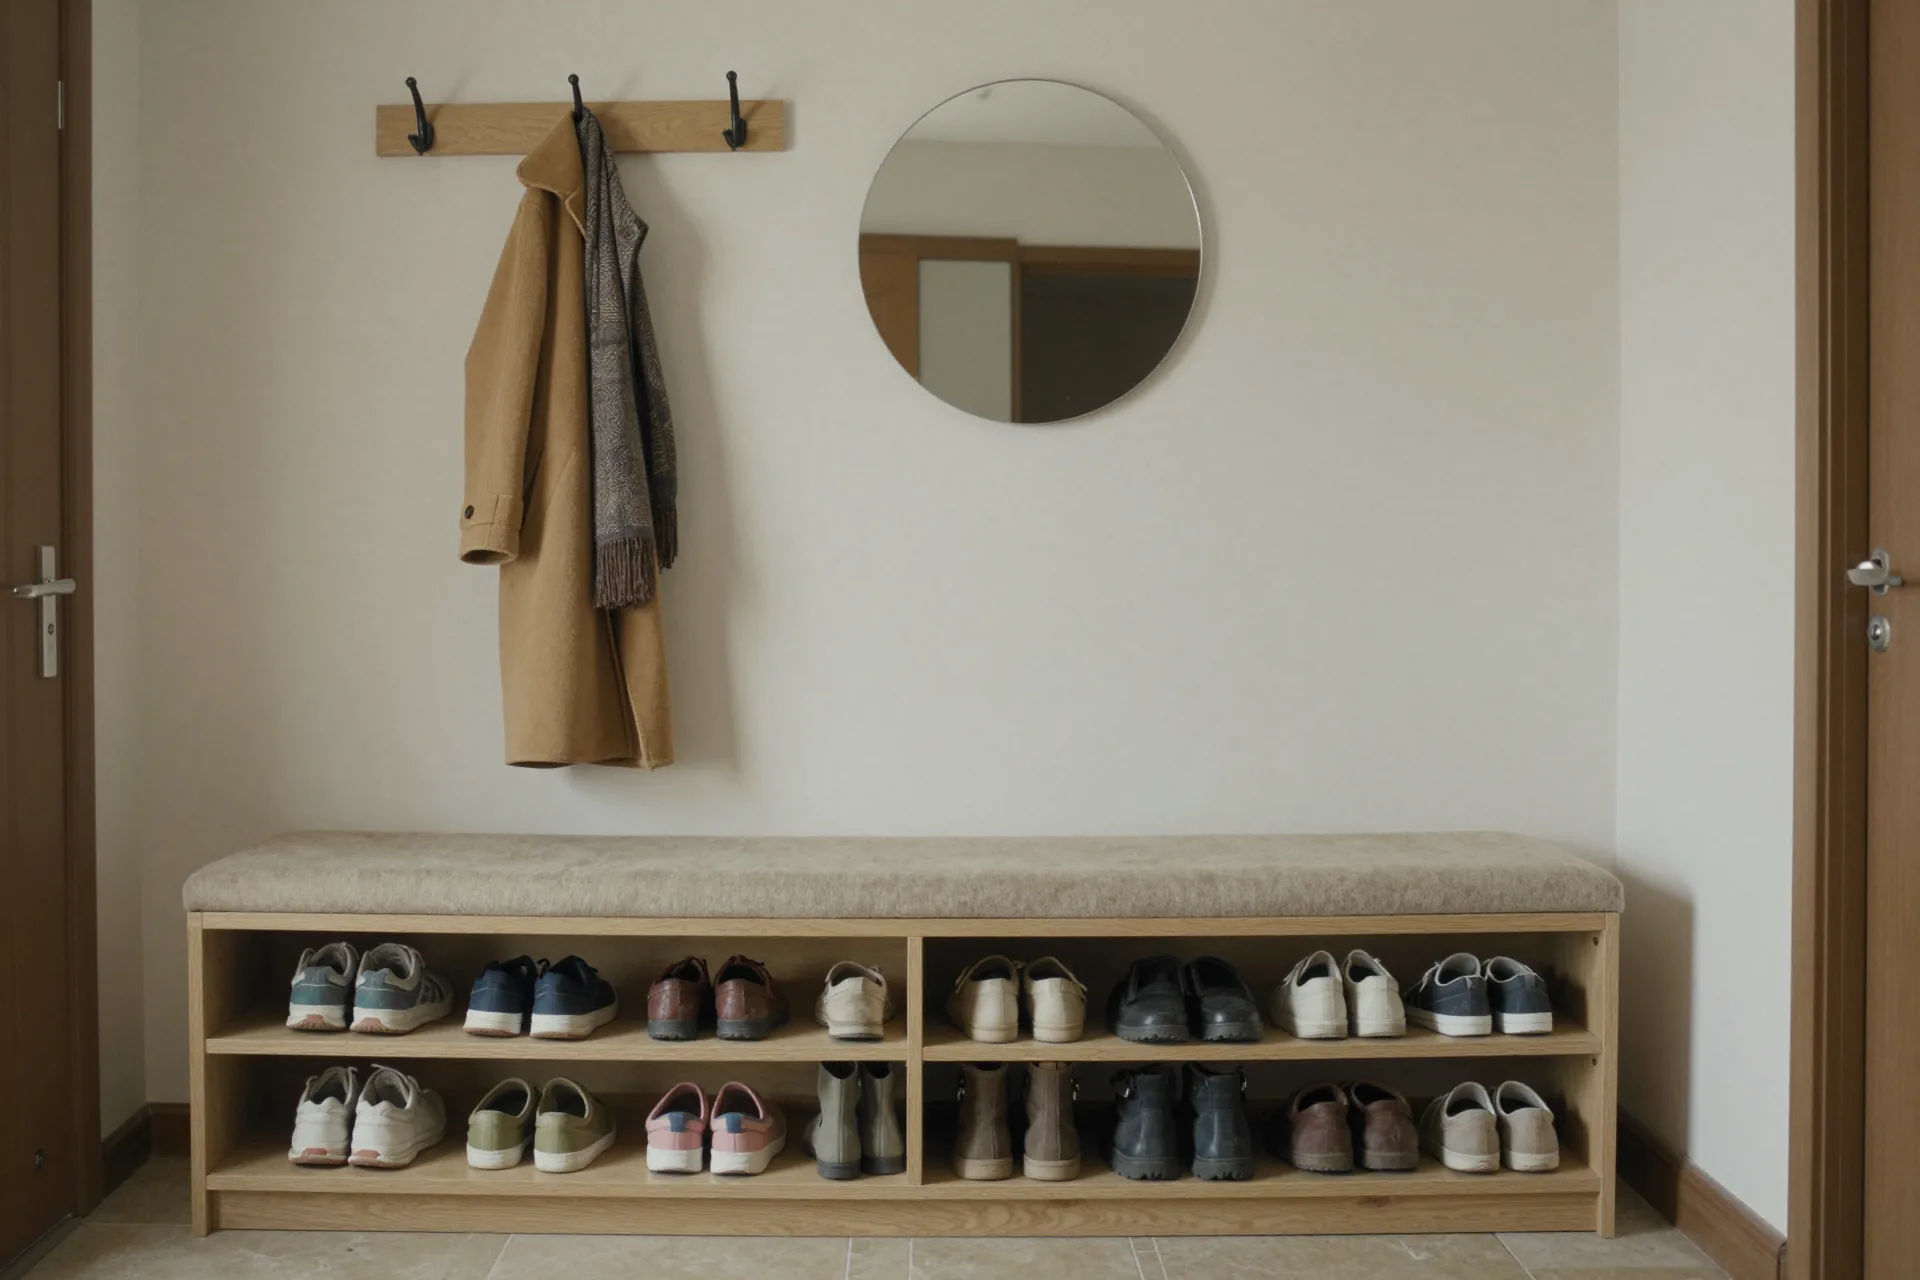
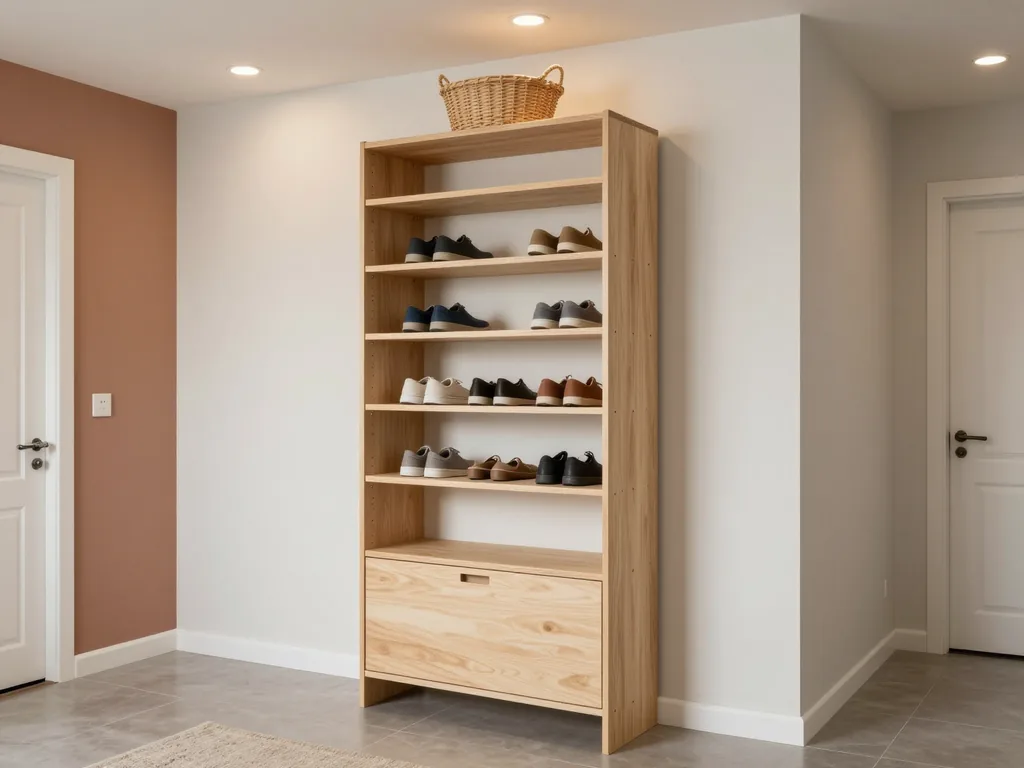
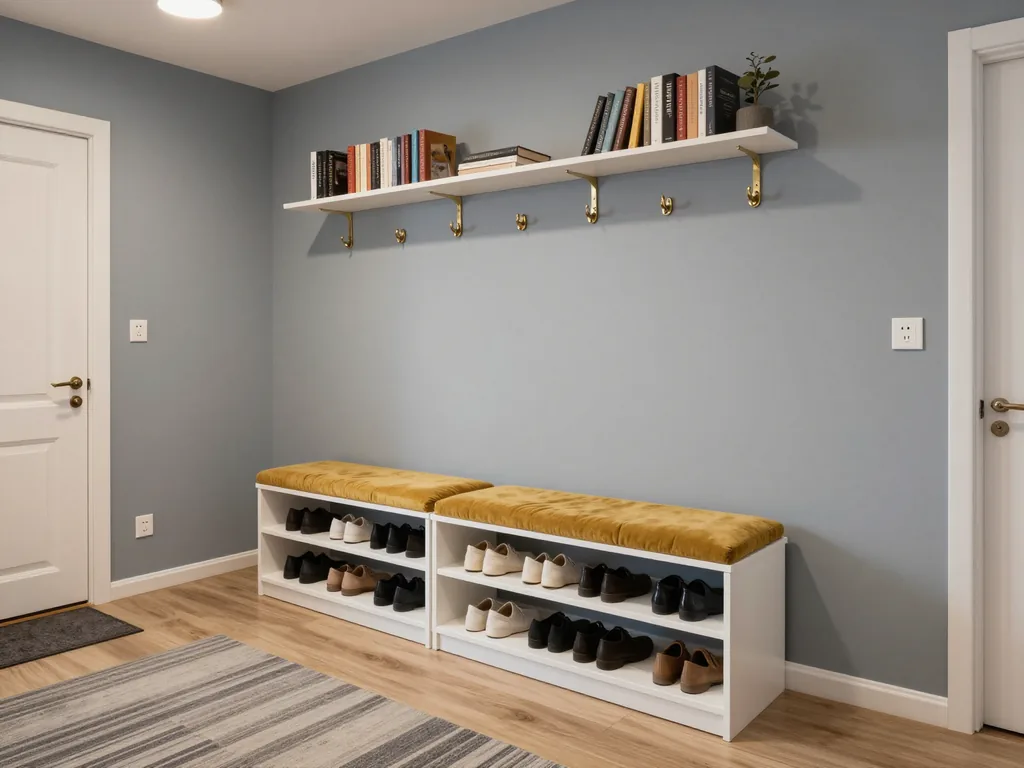
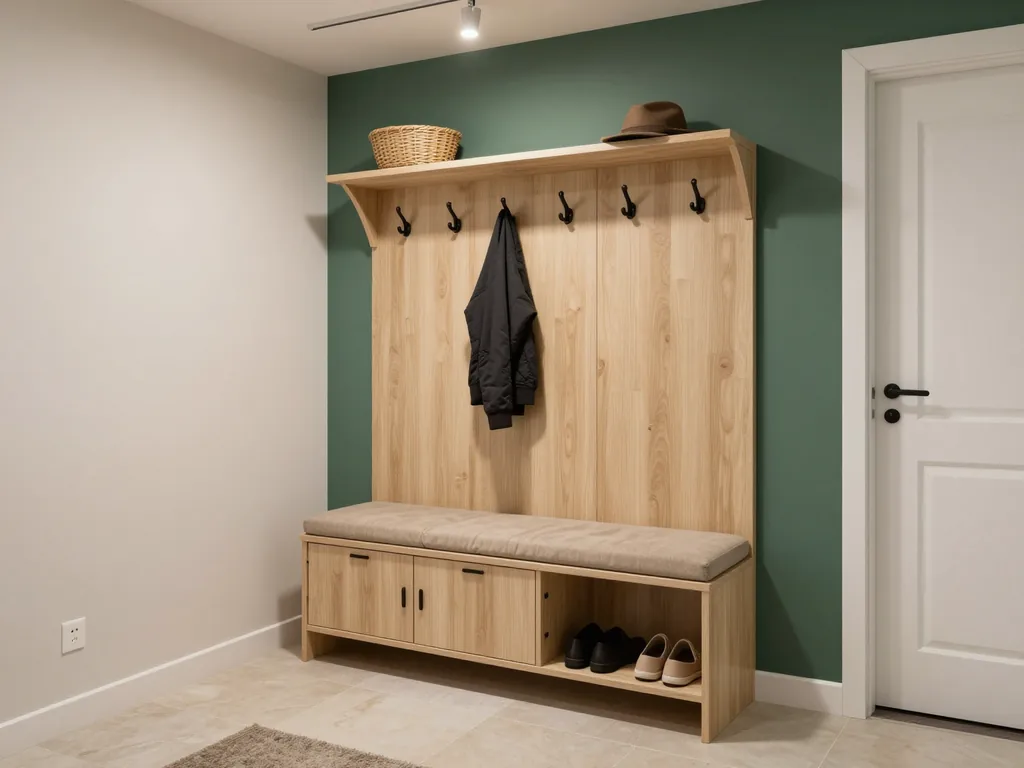
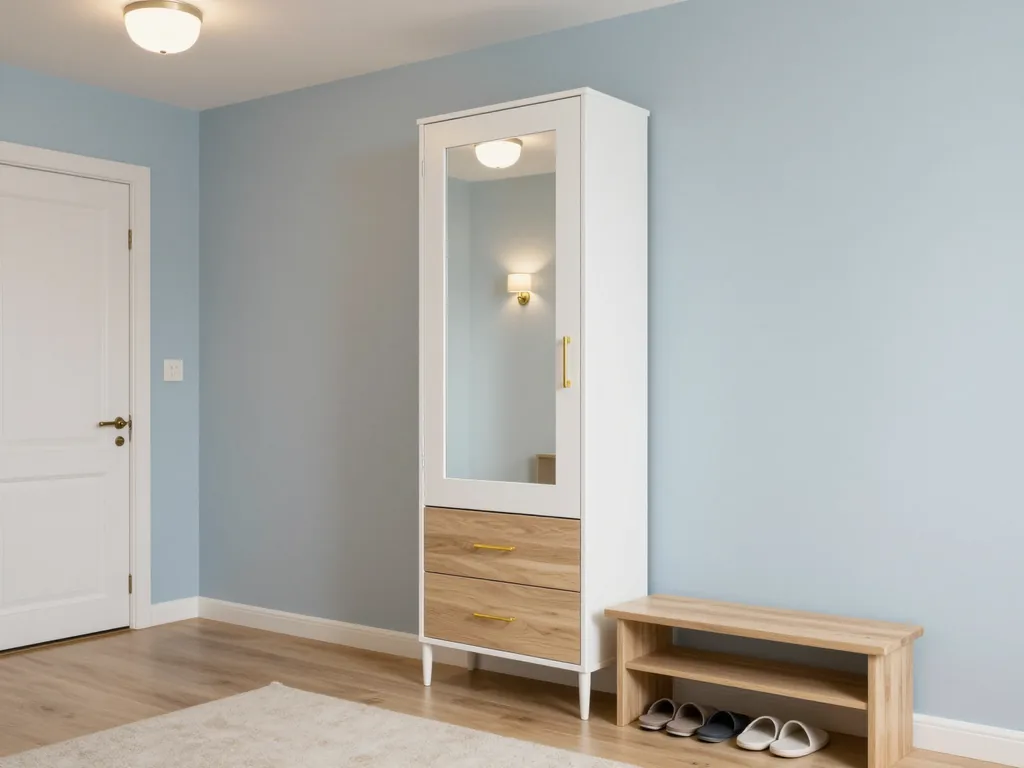
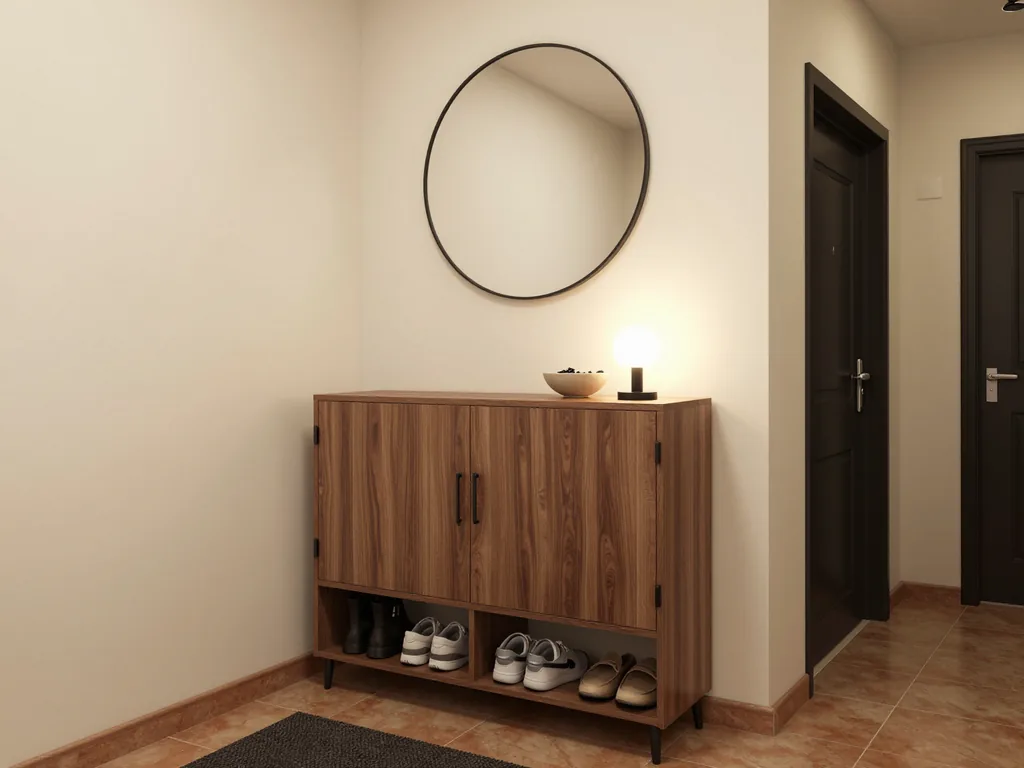
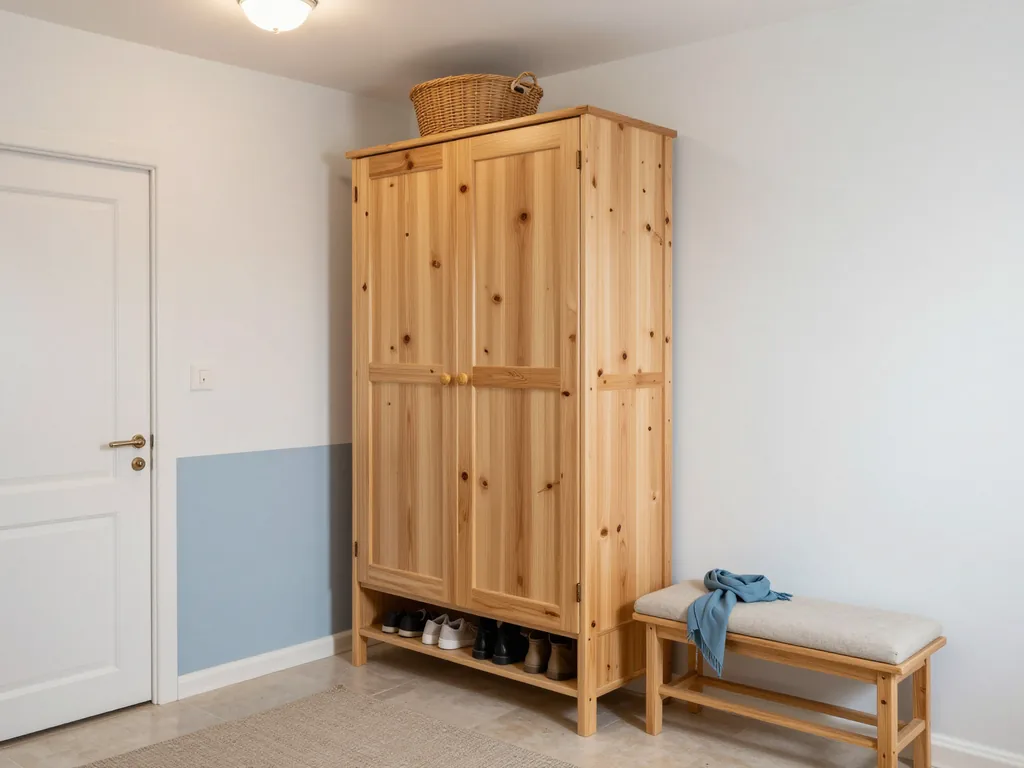
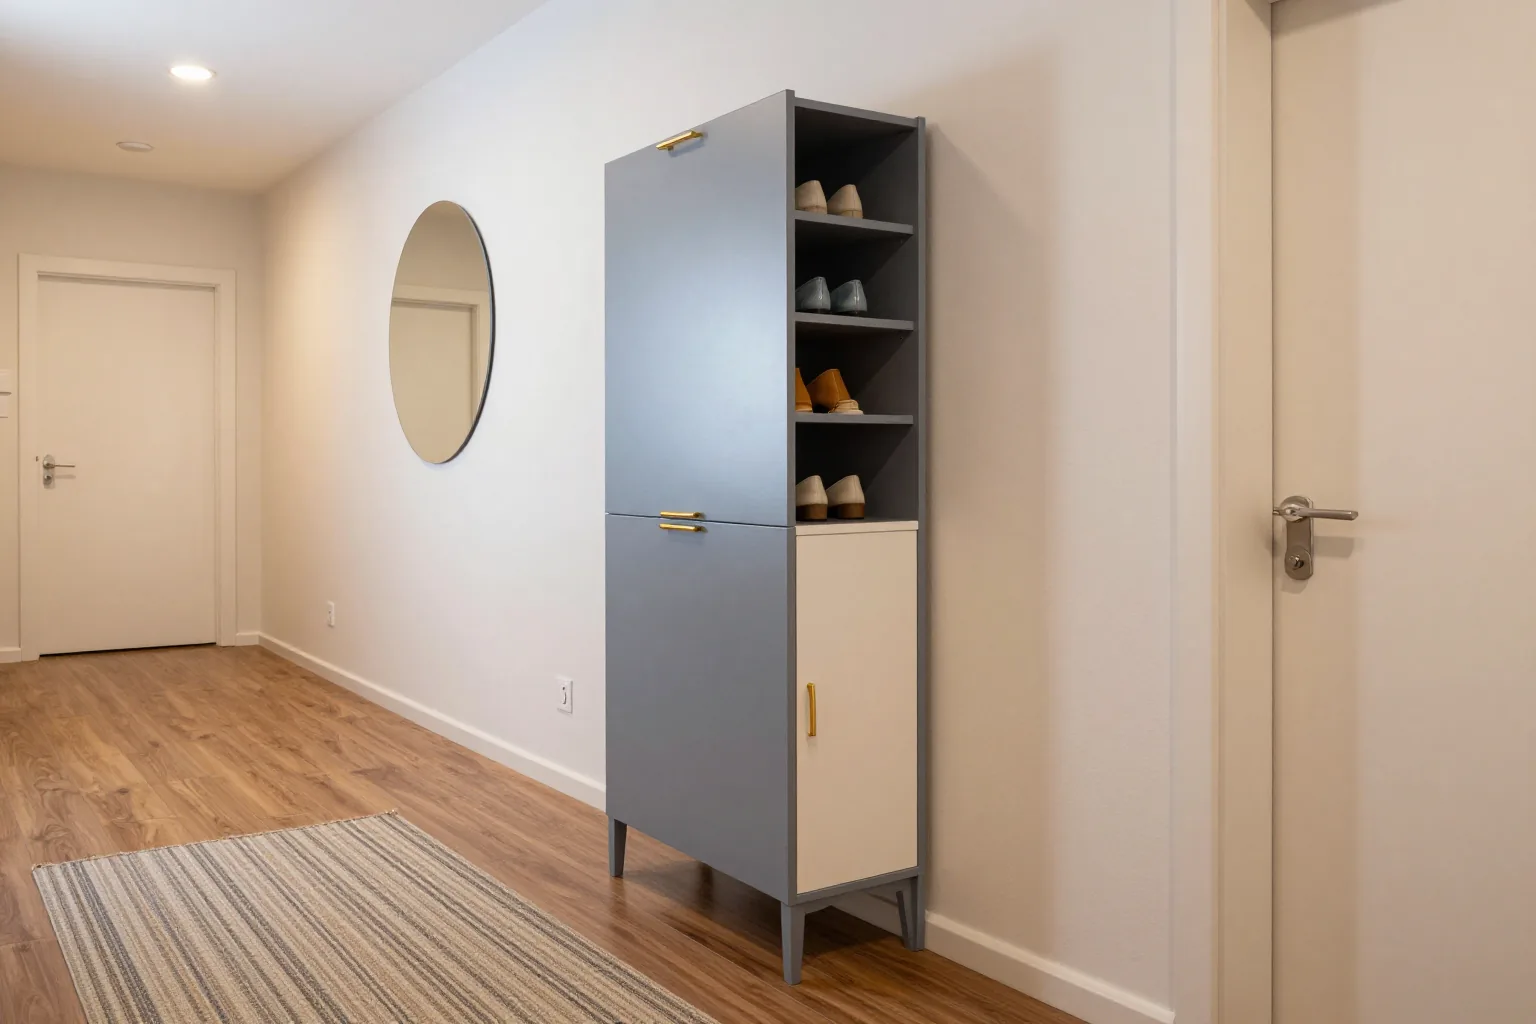
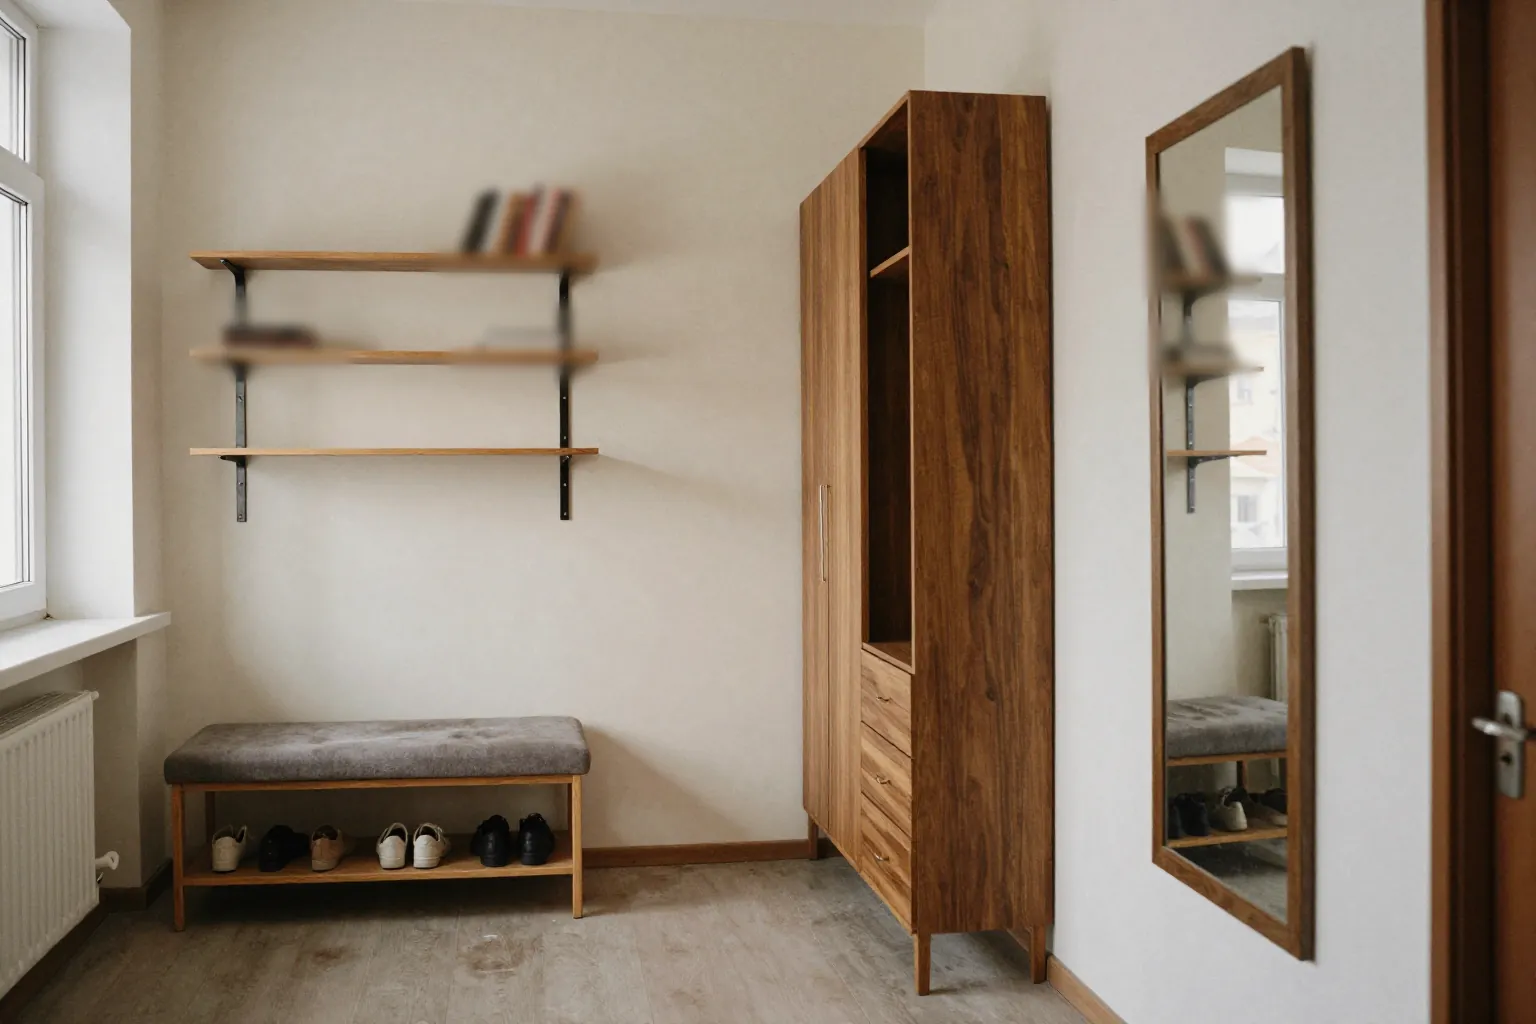
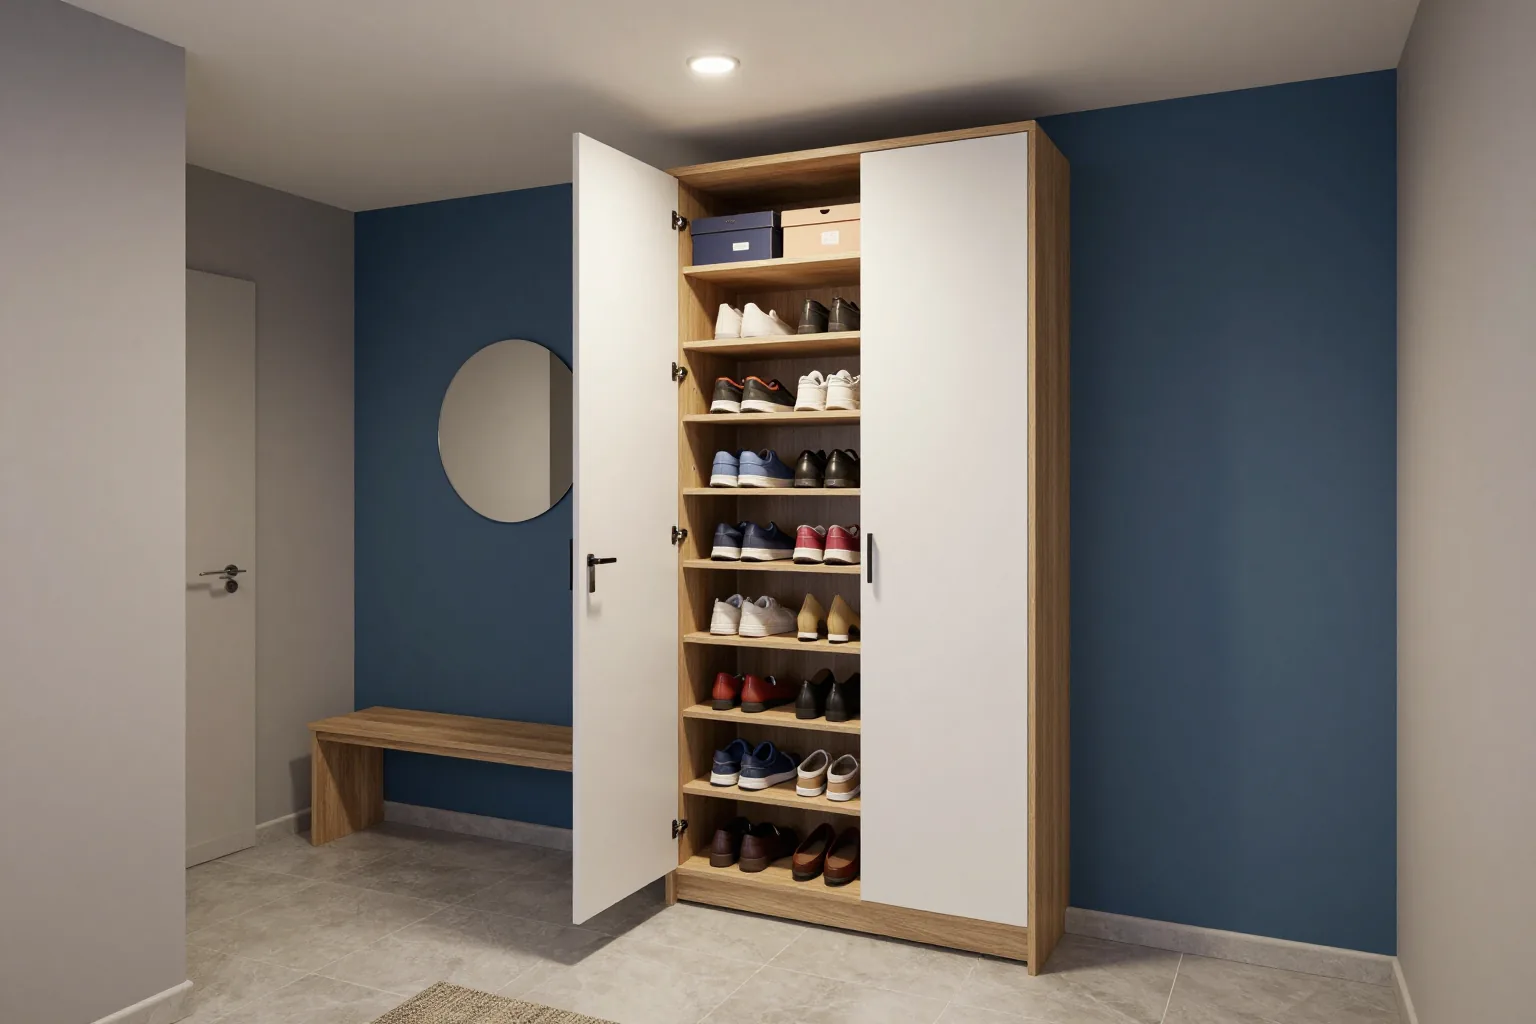
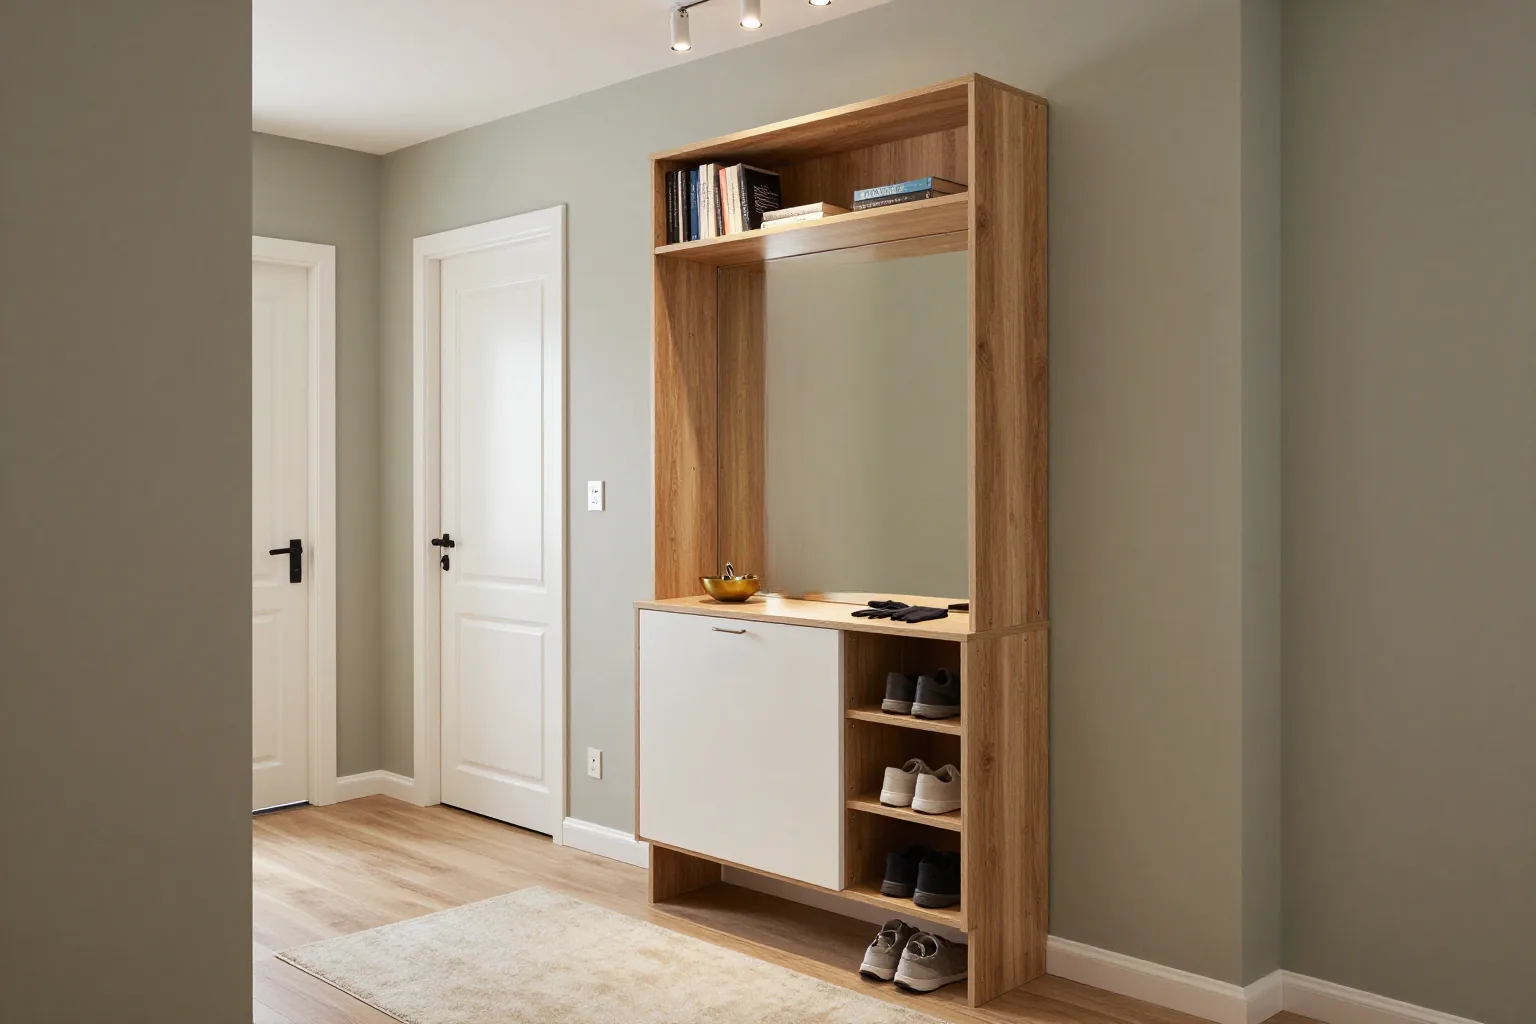
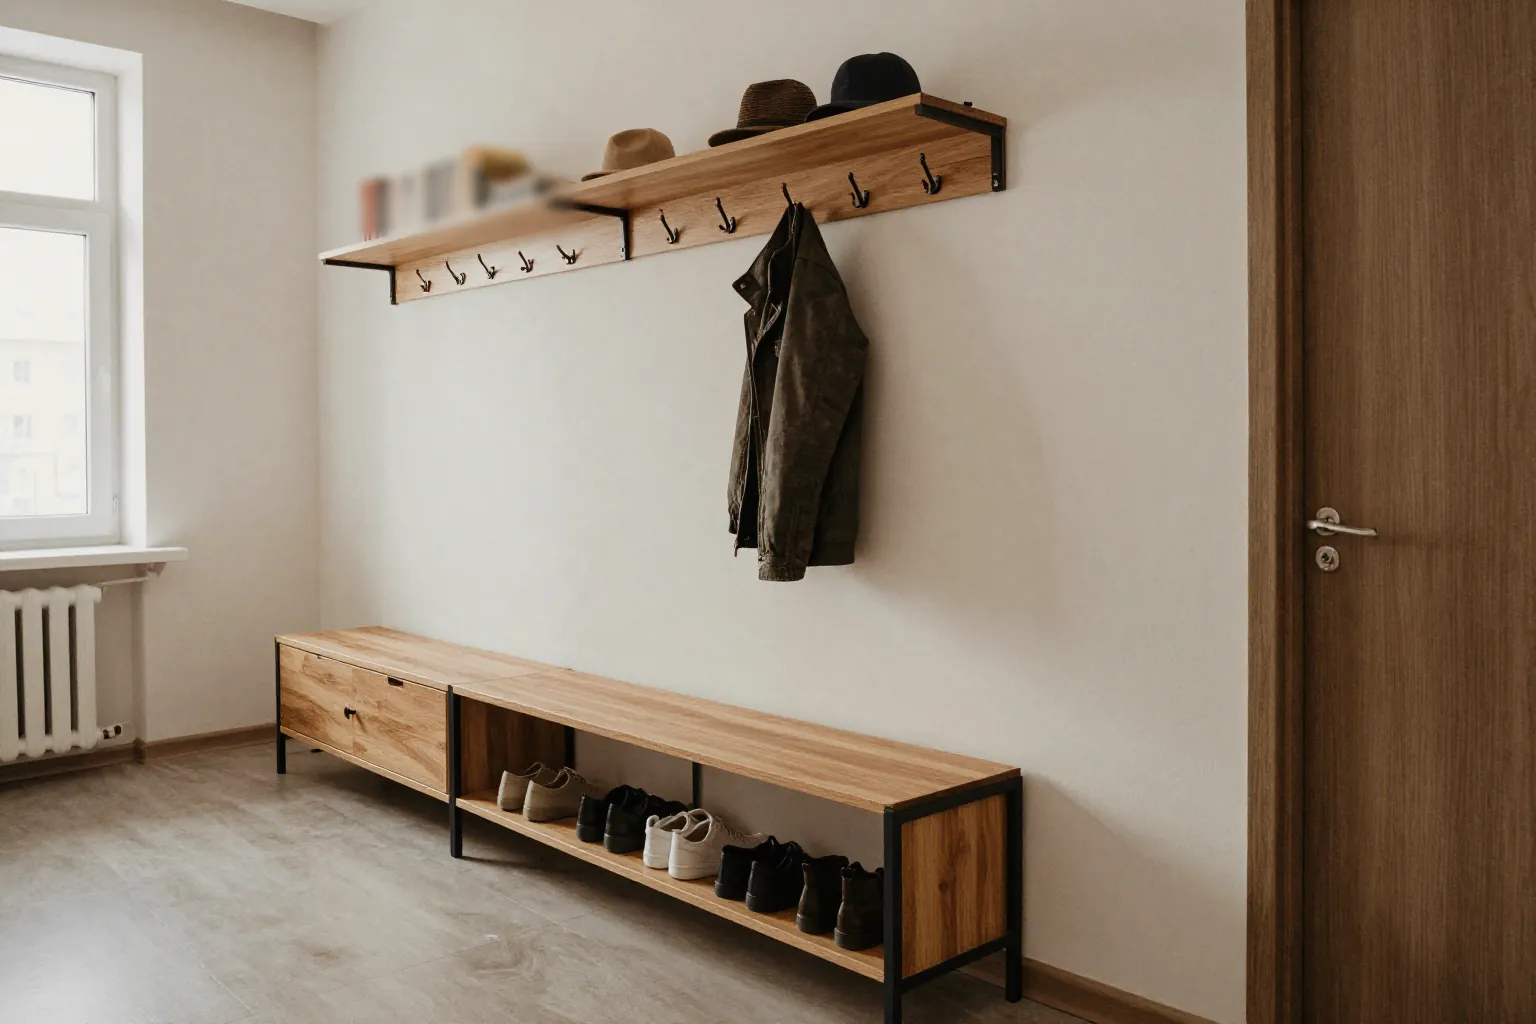
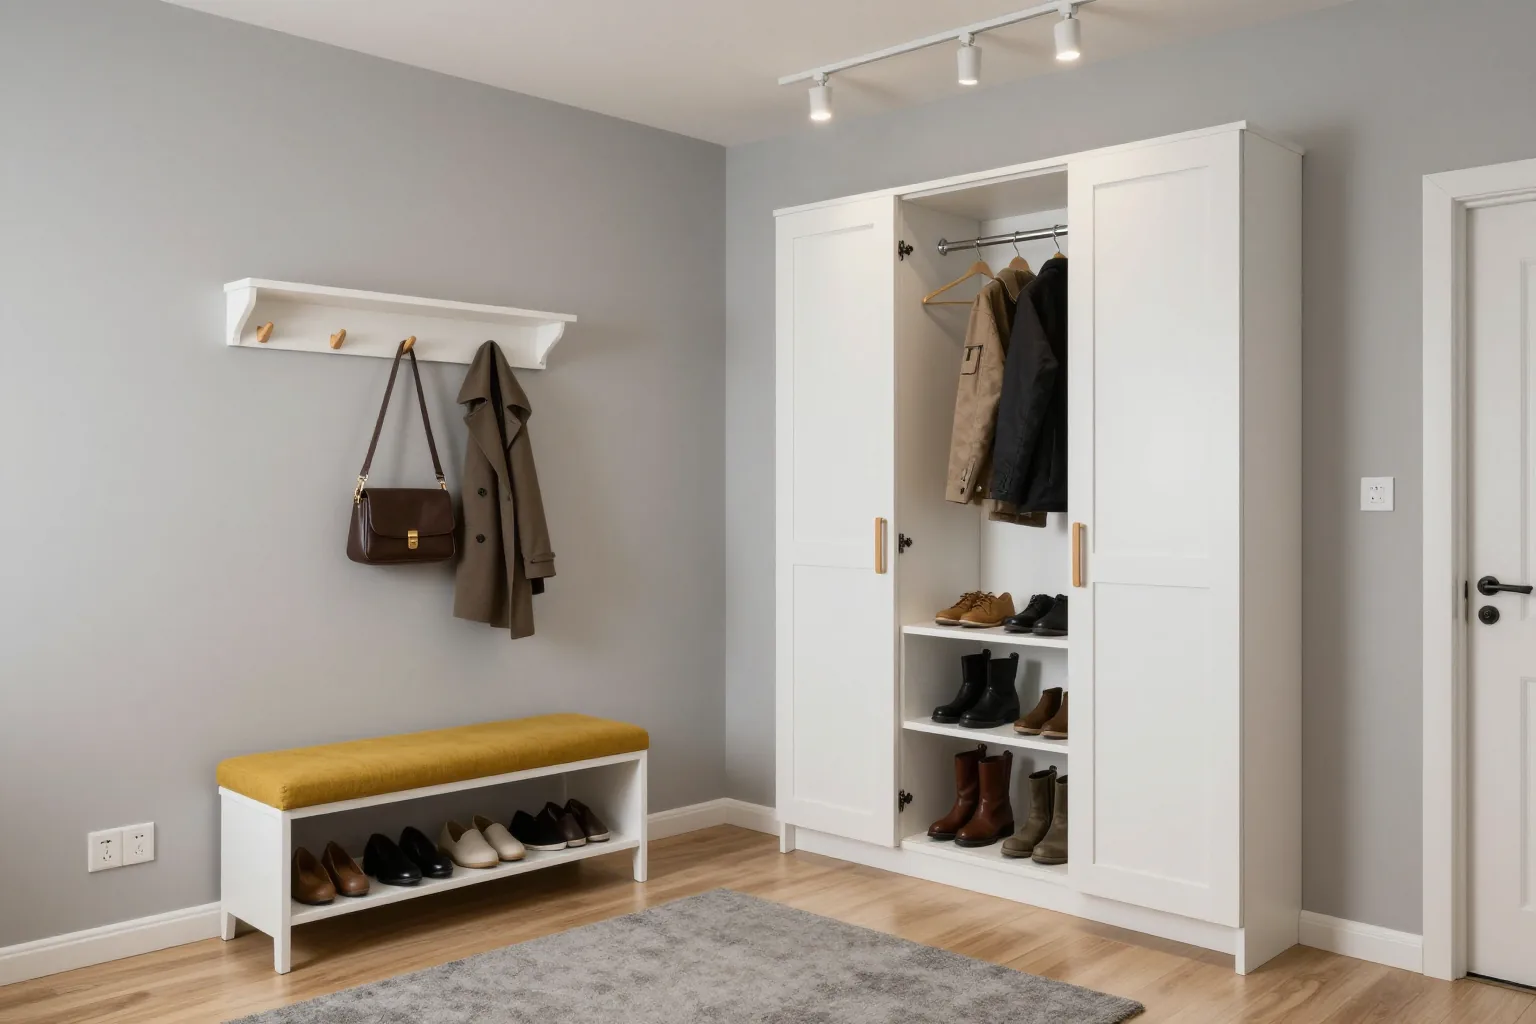
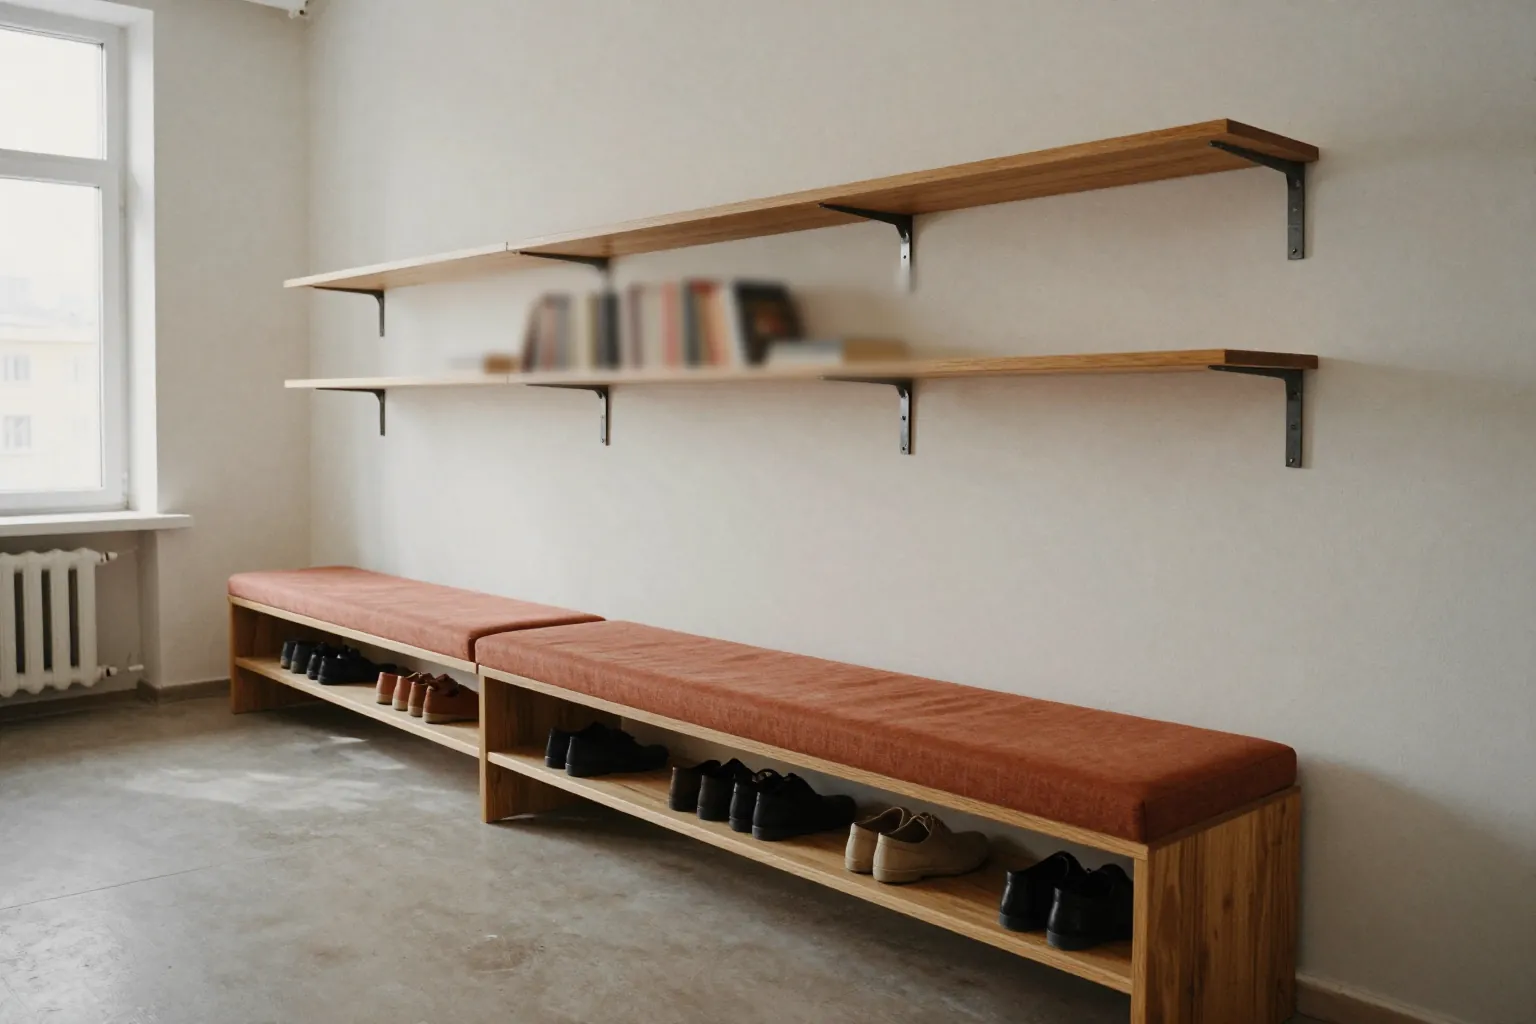
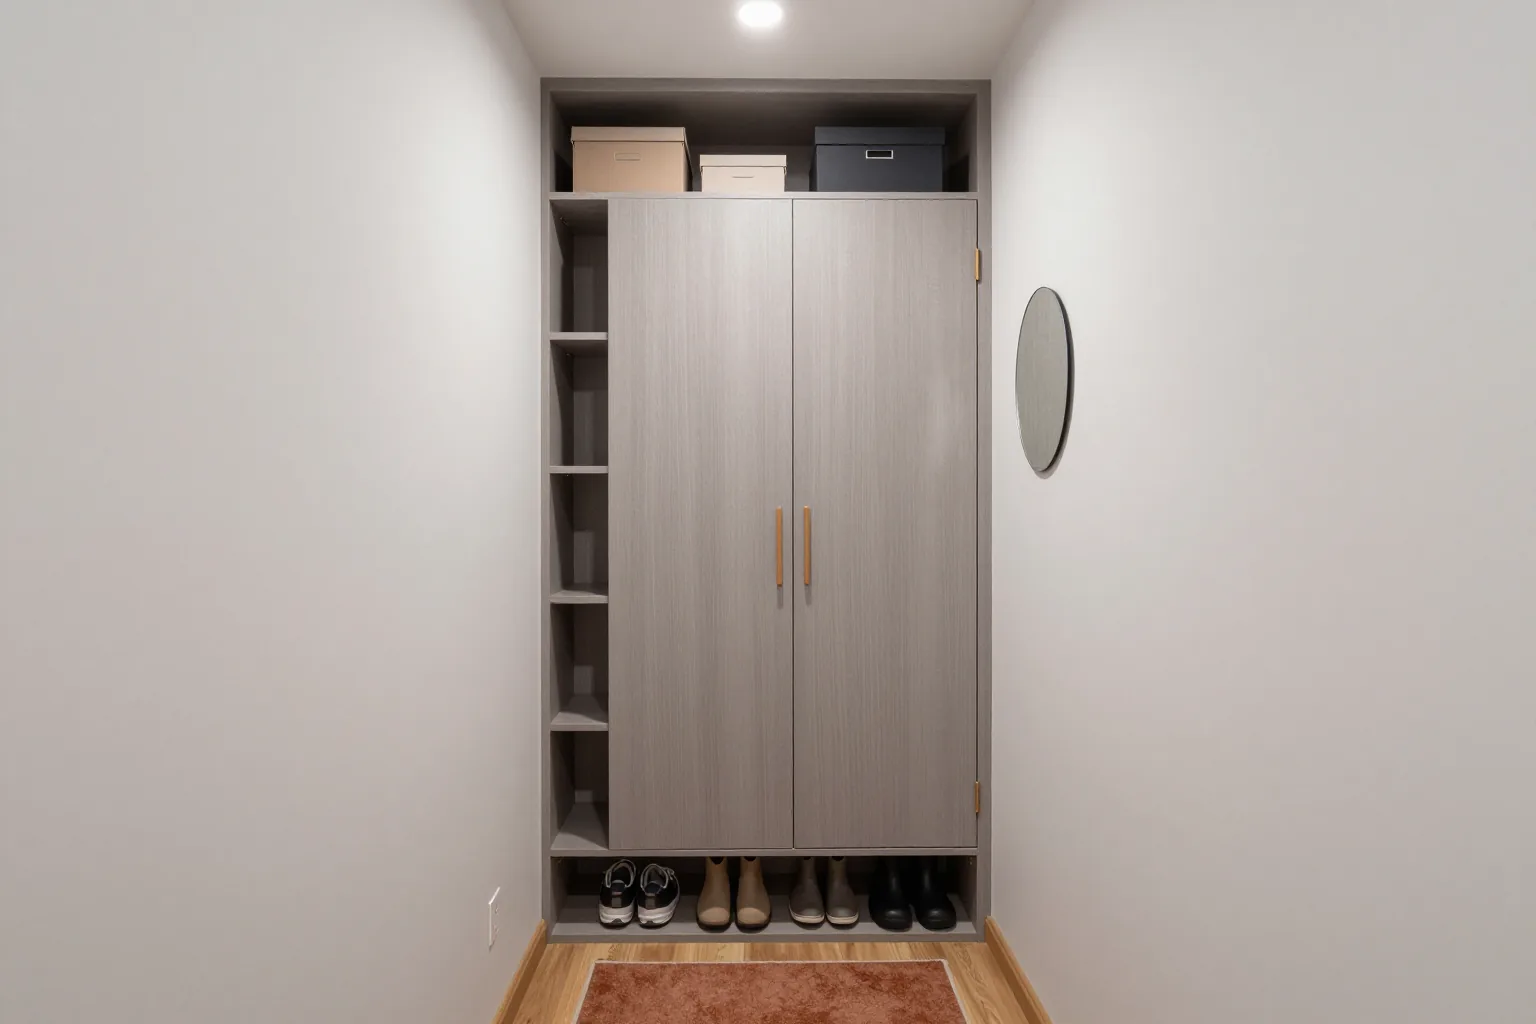
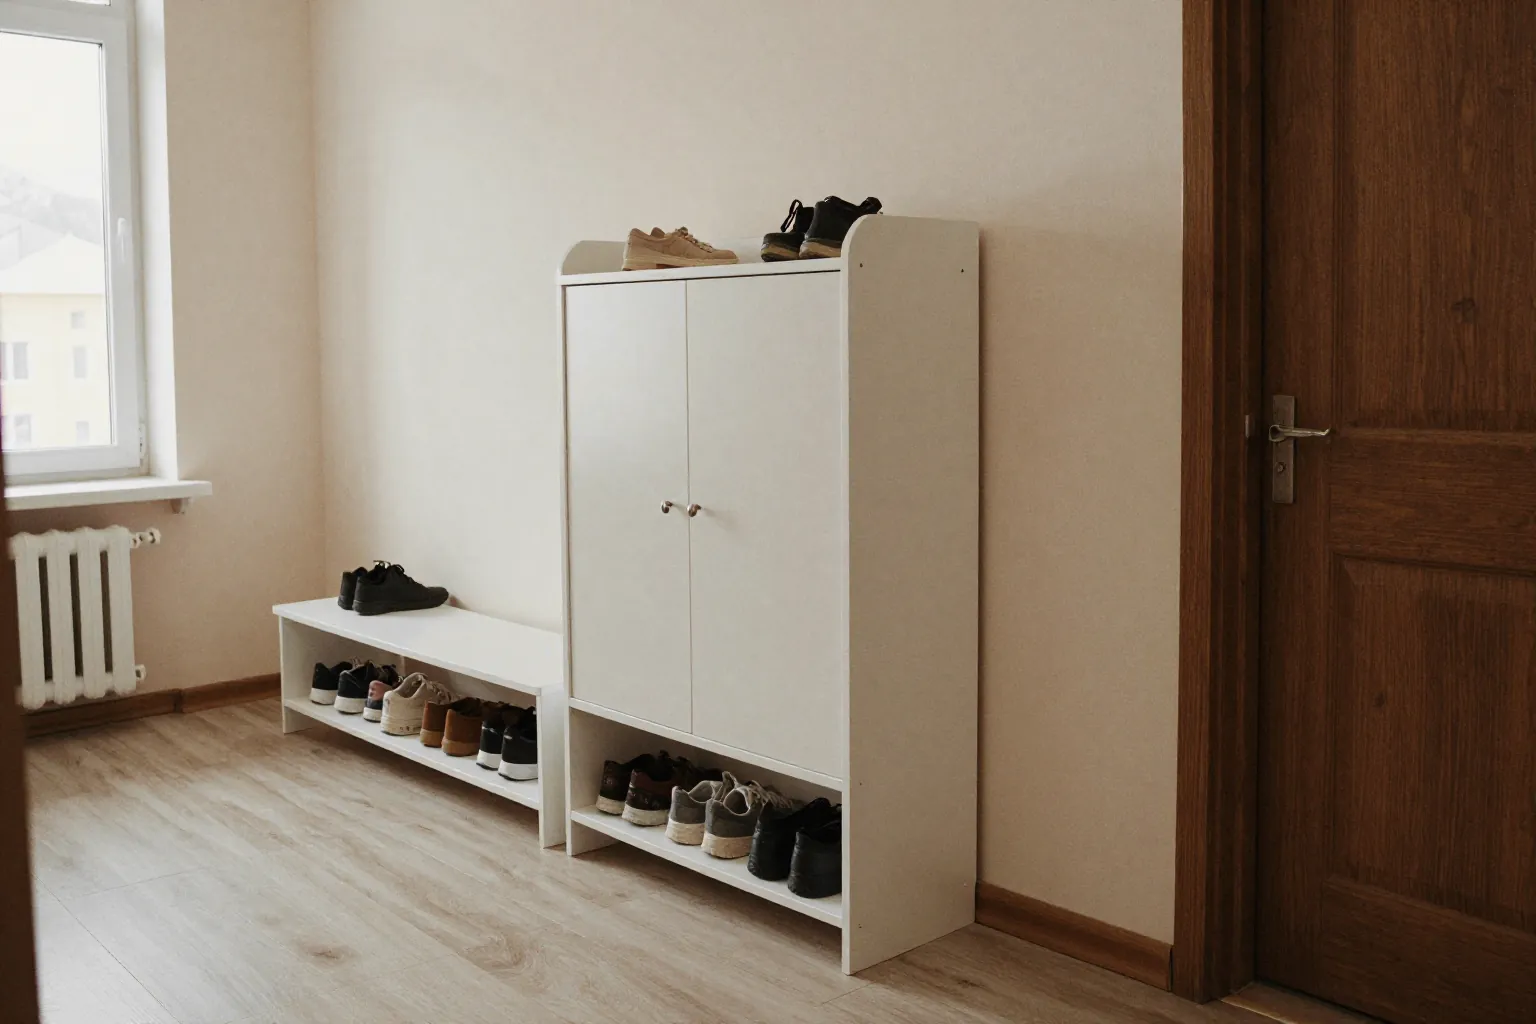
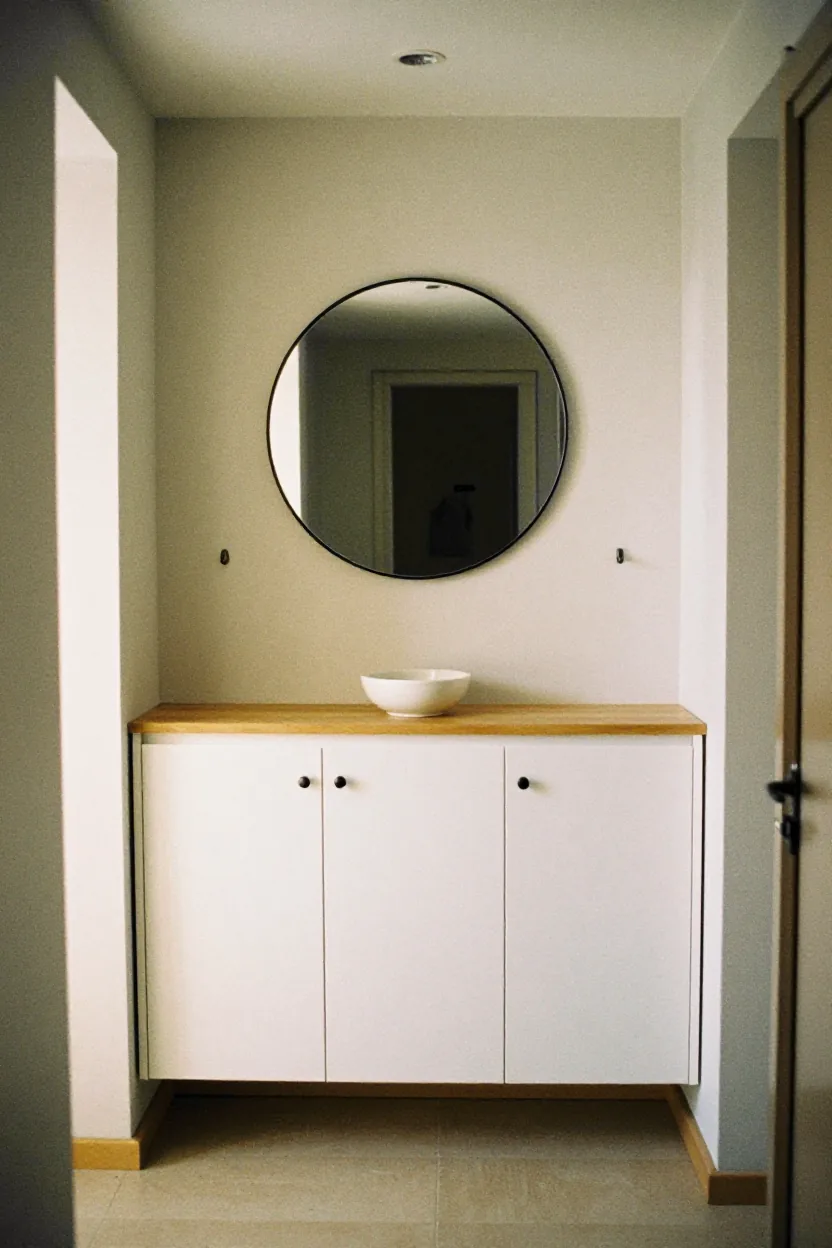
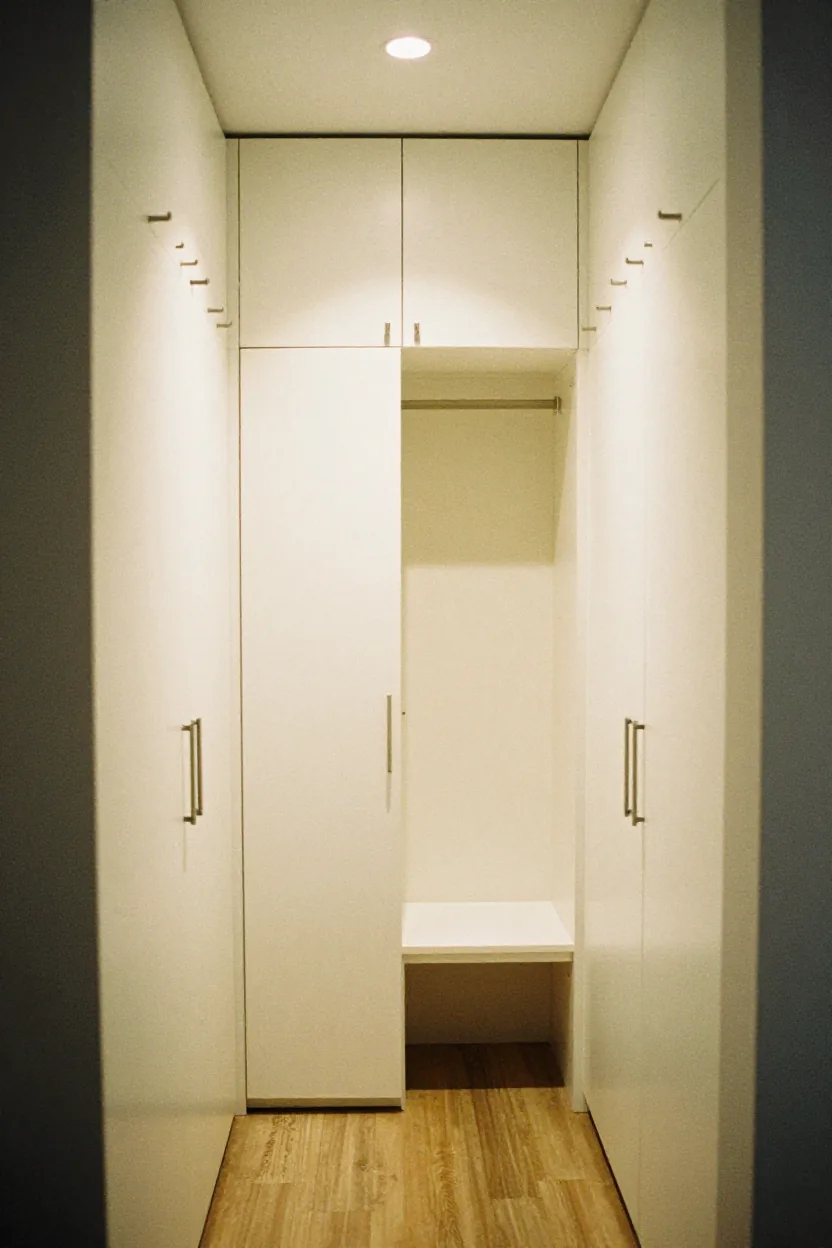
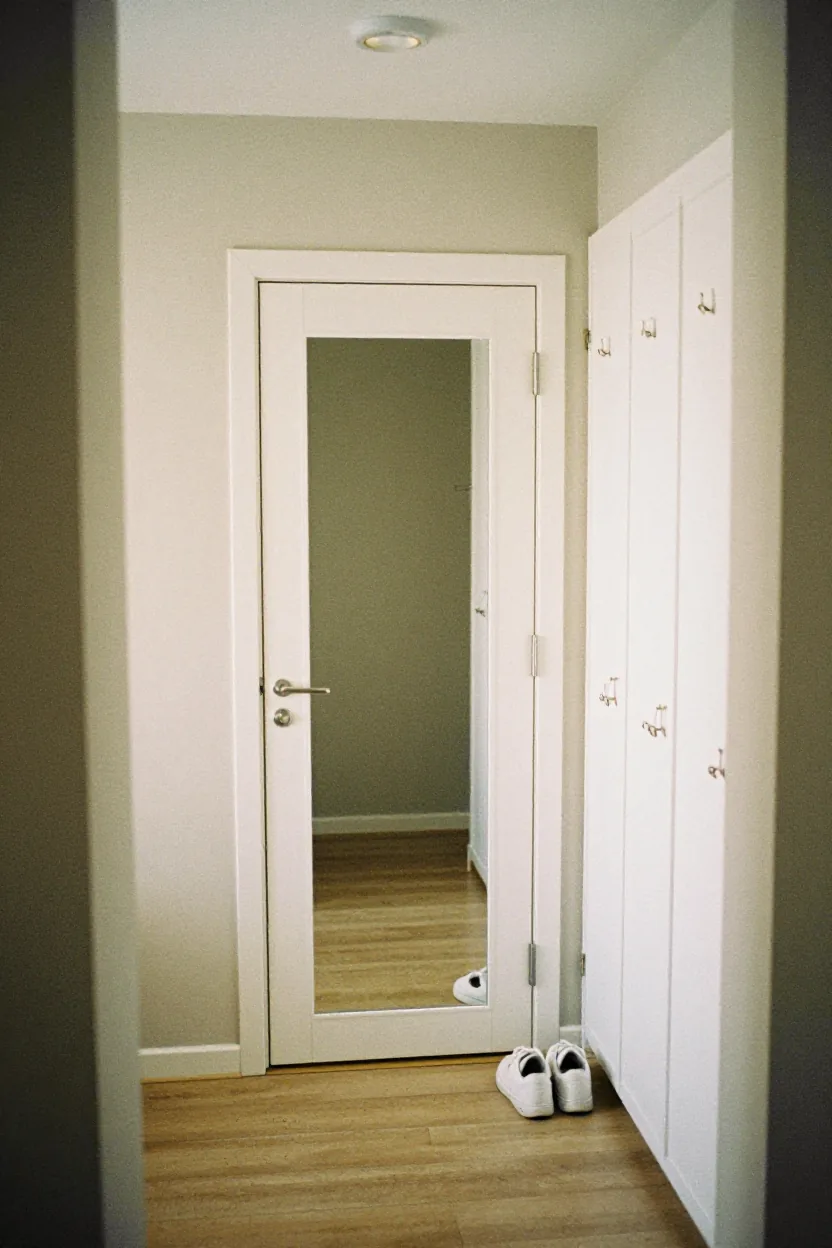
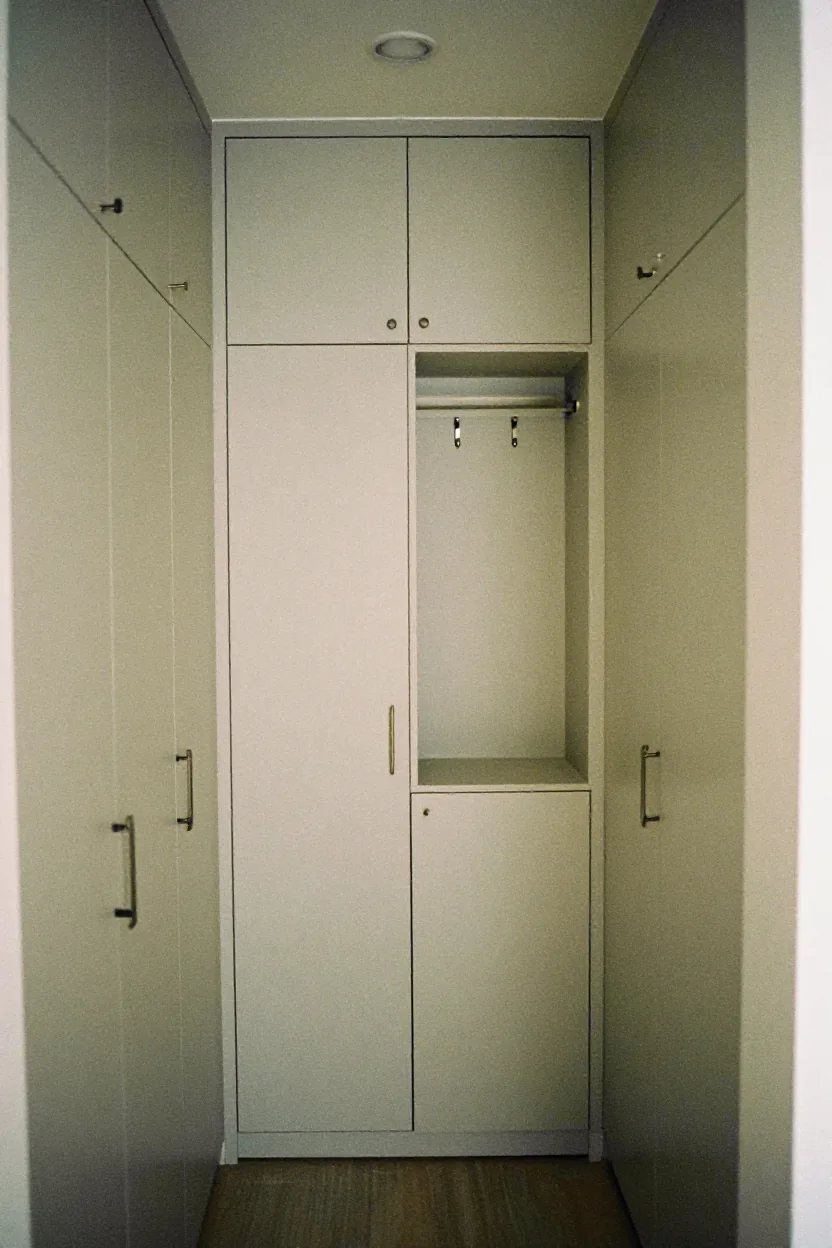
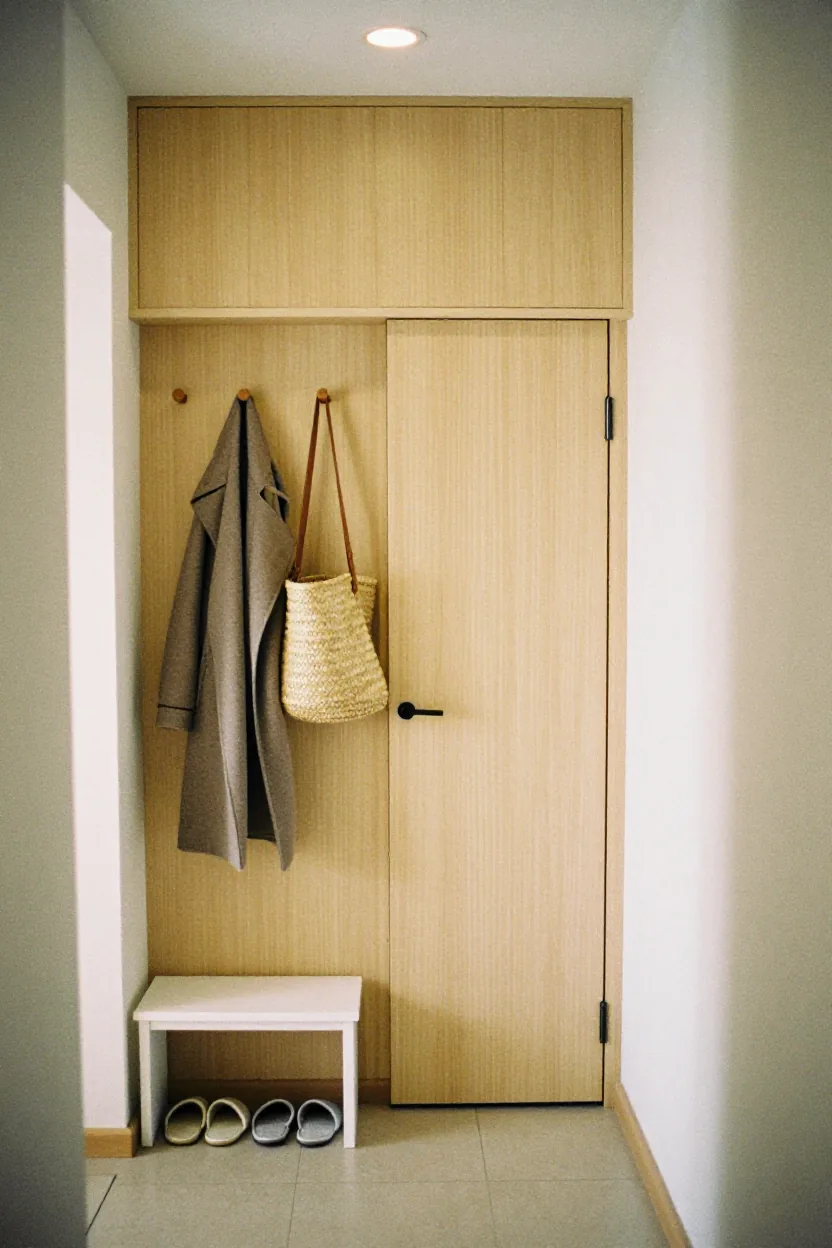
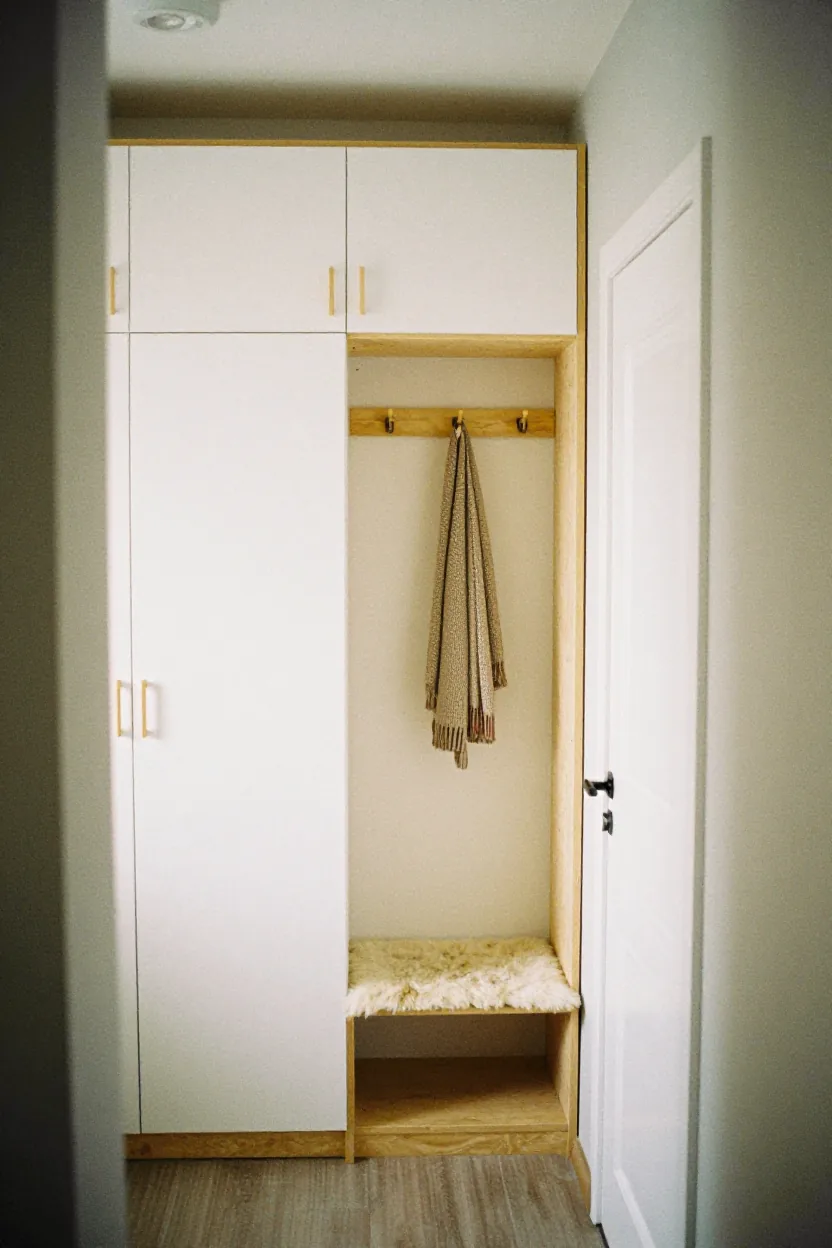
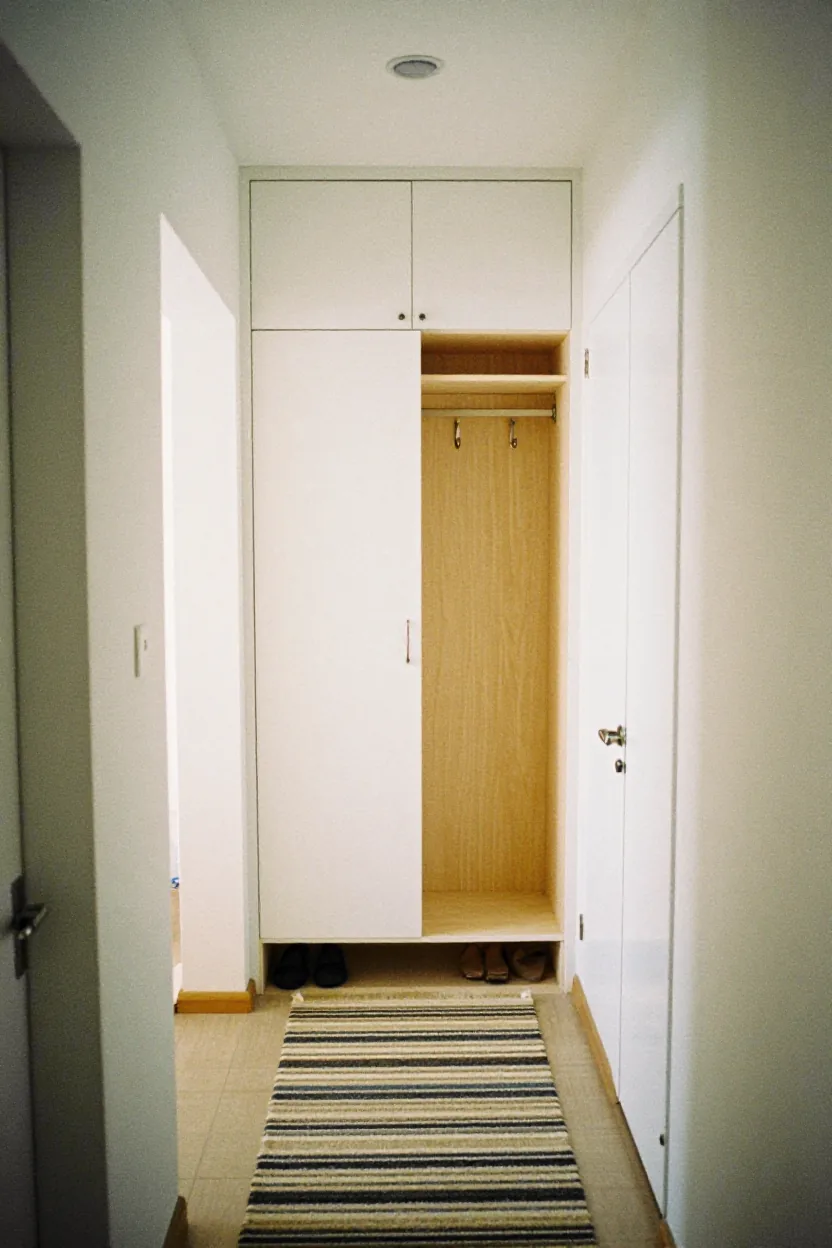
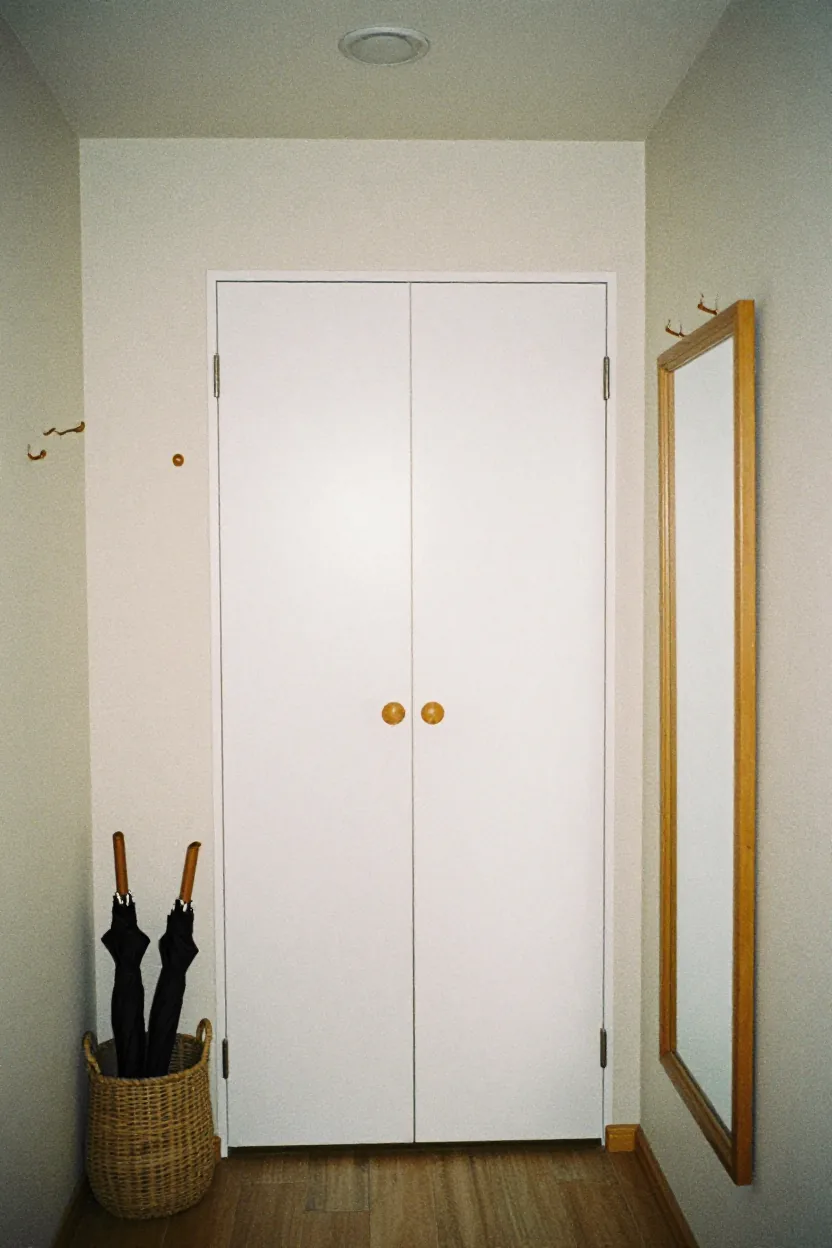
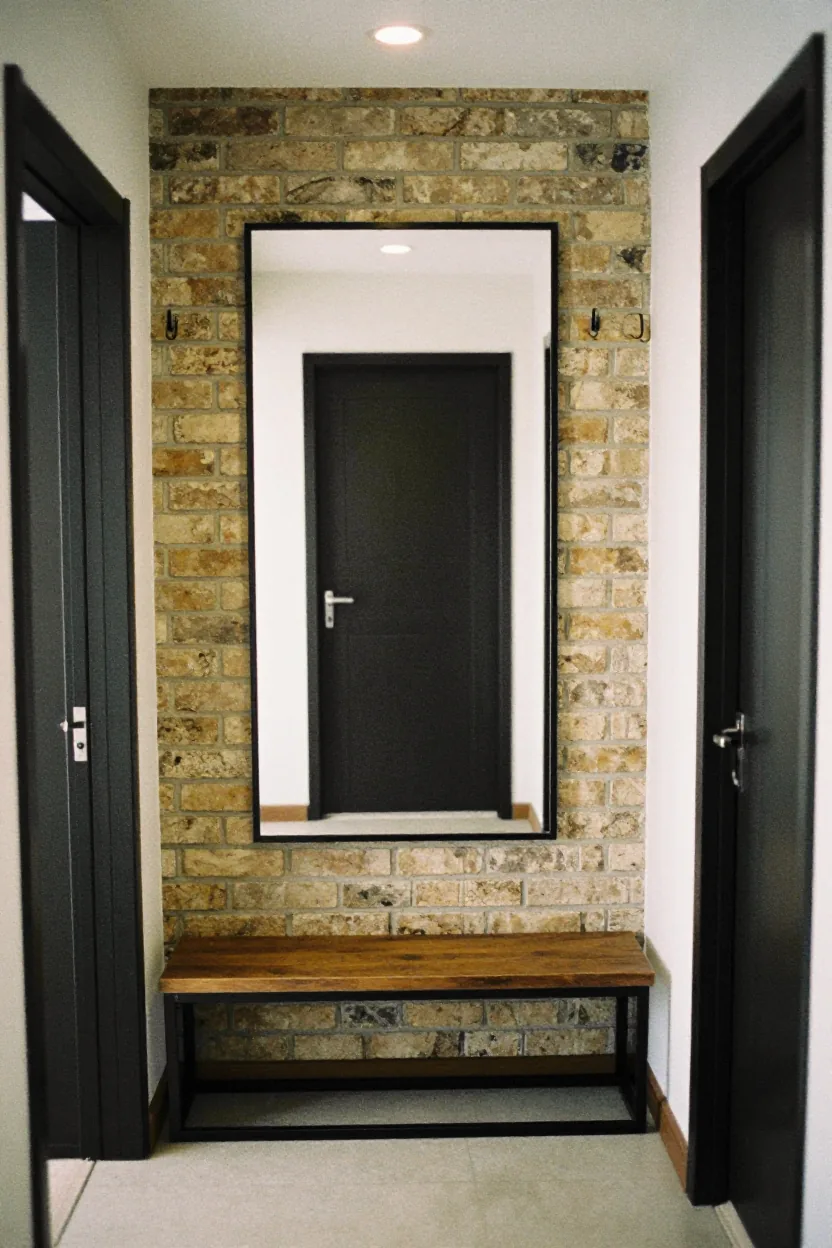
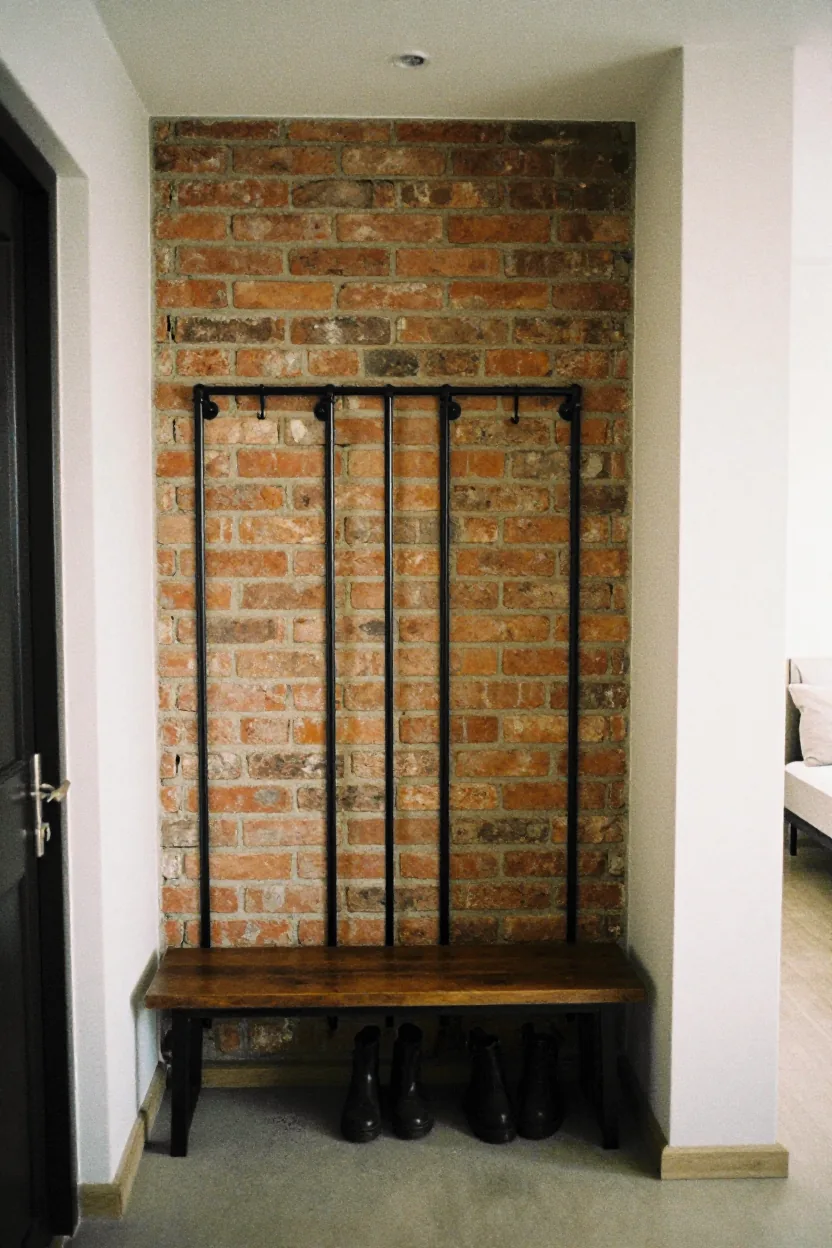
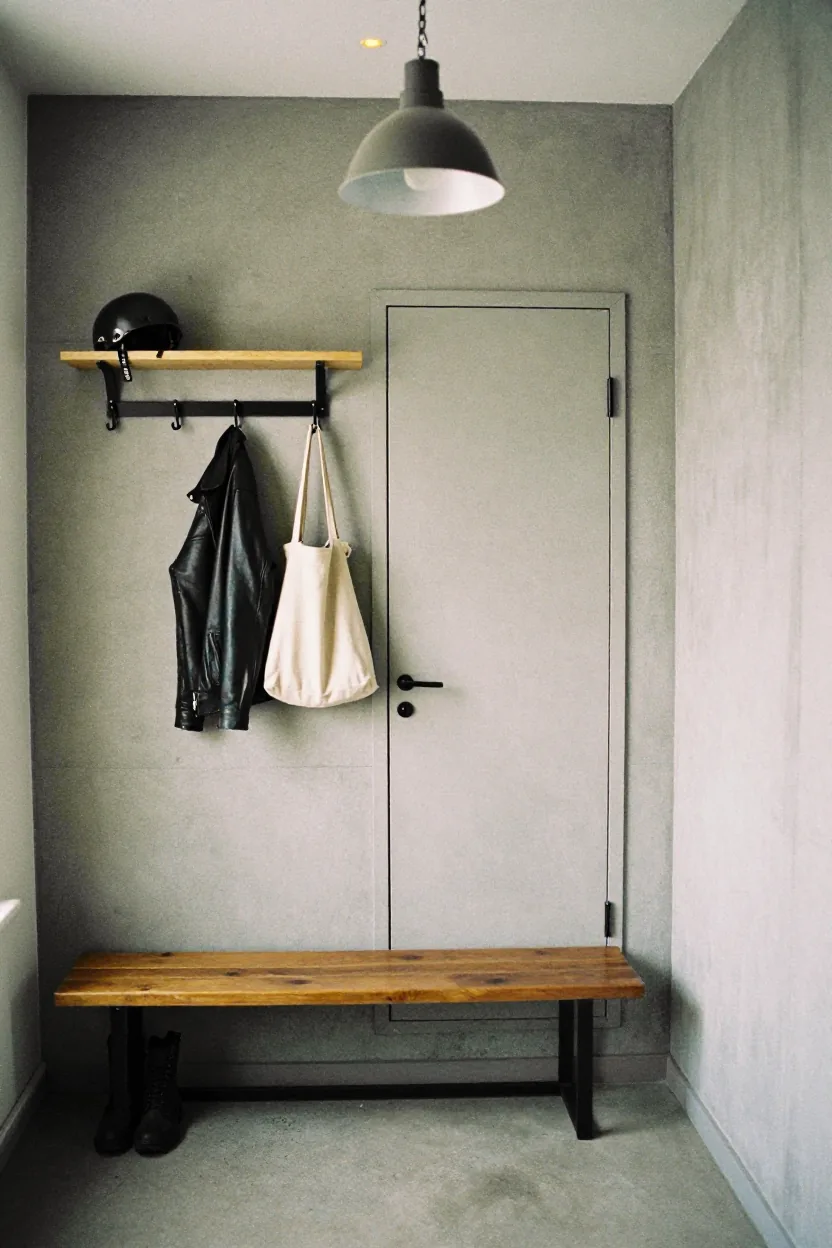
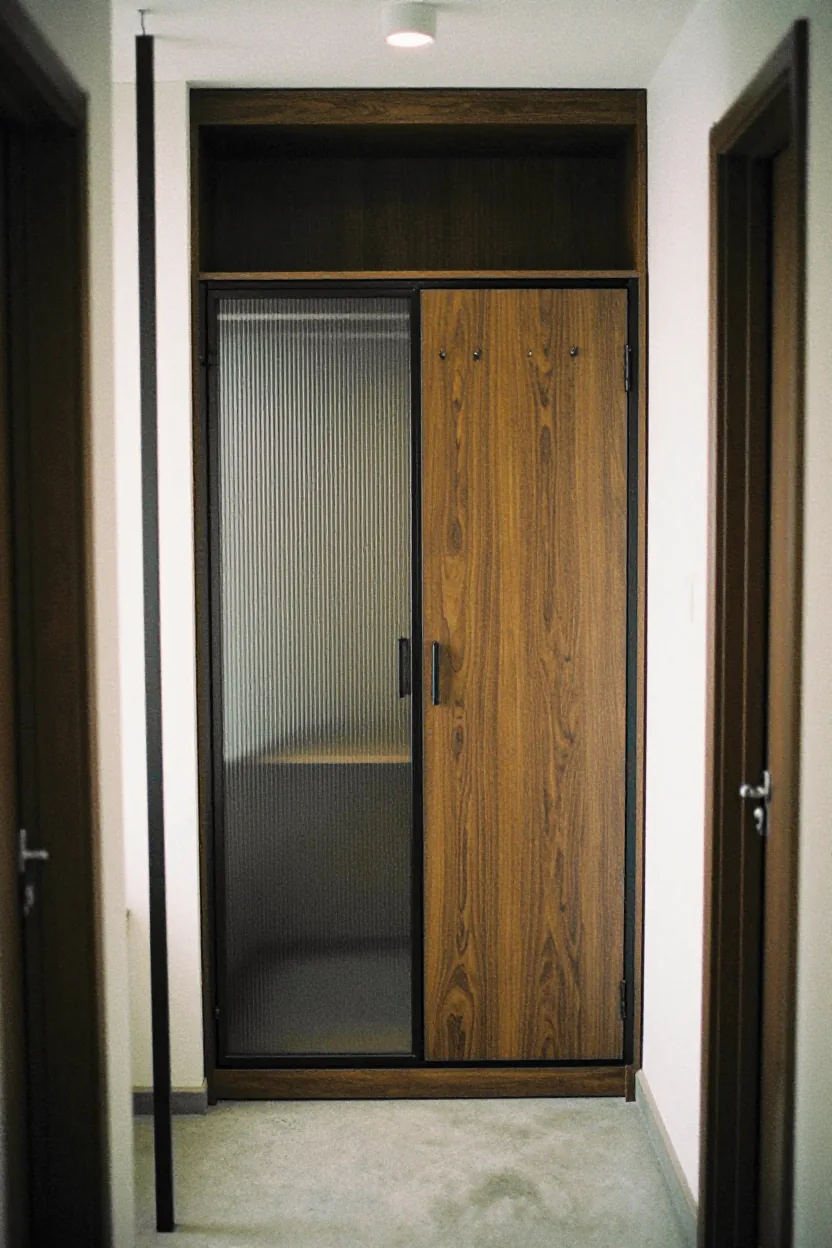
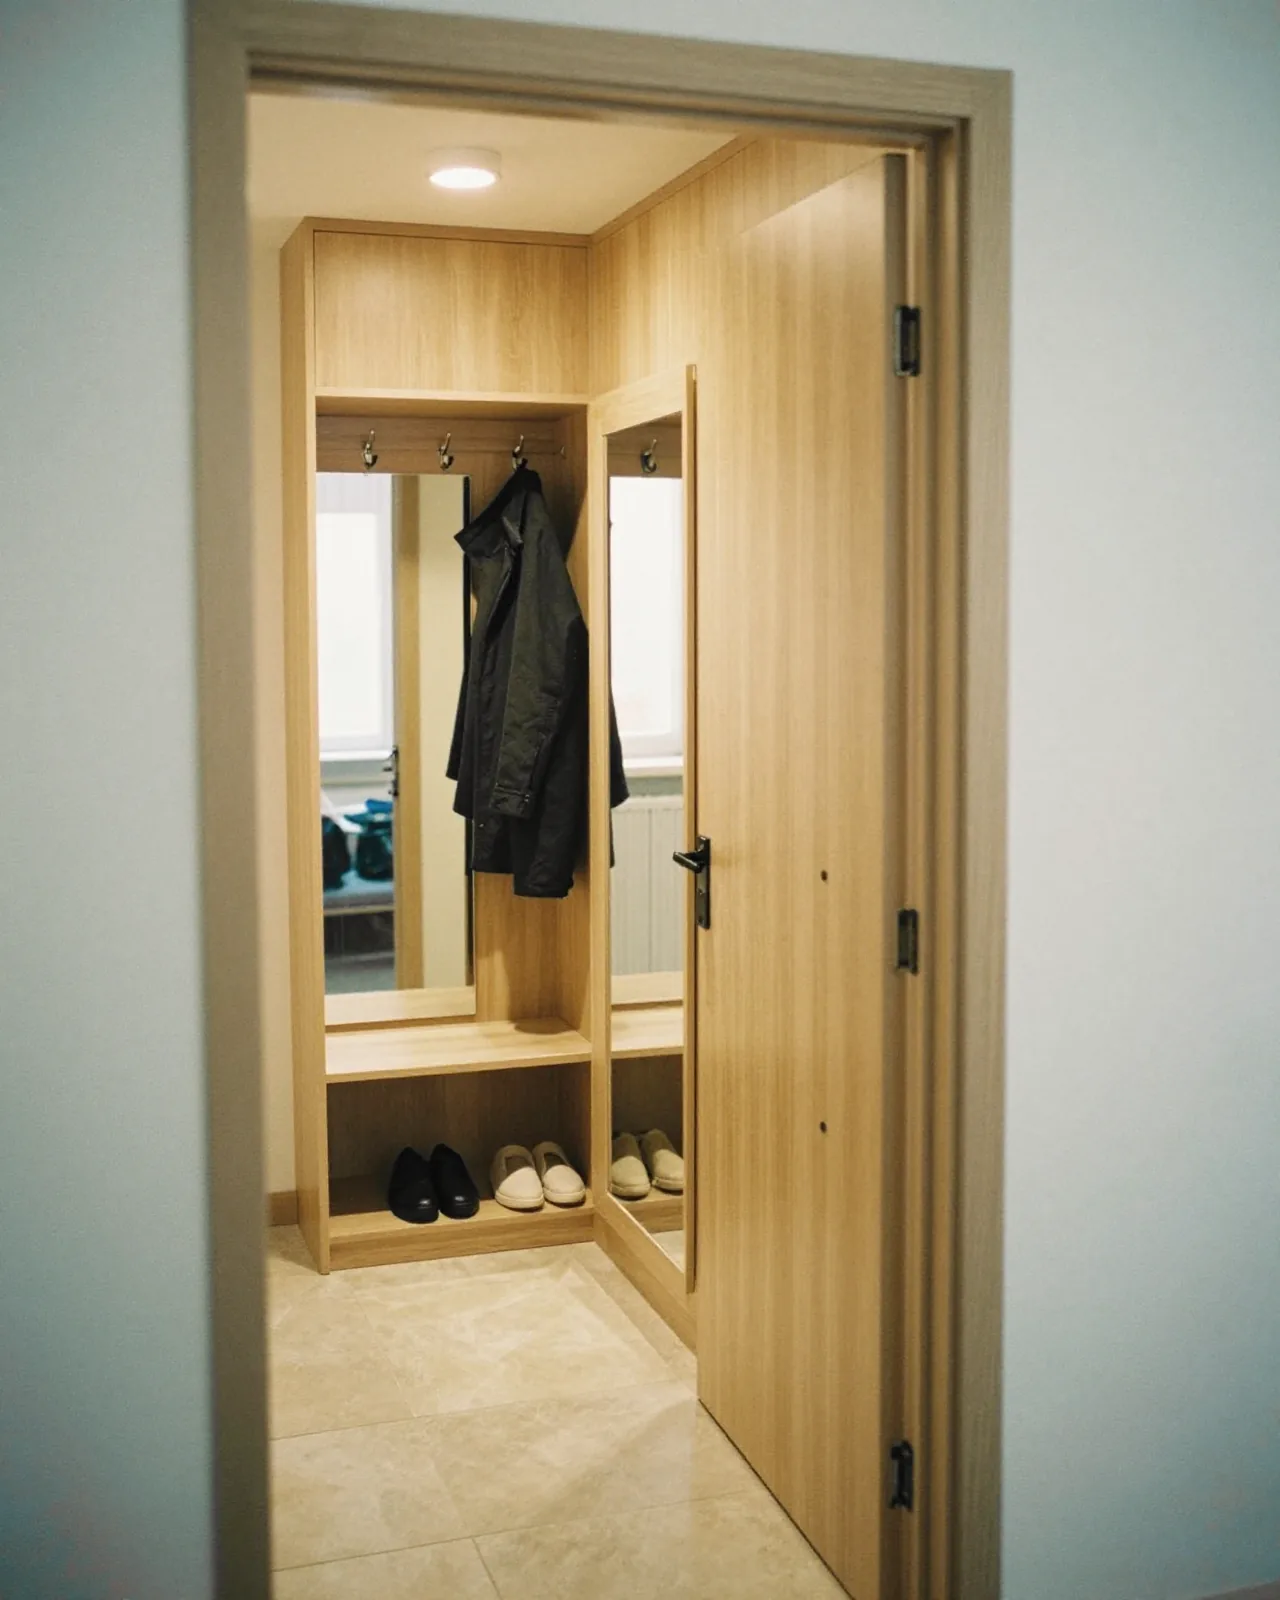
A custom shoe cabinet in Almaty is a cabinet, slim carcass, bench or shoe wardrobe sized to the number of pairs your family owns and the dimensions of your hallway. At MEBLIX we build the carcass from moisture-resistant laminated chipboard with vents against odours and choose the depth to suit the walkway. Free measurement, 3D design in 1–2 days, 24-month warranty.
A shoe cabinet's size is calculated from the footwear, not from the wall. First you work out how many pairs live by the entrance, and only then decide how many sections and tiers the carcass needs.
How to count the family's pairs
- Everyday footwear: each family member has three or four pairs per season that they wear constantly and leave by the door every evening.
- Guest slippers: four to six pairs are kept for guests, and they also take up a separate shelf or drawer.
- Seasonal stock: winter boots in summer and sandals in winter are best moved to the top tier or into boxes rather than kept at the bottom.
- Children's footwear: children outgrow a pair in a season, so their shelf is calculated with a margin and placed lower so the child can reach their shoes themselves.
- Room to grow: add 20–30 % to the total, because a year from now there are always more pairs by the entrance.
How much space one pair takes
On a flat shelf, one adult pair takes about 20 centimetres in width with a gap for air. From this the calculation is simple. A family of four needs to store 20–25 pairs by the door, that is 4–5 metres of shelf, and with a carcass width of 60 cm that works out to eight tiers. A lot? Yes, and that is exactly why a narrow two-shelf cabinet quickly overflows. A slanted shelf saves height, while a pull-down section stands the footwear almost vertically and holds three or four pairs across a 60 cm width. The carcass depth is set by the largest size in the family: a men's shoe in size 44–45, about 30 cm long, will hit the front of a shallow shelf. The capacity of a custom shoe cabinet is the family's pairs plus a margin, laid out across tiers, not the width of the free wall.
Where to place the shoe cabinet in the hallway
The place determines whether the shoe cabinet is convenient every day. It goes where footwear is taken off, but so that the carcass does not get in the way of the door, the walkway or the radiator.
What to check at the wall
- Entrance door: the shoe cabinet is not placed in the door's opening zone, otherwise the cabinet front will hit the handle or the door trim.
- Walkway: after installation at least 80 cm of free space remains in the hallway, otherwise you cannot get past an open front.
- Radiator: next to a radiator leather footwear dries out and cracks, and the sole adhesive weakens, so keep at least half a metre from the radiator.
- Skirting and floor: a thick skirting pushes the carcass 2–3 cm away from the wall, and the tile slope at the threshold is levelled with adjustable supports.
- Light: the shoe cabinet is conveniently placed under a light fixture or next to a mirror so a pair can be seen rather than searched for by touch.
Shoe cabinet at the entrance of a private house
In a private house the entrance often leads straight from the street into the hall, and there is far more dirt by the door than in an apartment. Here it is convenient to split storage into two zones. Dirty and clean. In the vestibule or right at the threshold, an open slatted shelf with a tray goes for garden and wet footwear, where it dries and does not carry sand through the house. A little further, already in the hall, stands a closed carcass for clean everyday and dress footwear, with a bench nearby to change shoes sitting down. If the hall is large, the shoe section is combined with a wardrobe for outerwear into a single wall. Two zones at the entrance to the house keep the dirt at the threshold, and only clean footwear makes it into the hall.
Why a ready-made cabinet does not fit
A standard store-bought cabinet is designed for a flat wall 60 or 80 cm wide and about 35 cm deep. In a real hallway, a wall projection, a riser box, a fuse box or the door of the next room get in the way, and a gap remains between the cabinet and the wall where dust collects and shoelaces get lost. A small thing, but it's annoying. Ordering a shoe cabinet to your own dimensions makes sense precisely for these centimeters: the carcass is cut to the width of the wall section, and the depth is chosen to fit the passage. During the measurement we note the position of the door, sockets and skirting board and transfer them into the 3D project, so the item sits flush against the wall. A shoe cabinet sized to the wall section takes up space without gaps and doesn't compete with the door for the passage.
Open shelf or made-to-measure shoe wardrobe
Open and closed storage solve different tasks. An open shelf dries footwear, a closed carcass protects it from dust and light, and a large family needs both options.
What to put on the open shelf
- Everyday pair: sneakers and boots worn every day stay on the open shelf by the door and have time to air out overnight.
- Wet footwear: after rain or snow a pair is placed on an open slatted shelf or tray, and only dry shoes go into the closed carcass.
- Guest slippers: kept in plain sight so a guest doesn't have to look for where to change shoes.
- Kids' spare pair: a child can reach the open bottom shelf and put the pair back themselves.
What to hide behind the front
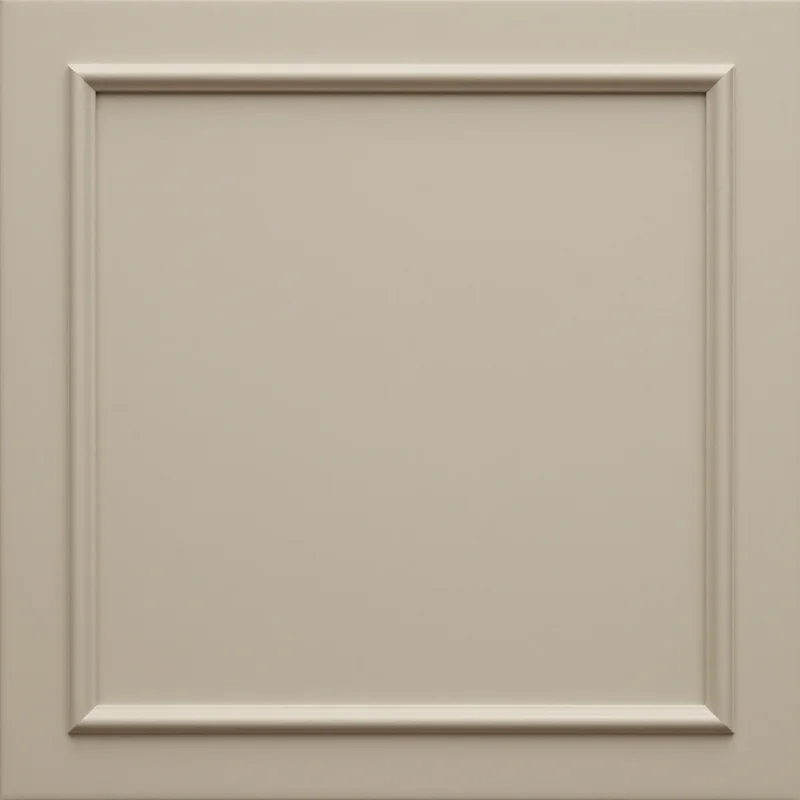
A made-to-measure shoe wardrobe is chosen for footwear that isn't worn every day: dress shoes for going out, suede and nubuck pairs, leather boots out of season. Light fades suede, dust settles on the nap, and behind a front this doesn't happen. A closed carcass also hides visual noise: twenty pairs in plain sight make a hallway feel cramped, while a smooth front in the color of the wall calms it down. But footwear goes into a closed wardrobe only when dry. Always. A wet pair in a sealed carcass gives off moisture to its neighbors, and within a week a smell appears inside. That's why we build vents into the plinth and back panel of a closed carcass, and make the open shelf next to it. Closed storage is kept for dry and rarely worn footwear, open storage is left for the pairs worn and dried every day.
How the two options are combined
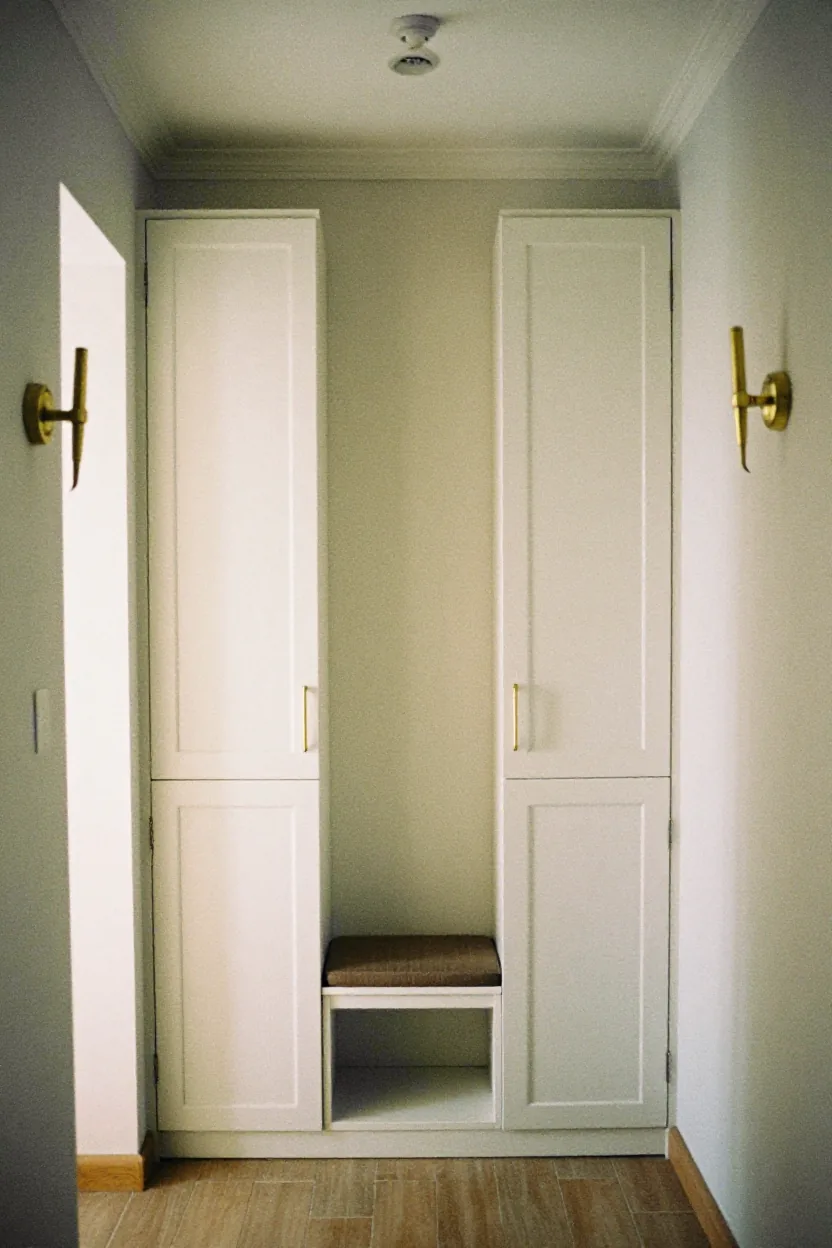
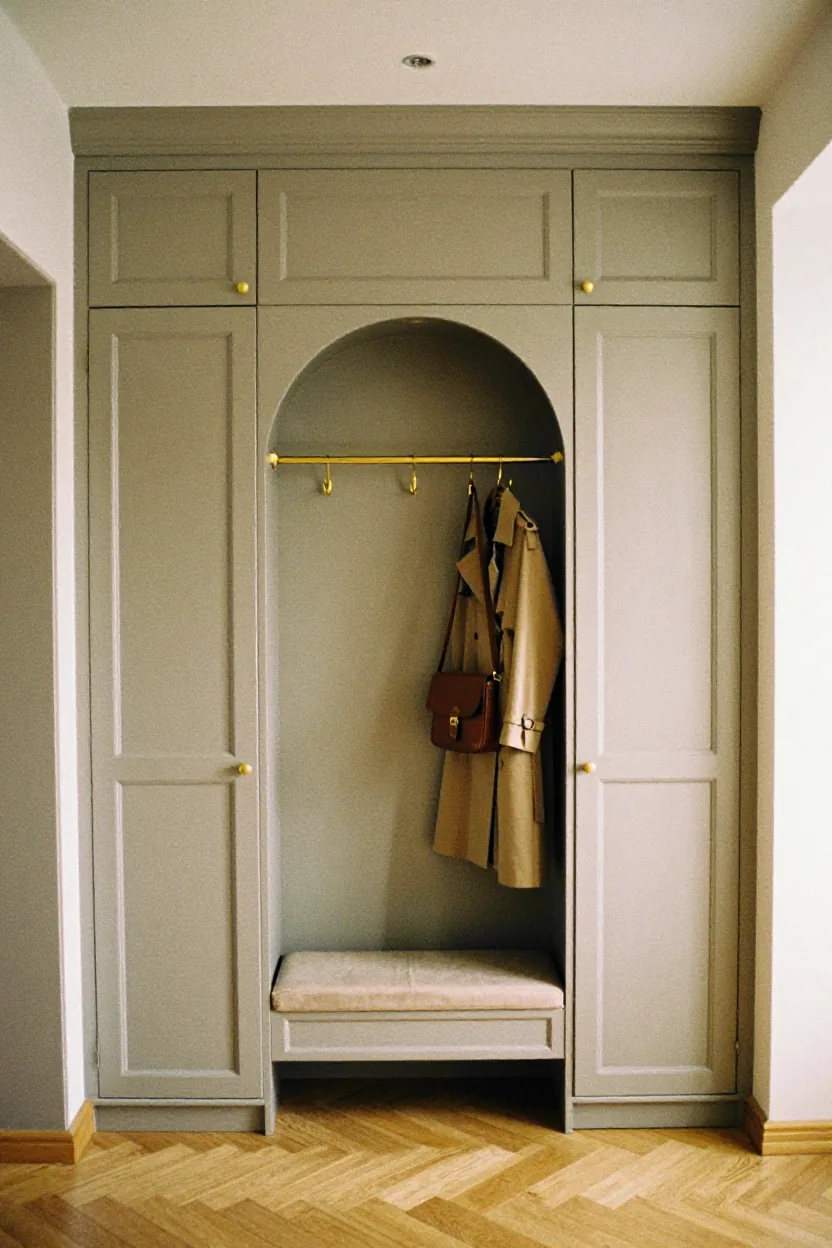
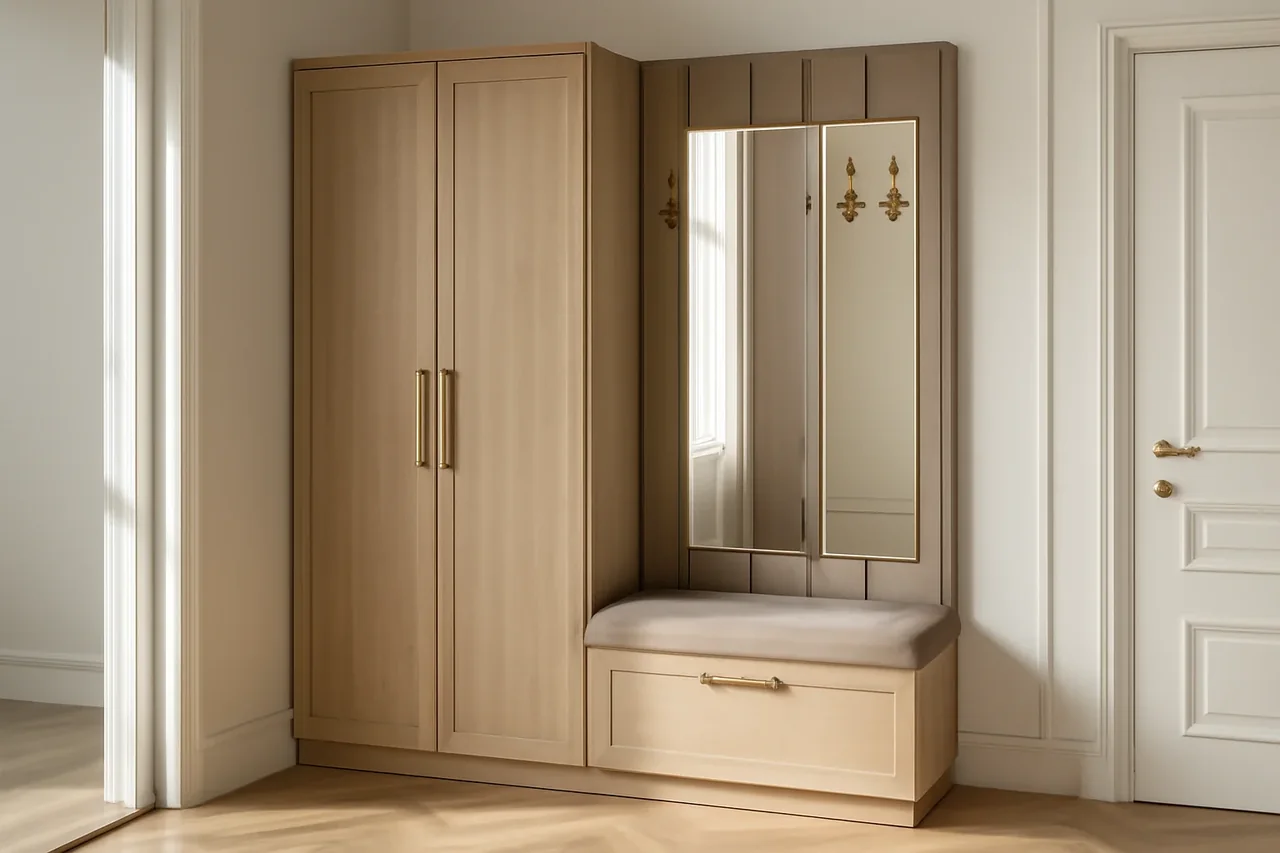
The scheme for a family is simple. At the bottom by the door there's an open shelf or bench for everyday pairs, above it or next to it a closed wardrobe rises to the ceiling for seasonal and dress footwear, and the very top tier is given over to boxes. In a narrow hallway all of this is assembled in one carcass: the lower section without a front, the upper ones behind doors. That way the hallway looks tidy, and footwear taken off five minutes ago isn't hidden away damp in the dark. If there's room for only one thing, in our view a closed cabinet with one open niche at the bottom is better. One open niche for an everyday pair makes even a closed shoe cabinet convenient for every day.
Tier heights for sneakers, shoes and boots
The height of the shelves decides whether a pair stands upright or lies on its side. Tiers are calculated for the family's actual footwear collection and the shelves are made adjustable so they can be changed by season.
Shelf height guidelines
Shelf height guidelines| Footwear | Tier height | Where to place |
|---|
| Slippers and sandals | 15–18 cm | upper narrow shelves |
|---|
| Shoes and sneakers | 20–25 cm | middle tiers |
|---|
| Lace-up boots | 25–30 cm | middle and lower tiers |
|---|
| Winter boots | 40–45 cm | lower tier |
|---|
| Tall boots and thigh-highs | 50–55 cm | separate section |
|---|
Why the shelves are made adjustable
A made-to-measure shoe cabinet stays in the hallway for years, while the shoe collection changes twice a year. That is normal. In summer, sneakers and sandals stand by the door, and two summer tiers fit within the height of one winter tier. In winter it is the other way round: boots need height, and light footwear moves up. That is why a row of holes for shelf supports is drilled in the carcass sides at a 32 mm pitch, and the shelf is moved in a minute without tools. In slim sections the height cannot be changed, since the flap angle is set by the mechanism, so a regular section with one shelf is left next to them for tall boots. The shaft stands upright in it and does not get creased. Adjustable shelves let one shoe cabinet serve both winter and summer without rebuilding the carcass.
When a slanted shelf is needed
A slanted shelf at 15–20 degrees turns each pair toe-first towards the person, and all the footwear is visible at once, not just the heels. Such a tier is lower than a flat one. An extra row fits in the same height, and a pair is not hidden behind its neighbour. Footwear on a slanted shelf also airs better, because the sole does not lie flat on the board. For heavy winter boots the slant is reduced or a lip is added at the shelf edge so the pair does not slide off. Flat shelves hold boots, footwear in boxes and children's pairs that a child puts down any which way. The slant gives a gain in capacity and visibility, but for heavy winter footwear the shelf is made flatter or with a lip.
Made-to-measure shoe cabinets for niches, corners and wardrobes
Often there is no separate wall for footwear, but there is a niche, a corner or an empty space under the stairs. Such places are filled with a built-in carcass made exactly to measurement.
Niche and wall recess
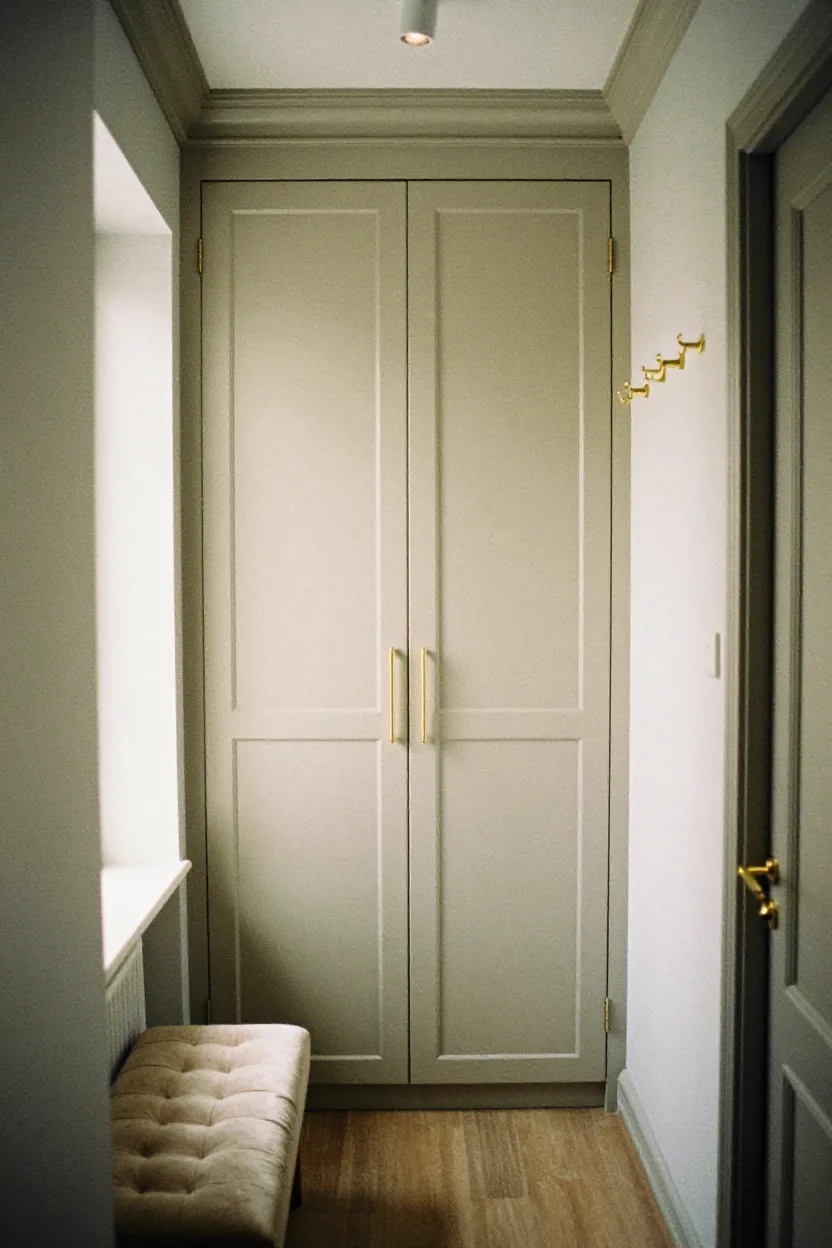
A niche in the hallway is convenient for footwear. The carcass hides in the plane of the wall and does not protrude into the passage by a single centimetre, even if the hallway is only a metre wide. A made-to-measure shoe wardrobe in a niche is made without sides or with one side, and the fronts are fitted with even gaps of 2–3 mm over the full height. Niche walls in older buildings are rarely parallel, so during measurement the width is taken at the bottom, in the middle and at the top, the carcass is cut to the smaller size, and the gap is closed with a trim strip in the colour of the front. Inside, adjustable shelves or slim mechanisms are installed, and the top of the niche under the ceiling is given over to boxes and seasonal items. A built-in carcass in a niche holds more than a separate cabinet of the same width and does not steal a single centimetre of the passage.
Corner and space under the stairs
- Corner shoe cabinet: two carcasses meet at a right angle, and the corner that usually stands empty turns into shelves for 10–15 pairs.
- Under the stairs: in a private house the space under the flight is filled with pull-out sections of different heights, following the slope of the steps.
- Sloped ceiling: in an attic the top lid of the shoe cabinet is cut to the slope, and the carcass sits flush against the wall.
Footwear inside a sliding wardrobe
If a wardrobe for clothes already stands in the hallway, footwear can be placed in its lower part. To do this, a pull-out shoe shelf or slanted shelves 20–25 cm high are installed at the bottom of the section, with a rail for outerwear above them. The pull-out shelf slides out towards the person, and there is no need to lean into a wardrobe 55–60 cm deep. There is also a downside. Wet footwear dries poorly in a closed wardrobe with clothes, and the smell transfers to jackets. That is why only dry seasonal footwear is kept inside the wardrobe, while everyday pairs are placed on an open shelf by the door. A shoe section in a wardrobe is good for spare pairs, but an everyday pair needs a separate open shelf.
How a shoe cabinet survives slush and de-icing agents
In winter in Almaty, footwear brings snow, dirt and de-icing agents into the home, and in spring and autumn, slush. The shoe cabinet by the entrance takes more than any other furniture in the apartment.
What to do with wet footwear
- Tray: a removable plastic or metal tray collects water and sand; it is taken out and washed under the tap.
- Slatted shelf: the bottom tier for wet pairs is made slatted or from battens so water drains and air passes from below.
- Drying before the wardrobe: wet footwear is dried on an open shelf or on a dryer and only then put behind the fronts.
- Mat in front of the carcass: a mud mat at the threshold catches most of the sand so it does not get onto the shelves.
How to care for the carcass in winter
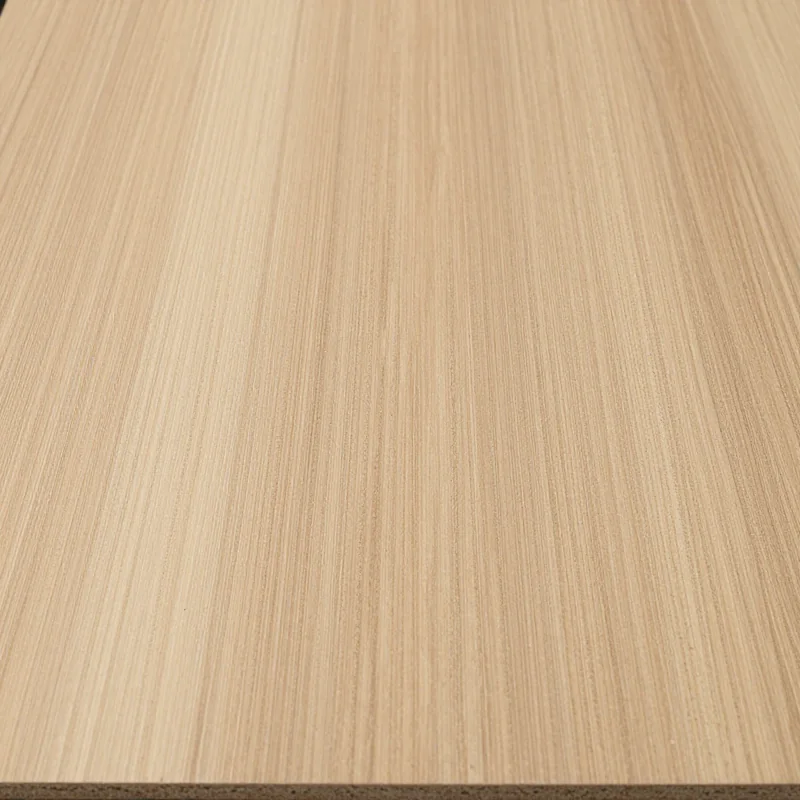
A custom shoe cabinet in Almaty works in harsh conditions in winter: slush and de-icing agents outside, dry air from heating inside the apartment. A carcass made of moisture-resistant laminated chipboard with edge banding on all ends protects the board, but care is still needed. White streaks from de-icing agents on the front and shelves are wiped with a damp cloth and a mild agent, without abrasives, otherwise scratches will remain on the matte film. Once a month the trays are taken out and washed. The shelves are wiped dry. Hinges and supports are checked at the end of winter: if a door has started to sag, it is tightened with an adjustment screw in a couple of minutes. Regular wiping and dry shelves keep the hallway shoe cabinet by the entrance just as it was installed.
Seasonal rearrangement
In spring, winter boots are cleaned, dried and moved to the top tier or into boxes, while the lower shelves are freed up for light footwear. In autumn it is the other way round: light footwear is washed, dried and moved up, while the lower tiers go back to boots. Adjustable shelves let you change the height of the tiers along with the footwear, and the carcass does not have to be redone. It is also a good occasion to check whether the number of pairs has grown: if footwear has started to stand on the floor by the door, there is no free space left and it is time to remove the excess or add a section. We recommend reviewing the contents of the shoe cabinet twice a year. Two rearrangements a year keep the shoe cabinet half-empty and convenient, not crammed to the limit.
Mistakes when ordering a shoe cabinet
Almost all mistakes with a shoe cabinet show up in the very first month. They are easy to avoid at the design stage, when changing the depth or a tier costs nothing.
Five common mistakes
- Carcass sized to the limit: the cabinet is ordered exactly for today's pairs, and a year later the footwear is back on the floor.
- Depth based on an average size: the shelf is calculated for women's footwear, and men's size 45 shoes prevent the door from closing.
- No space for boots: all tiers are the same, and tall boots lie on their side or get creased.
- Sealed box: for the sake of a smooth front, vents are given up, and dampness builds up inside.
- No seat: you have to put shoes on standing on one leg, although a soft top on the cabinet solves this without extra space.
How to check the design before launch
A custom shoe cabinet is fully visible in the 3D design, and this is the best moment to check it. Mentally open each door and see whether it hits the entrance door or the wall. Compare the depth of the shelf with the length of the largest pair in the family. Count the tiers. For boots and for slippers separately. See where wet footwear will stand in the first half hour after coming in from outside. If there is no answer, the design is revised before approval, and revisions at this stage are free. Custom furniture: a shoe cabinet, mirror and key shelf put together in one design look more cohesive than three items bought at different times. Five minutes over the 3D design save months of inconvenience at the entrance door.
Shoe racks in brief
The essentials about a shoe cabinet
- Size is calculated from the number of pairs the family has plus a 20–30% reserve, and depth — by the largest footwear in the home.
- The shoe rack is placed outside the door swing area, away from the radiator and with a passage of at least 80 cm.
- An open shelf is needed for everyday and wet footwear, a closed carcass — for dry, seasonal and dress shoes.
- Tiers are calculated for slippers, sneakers and boots, and shelves are made adjustable by season.
- A tray, a slatted bottom shelf and vents in the carcass protect against damp and odor in slushy weather.