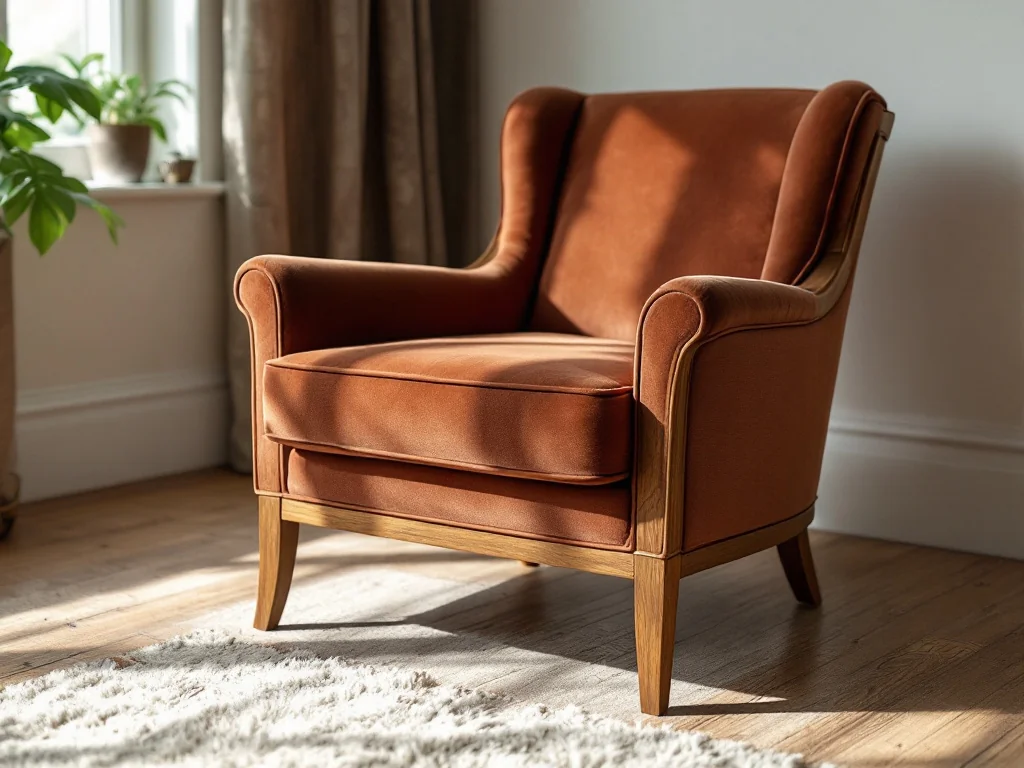
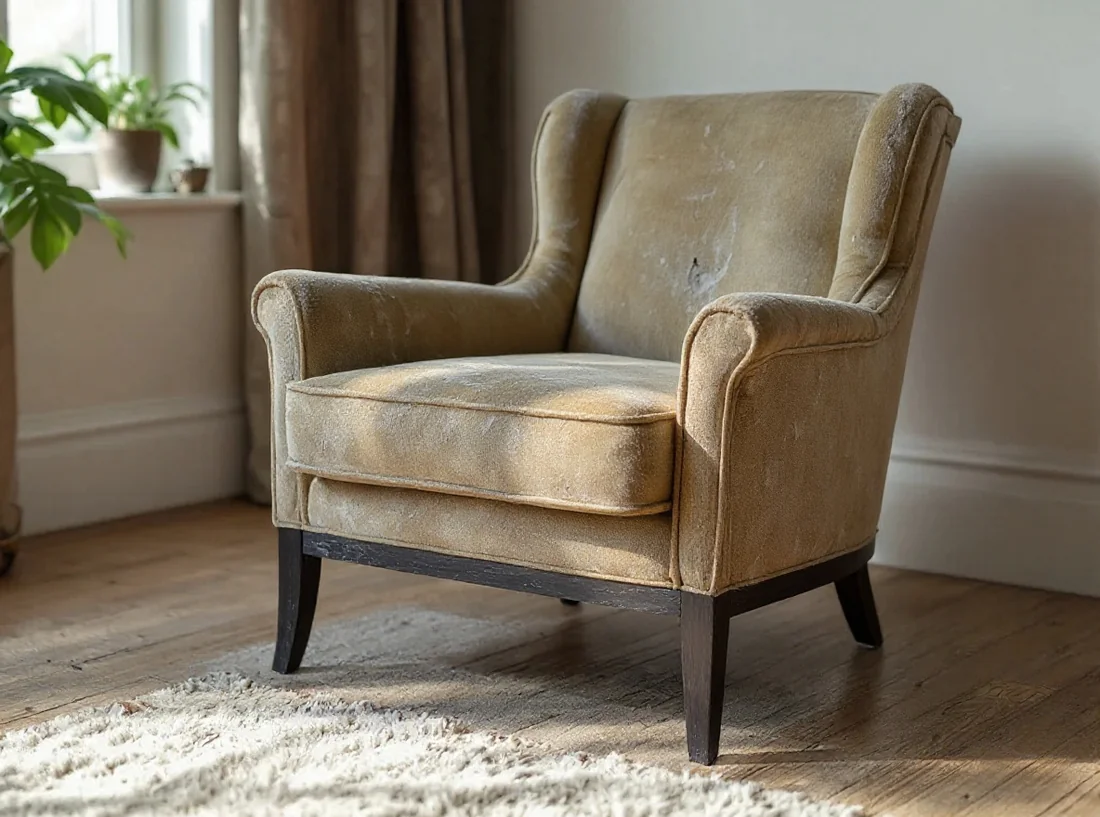
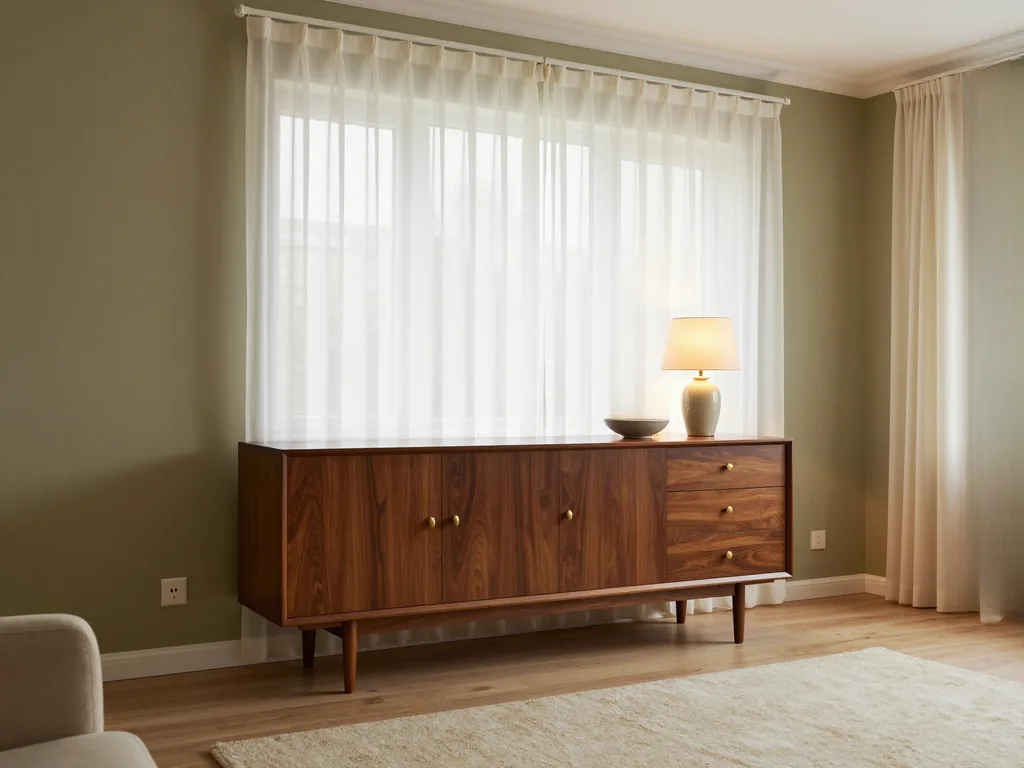
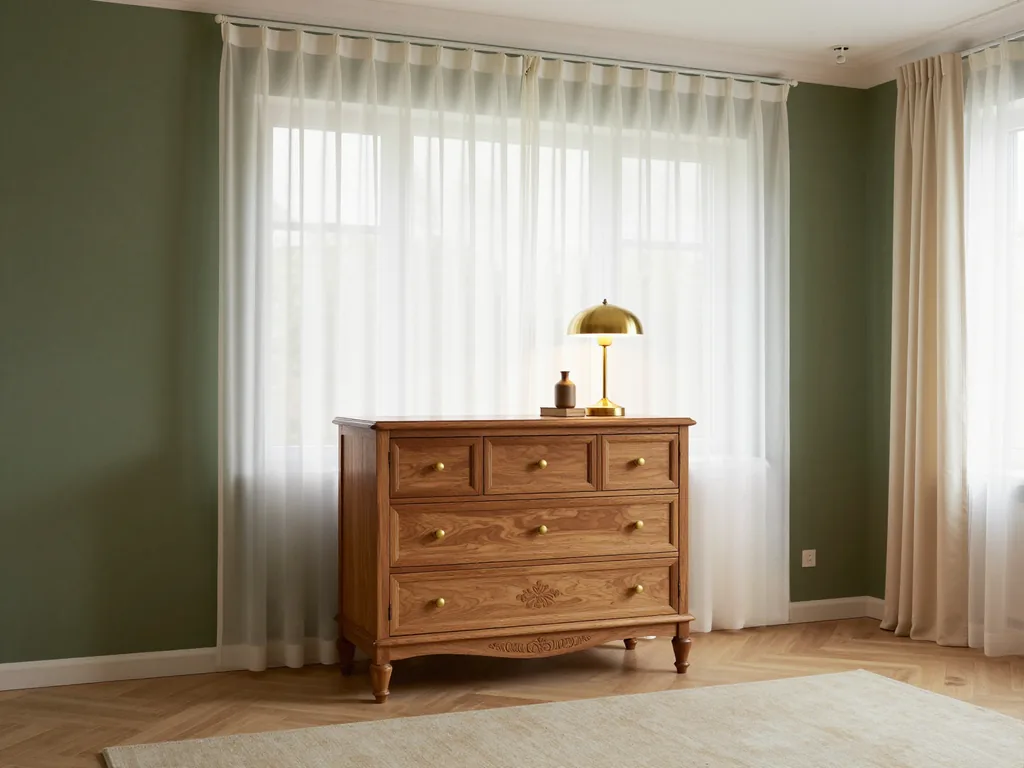
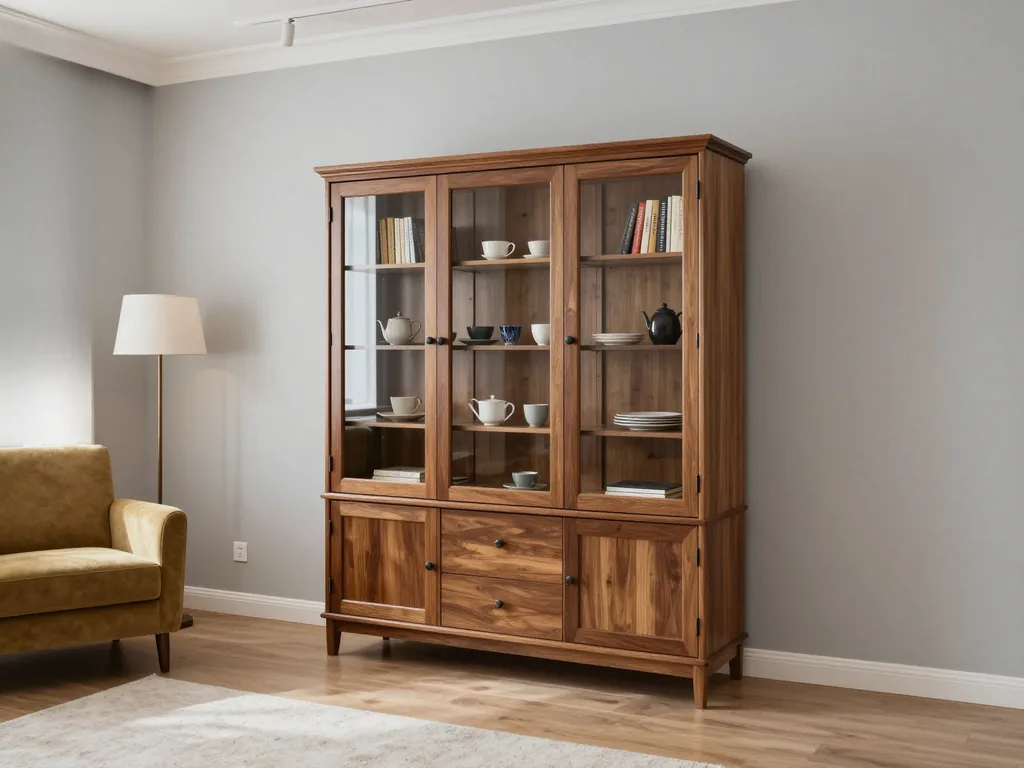
At our workshop, furniture restoration takes place in the joinery area and the spray booth of our own facility: we fill chips with inserts of the same species, glue down or extend lifting veneer, and apply a finish of oil with wax, lacquer or shellac. We preserve the patina and the original carving, and we give a 12-month warranty on the restored parts and the finish.
Which old furniture is worth restoring
Not every piece comes back to life the same way or with the same effort: much depends on its value to the owner and on the material beneath the darkened finish. We look at how to choose pieces, how to identify the base, and the cases where simple care is enough.
Which pieces are worth the work
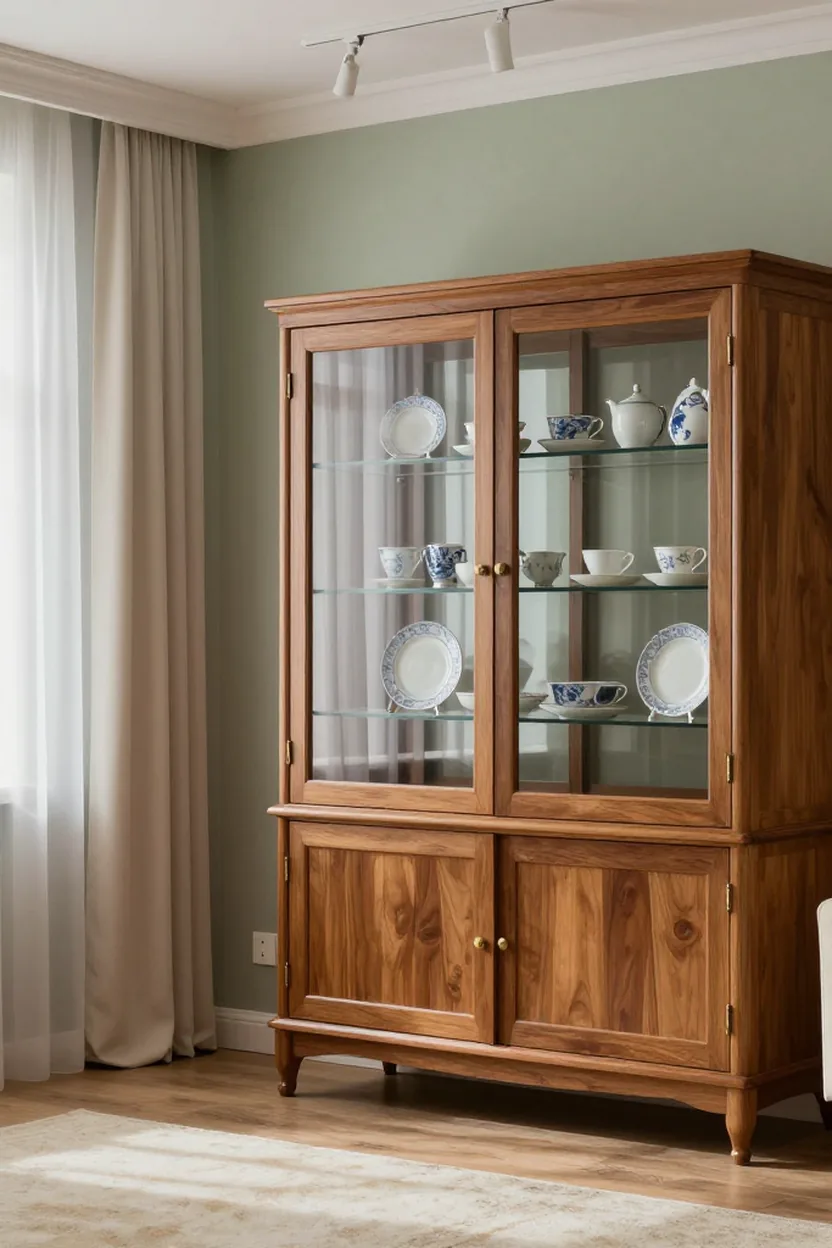
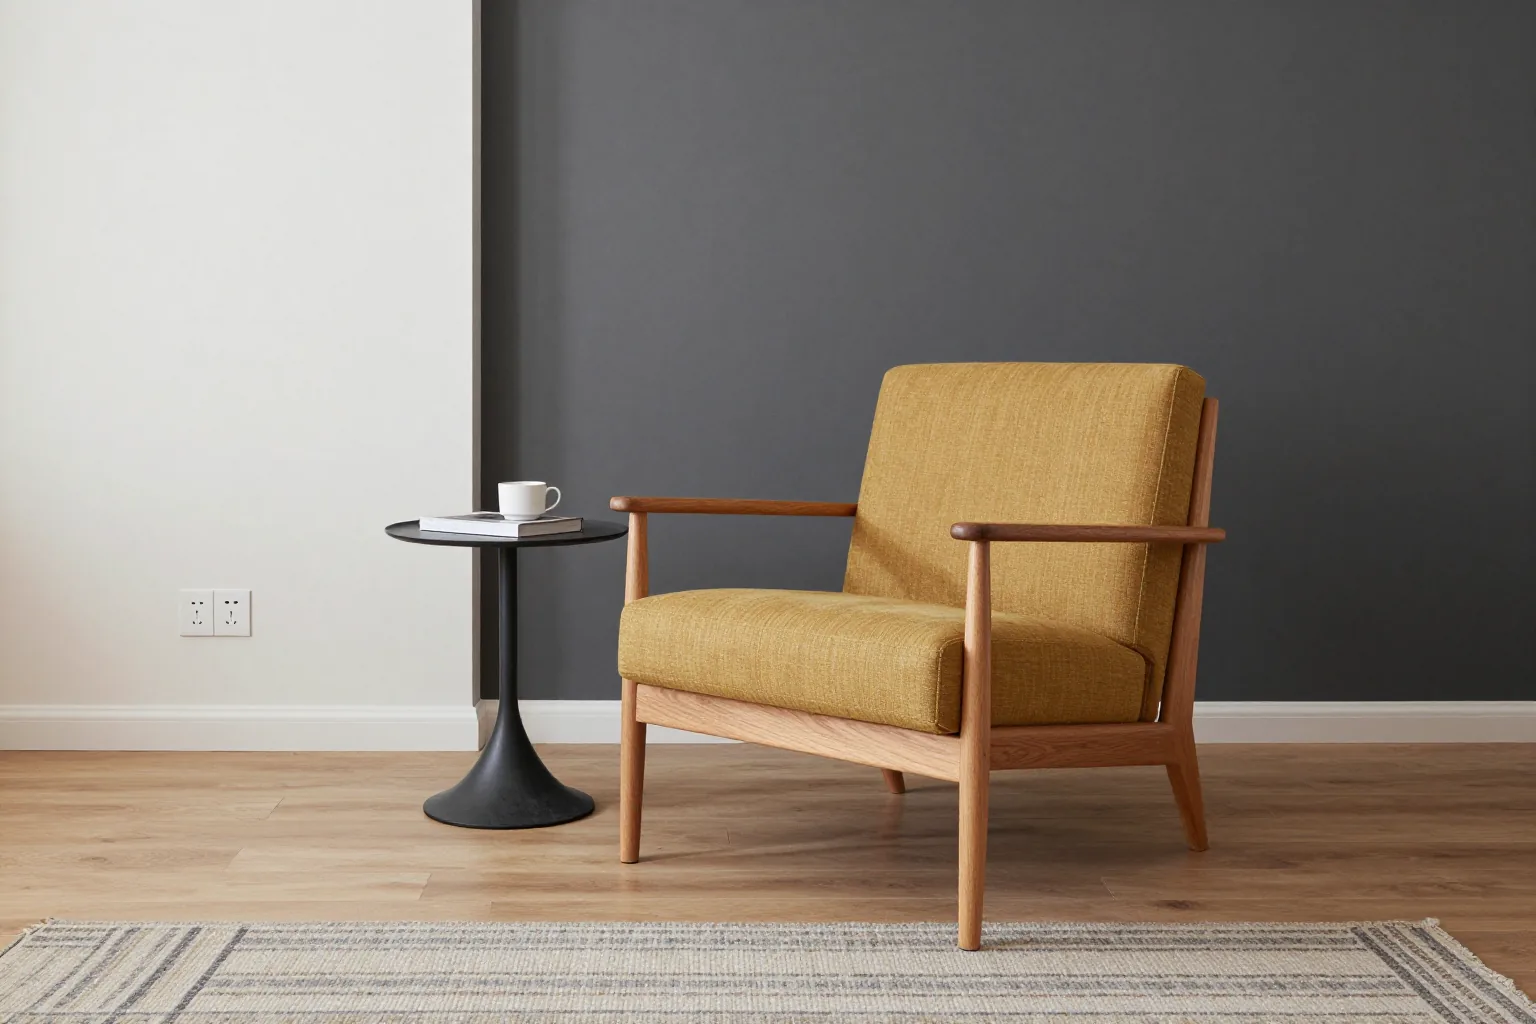
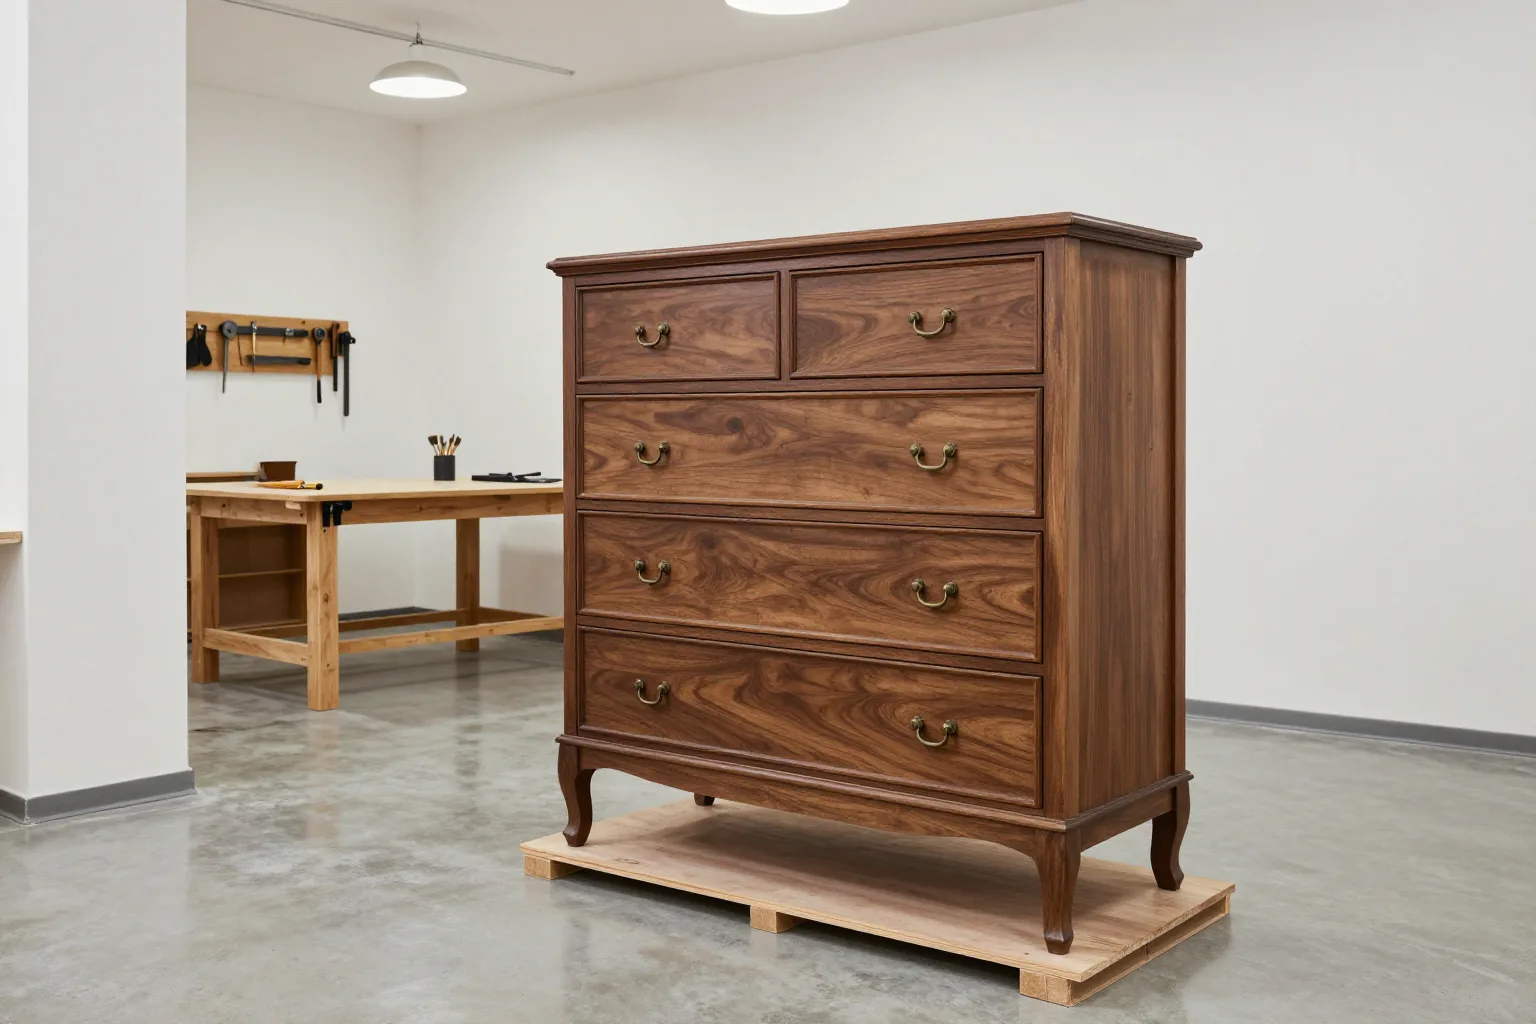
Restoring old furniture makes sense when the piece has a solid base of solid wood or veneer on solid wood and has value — family, historical, or the quality of craftsmanship that is rarely found today. Most often people bring us dressers, sideboards and china cabinets, dining and writing desks, bentwood chairs, and armchairs with wooden frames. Such pieces are usually assembled with mortise-and-tenon joints and glue rather than confirmats, so they can be taken apart, reglued and reassembled without losing strength. The carcass of a Soviet-era china cabinet made of veneered board can also be worked on, if the board has not swollen from water. Over 13 years of work, the craftsmen in our workshop have restored more than 900 pieces, and the most rewarding of them are items made of oak, walnut and beech with their original hardware. Armchairs and chairs with loose side rails are also good candidates: they are reglued and hold weight again. Before deciding, pull out a drawer and look at its end and the back panel of the carcass: the cut and the tool marks show what is hidden under the lacquer.
Solid wood, veneer or board under old lacquer
| Base | How to recognize it | What can be done |
|---|---|---|
| Solid wood | the grain pattern continues on the end | sanding, inserts, full finish |
| Veneer on solid wood | a thin layer with a different pattern on the edge | gluing down, extending, careful sanding |
| Veneer on board | pressed chips visible under the facing | gluing down the veneer, finishing without deep sanding |
| Chipboard with film | uniform pattern, plastic edge banding | replacing parts rather than restoration |
| Bent wood | smooth curves without joints | regluing joints, tinting |
When care without full work is enough
- Minor scratches: hairline marks on the lacquer are masked with restoration wax in a matching tone, without stripping the finish or sanding the surface.
- Dull sheen: lacquer that has gone dull but is intact often comes back after cleaning off old polish and gentle buffing.
- Dry wood: a grey oiled surface revives after a fresh coat of oil with wax over the old one.
- Squeaky drawers: a drawer sticks because the runners are dry; rubbing them with wax solves it, and no joiner's work is needed.
- Whitish spots: a mark from a hot cup on wax or lacquer often goes away after gentle buffing, if the finish is not burned through.
- Order of steps: start small, because a full strip can always be done later, but removed patina cannot be brought back.
How to preserve the patina and character of an antique piece
An old piece is valued not only for its appearance but also for the traces of time that cannot be faked or bought. Here is what patina is, how work with antiques is done, and how the degrees of intervention differ.
What patina is and why it is not sanded off
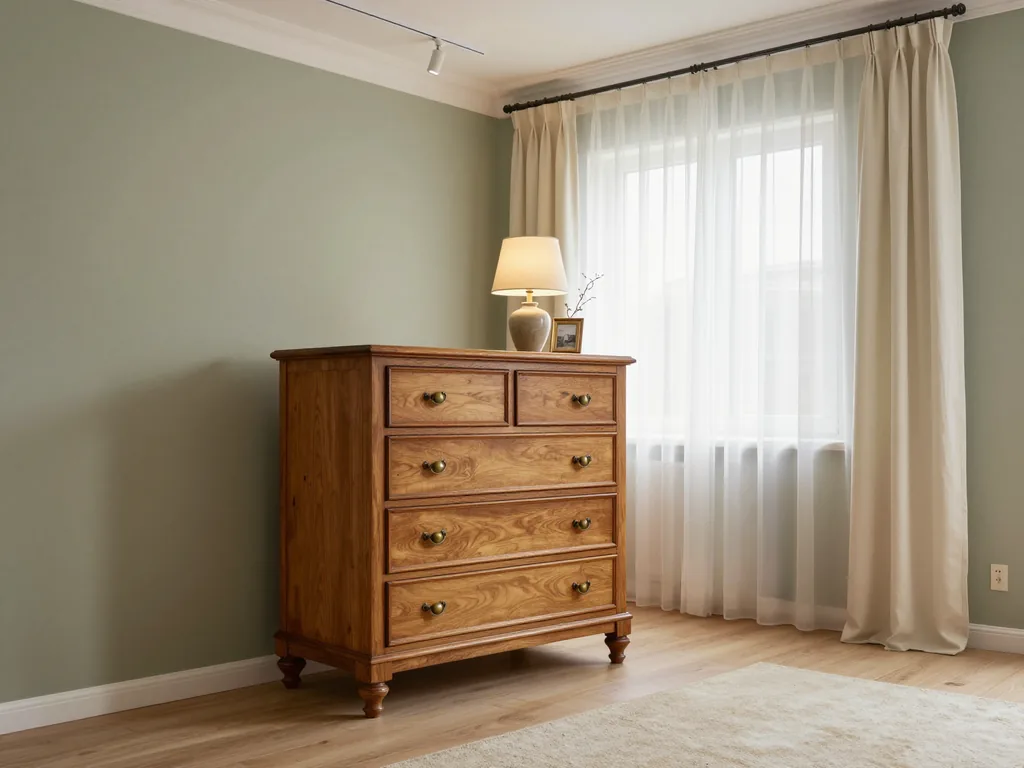
Patina is the darkened top layer of wood and old finish, the soft wear on edges, handles and armrests that builds up over decades and shows the age of a piece. It comes from light, air, the warmth of hands and touch, and it sinks into the fibers by only fractions of a millimeter. If a chest of drawers or a sideboard is sanded down to bare wood, the patina disappears in a single pass and the piece looks like a reproduction with an alien color. For an antique, this also means a loss of value: an experienced buyer looks first at natural wear. That is why careful work begins with cleaning, not sanding, and proceeds with mild compounds and by hand: dirt, old polish and broken lacquer are removed while the tone of the wood is kept. Ask the craftsman to show you a test patch of cleaning on the back panel or inside a drawer before he touches the front and the top.
How we work with antique pieces
We restore antique furniture using the technology of its era: the craftsman recreates lost carving by hand, and we finish with shellac rather than modern lacquer. Shellac gives the soft, deep sheen that furniture had before synthetic finishes existed, and if needed it can be refreshed without stripping the whole layer. Before work we record the original condition, disassemble the piece only where the joints are loose, and do not alter the construction: nails and screws with which the piece was once hastily repaired are removed, and the joints are returned to tenons and glue. Brass mounts, keys and handles are cleaned and kept, and missing hardware is matched to a surviving sample. Every insert into a lost fragment is made from the same species so that the repair does not show under the finish. Keep everything that has fallen off the piece: fragments of carving and pieces of veneer are put back more accurately than any copy.
Conservation, restoration and refurbishment
| Approach | What is done | When it is chosen |
|---|---|---|
| Conservation | stabilize and clean, replace nothing | a museum piece or a particularly valuable item |
| Restoration | lost parts are recreated using the technology of the era | antiques, a family heirloom |
| Refurbishment | new finish and tone to suit the interior | sturdy furniture with no historical value |
| Combined | restoration of the carcass and new upholstery | an armchair with a wooden frame |
| Cosmetic | cleaning, wax, tinting minor scratches | a piece in good condition with a dull look |
Chips, cracks and loose veneer on wood
Mechanical defects after moves, impacts and dry air are the most common reason a piece arrives at the workshop. We explain what is used to fill losses in solid wood, how cladding is saved, and why new wood is prepared in advance.
Inserts instead of filler
When restoring wooden furniture, we fill chips, gouges and deep cracks with inserts of the same species matched to the grain, not with wood filler. The insert is cut so that the direction of the fibers matches the neighboring wood, glued in, and then leveled flush with the surface using a sharp scraper and sanding along the grain. After tinting and finishing, such an area behaves like the rest of the tabletop: it darkens with time at the same rate, takes a knock and does not crumble. Wood filler, on the other hand, looks good only for the first few months, then shows through as a patch of a different color and lifts away from the wood at the edge. A crack along the grain that has gone all the way through is first pulled together and glued, and an insert is placed only where wood is missing. For carved elements, the insert is cut with a margin and finished by hand to the shape of the surviving neighboring fragment. Do not glue a chip with superglue before inspection: the glue soaks into the surrounding fibers, and the tint then lands on that spot as a noticeable light patch.
Lifted and lost veneer
We glue down lifted veneer, and lost areas are built up with oak, walnut or ash veneer matched in pattern to the neighboring sheets. A blister in the facing usually appears where the old glue has dried out from a radiator or the sun. The craftsman injects fresh glue under it, presses the veneer down and holds it under a press until it sets, and immediately wipes away any glue that comes out at the edge so it does not interfere with tinting. If a piece of the facing is lost, the edge of the loss is trimmed straight, and the patch is chosen from a sheet with a similar structure and fiber direction. On a sideboard or buffet with a matched pattern, the matching is done fragment by fragment, which makes this stage the most painstaking. Do not prick a veneer blister or press it with an iron: the fibers tear, and a hot iron melts out the old glue in patches, so instead of a glue-down you will need a full insert.
Why new wood is dried further before insertion
- Moisture: we dry new solid wood parts down to a moisture content of 8–10 %, the same as wood that has stood for years in an apartment.
- Shrinkage: a damp board keeps drying inside the piece, shrinks in size and pulls away from the old wood.
- Cracks: as the insert shrinks, the seam opens up, and a new crack may start in the old solid wood nearby.
- Tinting: damp wood absorbs stain unevenly, and after drying the shade of the insert differs from the neighboring areas.
- Check: before gluing, the craftsman compares the moisture content of the insert and the old wood around it so they behave the same way when the season changes.
- Home care: keep the restored piece away from radiators and heaters; overdrying harms old solid wood too.
Finish, tone and hardware of the restored piece
The final stage determines how the piece looks in the room, how it is cleaned and how it serves in everyday life from then on. We go through the types of finishes, matching the shade to the surrounding furnishings and the fate of the metal parts.
Oil with wax, lacquer or shellac
| Coating | How it looks | Where it fits | Care |
|---|---|---|---|
| Oil with wax | matte, wood feels warm to the touch | countertops, Scandinavian interior | refresh with a layer of oil |
| Lacquer | even film, gloss of your choice | dining table, dresser carcass | wipe with a damp cloth |
| Shellac | soft deep gloss | antiques, classics | gentle wiping, no water |
| Tinted lacquer | color and protection in one layer | carcass after inserts | wipe with a damp cloth |
Tinting to match the shade of old wood
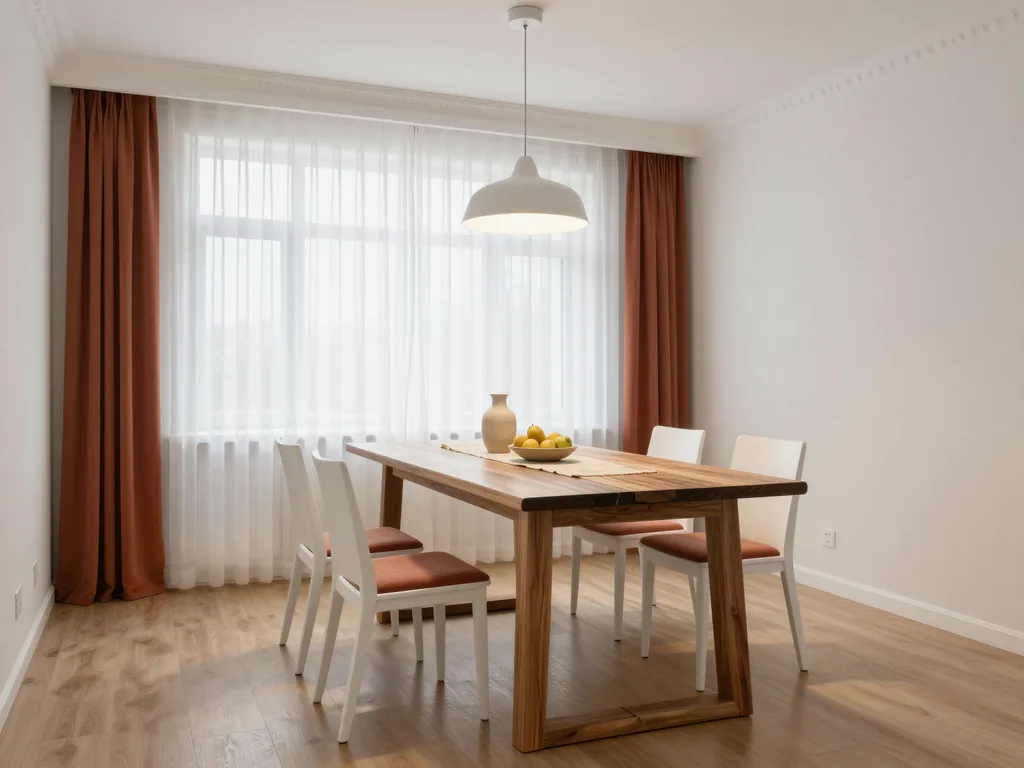
Furniture restoration almost always includes tinting: we select the shade so that inserts, new veneer and sanded areas do not stand out on the old wood. Samples are made on offcuts of the same species and on an inconspicuous side of the piece, comparing them with an untouched area in daylight. We apply the finish in a spray booth, layer by layer, with intermediate sanding, usually in two or three coats: this way the coating goes on without dust or drips. Gloss is chosen separately from color: matte hides small irregularities of old wood, while gloss emphasizes them. The tone can also be changed — lighten a darkened dresser or, conversely, take a light table to walnut — but then the patina is partly lost, and this is discussed before work begins. Bring photos of neighboring furniture and the floor to the inspection, because the tone is matched to the whole room, not to a single piece.
Handles, hinges and locks
We clean, straighten and return original hardware to its place, and select missing parts to match the era of the piece, brass ones — according to a surviving sample. Tarnished brass is cleaned gently, not to the mirror shine of a reproduction, so that it does not clash with the patina of the wood. Loose hinges are re-mounted on new dowels if the old holes are worn out, and locks are disassembled, lubricated and the key fitted. A working old lock mechanism is not replaced with a new one, even if it looks worn on the outside. Drawers in the hardware area are overhauled: bottoms are glued, runners are leveled so that movement becomes easy and without skew. If the customer wants a modern soft-close hinge on a later wardrobe, it can be installed, but for an antique piece we advise keeping the original construction. Furniture restoration with original hardware is valued higher, so do not throw away even a broken handle — it is used to match a pair.
How furniture restoration goes from photo to handover
The owner of an old piece needs to understand the sequence of steps in advance, who is responsible for what, and what is fixed before work begins. Below are the estimate and inspection, the item's route through the workshop areas, and the warranty terms.
Estimate, inspection and fixing the price
- Photos on WhatsApp: our work starts with pictures of the item, and within 5 minutes we give you a ballpark price based on them.
- What to photograph: the item as a whole, defects up close, the edge of a drawer and the back panel, in daylight with a ruler next to it.
- Inspection: for large furniture a craftsman visits free of charge and, after the inspection, gives the exact price and lead time.
- Transport: we pick up a chest of drawers, sideboard or wardrobe free of charge within the city, and after the work we bring it back and put it in place.
- Scope of work: before we start, we list what we do with the carcass, veneer, finish and hardware so the result matches your expectations.
- Fixed terms: we agree the price and lead time before work begins, and the lead times for each job are in the price list on this page.
What happens to the item in the workshop
In the 600 m² workshop the piece goes through three areas: the joinery, the spray booth and the hardware area. In the joinery it is taken apart at loose joints, the damaged finish is removed, tenons are reglued, inserts are fitted and the veneer is glued back down. Then the item is reassembled, the geometry of the carcass and the movement of the drawers are checked, and only after that is it sent for tinting and finishing. In the spray booth the coats are applied dust-free, the finish is allowed to dry between coats and the surface is sanded. In the hardware area the cleaned handles, hinges and locks are put back in place. If an armchair has upholstered parts, they are reupholstered in the same workshop, as part of one order and without looking for a second craftsman. If a hidden defect turns up during disassembly, for example an old crack under a patch, the craftsman reports it before continuing. Each stage depends on the previous one, so the finish is not applied until the wood and glue are completely dry.
Handover and warranty on restored pieces
Our furniture restoration in Almaty ends with handover on site and a warranty: we give 12 months on restored parts, the finish and replaced hardware. If an insert comes loose, a reglued joint opens up or the finish blisters through our fault, we will fix it. We show the work at handover: we bring the item, put it in place and together with the client look at the surface under normal room lighting and check how the drawers and doors move. This is a good moment to compare the piece with the photos taken before the work and to ask questions about caring for the specific finish and wood species. An oil finish is refreshed every few years with a thin coat, while lacquer and shellac are wiped with a soft dry cloth without abrasives. In the first weeks after finishing, do not place hot dishes or wet flower pots on the surface — the finish is still gaining hardness.
The bottom line on furniture restoration
A short guide for owners of chests of drawers, sideboards, tables and chairs who are deciding how to bring an old piece back its strength and beauty without losing its character.
- Base: solid wood and veneer on solid wood can take almost any work, while board with a film finish usually needs parts replaced.
- Patina: careful cleaning instead of sanding down to bare wood preserves the age and value of the piece.
- Losses: chips are filled with inserts of the same species, and veneer blisters are glued back down under a press without piercing.
- Finish: oil with wax, lacquer and shellac differ in sheen and care, and the tone is chosen to suit the whole room.
- Hardware: original handles, hinges and locks are worth keeping, and even broken parts serve as a model for a matching piece.