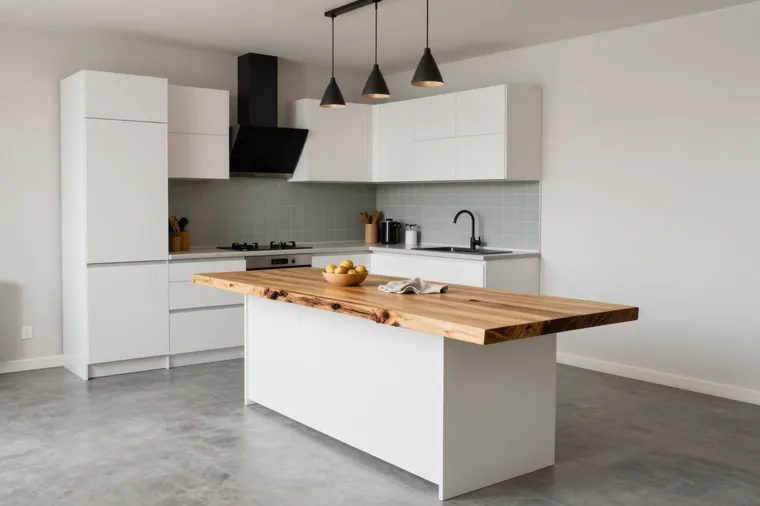
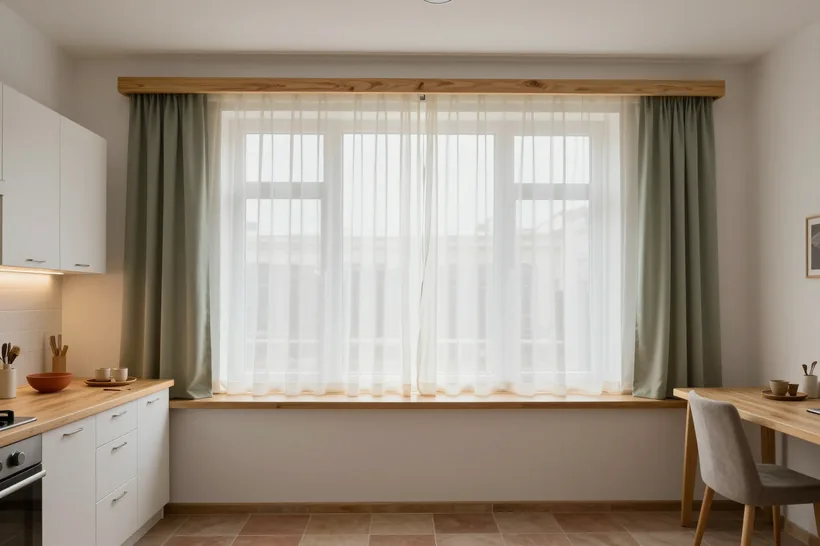
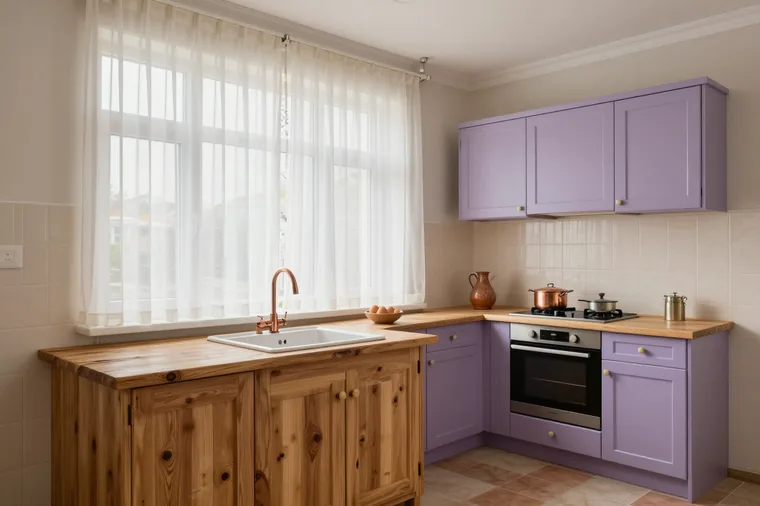
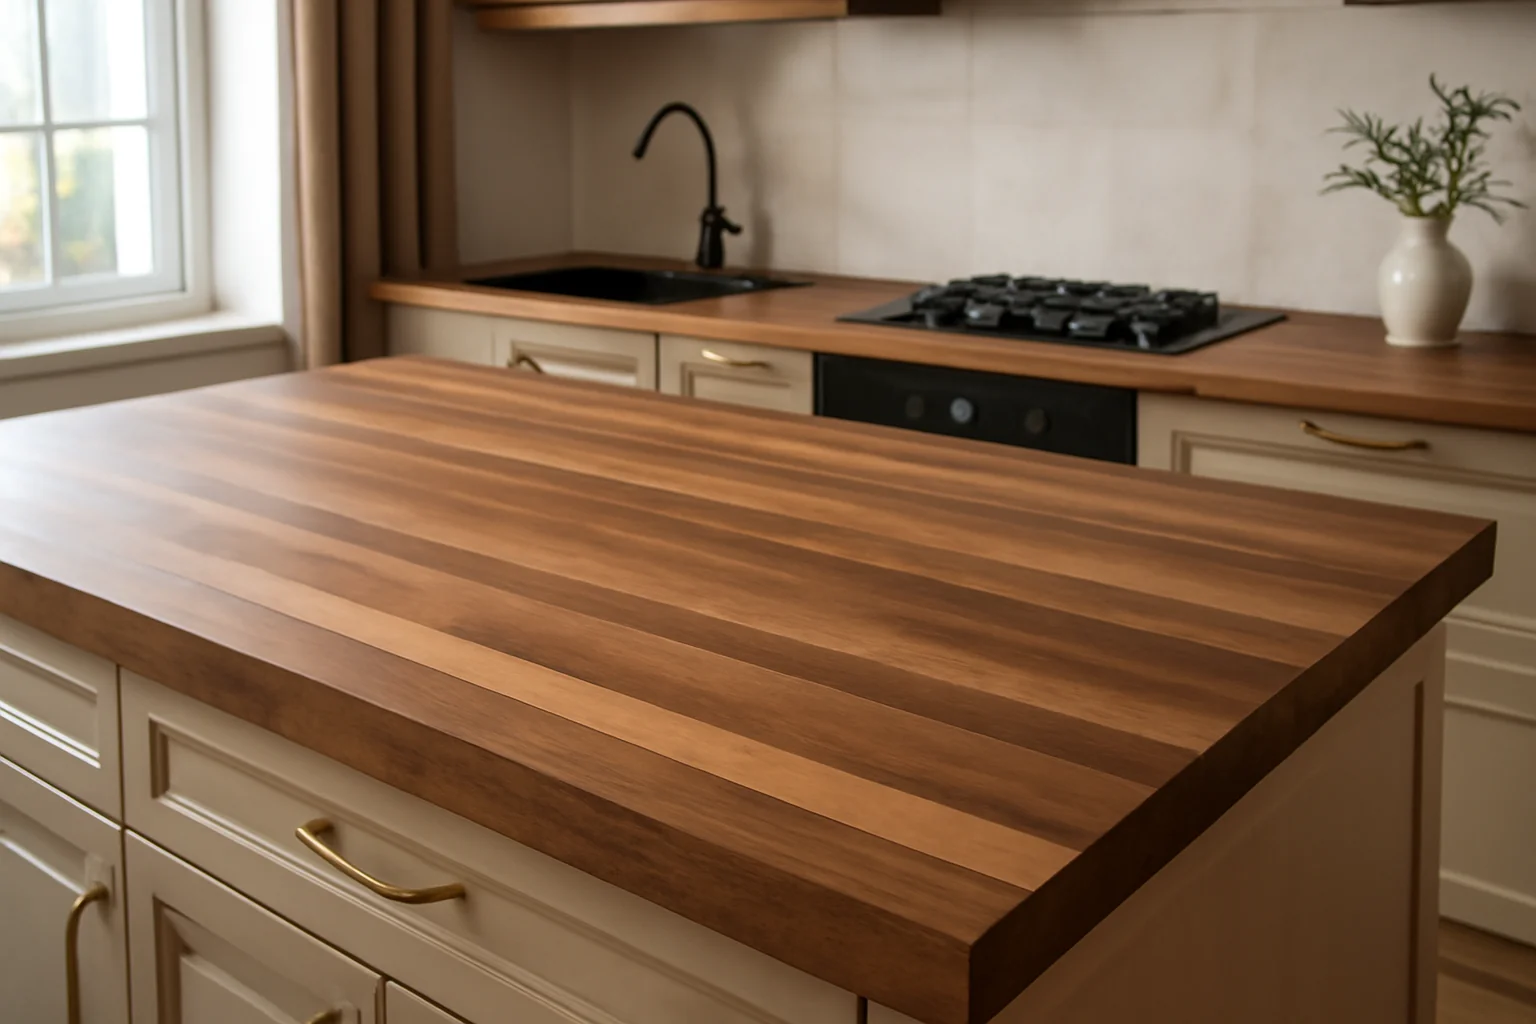
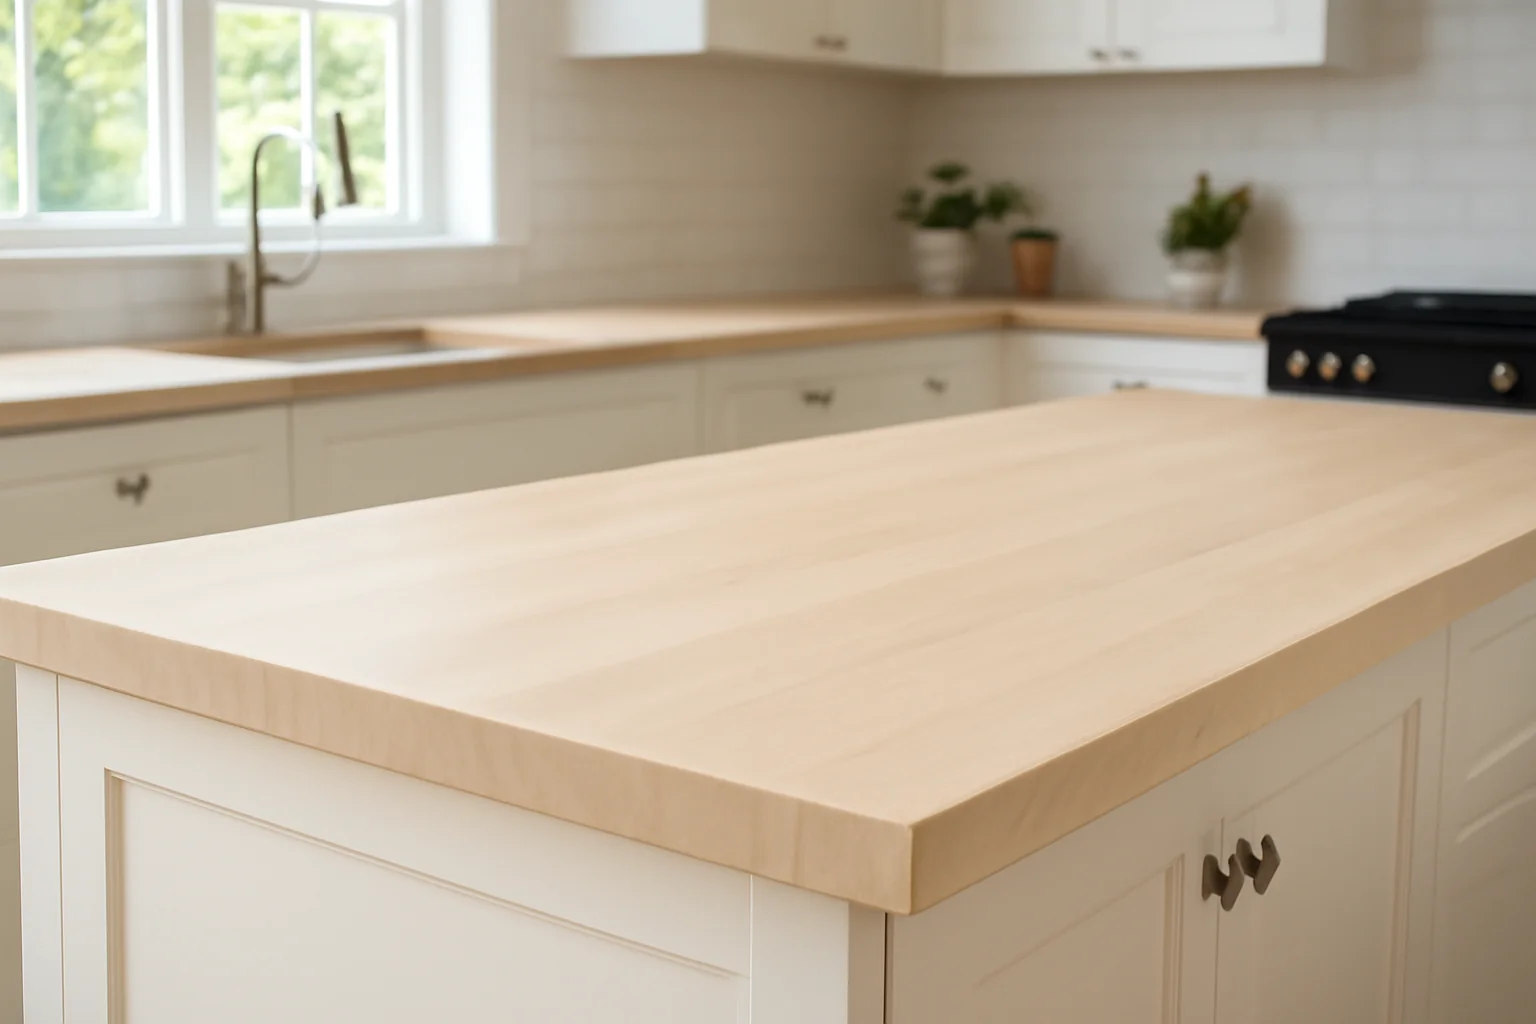
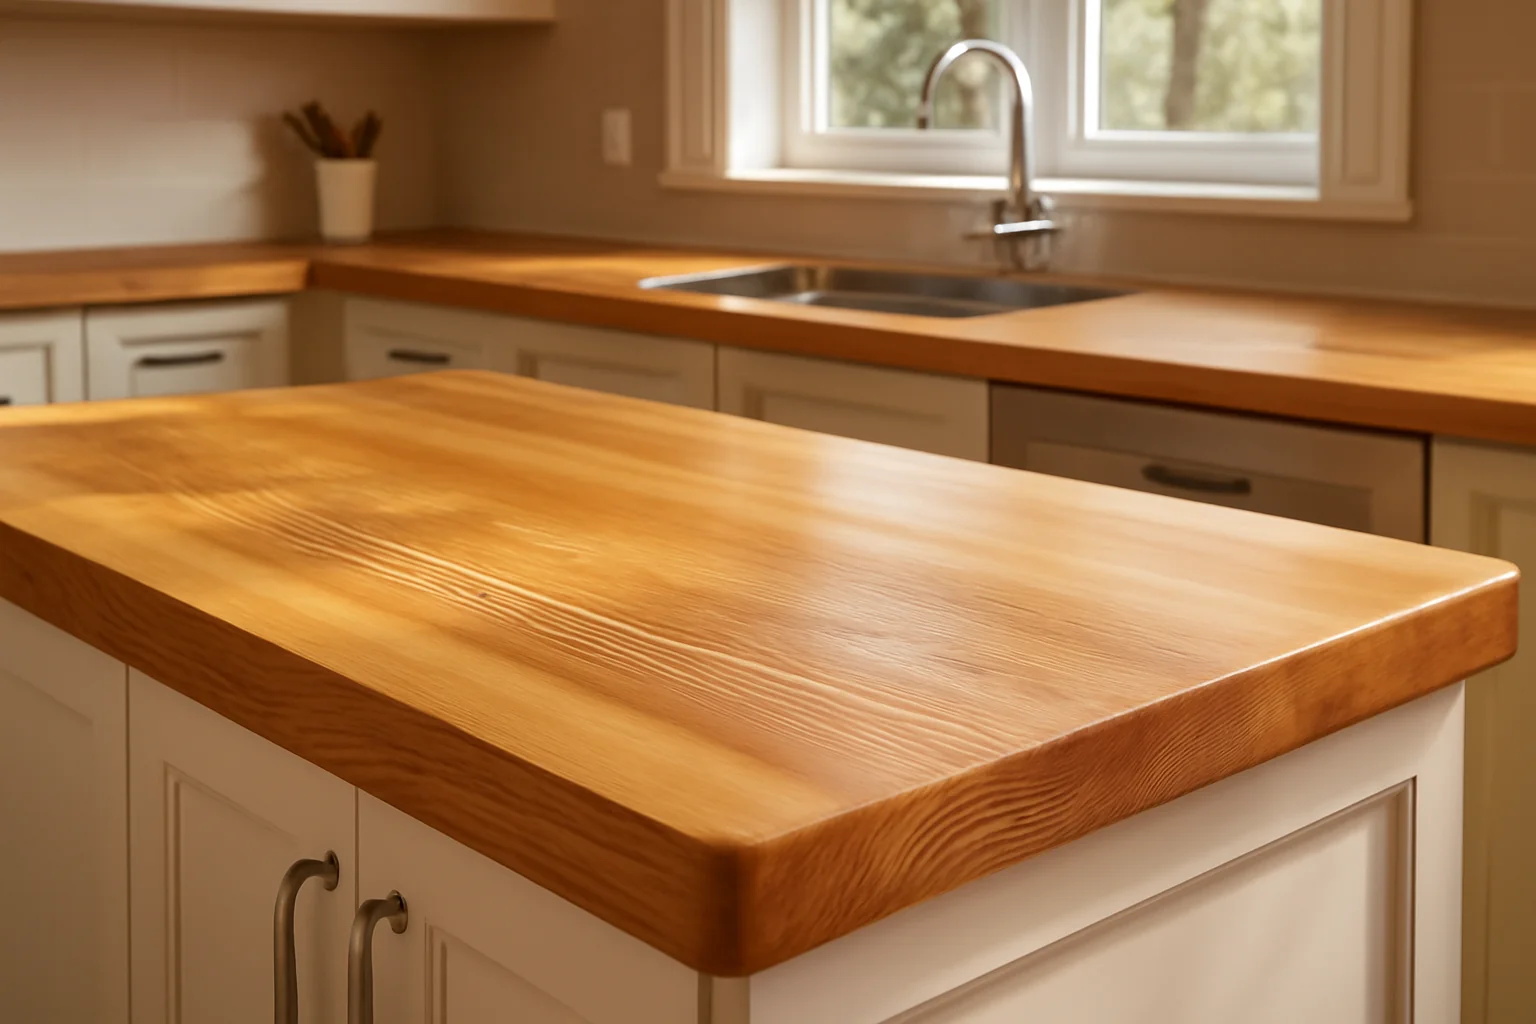
A custom pine countertop from MEBLIX is an item made to the exact dimensions of your kitchen, table or bathroom: free measurement, 3D design in 1–2 days, manufacturing in our own 600 m² workshop in Almaty and installation by our own crews. 24-month warranty on the item under the contract, payment 50 % deposit and 50 % after the acceptance certificate.
Pine is a soft resinous species, and this is exactly what determines where it is appropriate and where caveats are needed. We break down how the material behaves before you order: hardness, resins, reaction to moisture.
How soft pine is and what that means in practice
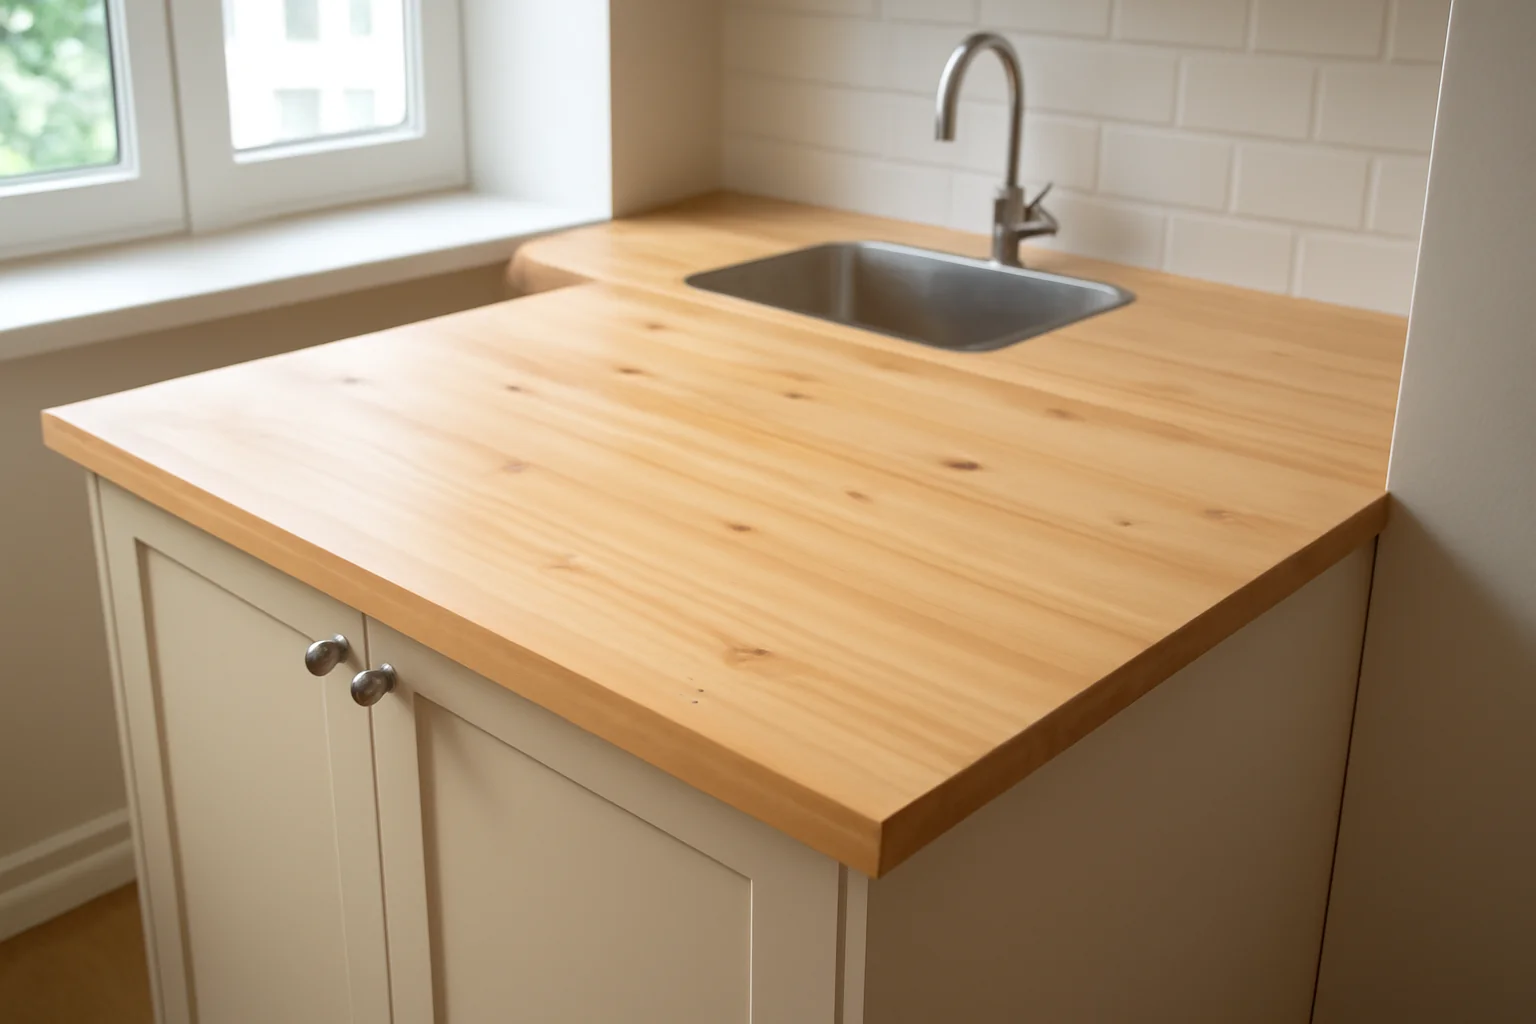
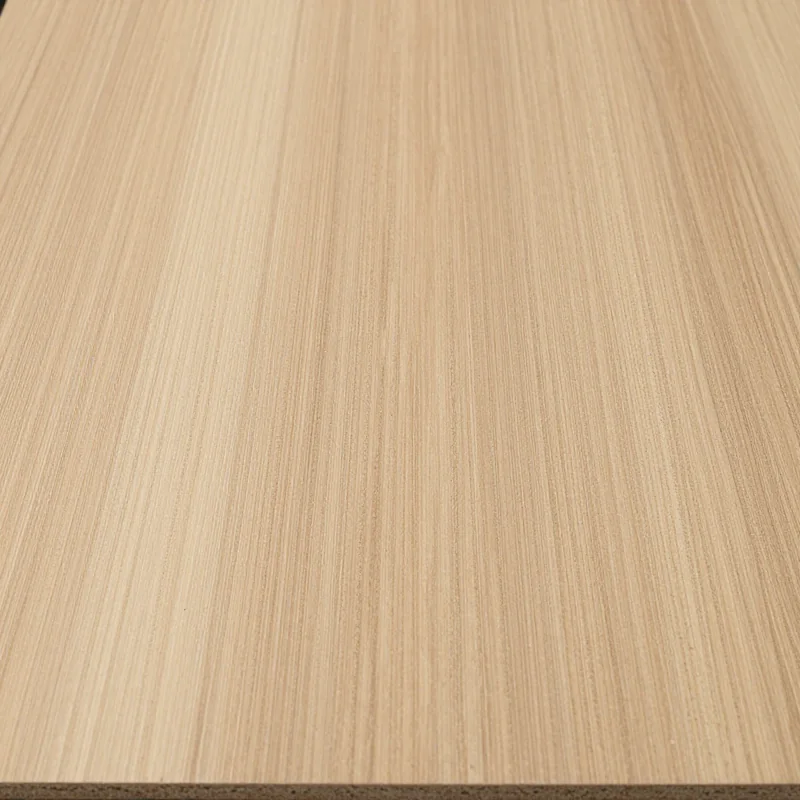
A solid pine countertop belongs to soft species, so over time dents from heavy objects and point impacts are possible on the surface. In hardness the species is several times inferior to oak and ash: a knife left blade-down leaves a mark, and a hot mug without a coaster can leave a light halo on the oil. Dents do not destroy the solid wood — the fibers compress rather than break, and small marks are removed by sanding followed by refreshing the finish. Deep chips on the edge are less common if the end is closed with a chamfer and impregnated. Softness is compensated by thickness and the finish — a dense layer of oil or lacquer takes part of the load, and a cutting board is still worth keeping at hand.
Resin content and smell — myths and reality
Pine contains resins that can come to the surface, but proper preparation and a sealed finish reduce this to a minimum. Resin pockets — dark streaks and drops — concentrate in certain areas of the board, and during cutting they are visible in advance: technicians avoid or cut out such zones. A fresh cut smells of pine needles, but after sanding and polymerization of the oil or lacquer the smell goes away — in a finished item it is not noticeable in the room. Stickiness appears where the resin was not removed before finishing: a solvent removes the surface layer, a primer closes the pores, and the finish lies evenly. Resinous areas are deresinated and sanded before finishing — if this step is skipped, lacquer or oil will lie unevenly and stains will show through later.
Moisture deformation and why solid wood “breathes”
A pine countertop reacts to humidity and temperature, so the item is allowed to stabilize and is sealed on all sides, including the ends. Wood exchanges moisture with the air: with seasonal fluctuations the board expands and contracts across the grain, while along the length the size hardly changes. Hence the rule — leave expansion gaps at the walls and do not fasten the countertop rigidly to the carcass, otherwise the solid wood will push against it and warp. An open end absorbs water several times faster than the face, so impregnation is applied to both the edge and the back side. Moisture-resistant impregnation on the ends keeps the geometry: they need to be treated no less than the face, otherwise warping and joint separation start exactly from the edge.
Finger-jointed or solid pine and what thickness resists sagging
Construction and thickness are two decisions that determine how a pine countertop behaves under load and whether the joints will separate. We break down the difference between types of solid wood and the logic of choosing thickness.
How finger-jointed solid wood differs from solid
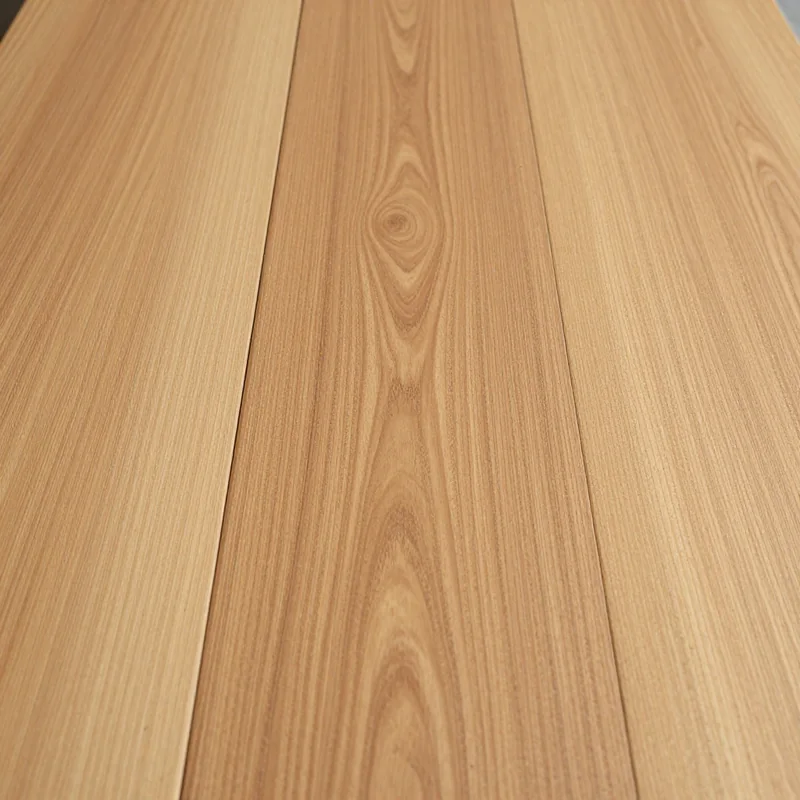
Glued solid wood consists of bonded lamellas, while solid wood has no glued joints between lamellas, and each option behaves differently when humidity changes. In glued pine solid wood, lamellas are laid along the grain and glued on a smooth joint — resulting in a board of the required width with a uniform pattern. Solid wood is a single board of large cross-section, and its width is limited by the trunk diameter, so a wide panel of solid wood is rare. The glued option is more stable geometrically because stresses are distributed across the lamellas, while solid wood is more beautiful in pattern but more demanding in terms of operating conditions. For a kitchen surface longer than a meter, the glued option is more predictable: with seasonal humidity fluctuations, it warps less across the plane.
Will gaps appear between lamellas over time
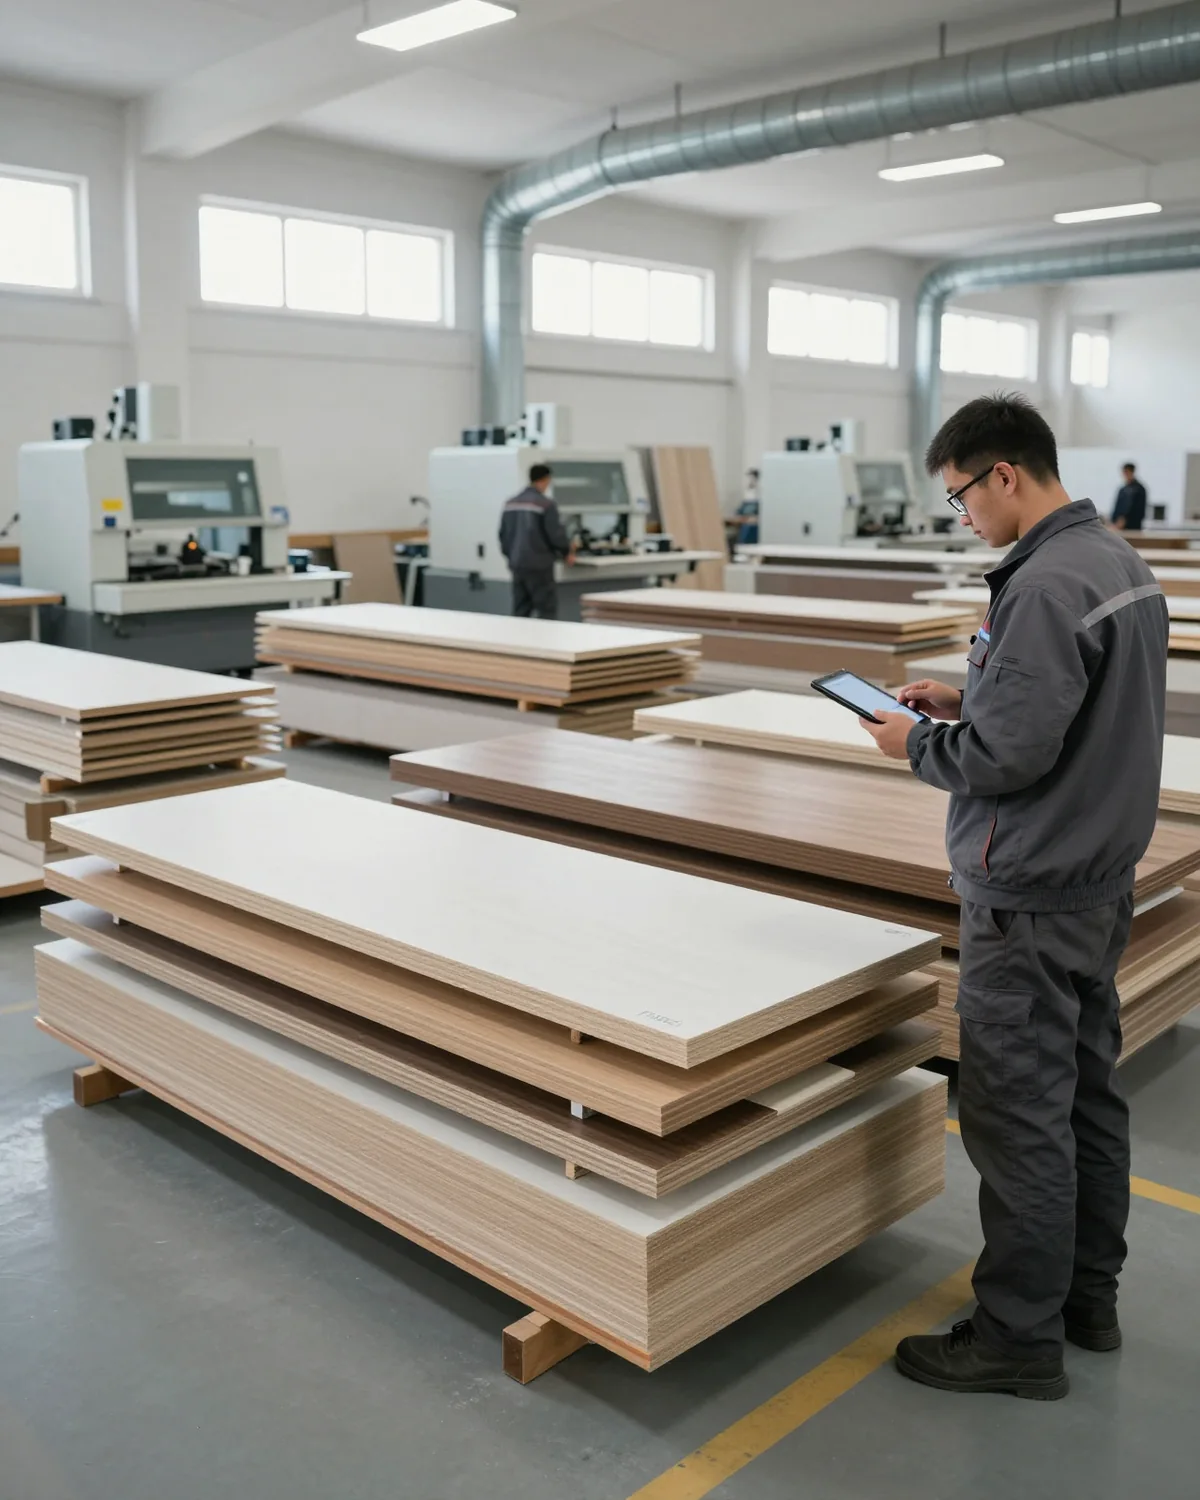
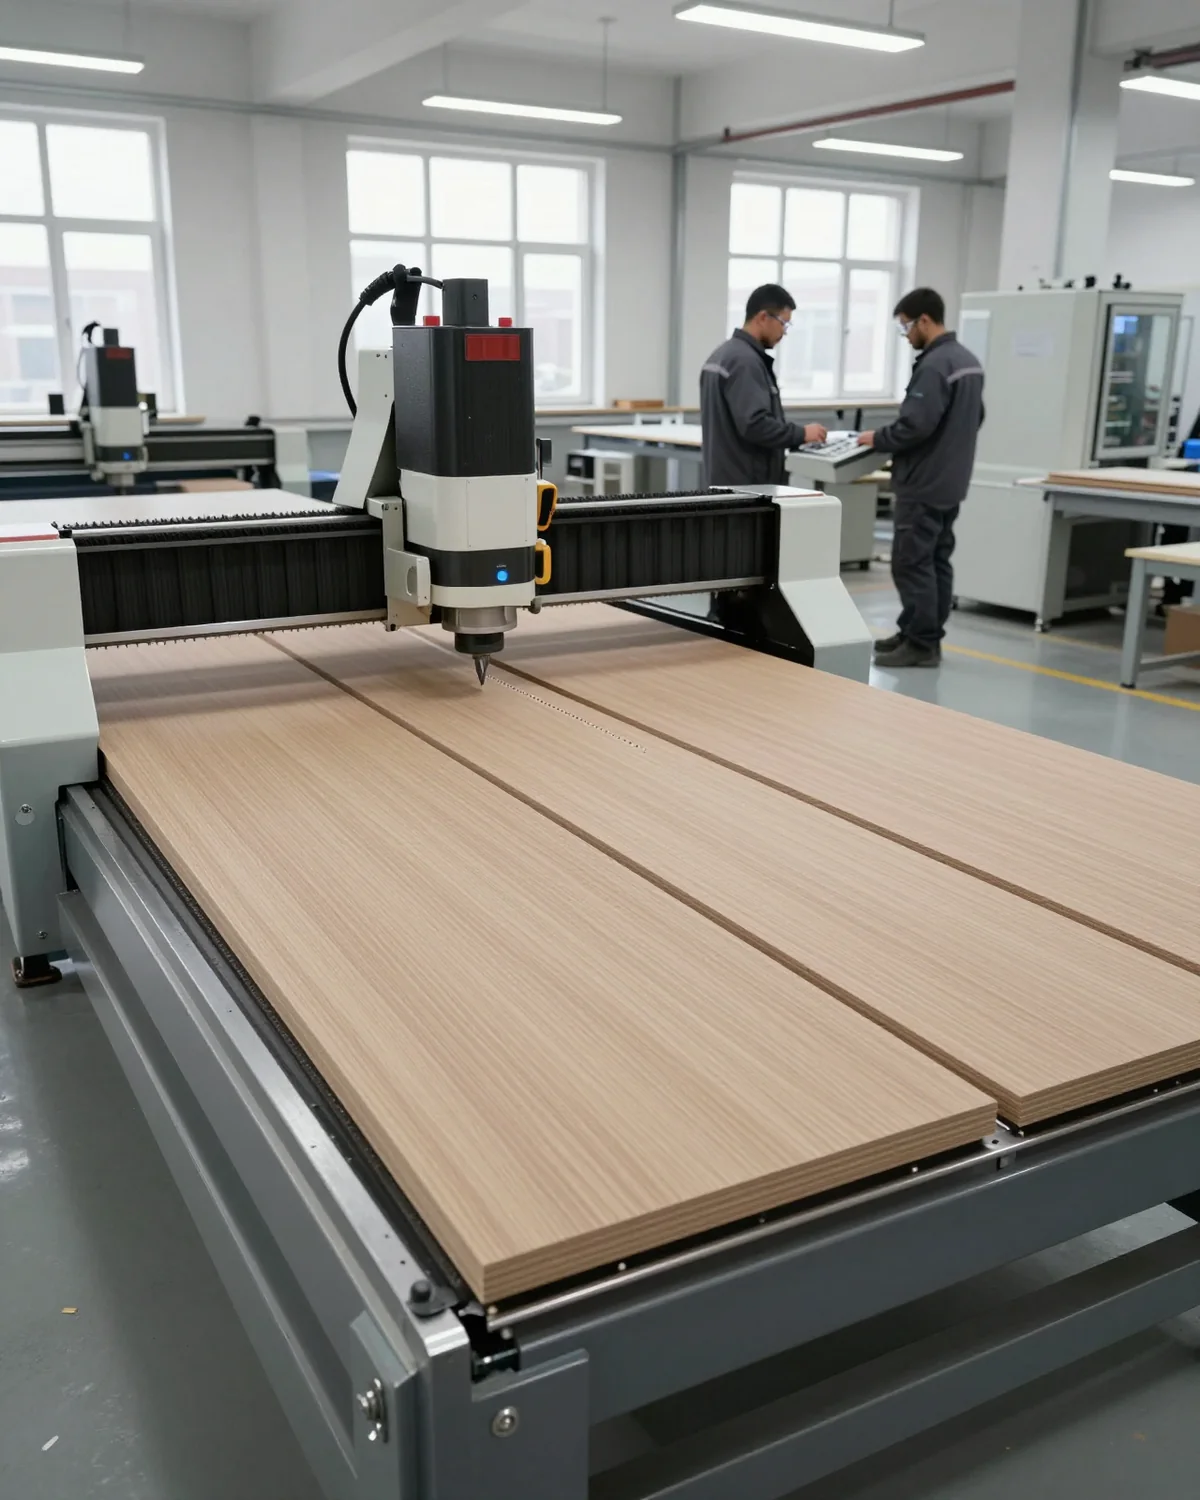
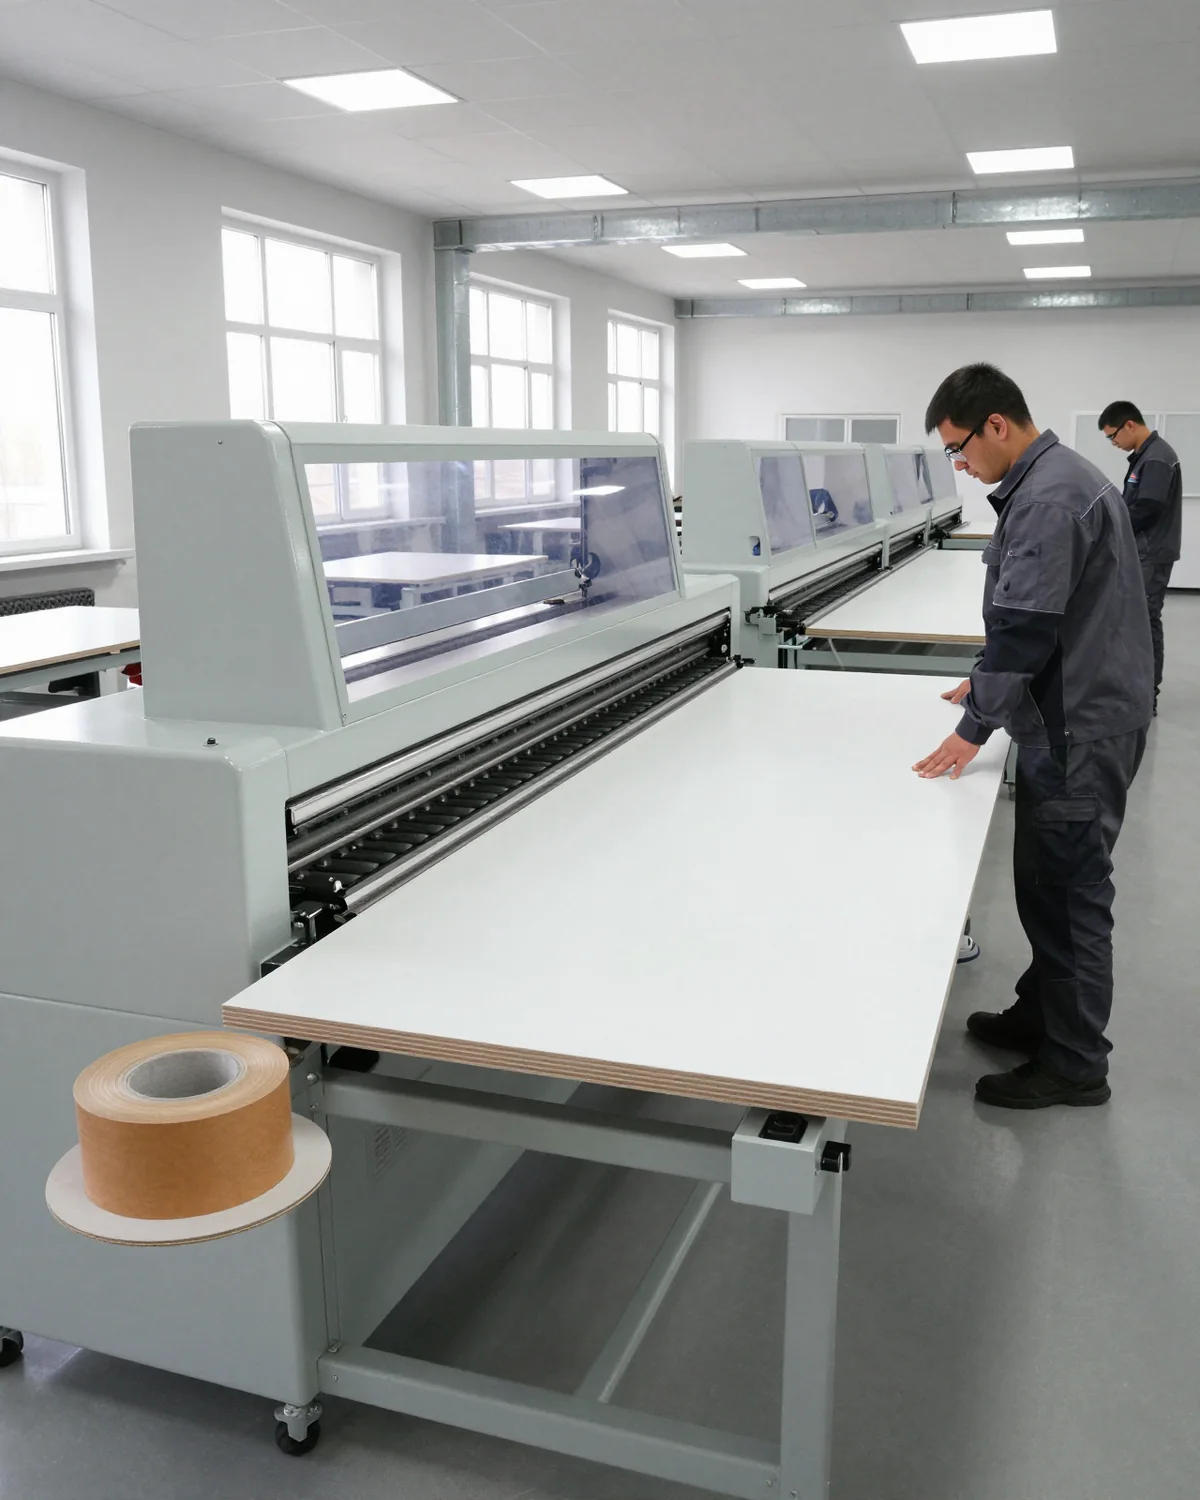
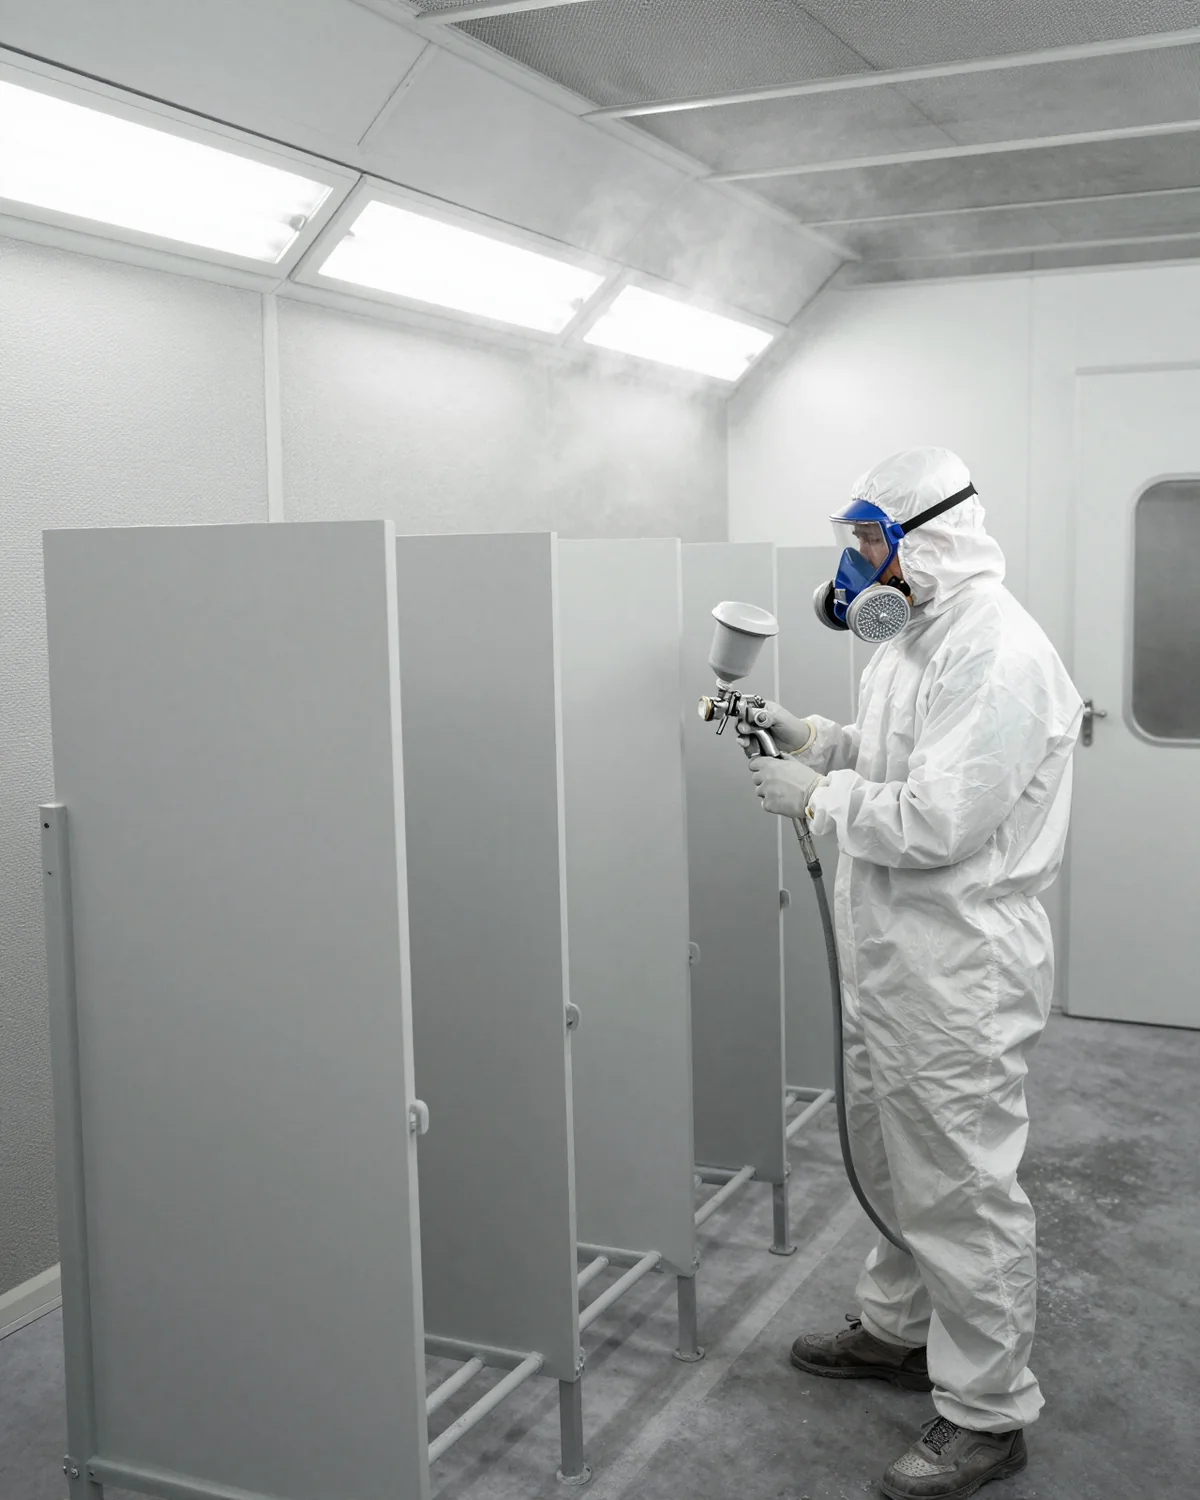
We select lamellas by moisture content and glue them in our workshop, so the joints stay even and do not separate over time. Our own 600 m² workshop in Almaty includes cutting, edge banding, and painting, and before shipping, each item undergoes a control assembly — which shows whether the board lies flat and whether there are any discrepancies at the joints. Gaps appear where lamellas are glued with different moisture content or the end is left without coating — moisture control at the input is cheaper than reworking a finished item. Pine tolerates the dry air of an apartment in winter worse than oak, so we cover the ends with coating just like the face surface. During acceptance, run your hand across the lamellas: a step at the joint is a signal for rework, not a "natural pattern".
What thickness is needed so the board does not sag
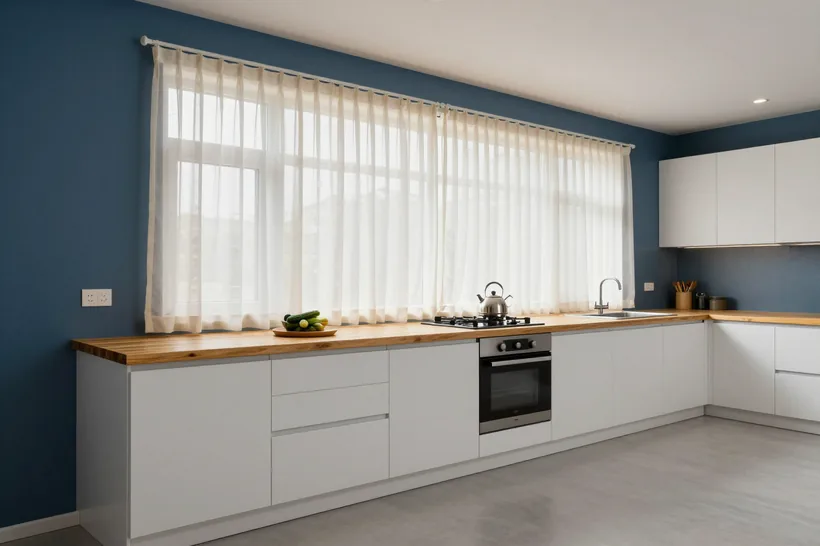
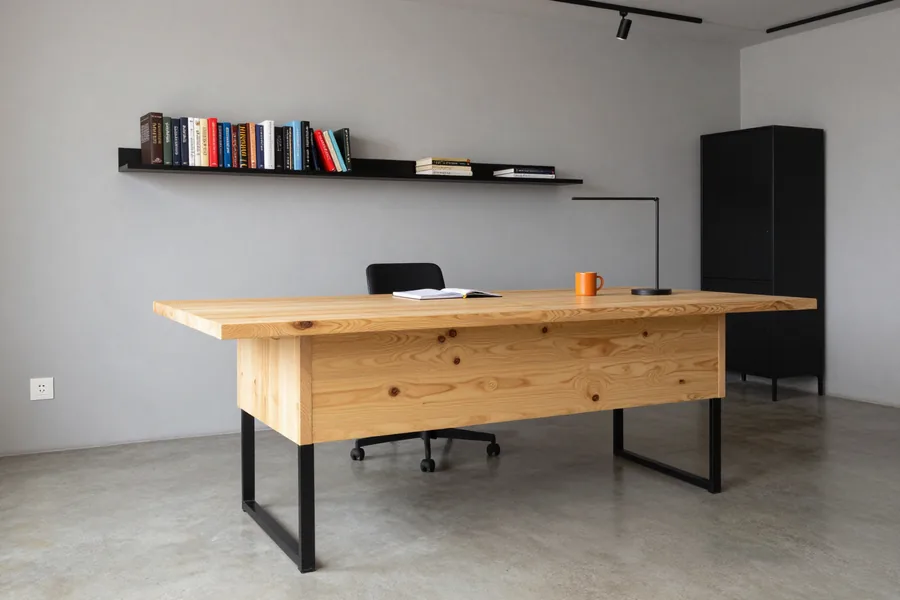
Thickness affects resistance to sagging under load, and we select it based on the span between supports and the scenario — kitchen, dining, or work table. For a kitchen option with supports at the edges of cabinets and a span of about a meter, 40 mm solid wood is usually sufficient; long dining tables are assembled from 40–60 mm boards or an intermediate support is added. A work table surface carries local loads — elbow, monitor, equipment — and here stiffness of the underframe is more important than thickness. Sagging depends not only on thickness but also on the spacing of supports: an additional support under a long span often solves the problem more reliably than thickening the entire board. Before ordering, measure the distance between supports — based on this figure, the technologist will specify the cross-section, not "by eye".
Custom pine countertop made to measure instead of ready-made
A ready-made item of fixed size rarely fits a kitchen: niches need their own overhang, and walls are rarely at right angles. We explain how a made-to-measure order works — from measurement to installation.
How ordering works from measurement to installation
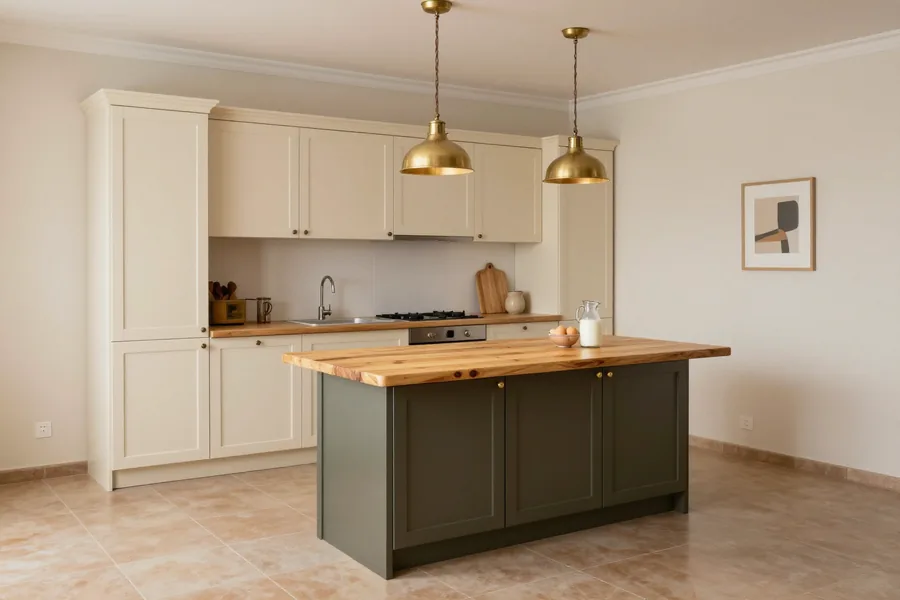
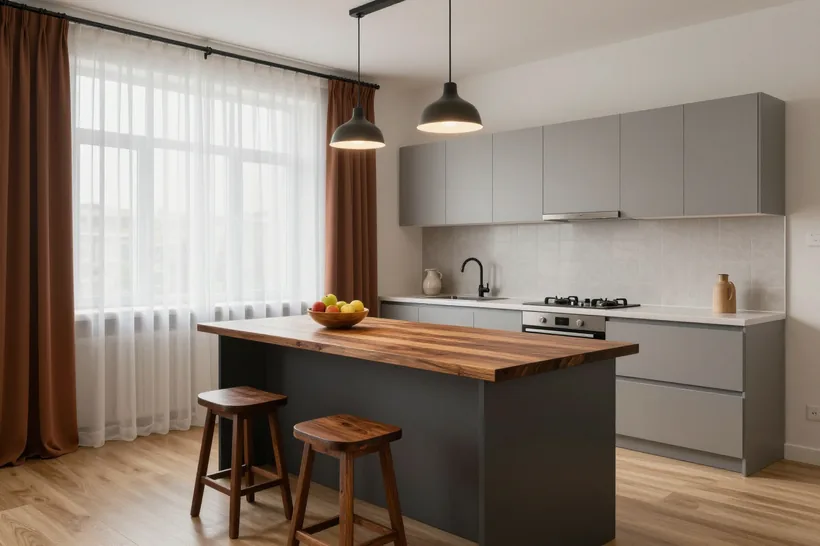
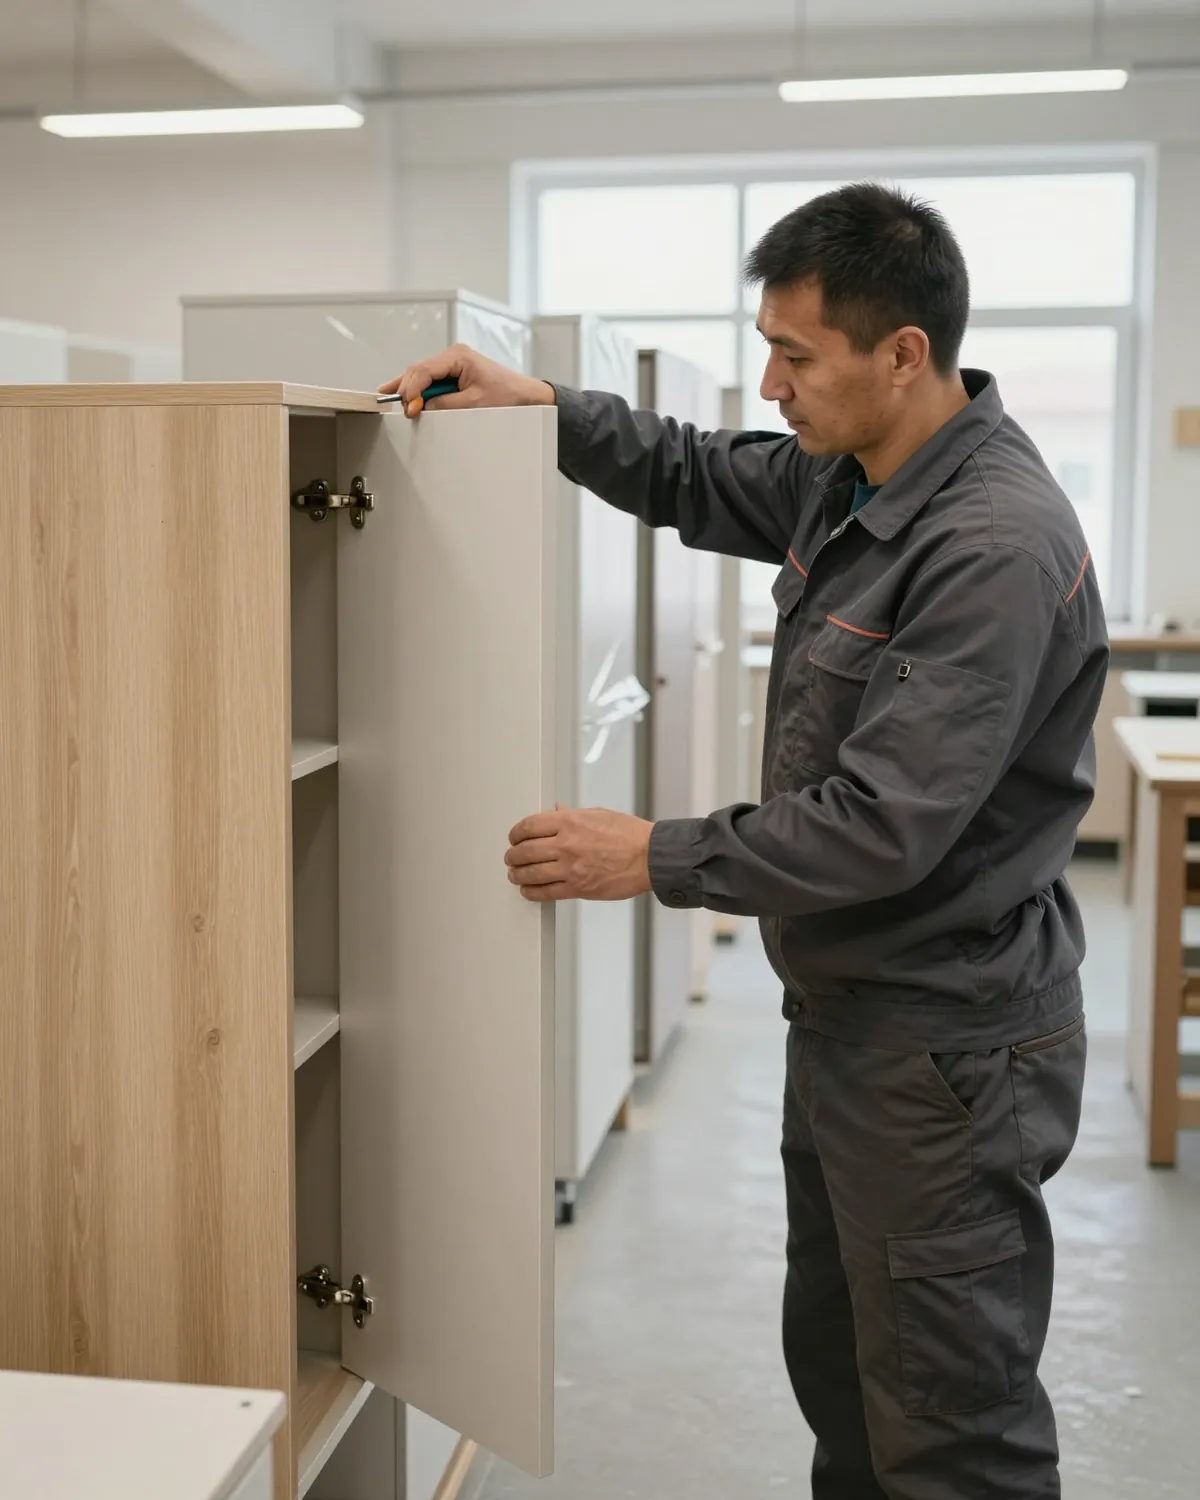
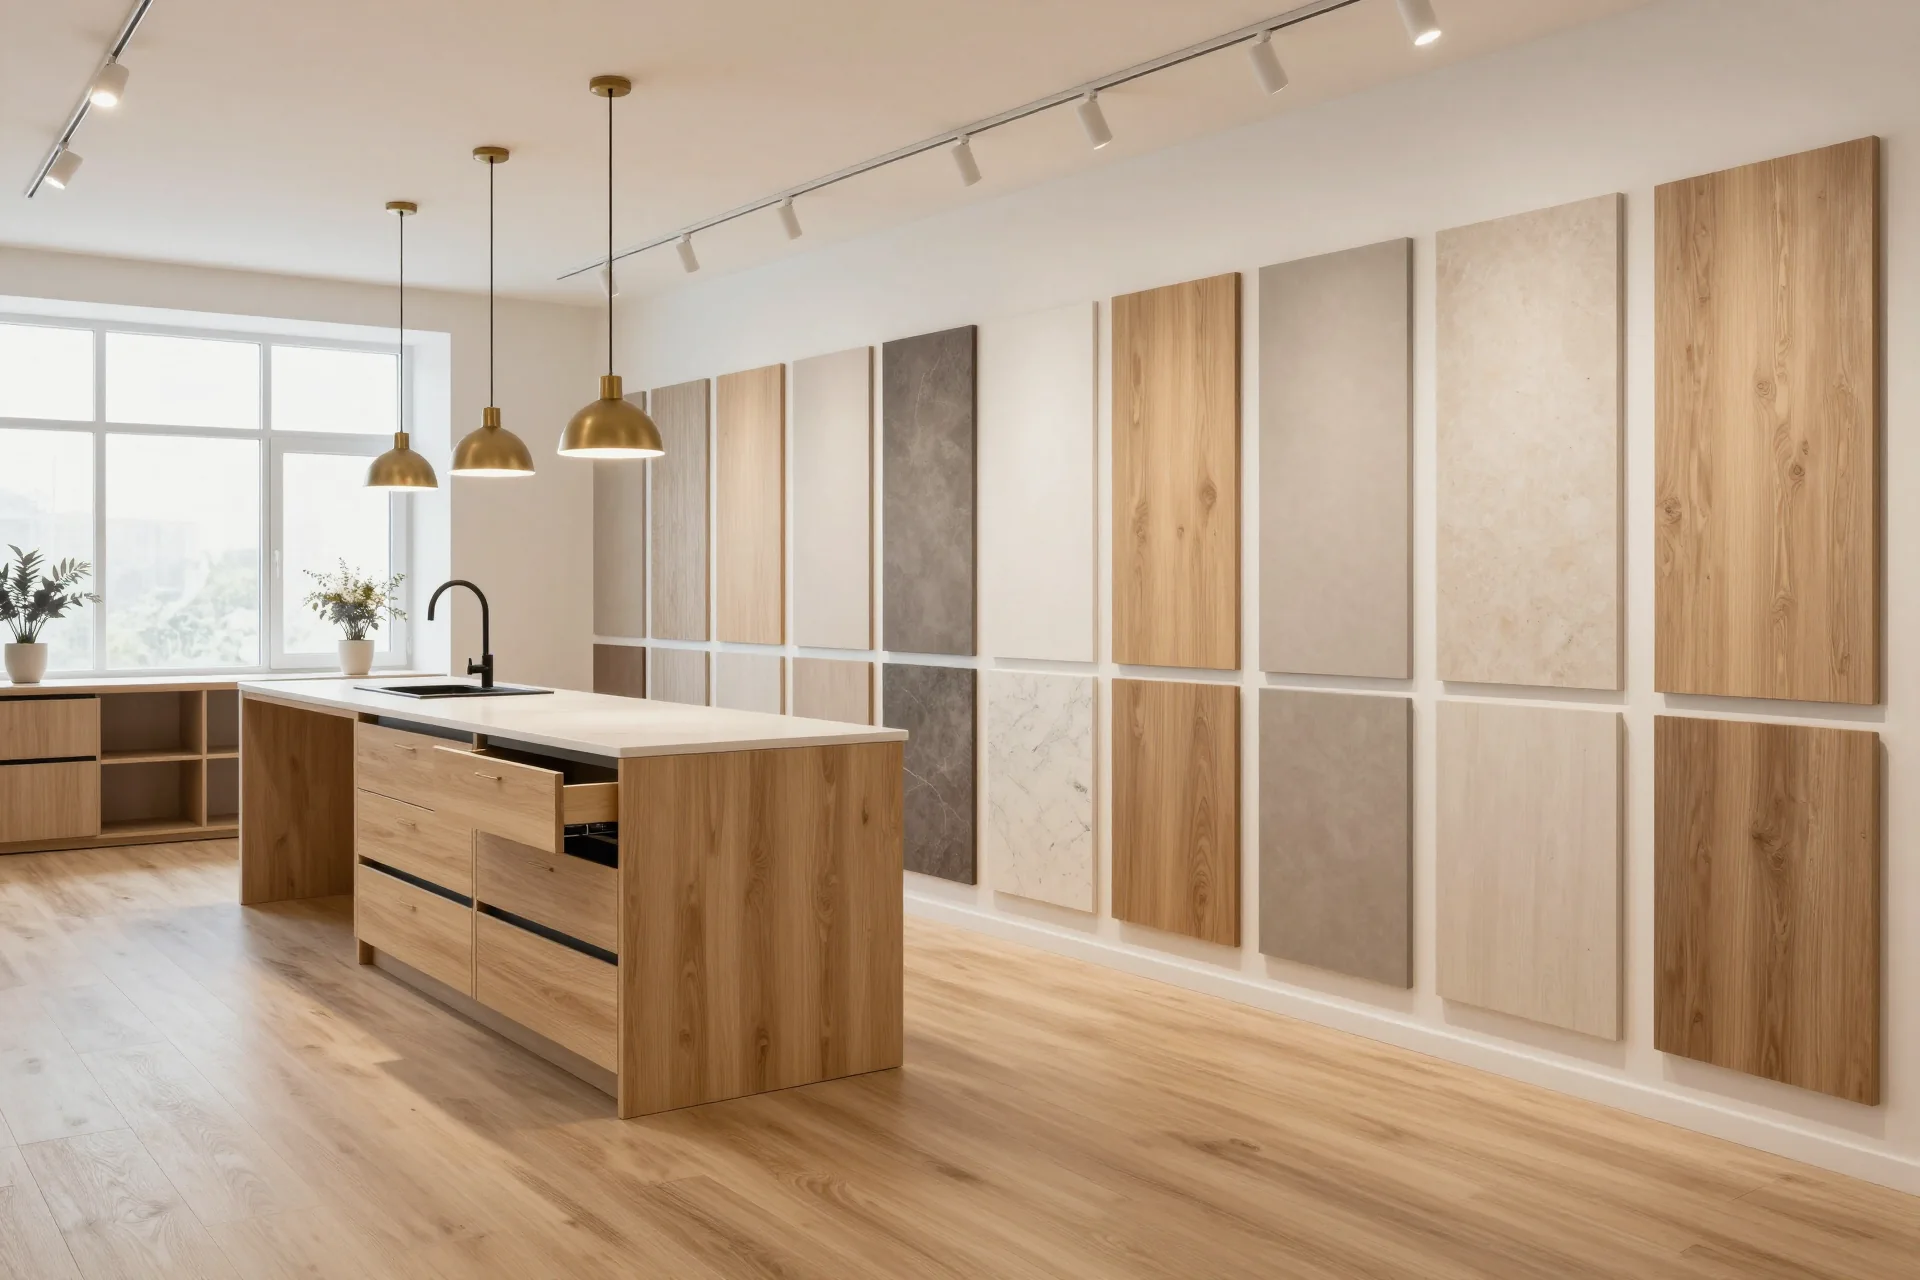
We start with a free measurement and a 3D design in 1–2 days, then manufacture the item in our own workshop and install it with our own teams. During the measurement, the technologist takes the dimensions of the niche, checks the geometry of the walls, marks the utility outlets and points for future cutouts, while you discuss the wood species, thickness, and coating. Then in the 3D design you can see how the pine solid wood item joins the backsplash, where the edge runs, and how much space remains to the upper cabinets. In our 600 m² workshop, we perform cutting, edge banding, painting, and control assembly, after which the team goes to install. We sign the acceptance act only after installation. A 3D design before production starts removes the main risk — seeing a mismatch with the idea on screen is cheaper than on the installed surface.
Non-standard kitchen and uneven walls
We fit the item to the site when the walls are uneven, so it sits without gaps or shims. In panel buildings and older housing, a wall often deviates from vertical by several centimeters per meter of length, and the angle between two walls is not a right angle. During the measurement we record this unevenness and build the fitting allowance directly into the cutting: one edge follows the actual wall line, not the nominal dimension. A finished pine item needs no cover strips or decorative corners — the joint closes tightly. Wall unevenness is recorded at the measurement, not during installation — then the fitting allowance is built into the cutting, and the joint with the wall comes out even without cover strips.
Lead times, rush orders and delivery in Almaty
Lead times depend on the item and material and are listed in the price list on this page, and rush orders are possible. Delivery within the city and up to 30 km is free for large orders, beyond 30 km — for an extra charge. Payment is in two steps: 50 % prepayment, the remaining 50 % after signing the acceptance certificate, we work by bank transfer. Rush depends not on assembly but on preparing the material and finish — pine solid wood takes longer to dry under oil and lacquer than laminated chipboard or acrylic, so the time buffer is planned in advance. If you need a tight deadline, say so at the measurement, not after the project is approved: then the technician will select a finish with a short curing time and put the item first in the workshop queue.
Sink and hob in a pine solid wood countertop
The sink and hob are the most heavily used areas of the kitchen, and for solid wood both sides matter: a neat cutout and protection of the surface around the opening.
Can a sink and hob be cut into solid wood
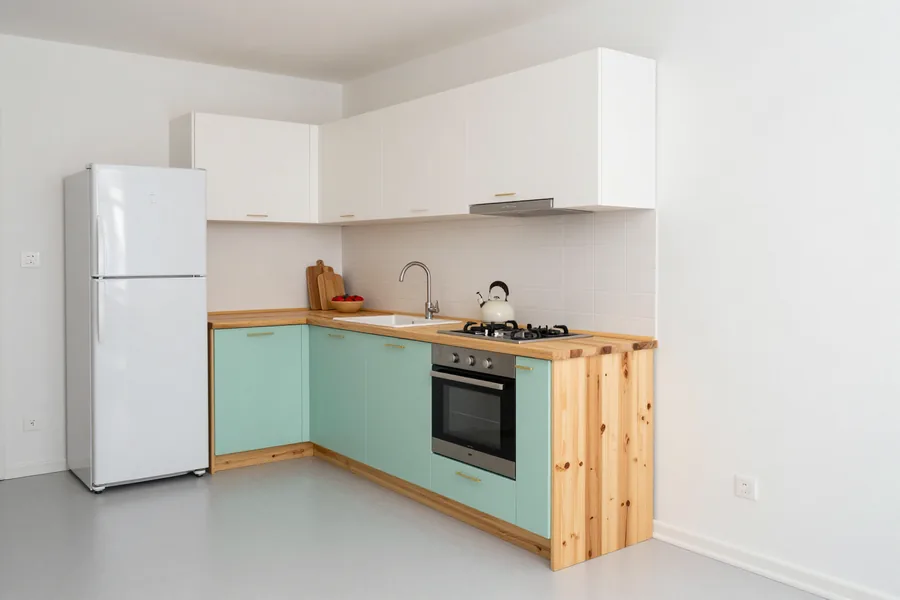
We cut sinks and hobs into solid wood countertops and seal the edge of the cutout so moisture does not get into the open end grain. The cutout for the hob follows the template of the specific model with a gap for thermal expansion, for the bowl — along its contour, with reinforcement of the adjacent area. We treat the cut with a moisture-resistant impregnation in two passes, seal the joint with sealant, sand the ends to a smooth edge without chips. Pine is a soft wood, so we mill at low speed with a sharp cutter: this way no tear-outs appear on the edge where water would linger. The sink opening is the most vulnerable spot in solid wood: if the end grain of the cutout is not sealed, water goes into the fibers right there, so sealing gets no less attention than the finish itself. Before installation, check the bowl thickness and mounting method — this determines whether an additional stiffening strip is needed underneath.
What to do about splashes and moisture near the sink
Moisture-resistant impregnation reduces water absorption near the sink, but constant puddles on solid wood are still undesirable. Water on pine does not act instantly: the fibers swell gradually, and on the first day a puddle may leave no visible trace — but repeated marks around the bowl eventually raise the grain and leave gray spots. It is enough to wipe the area near the bowl after each use and not leave a wet sponge or cloth there — stagnant moisture is absorbed more than the splashes themselves. Also watch the joint between the countertop and the backsplash: water accumulates there unnoticed and seeps to the end grain. Wiping splashes quickly is easier than repairing a swollen end — the habit of wiping around the sink extends the life of the finish more noticeably than any one-time treatment.
Is pine suitable under the sink in the bathroom
Pine under the sink in the bathroom is possible, but it requires denser moisture protection than in the kitchen due to constant dampness. Here the solid wood works in a different mode: not occasional splashes, but high air humidity almost all the time. Multi-layer wood oil and end-grain treatment provide workable protection, but without an extractor fan or regular ventilation the coating will have to be renewed more often. If the sink is a vessel type, water pours onto the surface and runs off the edge of the bowl — this edge should be sealed especially carefully. In the bathroom, solid wood suffers not from splashes but from steam and poor ventilation — if the room is poorly ventilated, it is worth discussing another material or enhanced treatment before ordering.
Coating, care and acceptance of solid pine items
The finish determines how the surface will withstand water and stains, and acceptance shows how to make sure the item matches the project. We break down three types of finish, daily care and the inspection procedure during installation.
Oil, lacquer or wax — what to choose for pine
comparison of three finishes by protection and renewal| Coating | Surface protection | Renewal | Feature for pine |
|---|
| Oil | penetrates into the fibers | locally, in sections | emphasizes the texture, requires regular renewal |
|---|
| Lacquer | dense film on top | full recoating | hides minor defects but is prone to chipping |
|---|
| Wax | thin protective layer | application over the area | enhances the grain, least resistant to water |
|---|
How to care for it to avoid stains and darkening
- Water: wipe immediately after it gets on the surface, do not leave puddles overnight.
- Grease and stains: remove with a mild product, without abrasives or hard sponges.
- Hot items: place on a stand to avoid marks from a cup or pot.
- Coating renewal: follow the oil or wax instructions, without waiting for wear.
- Ends and cutouts: check the sealing at the sink and stove with every renewal.
What to check on acceptance and what warranty applies
We carry out a control assembly in the workshop before shipping, and we sign the acceptance certificate after installation, when the geometry, edge and joints are visible in place. We give a 24-month warranty on the item under the contract, and the manufacturer's 25-year warranty applies to Blum hardware. On acceptance, check the fit to the wall, the treatment of the ends at the sink and stove, the absence of gaps between the slats and the filling of knots — these areas react to moisture first. A pine countertop, which you can buy together with installation by our team, arrives already assembled and checked, so the inspection takes little time. If you plan to cut in appliances later, agree on it before the final treatment: sealing of cutouts is done at the production facility, not on site. Acceptance after installation, not at the warehouse, shows whether the panel has settled against the wall and whether the ends are closed in real conditions.
The bottom line on pine countertops
Before making a final decision, it is worth bringing together everything that determines the durability and appearance of the item, so that the project does not have to be redone after installation.
- Wood species: pine is soft and resinous, so its strengths are revealed with the right thickness and finish.
- Construction: finger-jointed solid wood is more stable in geometry, while solid wood wins with its grain pattern but is more demanding about conditions.
- Thickness: is selected for the span between supports and the use case, not "by eye".
- Sink and hob: cutouts are possible, but sealing the cut edges is no less important than the finish.
- Acceptance: it is better to check geometry, edging and joints after installation, when the item is in place.