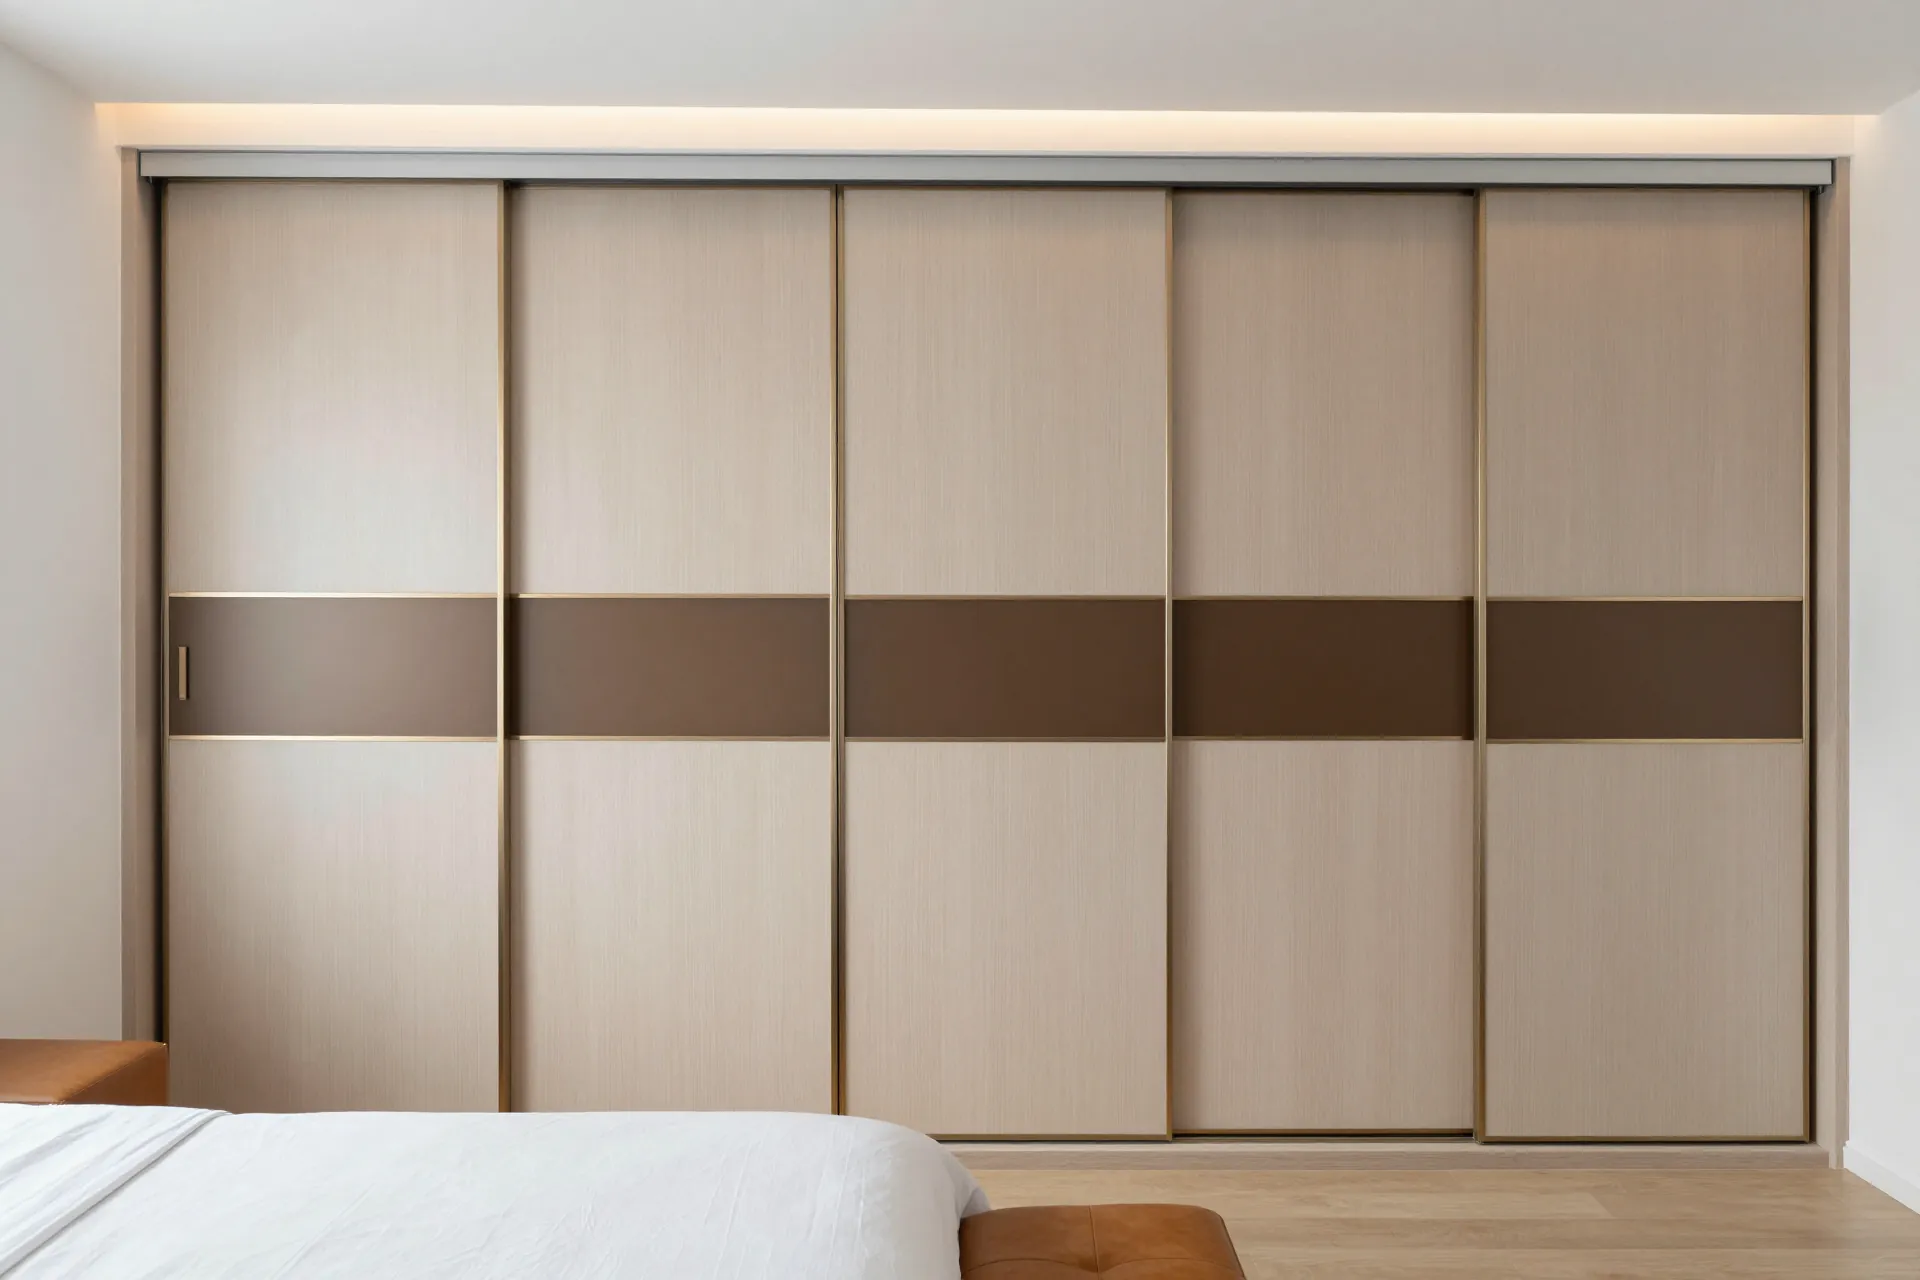
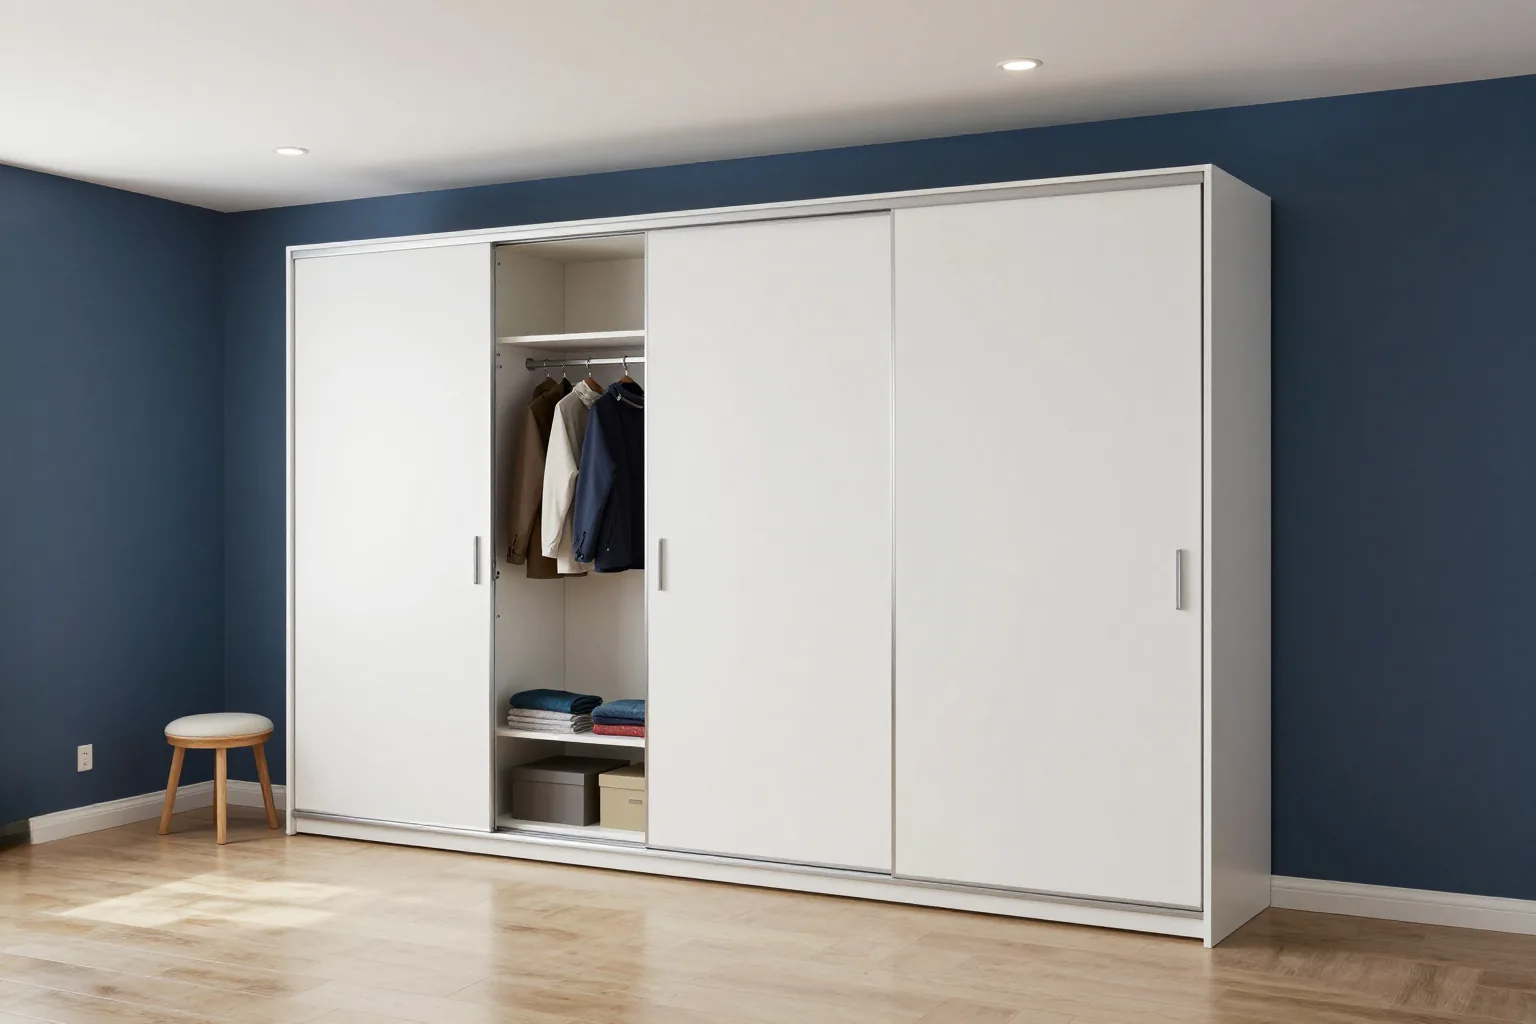
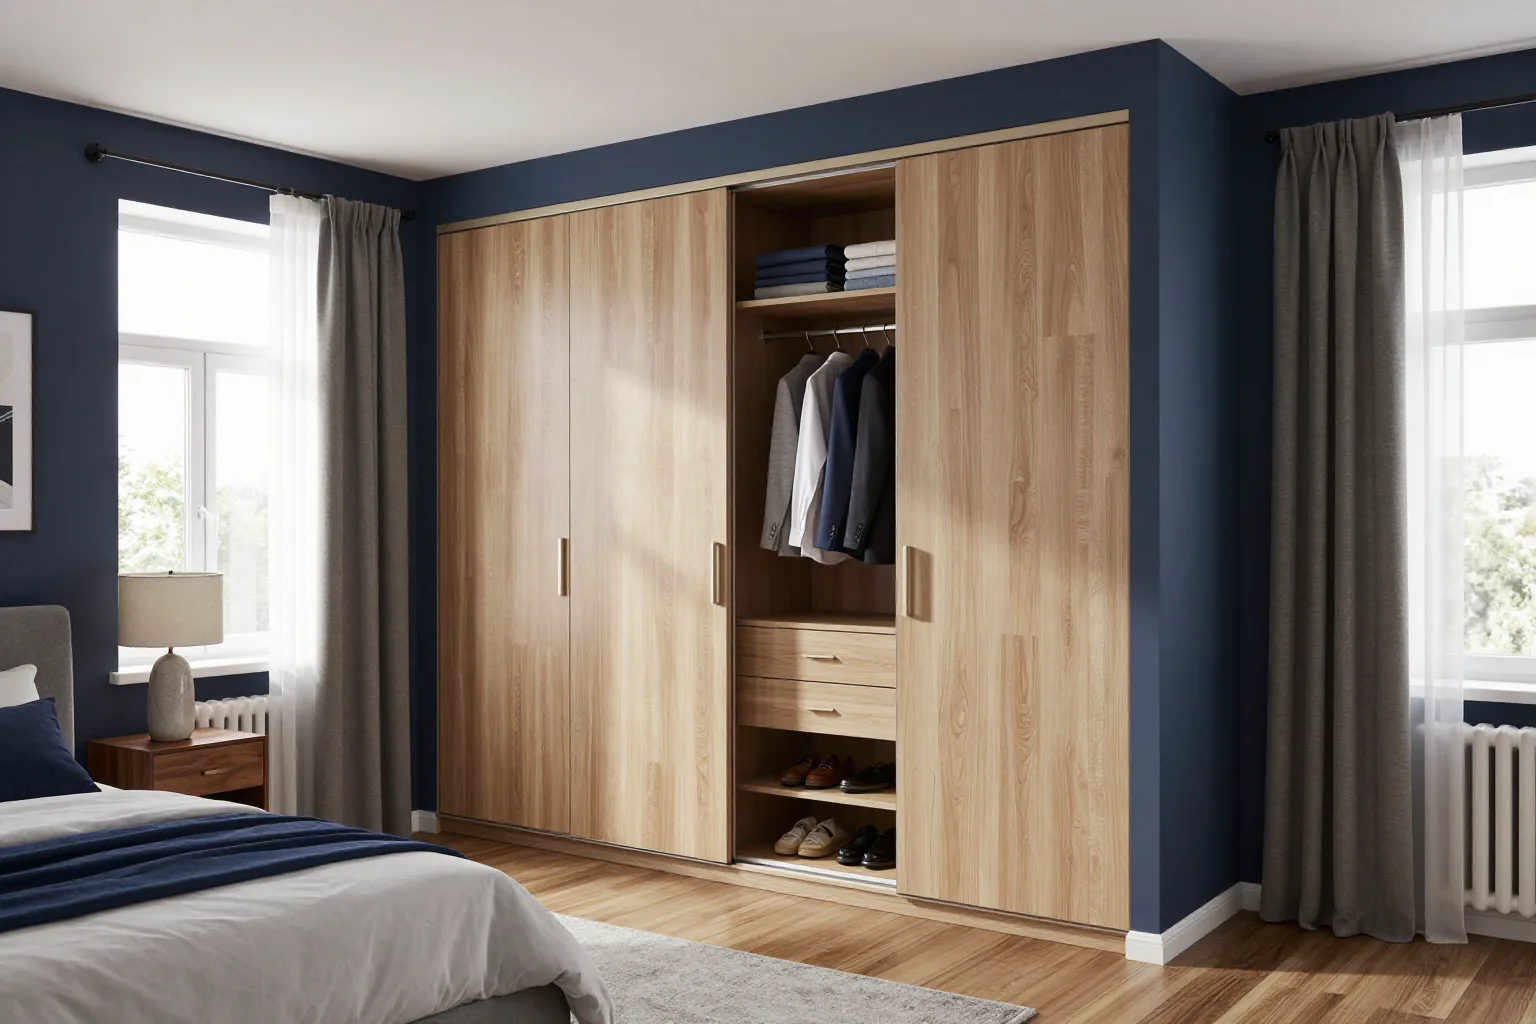
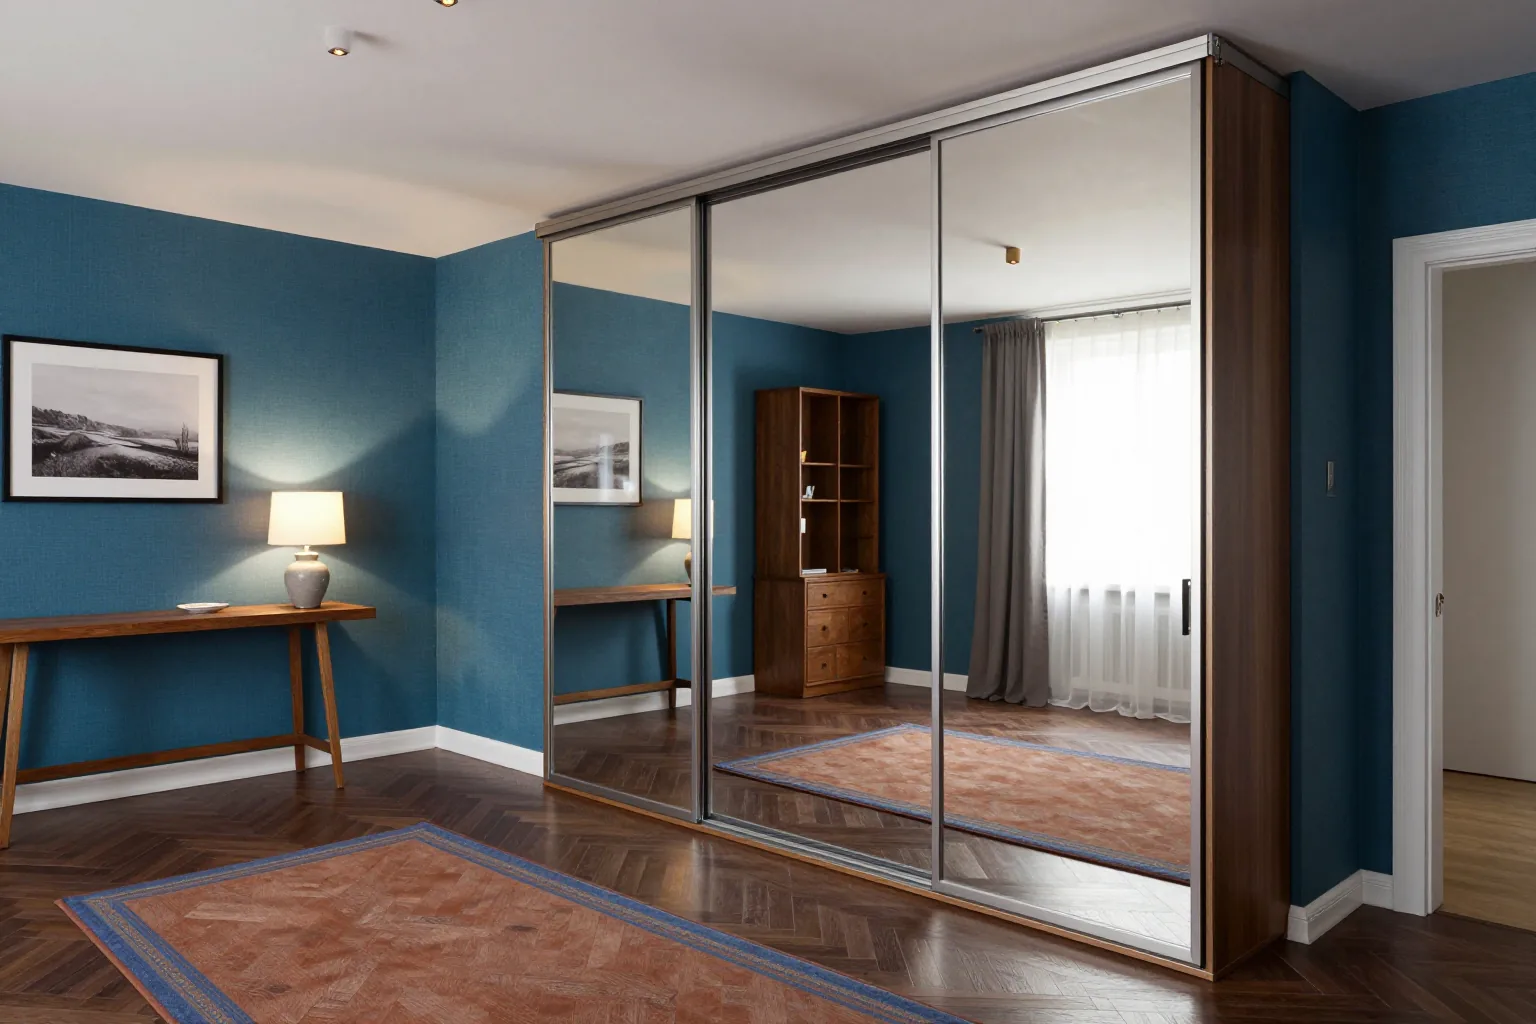
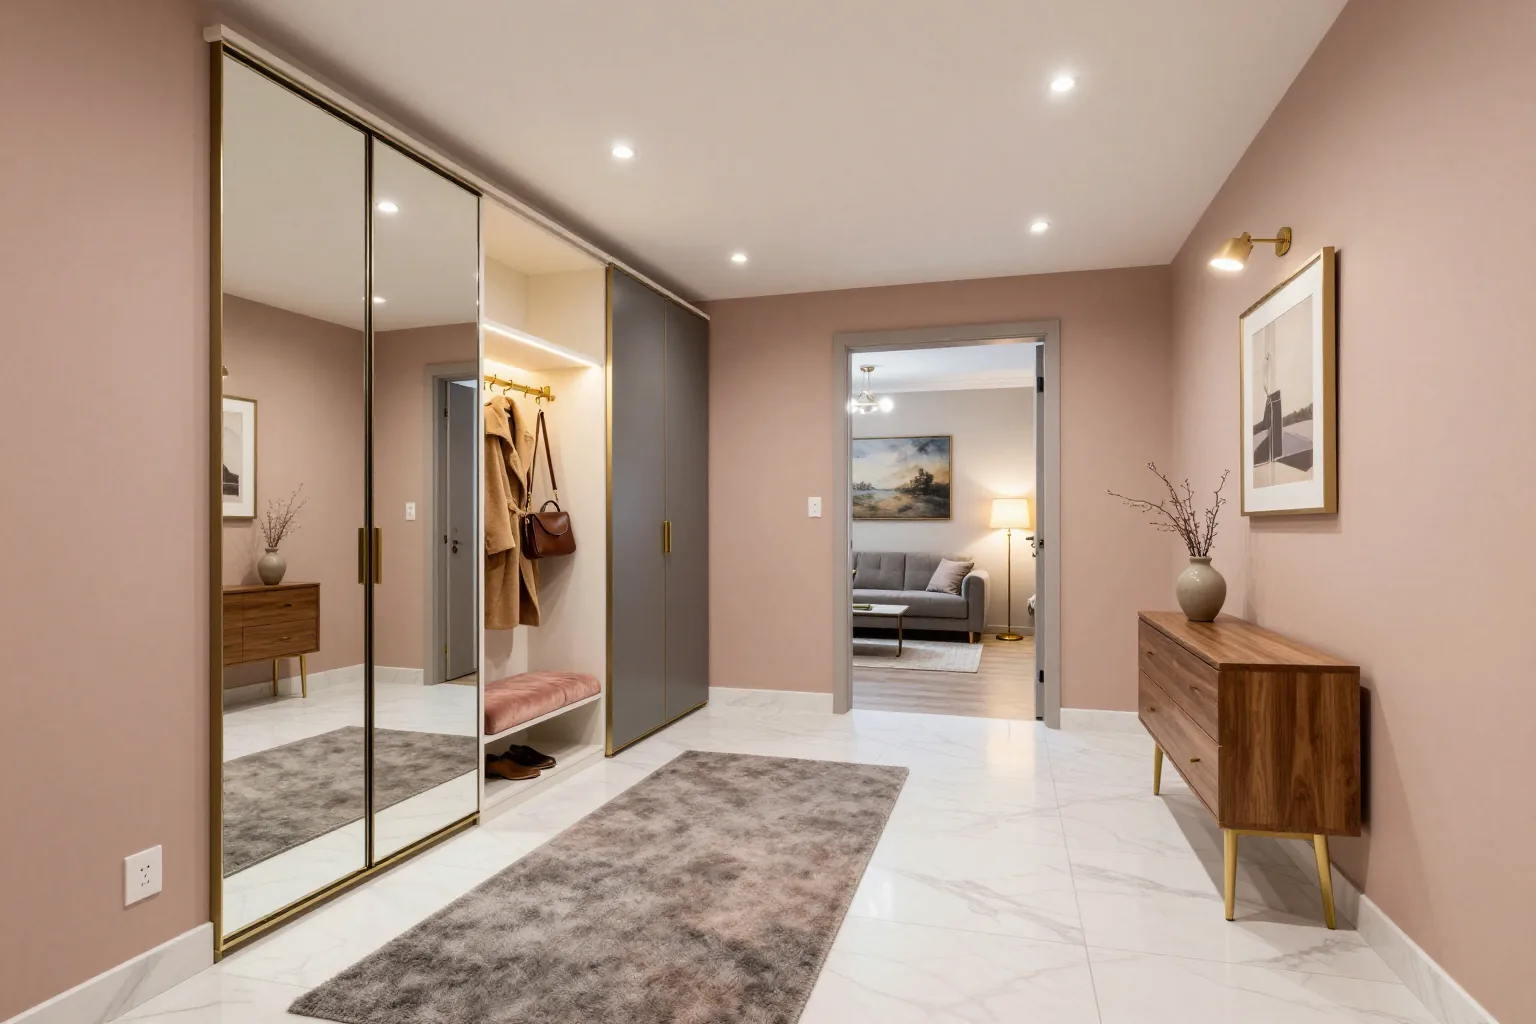
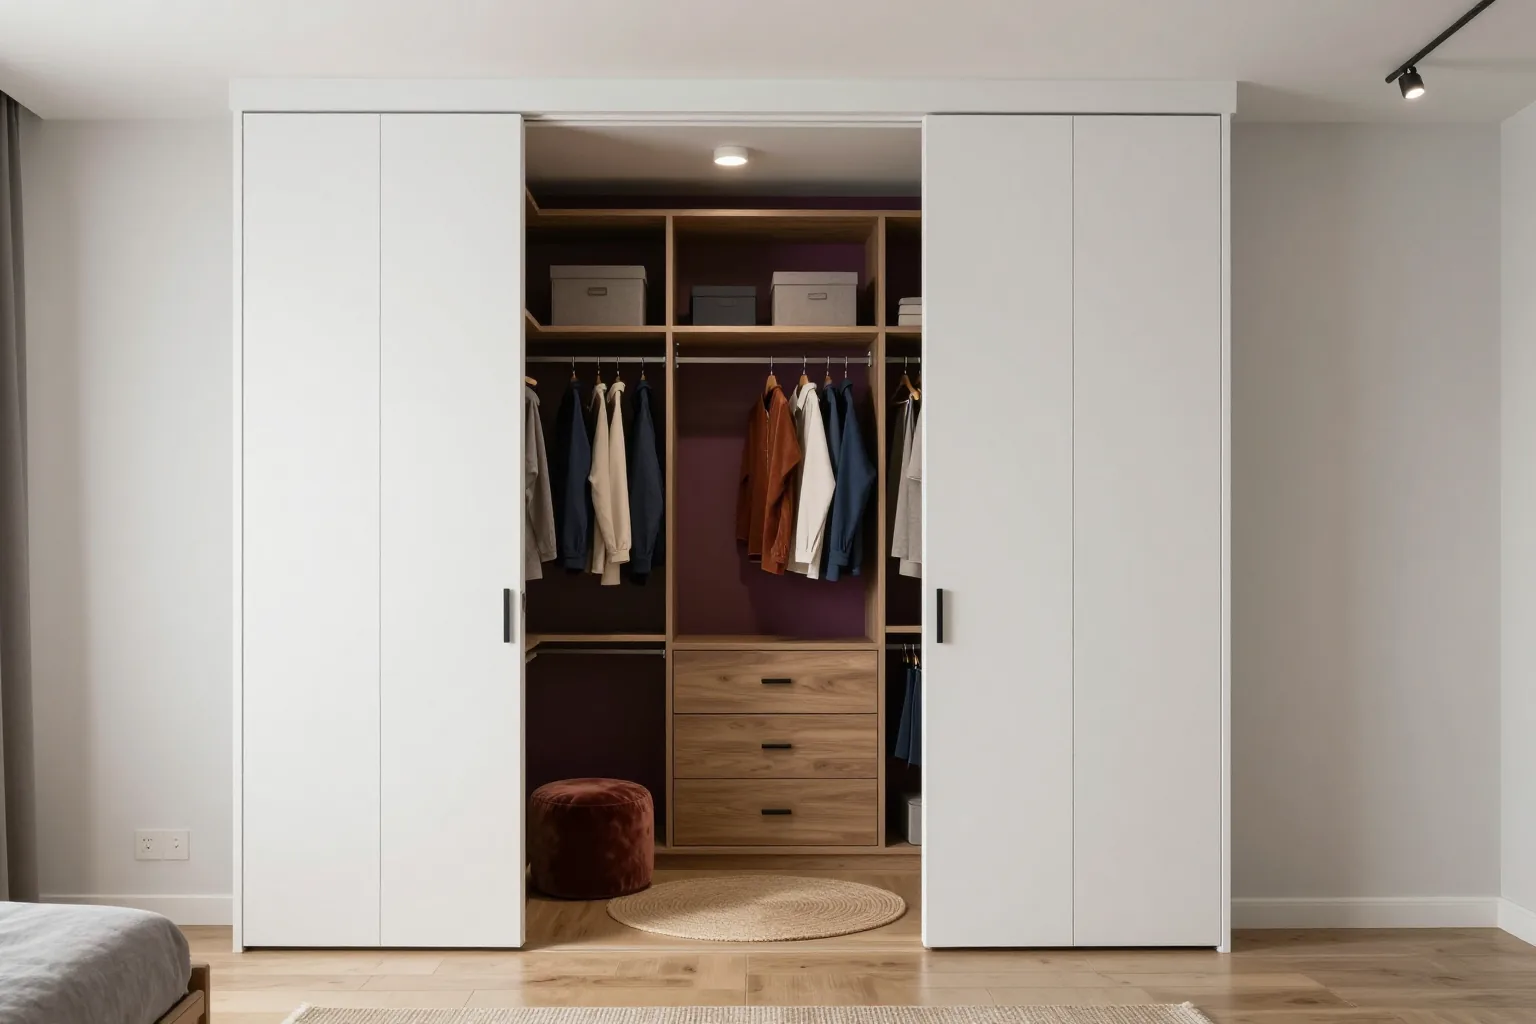
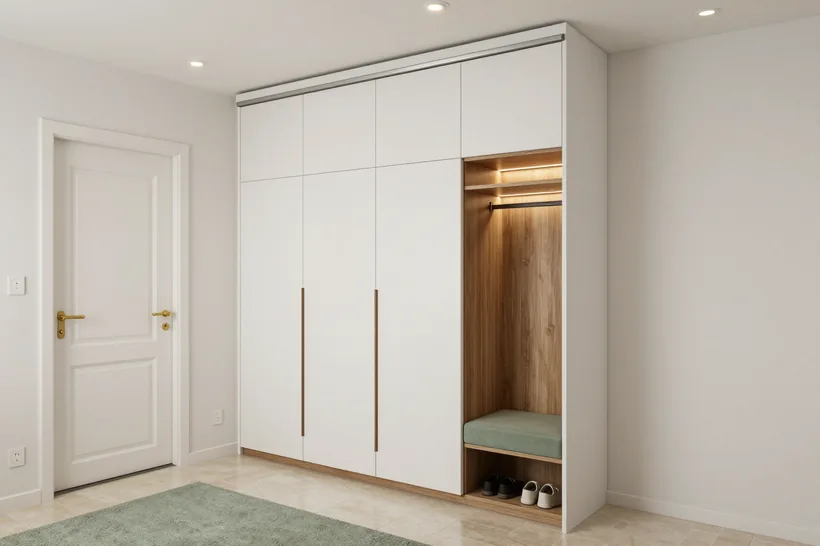
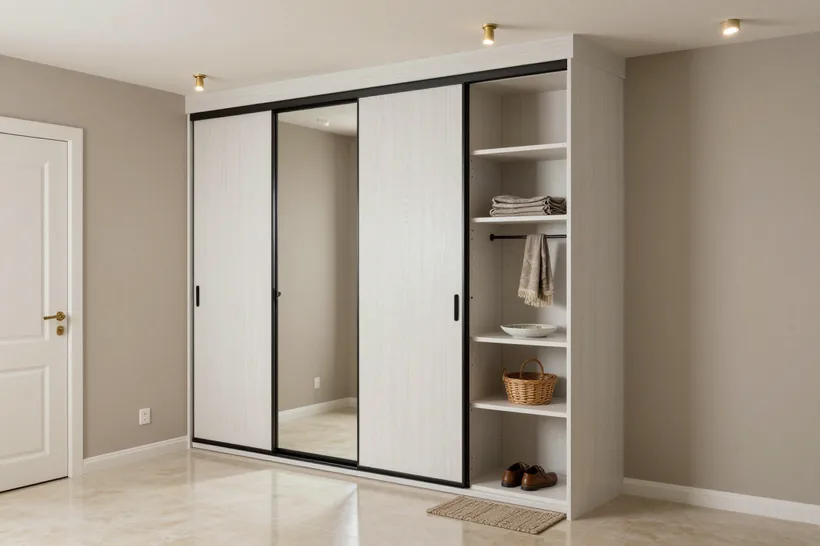
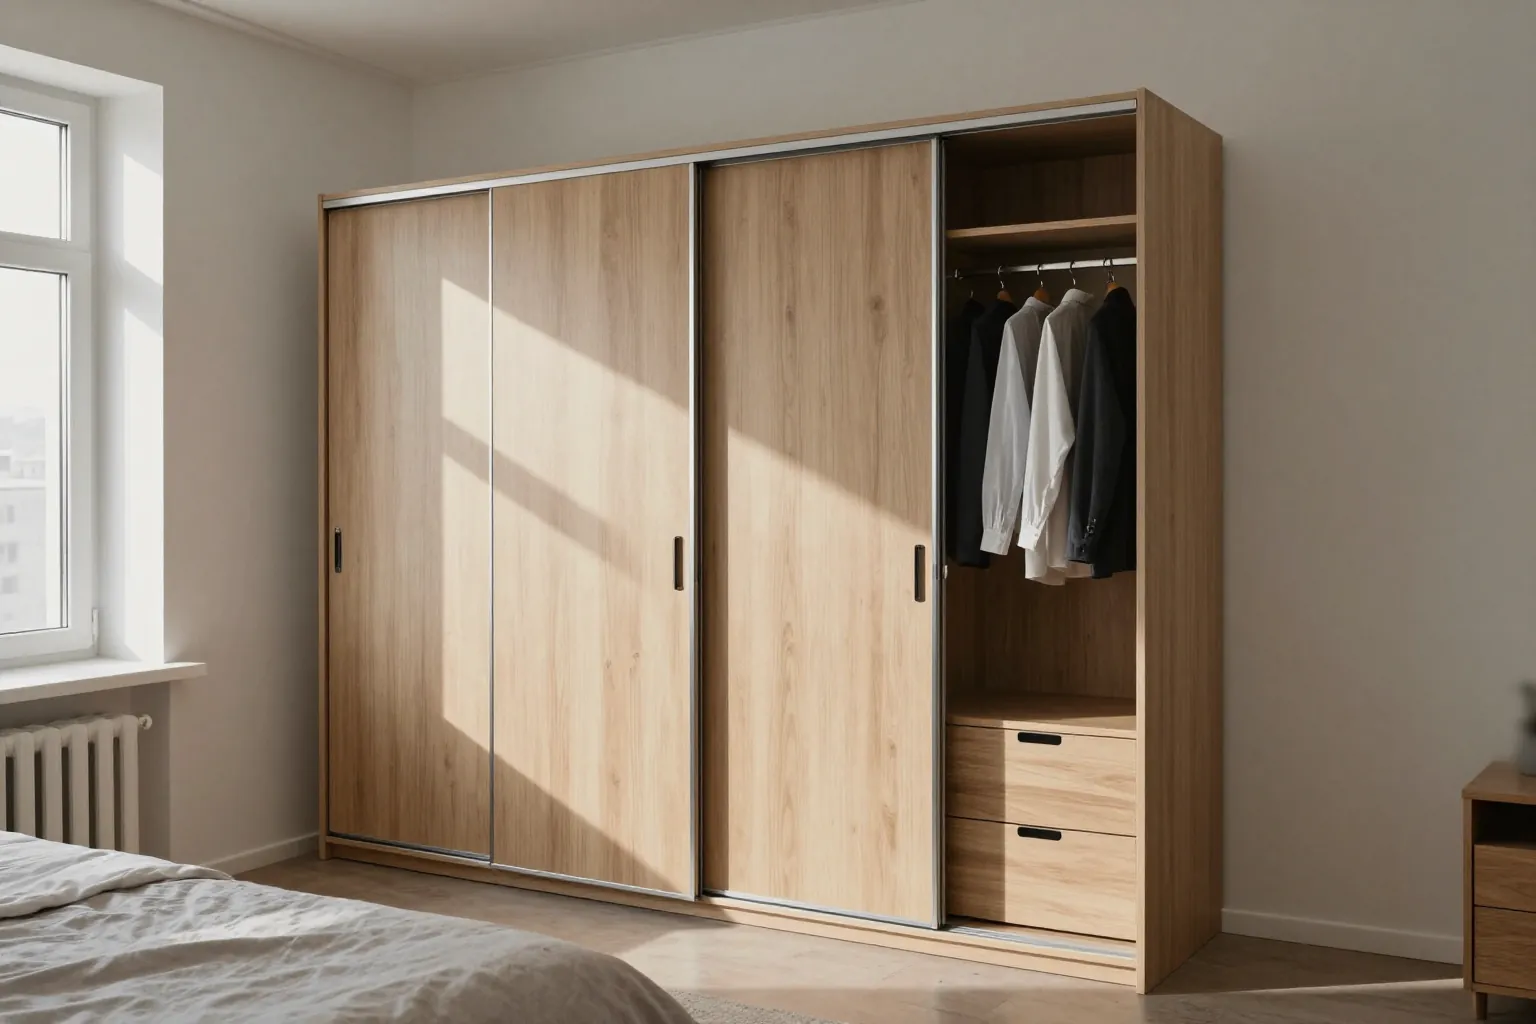
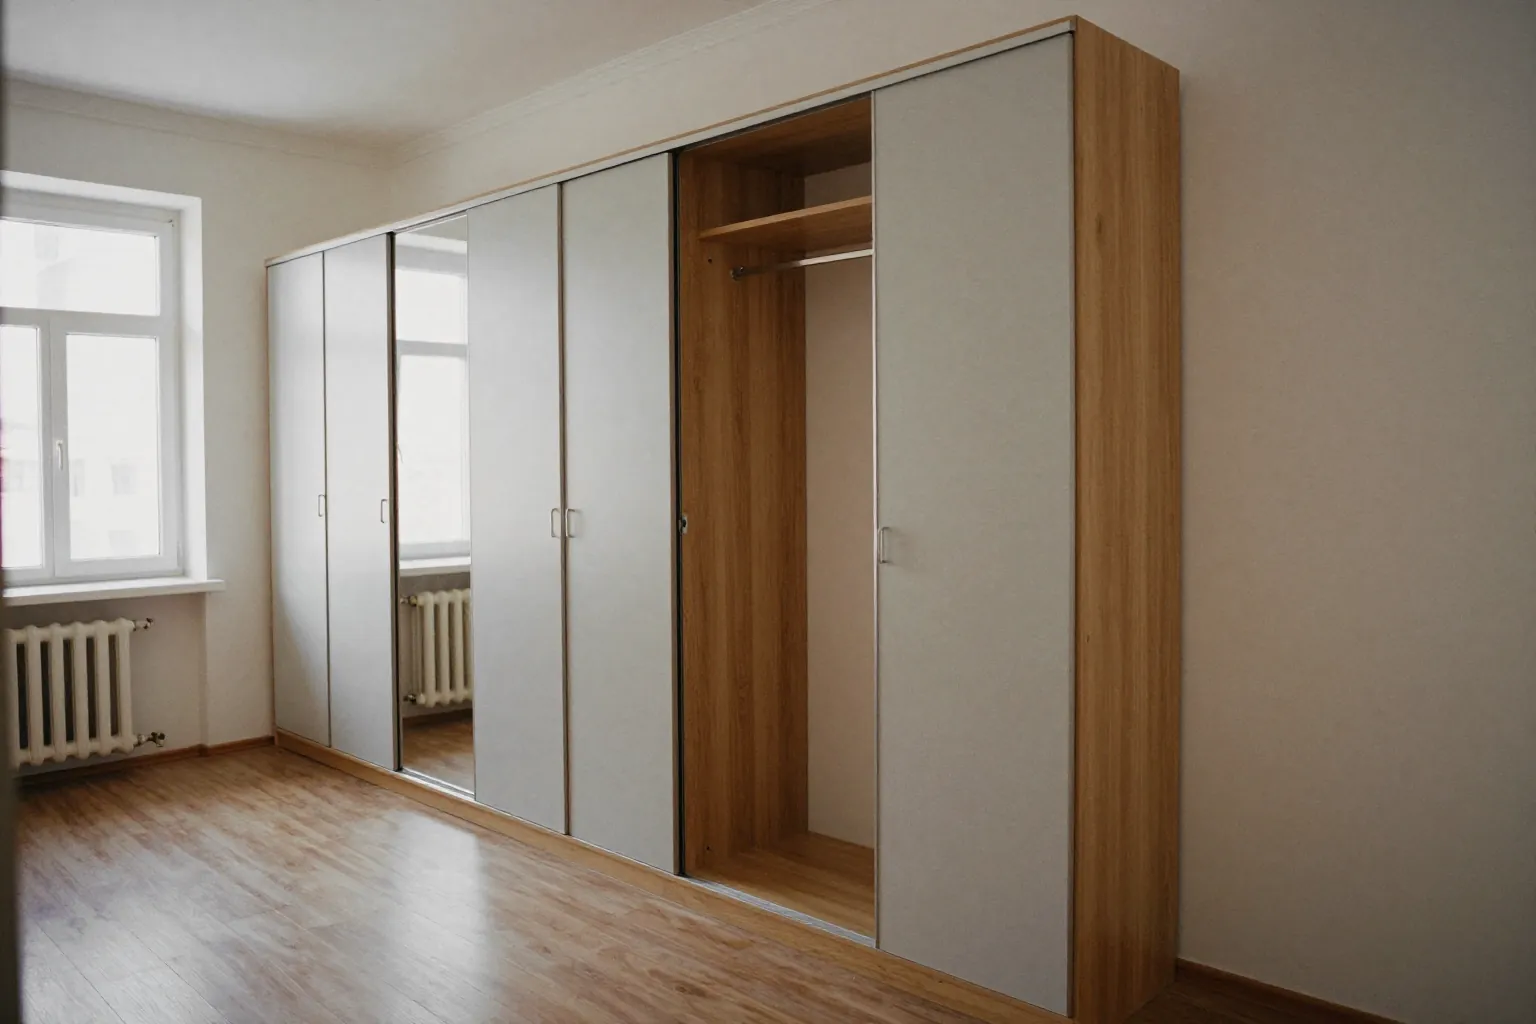
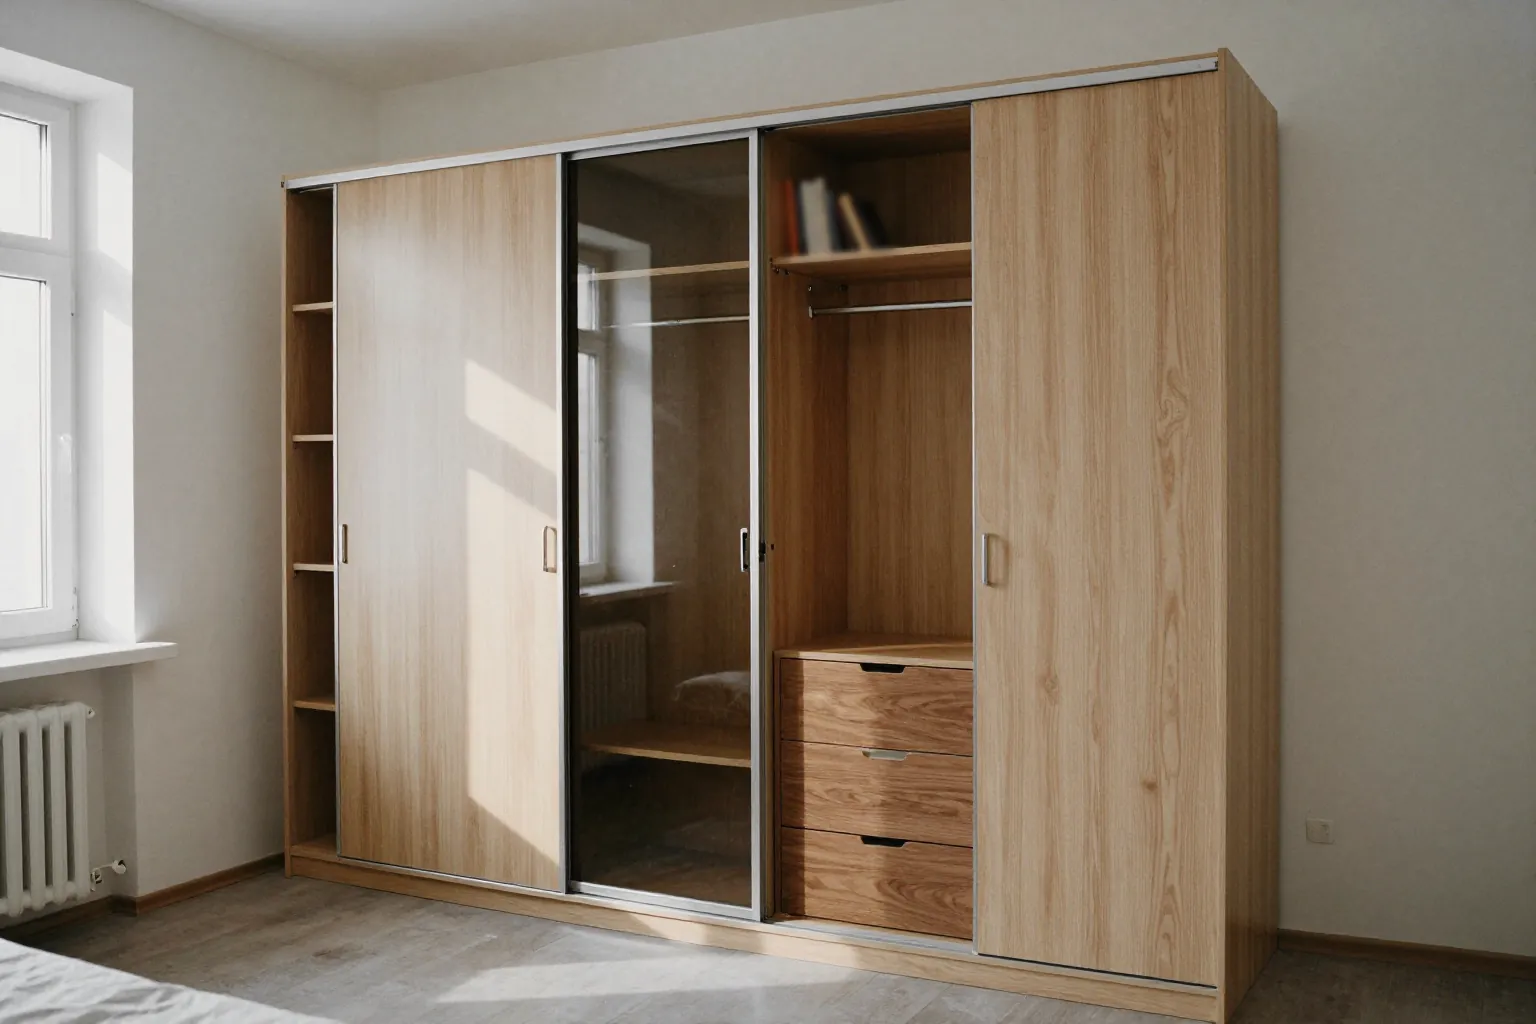
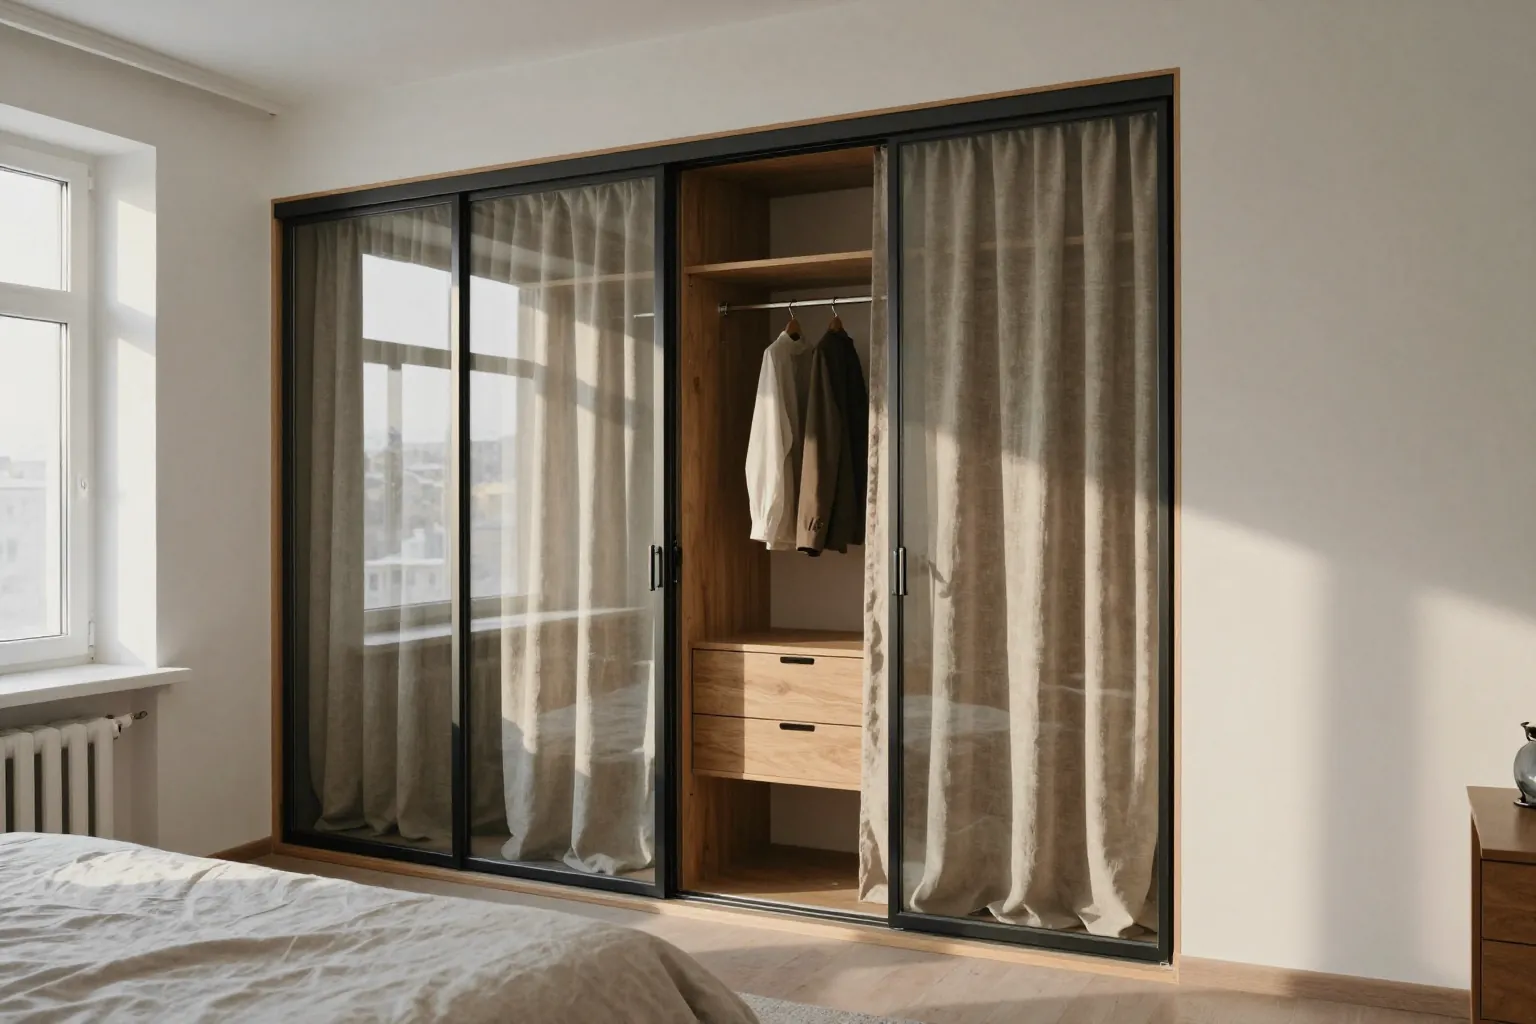
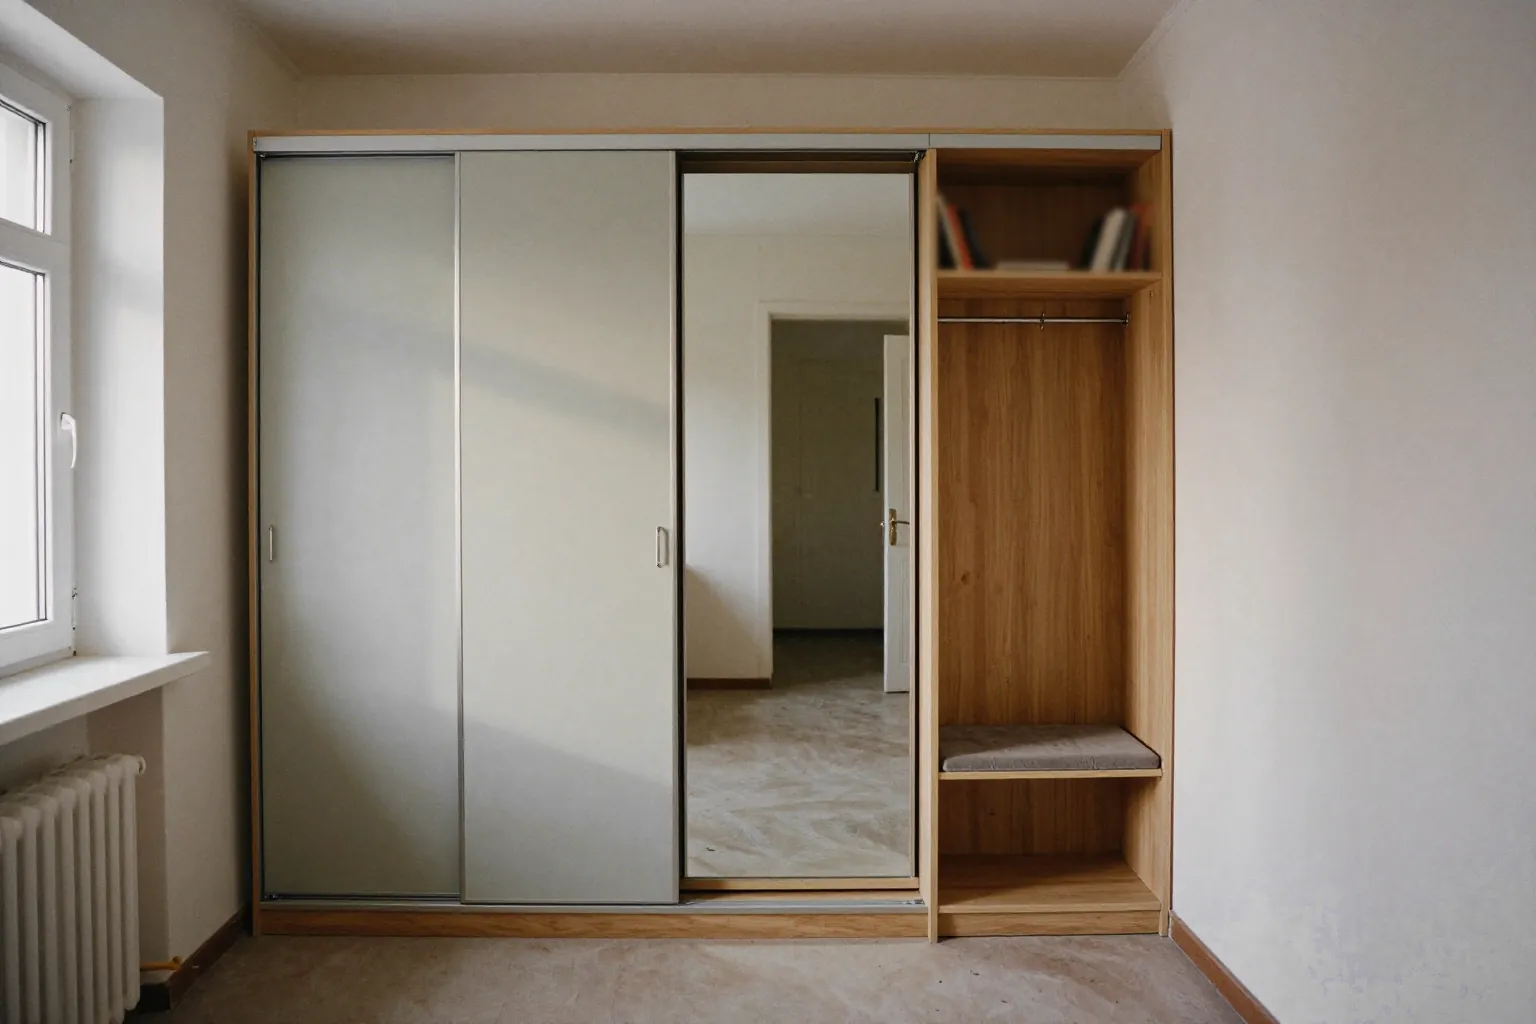
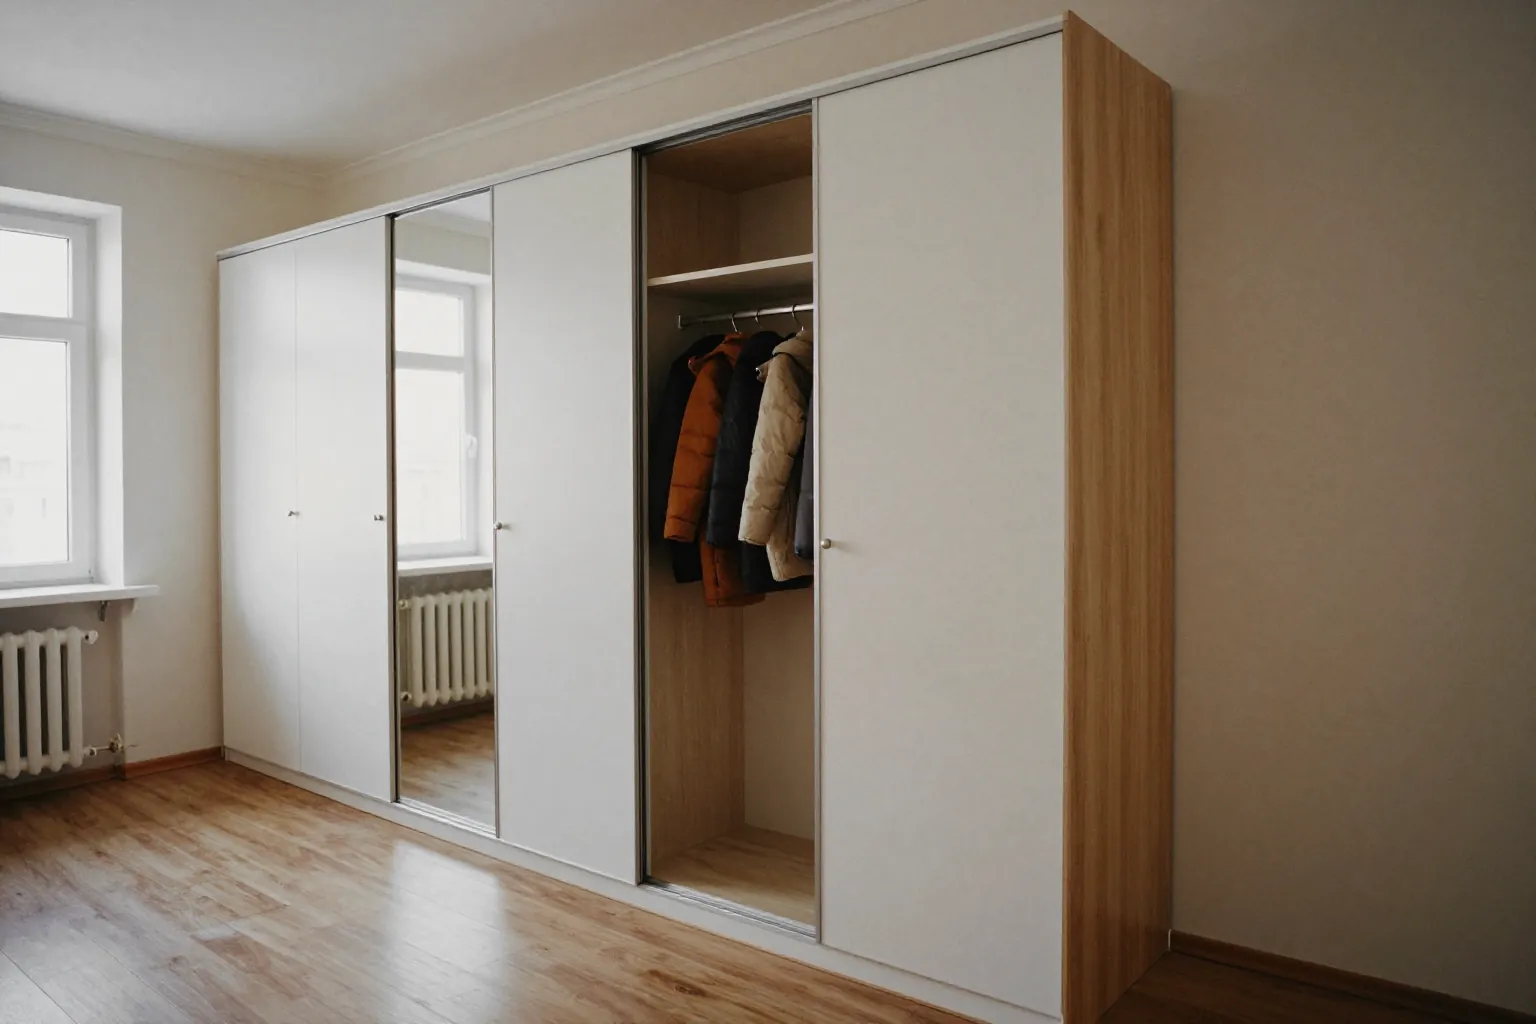
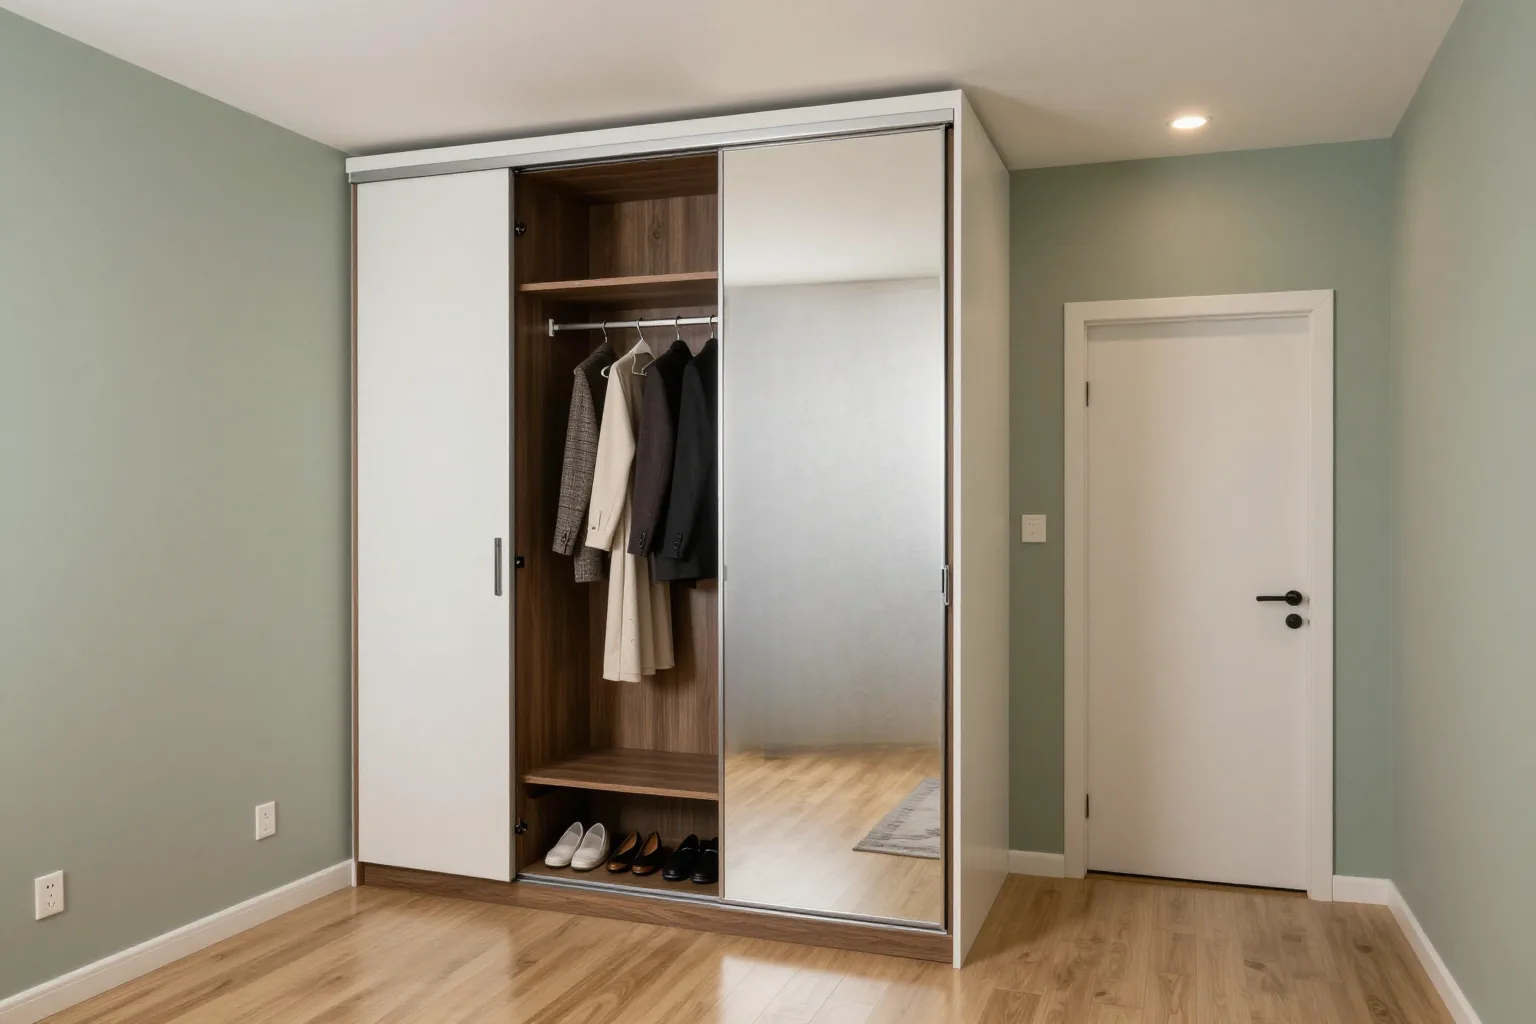
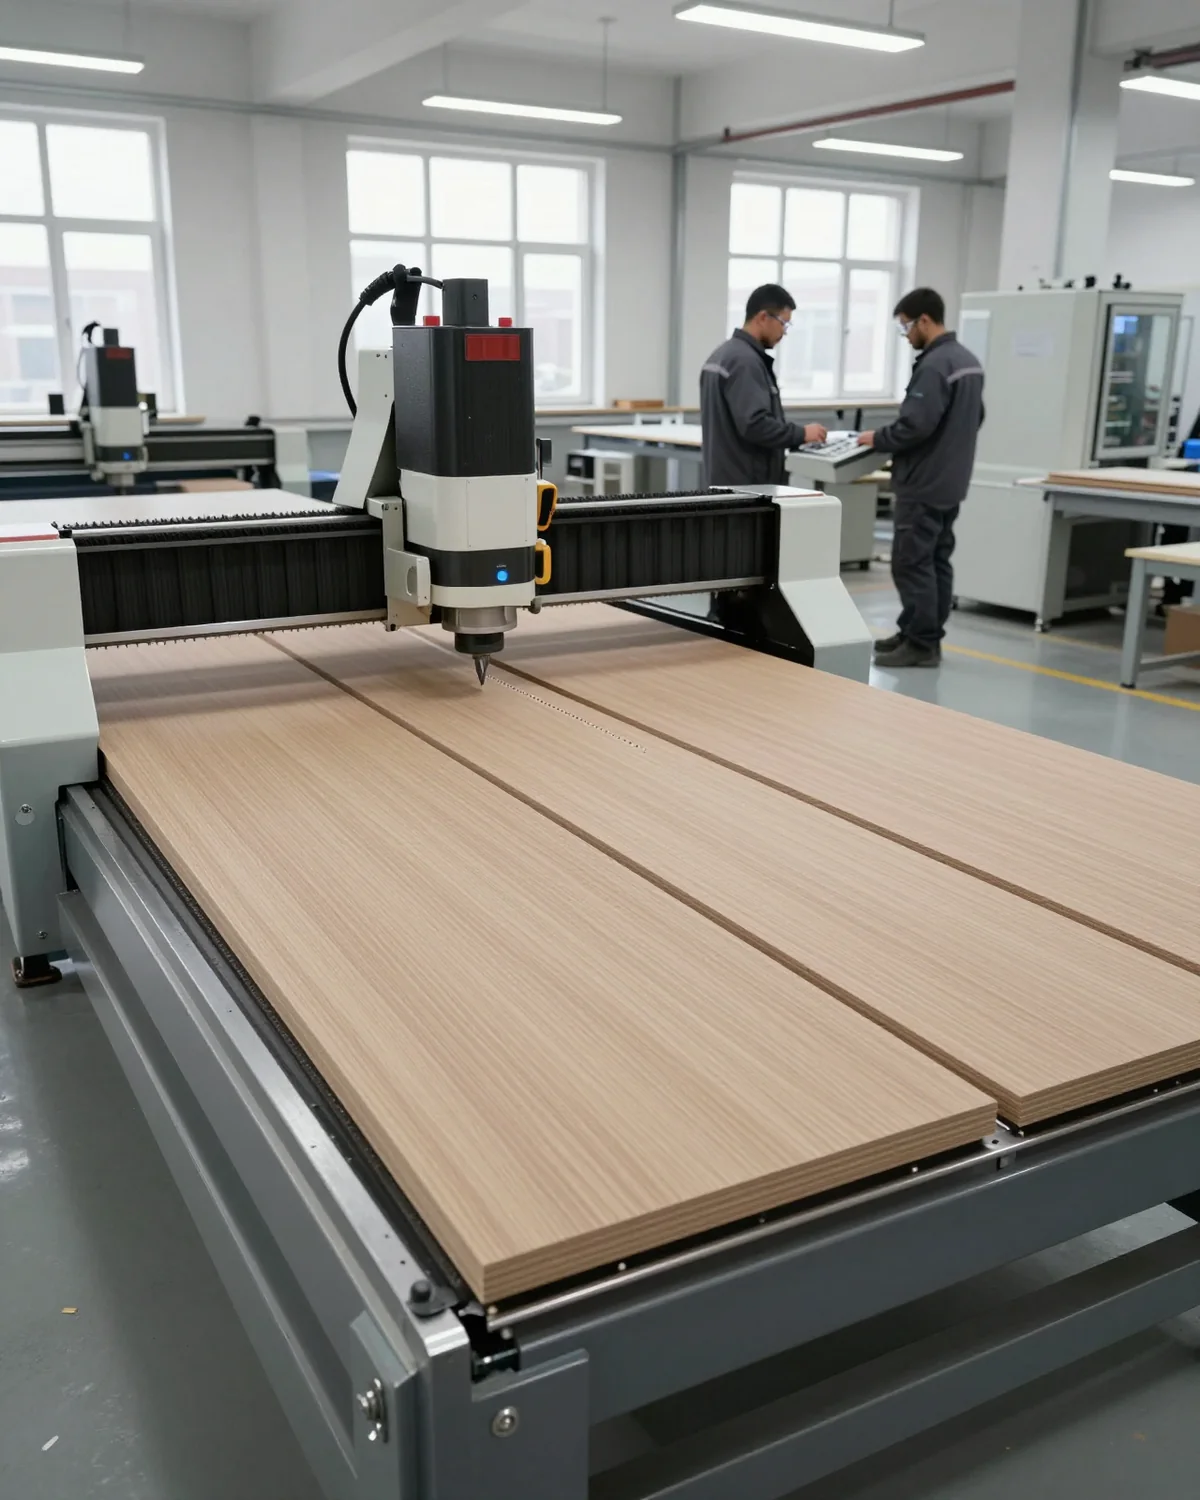
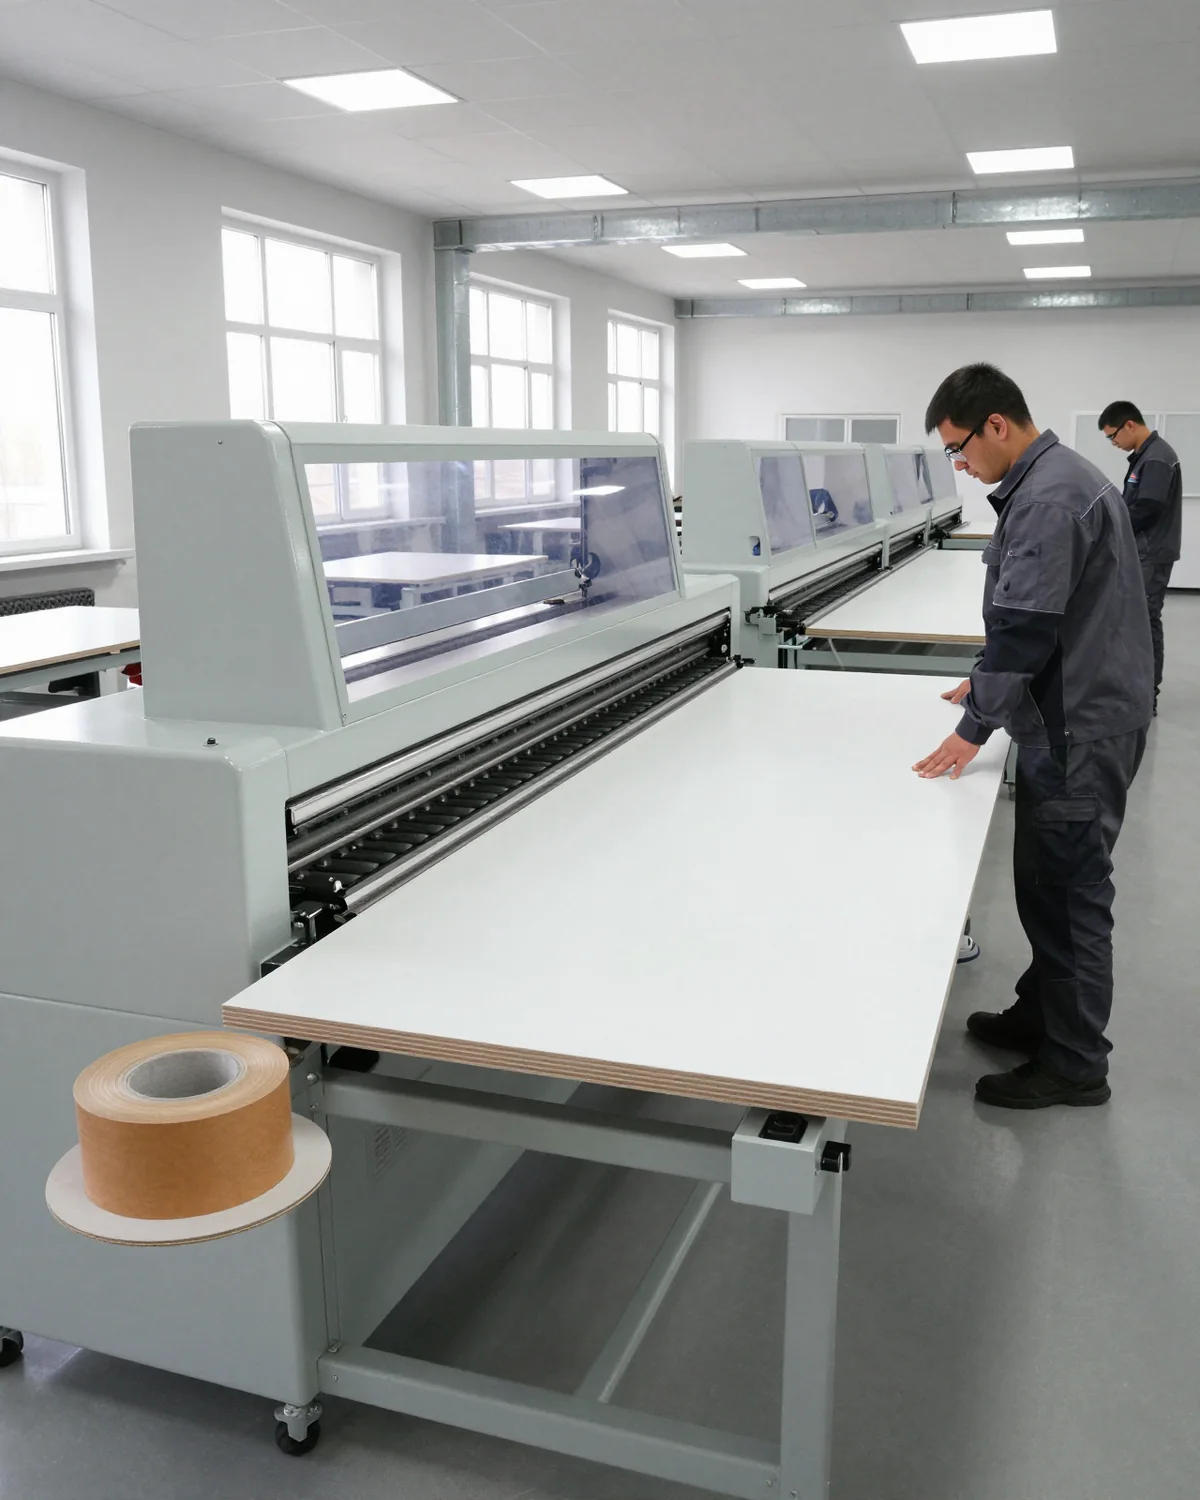
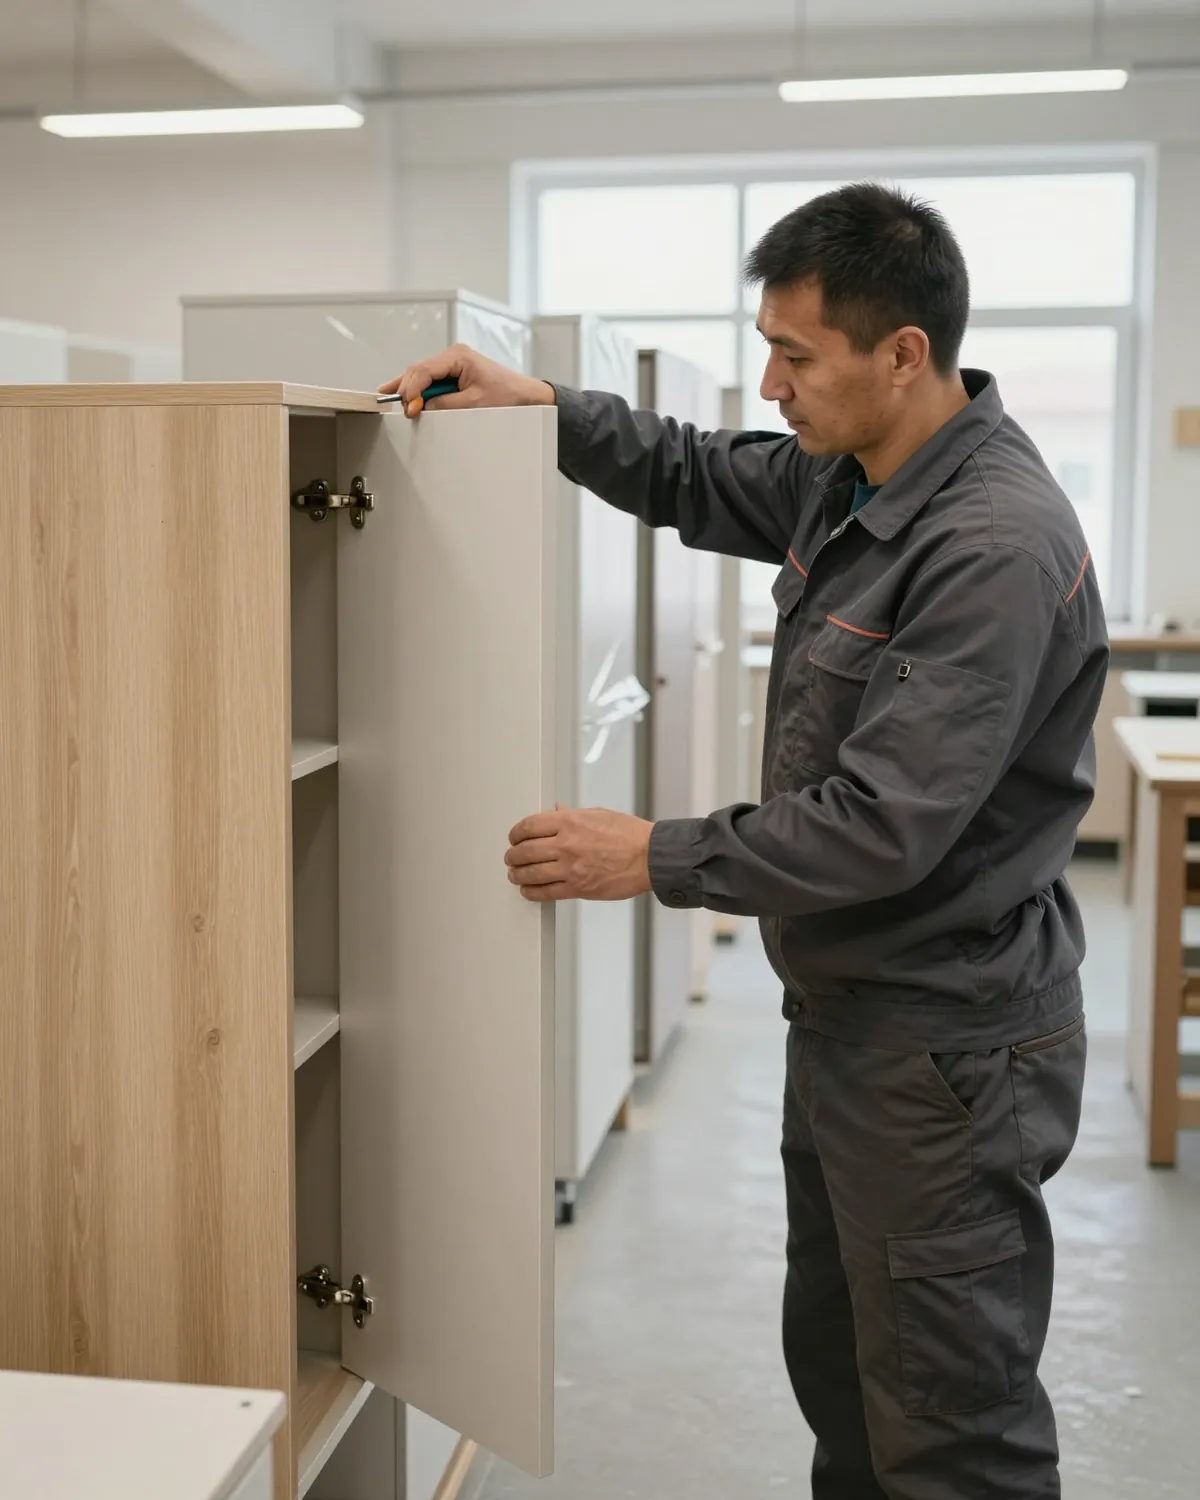
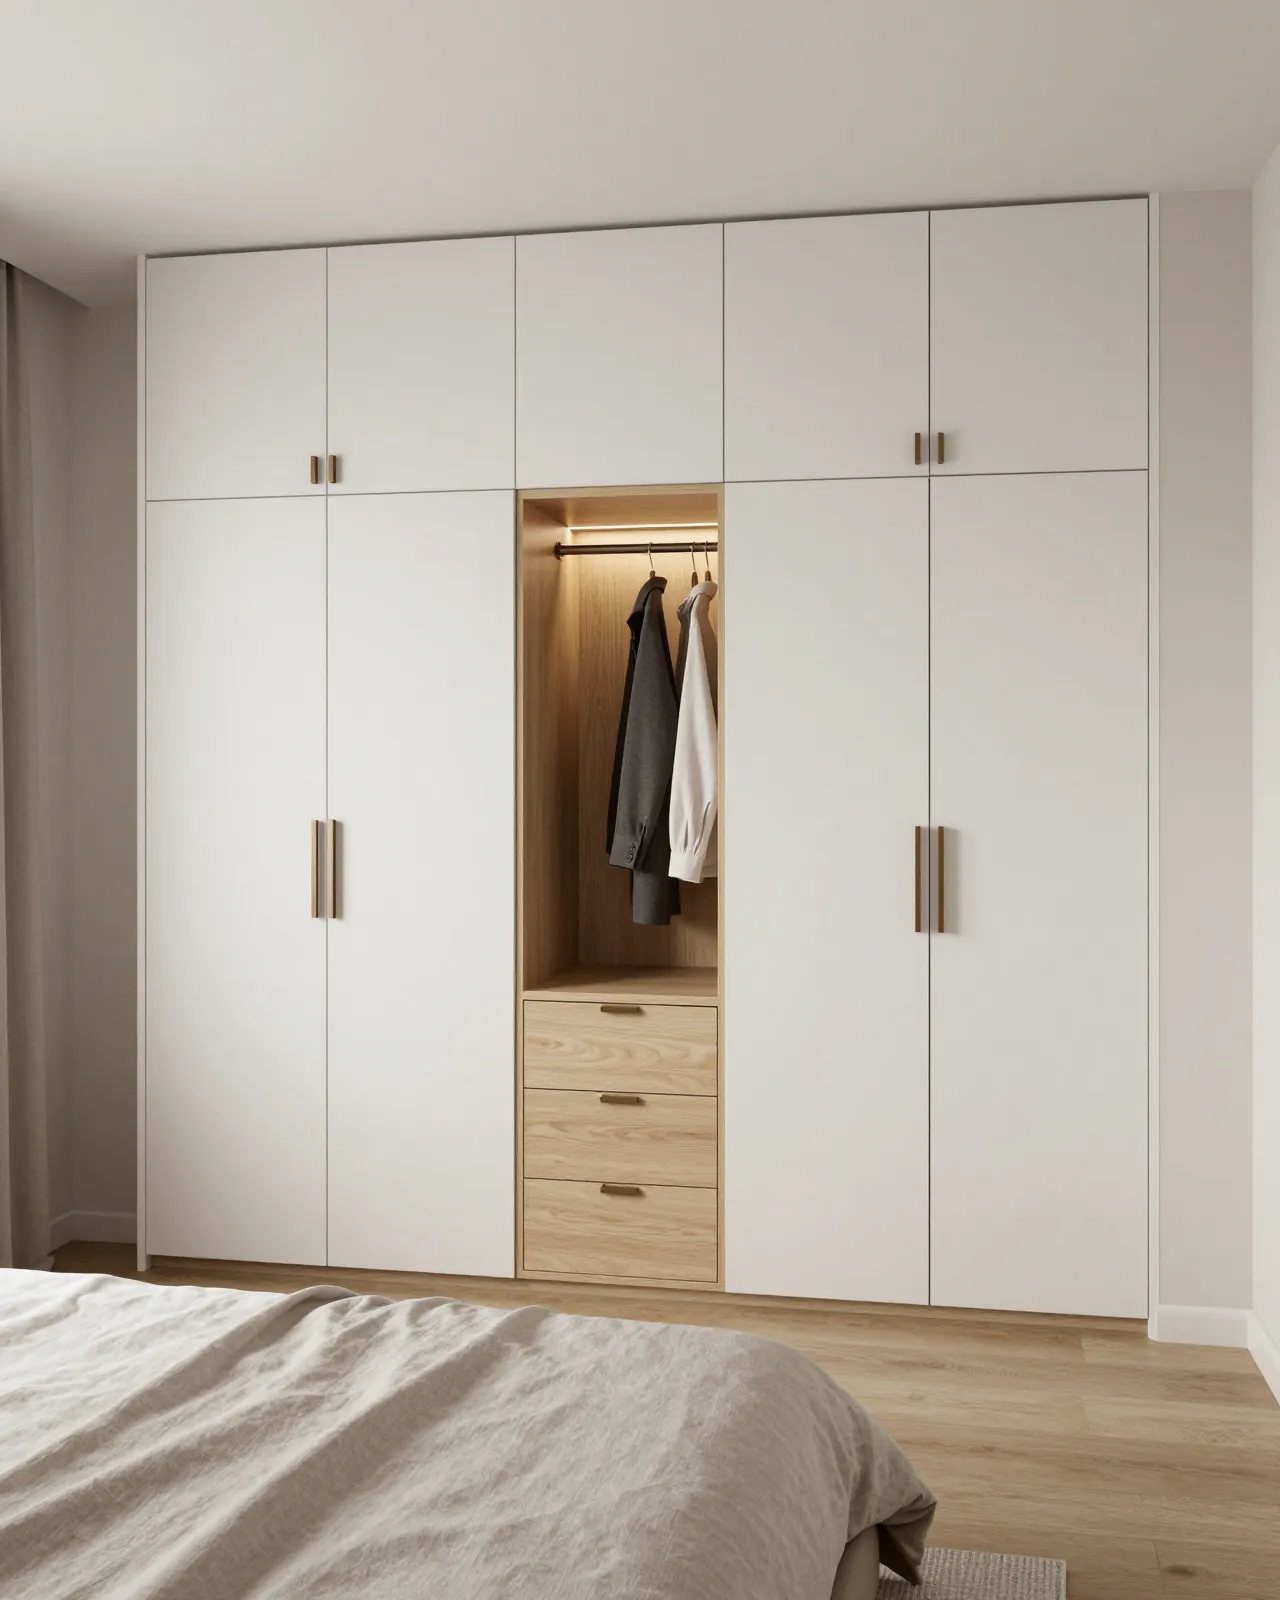
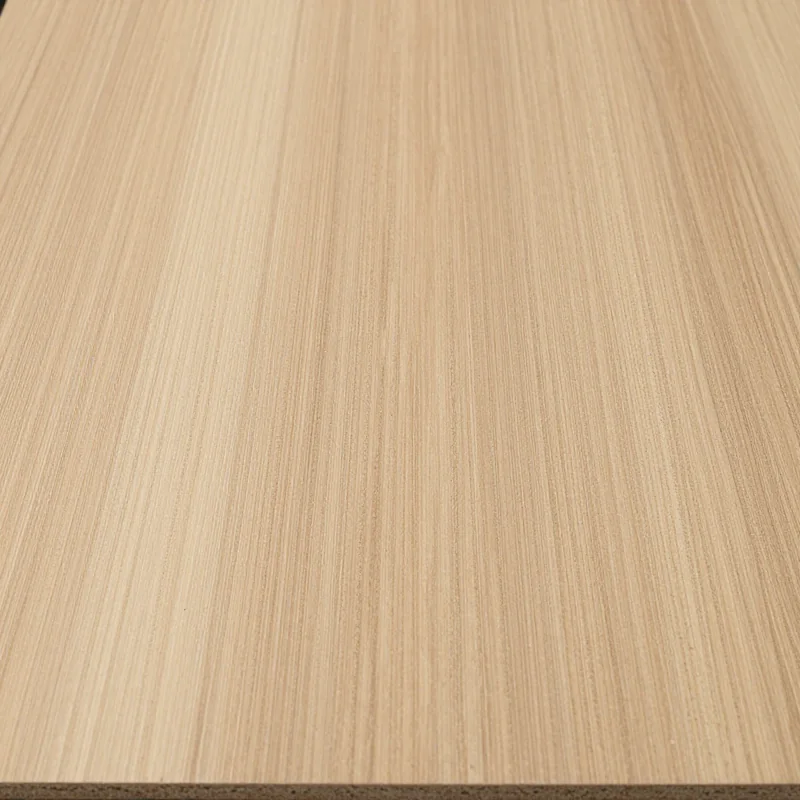
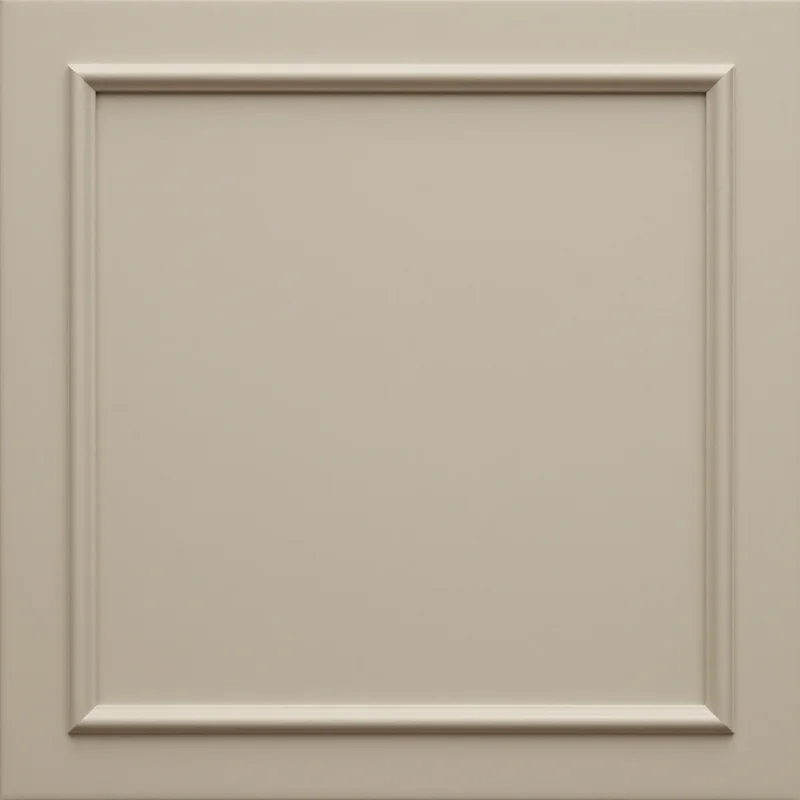
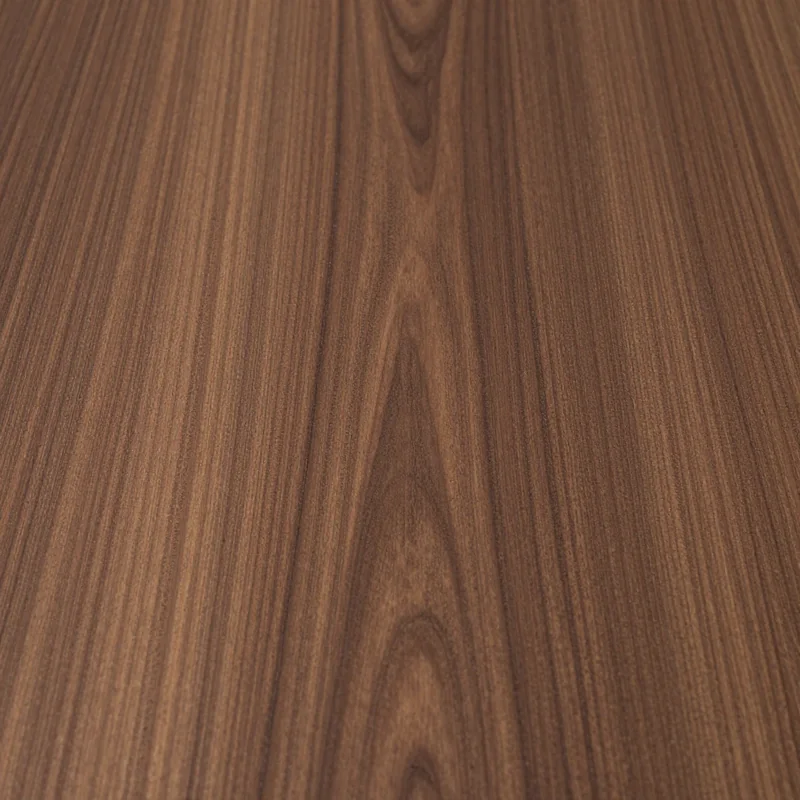
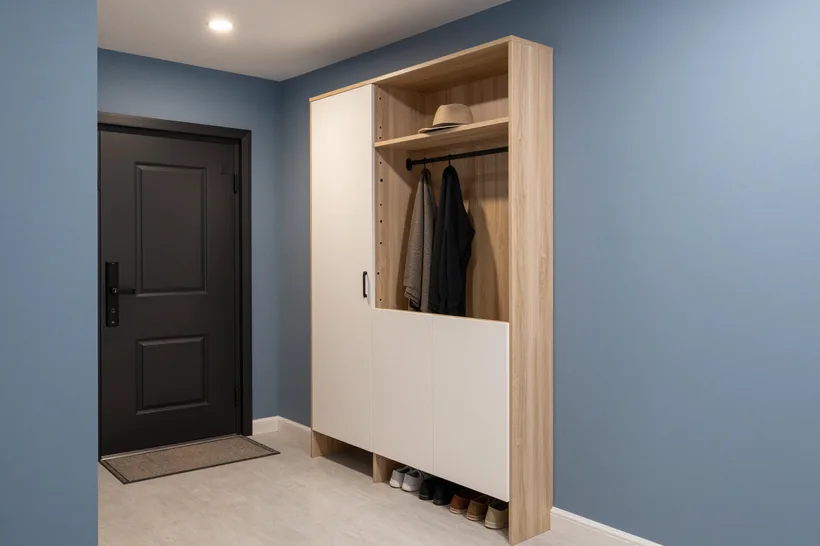
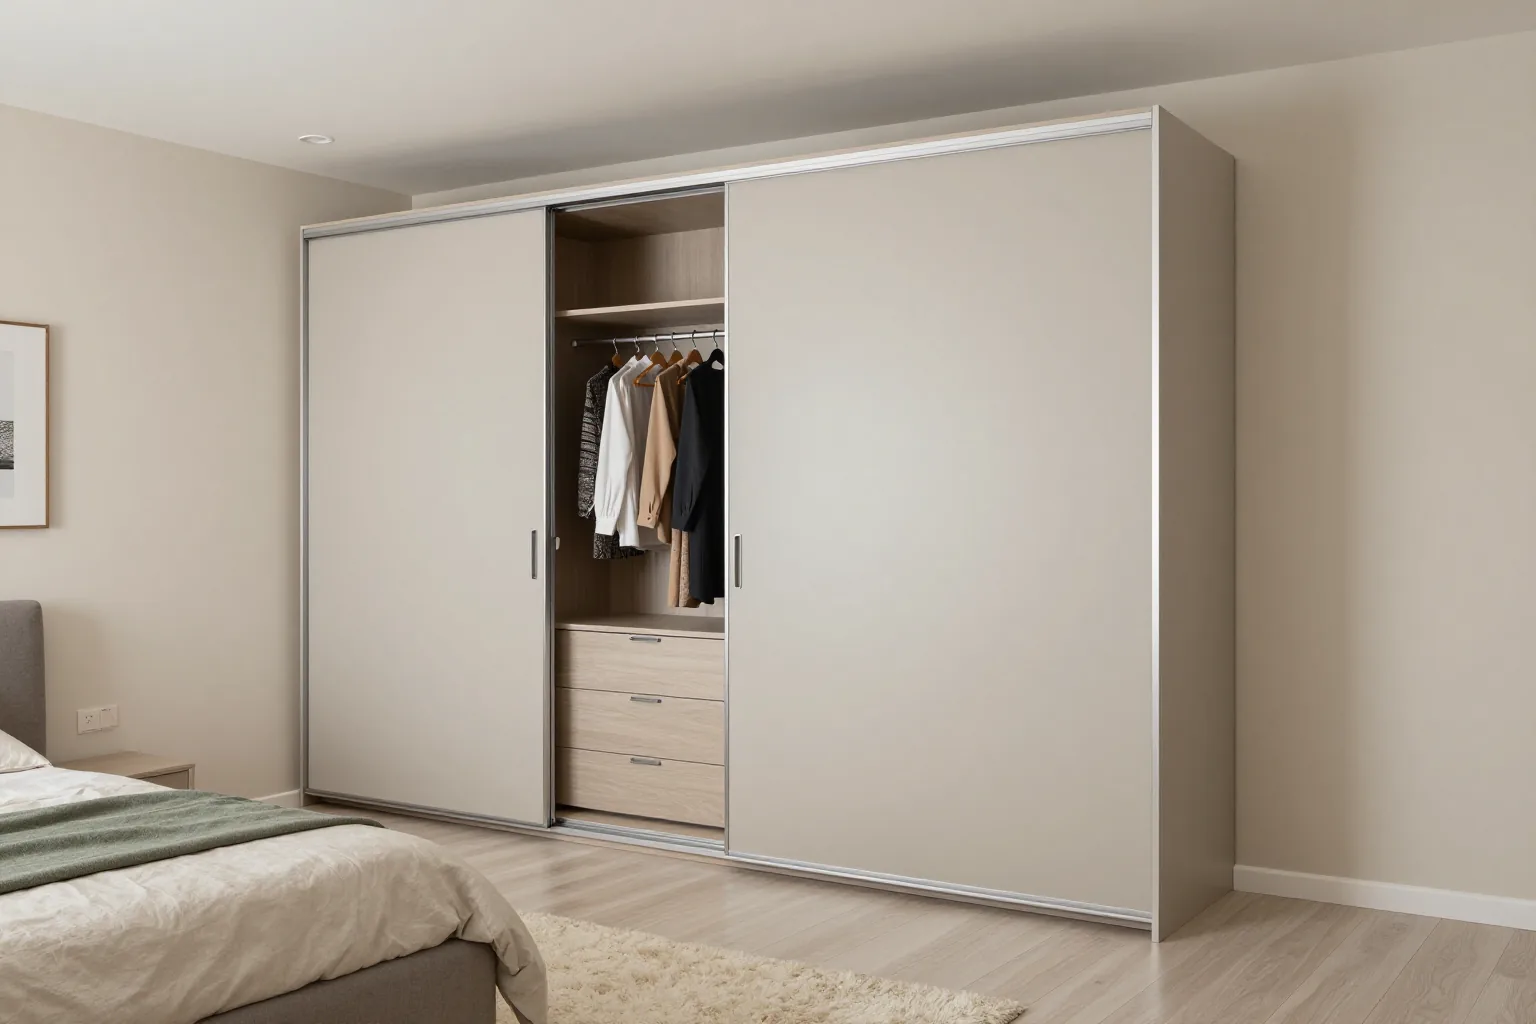
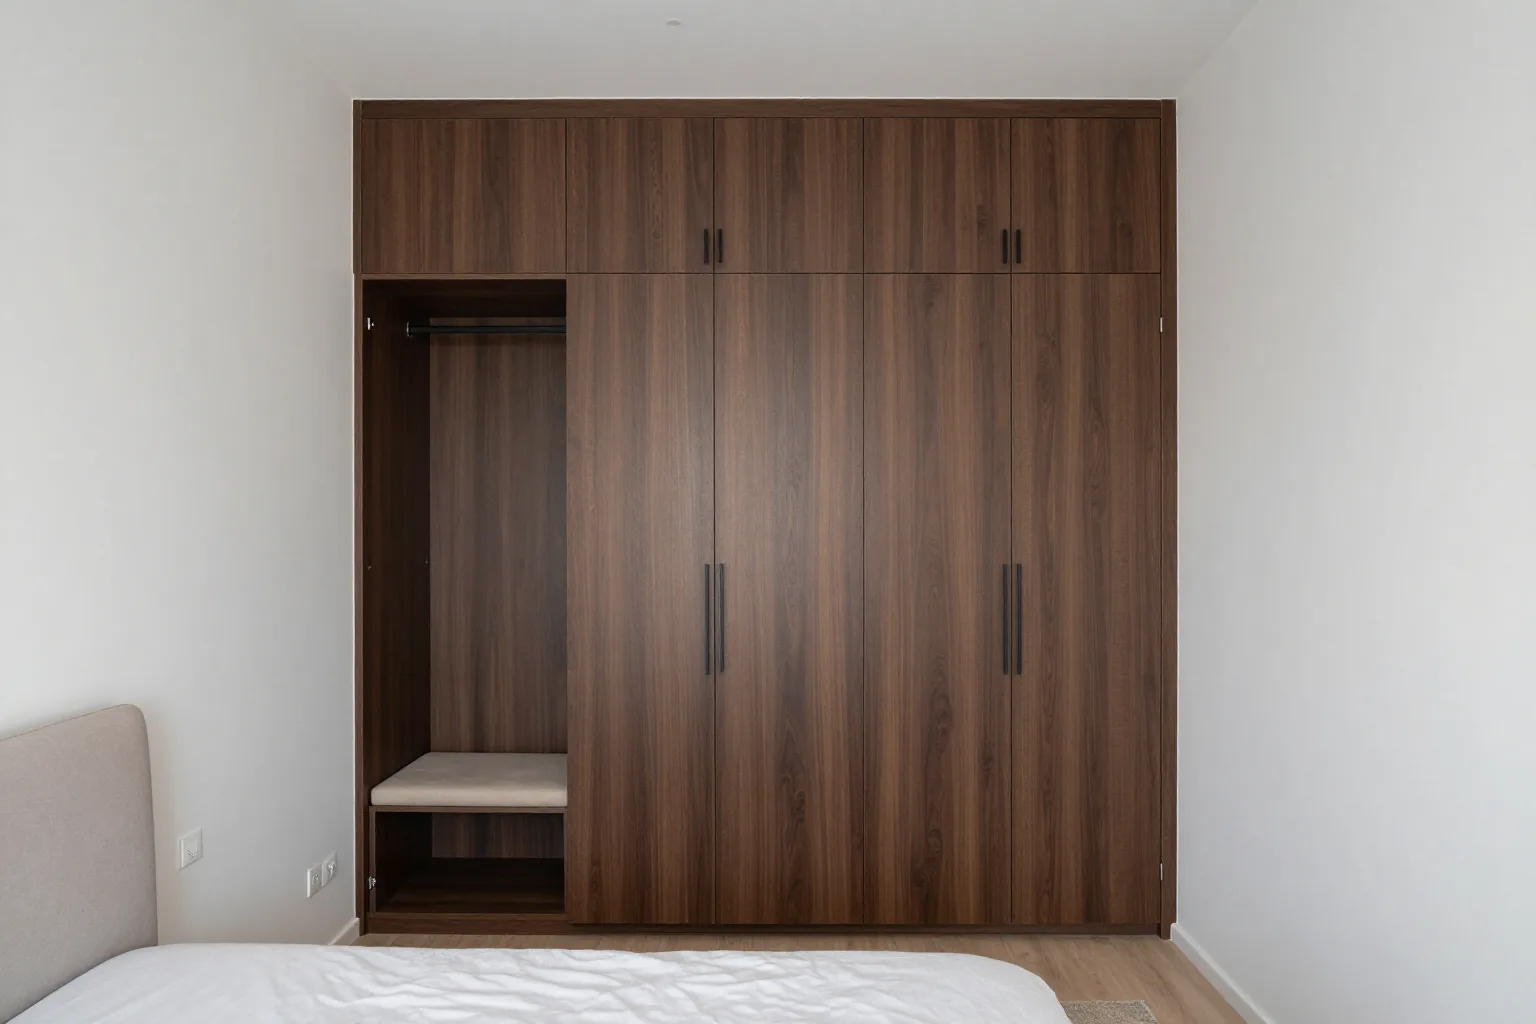
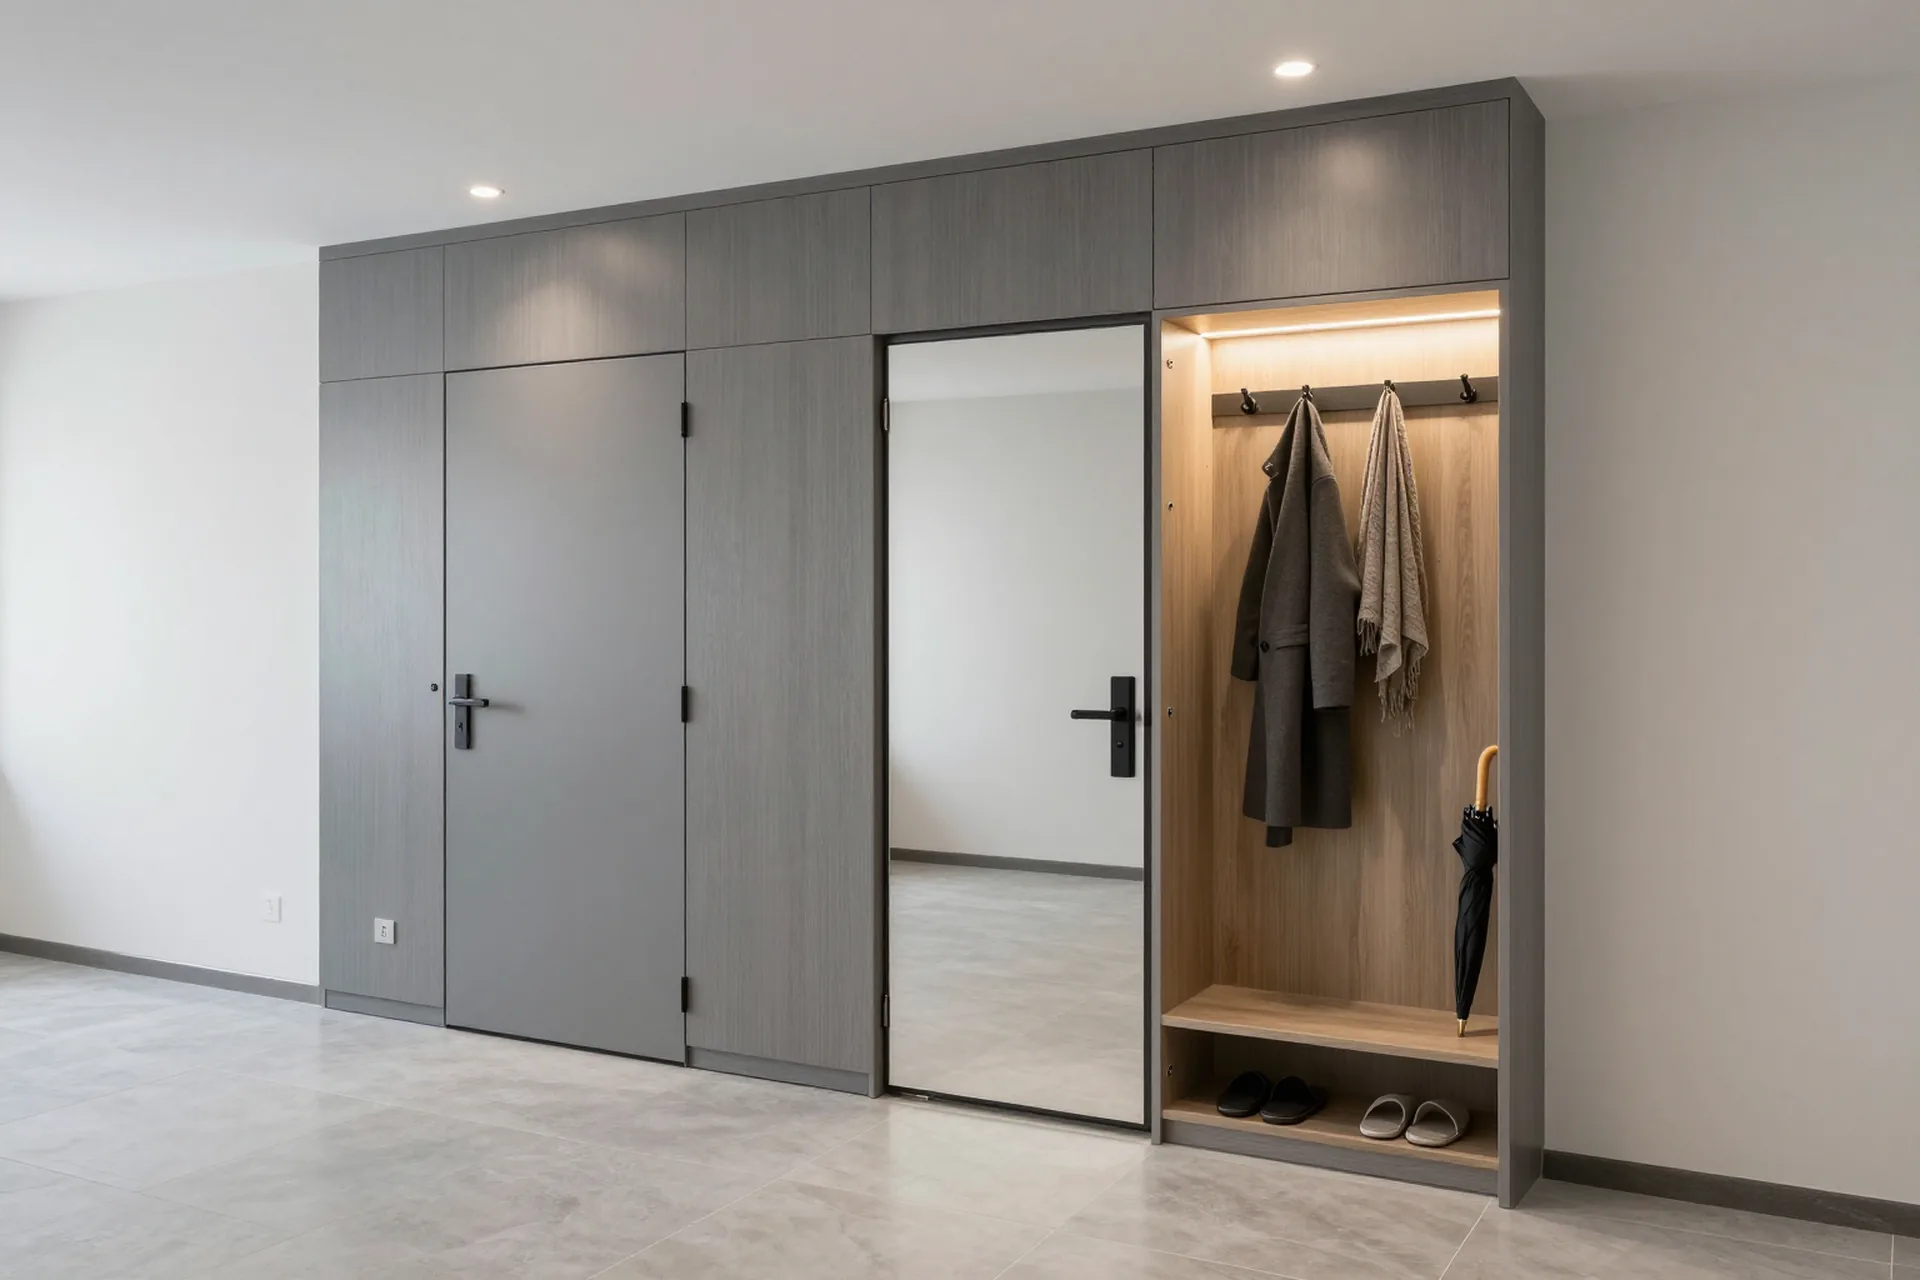
A custom built-in sliding wardrobe in Almaty is a set of sliding doors and fittings that goes into a niche or alcove without its own carcass. Three things decide how well it works: track fixings, fittings on the niche walls, and light and airflow inside. We measure for free and show a 3D design first.
A built-in sliding wardrobe has no box that is assembled in the workshop and delivered in one piece. What arrives at your flat is a kit of parts, and each one is fixed to the walls, floor or ceiling of the niche.
What comes from the workshop
- Tracks: a top and a bottom track, cut to the width of the opening to the millimetre.
- Pelmet: a strip in the colour of the doors that hides the top track and the uneven edge of the ceiling.
- Partitions and shelves: laminated chipboard parts with edging, pre-drilled for rails and supports.
- Doors: panels in an assembled profile with rollers, stoppers and a brush seal.
- Side profile: a vertical strip at the wall that the end door closes against.
The top track and the pelmet
The top track is almost never left on show. It is hidden behind a pelmet, a horizontal strip a few centimetres high, finished in the colour of the doors. The pelmet has two jobs. It covers the track together with its fixings, and it hides the dip in the ceiling, which across the width of a niche often reaches a centimetre. The doors end up slightly lower than the opening, but their height is the same from one end to the other. Without a pelmet each door would meet the ceiling in its own way, and sooner or later one of them would start catching on the track. We choose the height of the strip in the 3D design together with the door height. Too wide, and it makes the front look heavy. Too narrow, and it won't cover the dip, so the gap above the door stays visible from the doorway.
Where the end door meets the wall
The end door closes against the wall itself, not against a wardrobe side. Walls are rarely vertical, so a door tight to the wall at the bottom leaves a finger-wide gap at the top. That is why a vertical side profile, trimmed on site, goes against the wall: the door meets a straight part instead of plaster, and the gap disappears. A brush seal along the profile softens the impact at the end of travel and keeps hallway dust out. A stopper on the bottom track holds the door in its end position so it doesn't roll back. If you order after the walls are painted, we match the profile to their colour and the joint is barely visible.
How built-in sliding wardrobes are fixed to the floor and ceiling
The whole weight of the doors rests on two tracks, and it is the ceiling slab and the floor that carry them, not side panels. So the fixing method depends on what the base is made of.
Base and track fixings
Base and track fixings| Base | How the track is fixed | What we check at the measurement |
|---|
| Concrete ceiling slab | anchors or plugs straight into the slab | how flat the slab is, wiring in the ceiling |
|---|
| Plasterboard ceiling | to a timber batten inside the frame | whether there is a batten above the opening |
|---|
| Stretch ceiling | to a batten fitted before the membrane | the level of the future membrane |
|---|
| Tiled floor | plugs through drilled tiles | joints and hollows under the tiles |
|---|
| Laminate or parquet | screws or construction adhesive | the expansion gap at the niche walls |
|---|
| Underfloor heating | adhesive, no drilling | where the heating circuit runs |
|---|
Surface-mounted or flush bottom track
A standard bottom track sits on top of the floor covering, a few millimetres high. It can go onto a finished floor at any time, and for most flats that is enough. The alternative is a track set flush with the floor: no threshold, the vacuum glides over and your foot never catches. This has to be planned before the floor is laid, leaving a groove between the tiles or boards; on a finished floor it means lifting the covering along the whole niche. A third option is a top-hung system with no bottom track. It suits light doors but needs a very strong top fixing, so under plasterboard we only fit it to a batten. In a new-build flat, settle the track when you choose the flooring.
What holds the fittings when the walls replace the side panels
A built-in wardrobe has no box for the shelves to attach to. The niche walls carry them, and what those walls are made of determines how much weight each section can take.
Partitions and shelves without a carcass
Vertical partitions run from floor to ceiling and are fixed with brackets at the top and bottom. They divide the niche into sections and work like the side panels of a freestanding wardrobe, just without a top or a base. On the wall side, shelves rest on metal shelf supports screwed straight into the wall, and on the other side on a partition. The hanging rail is fixed to the wall with a flange, and if a section is wider than a metre we add a ceiling hanger so winter coats don't bend the tube. Brick and concrete take this load without any preparation. Aerated block needs special plugs. A plasterboard partition without a batten inside won't hold a loaded shelf at all. That is why it helps to see at the measurement what each niche wall is made of: we tap the walls and choose fixings for their material.
The wall as the back panel
- Painting: washable paint doesn't rub off and won't mark the sleeves of light-coloured clothes.
- Lining: an HDF or laminated chipboard panel in the shelf colour covers old plaster and cracks.
- Sockets inside: we keep only those needed for lighting or for charging a vacuum cleaner.
- External wall: the fittings are set a couple of centimetres away from it so air can move behind the clothes.
A utility section
A built-in wardrobe is a handy place to hide what usually stands in the corner of the hallway: the vacuum cleaner, the ironing board, a clothes airer and a bag of tools. They get a narrow section with no shelves at the bottom, hooks on the partition and a holder for the board. A cordless vacuum needs a socket. It has to be brought inside the section before installation, otherwise the charger stays outside and the cable gets caught in the door. The floor inside is left clear so the vacuum can roll in on its wheels without lifting. The section goes at the end, behind the door you don't have to slide every morning, so it doesn't brush against your clothes. People who order built-in wardrobes for both the hallway and the bedroom usually keep the utility section in the hallway, near the front door.
Lighting and ventilation in a built-in sliding wardrobe
A built-in sliding wardrobe doesn't end with the doors. A niche usually sits in a dark corner, and a closed space against a wall is poorly ventilated, so we plan the light and the airflow together.
How the light comes on behind a sliding door
On a hinged door the light is switched by a button that the door presses. A sliding door doesn't move away from the wardrobe; it travels along the front, so the set-up is different. The most common solution is a magnetic sensor on the edge of a partition and a magnet on the door. Slide the door and the section lights up. The second option is a motion sensor at the top of the section that reacts to your hand. The LED strip is hidden in a profile under the pelmet or along the partitions, so the light falls on the clothes rather than in your eyes. Neutral white light of around 4000 K doesn't distort the colour of clothes. The power supply is kept within reach, for example in the top cabinet, so it can be replaced without taking the wardrobe apart. Its cable runs along a partition in a cable channel and doesn't snag on anything.
A wardrobe against an external wall
In winter, the external wall of a flat is noticeably colder than the room. If a wardrobe covers it completely, the air behind tightly hung clothes goes stale, condensation can form on the cold plaster, and mould can follow. So against an external wall the shelves are never fixed tight. The fittings are moved a couple of centimetres away, or a back panel is installed with a gap, and slots are left at the bottom and under the pelmet so warm air from the room can get inside. The wall itself is worth inspecting before installation. Dark patches in the corners mean the wall is freezing through, and that is best fixed with insulation before the doors and fittings close it off. Air slots alone are not enough for a frozen corner.
What to decide before the finishing work
- Socket: the point for the lighting power supply is brought into the niche before the walls are skimmed.
- Switch: if the light isn't on a sensor, the switch goes next to the niche, not behind the door.
- Ventilation grille: an open section or a grille in the pelmet is left in front of it.
- Humidity: in a niche next to a bathroom, shelves and partitions are cut from moisture-resistant laminated chipboard.
Building a plasterboard niche for a built-in sliding wardrobe
Some flats have no niche at all. In that case we build one. A plasterboard partition separates part of the room, and the wardrobe goes into the new opening just as it would into a real niche.
When building a niche pays off
You need a niche of your own when the wardrobe should take up part of a wall rather than the whole of it from corner to corner. In a bedroom, for example, the wardrobe stands by the window and the headboard of the bed begins further along. A freestanding wardrobe in that spot looks like furniture that was simply put there. A plasterboard partition is painted together with the walls, and the wardrobe reads as part of the room. The second case is a long hallway, where the side wall of the niche separates the wardrobe from the front door and protects the mirror from knocks. The third is a room with a protruding column or riser: a plasterboard box straightens the wall and the wardrobe stands in a clean line. If you order a built-in sliding wardrobe at the rough finishing stage, the niche and the wardrobe are designed together, and the opening is sized straight away to suit a comfortable door width.
What to build into the frame
- Batten above the opening: the top track is fixed to it, because plasterboard alone won't hold it.
- Battens in the side walls: plywood or timber where the shelf supports and the rail will go.
- Double sheet: at the edge of the opening, where the end door will knock against the wall.
- Lighting cable: run inside the frame before the boards go on, not on the surface.
How to refresh a built-in sliding wardrobe without replacing the fittings
The interior of a built-in wardrobe outlasts the fashion for any particular front. After some years people usually want new doors or to redo the floor and walls around it, while the shelves and rails have no reason to change.
New doors on the old tracks
The tracks and the niche walls stay where they are, so the sliding doors can be replaced separately from the rest of the wardrobe. The new doors are made to the same size, in the same or a compatible profile. A mirror can be swapped for lacobel, a board panel for frosted glass, a single-colour front for a combination of two materials. Before ordering, take one door off and check the rollers: if the wheels are worn, they are replaced along with the front, otherwise the new door will run just like the old one. The reverse happens too. You like the doors, but inside there aren't enough drawers or there's no second rail. Then we add pull-out elements and keep the doors. If you want to refit a wardrobe for a new interior, the easiest start is a photo of the niche and the old wardrobe: it shows what can be kept.
Floor and wall repairs around the wardrobe
- New floor: the bottom track is removed, the covering is laid up to the niche and the track goes back.
- Painting the walls: the doors are lifted off the tracks so paint doesn't get on the profile.
- A stretch ceiling after the wardrobe: the membrane is run to the pelmet, not to the top track.
- Remodelling: shelves and partitions come apart piece by piece, and some of them fit into a new niche of the same depth.
Built-in sliding-door wardrobes in brief
What to remember before you order
- A built-in sliding wardrobe is assembled on site from tracks, a pelmet, partitions and doors, with a side profile closing the joint at the wall.
- Track fixings depend on the base, and a flush bottom track is planned before the floor is laid.
- Shelves are carried by the niche walls, so the material of each wall is checked at the measurement.
- A magnetic sensor switches on the light behind a sliding door, and against an external wall the fittings stand away from the wall.
- Sliding doors can be replaced years later while the tracks and fittings stay in place.