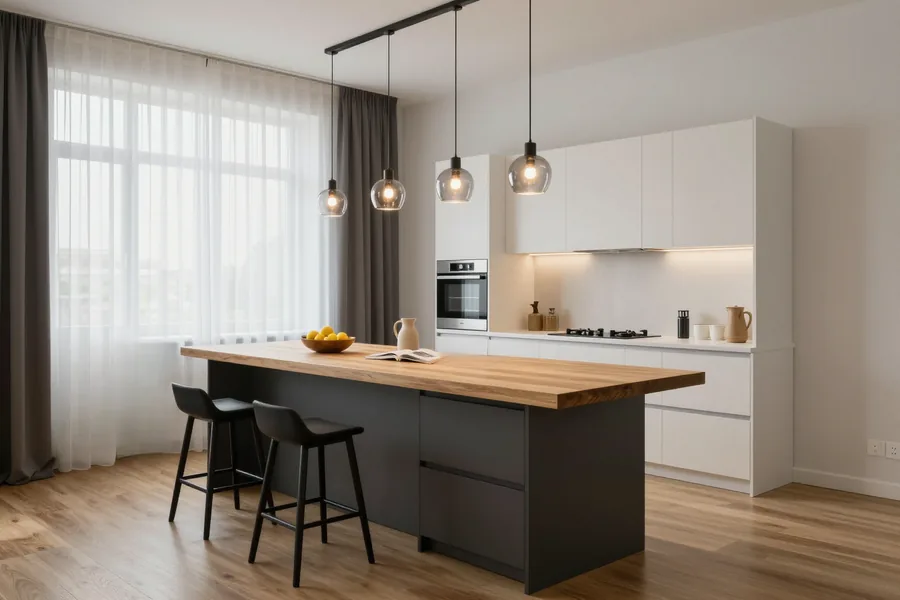
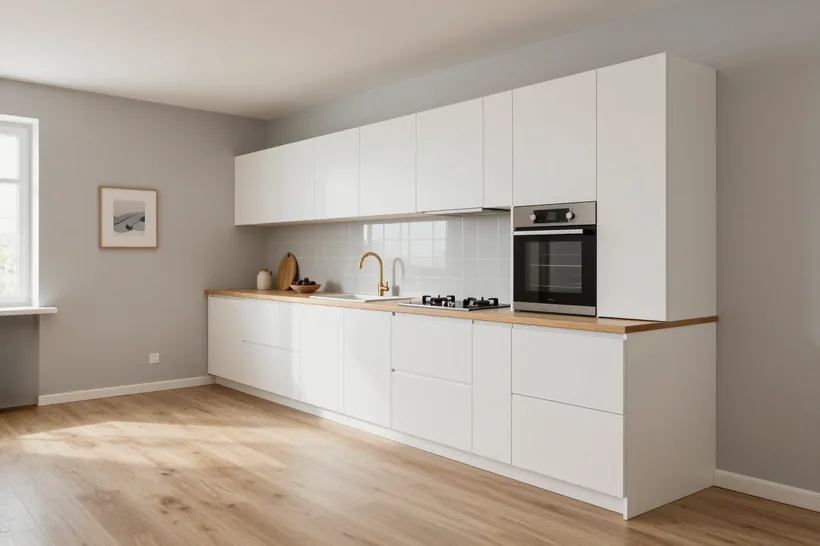
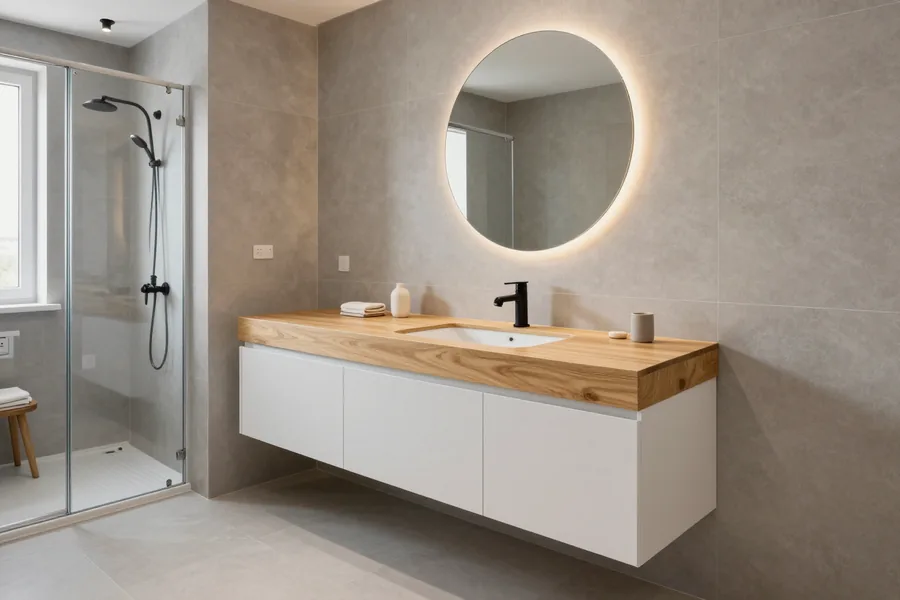
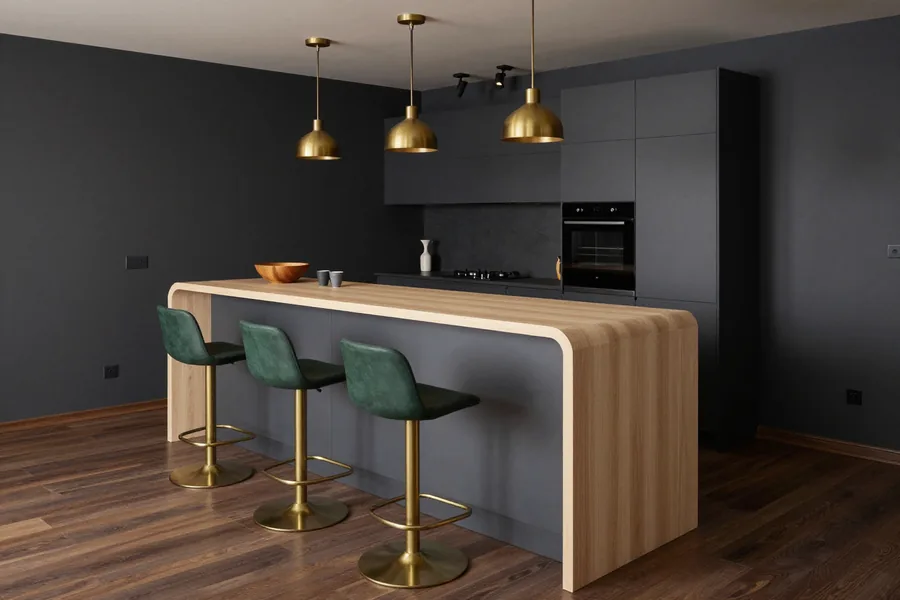
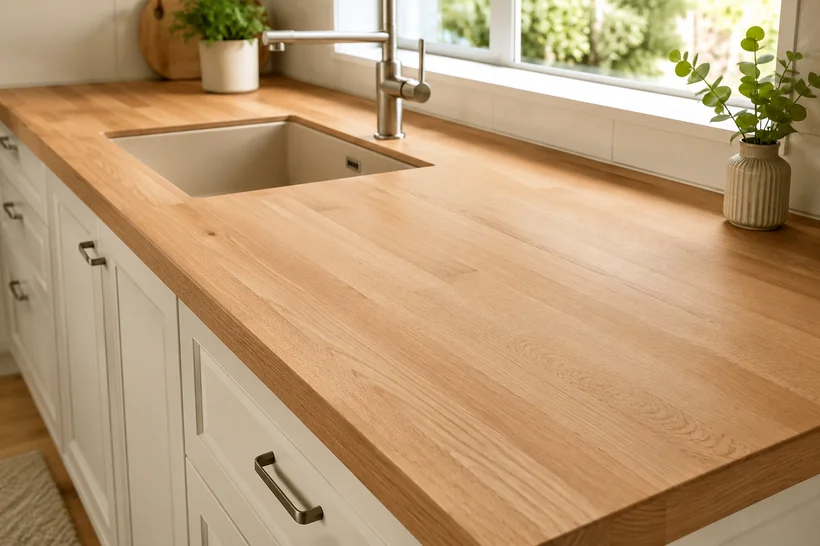
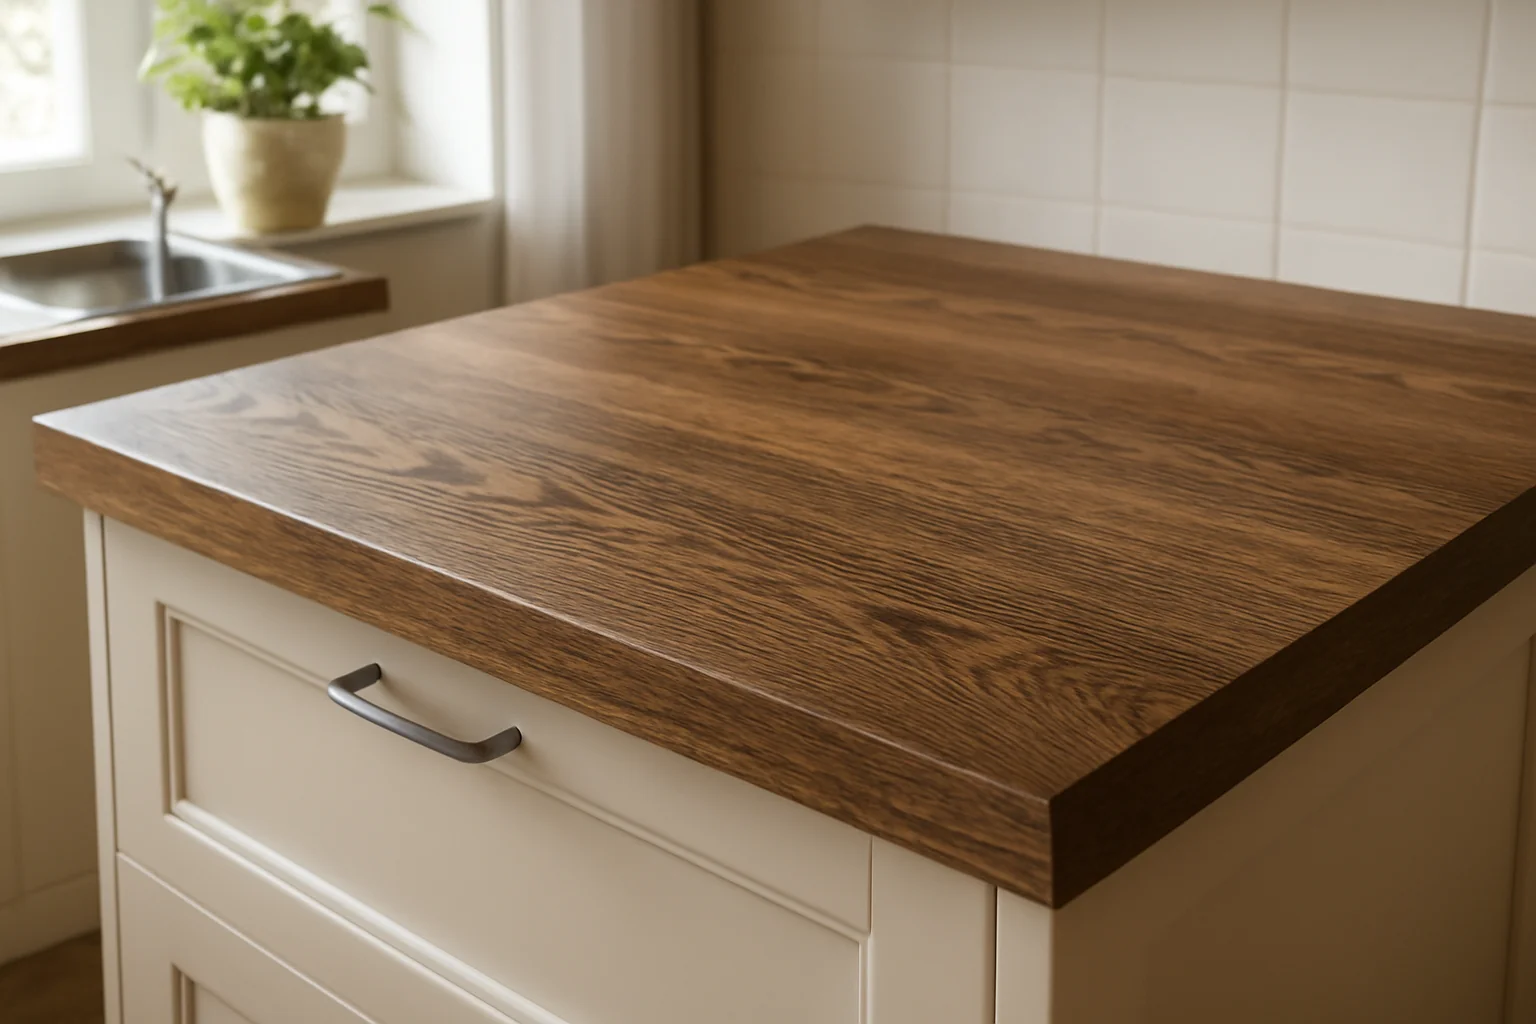
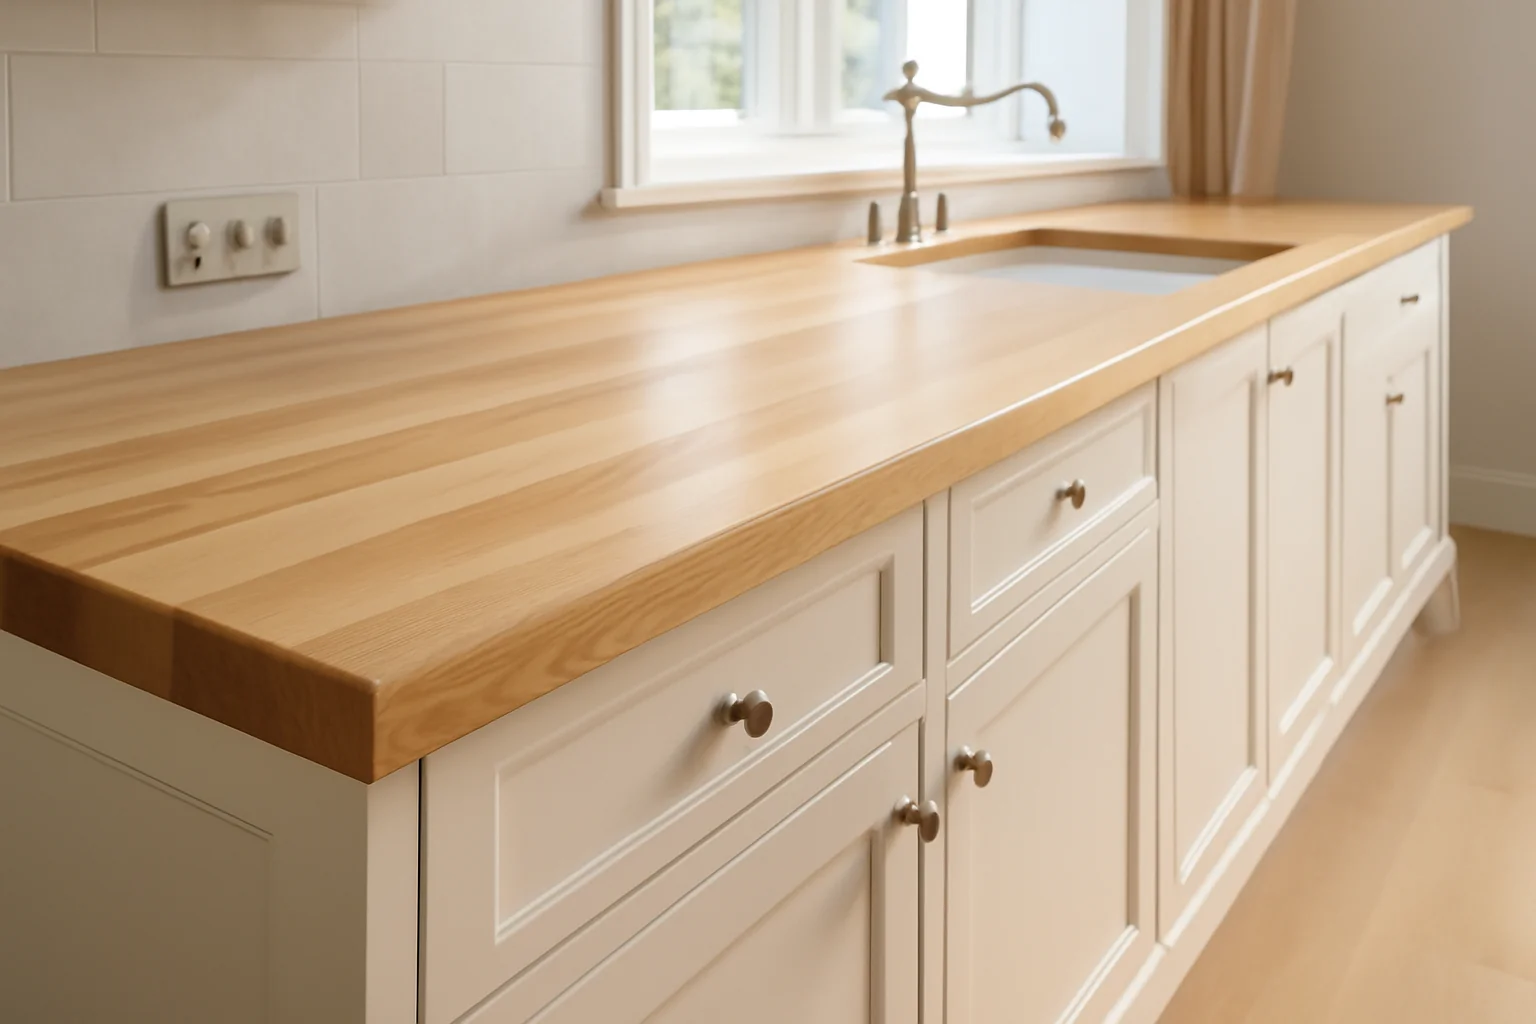
MEBLIX builds beech countertops to the exact dimensions of your kitchen, from on-site measurement and a 3D project to cutting, edge-banding and spray finishing in our own 600 m² workshop in Almaty. We mount them with our own crews, sign the acceptance act after installation and back the work with a 24-month contract warranty.
Beech is a dense, springy hardwood that yields a flat, hard-wearing work surface, yet it has a character of its own worth understanding before you order.
How Beech Compares With Oak and Laminate Board
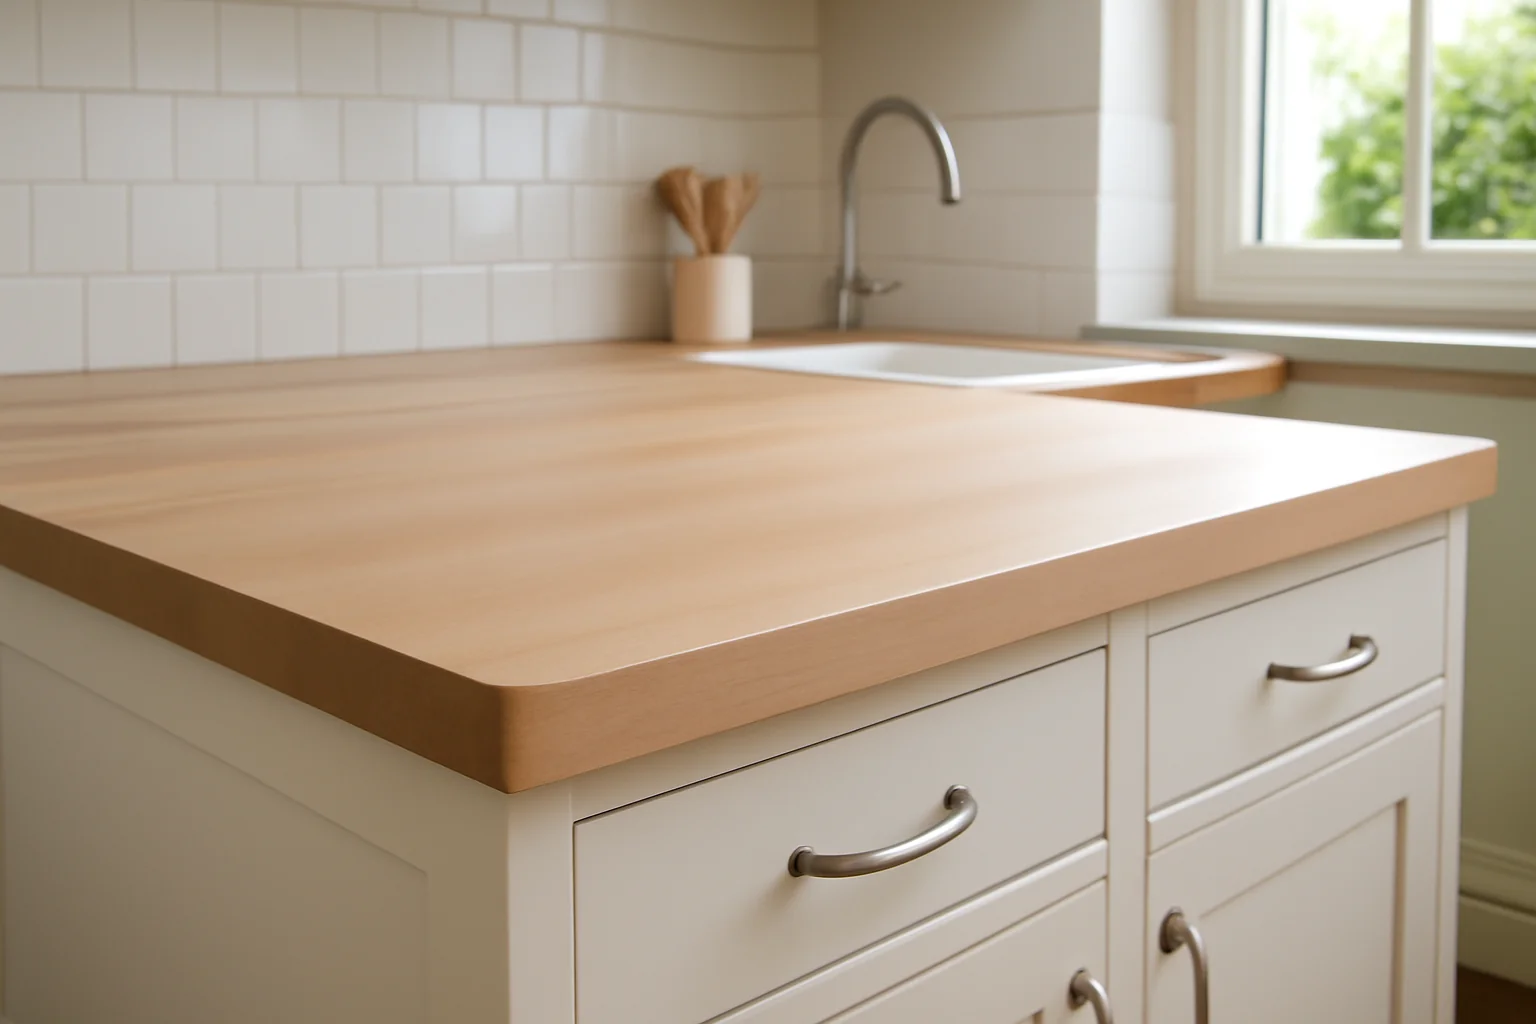
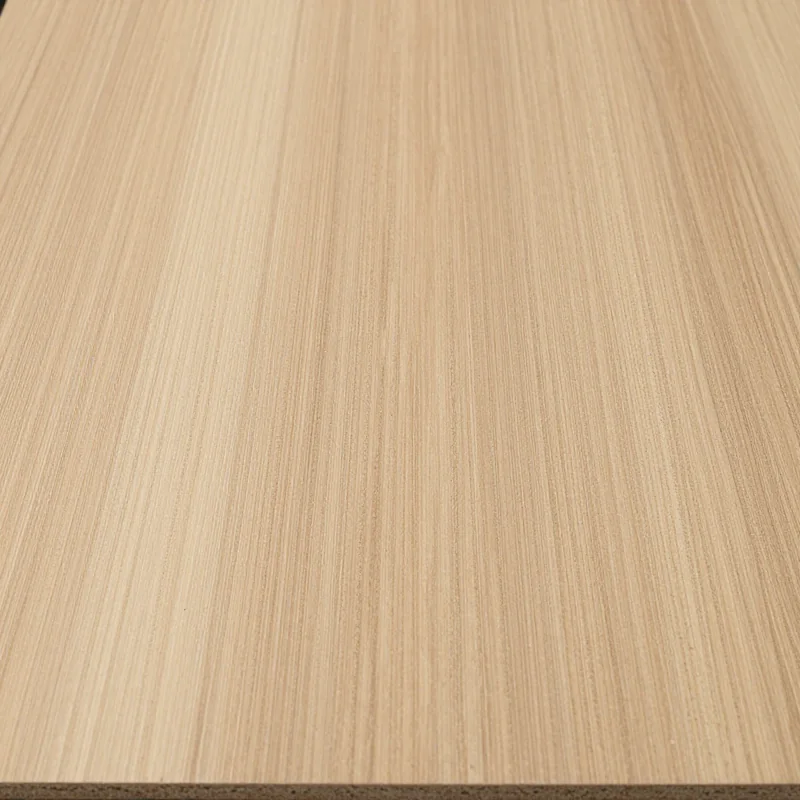
Beech is denser and harder than most laminate boards and close to oak in hardness, but it moves more with moisture than oak does. Solid timber, while laminate board is a thin decor layer over a chipboard core — Egger and Kronospan panels of that type resist water at the face but cannot be sanded back once worn. Oak sits at similar hardness and is more dimensionally calm, which is why it costs more as a raw material. The timber gives you a genuine wood face you can refresh, at a density that shrugs off knife marks better than a thin decor film. Because the wood reacts to humidity faster, the choice between solid and glued stock matters more than the species label on the sample.
Glued Beech Blank Versus One Solid Piece
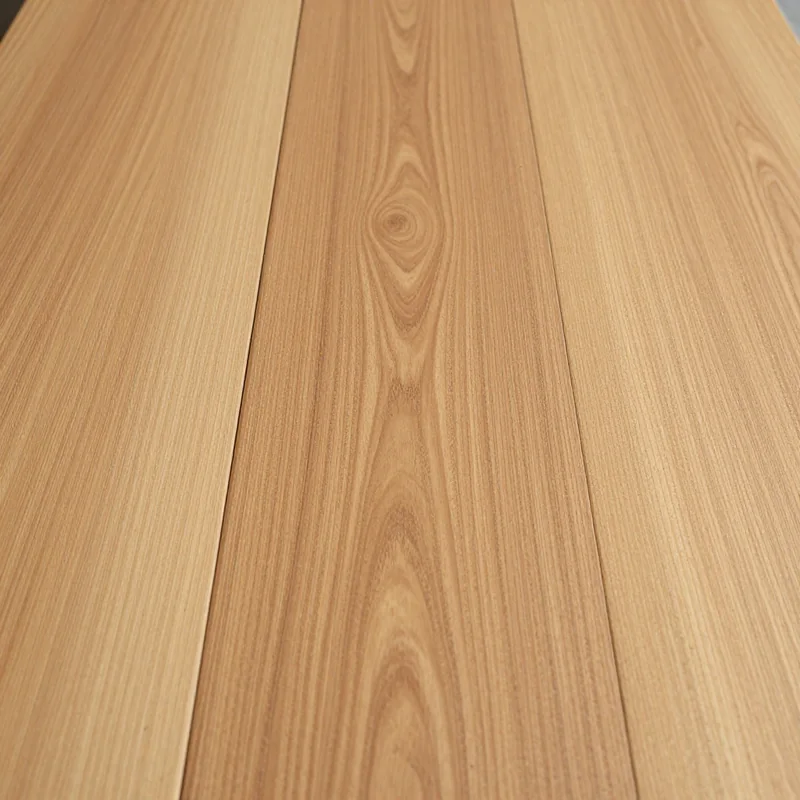
We build beech countertops from glued stock, because narrow staves bonded under press move far less than one wide solid board. A single wide plank carries all its internal tension in one piece, so a dry winter and a steamy sink edge pull it in different directions at once. Glued stock spreads that stress across many narrow strips with alternating grain, and our workshop cuts and presses it to the length each run needs rather than trimming a ready blank. We work Egger and Kronospan boards and Blum, Hettich and Boyard hardware alongside solid timber, so staves are matched for colour and grain before pressing. When you inspect a sample, look at the stave joints and grain direction rather than the top alone — that is where future movement shows first.
What Beech Countertops Are and Are Not Good At
Beech handles daily chopping and heavy pans well, but standing water and direct heat are the two things it will not forgive. A wet ring left under a dripping tap soaks into the end grain and dries to a grey shadow that no amount of oiling lifts out, and a pan straight off the hob scorches the wood into a brown mark that has to be sanded away. These tops are at their best over a cabinet run used for prep, serving and everyday cooking, where the surface is wiped and the timber is allowed to breathe. They are a poor fit for a laundry corner or an outdoor kitchen that stays damp. A trivet and a wiped sink edge cost nothing and remove most of the reasons people regret a wooden worktop.
How We Keep a Beech Countertop From Warping, Cracking and Staining
Gaps and sagging are rarely accidents. They follow from how a top was glued, sealed and fixed to the carcass. We walk through each step and what we control at every one of them.
Thickness, Support and the Load Over a Cabinet Run
We match beech thickness to the span between cabinet supports, so a long run over a dishwasher does not sag in the middle. A thicker glued blank behaves differently from a thin board: the thicker section resists bending over a wider gap, but only while the supports sit close enough. Over a run of base units we plan bearer rails and cross-battens before cutting anything, and we check the span under heavy appliances separately. A thicker board is not automatically better — an unsupported span will bow whatever the thickness, so support placement comes first, not the millimetre figure on the drawing.
Fixing Solid Timber to the Cabinet So It Can Move
We fix countertops with fasteners that allow the wood to expand and contract, instead of locking it rigidly to the carcass. Solid wood takes on and releases moisture with the seasons, and across a wide run that movement adds up. Slotted brackets and figure-eight washers let the panel slide a few millimetres while holding it flat, and our own fitting crews leave the same allowance at each fixing point. A worktop screwed tight along its whole length will crack at the first seasonal swing, so a little planned movement is what keeps the joints closed through the year. We plan the fixing points before the crew drills, so the allowance is set in advance rather than improvised on site.
Sealing the Surface Against Water and Heat
We finish the top with a protective coating on all faces, including the underside and the cut edges, because water enters wood from the unsealed side first. The exposed end grain around a sink cut-out drinks moisture far faster than the top face, so we seal that rim before the tap goes in and repeat the treatment on any edge cut on site. Oil-based finishes let the grain breathe and are easy to refresh; a hard lacquer gives more resistance to heat but needs a full re-coat when it wears. Re-oiling or re-coating a small patch early is far cheaper than sanding back a darkened area around the sink later.
Custom Beech Countertops Sized to Your Kitchen, Not to a Catalogue
Walls in Almaty apartments rarely meet at a clean right angle, and a kitchen run is seldom a round number. A beech countertop has to follow the room as it actually is, not the dimensions printed in a catalogue.
From On-Site Measurement to a 3D Project
We start with a free on-site measurement and prepare a 3D project within 1–2 days, so you approve the shape, edges and shade before any board is cut. Our team checks the real walls, window sills and pipe positions rather than working from your sketch, then set the countertop depth and overhang around the cabinet run you already have or plan to order. You see the drawing on screen, request changes, and only then does the layout move to the workshop. Checking the actual walls, not the drawing, is what prevents the gap at the back edge that no trim can hide. Ask for the wall check at both ends of the run — a difference between the two ends changes the template.
Cutting, Edge-Banding and Trial Assembly in Our Workshop
Every beech countertop is cut, edge-banded and trial-assembled in our own 600 m² workshop in Almaty before it leaves for the site. The board is sawn to the template, the front and end edges are banded and finished, and the openings for the sink and hob are made on the bench where the tooling is set up. We are a direct manufacturer: measurement, design, production and installation stay with our own team, so nothing is re-ordered from a third party when a detail changes. A trial fit in the shop catches a wrong cut while the board is still on the bench, not after the crew has driven across the city.
Lead Times, Payment and the Acceptance Act
Four stages from first visit to signed handover| Stage | What happens | What you confirm |
|---|
| Measurement and 3D project | Free visit and project in 1–2 days | Shape, edges, shade |
|---|
| Production | Cutting, edge-banding, finishing in our workshop | Trial assembly before dispatch |
|---|
| Delivery and installation | Our own crews, Almaty and up to 30 km | Fit on site |
|---|
| Acceptance | Act signed after installation | Final 50 % payment |
|---|
Beech Countertops Around the Sink, the Hob and Mixed Materials
The sink and the hob are the two hardest-working points of any kitchen. We look at how solid beech behaves around them, and where mixing materials on one surface makes practical sense.
Cut-Outs for an Undermount Sink and a Hob
We cut openings for undermount sinks and hobs in the workshop and seal every cut edge before installation, because an exposed beech edge is the first place water gets in. The opening is routed to the template of the actual basin or hob, not to a nominal size, and the raw rim is treated with a water-repellent compound on all four sides before the unit drops in. For an undermount basin we add a supporting batten along the front and back of the cut-out so the remaining strip does not flex under a full sink. A hob opening sits close to a heat source, so the seal there gets a second coat. The rim of a sink cut-out is the first point at which a wooden worktop fails, so sealing it matters more than the finish on the top face.
Mixing Wood With Board and Stone on One Kitchen
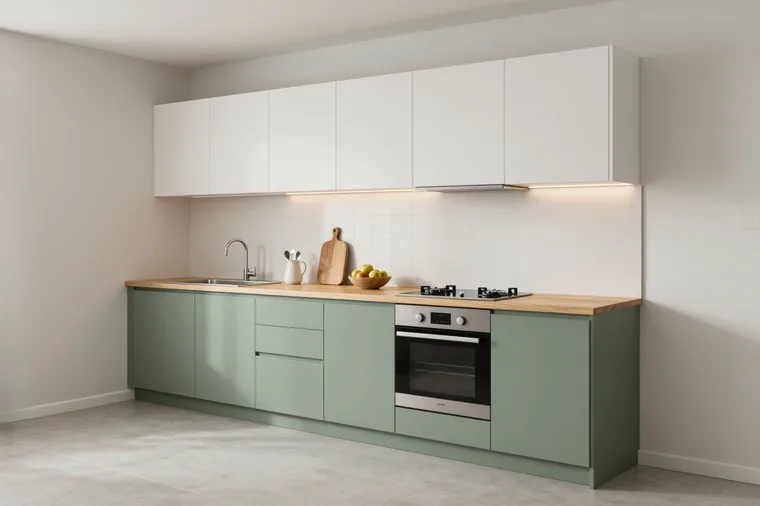
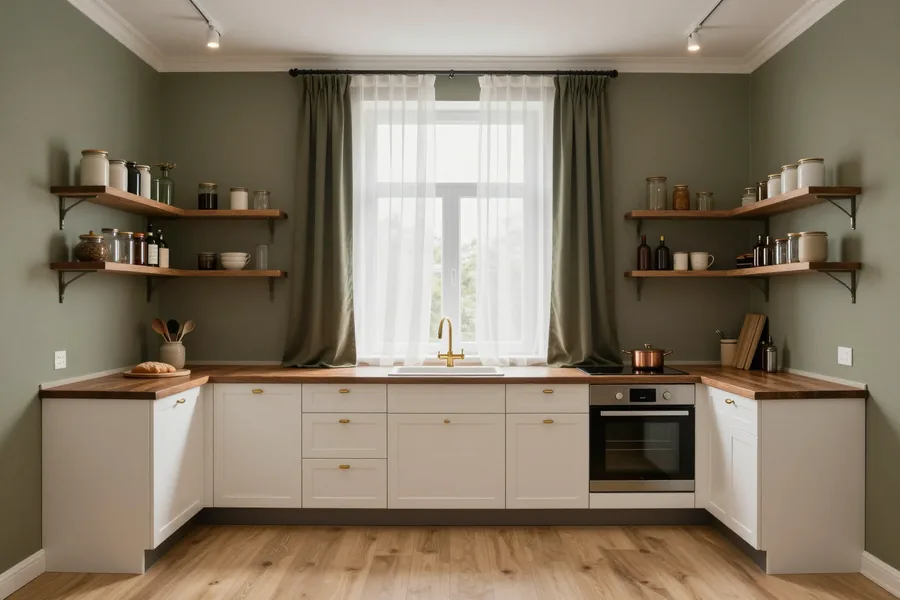
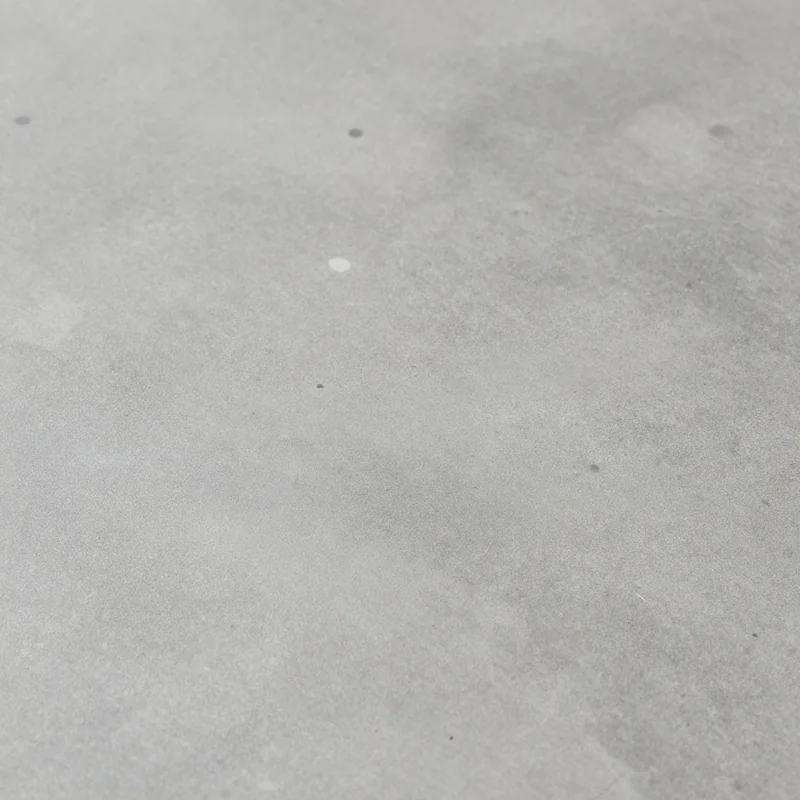
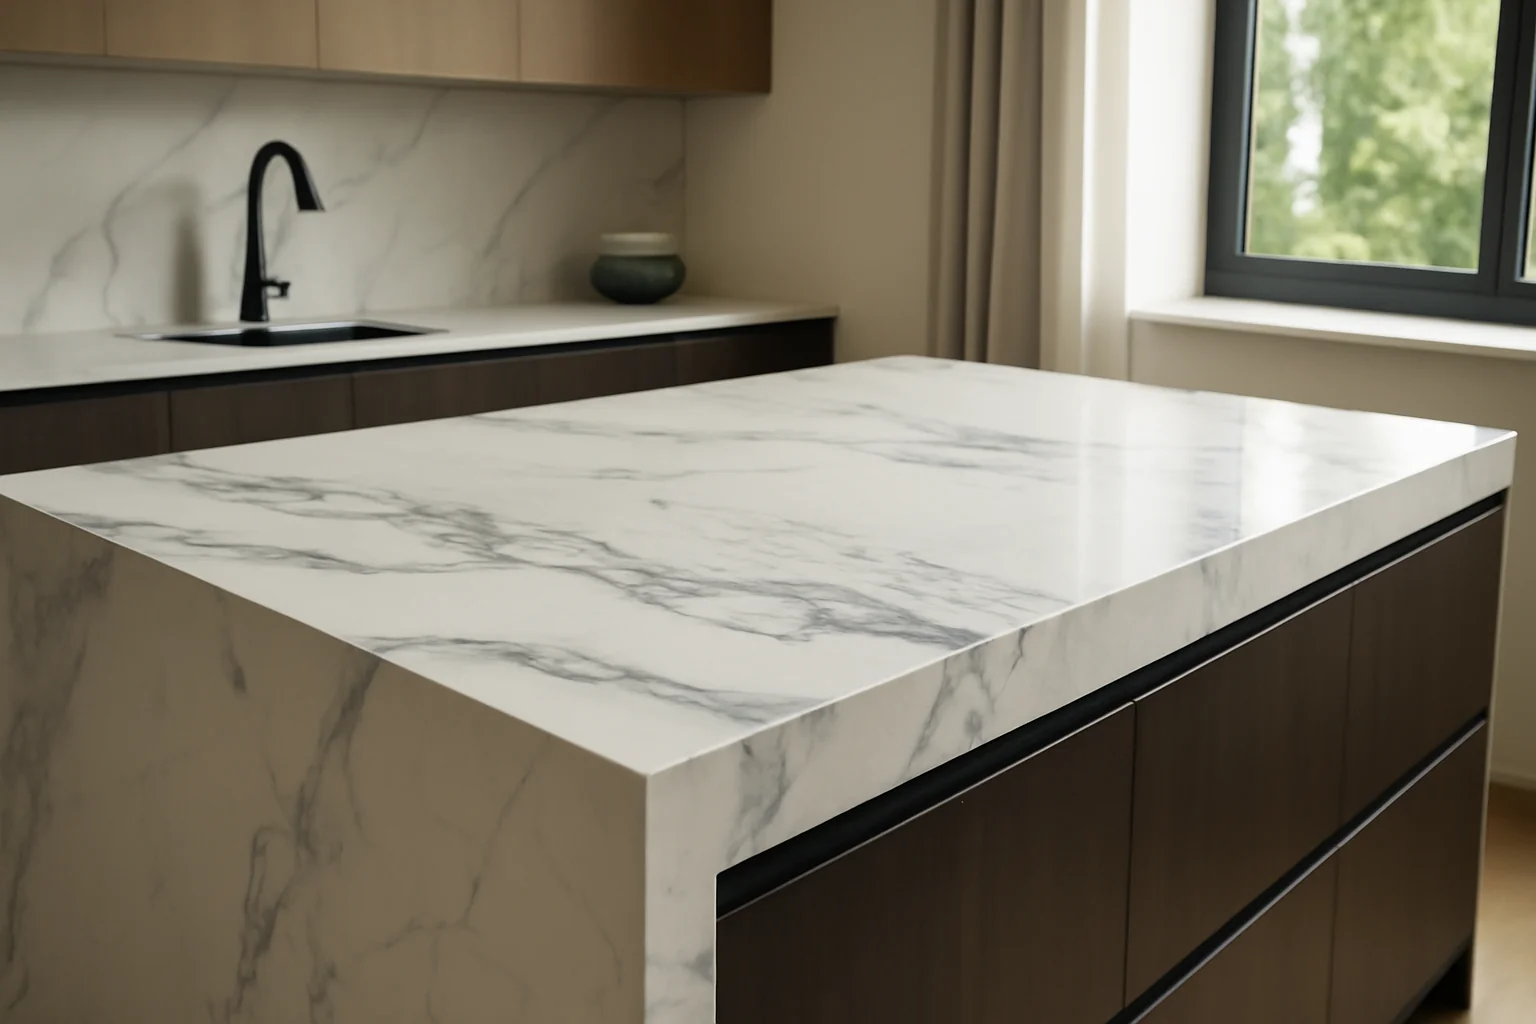
We often combine a wooden worktop on the island or dining surface with laminate or stone near the wet zone, so the wood stays where it performs best. A typical layout puts an HPL-faced board or quartz agglomerate around the sink and hob, where knives, hot pans and splashes land, and keeps solid timber on the island, the breakfast bar or open shelving, the spots that hands and elbows touch. The two surfaces meet at a cabinet break rather than mid-span, so each material keeps its own movement and the joint falls on a natural line. Colour matching is done from physical samples, not screen images, since the wood shifts tone under different light. Mixing materials is not a compromise — it keeps the warmth of the timber under your hands and puts the hard-wearing surface in the splash zone.
Protecting the Joint Where Wood Meets a Wet Zone
We treat the seam between a wooden surface and a wet zone as a designed joint, with a sealed edge and a small expansion gap rather than a tight butt against tile or stone. Solid timber moves with the seasons, and a joint pressed hard against a fixed stone upstand leaves the wood nowhere to go: the fibres crush, the finish lifts, and a hairline crack opens along the line. Instead the edge is sealed, a controlled gap is left, and a matching profile covers it so the gap stays invisible but working. The same principle applies at a tiled splashback — we keep the wood off the tile by a small margin and close the line with a flexible joint rather than rigid grout.
Choosing the Shade and Living With Solid Beech Day to Day
The colour you pick and the habits you keep decide how a beech worktop looks a year from now, so we treat shade and care as one decision.
Natural, Tinted or Dark-Stained Beech
Shade options compared by look and visible marks| Finish | Look | How wear shows |
|---|
| Natural clear | Light, warm grain | Rings and slow darkening |
|---|
| Tinted honey | Deeper, even tone | Small marks blend in |
|---|
| Dark stain | Rich, uniform colour | Scratches read as light lines |
|---|
| Oiled natural | Matte, close to raw wood | Absorbs marks, needs recoating |
|---|
Daily Care in Almaty's Dry Air
In Almaty's dry air a countertop needs wiping after use and periodic re-coating, but it does not need to be soaked or scrubbed. We advise a barely damp cloth with mild soap, drying the surface straight away and keeping standing liquid away from the sink cut-out and front edge. Abrasive creams, wire pads and chlorine sprays dull the protective layer and open the grain, so a soft cloth does more than any specialist bottle. Indoor humidity matters more than any product: heated apartments here drop low in winter, and the wood releases moisture to the room. A humidifier keeps the joints calmer through the heating season. Dry indoor air pulls moisture from the boards in winter, so stable humidity does more for the joints than any single cleaner.
How the Surface Ages and When to Refresh It
A worktop darkens gradually and its protective layer wears thin first around the sink and the front edge, which is where a refresh pays off soonest. We treat every top with a sealing coat, because bare stock that has already drawn in moisture will not sand back to an even colour. Light marks lift with a fine abrasive pad along the grain; deeper dents need the whole band sanded and re-oiled, not spot-treated. Sanding and re-coating one worn band before the material underneath has taken on liquid keeps the whole surface even, instead of leaving a pale patch next to a dark one.
The bottom line on beech countertops
A beech countertop is only as good as the details behind it — the stock, the machined profiles and the way the board is fixed to the cabinets.
- Glued versus solid stock: a stave-glued blank holds its shape far better than one thick board when humidity swings between winter heating and summer air.
- Sealed cut-outs: the openings around a sink and a hob are where water gets in first, so ask how those rims are closed.
- Support spacing over long runs: a top spanning a wide gap without a batten underneath will sag, whatever the thickness on the sample.
- Finish for your daily use: an oiled surface is easy to refresh at home, while a lacquered one resists splashes but needs a workshop to redo.
- Written warranty and acceptance act: the paperwork should name the term and confirm you sign only after the counter is installed and checked.